
What’s been completed so far?…
* Paint = done (Benjamin Moore Sea Pearl on the ceiling, Behr Silver Drop on the walls)
* Patio table and chairs = already own (Restoration Hardware Carmel Collection)
* Patio table cushions = purchased new (Restoration Hardware Carmel Cushions in Linen)
* Sectional sofa = just ordered yesterday! (Pottery Barn Torrey Sectional with Sapphire slipcovers)
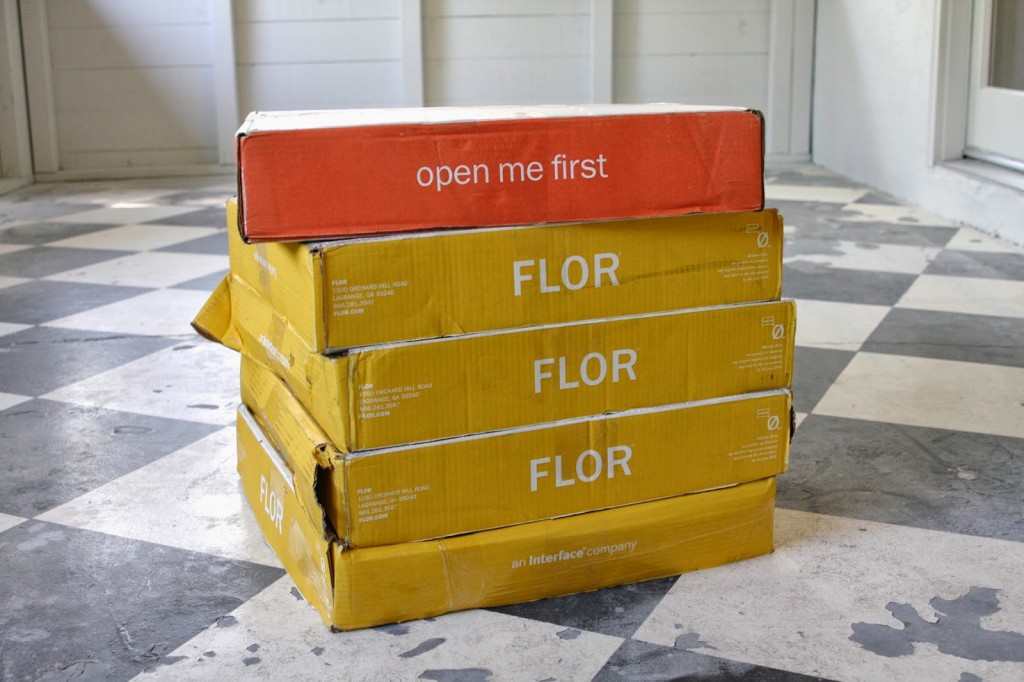
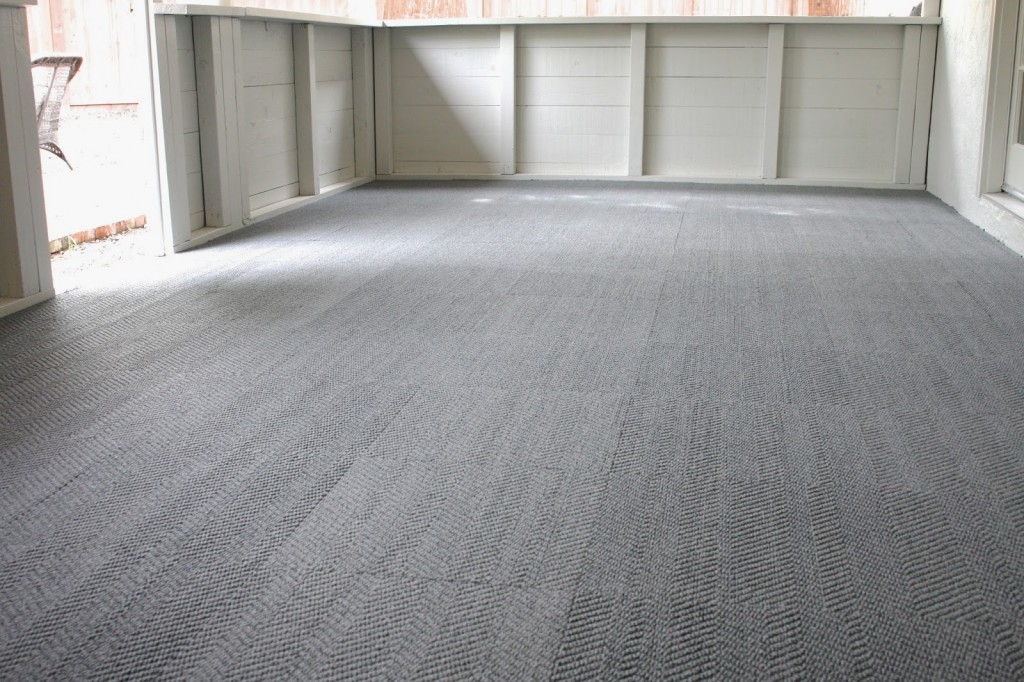
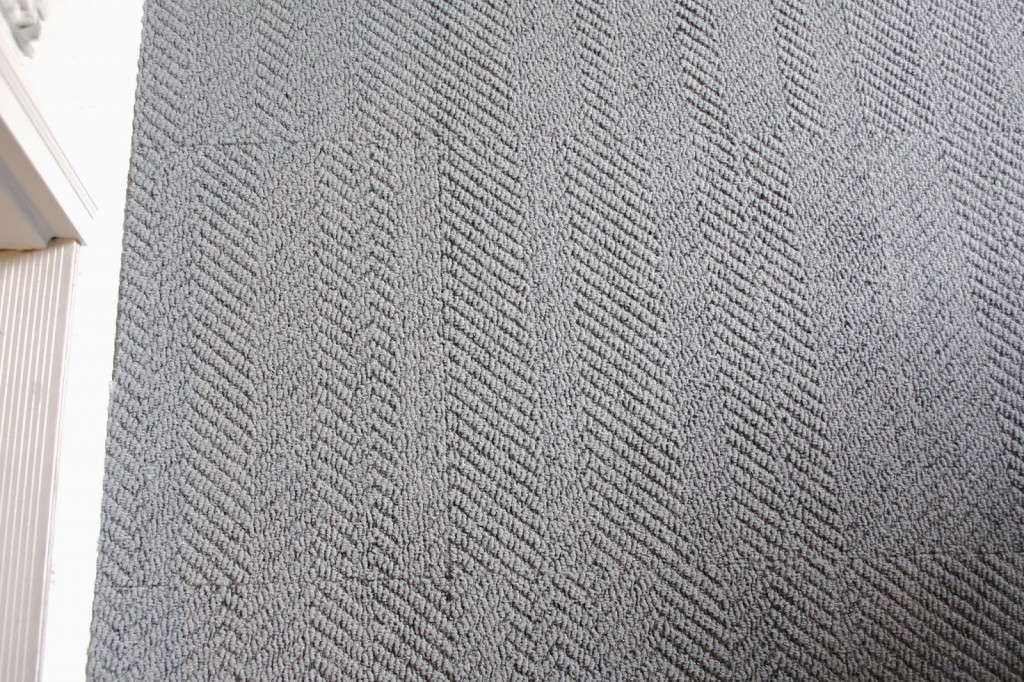
* Flor carpet tiles = installed by me! (Suit Yourself in Pewter)
The carpet tiles is what I’ll mainly be talking about today! A few of you expressed interest in how I installed the tiles and had questions if it was easy or not. It really was SO easy! I couldn’t believe how simple it was, honestly. But I think a lot of my success had to do with the size of the patio. For some reason, the tiles fit almost perfectly, without much trimming needed, going the long length of the room. One long strip (seen below) had to be trimmed. Otherwise this space was just screaming for Flor carpet tiles apparently. Amazing how some home improvement projects just come together that easily. Trust me, I’m not always that lucky!
Remember the old checkerboard painted floor? These images were taken before move-in…
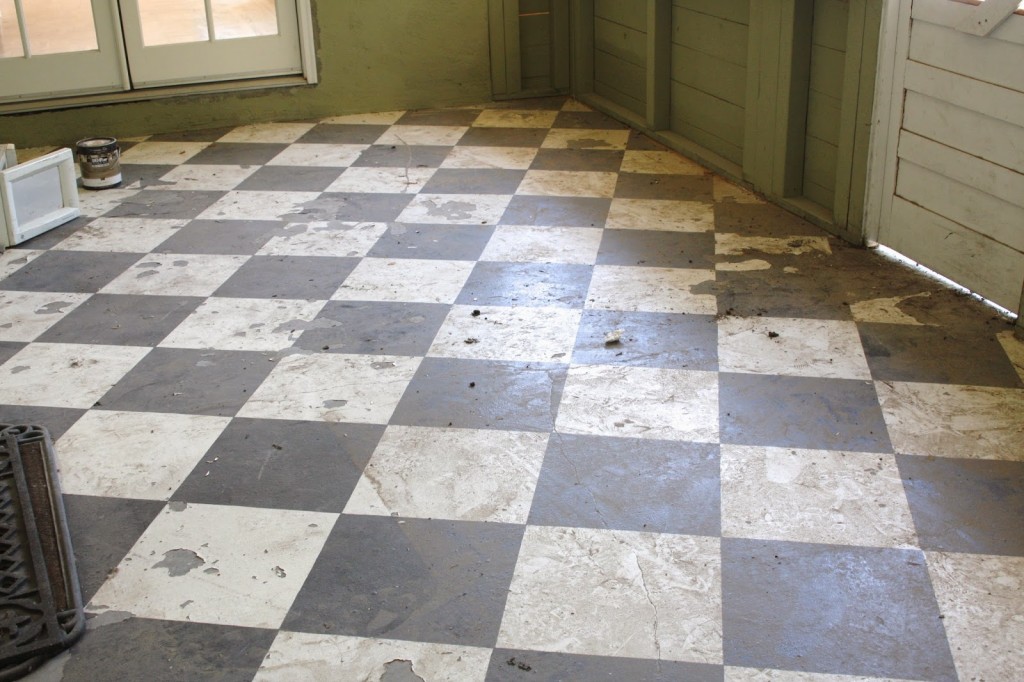
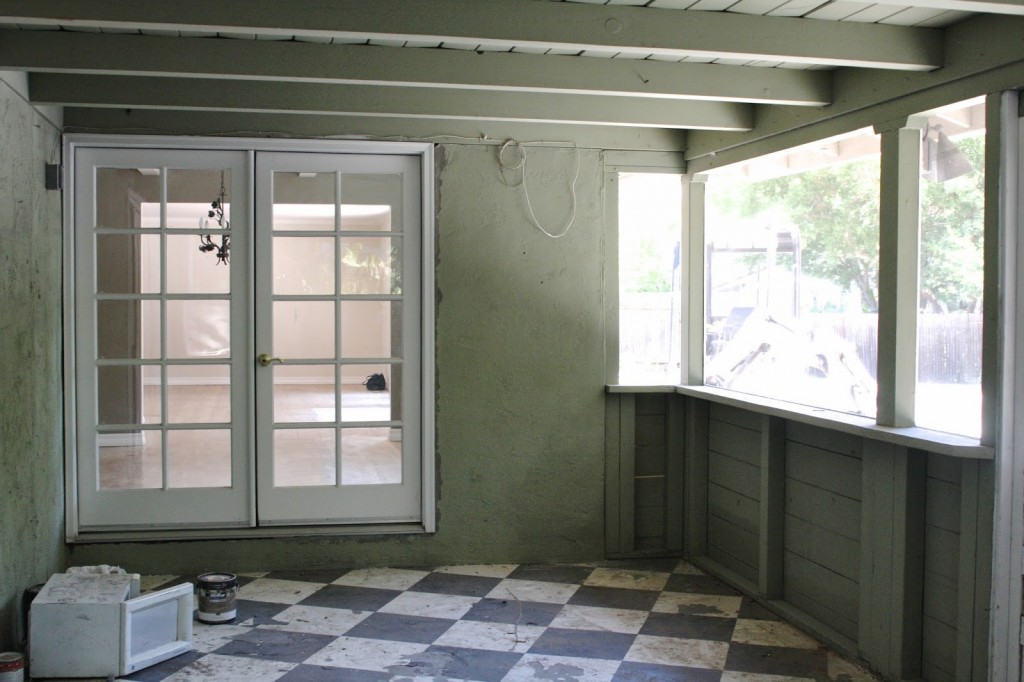

Oh my Lordie, what a mess! And yes, that is a microwave out there. The painter and his crew kept that here to make quick meals.
The patio floor was peeling and couldn’t tell if the finish was paint or a sealant of some kind. Either way, I knew I wanted to cover it. At first I thought about re-sealing it with new concrete…maybe stamped concrete. But then thought better and remembered the kids (and hopefully a lot of their friends) will be coming and going from this space. The less slippery the better when it comes to little feet.
Then I remembered that Flor sells carpet tiles. And not only can they easily be lifted up to clean but also just as easily replaced…without pulling up an entire carpet.
I spent a little lot of time looking at various carpeting on their site and, with the help of an employee at the SF location, landed on Suit Yourself in Pewter…
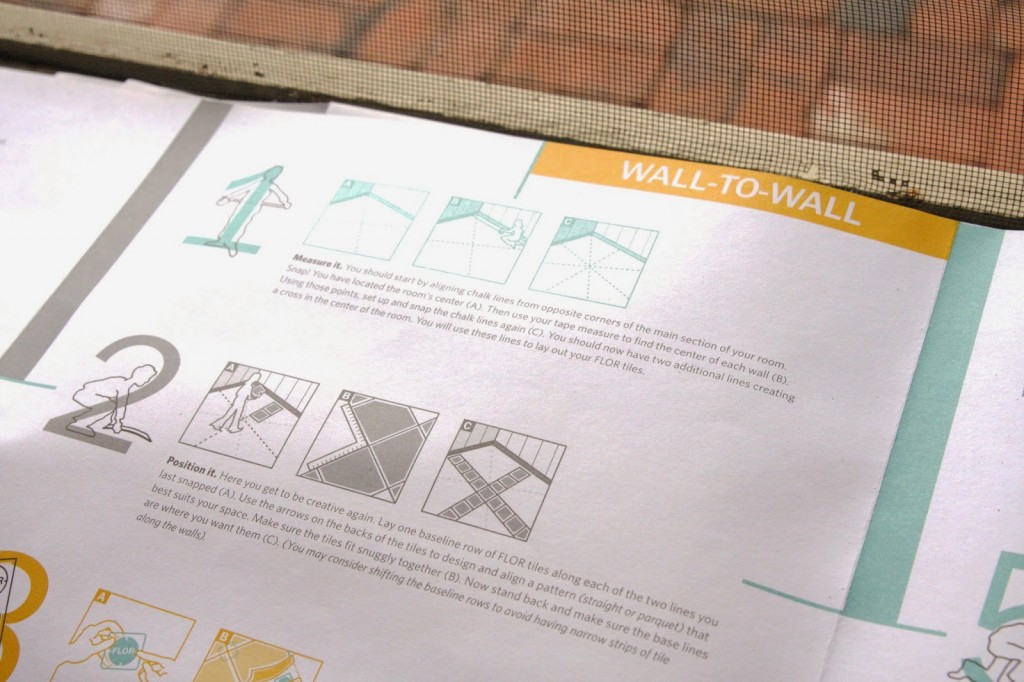
Again, I was surprised how well the tiles fit into this space…with just a few of them needing a trim at the corners for random off angles. You can see an example of that here…
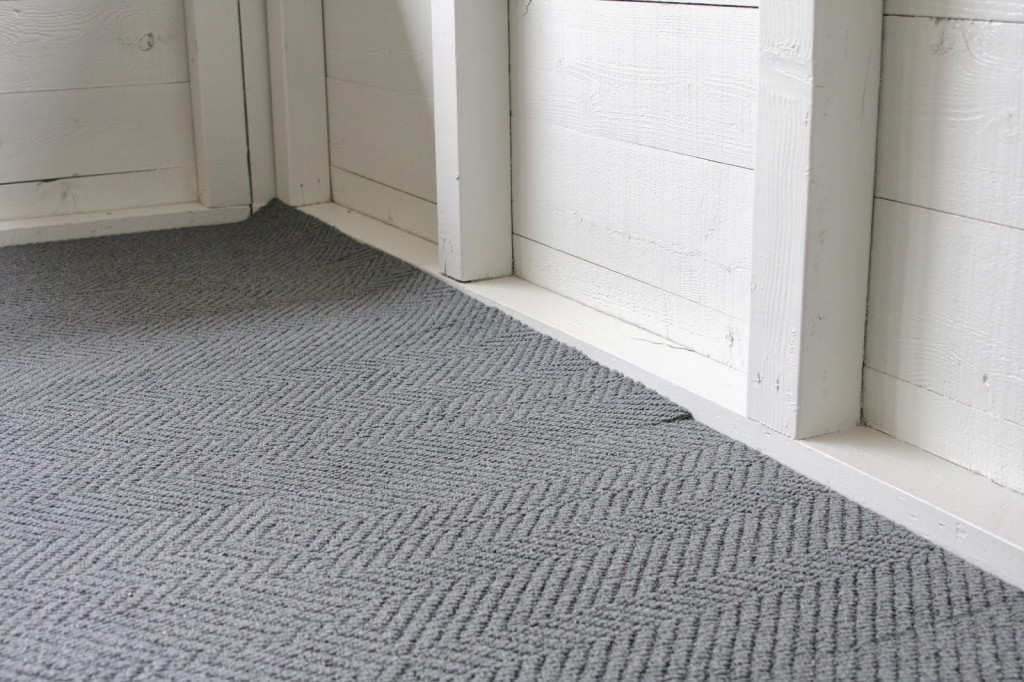
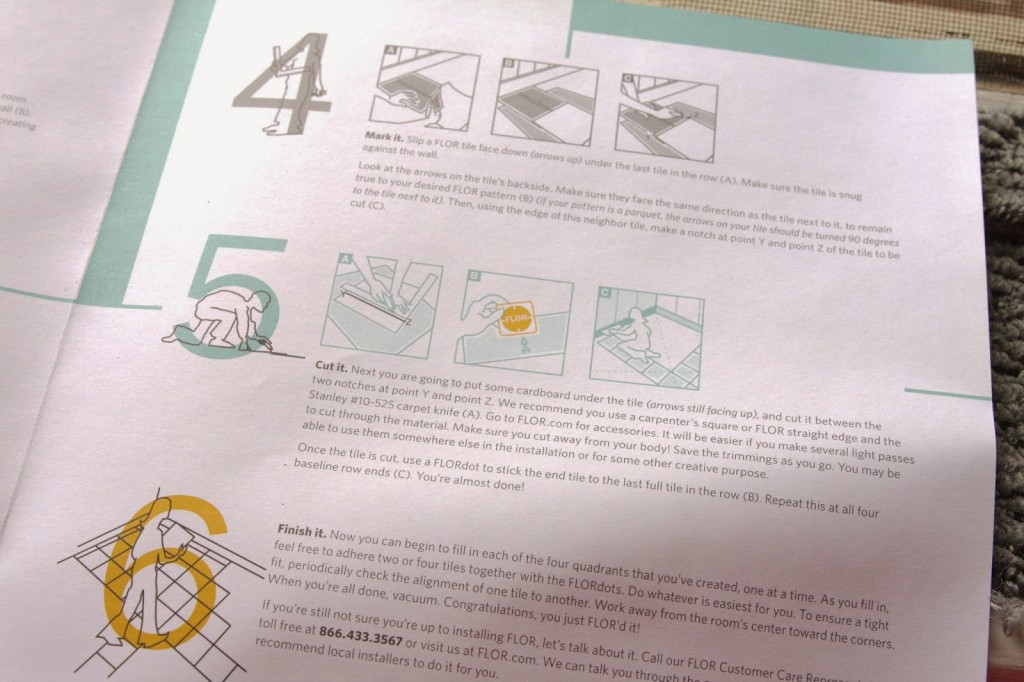
This back corner was off a little. As you can see in that far corner (above photo) the tile is sticking up. But then as I kept laying them along that wall the tiles eventually started laying flat. To cut the tiles all I used was a box cutter. Flor sells a carpet cutter (that you can also buy at any hardware store) but I opted to save money and use my box cutter.
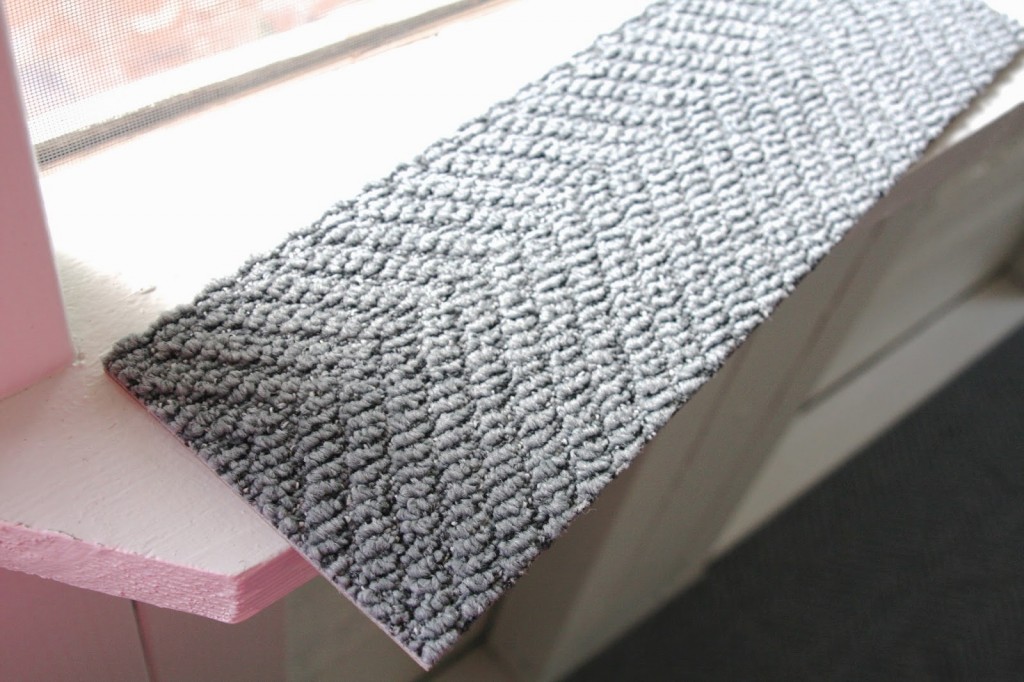
This end of the patio needed just a little trimming…
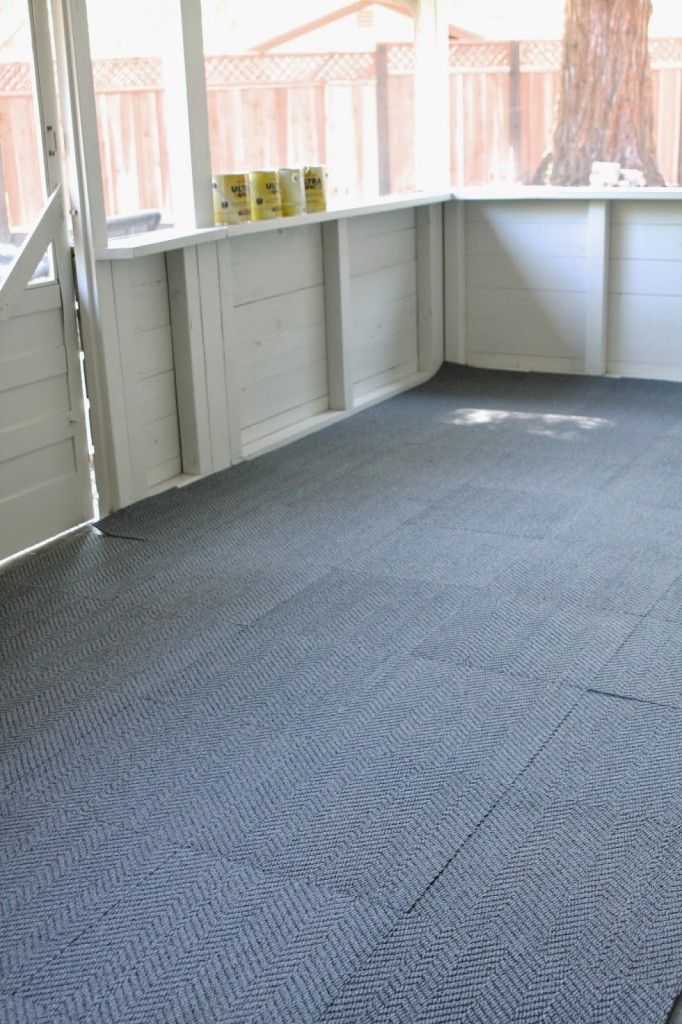
But the final strip of carpet tiles, that you see on the far right here, needed a more significant trim, which was again very easy to do…
Once all of the tiles were trimmed and fitted to my liking, I used the adhesive dots to secure them in place…
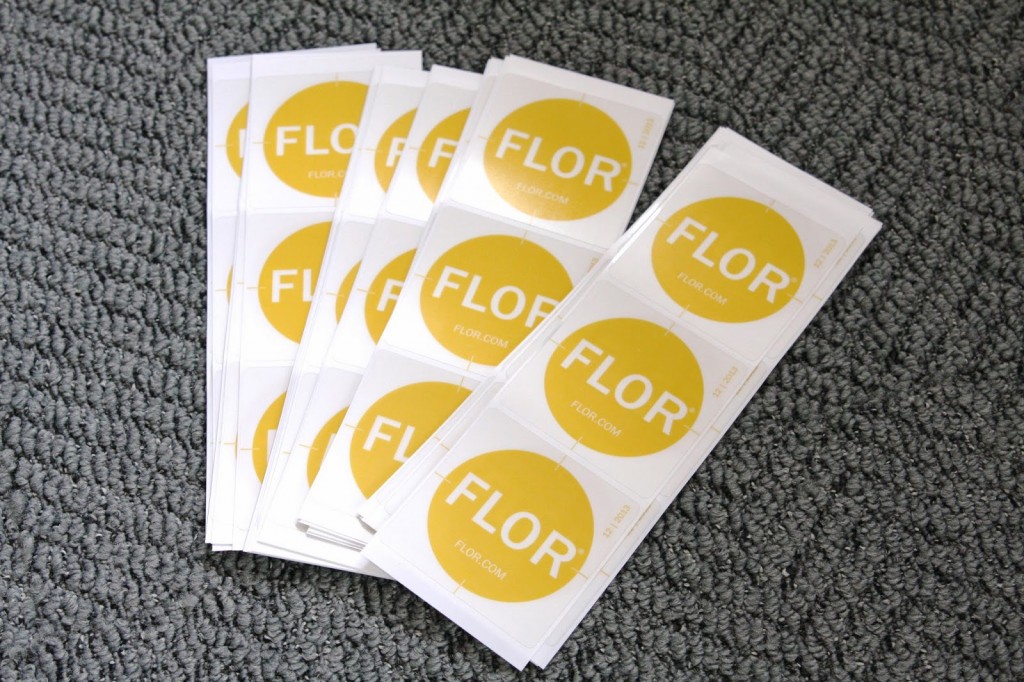
This is also a very easy process and you can see a video on the Flor website for details. Since I was doing the job I couldn’t take pictures of myself too. 🙂
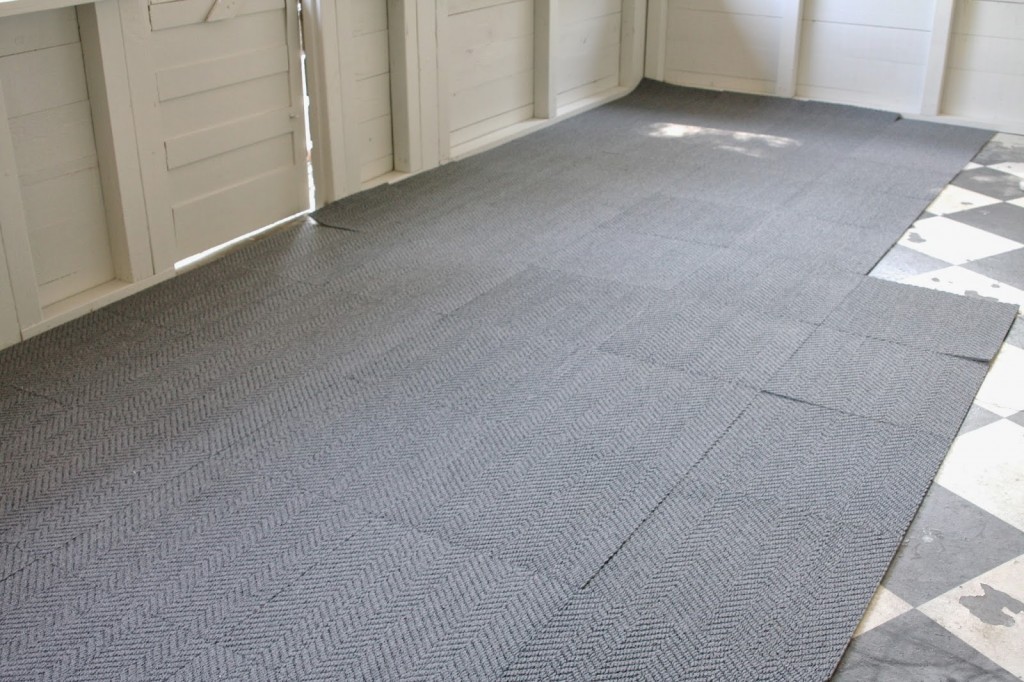
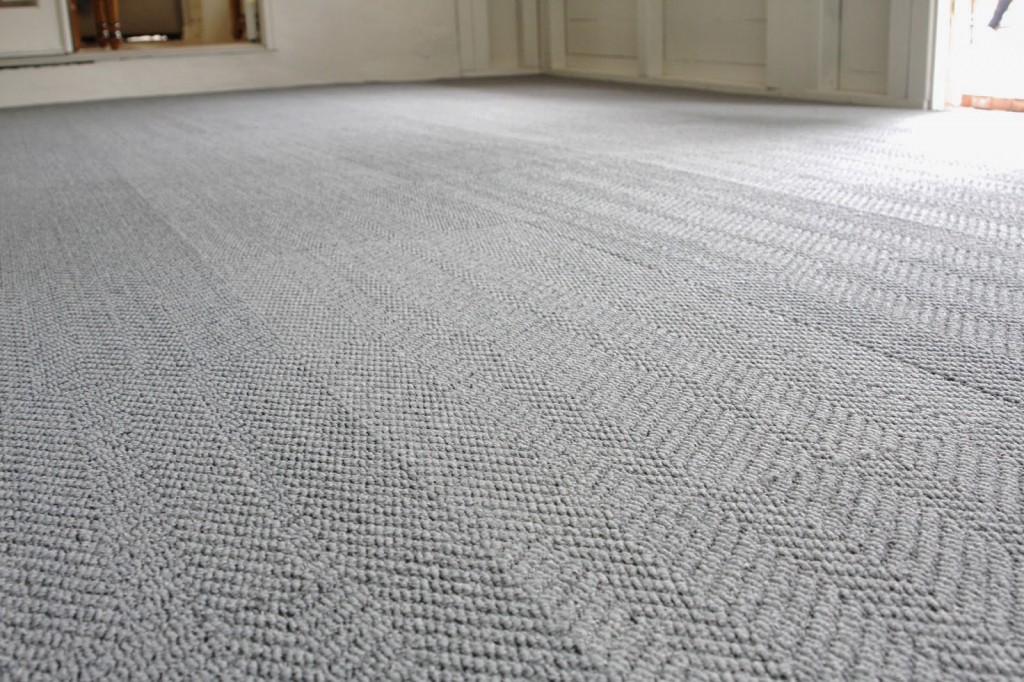
I can’t believe the difference!…
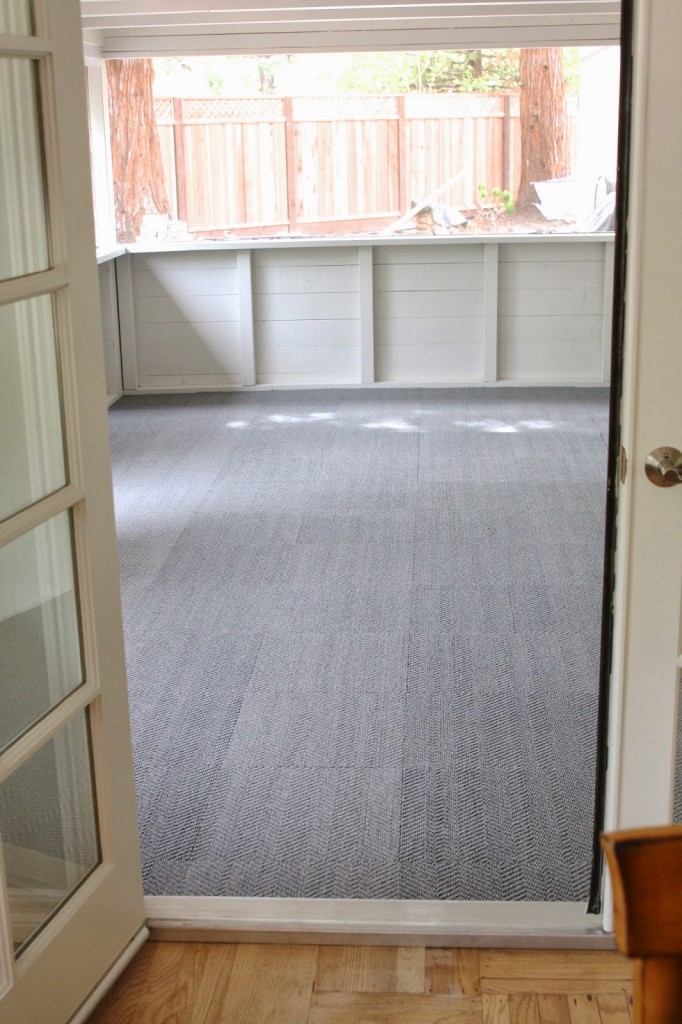
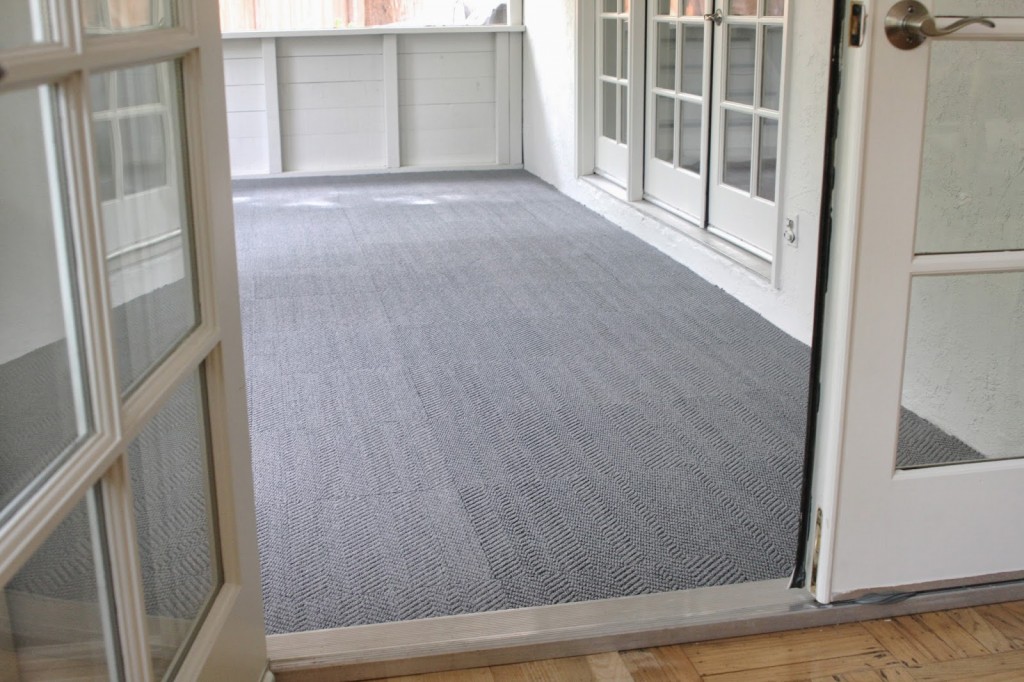
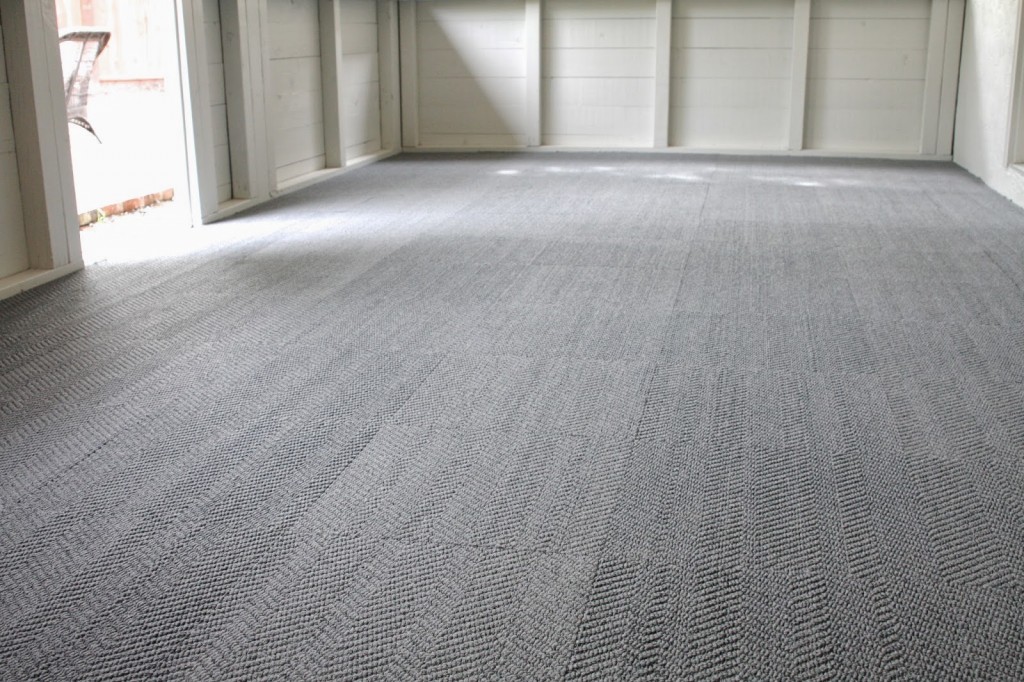
It’s so nice to look out here and see a solid, pretty floor surface…instead of peeling up checkerboard…
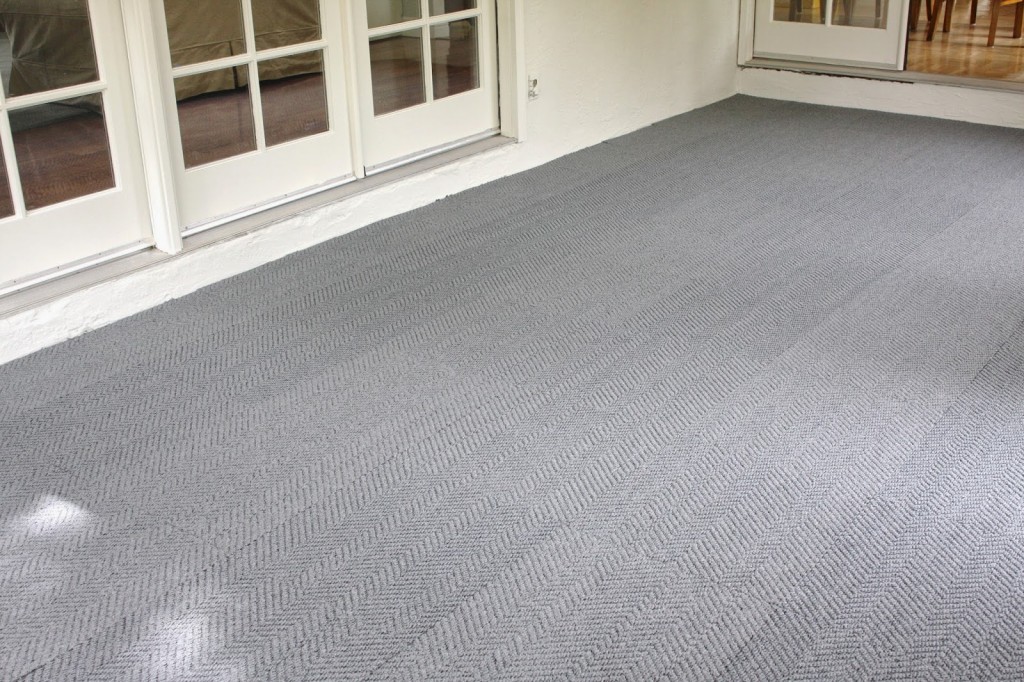
And it feels great to walk on barefoot!…
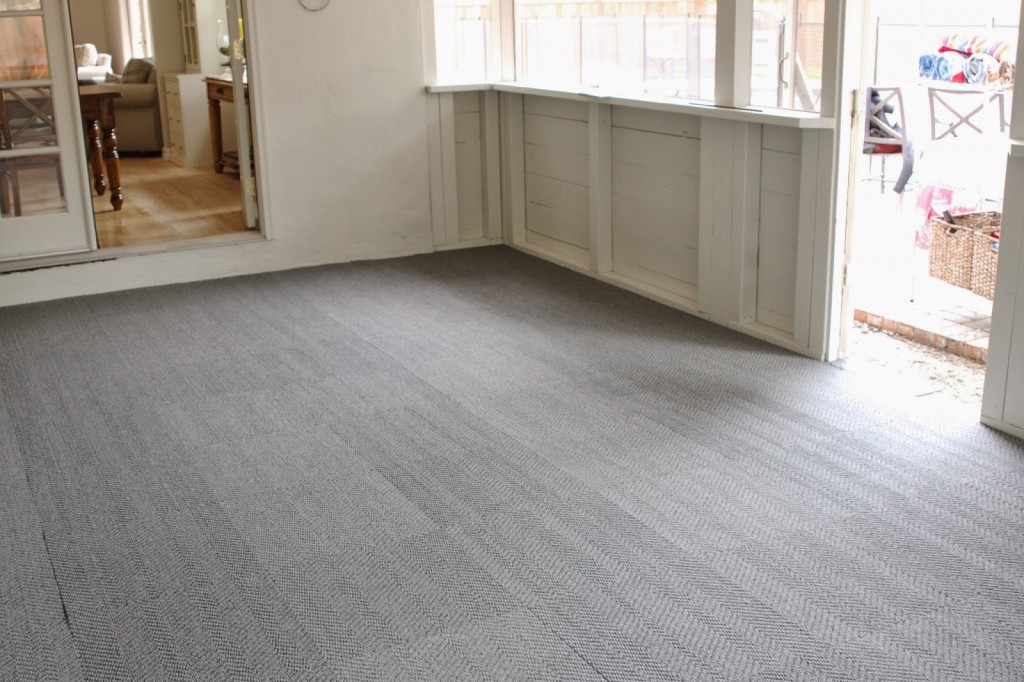

After walking on and vacuuming a few times the seams will blend together…
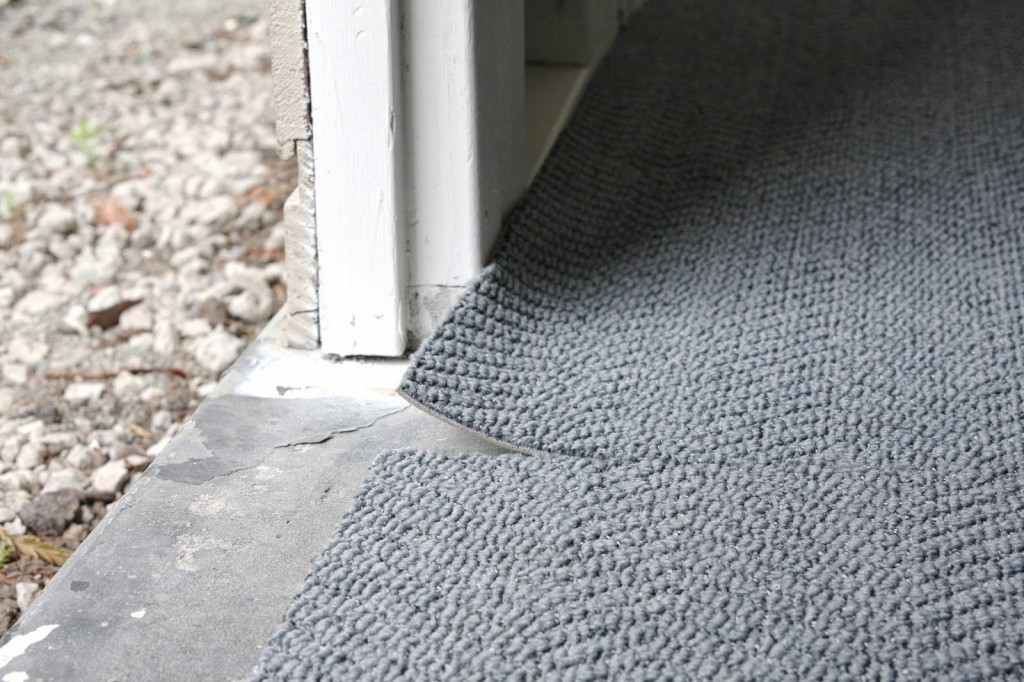
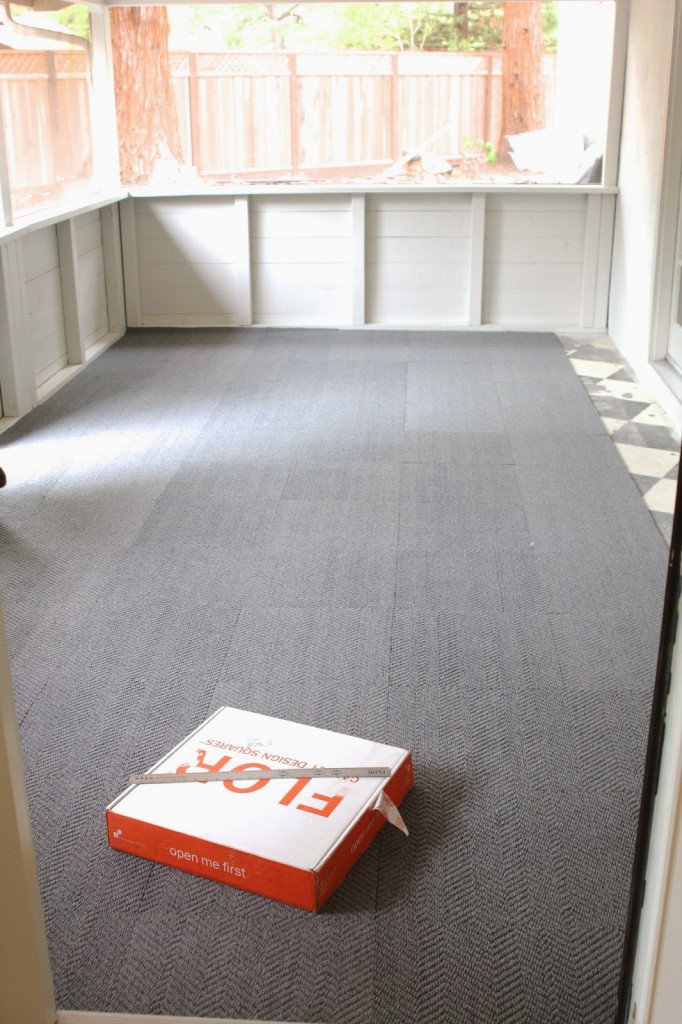
Next up? The carpet tiles are about 99% done, with the exception of this small section under the door…
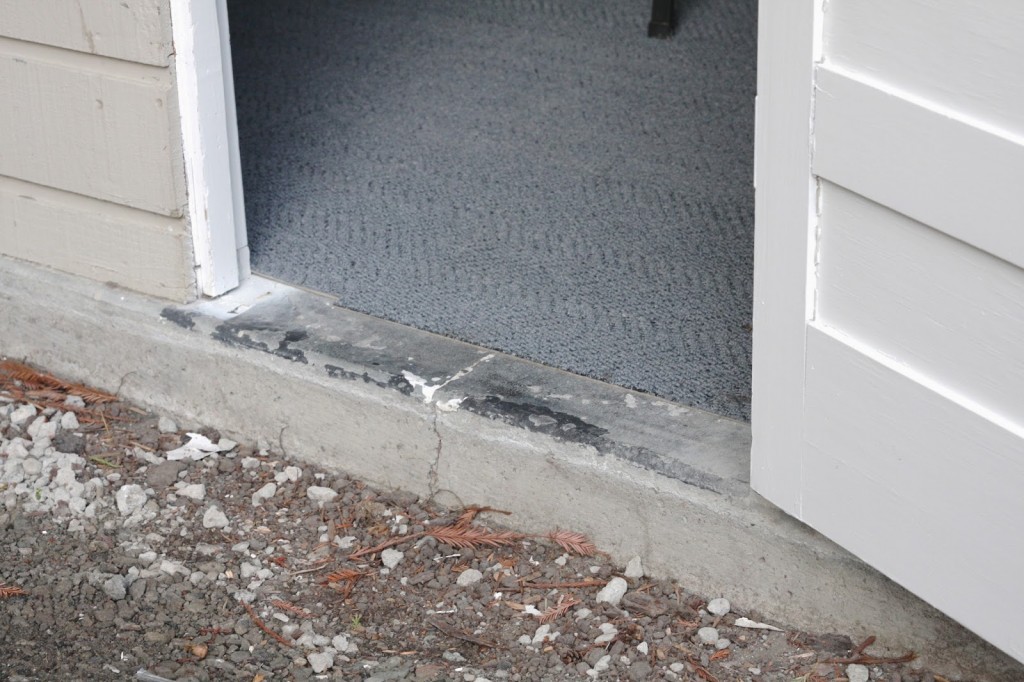
You guys know…one project leads to another! Ha! So, there is no little walkway from the patio to the brick path in the yard…
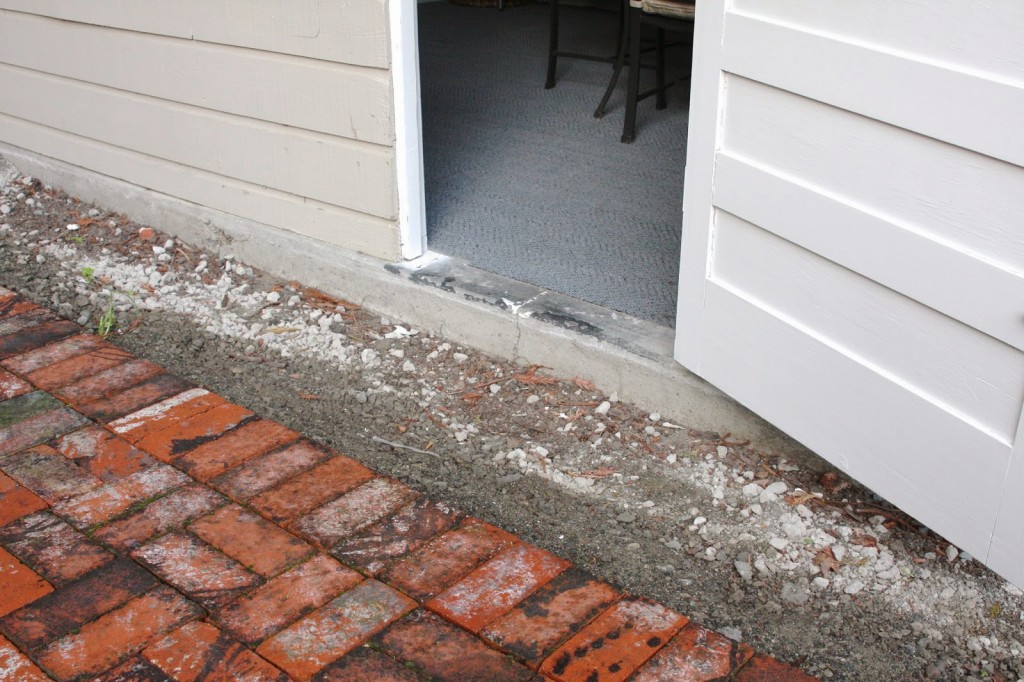

My concrete contractor is coming this weekend to knock out a quick brick connector between the door and yard. Once that is done, I already have the carpet tiles trimmed and ready for laying under the door frame…
Looking ahead, what’s left?
* Lighting = my electrician came out yesterday to talk about lighting. While I’d love to have some hanging lights (like a chandelier) it appears that is going to be difficult given the low ceiling out here. I think we’ll be adding LED recessed lighting and some wall sconces.
* Mount a tv = My electrician is going to hang a tv for me in the next few weeks
* It couldn’t have been better timing yesterday when I found out that Pottery Barn was not only having a sale on their outdoor sectionals, but I also had a 15% off my entire purchase coupon…which saved me over $1,100 alone! I ended up ordering the Torrey 6-piece sectional, which will fit perfectly along one wall…

Along with the matching oversized ottoman…

The set comes with the light colored cushions seen above, so I ordered slipcovers to keep that fabric protected. I went with their sapphire color…

I really hoped for a lighter blue, but I know better with kids around! And can always brighten it up with fun patterned, lighter colored throw pillows. The sectional is due to arrive the first week of April – yay!
That’s my current patio update! If you have any questions for me about the Flor install, leave me a comment here and I’ll reply. Or you can send me an e-mail!

I have seen these carpet tiles on several DIY shows on tv. They look great in your patio. I love the color you chose too!!
thank you!
Wow you make it look it so easy! Looks fantastic!!! : )))
What?! I love you for saying that but it definitely takes me a little time…with 3 kids around! ha!!
xoxo
I absolutely love your project posts. You make the best choices, and you're always spot on with kid friendliness! Do you think these tiles would work well in a garage-turned-exercise-room?
Thank you!!!
And yes, I aim for kid-friendly because it pays off in the long run! 🙂
YES, these would absolutely work in a garage turned exercise room. My neighbor came over to check in on me and saw me doing this project. She herself said she has the same Flor tiles (not color or style) in her garage turned gym. She said she loves them in there and I thought it was such a great idea for her to do that!
I can't wait to see it all pulled together!
[…] I wanted to pull up the floor and put in a temporary until the eventual kitchen remodel…and the perfect solution was something I already worked with here at the house – Flor tile squares. If you recall, I installed these in the screened-in patio last Spring… […]