Me vs. dirt.
I’ve come a long way from when there wasn’t a paved driveway and cars could pull directly up to the pool in the backyard. Ha! The addition of landscaping (guessing sometime in next spring) will help cover even more dirt. In the meantime, I was tired of getting dirty when I watered something or used the hose for a project. So, when I saw what my Shanty girls did and what my southern belle Katie did…I literally stood up from my desk, grabbed my car keys and drove directly to The Home Depot to buy my supplies. Not kidding. I’m sorta crazy like that when I find a perfect solution to a problem area.
I have 4 spots around the house where there’s a hose laying in dirt or hanging around. First one is over here by the play structure…


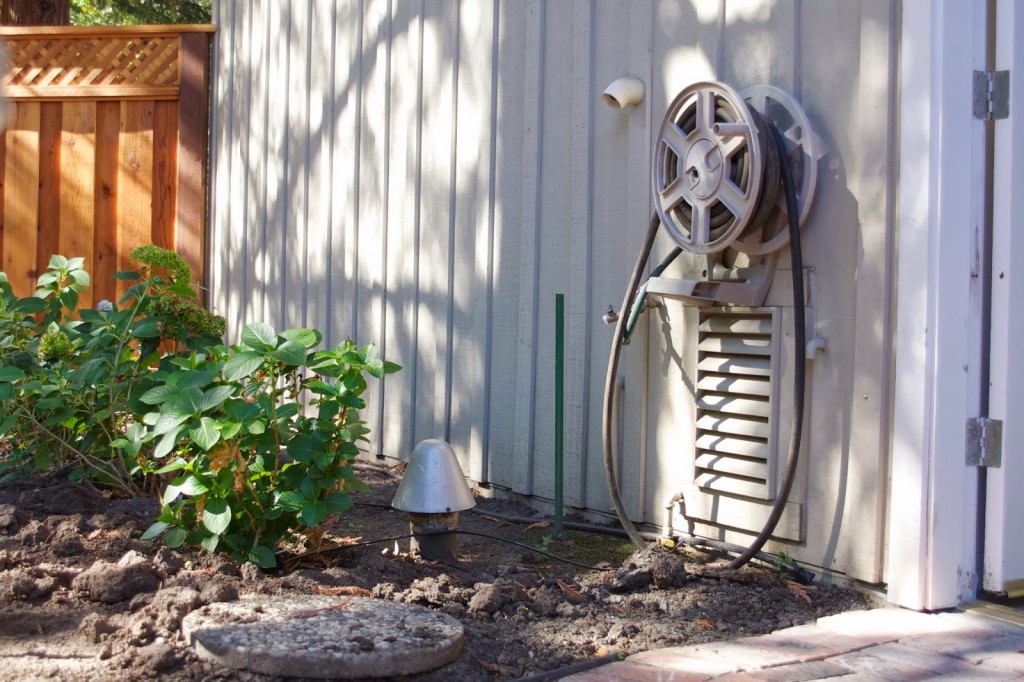
Yes, it’s up off the ground, but the hose holder doesn’t even fit correctly between the house siding. It’s mounted on an angle. For the OCD lady in me, I’ve been wanting to tear the thing down with my bare hands since we bought the house. And when it’s time to paint the exterior (no idea when that will happen), it will come down anyway and I won’t mount another one on newly painted siding.
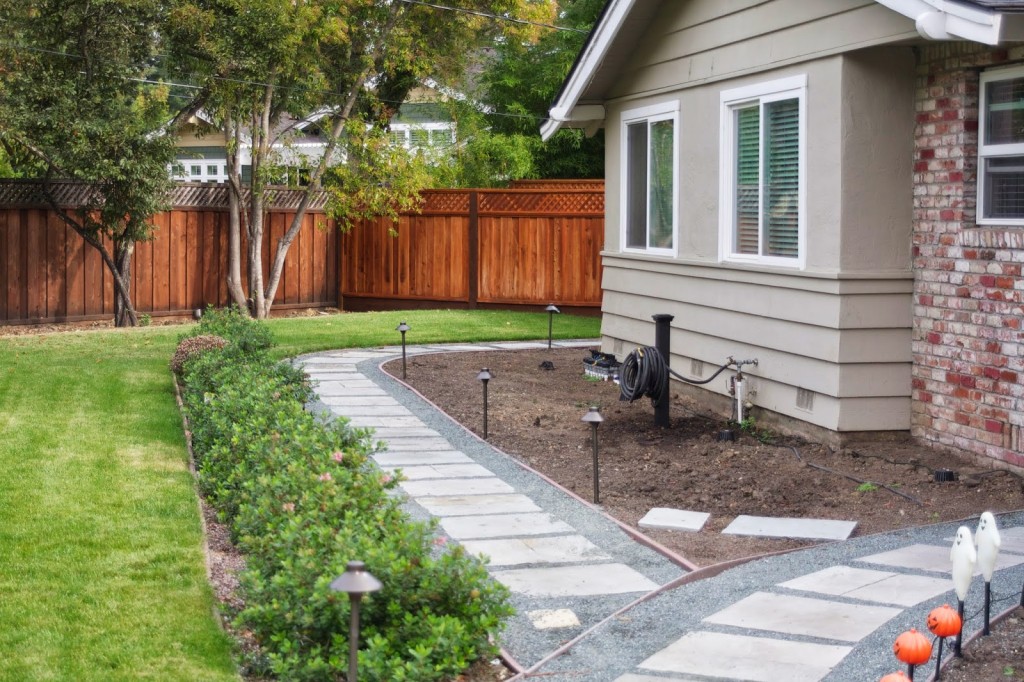
Then there’s this hose directly in front of the house…
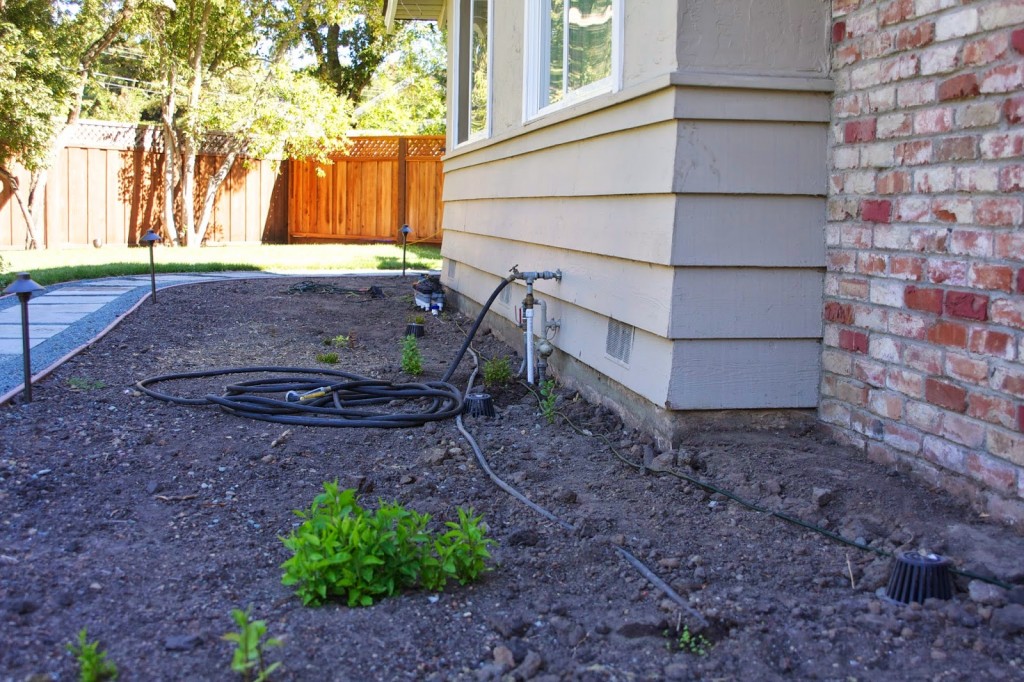
Yup, laying around in the dirt.
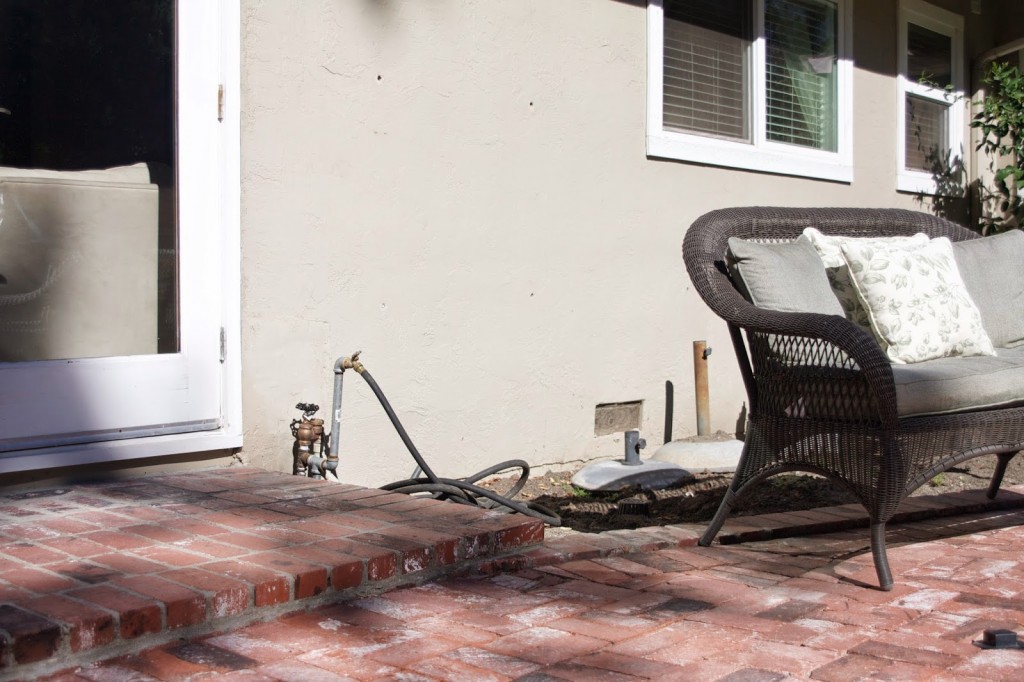
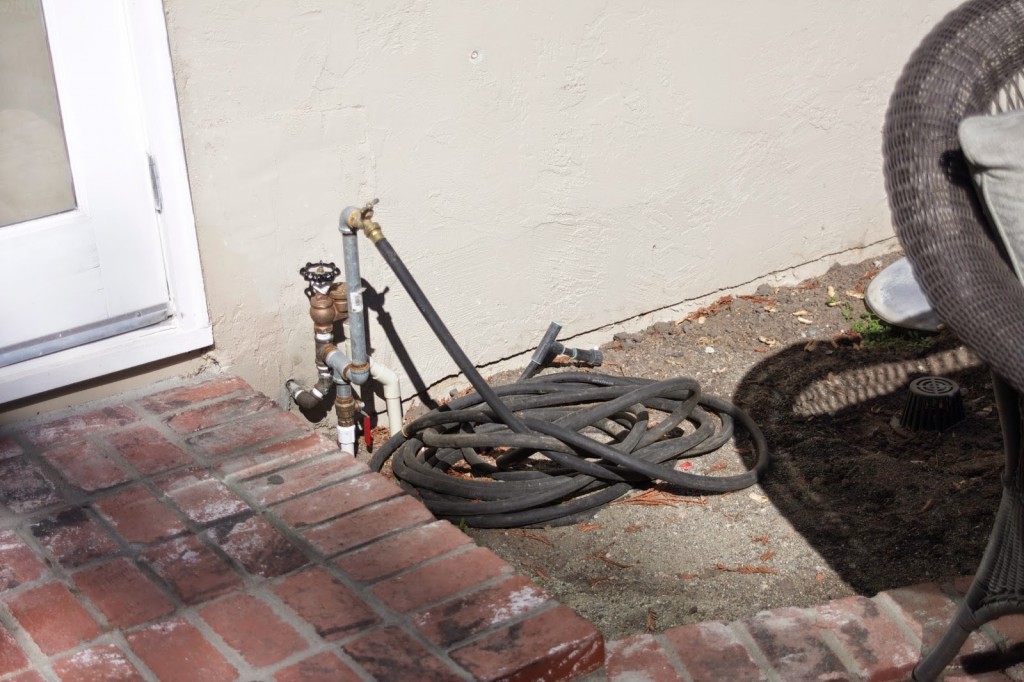
The 2 hoses in the back are directly outside the living room french doors, also on the ground…
And the wall-mounted version outside the door to the garage…
The 2 in the backyard will need to wait because I’ve run into an issue with underground piping. Ugh! However, I went ahead and built 4 of these bad boys to get them all out of the way. And I’m going to tell you exactly how I made them as well as how I set the posts in the ground.
Here’s what you’ll need for this super easy job – keep in mind I built 4. If you only need 2, just half the list…

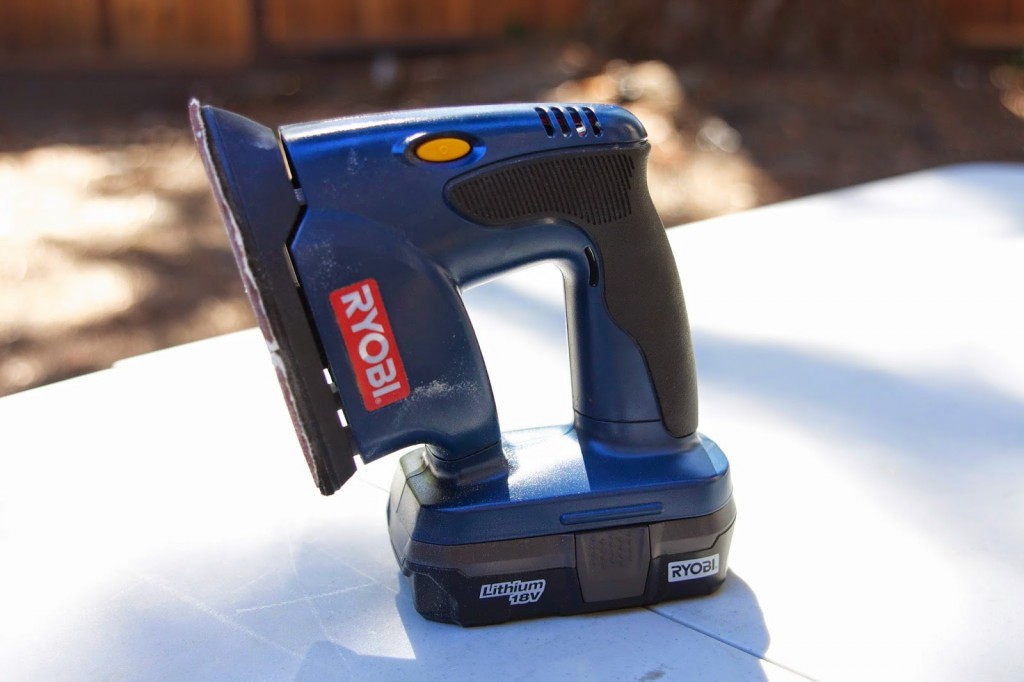
I set up my work table outside since I’d be sanding and spray painting. You’ll need fresh air for this project…

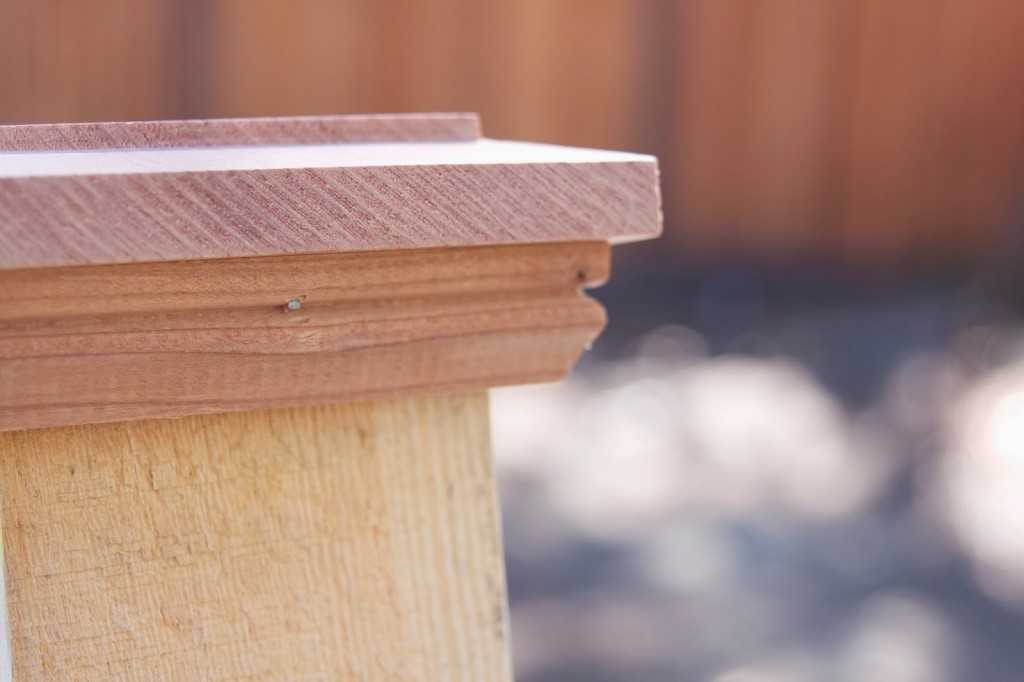
I bought 2 4 x 4 x 8’s and had them cut in half at The Home Depot. This gave me 4 4 x 4 x 4’s. Instead of building special caps like the girls did, I found these pre-made post caps in the lumber section…
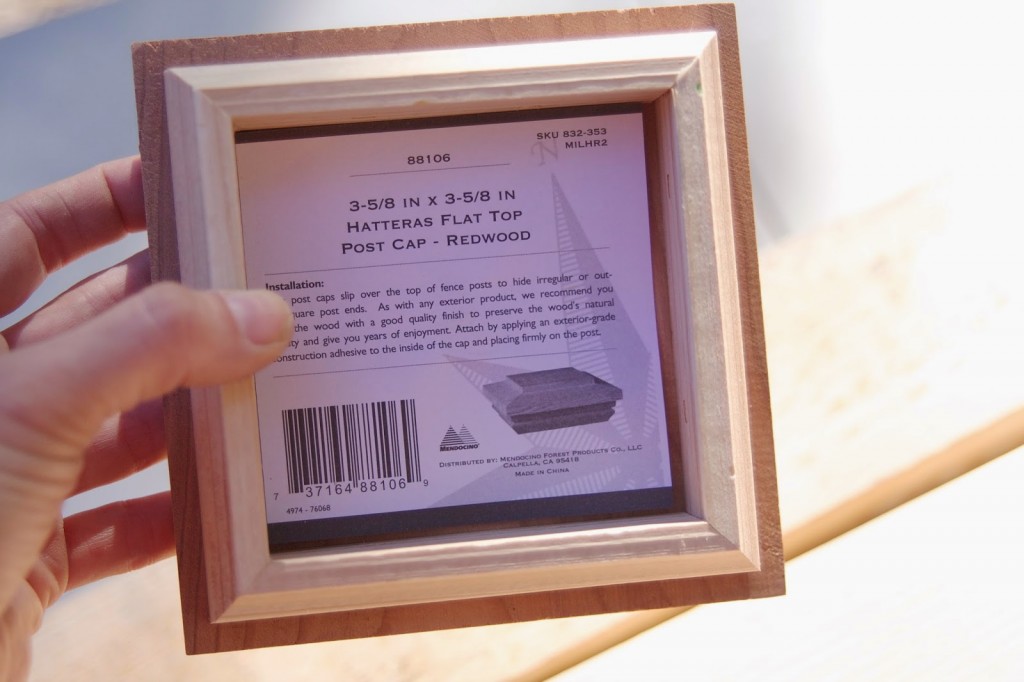
Already assembled, cute design and only $$6.27 each!…

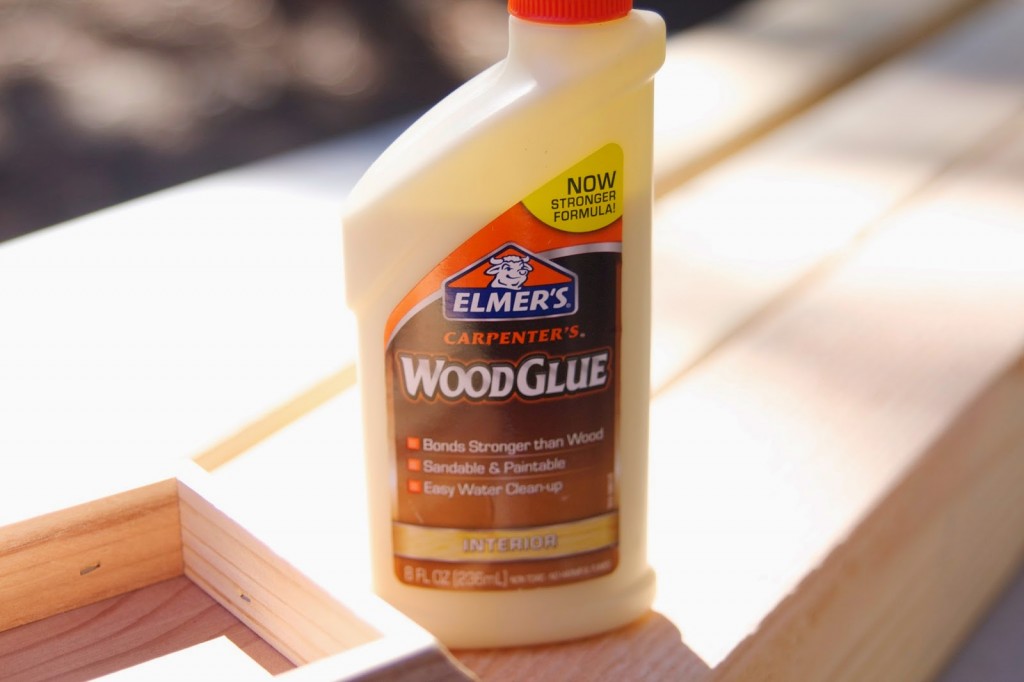
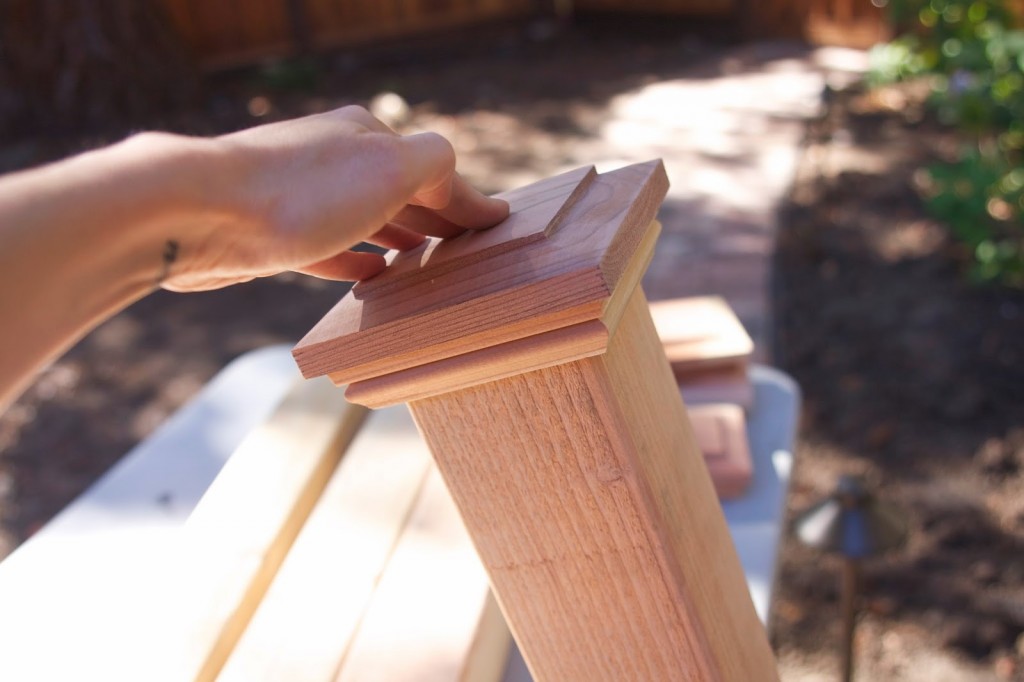
To start, I attached the post caps to my 4×4’s with wood glue…

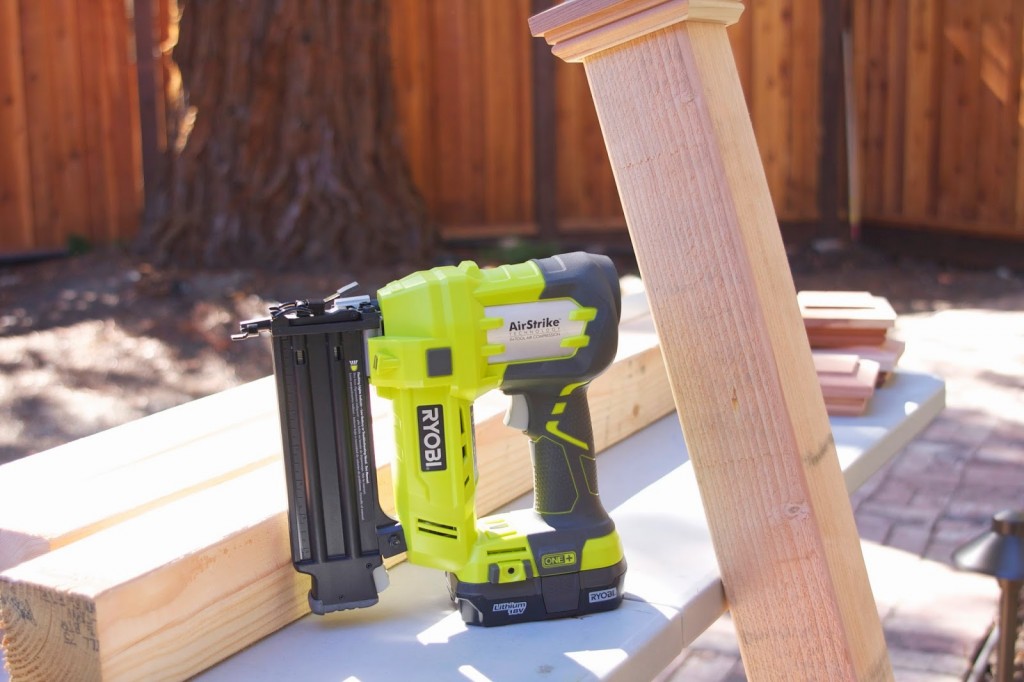
Then I used my air gun brad nailer to give them added support…
Once that was done, I sanded down the 4×4’s. This gave me a smooth surface for the paint as well as handling them for setting…
This next step is going to be a personal preference. You’ll add a wall-mounted hose rack to the 4×4. For me, I measured down from the top of the 4×4 to about 12″ and that is where I placed my first screw…
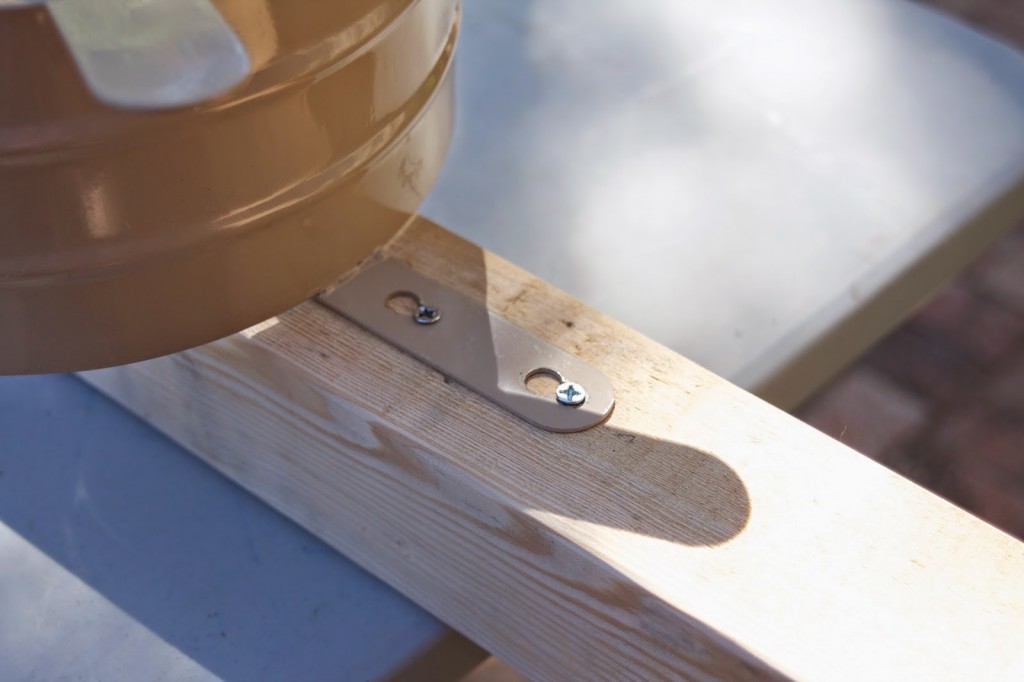
Placement will depend on how deep you plan on posting these in the ground and how high up you prefer your hoses to sit.
Once the hose rack was attached, I placed each of them on scrap wood and a painting tarp. Then I went to town with my spray paint…
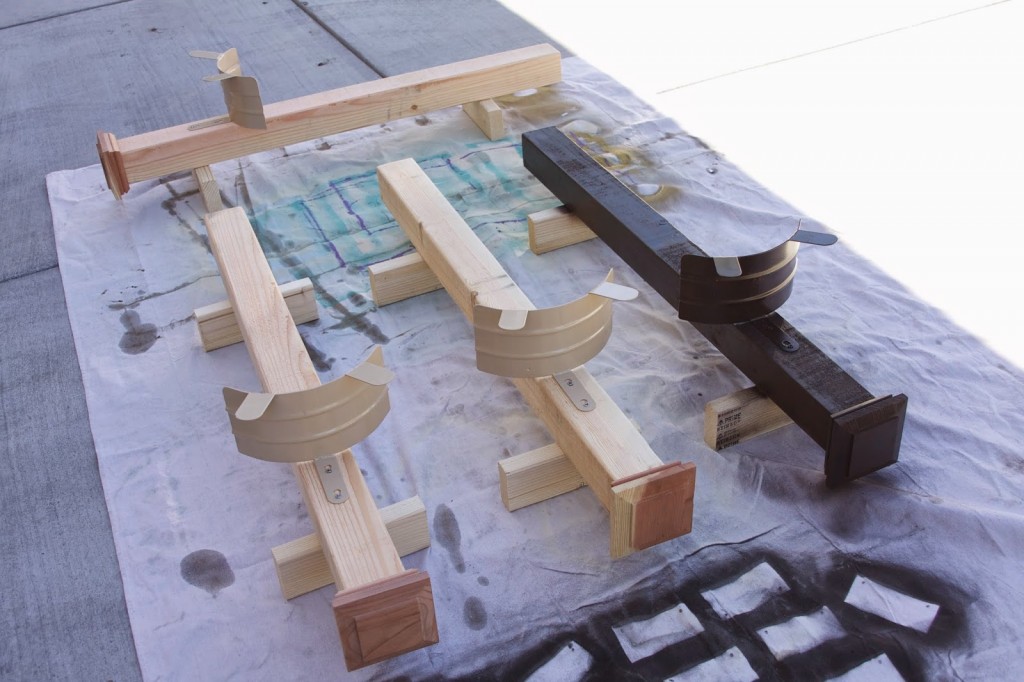
I gave each post 2 coats, turning them over and around to make sure every bit of wood was covered. The color I chose was Dark Walnut by Rustoleum. I allowed them to dry completely for a few days. This also gave me time for the hole digging process. Unfortunately, I ran into issues with underground piping – the french drain system and sprinkler system, to be exact. So before you start this project, be sure to check the ground to make sure this solution work for you. As I said previously, I’m struggling now in the backyard with the remaining 2 posts. It will be resolved, it’s simply a matter of locating the right spot to dig.
Moving on…
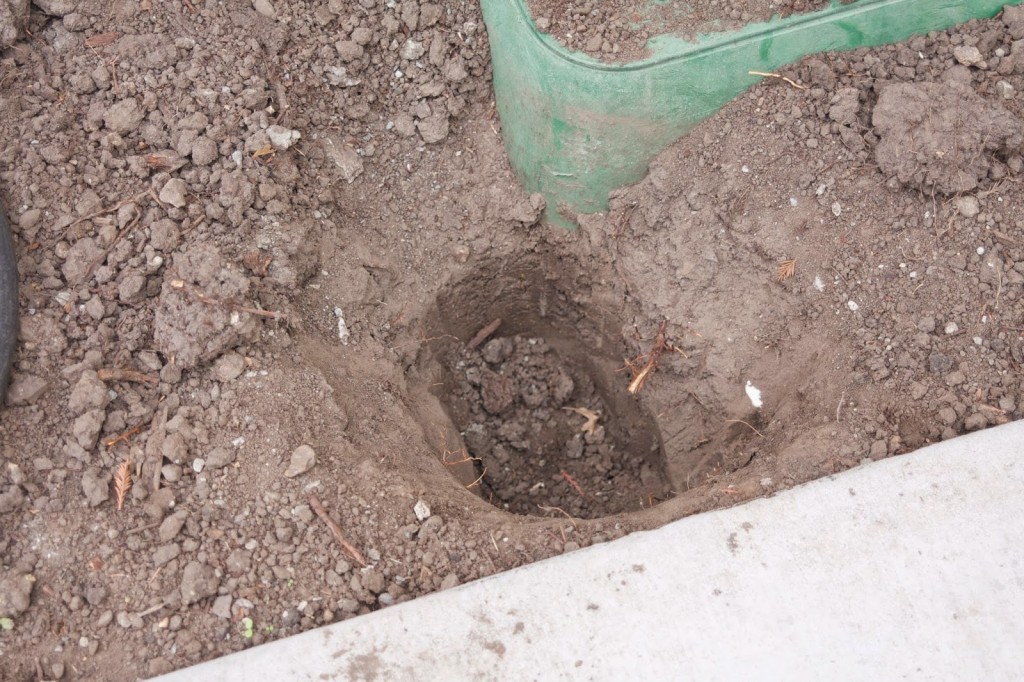
Dig a hole about 12-15″ deep…
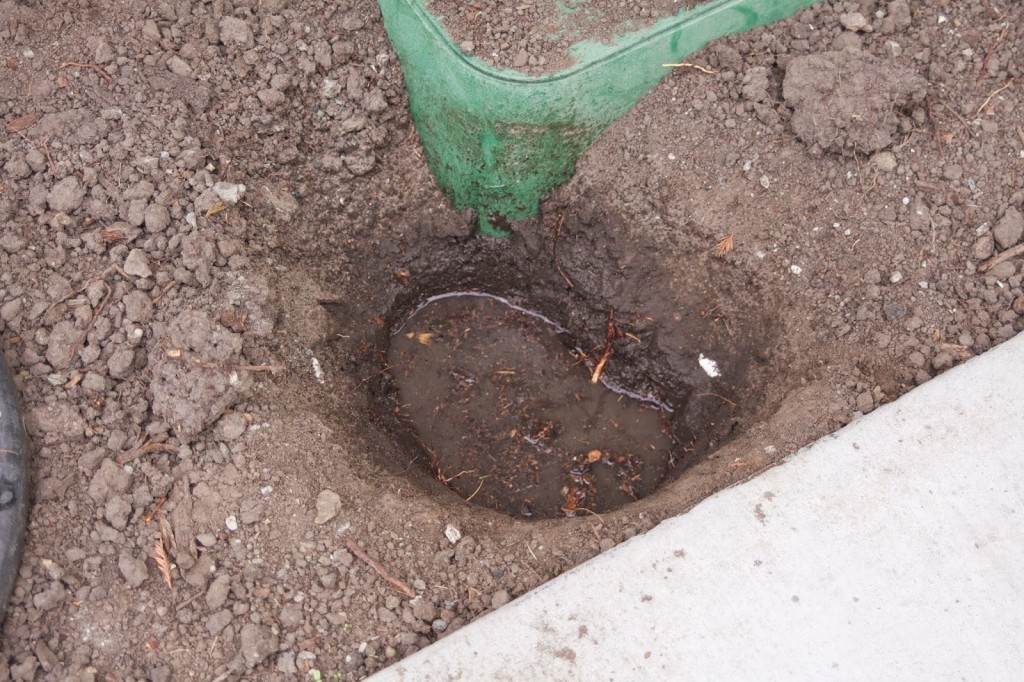
This was my first time working with a bag of concrete – so so easy, you guys! Don’t be intimated. I read the back of the bag and it was all good. I filled the hole 1/3 of the way with water…
Placed my post in the hole and added the concrete…
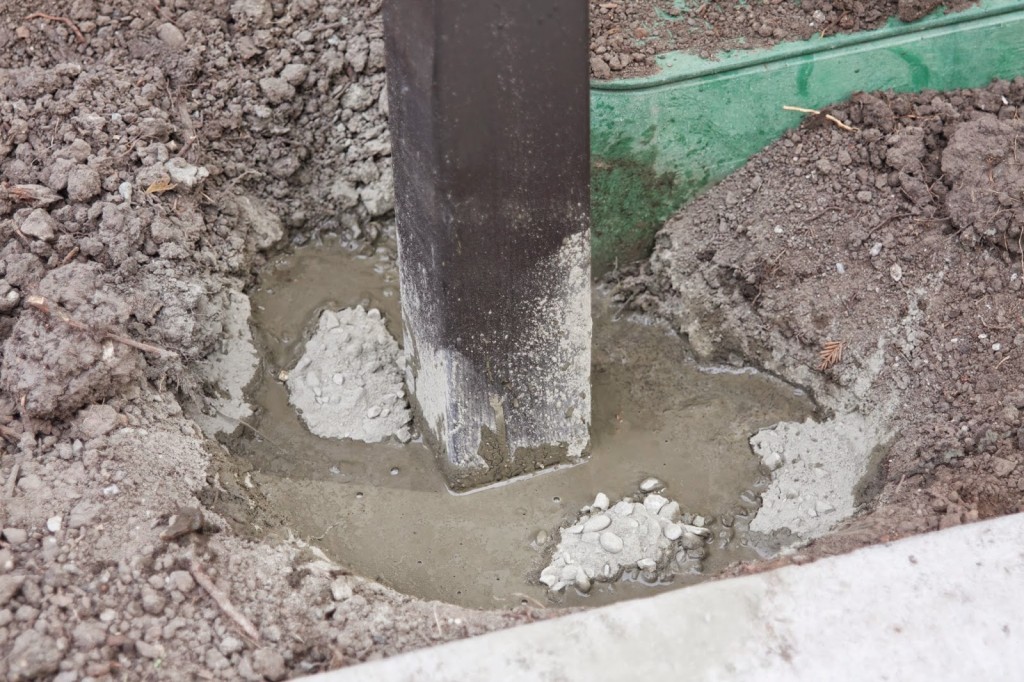
It sets quickly so move fast. Once the concrete is poured, stir it around with a stick or paint stick…

Don’t allow the concrete to be too soupy. If it looks liquidy, add more concrete and keep stiring. Once you see the concrete stiffening (minutes here!), use a level to be sure every side is standing straight and level…
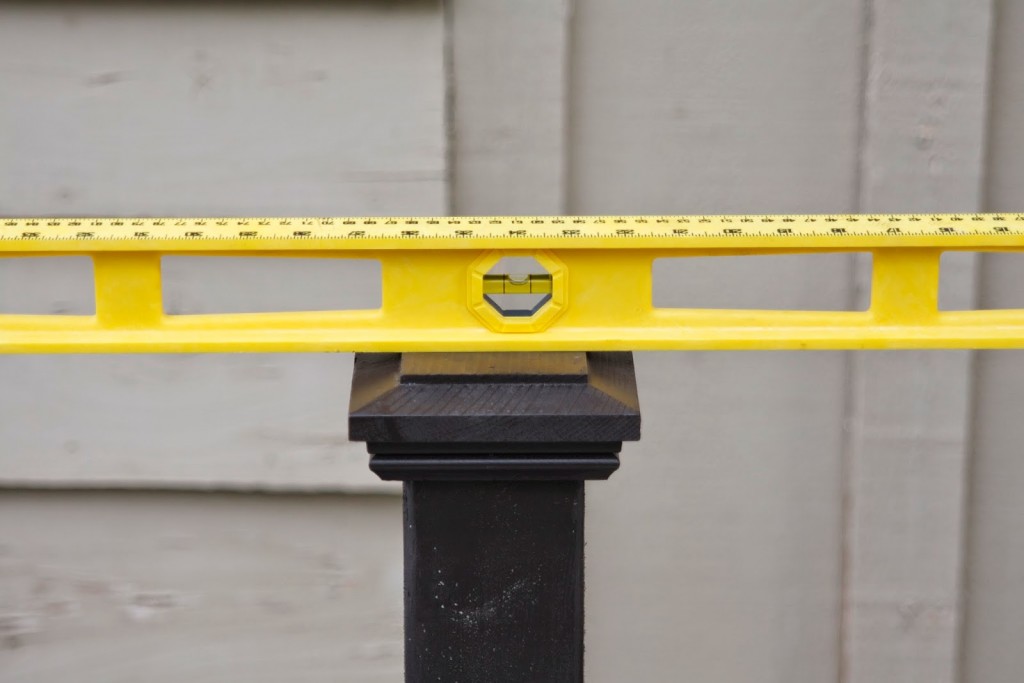
I checked the top both ways as well as the sides…

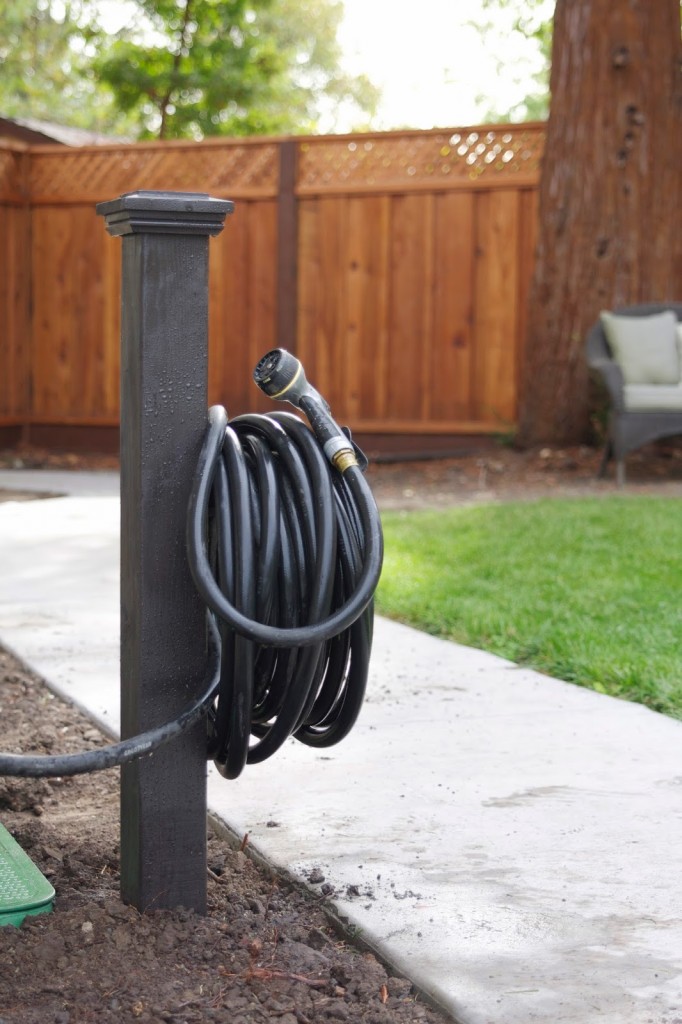
Once the concrete was stiff, I covered up the remaining hole with dirt, which there is no shortage of around here. Then I wrapped up my hose on its new rack!…

So much better than the wall-mounted version that was here previously. And once there’s some nice landscaping around it, this area will be lovely…
I did the exact same thing for the hose in the front yard…
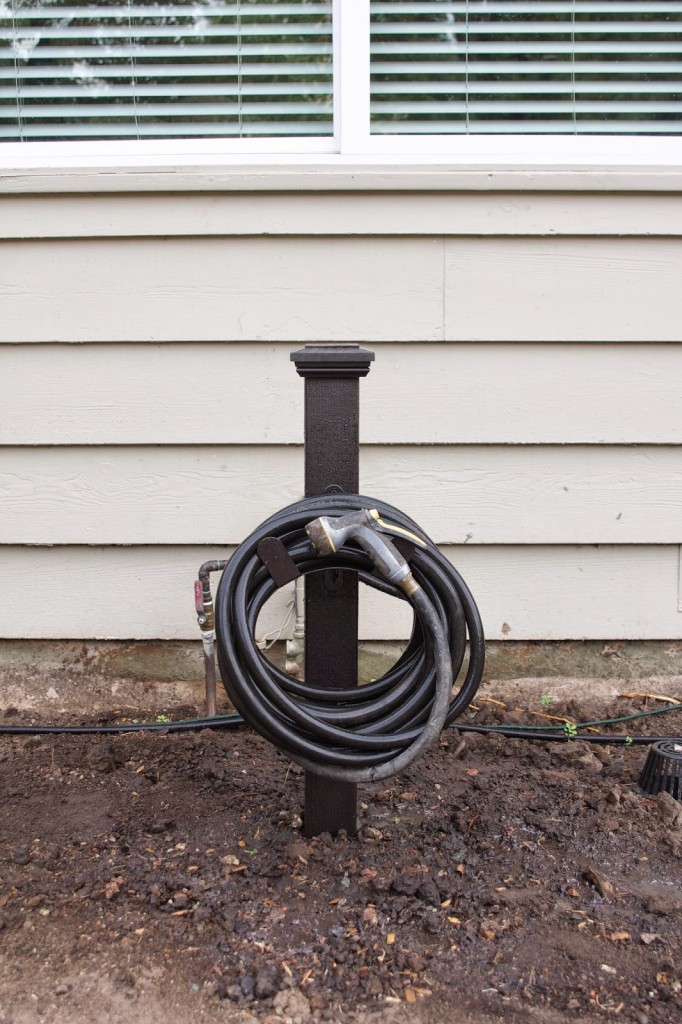
Much better than laying on the ground…

And again, will look even better once there’s some landscaping in this bed…
Total cost to build 4 hose holders = $99. Works out to about $24 each! Not bad when you consider how much those fancy hose holders from Ballard Designs cost.
Go build something today and make it a great day!!
What a neat idea, I wish I had a backyard so I could do this! (Thinking back, I think many of my comments on your site have bemoaned the fact that I don't have a yard and so I live vicariously through yours… ack! Time to move!)
Oh my goodness, this is so simple and adds so much! Thanks for sharing and giving us those easy instuctions.
Hmm. I don’t know. But you gave me an idea for a sign post with numbers.
Love it!!!