And hopefully, this is my last playroom to wrangle.
If you’ve been reading for the last few years, you’re familiar with the old playroom in my Arkansas home…
Yes, t’was amazing while it lasted. And one of the many reasons I had to be pulled out of that house kicking and screaming. No, not the kids. Me!
Then there was the rental house playroom…
*sigh* Seems like yesterday the movers were there packing up that house.
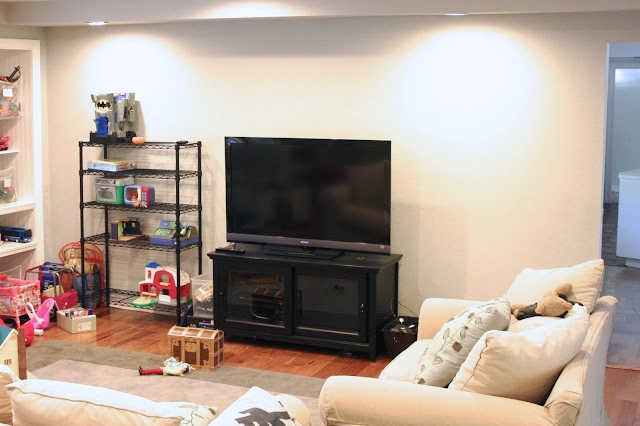
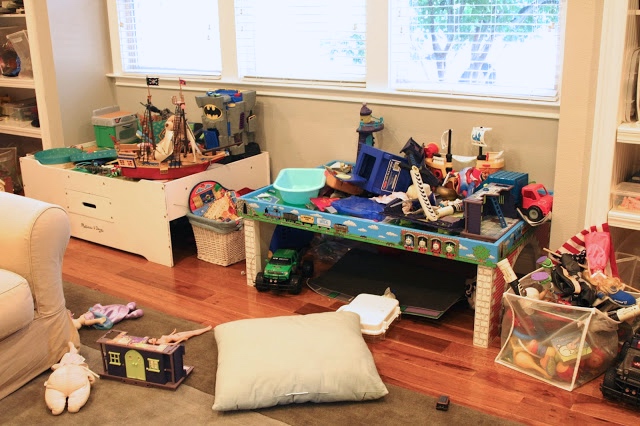
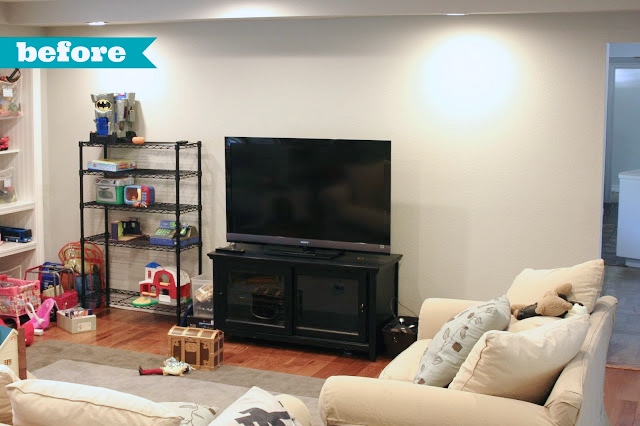
Now? Here we are in California and yet another playroom to tackle. However, while the 2 previous playrooms above were located in their own room behind closed doors, this space is in the heart of the house. So when there’s a mess, everyone sees it. Most importantly, my eyes. And these eyes + clutter don’t get play well together.
After living in the house a few months and figuring out what needed tweaking, I pulled up my sleeves and got to work. I wanted the space to be kid-friendly, yet adult-friendly too…and flow with the rest of the house, since it’s in the main thoroughfare.
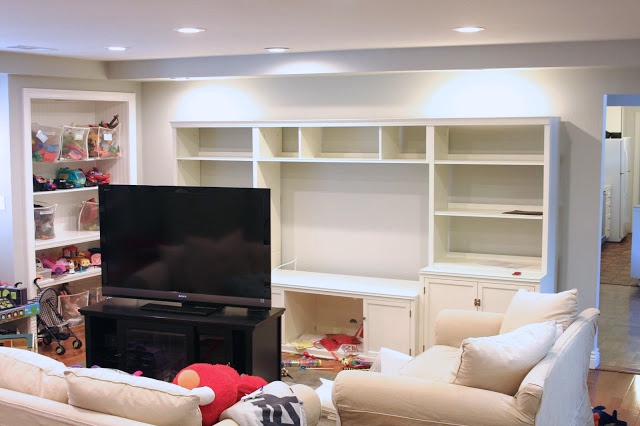
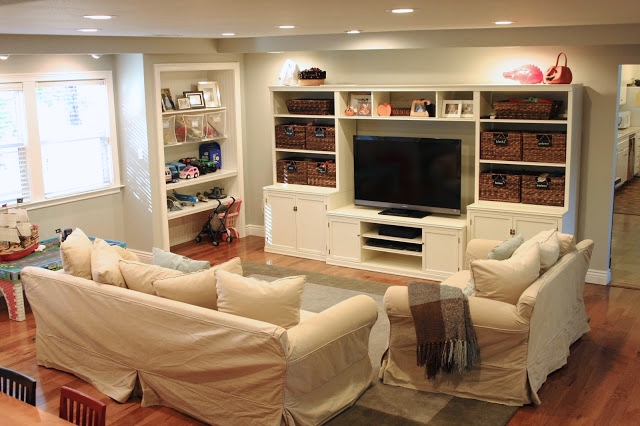
First thing was to figure out a new system for this big, open wall…
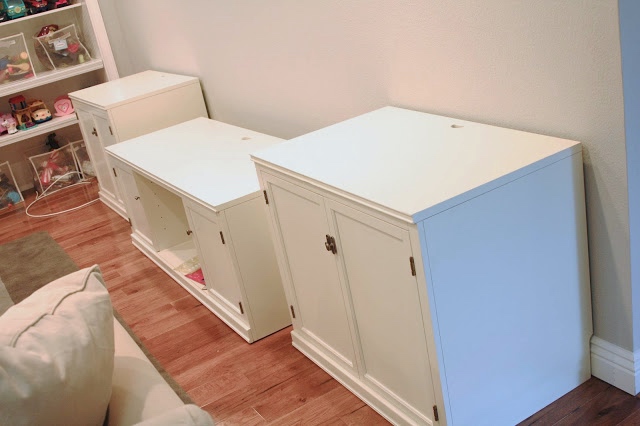
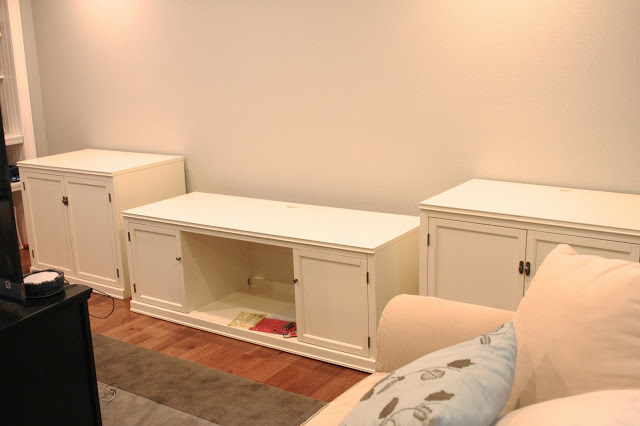
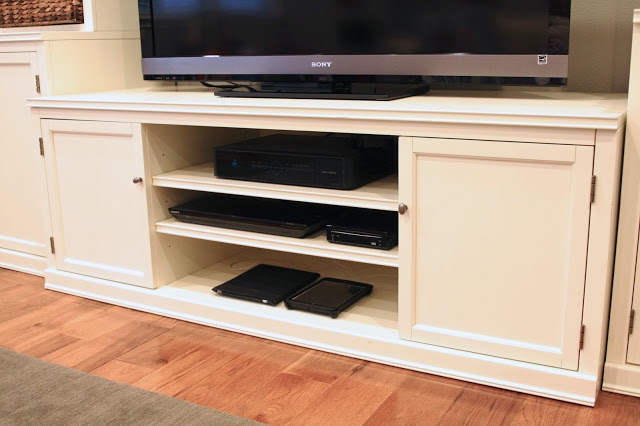
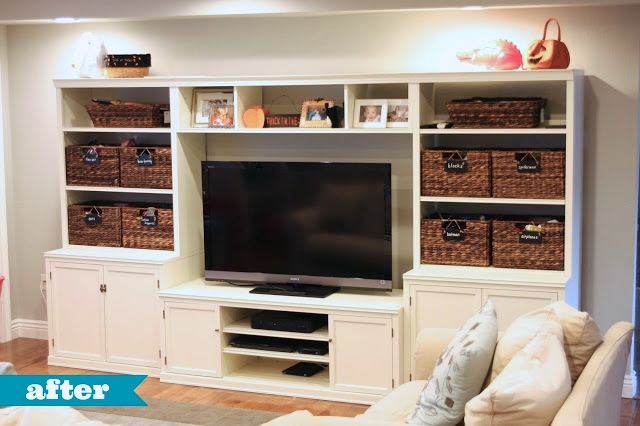
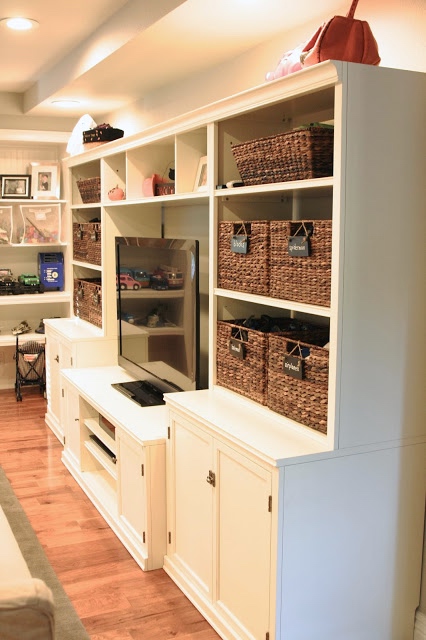
My dream was a wall system that would accommodate the tv, wii gadgets and games, incorporate hidden toy storage, and also give me the option to add photos and decor. Pottery Barn answered that dream with their Logan Media Suite. To make it clear, this was not given to me – I paid for that dream myself! The large suite is the perfect size for this wall…
It offers every feature I was hoping for…and more. I love that it has a built-in feel and appears like it was meant to be in this space all along. Should that wall come down for some reason during a future kitchen remodel, the system is still mine and can be moved to the opposite wall.
Now that I had a wall system, it was time to tackle the toys…
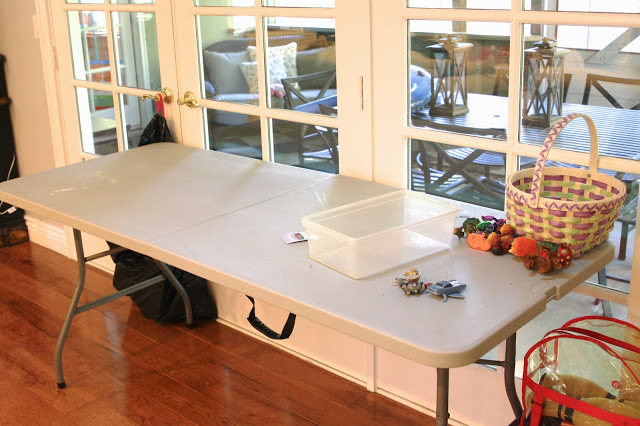
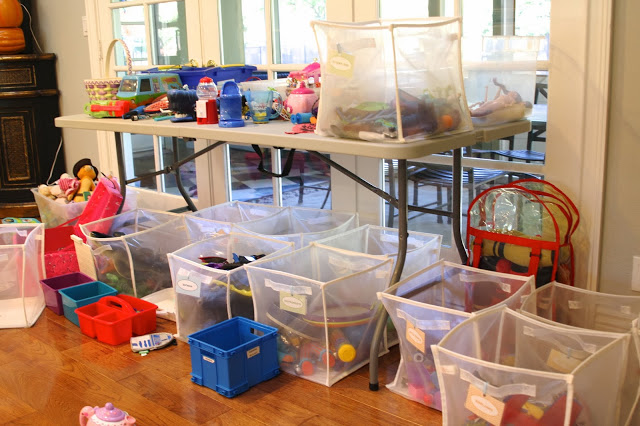
The kids and I spent a solid weekend going through each and every toy – their bedrooms included. We went through each category and figured out what was / wasn’t being played with. I also wanted a place or basket for everything. Those “misc toys” are generally the issue. We sorted through it all – princess toys to Batman to blocks to legos to Scooby-Doo…
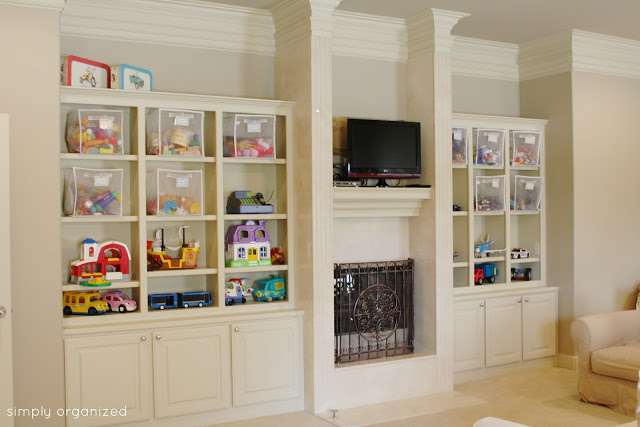
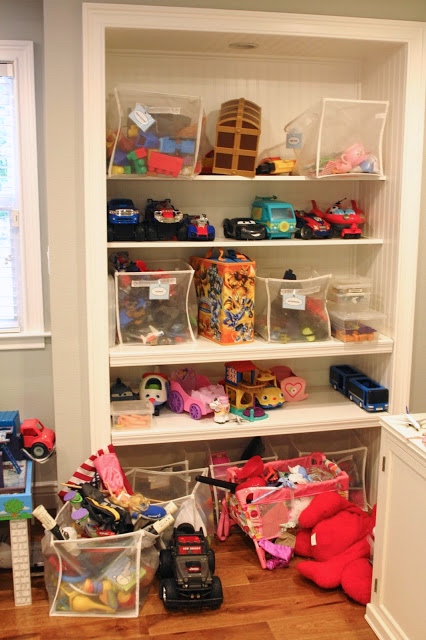
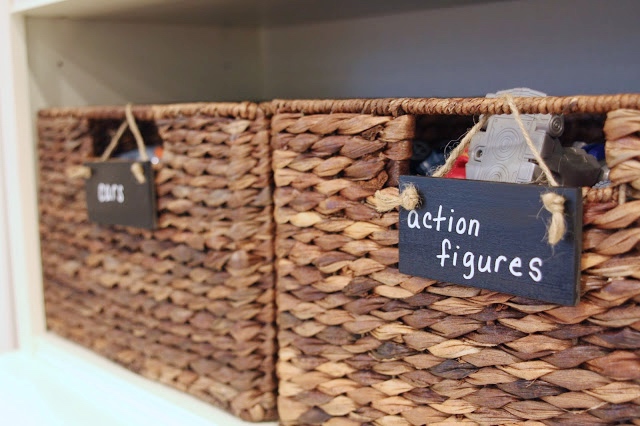
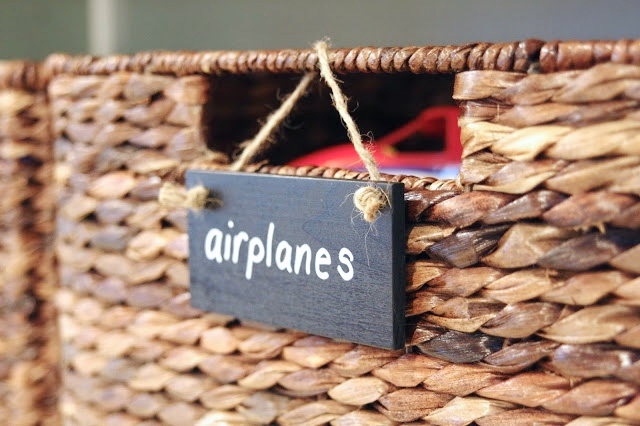
To contain the majority of our keeps, I purchased utility baskets that fit perfectly into the wall system. There are 8 utility baskets along with 2 matching underbed baskets on the top two shelves. Each basket contains one category. The baskets are labeled since they aren’t see-through…which means less eye-clutter. The baskets warm up the space with a natural element. I made these chalkboard labels a few weeks ago and shared them here. Super easy to make!…
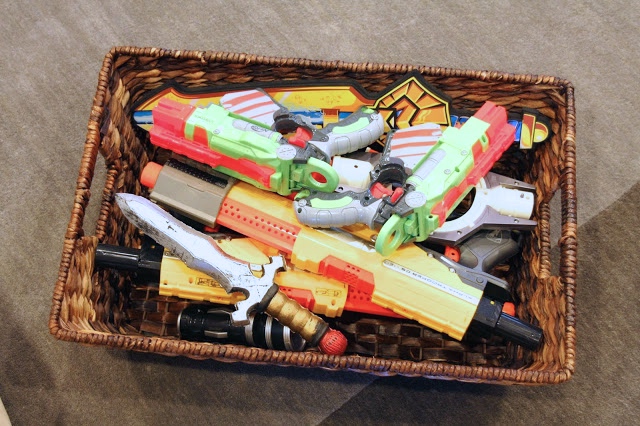
The 2 underbed baskets aren’t labeled. Don’t want to advertise these toys hidden away inside…
Guns and swords. Mothers of boys unite in your ability to successfully hide the weapons!
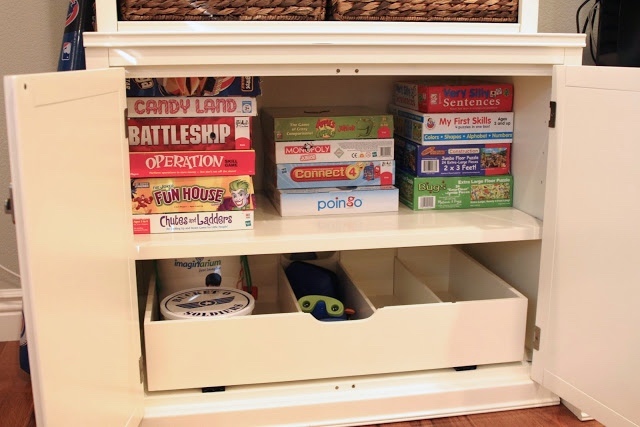
Wondering what’s hidden away inside the lower cabinets? On the left side is games and puzzles…
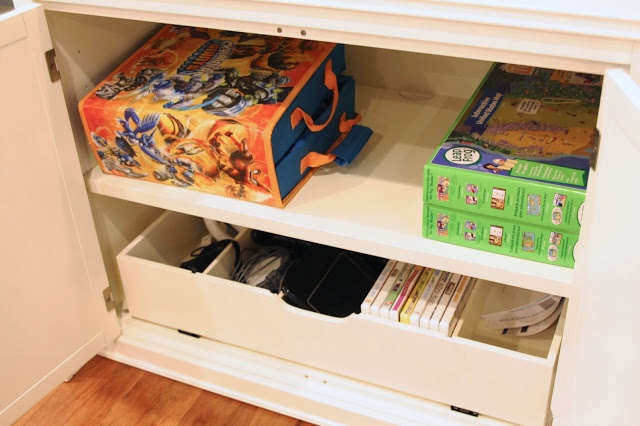
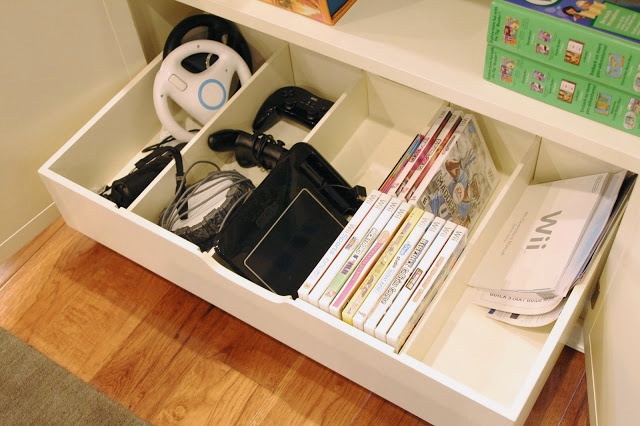
On the right side is wii games and components…
The base cabinets on each side of this wall system has a divided drawer that rolls out. The perfect spot to stow away any kind of game system and its accessories…
Under the tv, the components are sitting pretty. on the very bottom shelf I created a charging station for the iPads. They were floating around the house and ended up charging in random spots. Now they have somewhere to park / charge at the end of the day…
There is so much space in this wall system that I have yet to put anything inside the cabinets on either side of the tv components.
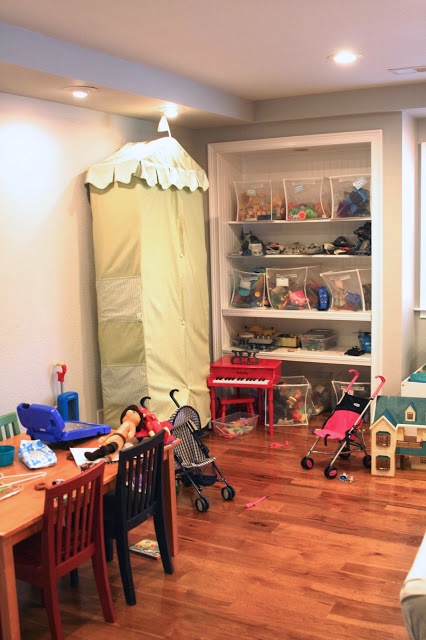
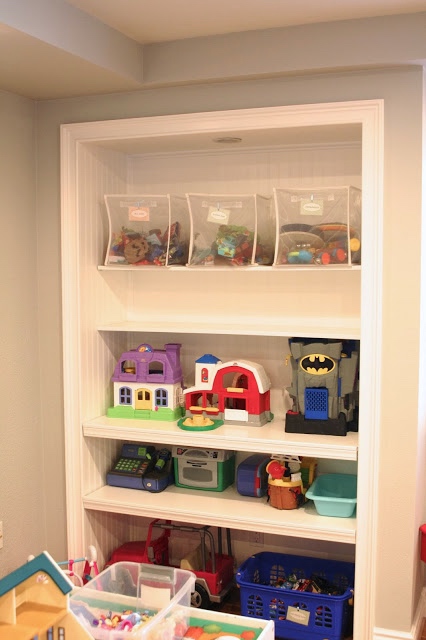
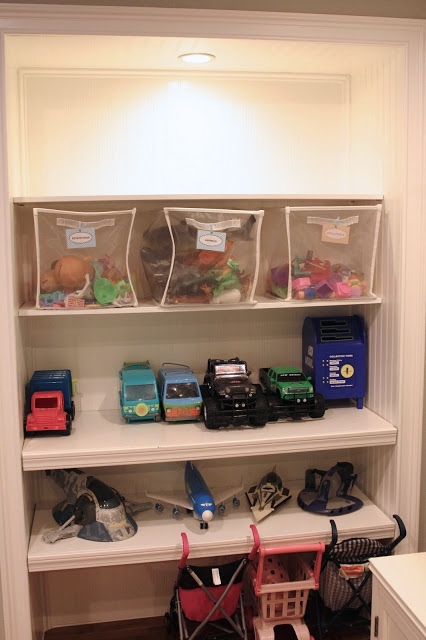
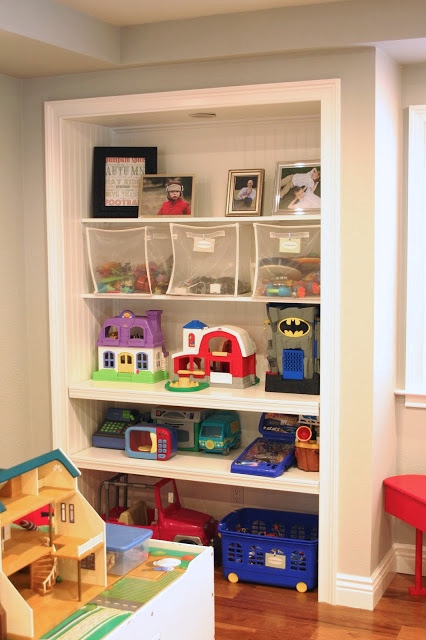
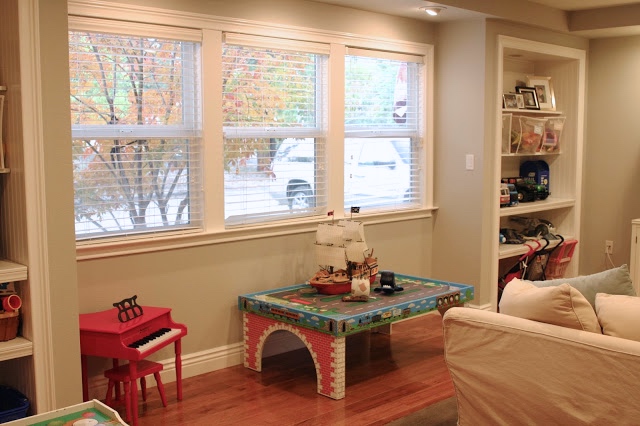
Moving on to the other 2 existing built-in shelves, these were overdue for some organization love….
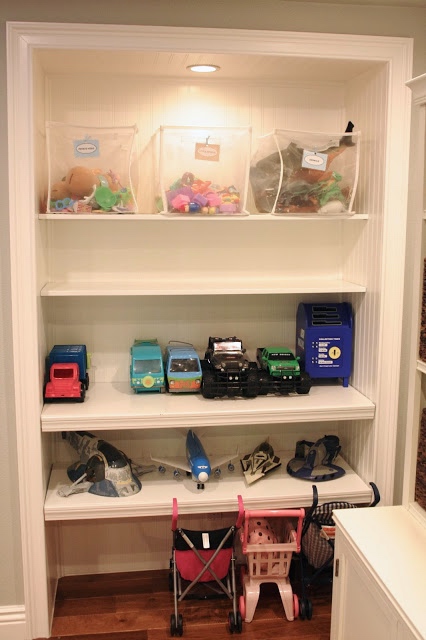
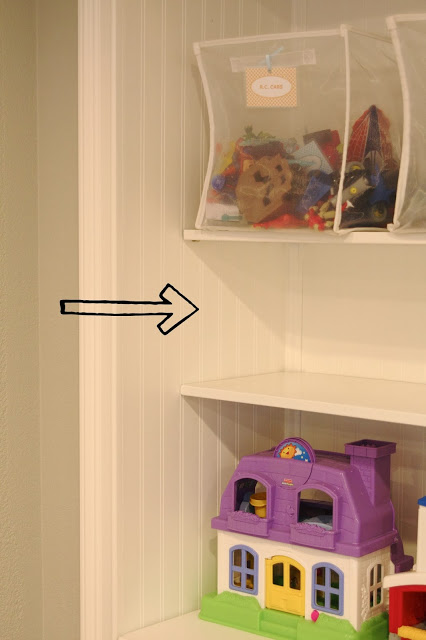
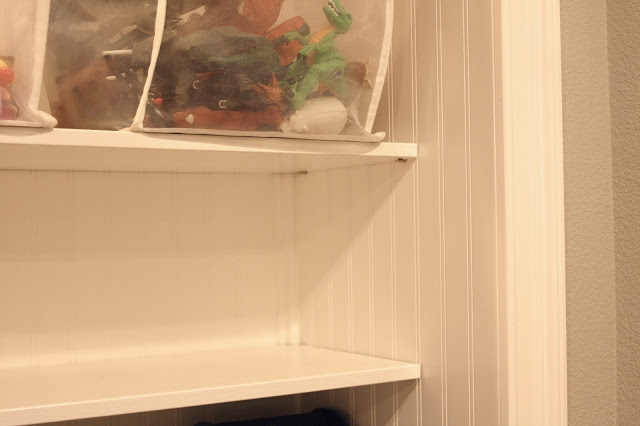
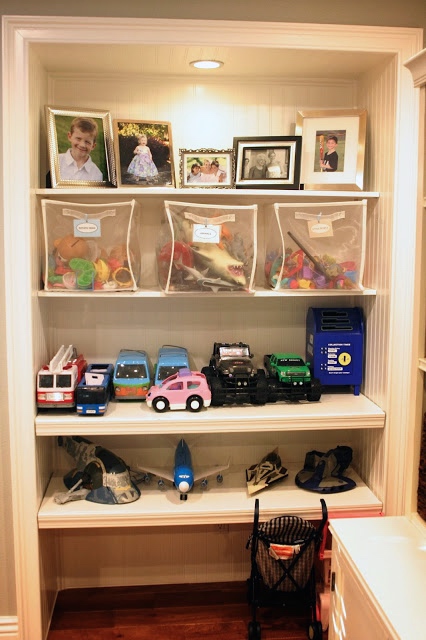
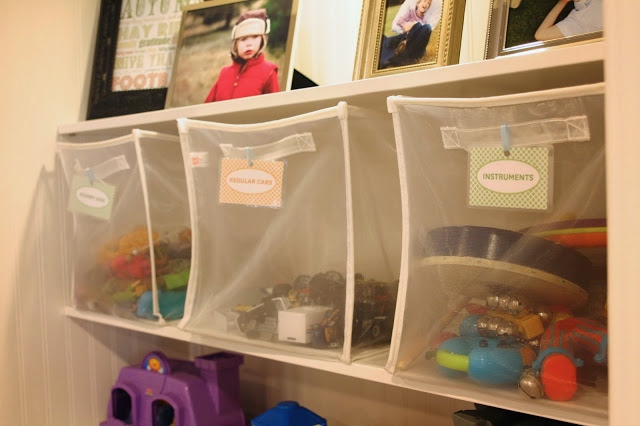
I kept 6 of the folding mesh cubes for additional toy storage on these shelves. Was hoping to leave some open space on the top shelf for framed photos and decor. But the shelves needed adjusting to make that happen. I wanted to bump the cubes down to the next shelf…
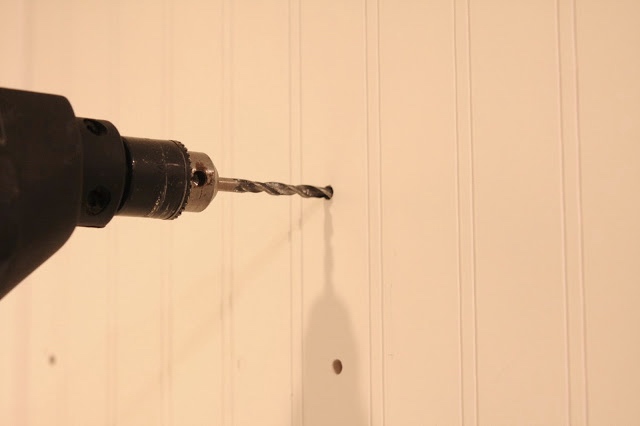
I drilled new holes in the walls for the shelves to be adjusted up…
Done…
Now I can add those photos!…
Sure, there are toys in view…but it’s more controlled and much easier to clean up at the end of the day…
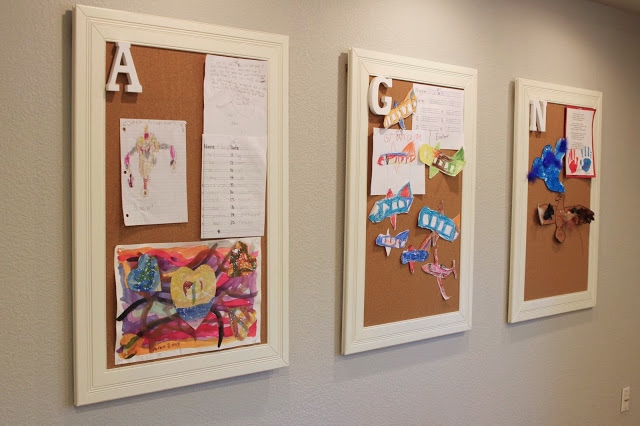
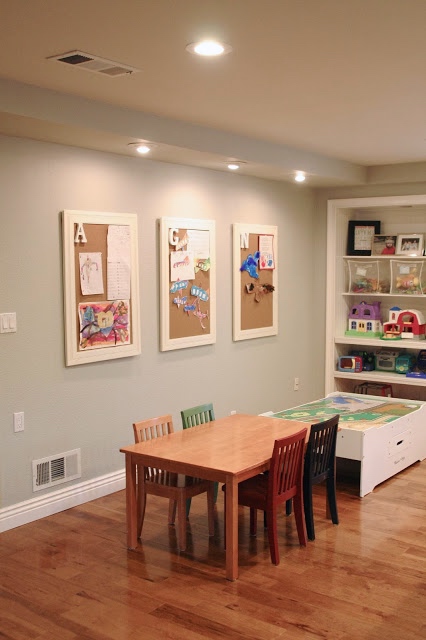
The third wall in this space that used to sit empty, is now an art display wall (shared earlier this week right here)…
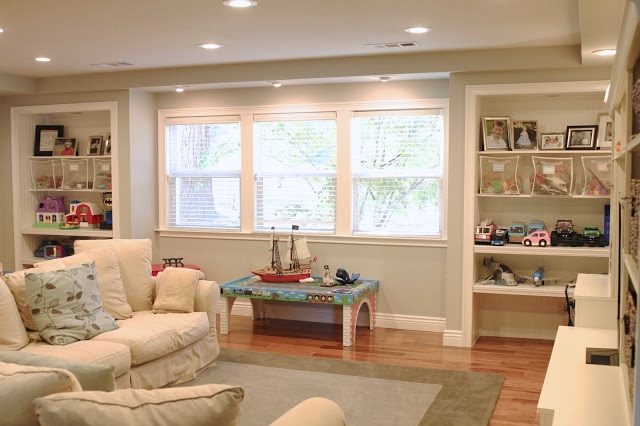
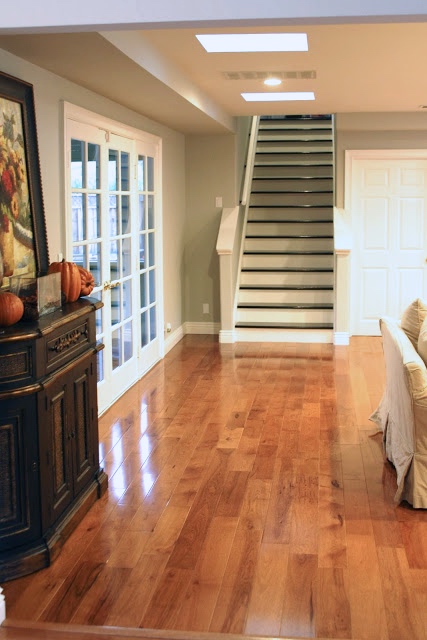
The fourth wall is the main walkway between the garage / stairs to master suite and kitchen…
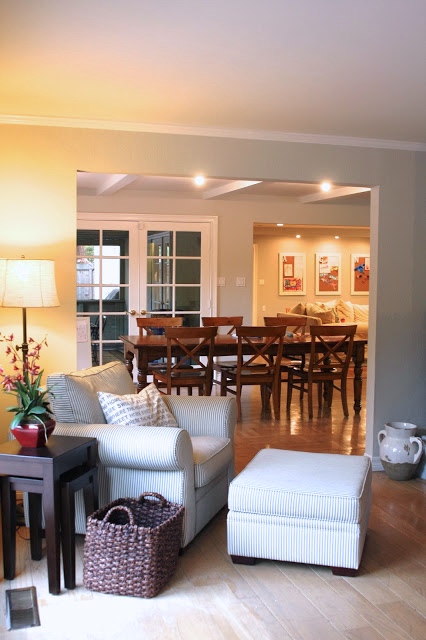
I added a large area rug to warm the space. This room has come a long way since move-in 3 months ago. It took a while to figure out a good system for the kids, but happy to say this is working really well. The space is generally tidy all the time. Even if there is a little clutter, it’s an easy clean-up. This is one of my favorite views in the house…sitting on the living room couch and looking through the kitchen into the playroom. Don’t know what it is about this view, but it gets me every time…
I suppose it’s the settled feeling that’s starting to set in. While I still desperately miss the south, this house is creeping into my heart.
Hope you enjoyed seeing the newly re-organized playroom. Go organize something and have a great day!


The new playroom looks great! I love that new media cabinet from Pottery Barn! Was it hard to put it together?
You are my hero! Love the play room re-do.
Looks great!!! Love that you're hiding the boys weapons, growing up with a brother I know all about those haha!
Wow, beautiful playroom. I hear ya' though. I am a native Californian and raised my kids there. Now that I am living in the south though I don't think I will ever leave!
Amazing job on the playroom!! I love the media cabinet!! You did an awesome job of organizing!! Love it!!
everything is starting to look great. thank you for sharing.
http://frugaliciouschick.blogspot.com
Love love love it. It looks fantastic! I would love it if you joined and contribute your awesome posts at my link party at City of Creative Dreams on Fridays 😀 Hope to see you there at City of Creative Dreams Link Party
This looks amazing! You should update your photos with the new floating shelves you just built! 🙂