perfume samples…
shampoos, lotions and dental items…
most samples we receive come in very small packaging. and they are perfect for traveling because they conveniently fit inside your overnight or toiletry bag. however, these small items can easily get lost in the shuffle of your bathroom drawers and cabinets.
i decided i was finally going to tackle this small bathroom issue and was on the hunt for a drawer organizer that might help me out. while browsing the aisles of target, i found these small plastic cuties…and for a great price too!…
any those travel bags i purchased for FREE using coupons…
once everything was inside the organizers, i could have stopped there. looks pretty good as is, right?
usually i’m all about keeping it *simple* and easy. but then Jen, over at iHeart Organizing, put out a call to fellow bloggers for a fun project pretty challenge. and i thought, why not! why not take this small organization piece and make it a littler prettier? especially because it’s going in my bathroom!
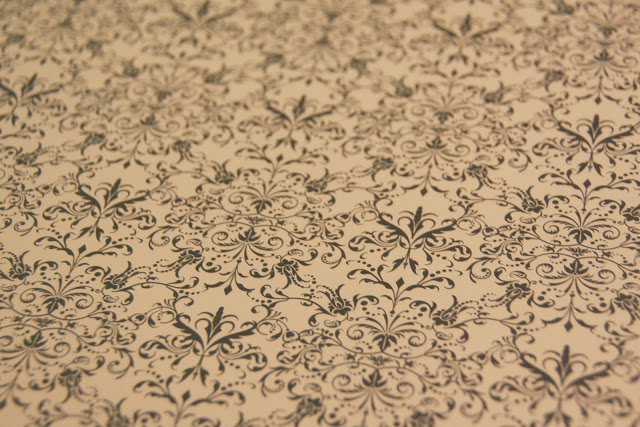
so, i went through my stash of scrapbook paper and chose a pretty pattern…
i used the paper to line the inside of each compartment…
not only will this paper make it a little prettier, but in case of spills i can easily just replace the paper…
to keep the paper in place, i used zots. if you aren’t familiar with this awesome little product, it’s generally used in scrapbooking to keep your photos and embellishments in place. but i have found them to be useful in all sorts of other home and school projects…
the roll has lots of small adhesive stickies…and you can buy this product in a variety of sizes…
and now here they are…
the paper added just a little extra touch, but didn’t cost me a fortune – i had the paper and adhesive on hand and the organizers from target were inexpensive.
now i can see all of my samples easily and can be assured they will be used!…and it looks pretty!


I love this! The scrapbook paper is an easy way to prettify the containers! And I've been looking for a way to store those samples.
hi brittany! thank you so much! i love these little samples but they always got lost in the drawers. i am hoping this does the trick!!!
This is a totally great idea since as you said they are easier to take along for trips! Thank you for the idea!
Ooooh, acrylic drawer organizers are my favorite! Love how this turned out, thank you so much for taking time to link up and share!
xoxo,
Jen
hi jen! thank you so much for the sweet comment! was so glad to share…and you inspired me with all of your prettiness over on your blog. 🙂 thank you again!