Coffee is a must-have each morning. Sometimes, it’s the only thing that makes me happy about getting up in the morning – especially now that school has started and our house is back to waking up around 6:00am. Part of my evening routine includes cleaning my coffee maker and setting it up to brew in the morning…before I’m even out of bed.
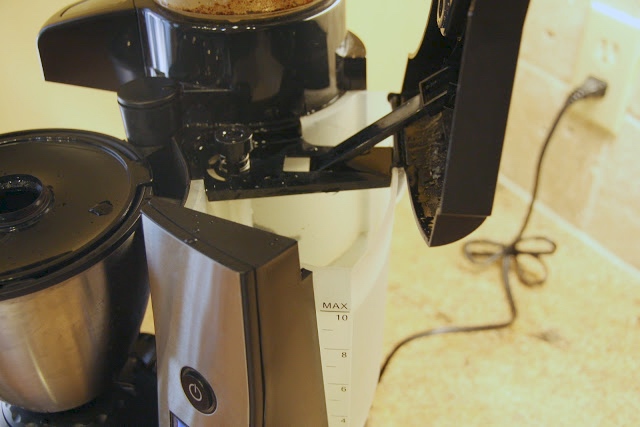
A few weeks ago I noticed the coffee wasn’t tasting as clean and crisp as it usually does. And visually could see the machine needed a good cleaning. This is a process I run 3-4x a year. If you’ve been thinking about buying a new coffee maker because your machine isn’t running as well as new, why not consider these tips first.
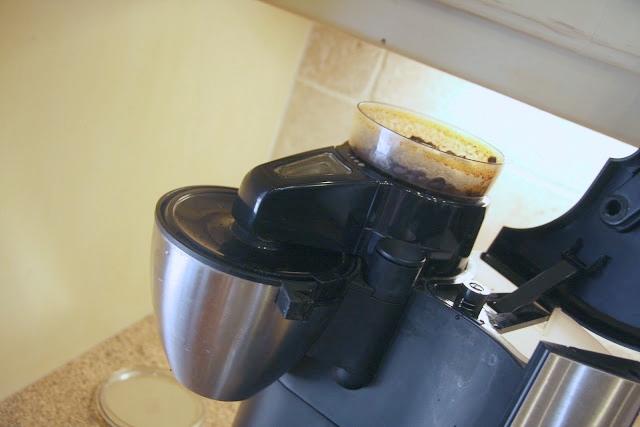
Before going through the process of cleaning your machine, it’s best to completely empty the grinder. Since this area of the machine produces the most mess, starting here is the way to go.
Rotate the filter section that catches the grinds and let the machine grind out any remnant coffee beans until there is nothing left…
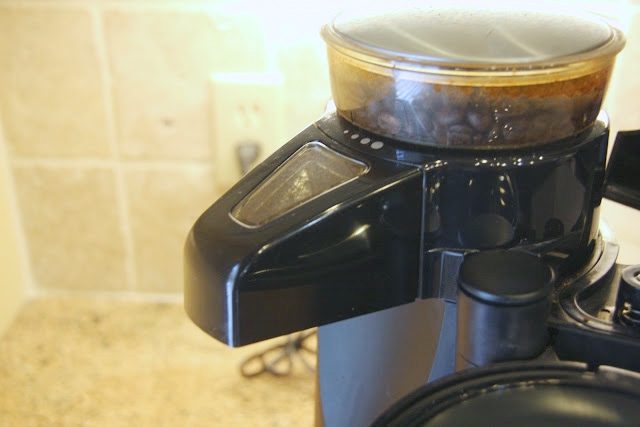
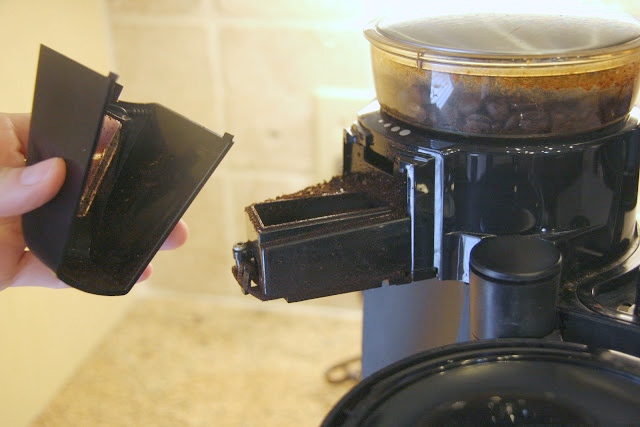
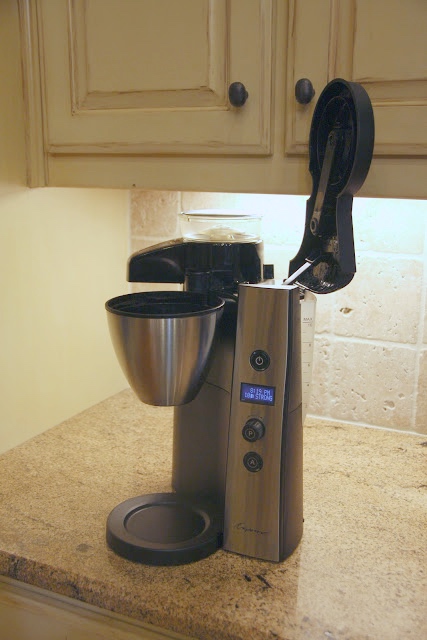
Once the beans are gone, locate the small plastic piece under your grinder that can be removed for cleaning…
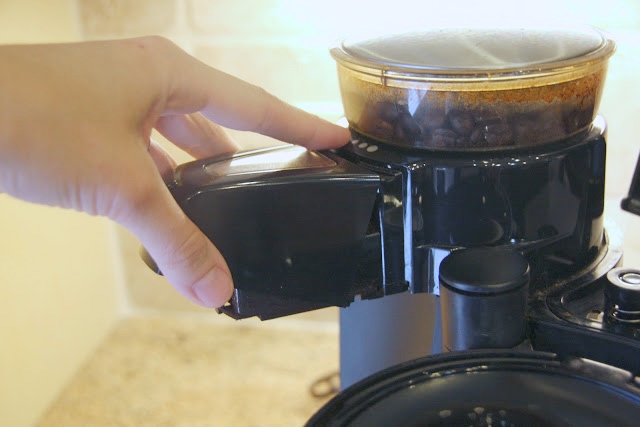
This is easy to remove…
Wow…
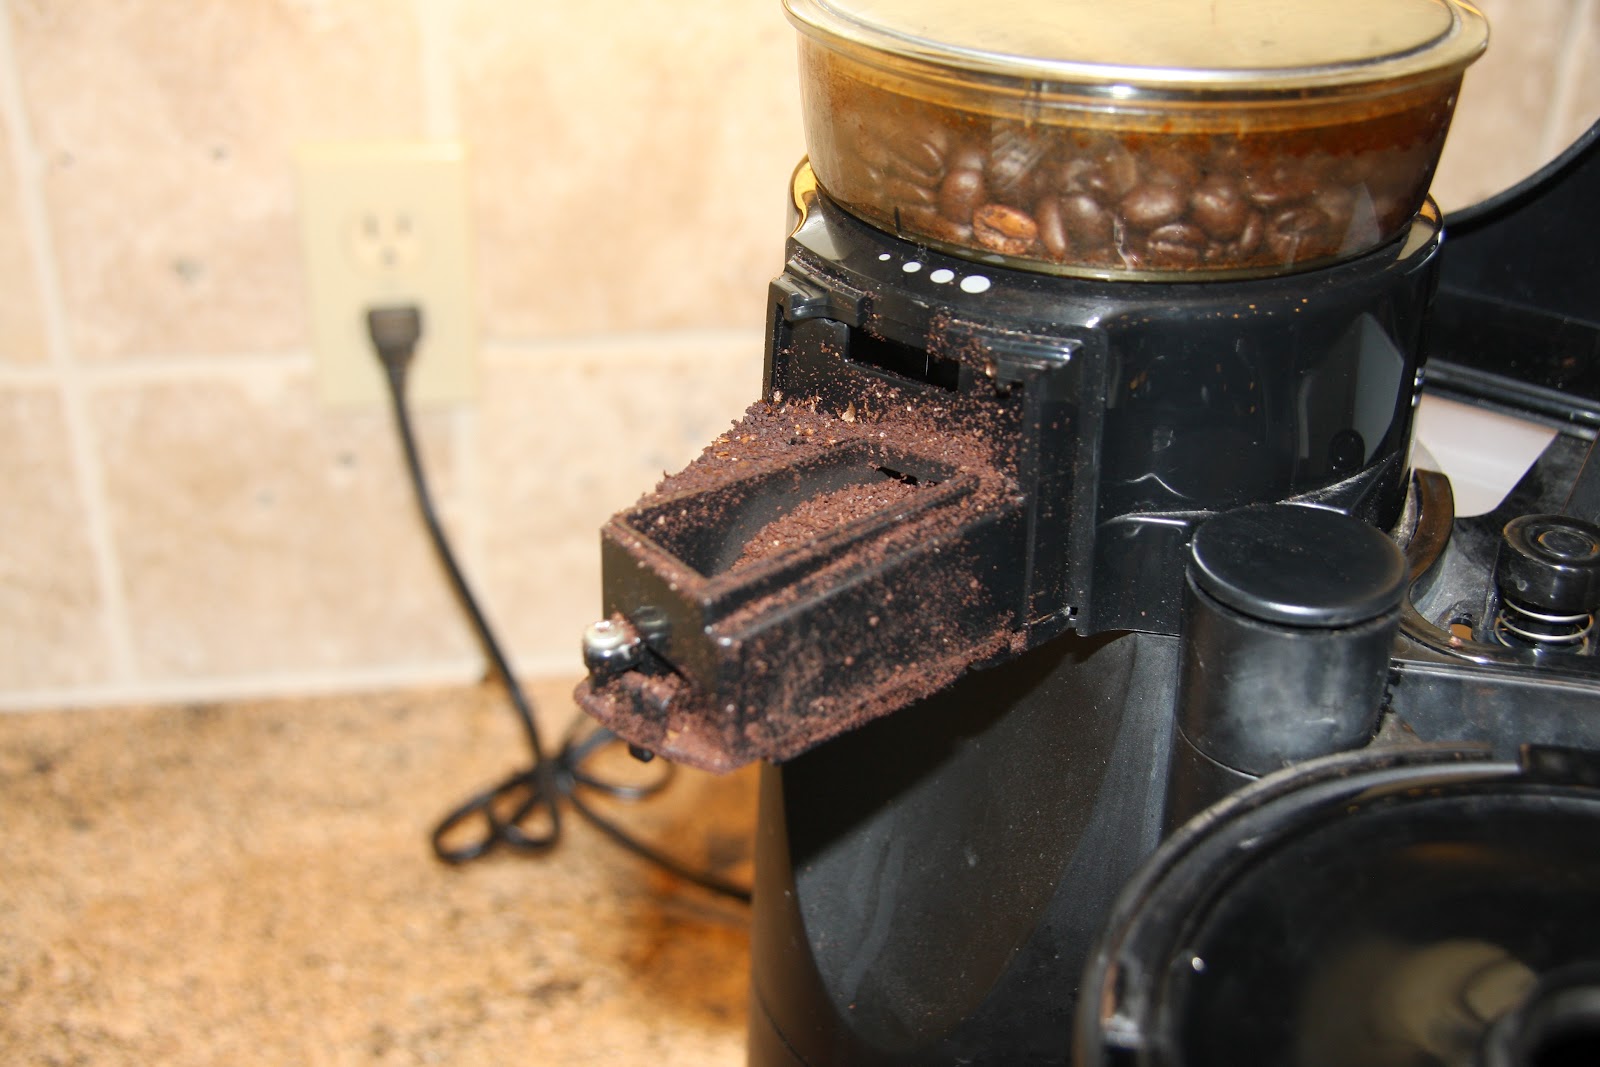
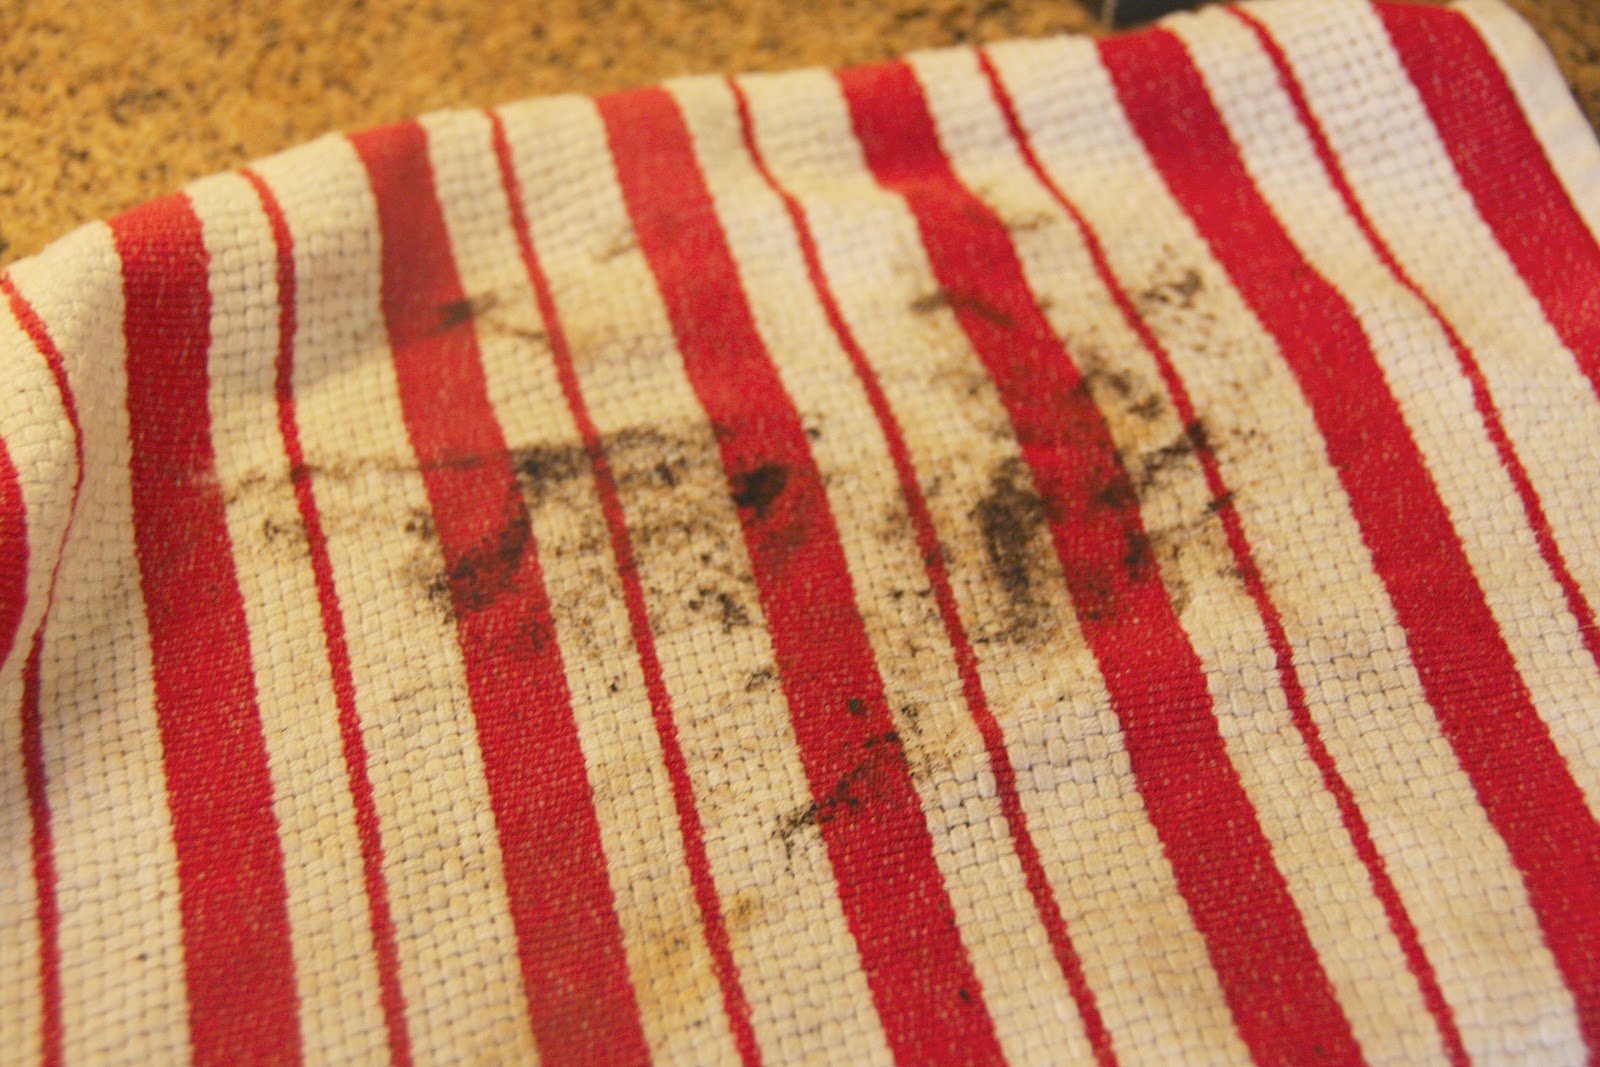
Thoroughly clean the grind area using an old rag dampened with hot water. A damp rag makes it easy to grab grinds…
Once the inside of the grinder output is clean, replace the plastic piece and continue.
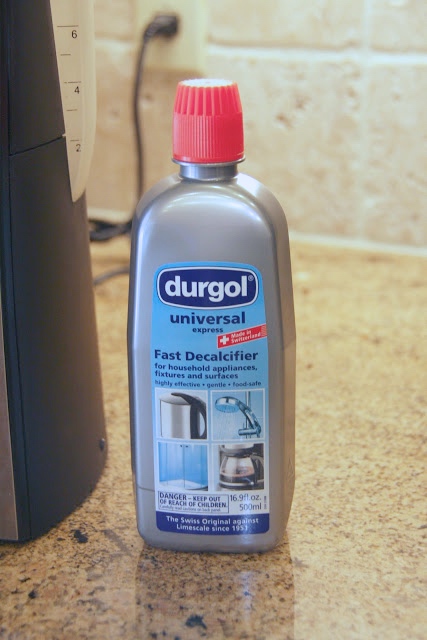
Hard water deposits, otherwise known as scale, build up in your machine’s inner workings. Regular descaling is what will keep coffee tasting great year after year.
This is the product recommended by our coffee maker manual. The bottle costs about $15 and gets you 3-4 machine cleanings. However, there are other alternative cleaning solutions, which are listed at the bottom of this post.
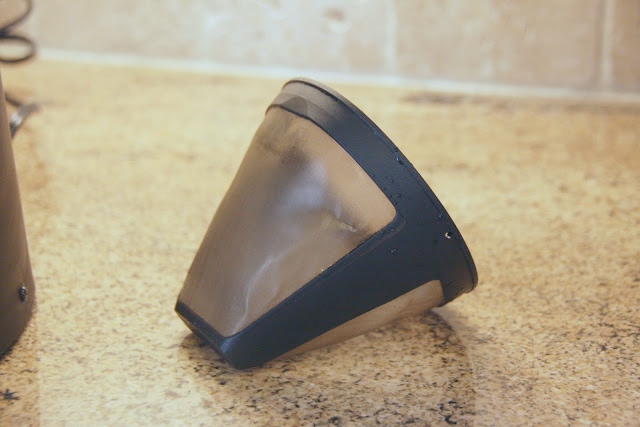
**Important – before getting started: If your machine uses a gold tone filter, instead of paper filters, remove it. If you run the decalcifier through a gold tone filter, it may ruin it…
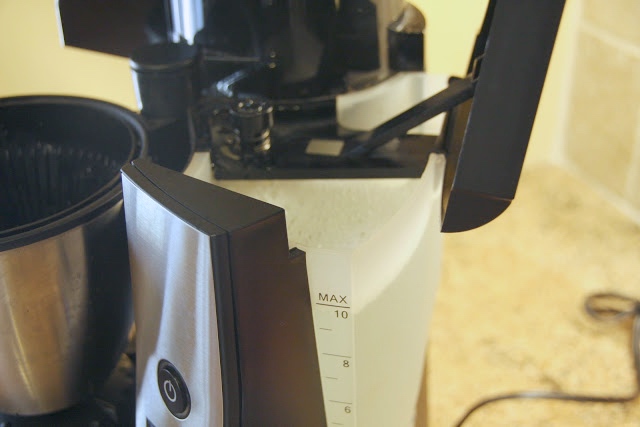
For my 10 cup coffee maker, I add 6 ounces of Durgol and fill the rest of the water compartment with cold water…
It looks a little bubbly when you add the solution and water. Normal.
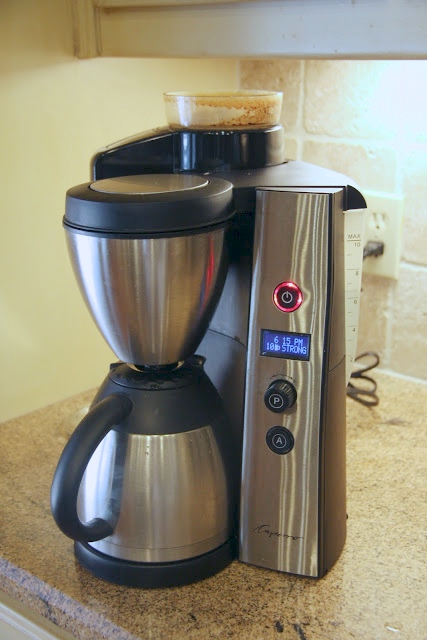
Run your machine through a regular brew cycle….
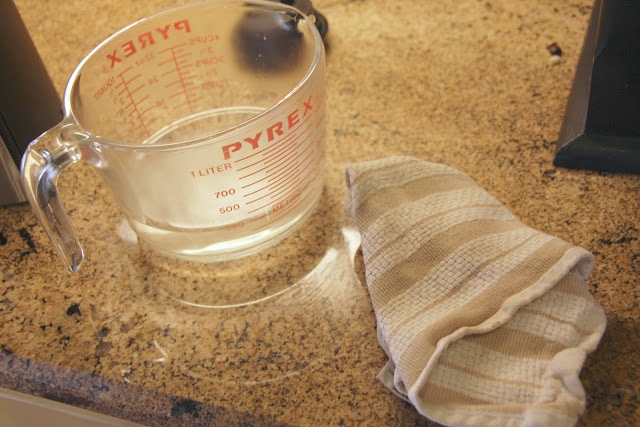
When done brewing, pour a little hot water from the carafe into a small bowl or container and set aside…
(I’ll explain below why I keep some of this water)
Dump the remaining water from the carafe, re-fill the water compartment with fresh cold water, and run the machine again through a brew cycle…
Typically, I run 2 additional water cycles to make sure everything has been flushed out of the system.
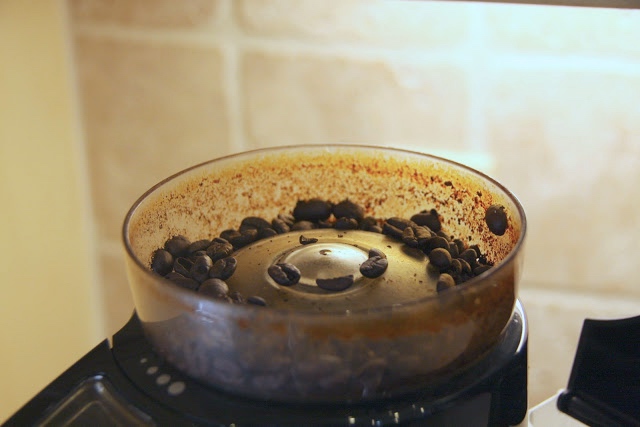
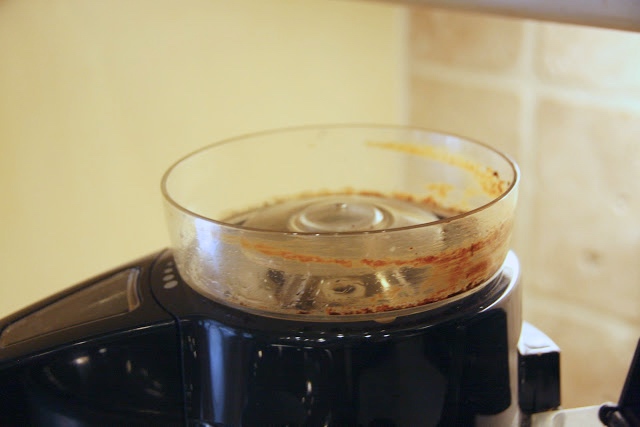
While running the additional water cycles, I use the reserved hot water to clean the inside of the bean compartment. Here is how it looked before…
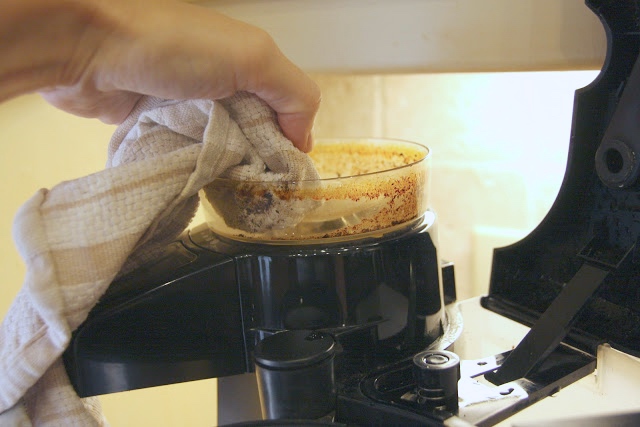
Soak a small corner of a rag with the reserved water and dampen the inside plastic. Doing this helps to loosen some of the caked on coffee bean residue….
Then switch to clean hot water to do the rest of the job. This will require some patience on your part. I don’t use anything but water to clean the bean section – and that means the job may be a bit more difficult and take a little longer, but it works!
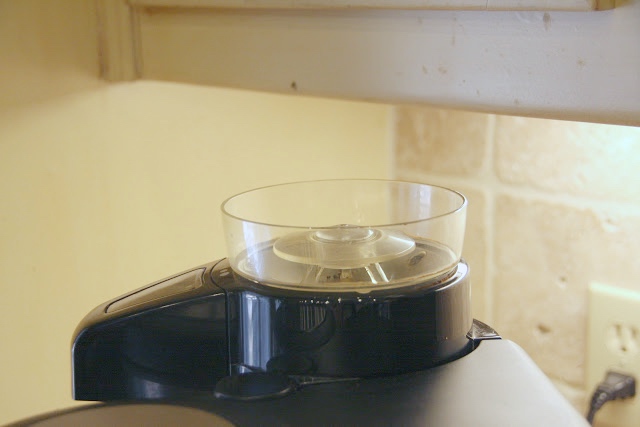
Going…
Going…
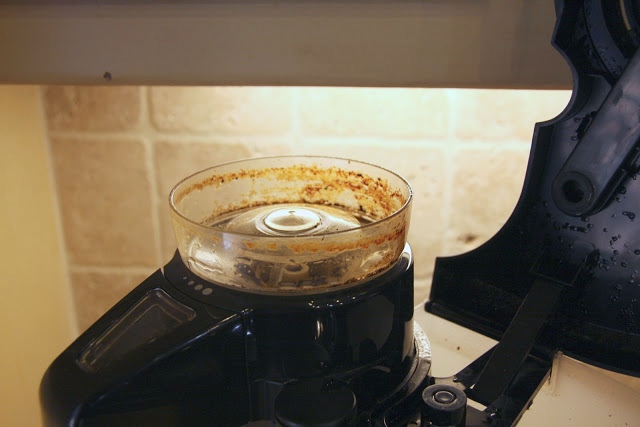
Gone!…
The machine was still running through it’s final cold water cycle when I finished cleaning the bean compartment…
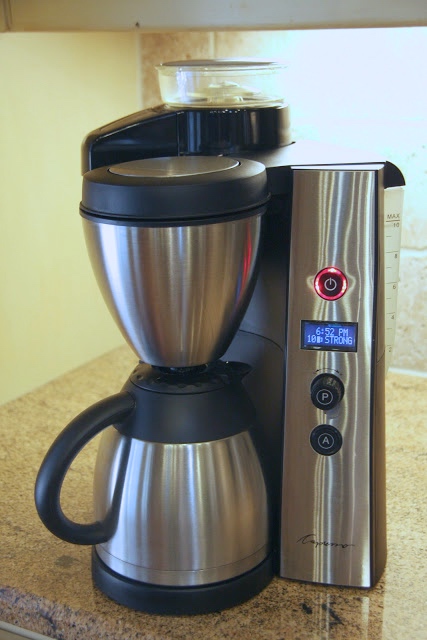
Once the final water cycle is complete, clean the outside of your coffee maker with your favorite cleaning solution. I use a little dish soap and hot water…looks brand new!
Once the cleaning process is done, air out the machine and its parts overnight…
In the morning you won’t believe how much better your coffee tastes. My coffee tastes crisp and clean…and lighter. When the coffee starts to taste heavy and I see “sludge” in the bottom of the pot, that means it’s time for a machine cleaning.
Now you can enjoy your fresh cup of clean coffee!…
* Never use your coffee pot to add water to the coffee maker. Doing this adds oils and other impurities into your coffee makers system. Eventually, your coffee is going to taste bad. I use a pur water pitcher to fill the water compartment.
* Empty any remaining coffee from the pot right away, wash with hot water and let air dry. The longer your coffee sits in the pot, the more possibilities for stains that are hard to remove.
* Empty the coffee filter/wet grinds right away and leave that compartment open to air dry.
* Do not put baking soda in your machine while cleaning. It could cause clogs and ruin your machine.
* 1 part white vinegar, 2 parts water – Run the machine through the same process, detailed above, by running the white vinegar solution through the machine first and then follow with several plain water flushes.
* denture tablets – Dissolve 1 or 2 tablets in water before adding the solution to your water compartment. If you add the tablets into the water compartment before dissolving, the rest of the flushing/cleaning process could go on forever.
* citrus water solution – Mix equal parts lemon with water and run that through the process detailed above.
* full circle coffee maker cleaning products – These are available at williams-sonoma and are 100% natural. This product works quickly to remove grease and grime from a coffee maker and is also eco-friendly.
I usually do a vinegar cleaning once a month, and that keeps mine running well.
One tip I picked up while working housekeeping at a hotel: For glass coffeepots with stains or buildup, sprinkle the bottom of the pot with salt and add several ice cubes. Swirl the ice cubes around. I'm sure there's a scientific explanation for why that works (temperature, freezing point changes, friction of ice and salt, etc.), although it's above me, but it works to take off burnt off coffee from someone who left a few sips on the hot burner, or buildup from lots of use.
yes, i've heard about the same tip but have never tried. we haven't owned a glass coffee pot in at least 10 years, but if i ever run into a friend with a glass pot that needs cleaning, i have always wanted to test out that idea 🙂


I usually do a vinegar cleaning once a month, and that keeps mine running well.
One tip I picked up while working housekeeping at a hotel: For glass coffeepots with stains or buildup, sprinkle the bottom of the pot with salt and add several ice cubes. Swirl the ice cubes around. I'm sure there's a scientific explanation for why that works (temperature, freezing point changes, friction of ice and salt, etc.), although it's above me, but it works to take off burnt off coffee from someone who left a few sips on the hot burner, or buildup from lots of use.
hi katherine,
yes, i've heard about the same tip but have never tried. we haven't owned a glass coffee pot in at least 10 years, but if i ever run into a friend with a glass pot that needs cleaning, i have always wanted to test out that idea 🙂
thanks for sharing the great idea!
sam 🙂