Cut to the chase – – – My old greeting card organizer wasn’t doing the job anymore. I’ve shared it in here before.
If you’ve been reading my blog for any amount of time, you know how much I love to send cards to family and friends…And I love receiving cards as well. Over the last year, I noticed it was more stressful looking for a card to send on a special occasion because the old organizer was too small to accommodate my overflowing supply. I was basically shoving new cards I purchased for a later date into random spots around the office or in the office closets.
Then I found some inspiration a few weeks ago while at the container store.
(yes, again. i’m an addict. I am ok admitting that! Here I am in California working on the new house and I’ve been there 3 times in 3 days.)
Anyway, when I spied this product, I immediately thought “greeting card organizer”….
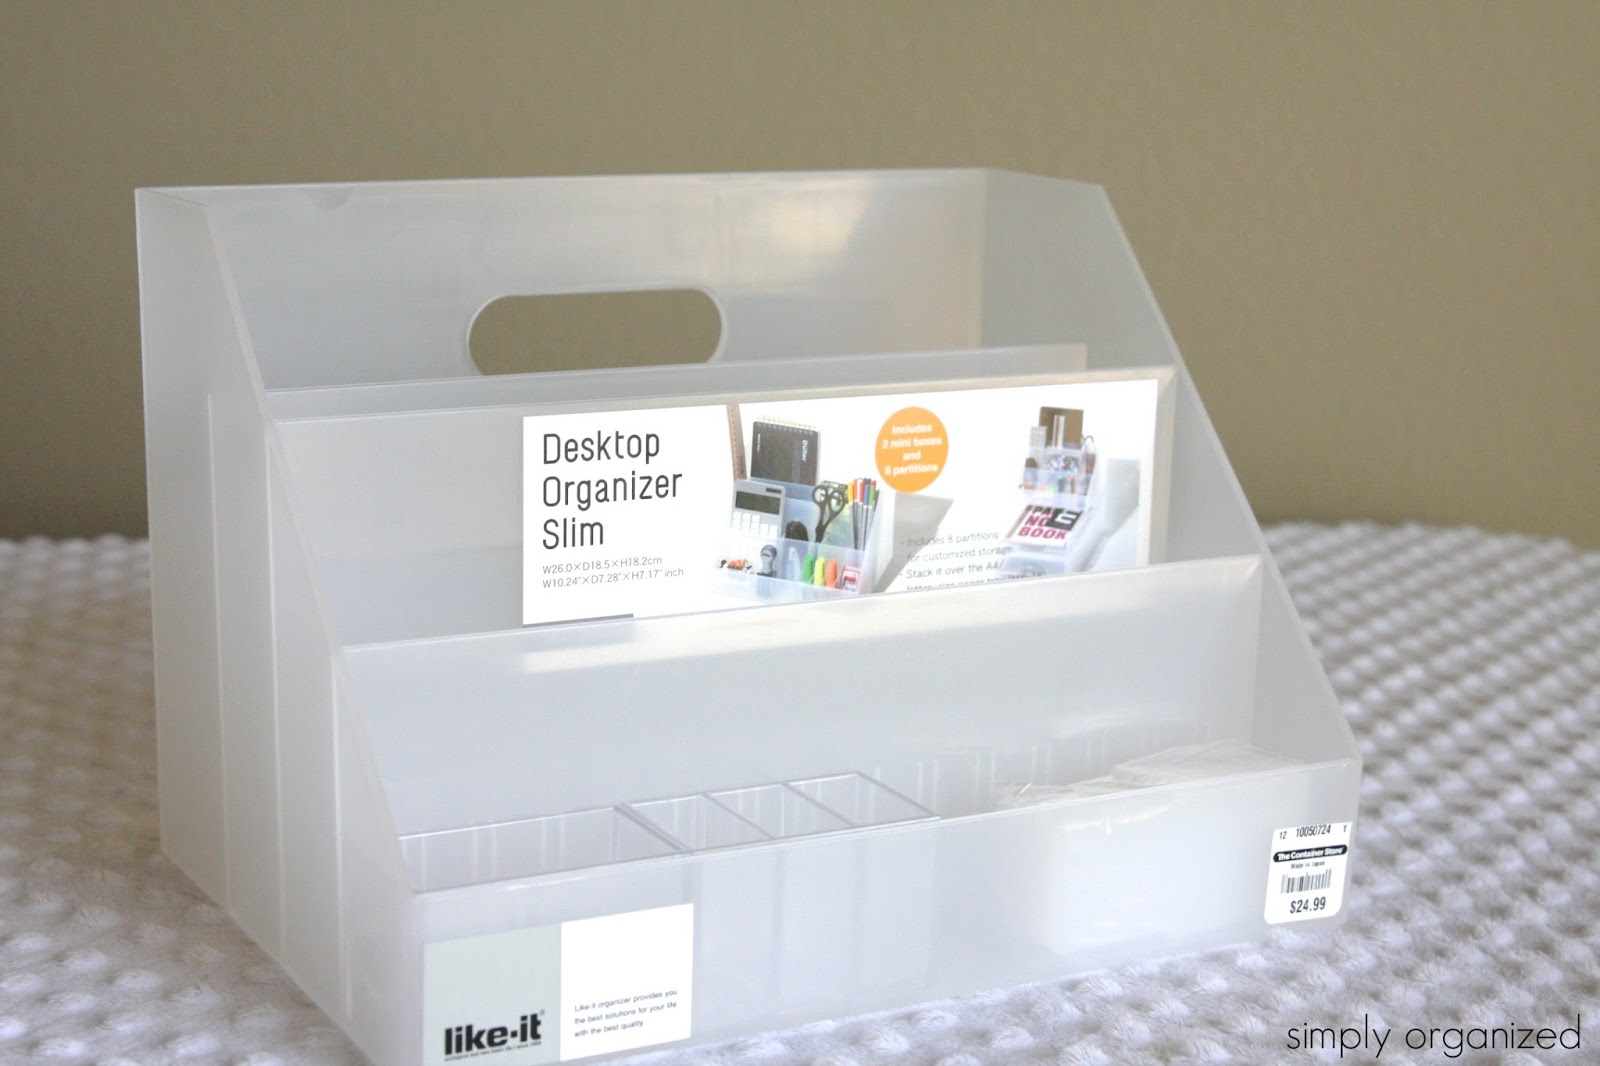
As a warning, this is a little more than I typically spend on any small scale organization solution. It was around $25. But this little gem will save me so much hassle and money over the long haul. It’s going to keep my cards organized and easy to find…

If you are in the market for a new desktop organizer, this one is great. It has little spots for pens and even small plastic dividers to create your own unique system…
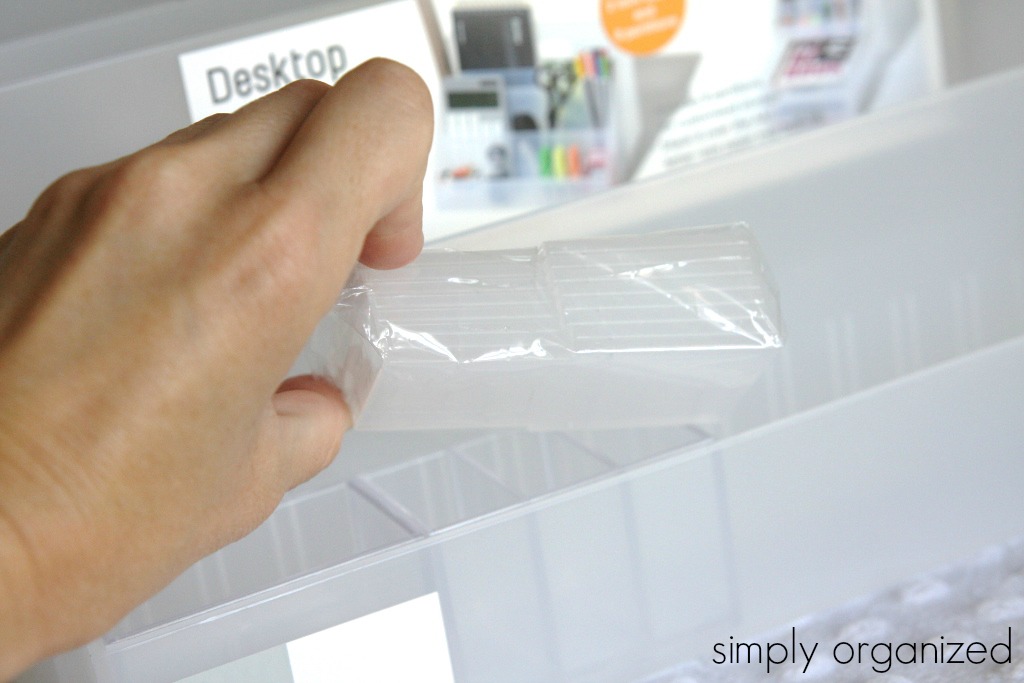

To start, I peeled off all the stickers….

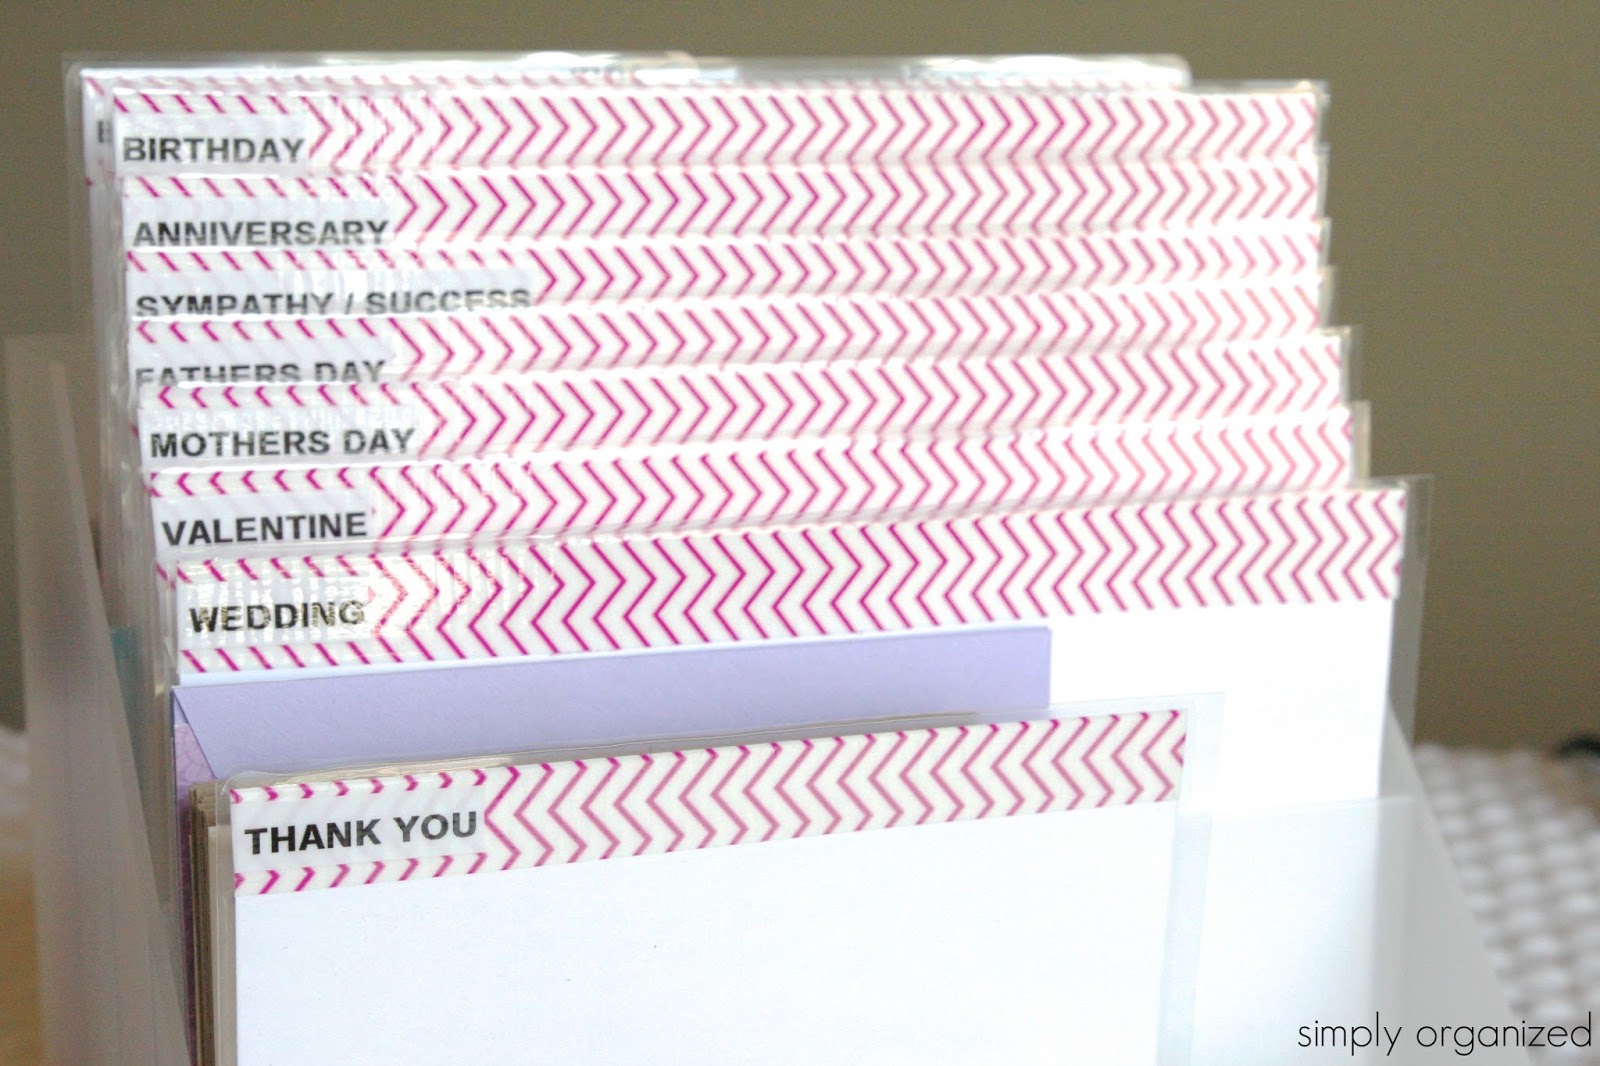
Then I grabbed my greeting cards and sorted them into categories…

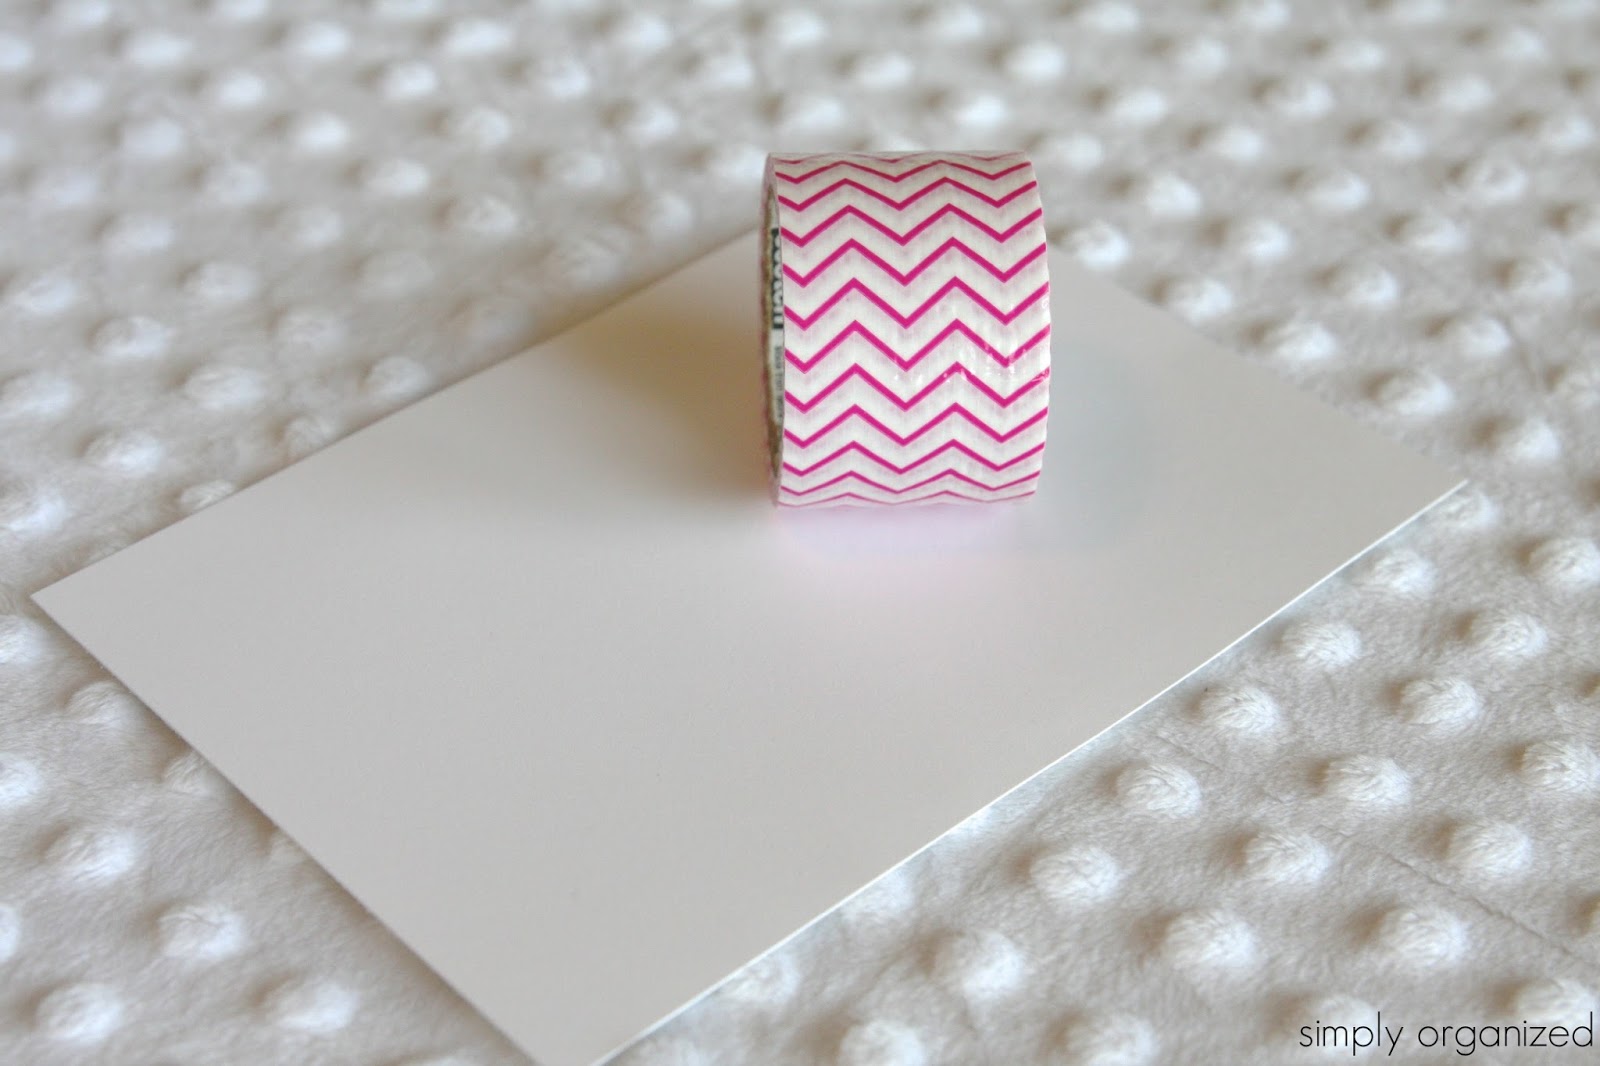
First, I grabbed some heavy white cardstock and cut them to make staggered dividers…
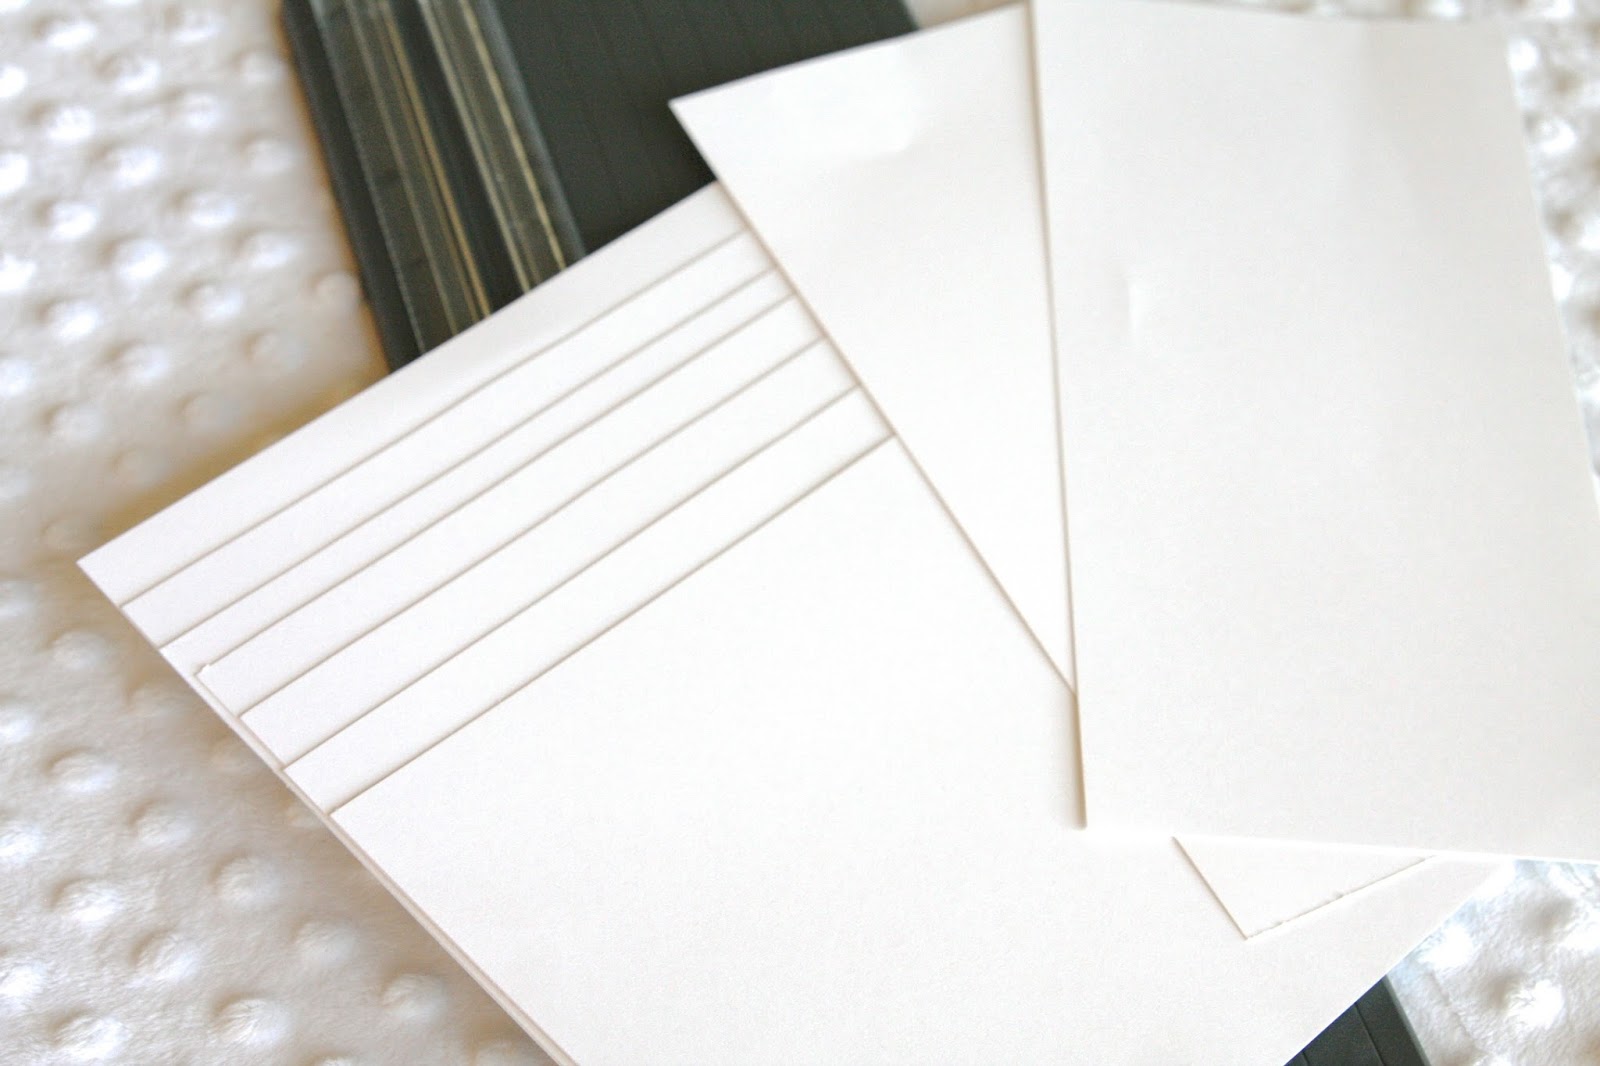
before I moved on I made sure they fit…


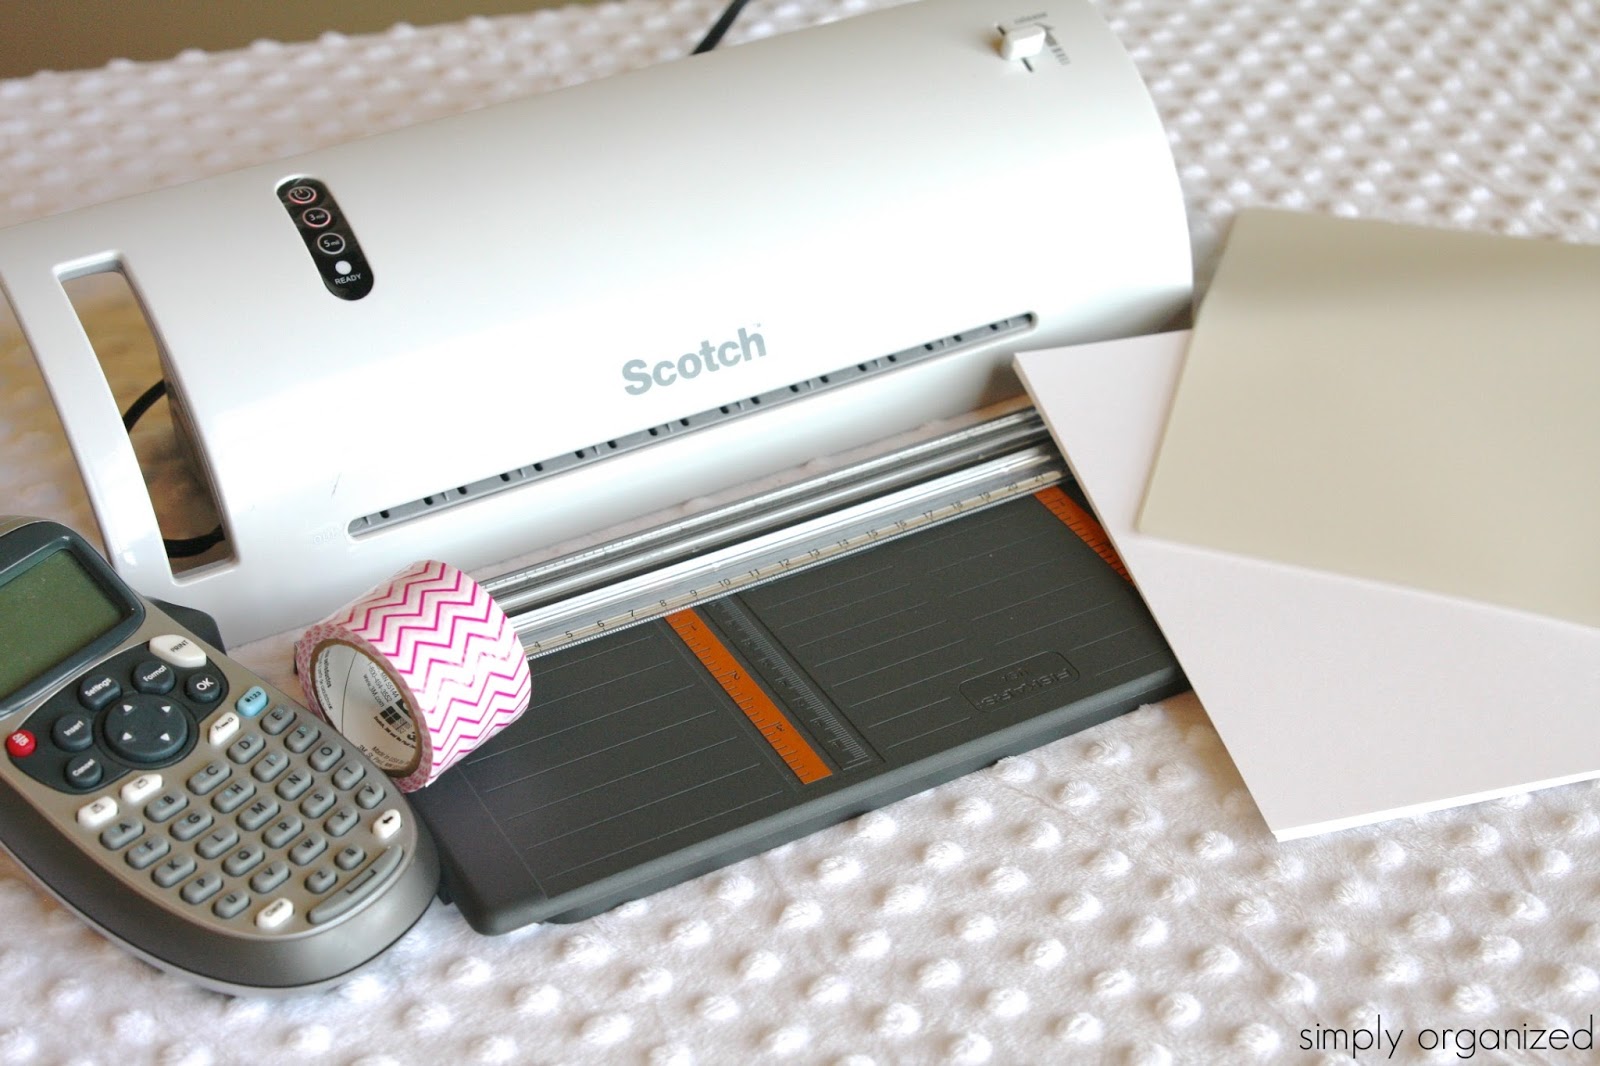
I found this pretty duct tape at target. I love the bright pink color…
I used the duct tape to create a pretty background for a label and to give the card a little more sturdiness at the top – the top is where I will be touching the most as I scan through the categories…
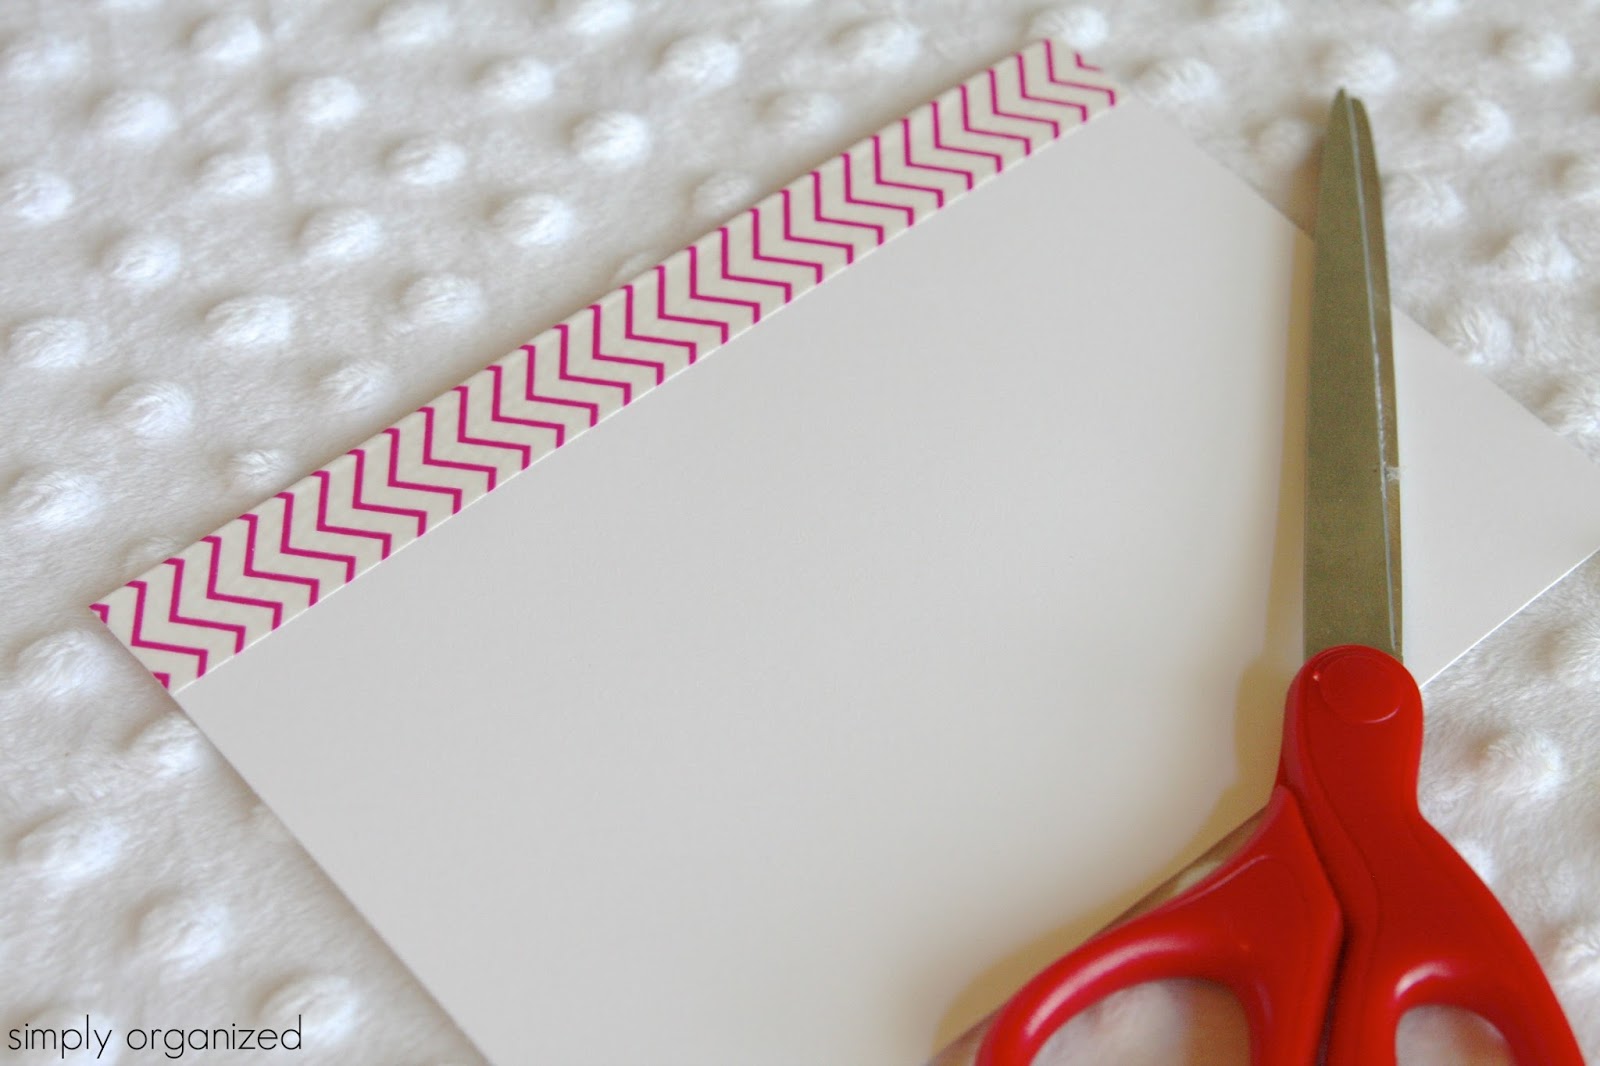
I overlapped the tape on both sides…

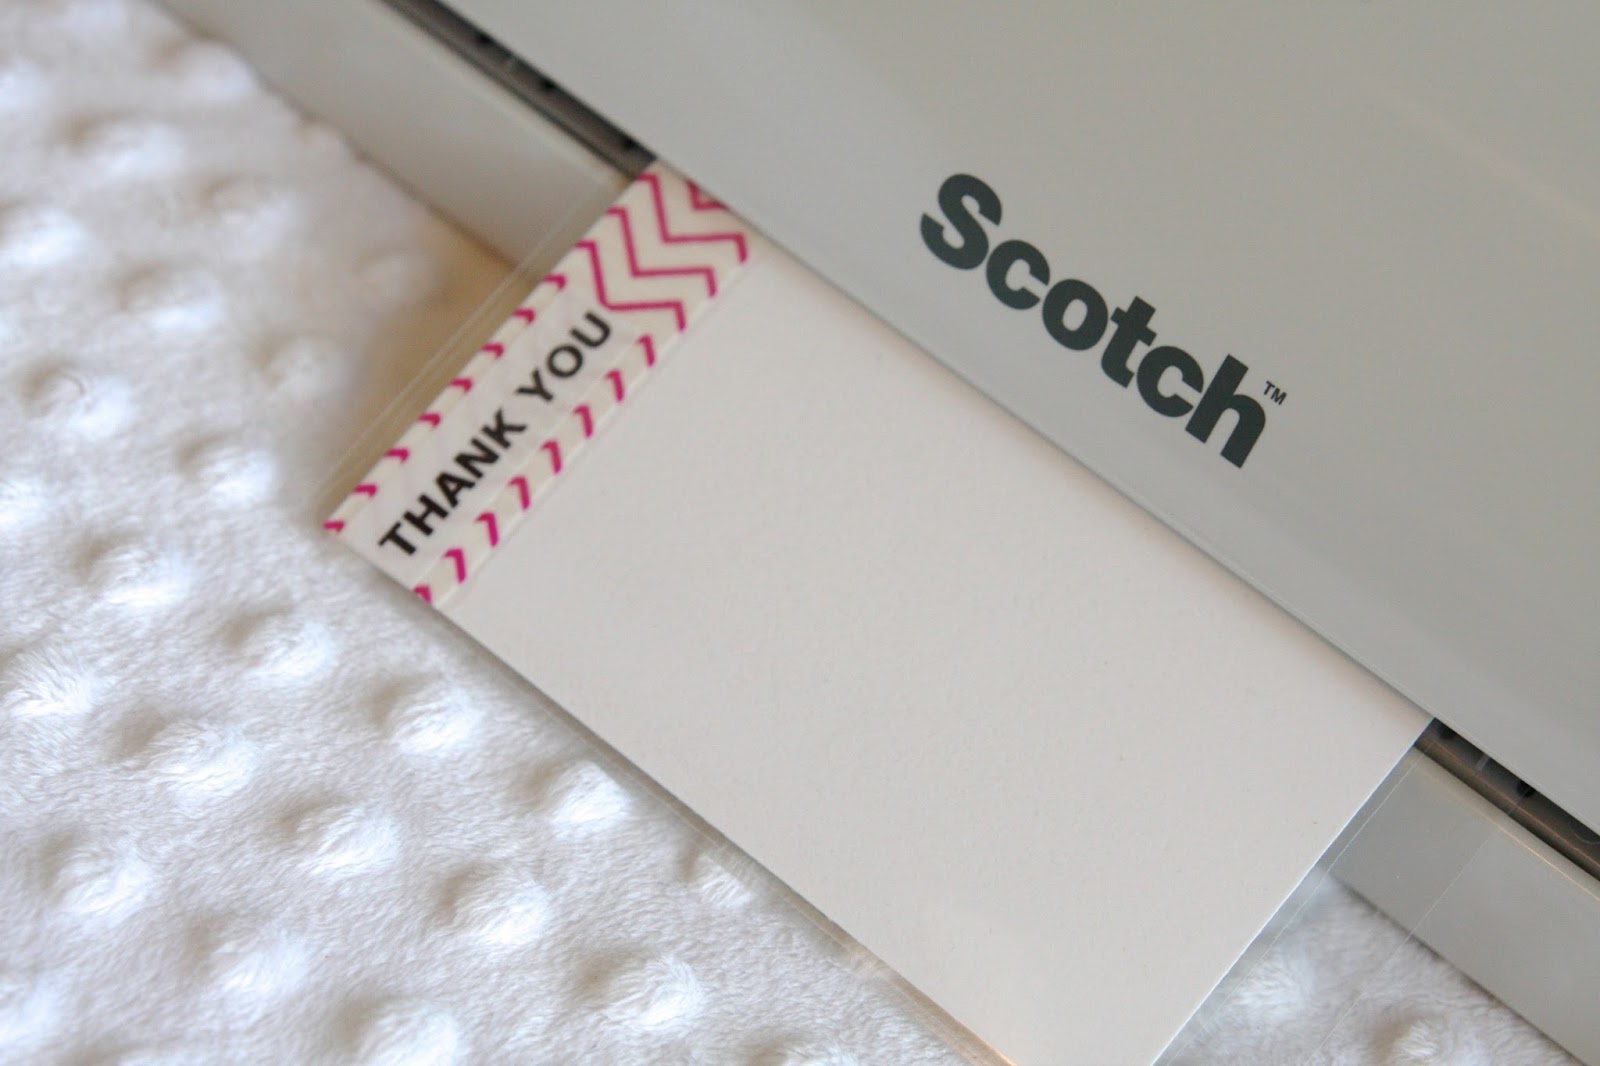
Then I added a standard white label from my label maker…

Once that was done, it was time for a quick run through the laminator…

First divider is done…


I just kept going until all of the categories were finished…

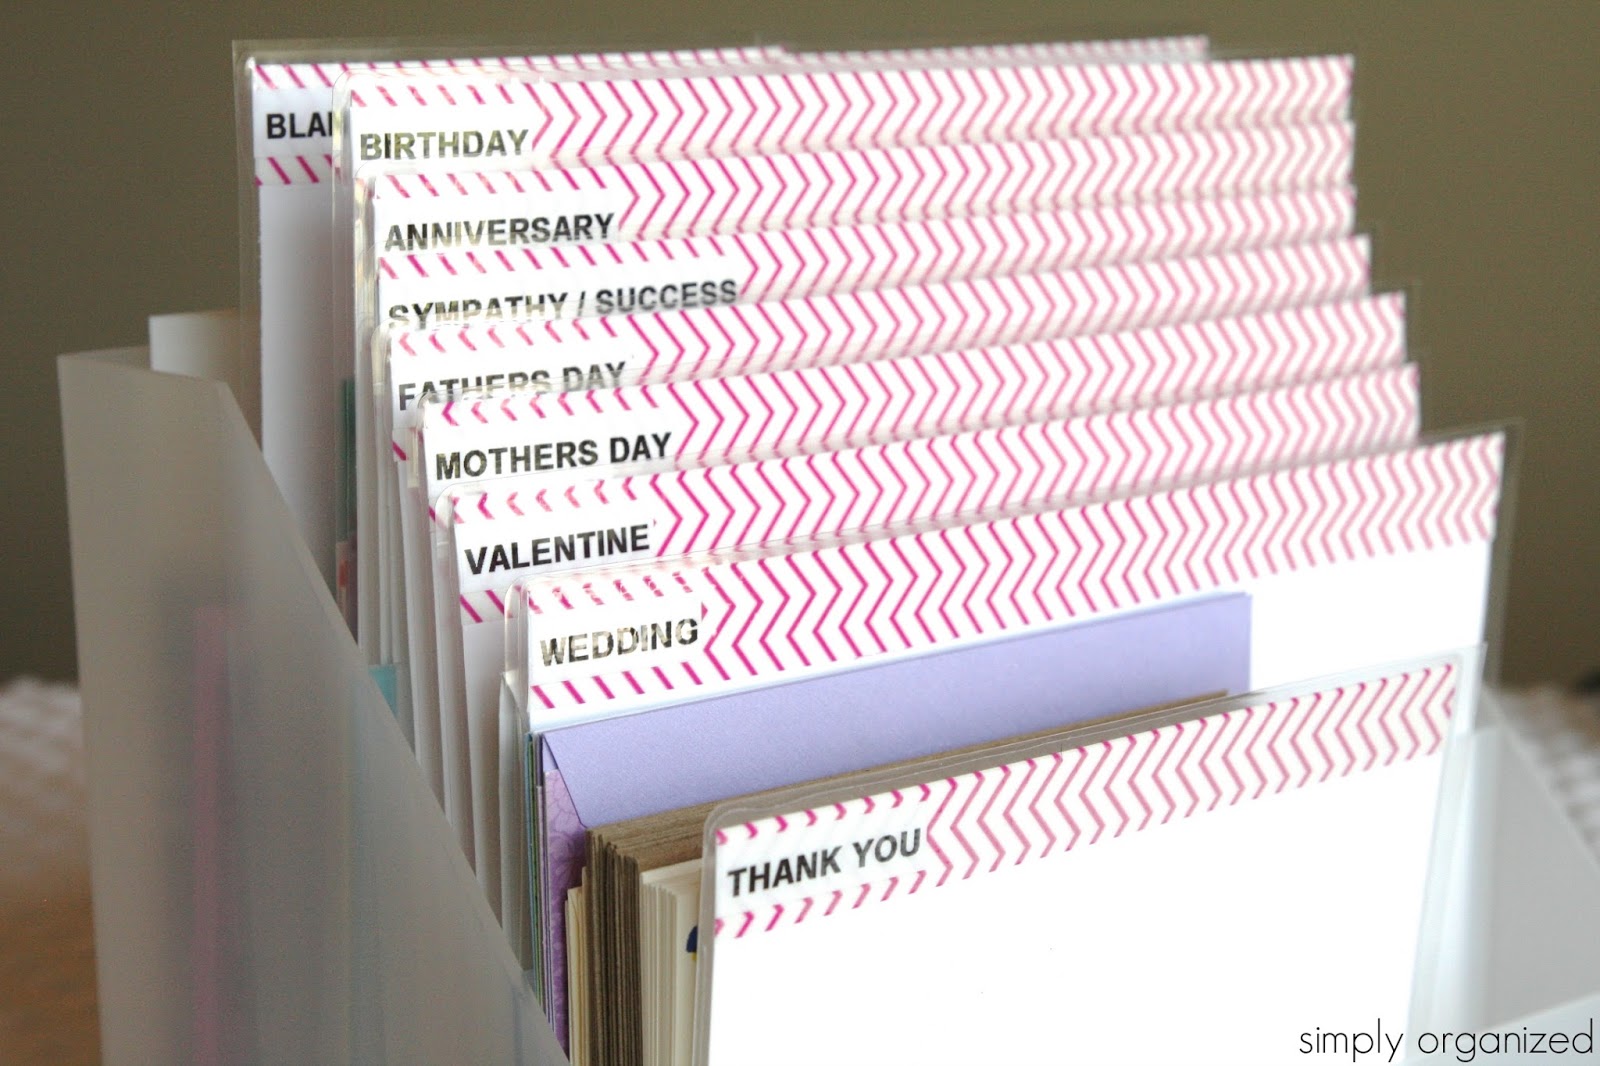
Then I placed the cards behind each divider…

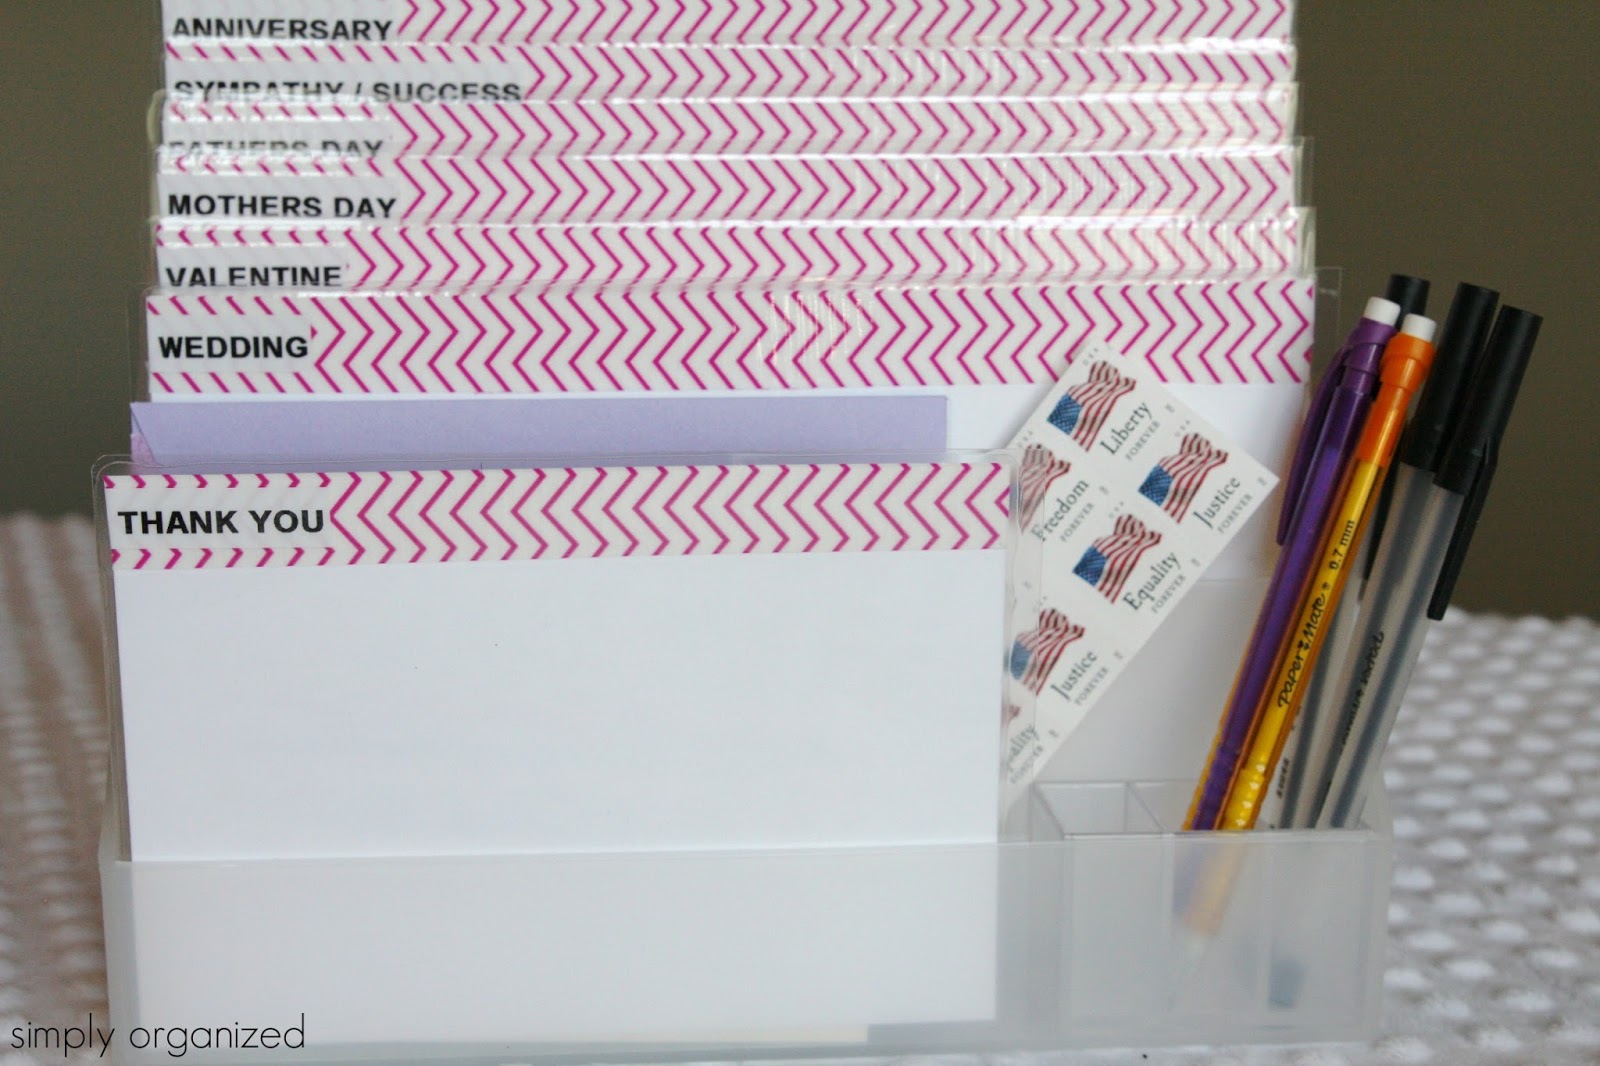
There was even room to spare in the back compartment for all of my blank greeting cards….

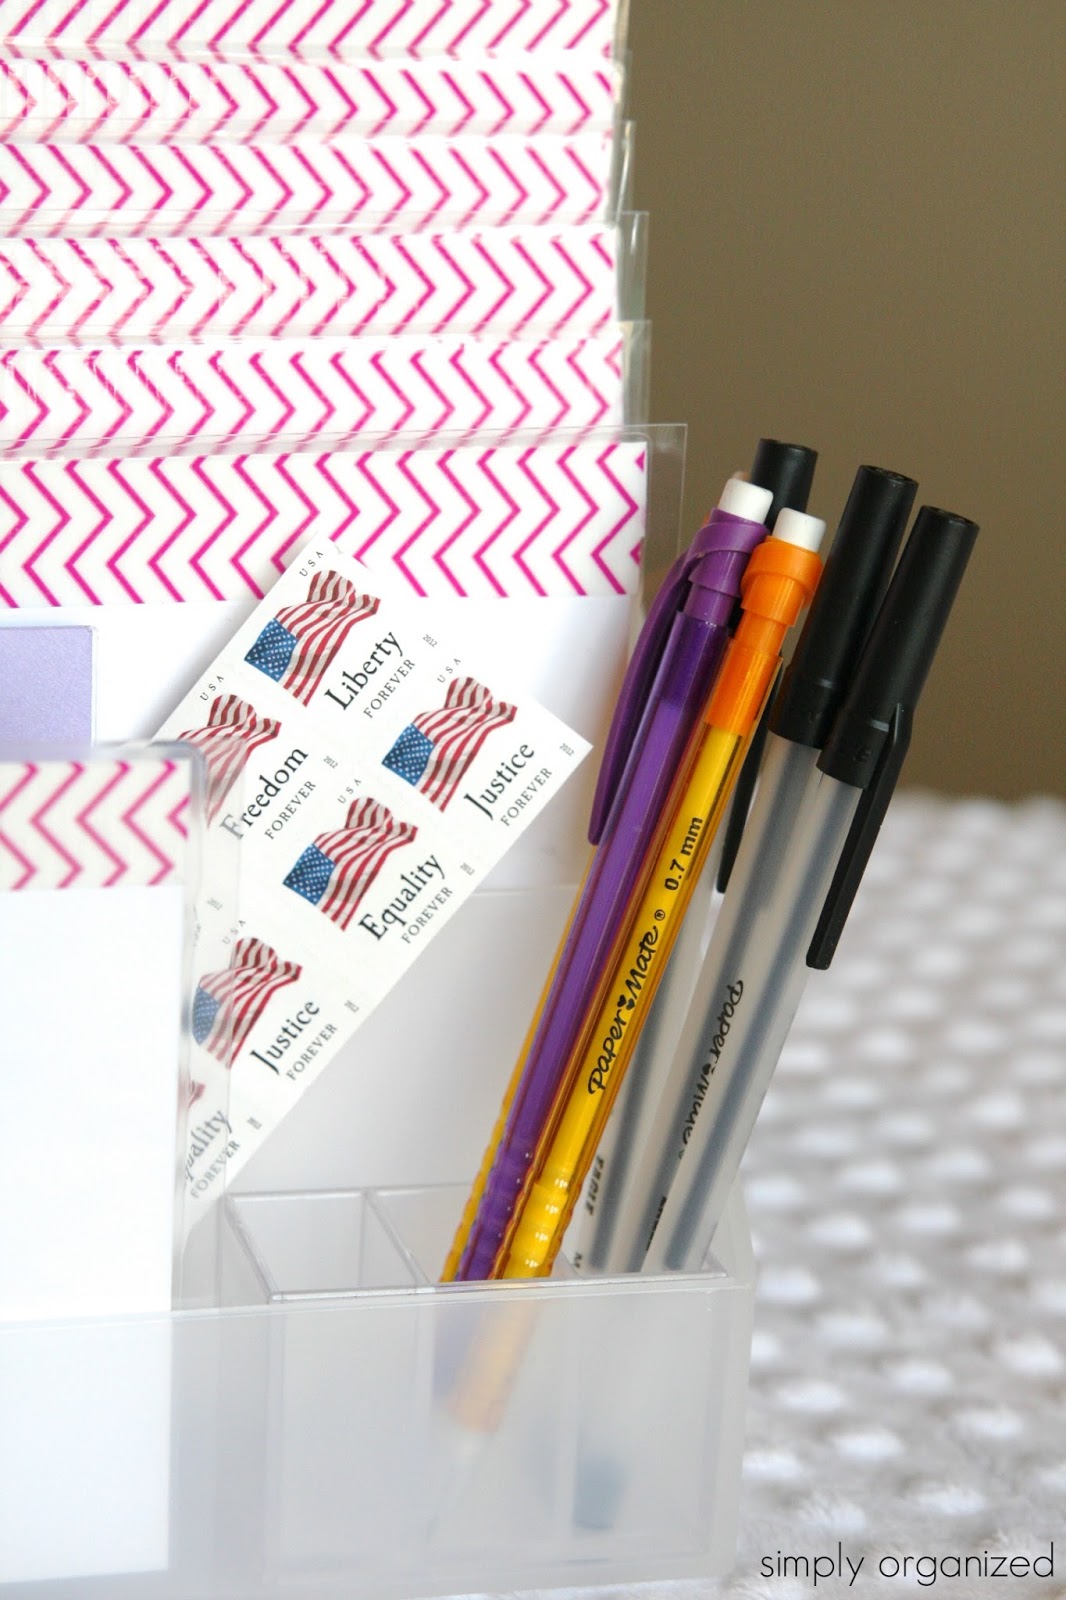
I kept the pen holder…

And tucked a book of stamps inside the organizer as well. Now everything is ready when it’s time to send off a card…

I love your new organizer. Love the design of the tape. It's so fun and organized. Thanks for the great tutorial
thank you!!
Love this! It's simple and clean. You know I have yet to do anything with washi tape?? I always see it around blogs and pinterest and love it, but I haven't actually bought any! Maybe it's time to change that!!
thank you so much! i love washi and duct tape…so much potential with both items. i don't have nearly enough of it, but what i do have is used quite a bit 😉
thank you!!!