Did you hear me squeal in excitement? No? I’ll squeal a little louder.
I’m beyond excited to be in this stage of outdoor home improvement. If you’ve been reading along since last summer when this entire property was dirt, you’ll get it. If not, feast your eyes my loves….
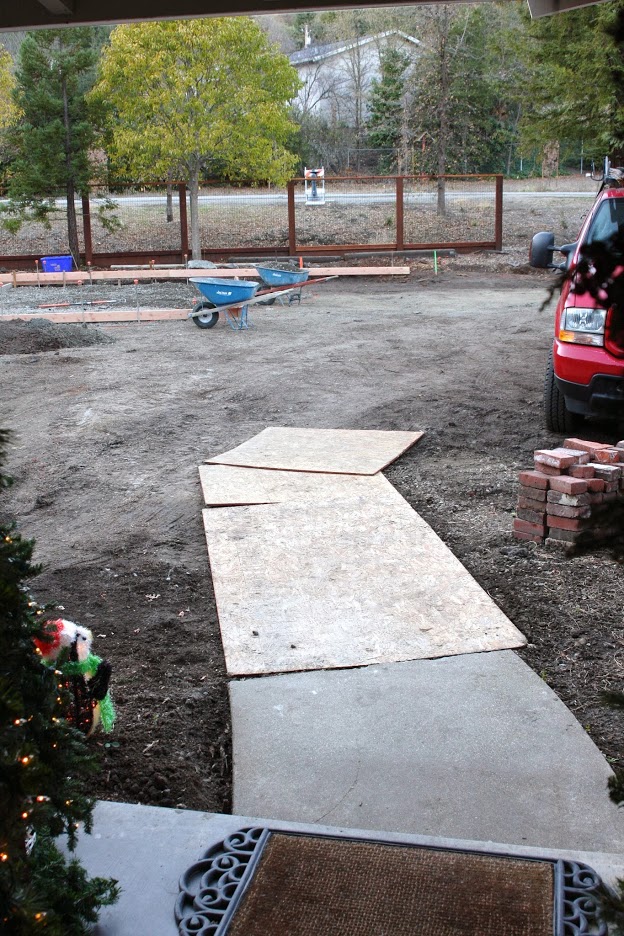
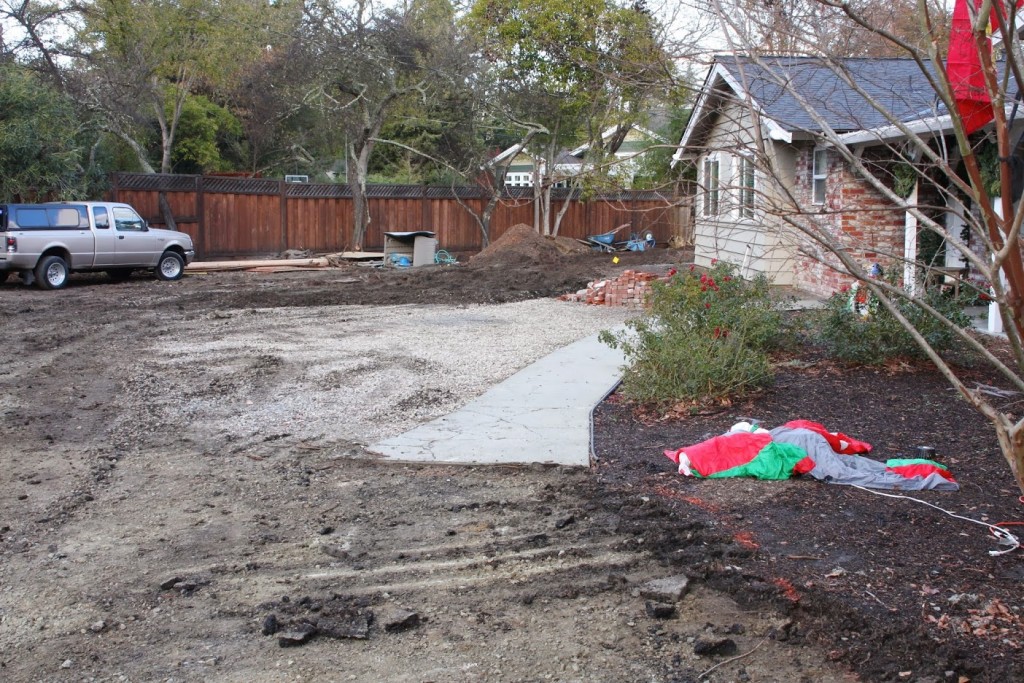
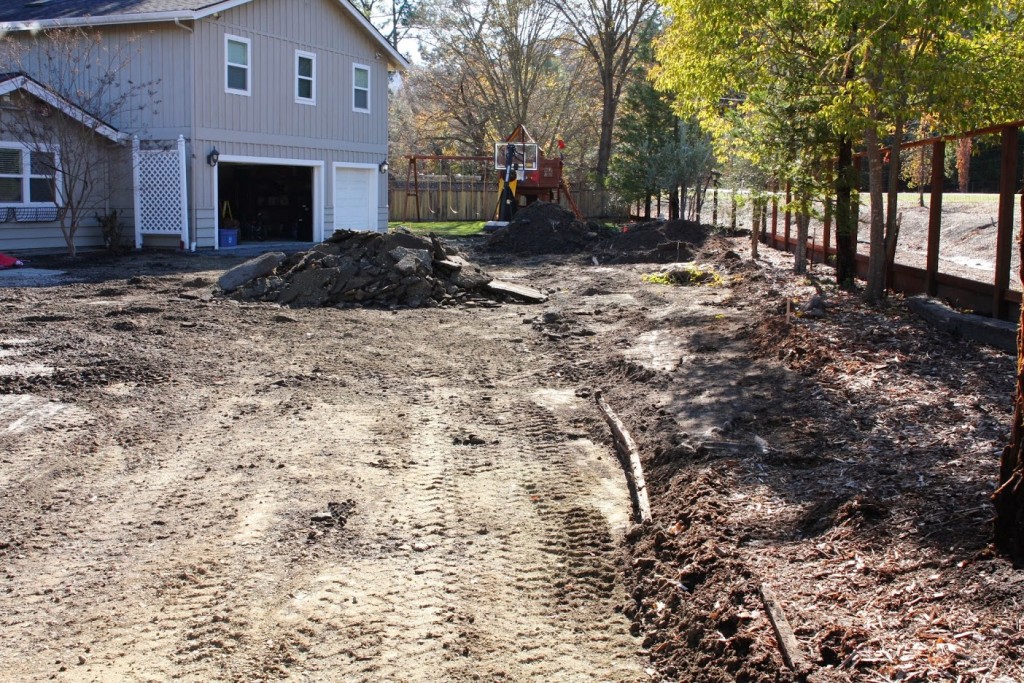
I could share a zillion more dirt images, but I start shaking and twitching when I think about going back through blog posts for dirt images, revisiting the dust and dirt….I’m sure you get the idea. Now that there’s a driveway, fences are up, lawns and sprinklers in…now I can move on to the fun, finishing touches / details.
Since there will be a lot of progress over the next few weeks with these various jobs, I’m going to break it down for y’all and share as I go – in real time.
The first item tackled was landscape lighting. Lighting was desperately needed because there was virtually none here to begin with. Other than the light at the front door and the lights on either side of the garage – nothing. Since this property is tucked back behind 4 other homes, and the front yard faces a regional trail, we had literally no street lights. Lighting was a must-have-item on my list…now I can bring trash out at night and not worry about the boogie man coming after me. 😉
Anyway, since I’m not very good with electrical things, I outsourced the job…but have been working very closely with him. Heh – lucky guy! He’s been incredible to work with and has allowed my OCD self to be involved in almost every detail.
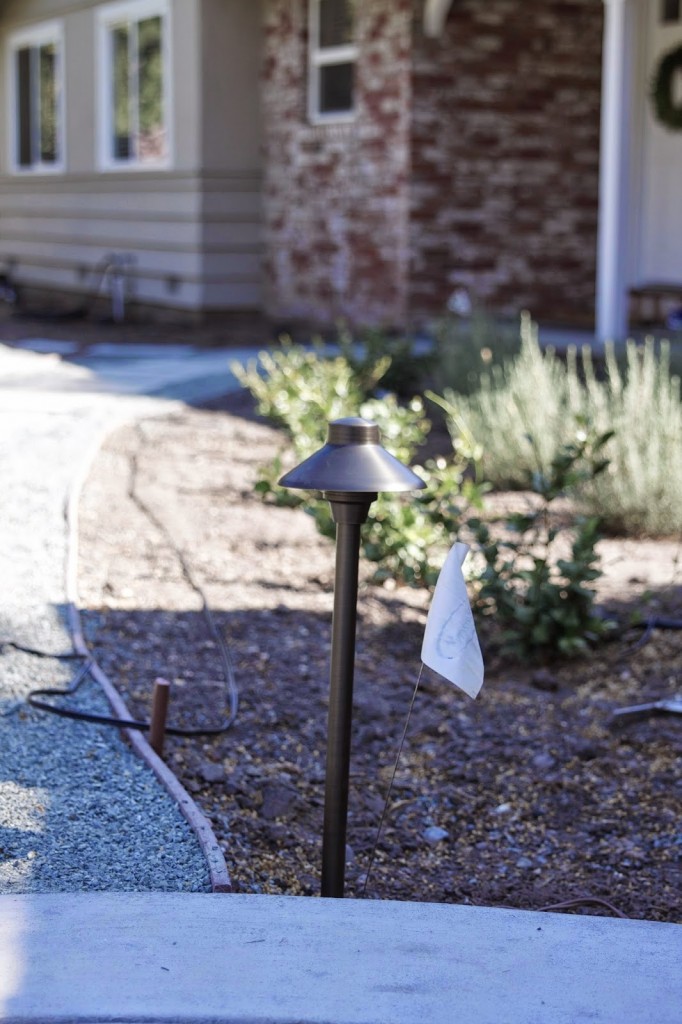
As far as the lights go, I chose FLEX Series LED Outdoor Lighting by Unique Lighting Systems.
** I’m not getting paid to mention this company – at all! – just sharing details because many of you typically ask where I found the things I’m using. **
I used 3 varieties. Uprights for the paths…
Larger bowl lights for the perimeter of the entire property…
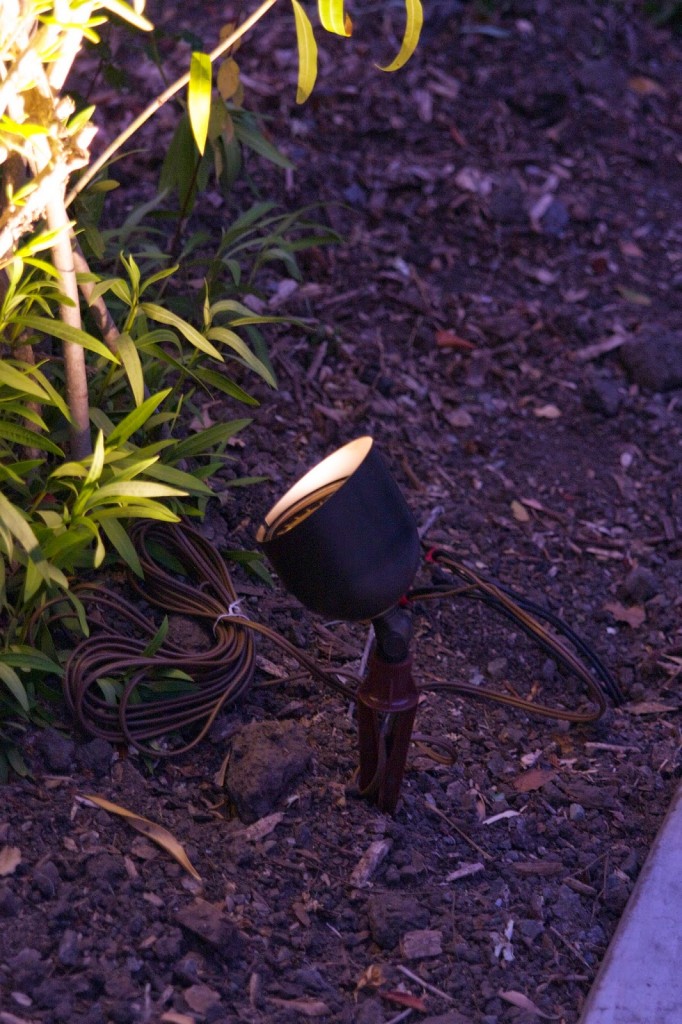
And I used a few bullet lights to direct light into a few trees close to the house…

I put a lot of thought into solar, but ultimately decided on LED’s with the help of my landscape lighting guy. LED’s have a long life and don’t cost as much on the ol electric bill. And I love the look of these bronze-finish lights. They blend in so well.
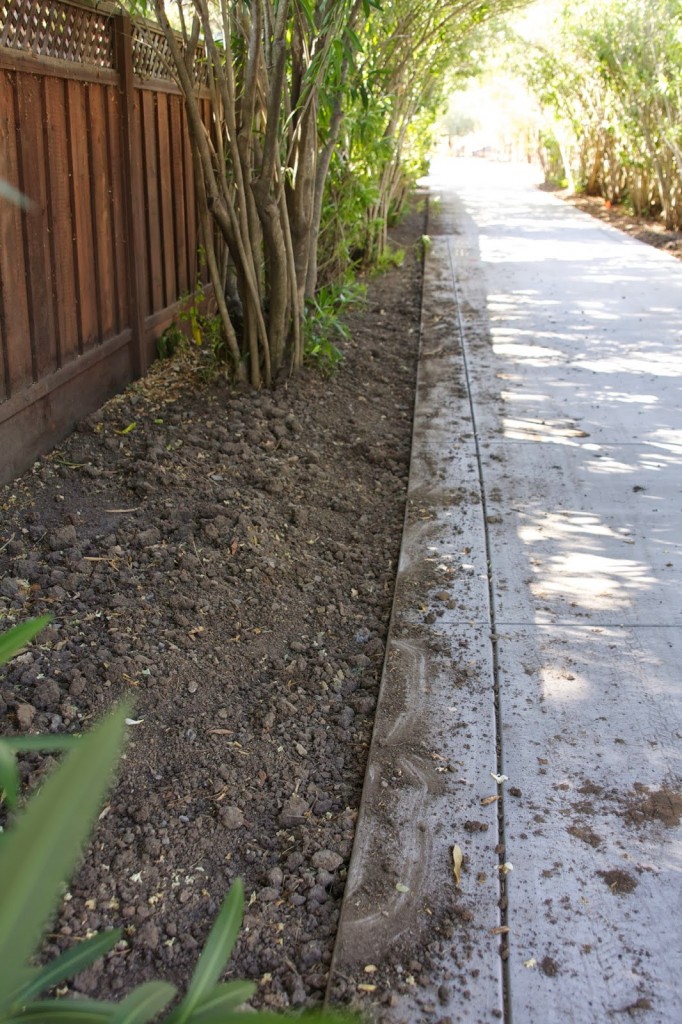
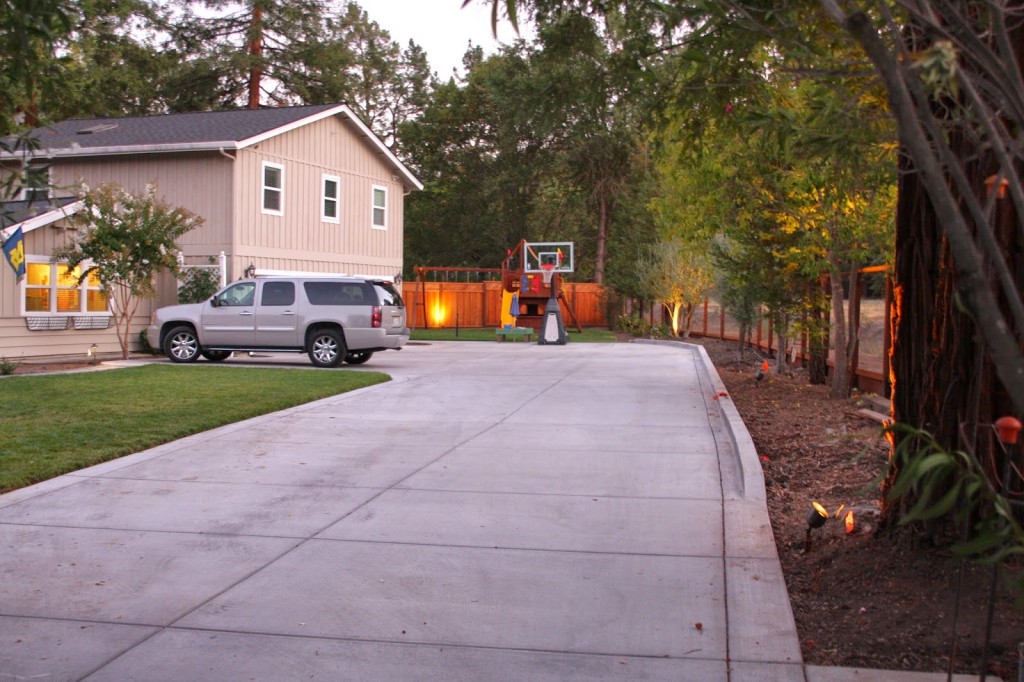
With his help, the job in the front yard was done in a matter of days. We set all of the lights first by digging trenches for the wiring…
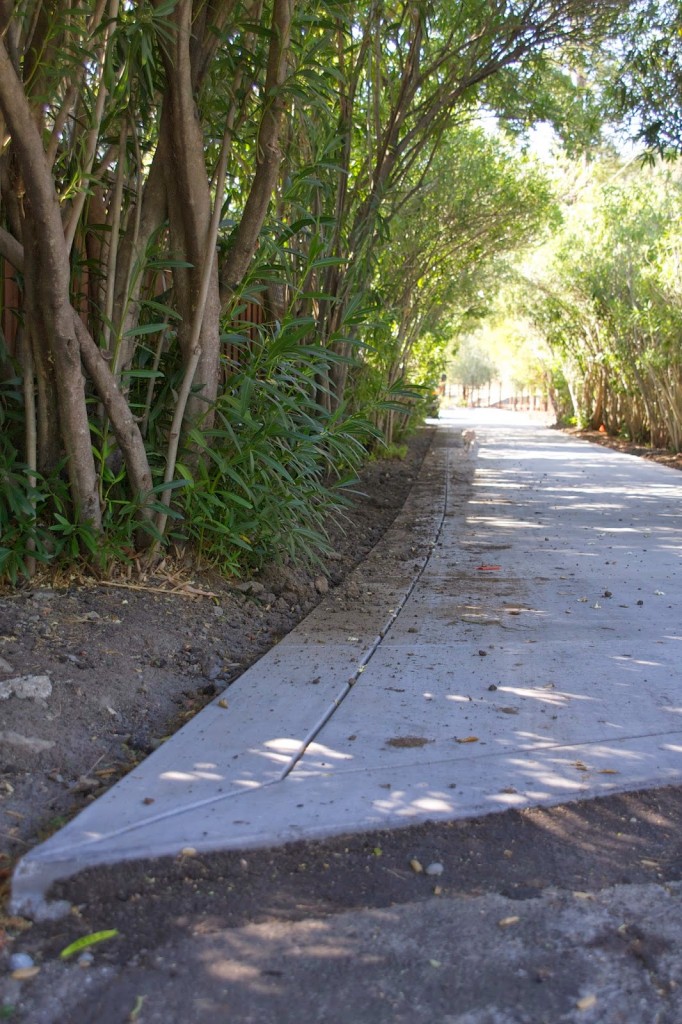
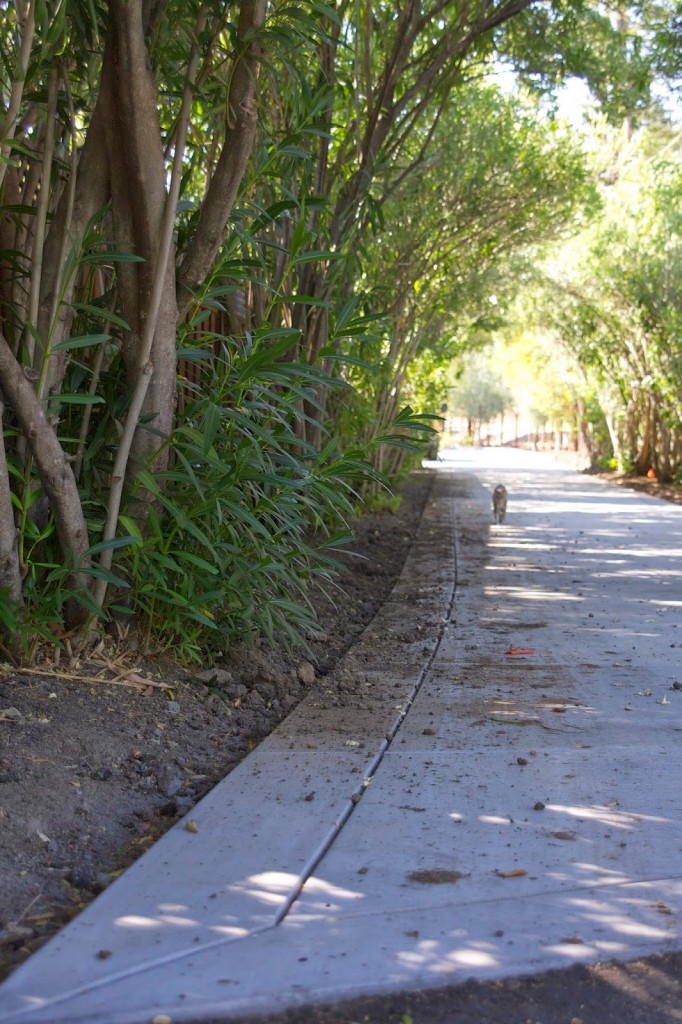
We went alllllll the way up the driveway for this job. Lots of digging and dirt production…

With the wiring buried, we set the lights deep enough to give me idea of how they would look. I didn’t want to place them all the way in the ground until I could see them in the dark. I spent a lot of time outside over several nights checking the light placement, moving lights, and laying out flags where more lighting was needed. It was a process. The heads on the bowl and bullet lights are adjustable, which is nice. But I still had to make sure the lighting was hitting the right spots to reflect in all the right ways.
Here’s how it’s looking in the front yard now…
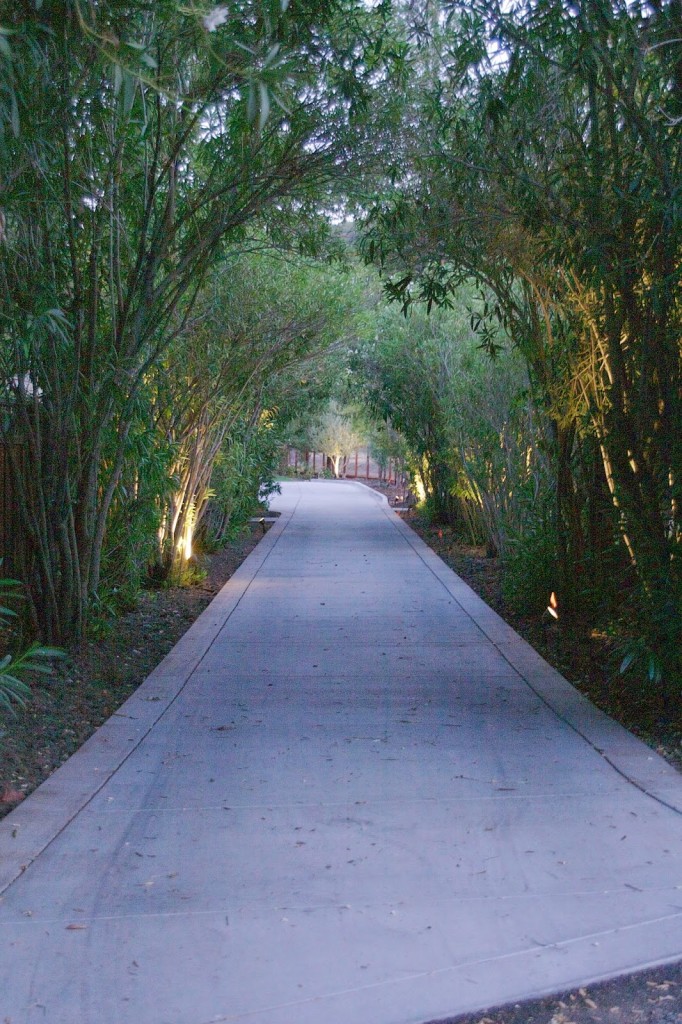
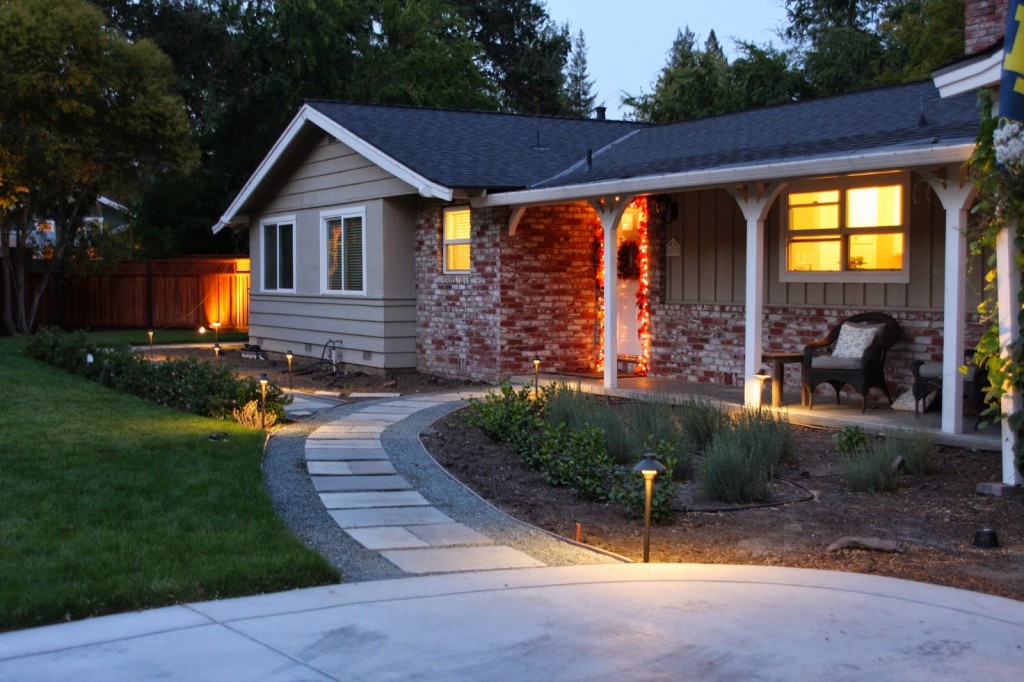

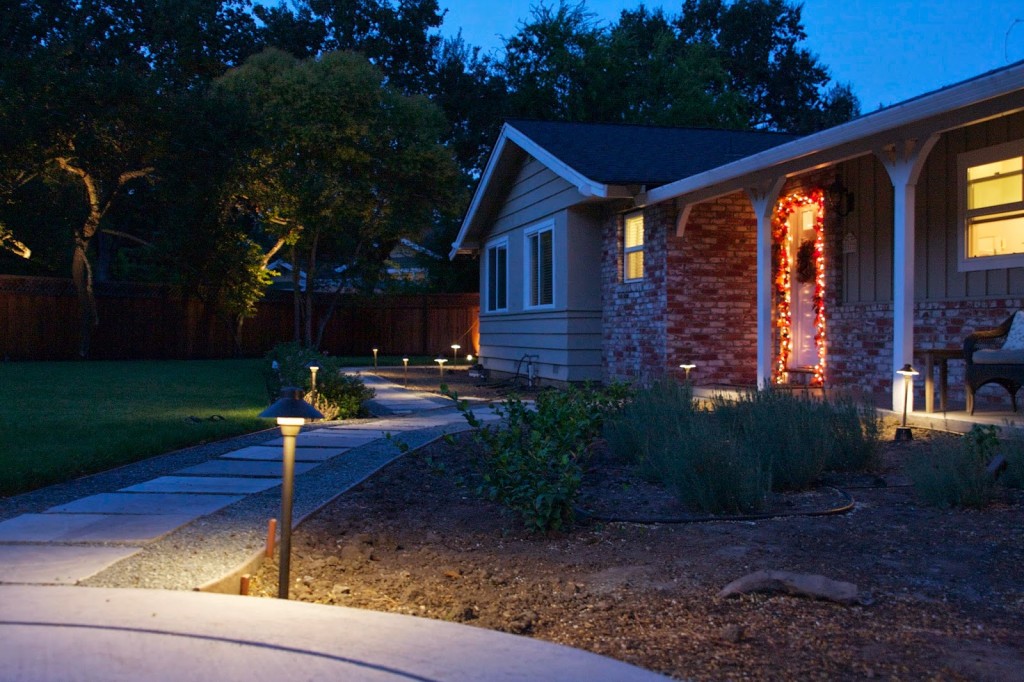
Sorry if the images appear grainy. It’s difficult taking good lighting pics at sunset / night. But you have an idea of how it’s coming along. Once the backyard is done (tomorrow) I’ll come back to share the final lighting outcome. I’m very happy so far though! The property looks beautiful at night.
As always, there is typically more than one job going on at the same time. Since the outdoor lighting is going on, it made sense to move forward with a gate, since electrical had to be run out to that same area.
And when you have a gate you need pillars to hold it up.
And then you need lighting on the pillars.
And since we’re building 2 pillars, might as well build that 3rd one out front for the mailbox.
And since we’re at it in the front, let’s go ahead and smooth out the end of the driveway with some asphalt.
One job naturally leads to another. Right? Sheesh!
Soooooo, work has begun on those items. As of today I’ve purchased the mailbox that will go inside the pillar, chose my stone for the pillars, ordered my address numbers for the mailbox, ordered my gate, and started to research lighting for the 2 pillars that will hold up the gate.
Check out my current mailbox in all its glory…
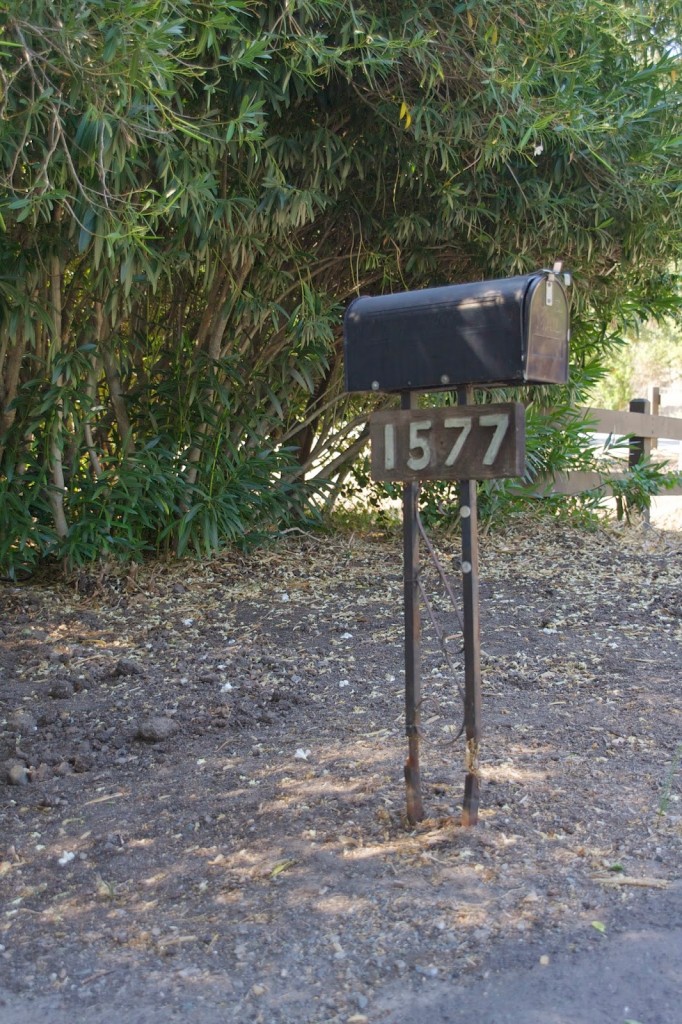
“I’m so fancy. You already know.”. That what she sings to me every time I see her, that saucy little minx. Check out the bottom of those pins fellas. Hot with a capital H, right?
So this is in the line up….new mailbox. Asphalt to smooth out the end of the driveway and protect my axels (neck too)…

The rebar is currently being moved and the footing for the gate pillars is being set…
Because no project goes as planned, turns out we had to fix the concrete under where the gate pillars will be set. My original mason didn’t go deep enough with the base for this footing. So, my new mason was here today jack hammering away….yet again. I know, my neighbors LOVE me…

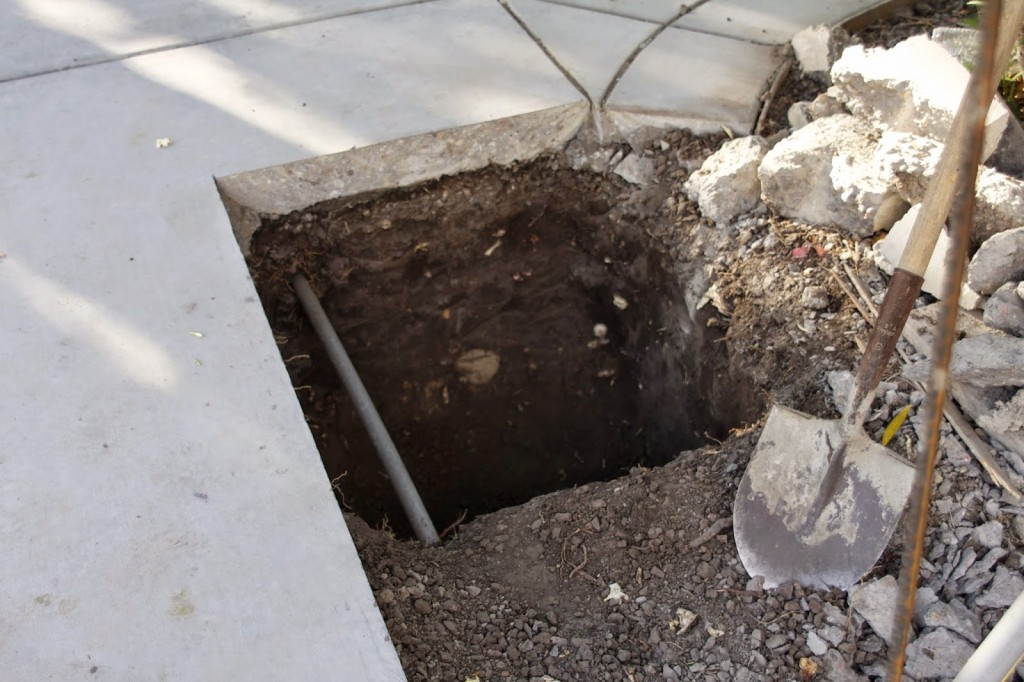
You can see here where the footing will be on both side of the driveway…

Can’t wait for that gate to go up in a few weeks…

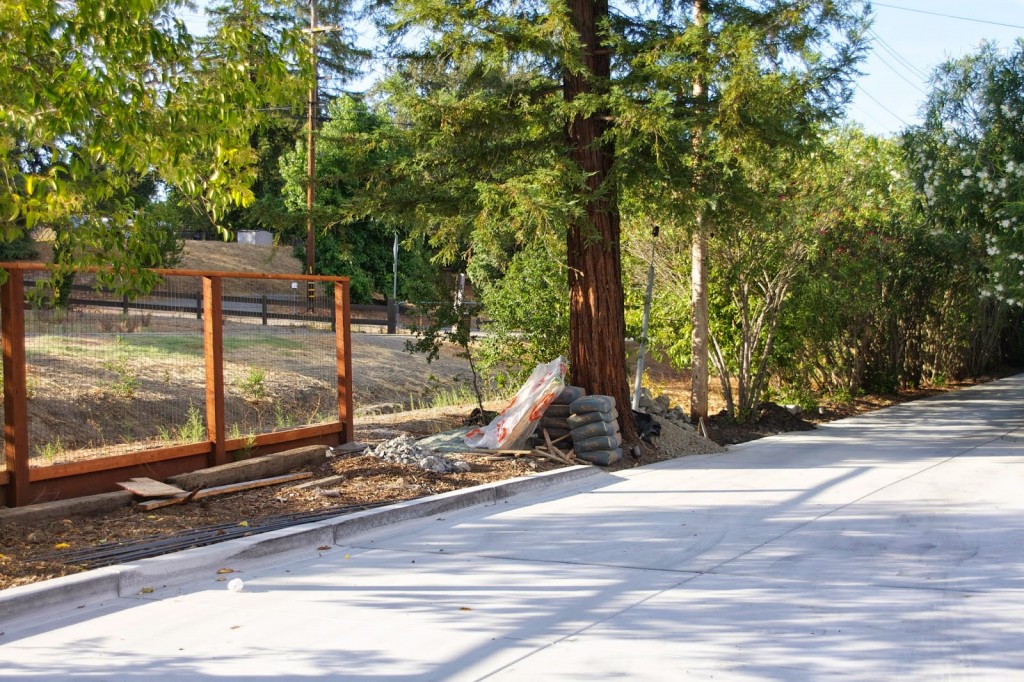
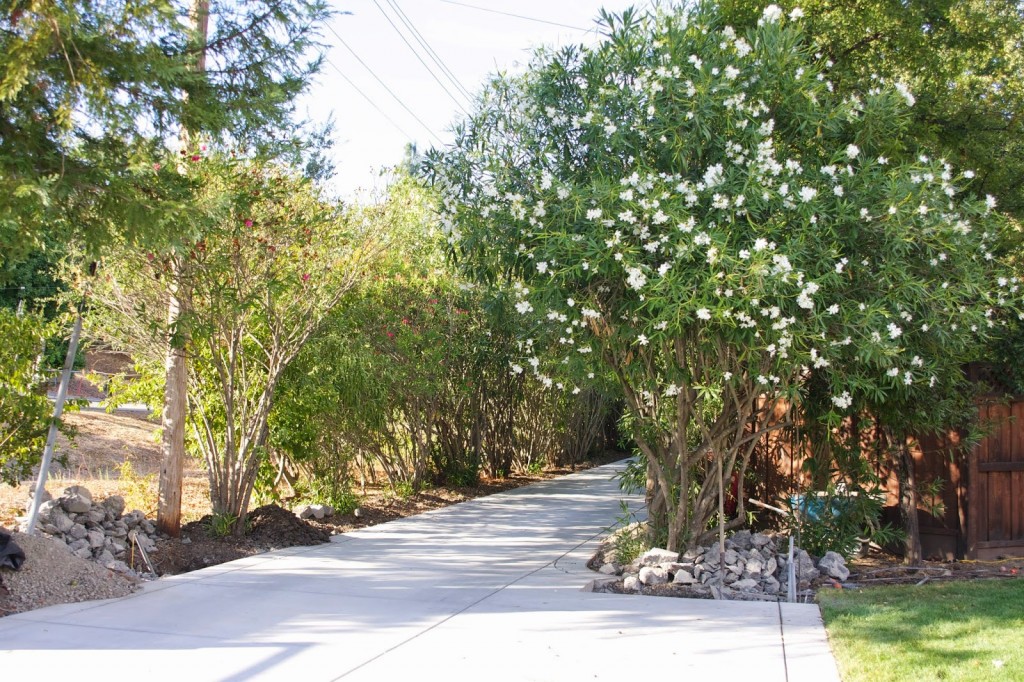
Other things I’m working out? The deer fence will continue down from its current location and attach to the eventual gate pillar…
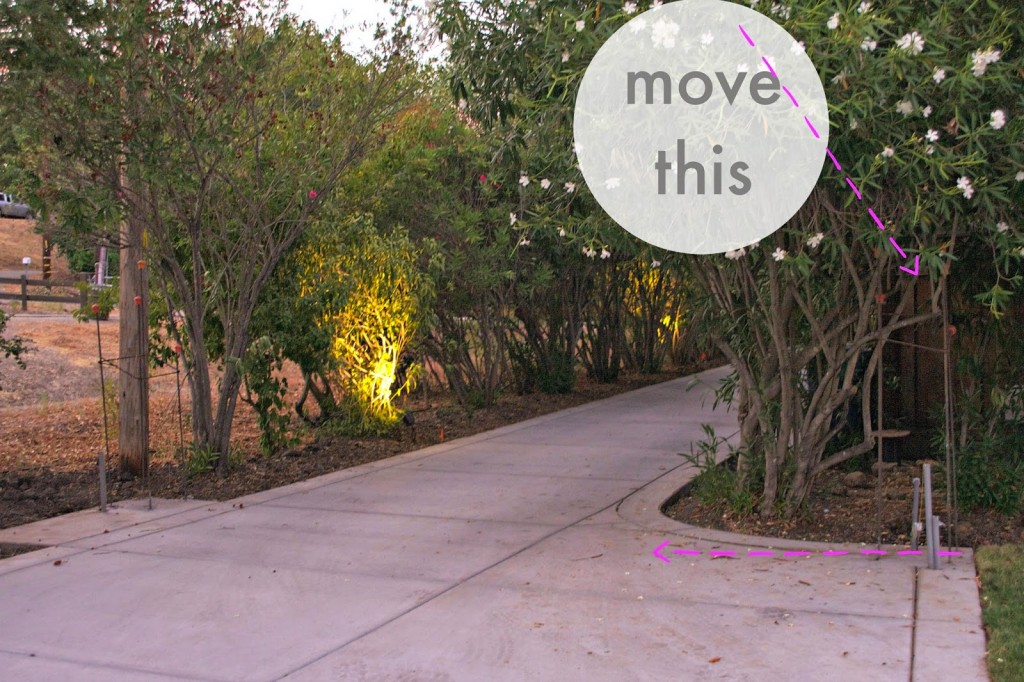
Sadly, this oleander is coming down tomorrow to make room for the pillar and automation equipment for operating the gate…
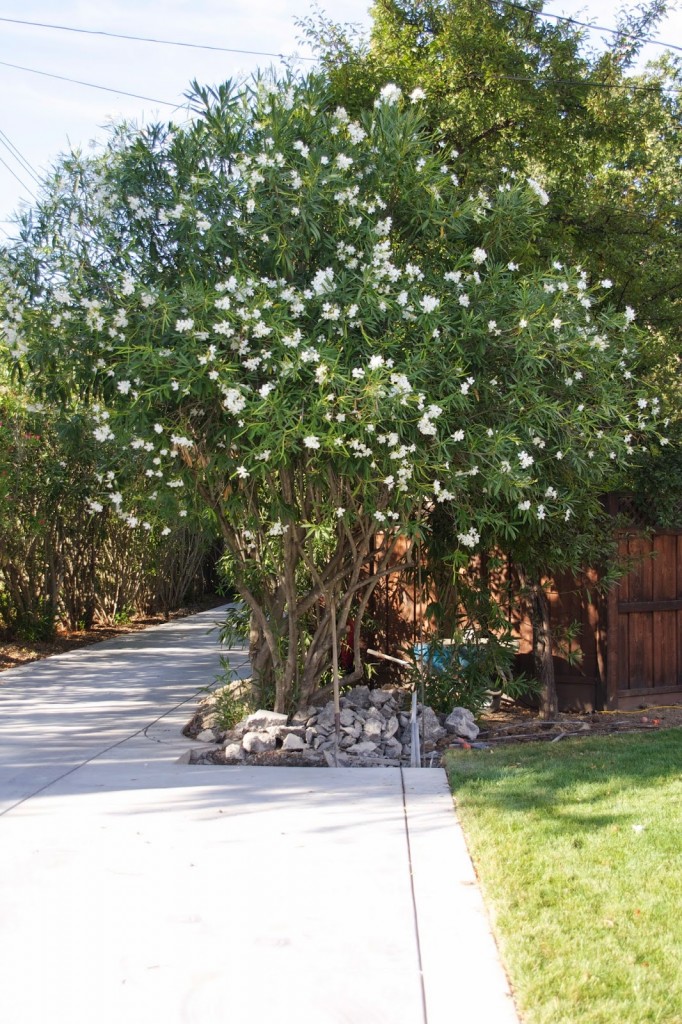
Don’t worry, landscaping is on the horizon too. Something equally beautiful will be here.
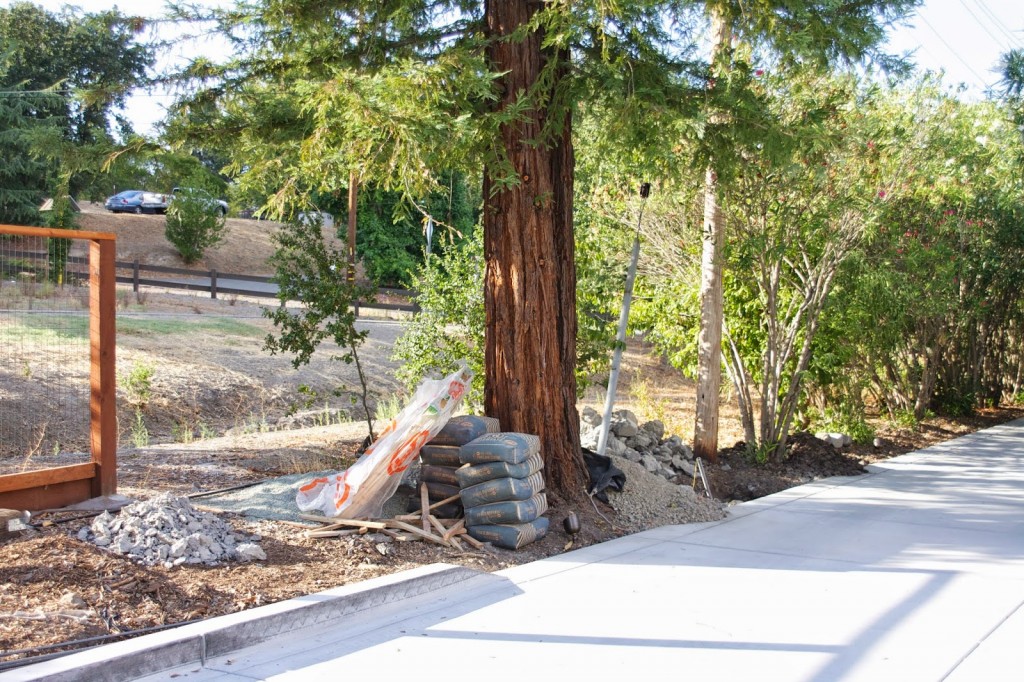
And finally, I’m trying to figure out how to work with this area to the right in particular…
We need a way to get in and out to bring out trash and also to finish off the fencing over here. It’s an odd corner. I have left over stones from the front path and plan on using them here, but am struggling with how and where to finish off the fence, where to add the walk through gate….and what kind of fence to do. Continue deer fence over here? Or use the wood / lattice fence? I’m terrible with these decisions!
Anyway, that’s my crazy outdoor update for now! Back soon with more!!
comments +