Hey friends! I’m helping a client by organizing / condensing her paint into smaller cans and I shared a photo on Instagram yesterday when the project was complete. A few of you asked for more details. This is a project I shared here on the blog back in September 2013 – right after moving into this house. (Has it really been that long?!) Every wall was freshly painted and I was left with tons of larger paint cans that were taking up way too much room…
Most of us suffer from this issue – paints cans stacked away in the garage or storage shed….
I knew this would be a “top of the list” organization project long before moving into this house. With the painter here for a month and the amount of paint left behind, this was bound to get tackled right away. Truth be told, I wanted to do this project in my previous home…and the home before that. But as we know, organizing or sorting through paint isn’t a priority. By the time you get around to it, can you even open that crusty can lid?
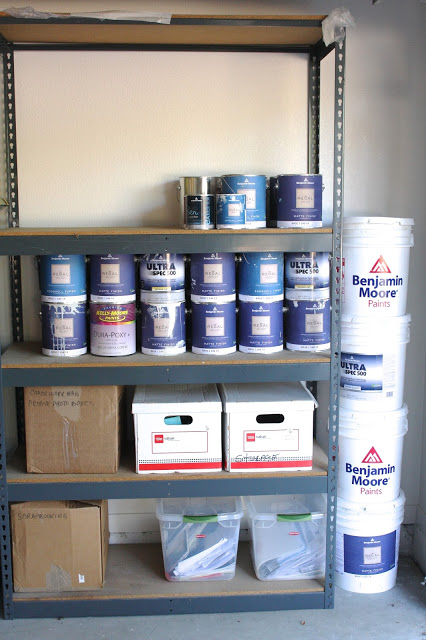
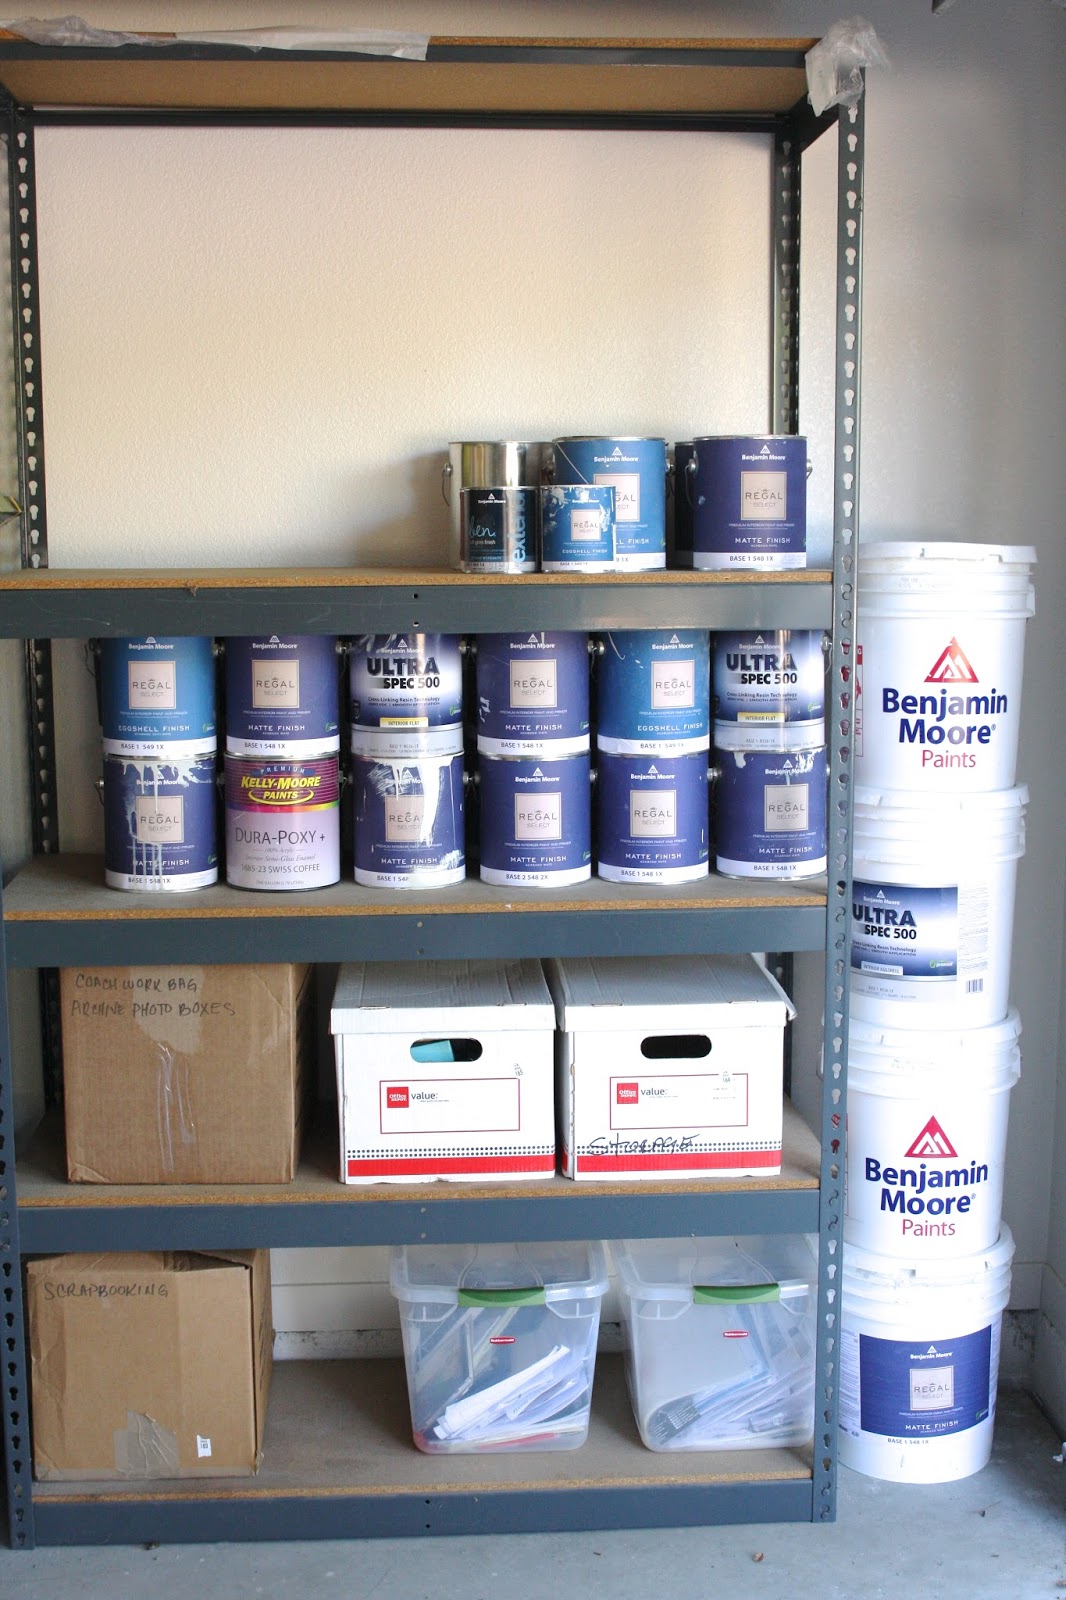
In my case, my painter left all of this (and more) smack in the middle of the freshly painted garage last month. When he left, I neatly stacked it on these shelves to get them out of the way for the movers…


Then made myself a promise to get ahold of this job right away. Good news – I made good on that promise yesterday and have to admit, it was a whole lot easier and stress-free than I thought it may be. I’m saying – it was as easy as picking up the paint cans yesterday morning and knocking out the entire job yesterday afternoon. Took me about 2 hours total, including a quick label whip-up.
I found the quart-size paint cans at home depot for only $3 each…

Then I whipped up some pretty labels with the quickness…
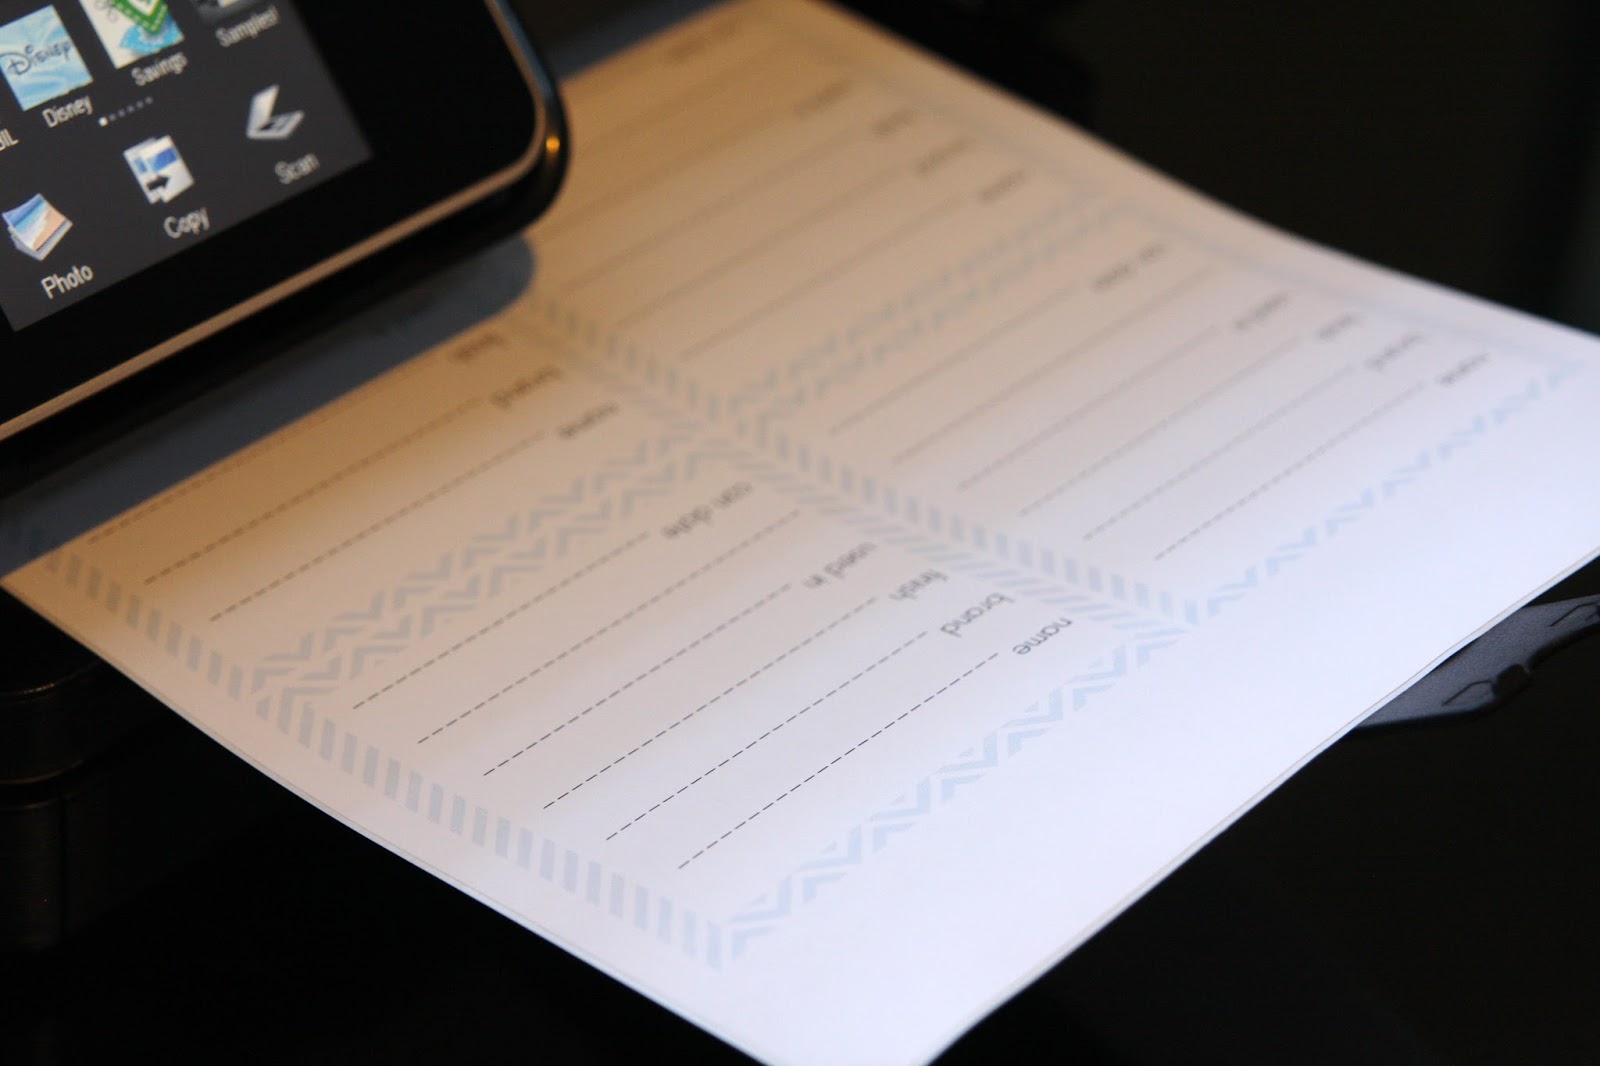

Even created a blank version…

and printed them (4 to a page) on full sheet labels…


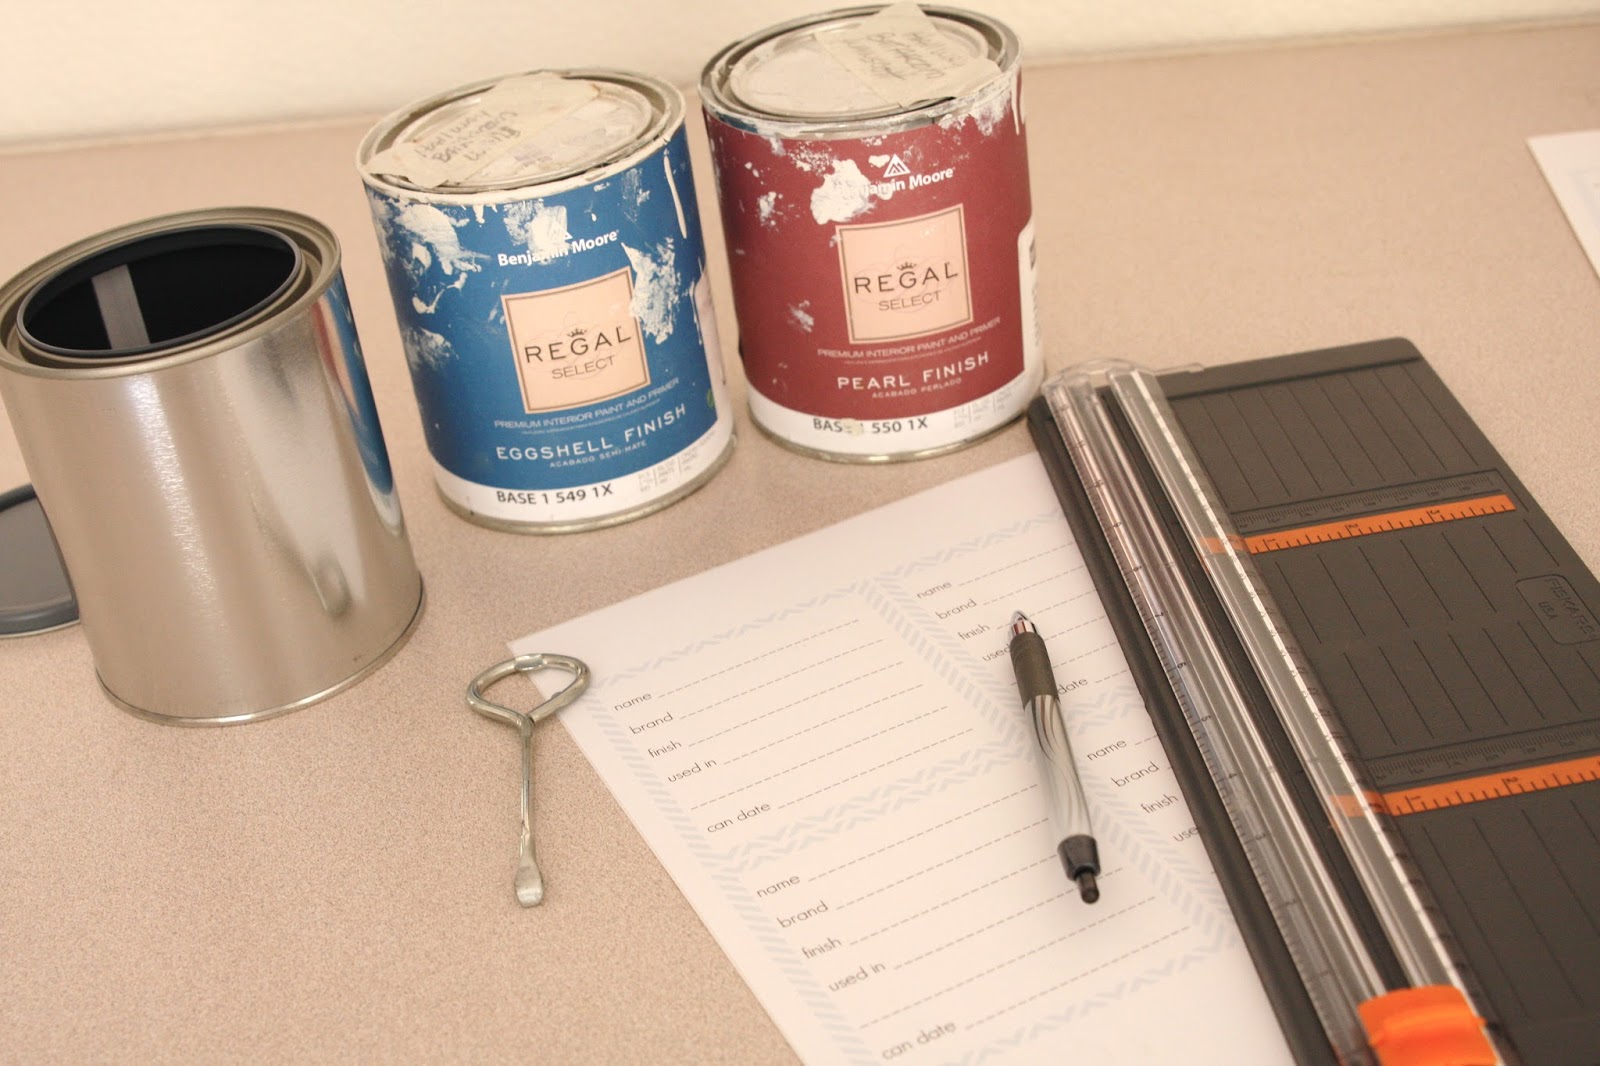
To get this job done, I emptied the shelf and stacked the paint near my work table…

To make the job even easier, I also made sure the additional supplies needed were on hand…

Supplies needed:
* empty paint cans
* labels (print for free below!)
* pen
* paper cutter
* small paint brushes
* paint can opener
* paper towels or old rags (to clean your hands or workspace)
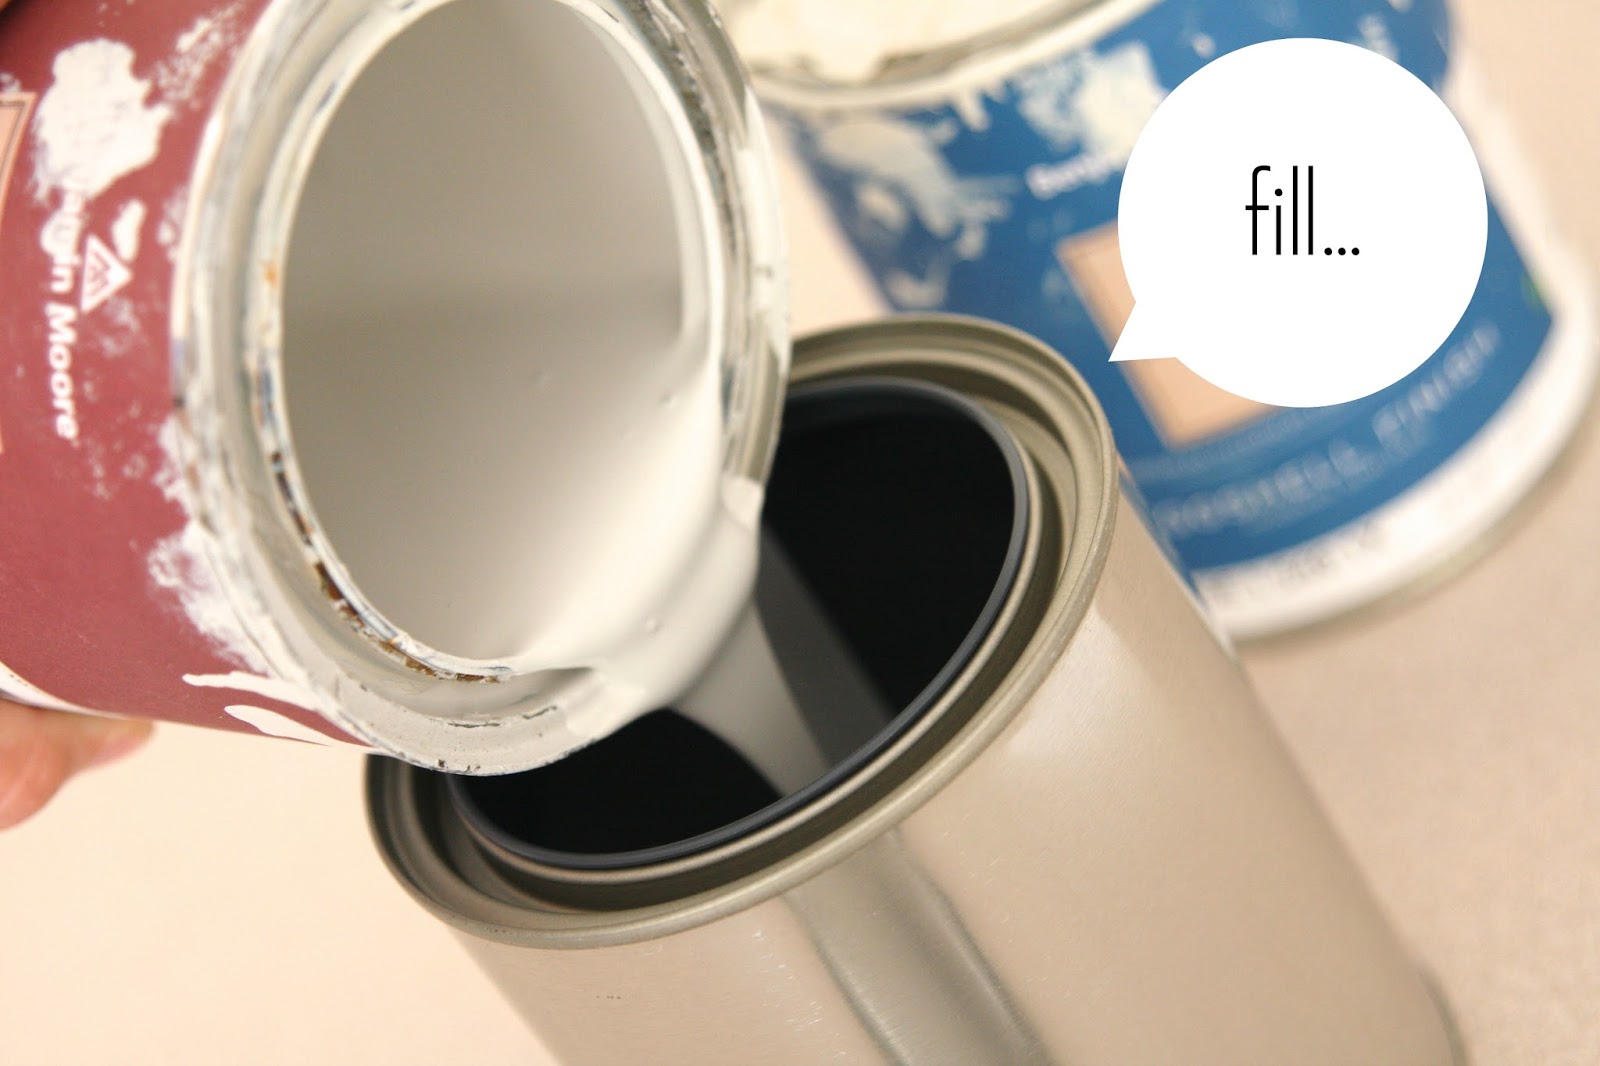
Starting with the first can…
I filled it with paint…
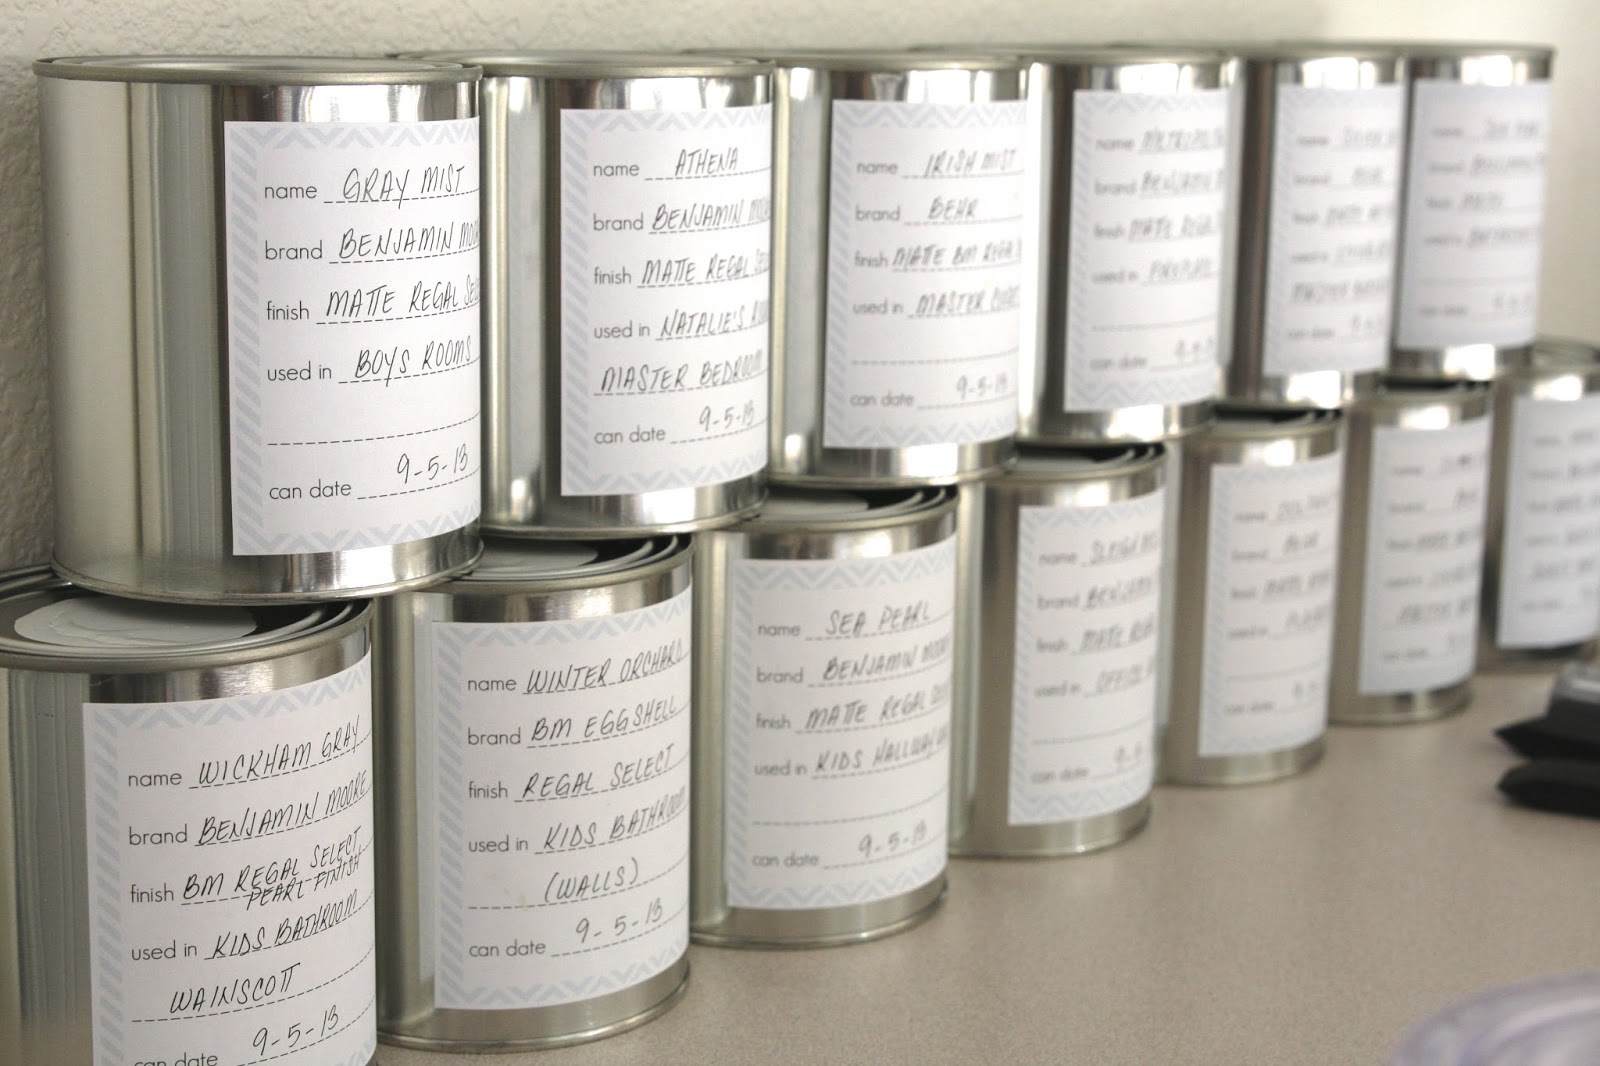
Completed the label and applied…

Hammered the lid on tight…

And finally, added a swatch of paint to the lid. This is optional…
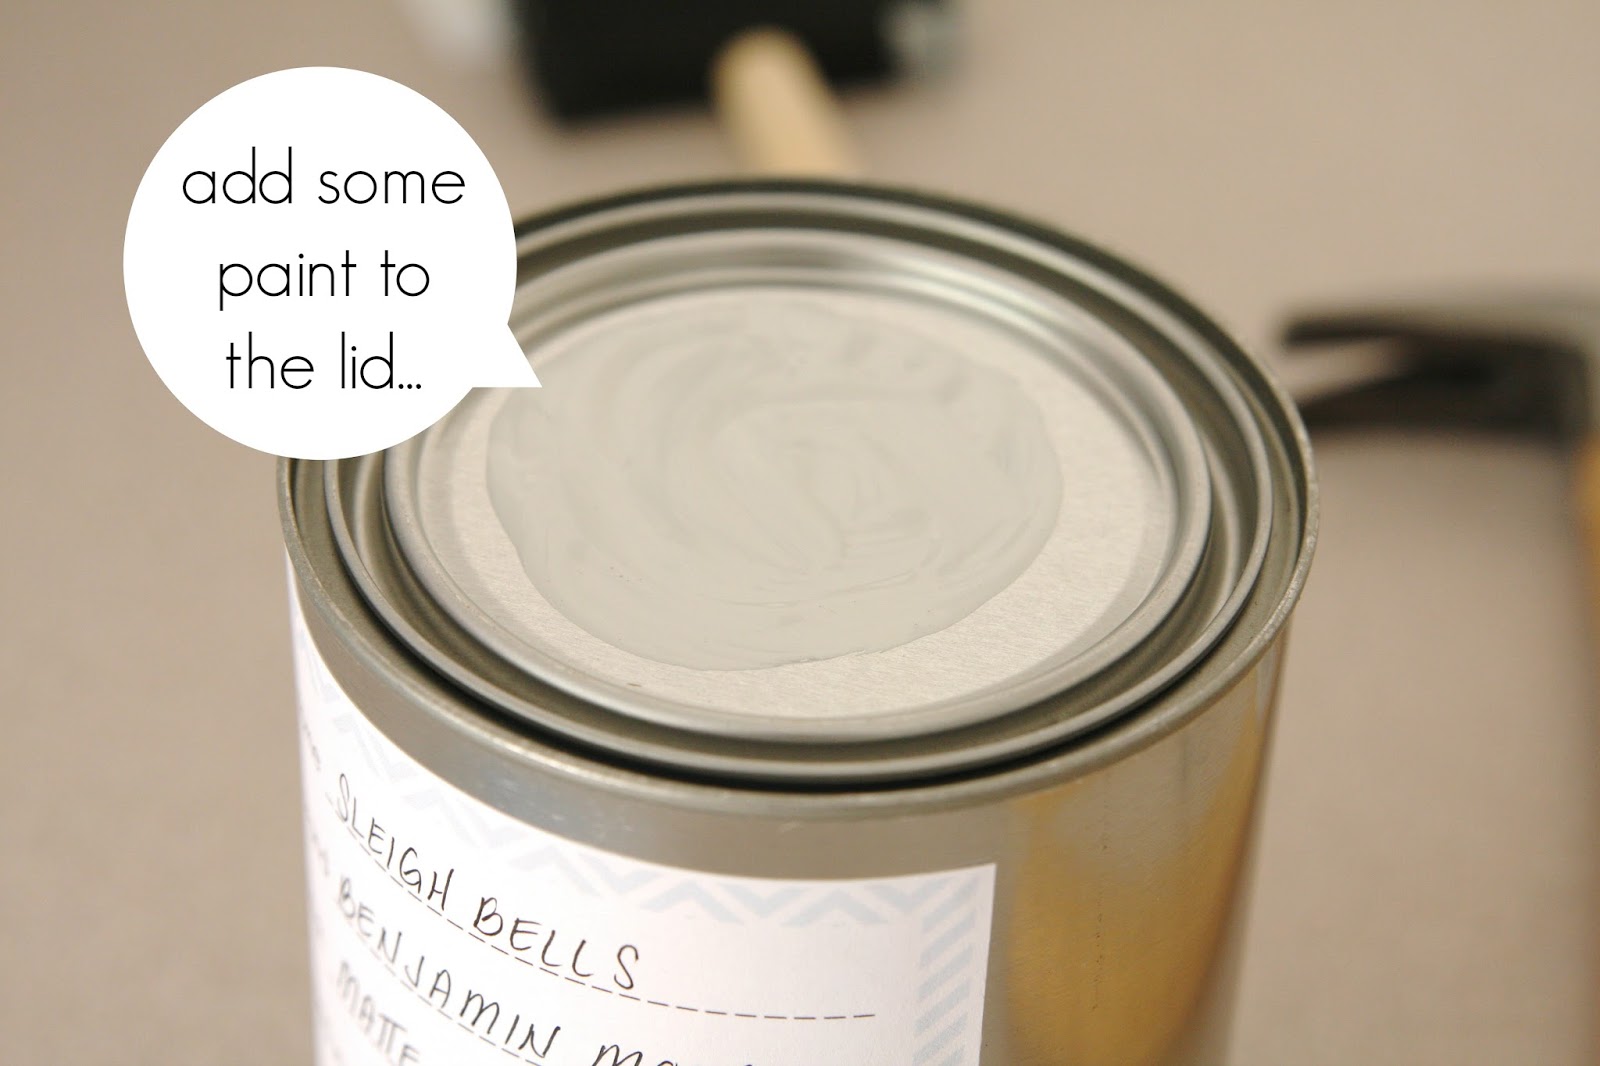
Done!…
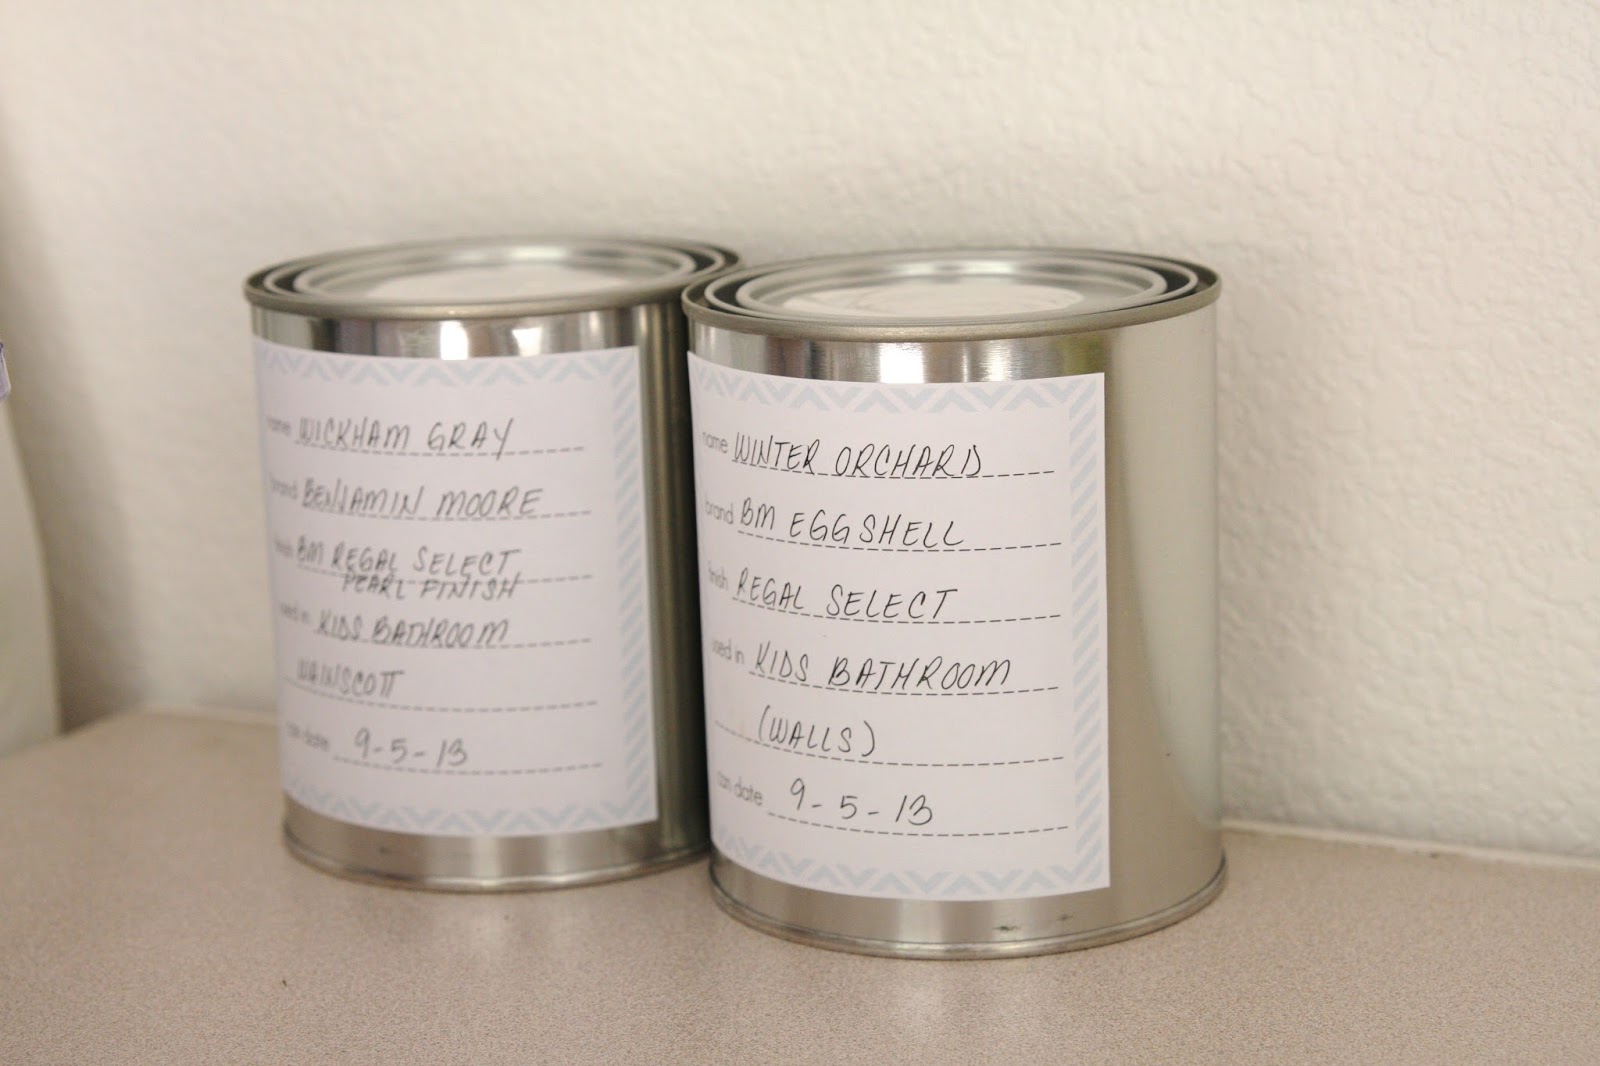
There were several cans of the same color/finish paint. Those were combined whenever possible. There were also cans with very little paint remaining. Or cans that looked “off”. Yes, already! This is the time to sort it out and get rid of anything you wouldn’t use anyway – whether good or bad.
I quickly repeated the process until I was done…

Now my paint is easy to locate when it comes time for those touch-ups. And those touch-ups will be happening soon. Between the 3 movers loading items into the house and 3 little people doing a good job being little people, there are already quite a few touch-up areas around here. All i need to do is grab a can, shake it up, and touch-up. Done.

…well, sort of! 😉 I still need Martha in my life.
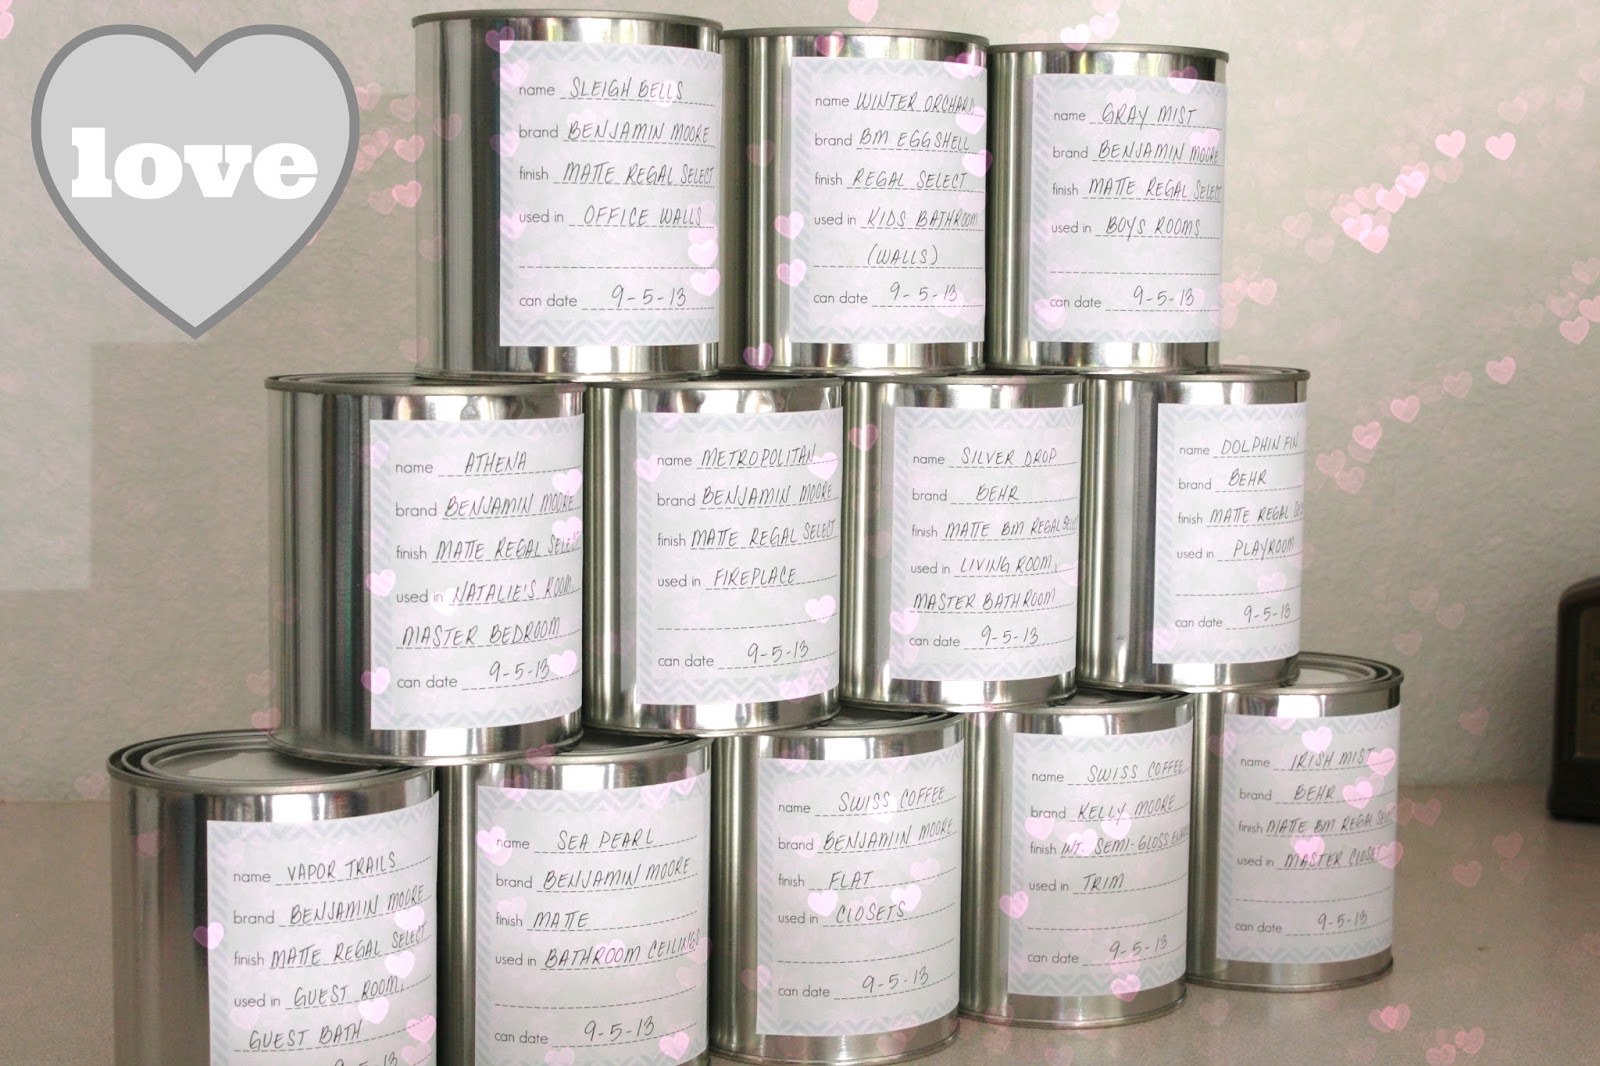
When the job was complete, I used the same cardboard carrier that came with the cans to corral my stash…


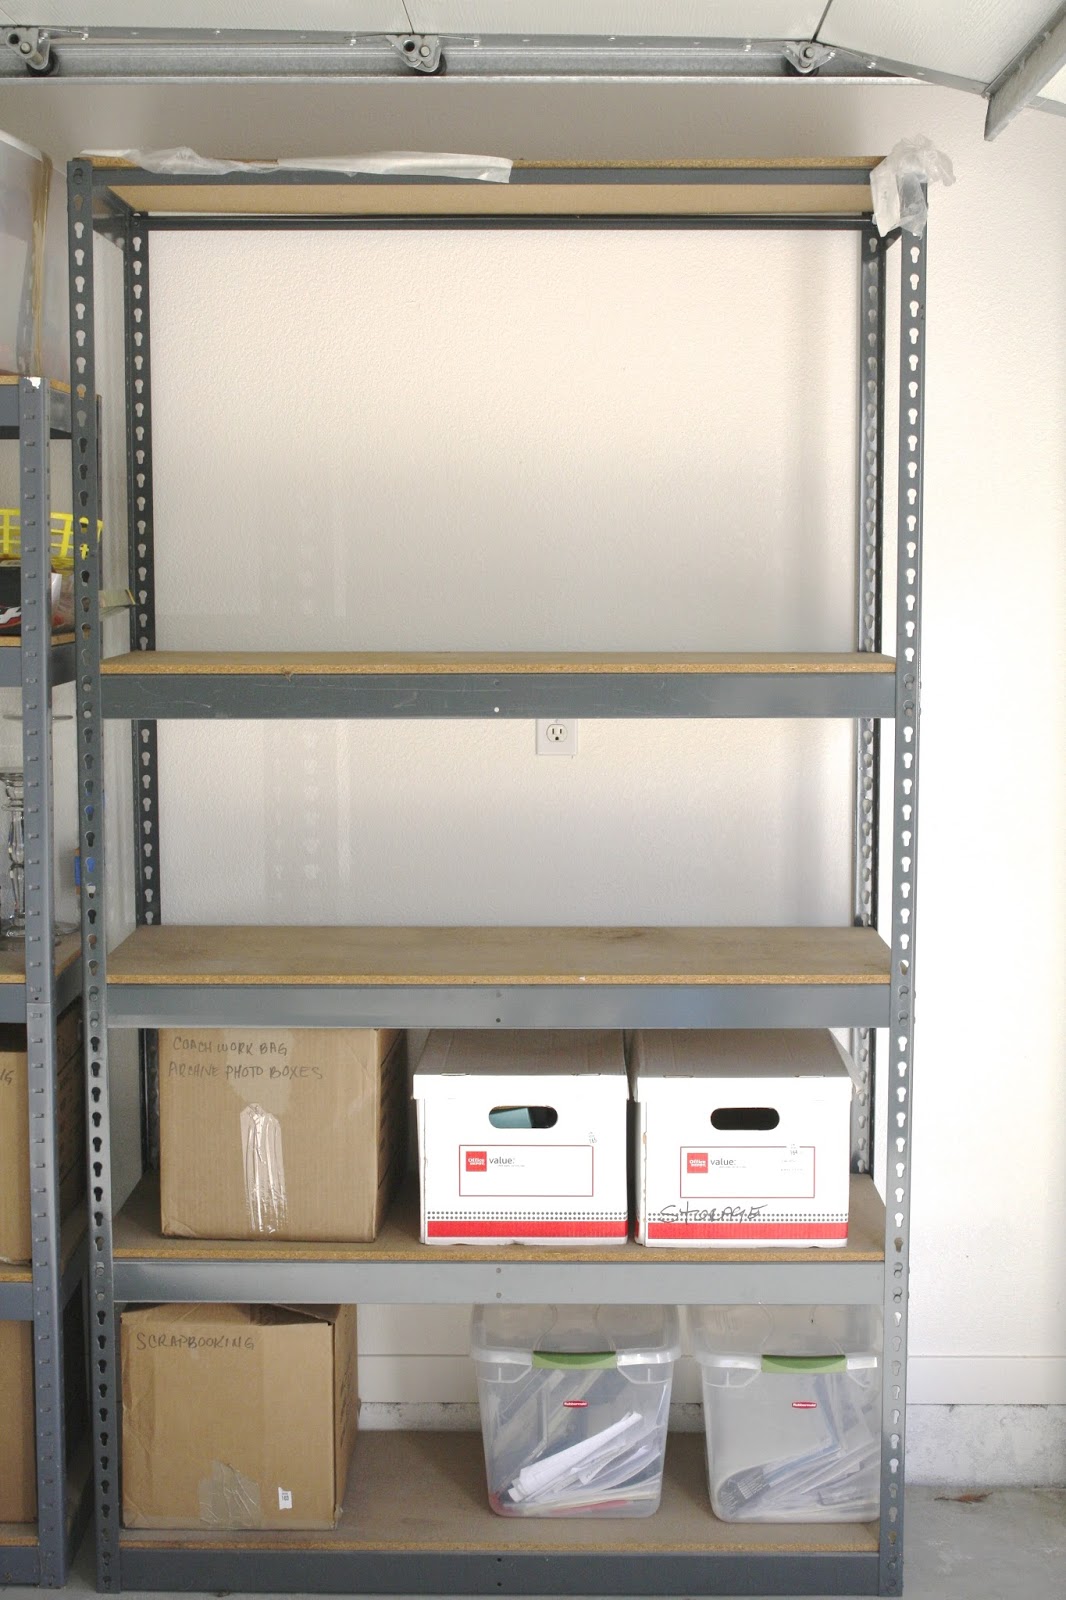
Then stacked them neatly on the same garage shelf…


Can you believe the space saved by condensing?…


Pure heaven for this organizer!
The remaining paint is being disposed of in the appropriate city location. In the meantime, I walk past that shelf and fall in love a little deeper each time…
If you’d like to fall in love too … or just be happy to have organized paint in your life … you can print the simple labels right here…
…and maybe tackle your paint stash today or this weekend! enjoy!
In case you missed how these paint colors look on an actual wall (we know that helps a ton!), I shared my interior paint colors right here!
This really couldn't have been a better time to post this–yesterday I started cleaning out and organizing the cupboards & storage closet at the real estate office I manage, and one of my biggest frustrations is the huge paint cans that are less than half full taking up the whole left side of the shelves–this is the perfect solution!
Thanks Sam!
Visiting from LorimerLiving.Blogspot.Com
XO, Jaclyn
Oh, I'm in love with this entire project. The sad part for me is that we are currently renting and I don't have the opportunity to paint anything right now. 🙁 But this solution is perfect and I'll be tucking it away. Everything you touch turns to beautiful!!!
tHey look great all the same.
But, I have to make a correction: I think the "paint the lid" is before hammering it, right ?