Before moving into this house nearly 2 years ago, every surface was freshly painted. There’s nothing better than moving into a home with a clean slate. But I knew with 3 kids living here, perfect walls wouldn’t last long. Even in the garage!

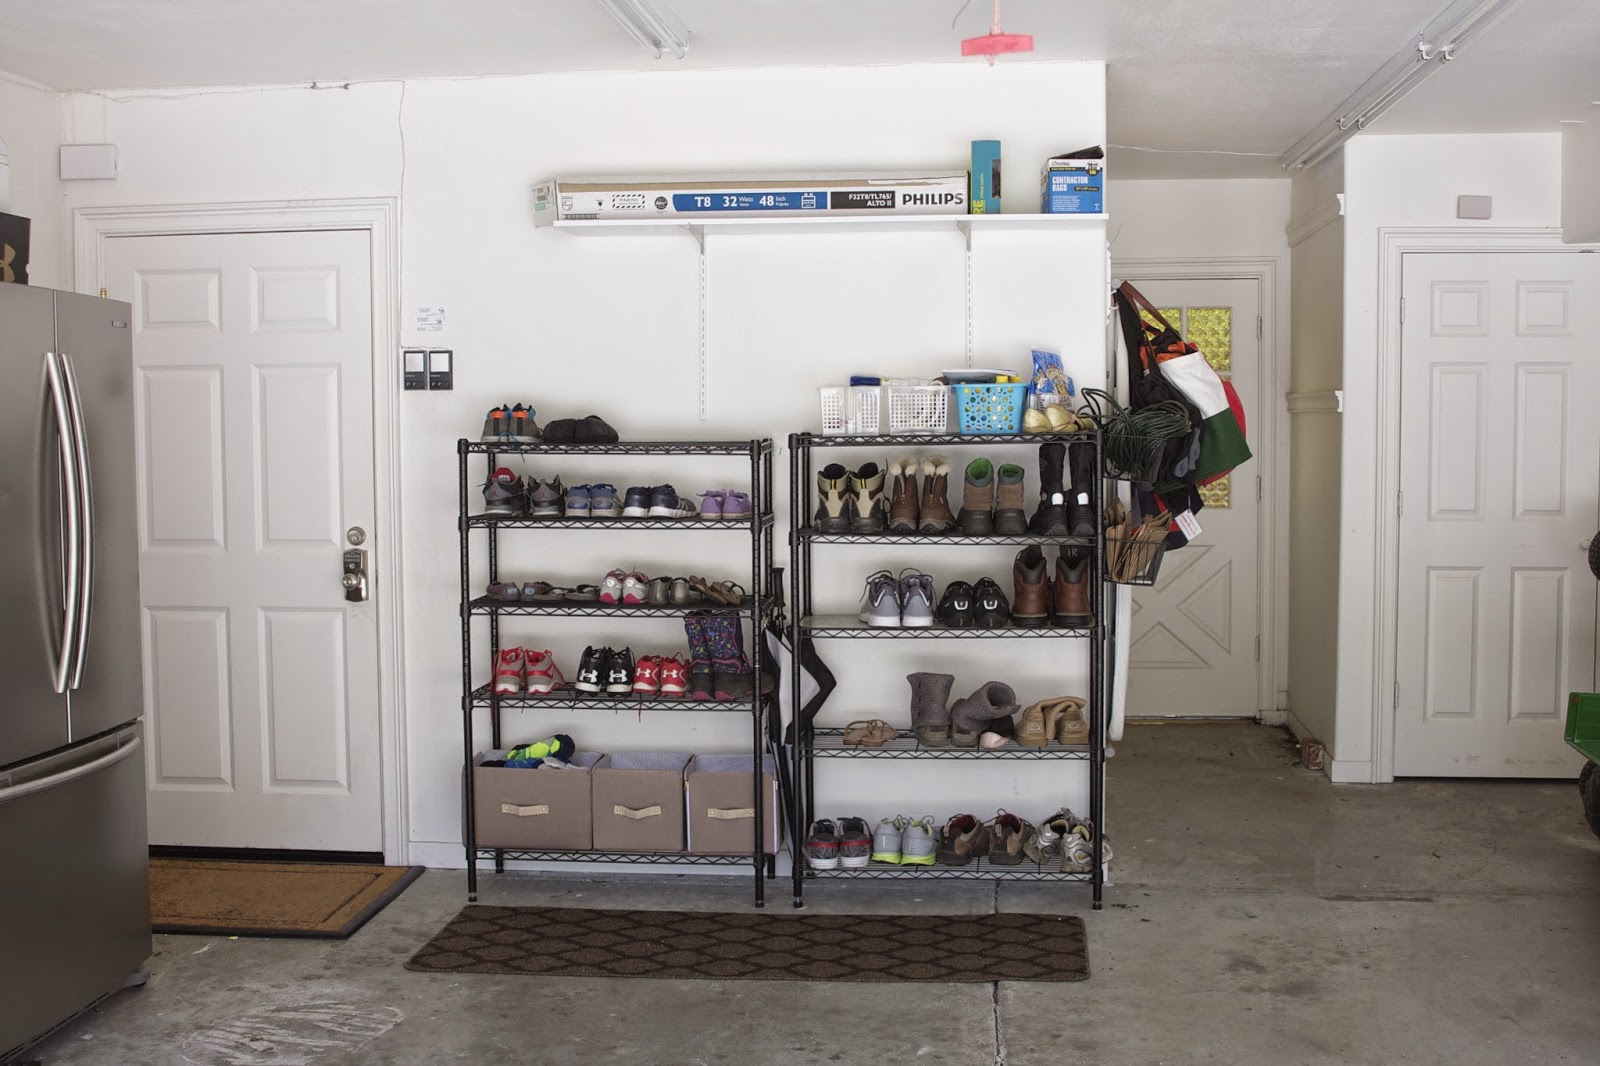
But this wall could be working harder. Yes, leave it to me to find a reason to organize a space that will eventually be re-organized / built-out again. Ha! Anyway, I’ve turned my organization focus at home to our garage because we use it so much and in the recent months have noticed what is and isn’t working. Over the next few months you’ll see the garage transform. It’s a great large space, but like I do with my clients, we are starting with the hot spot first. And our most “loved” spot in the garage is this wall.
First of all, this upper section isn’t functioning well…
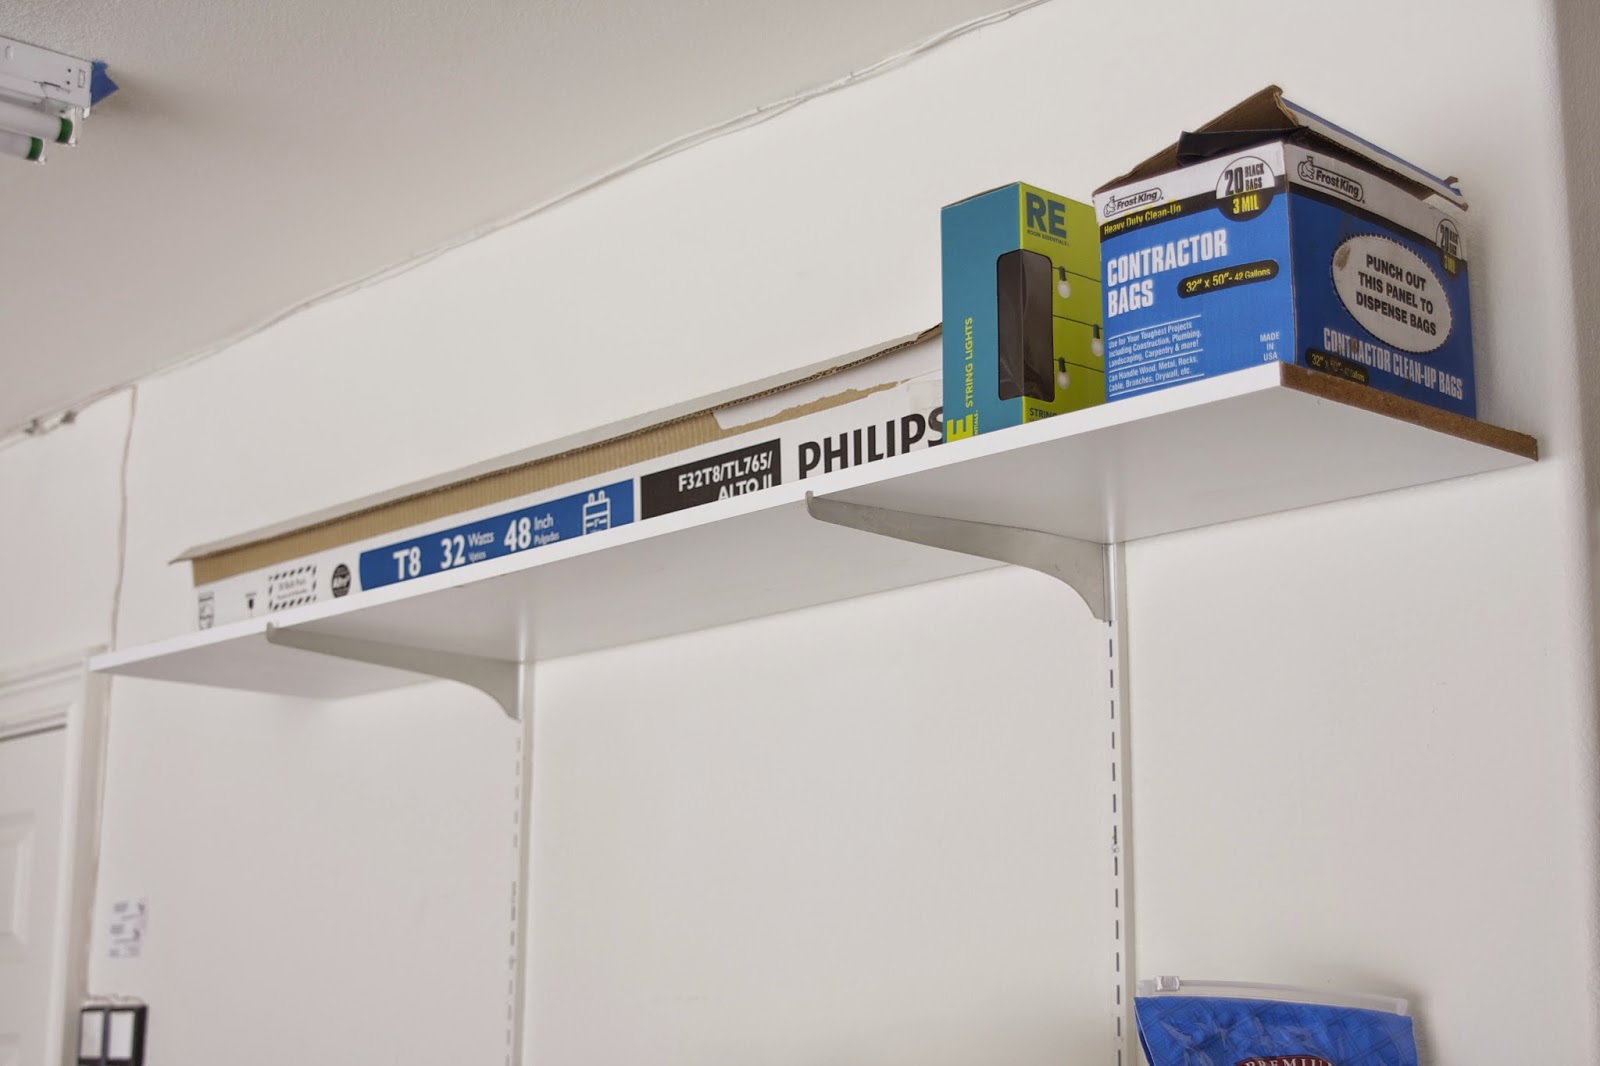
The previous owner added a very short wall mounted system. There was a second shelf at one point but it kept falling off the brackets with the kids slamming the door to the garage. I finally removed the shelf altogether (to keep people safe) and left the one remaining shelf at the top that you see here…
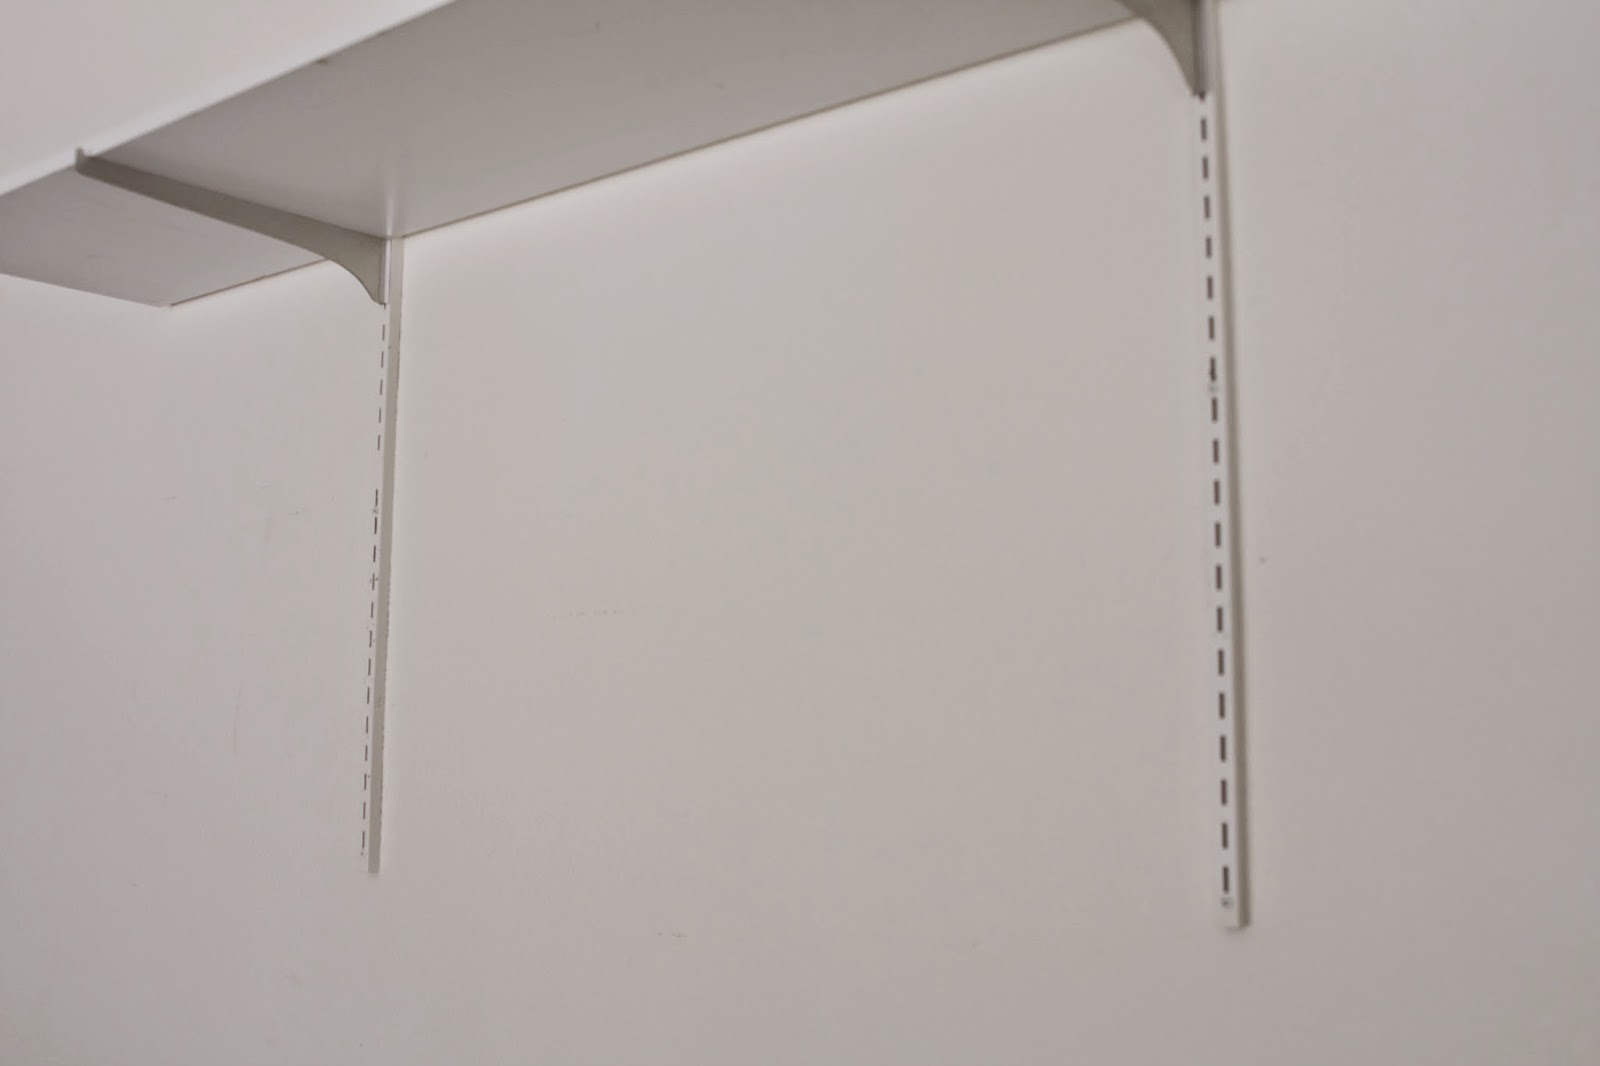
Before adding a new system to the wall, this needed to be removed…
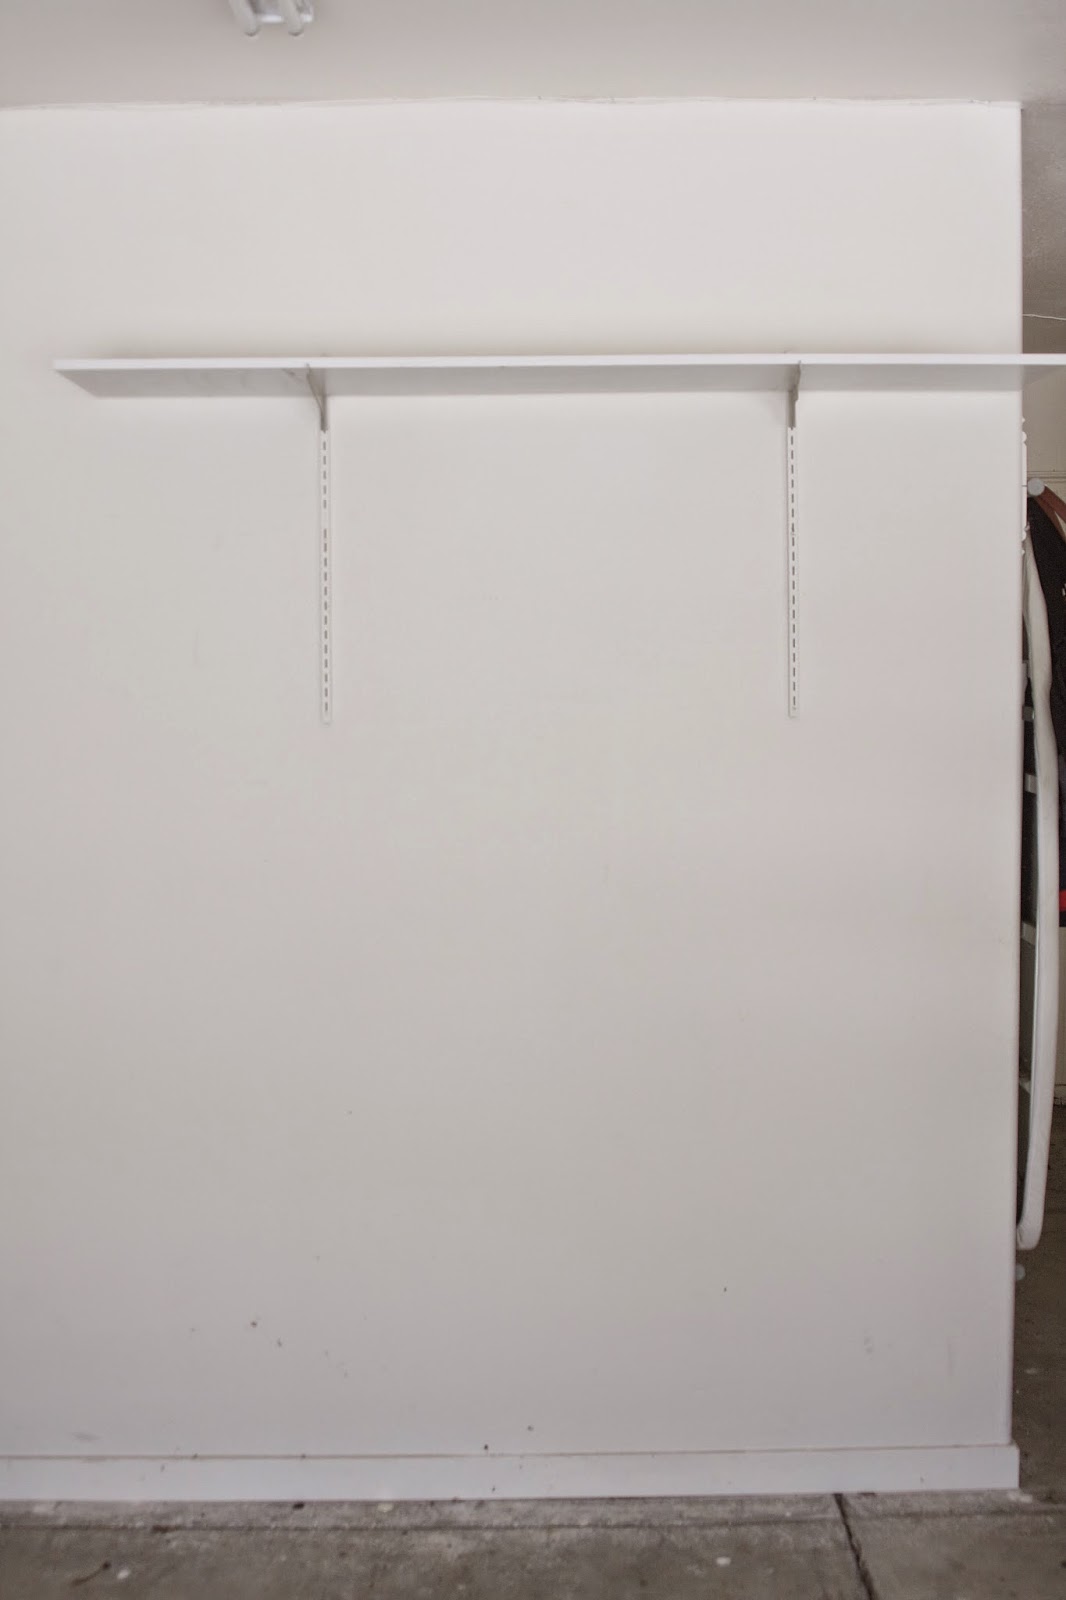
Next I wanted to do a quick patch and paint job. You can see the wall needed a touch up after removing the vertical pieces…

The wall was also showing wear and tear at the bottom…
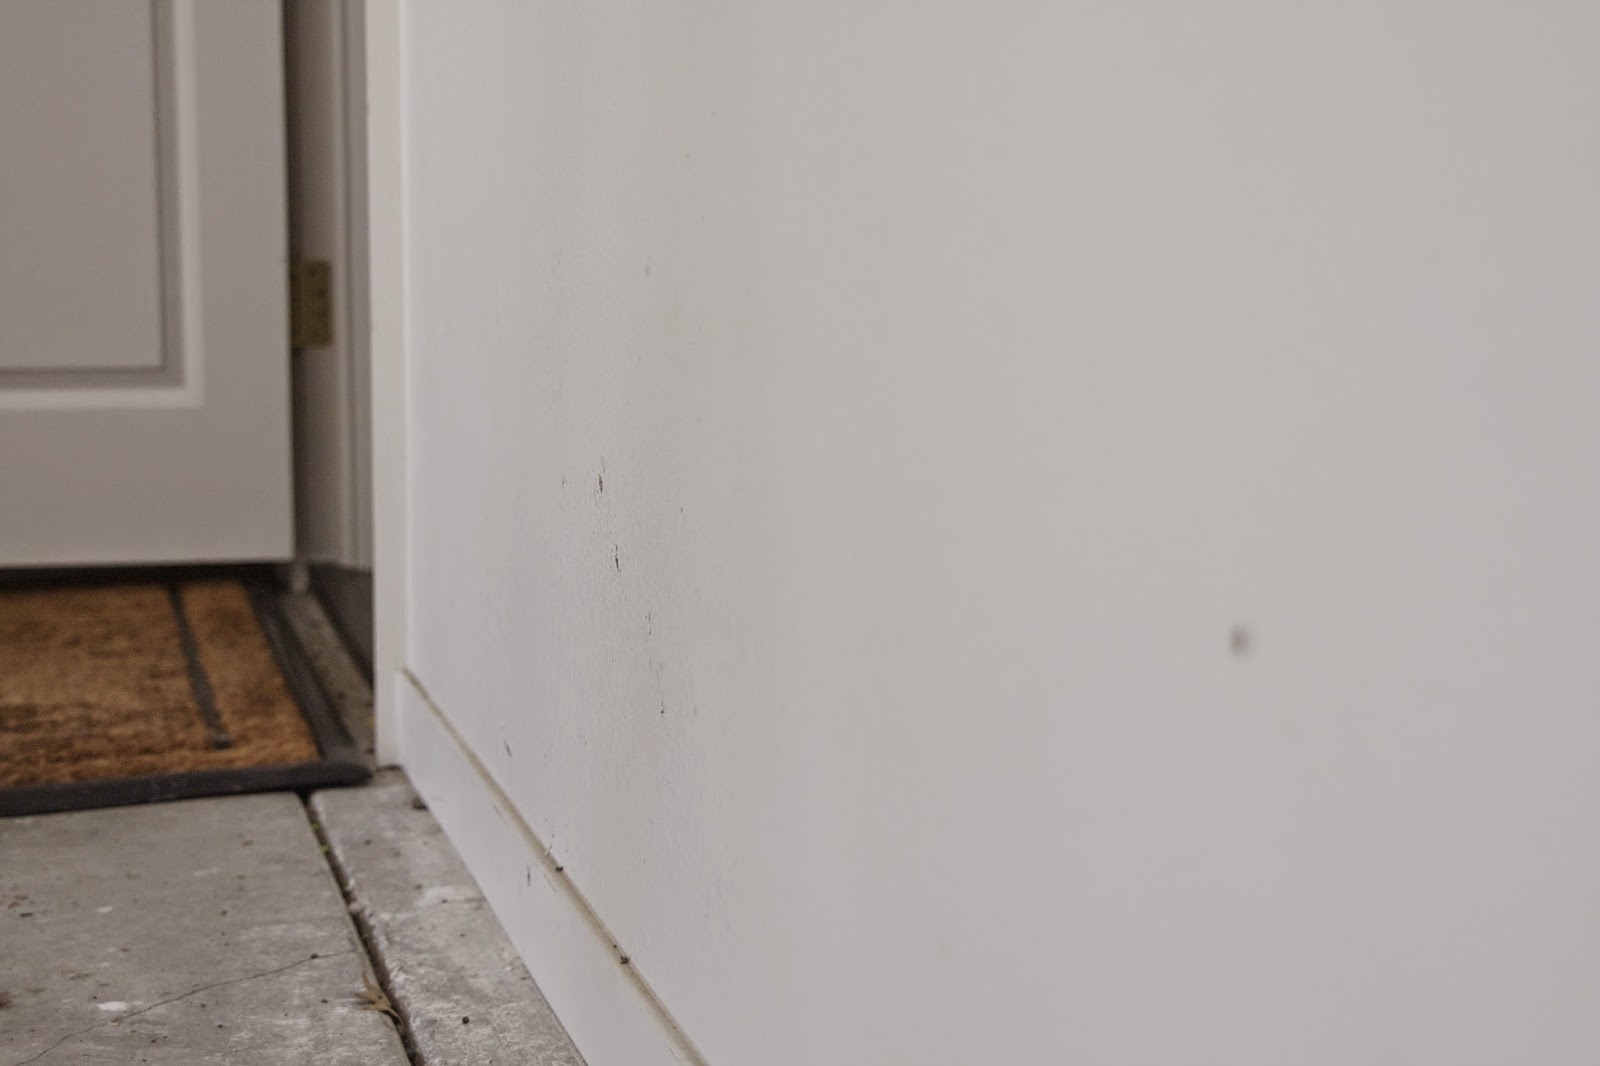
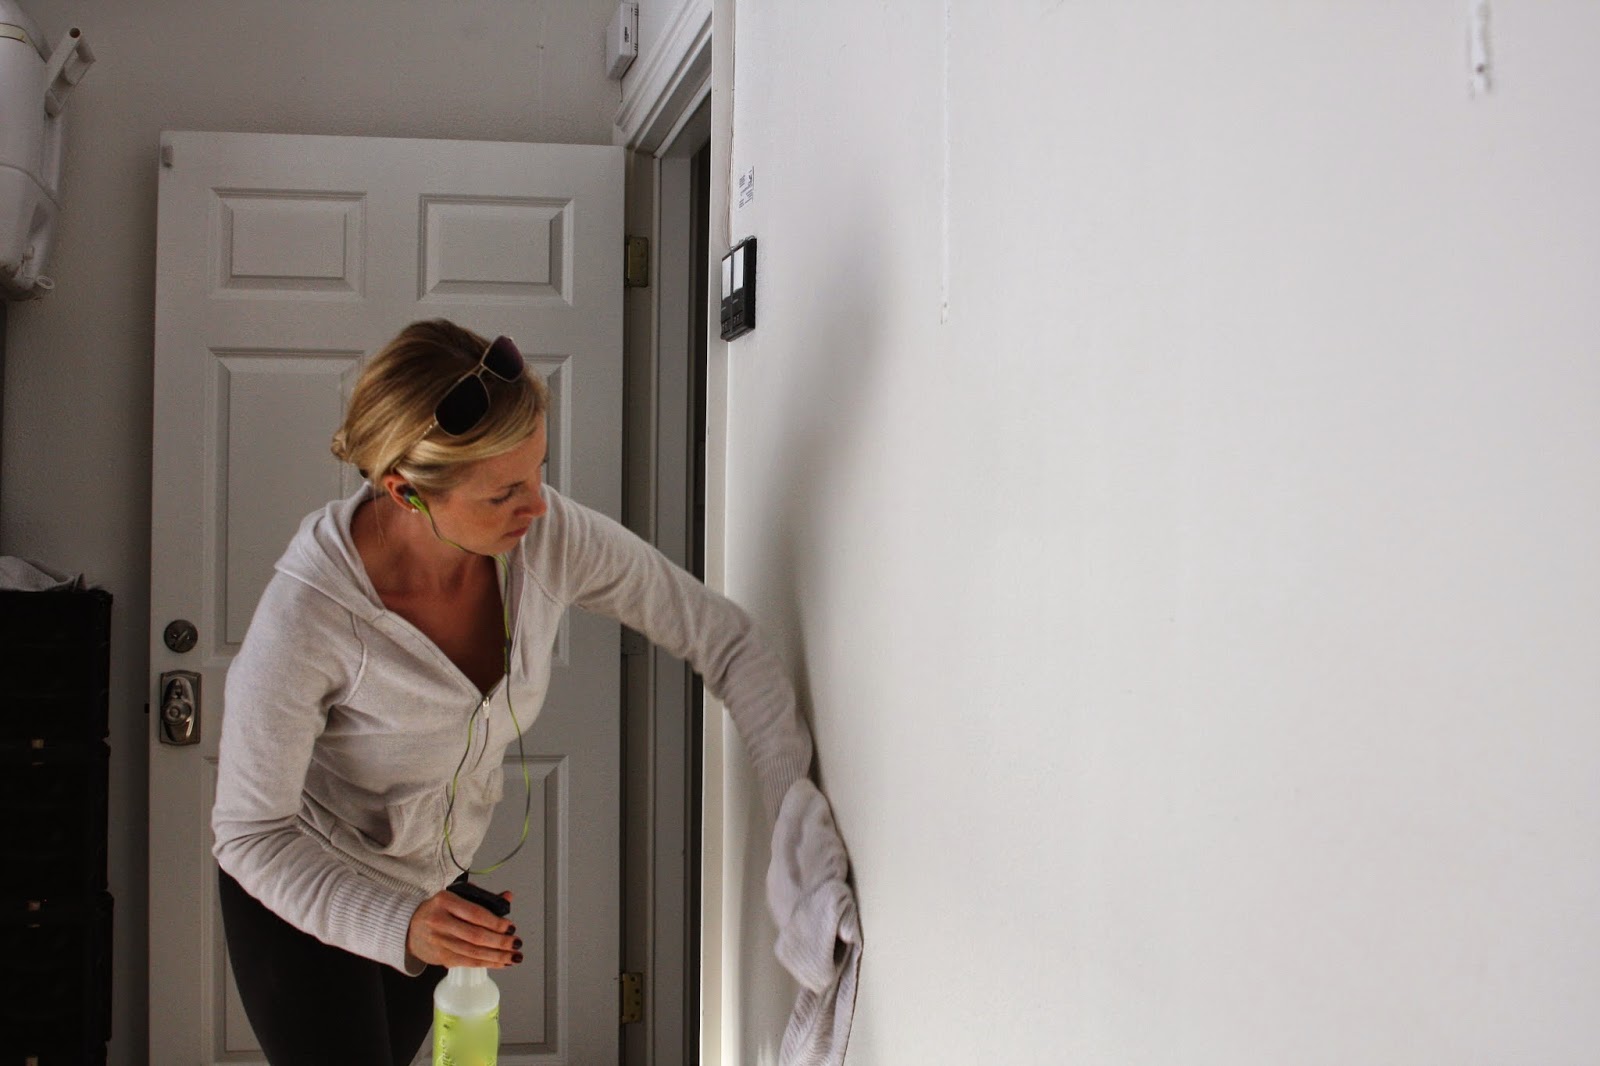
To start, I cleaned the wall to remove any dirt…there was a lot…
Then I patched over holes and dings using spackle…

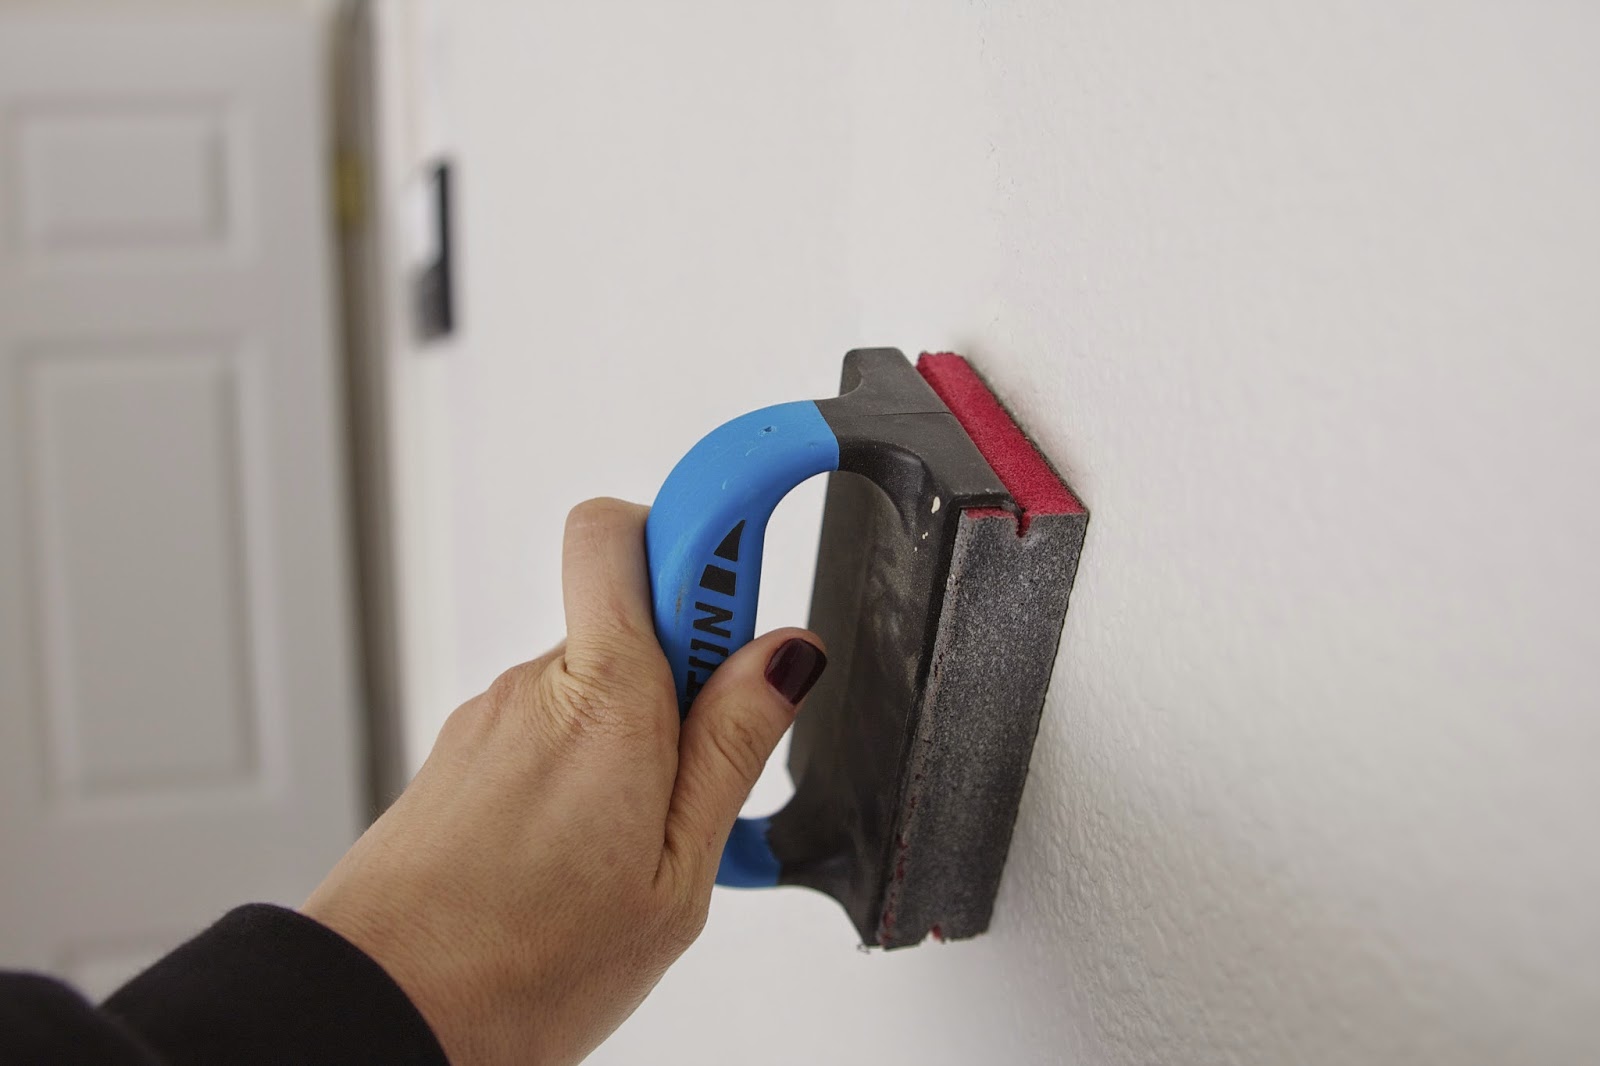
I left the spackle to dry overnight and the next day rolled up my sleeves ready to paint. Recently I’ve been itching to paint something, so this project hit the spot! Using a fine grain sand paper, I removed the excess dry spackle…
And I sealed off a few sections of the wall with FrogTape®…
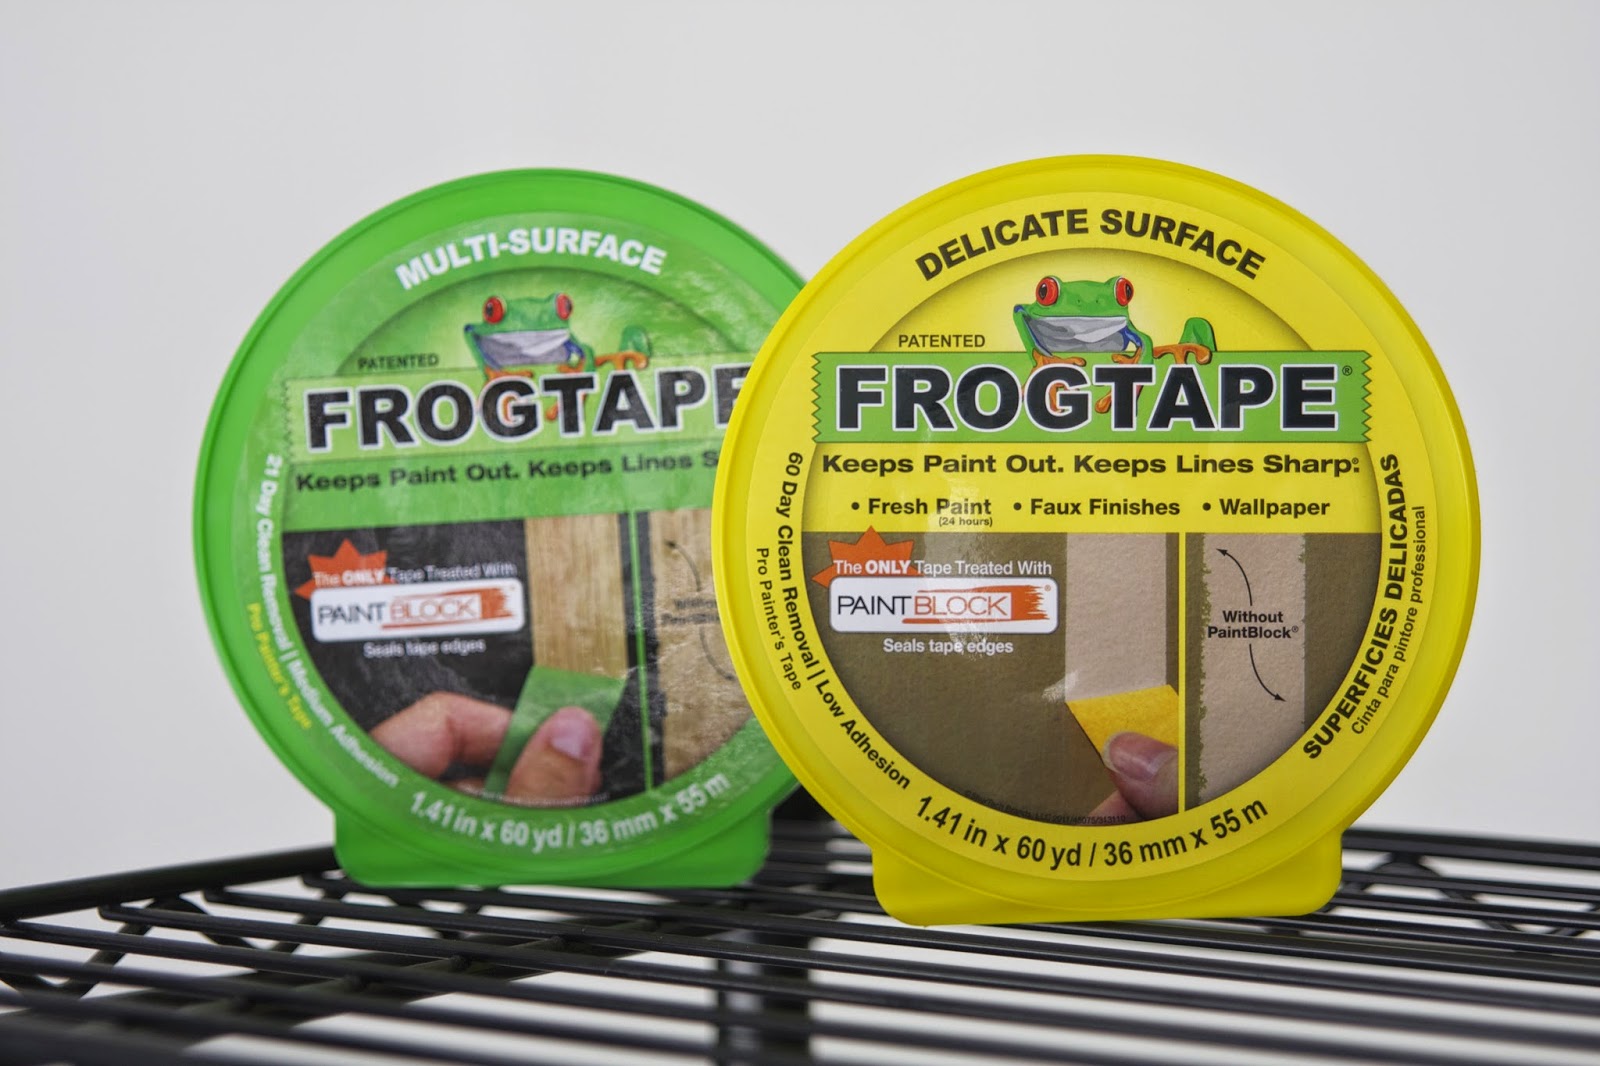
FrogTape® brand painter’s tape
FrogTape® offers several varieties of tape, but these 2 products in particular are my go-to’s for a painting project. Depending on what you’re painting, they’ve got you covered. For example, if you’re looking for a medium-adhesion tape, you would go with Multi-Surface, which works on cured walls, wood trim, glass and metal. The tape removes cleanly from most surfaces for up to 21 days and 7 days in direct sunlight.
If you need a low-adhesion painter’s tape, then you’ll use Delicate Surface, which works on freshly painted walls, faux finishes, primed wallboard and wallpaper. This tape removes cleanly for up to 60 days!
Since I was painting the wall using a flat finish paint, and the base moulding and door jam are a semi-gloss, I wanted to protect that semi-gloss finish. Even though all the surfaces out here are essentially the same color, by using the Delicate Surface FrogTape with PaintBlock® Technology, I was assured the flat paint wouldn’t bleed onto the semi-gloss.
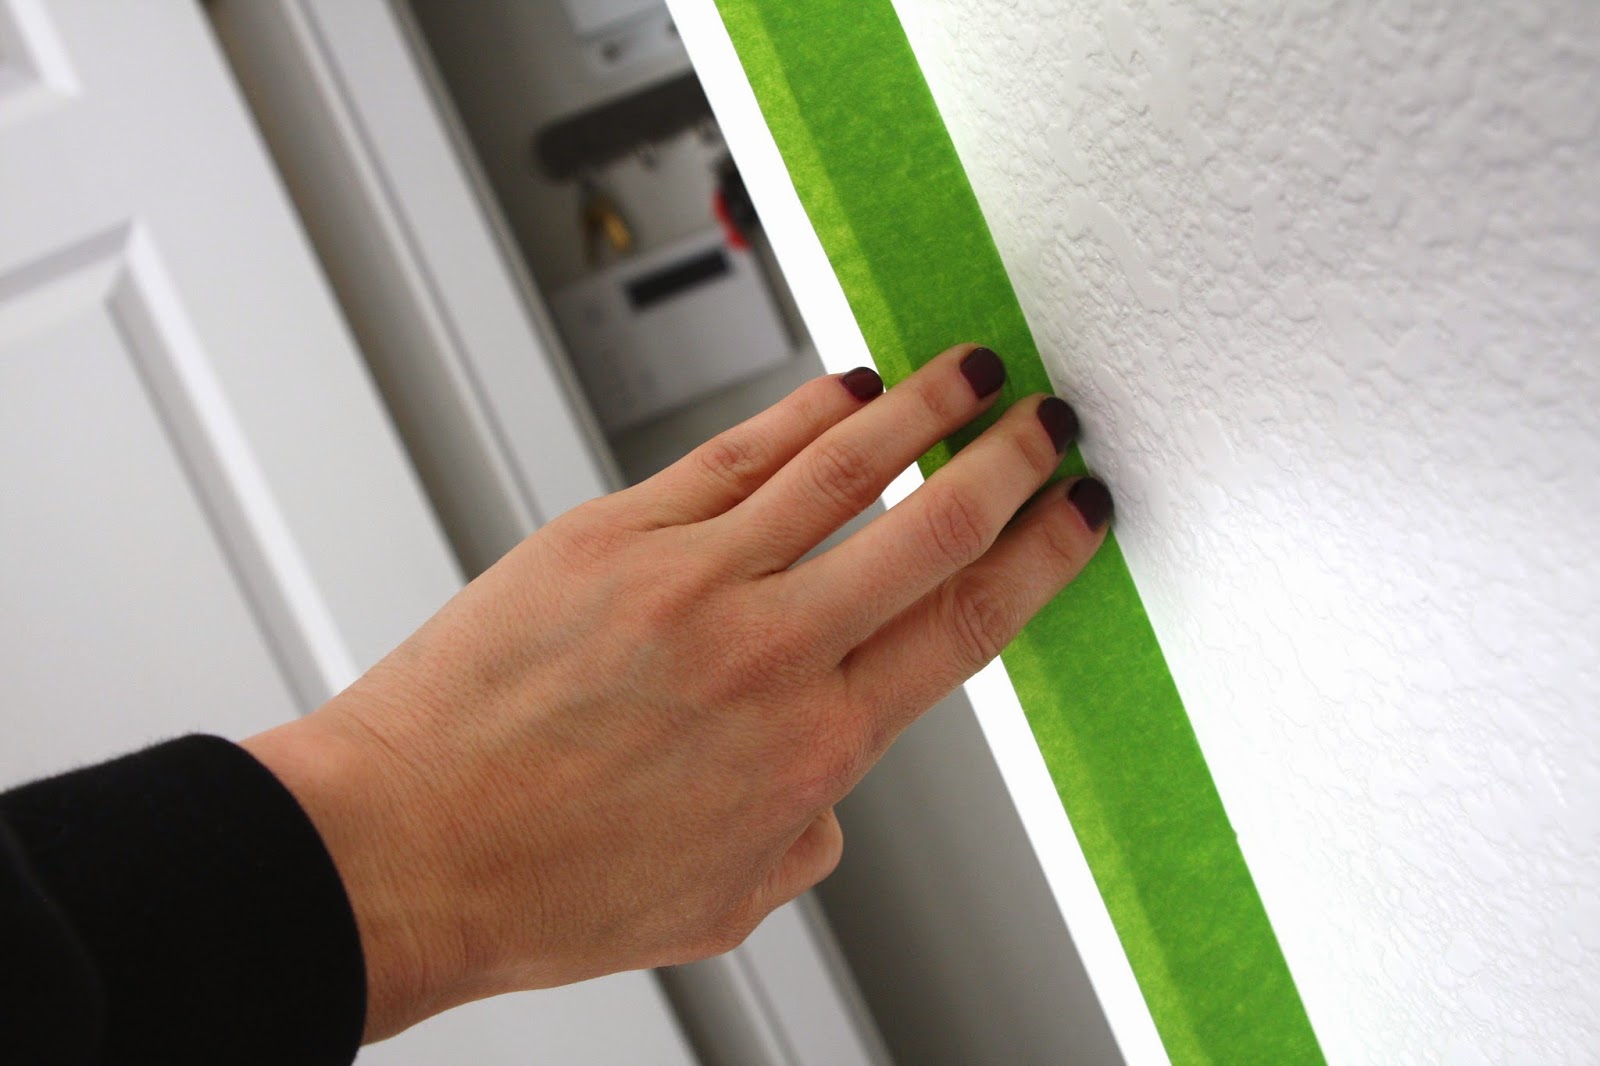
Applying FrogTape is simple!…
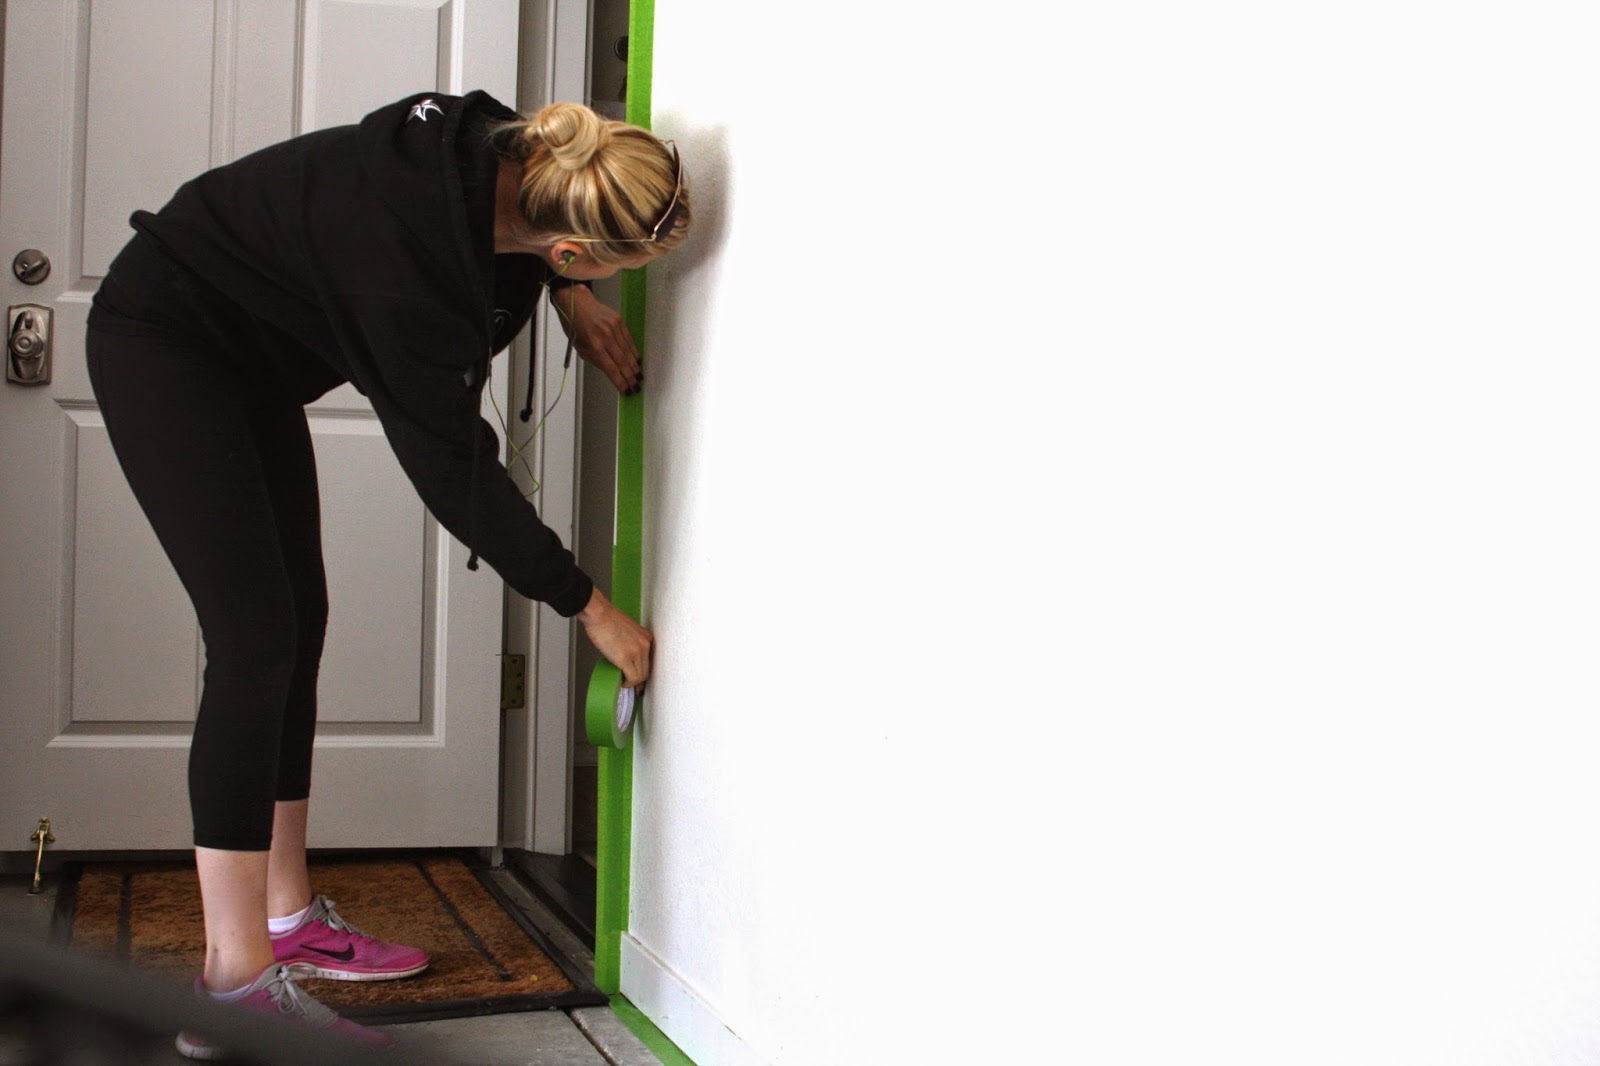
What works best for me is tearing off long sections and overlapping them a bit. Then press firmly to make sure you’re engaging that awesome PaintBlock® Technology!…
Once I was taped off, it was time to cut in…
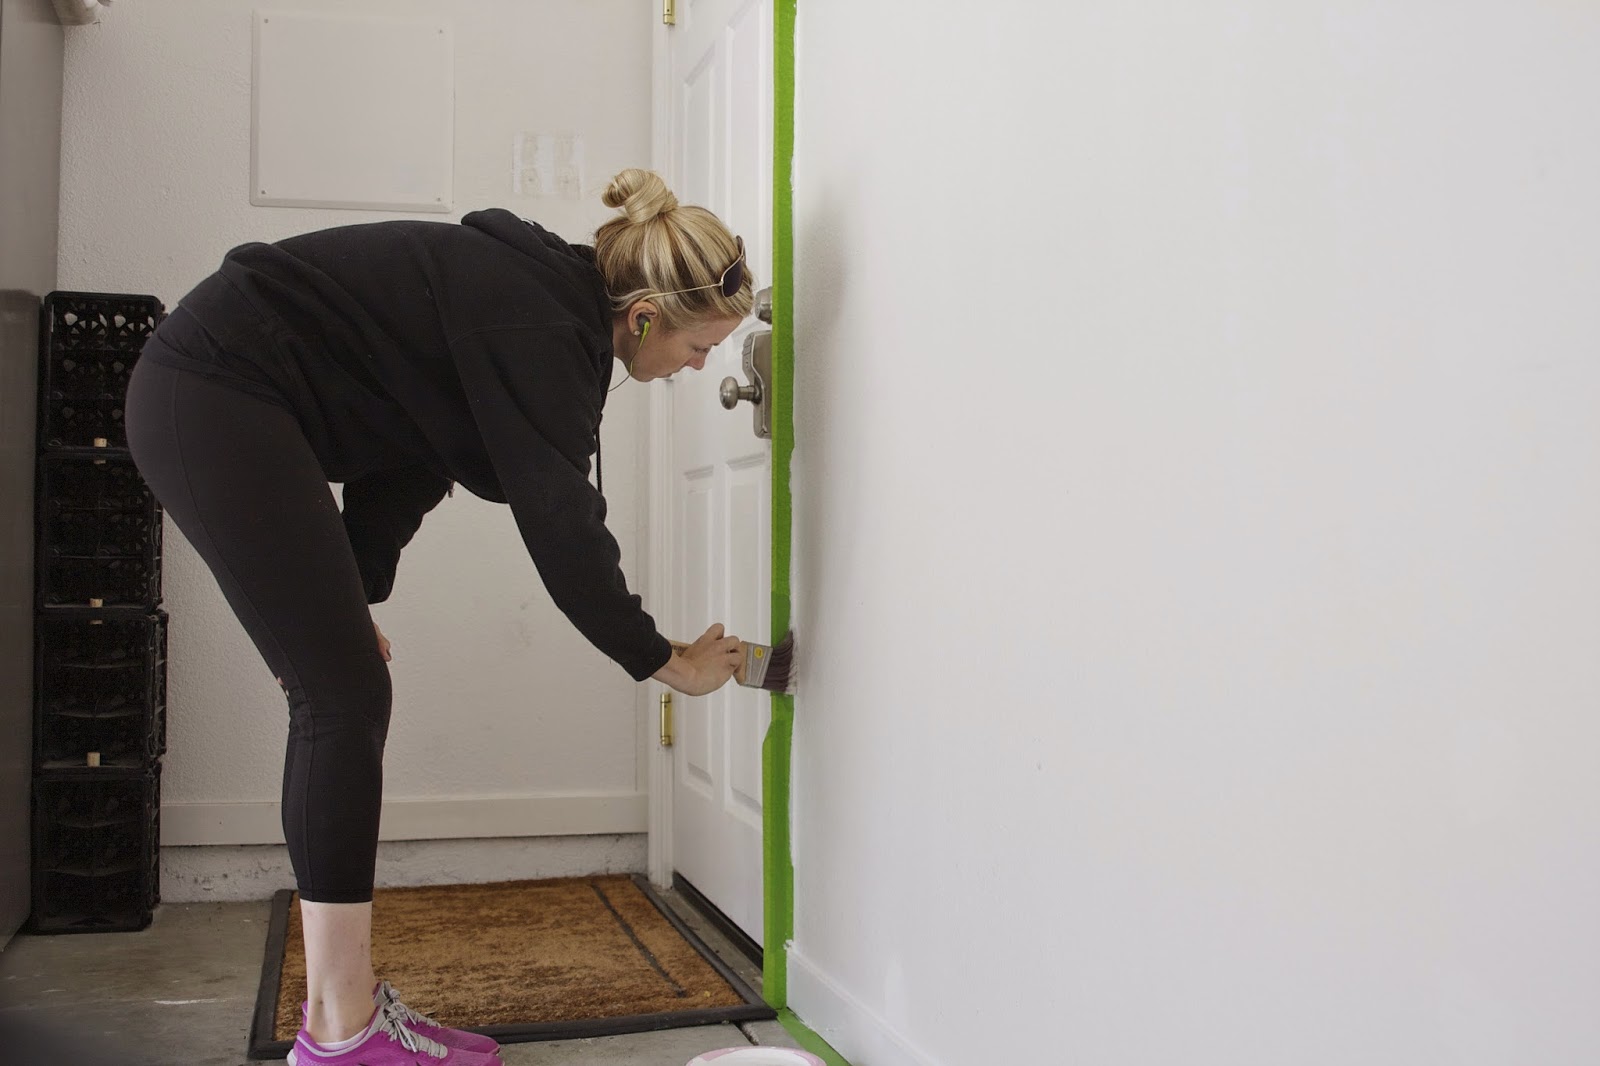
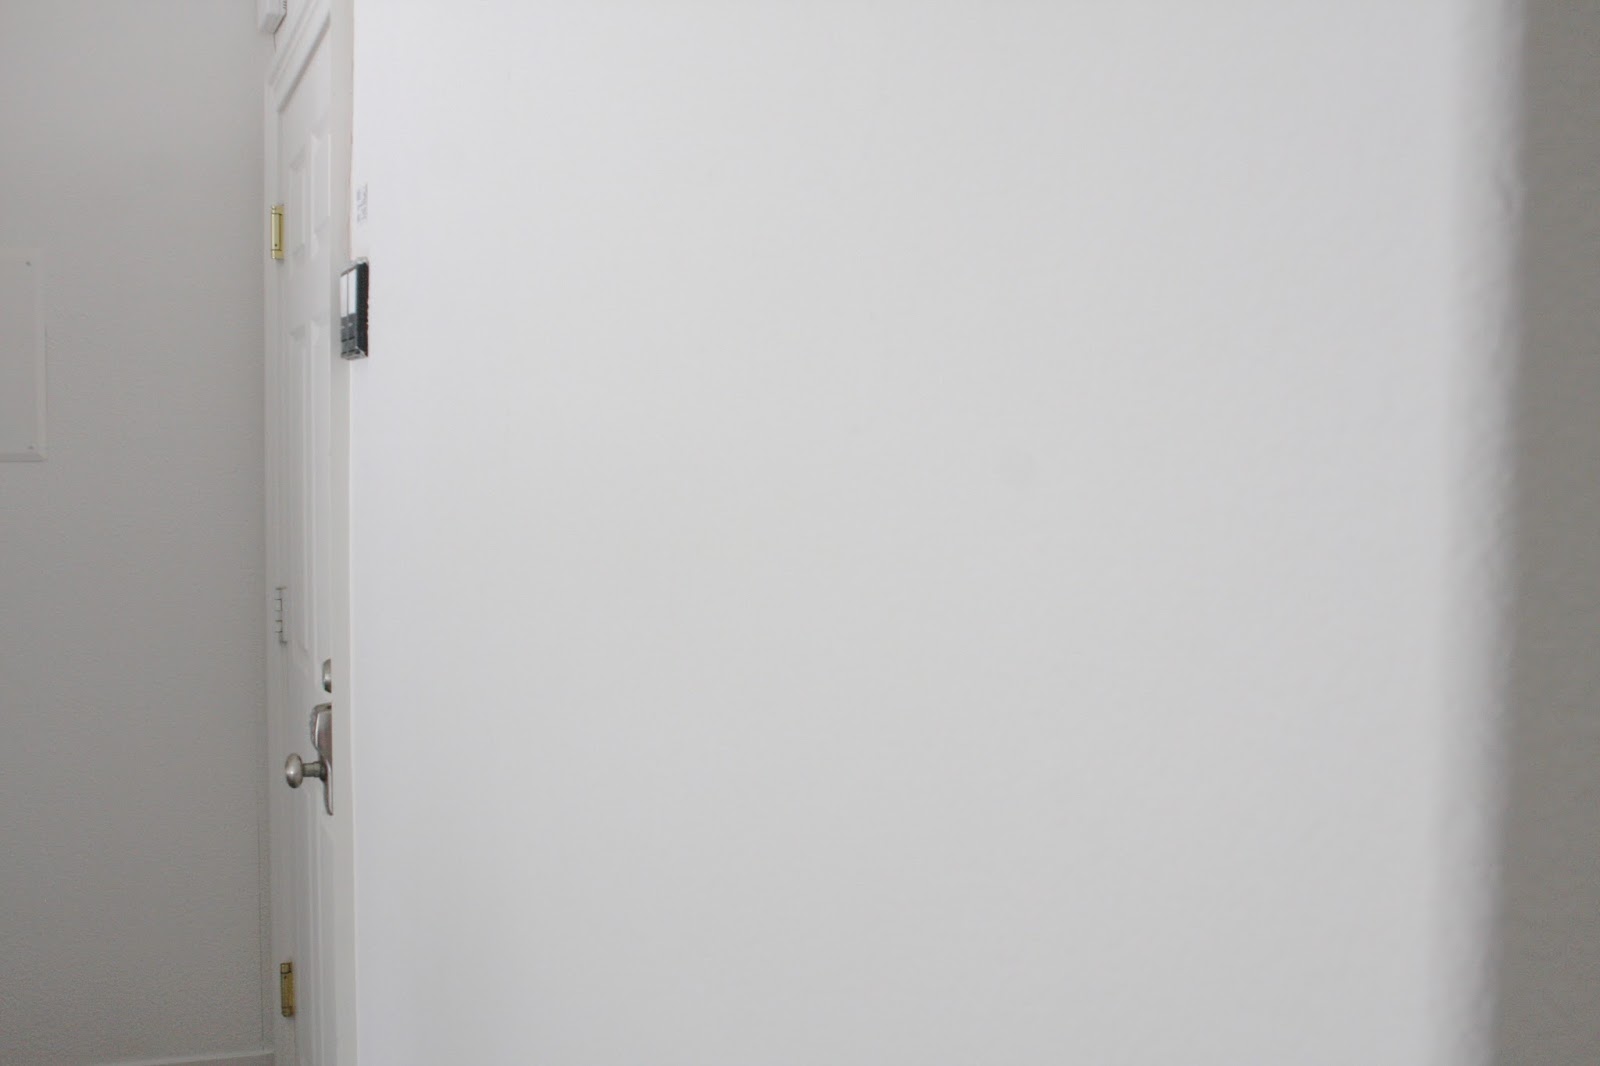
I cut in around the edges of the wall first and then used a roller to fill in the middle. (2 coats of Benjamin Moore Swiss Coffee, in case you’re wondering what color I chose.) After allowing the paint to dry overnight, I peeled the painters tape off the wall…


Comes off clean! This wall looks amazing…a blank, fresh slate and ready for a new DIY garage mudroom…

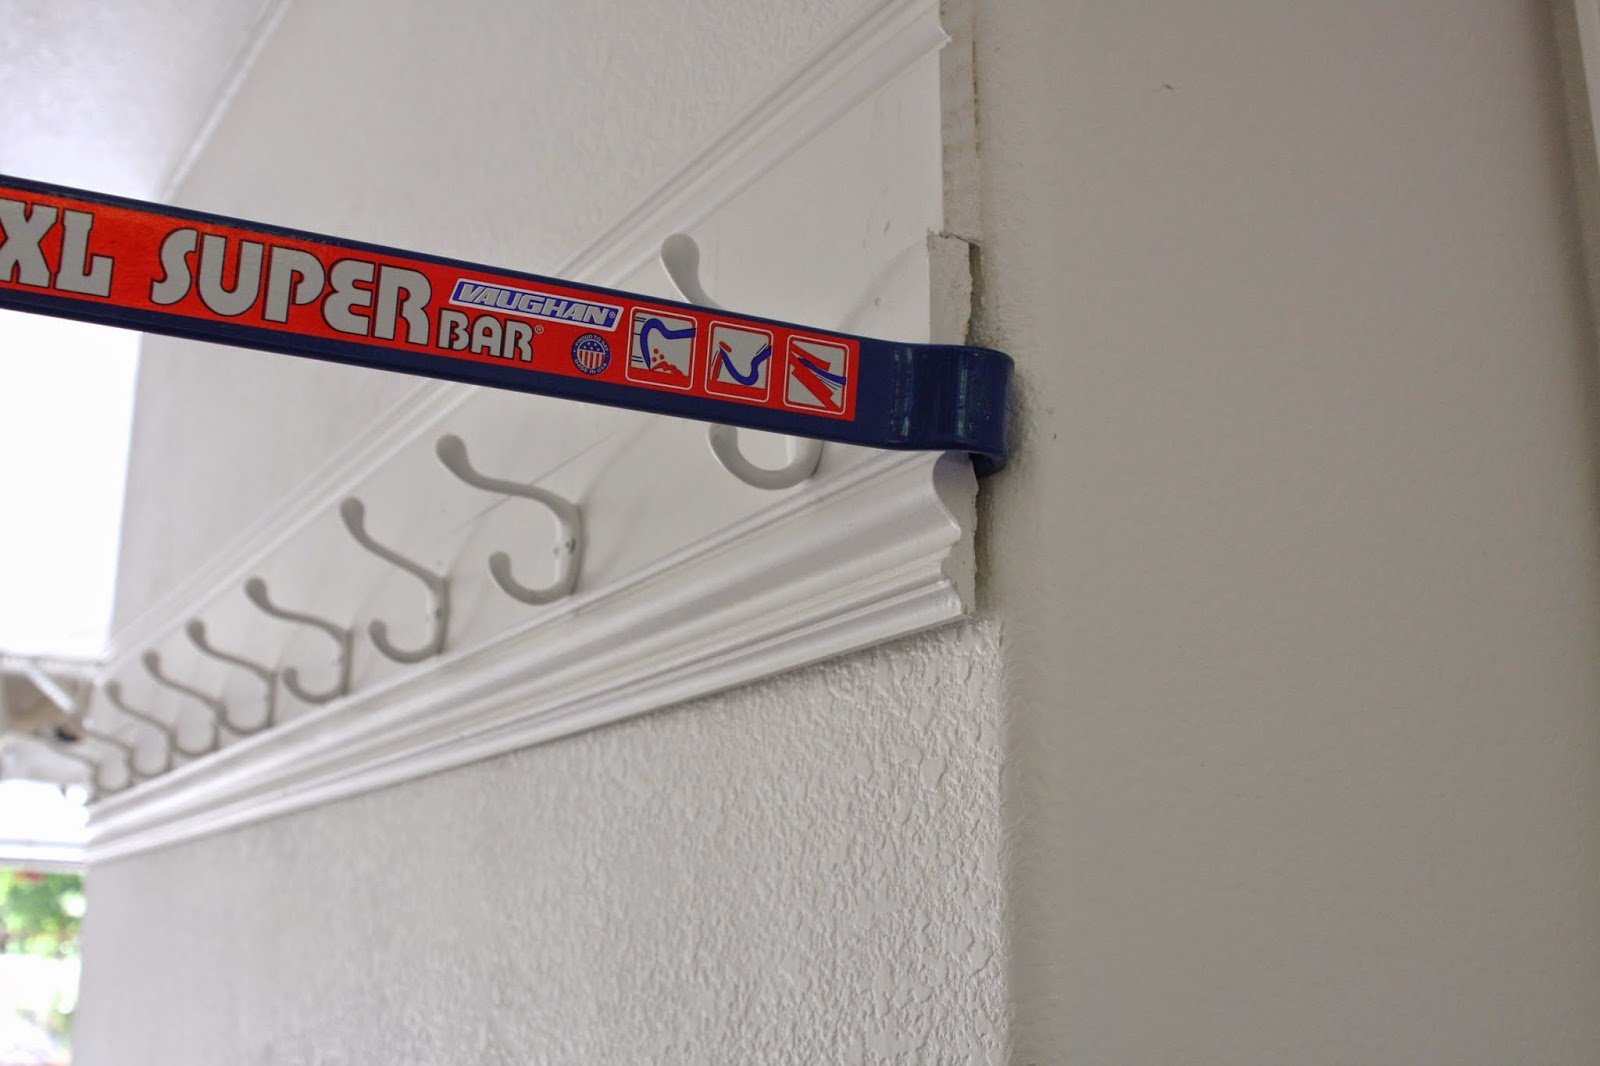
While I was painting the mudroom wall, I took care of a few other garage wall issues. I’ll be sharing more soon but let’s say my craving for a little crow bar action was also satisfied…
Can’t wait for you to see these before and after’s!
If you’re a DIY’er like me, you should be following FrogTape® on their various social media channels for tons of inspiration. They are on Twitter (@frogtape), Facebook and Pinterest! You guys know Instagram is my favorite platform to share inspiration…and they are there too – @frogtape.
FrogTape® painting inspiration
If you’re thinking about doing a large scale project, FrogTape® is currently hosting the Earn Your Stripes Painting Contest where one lucky winner will receive a $5,000 prize! To enter, you must re-do a room with the help of FrogTape and enter your photo on their contest site. Check out all the details about the contest right here…
Earn Your Stripes Room Makeover Contest
I’ll be back soon to share our new DIY garage mudroom! So excited!
Looks like one of there links to the contest doesn't work and I had to go to their site and then click on their contest banner. The link further down the page does not work. Not complaining, I found the information just thought you/your contact with the company might want to know.
Now who wants to bet if I can find the right paint by the time the contest is over? 😉 Unpacking, a pantry project, a wedding and vacation couldn't possibly eat up my time!
Sorry one of the contest links wasn't working! 🙁 Were you able to figure that out? If not I can check in with Frog Tape about it!
xo,
Sam