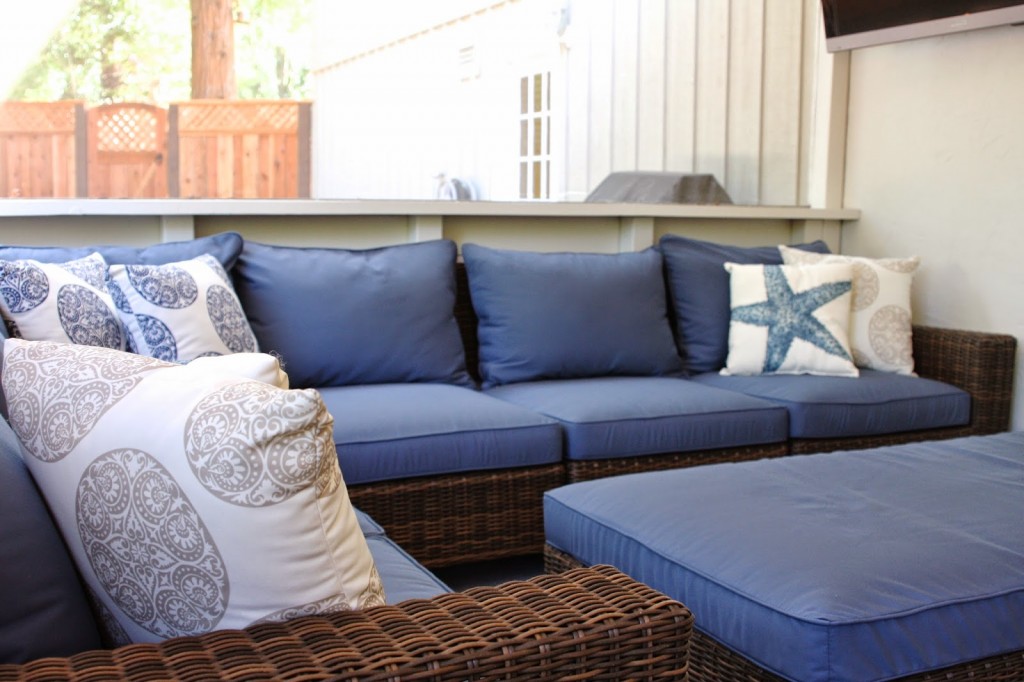
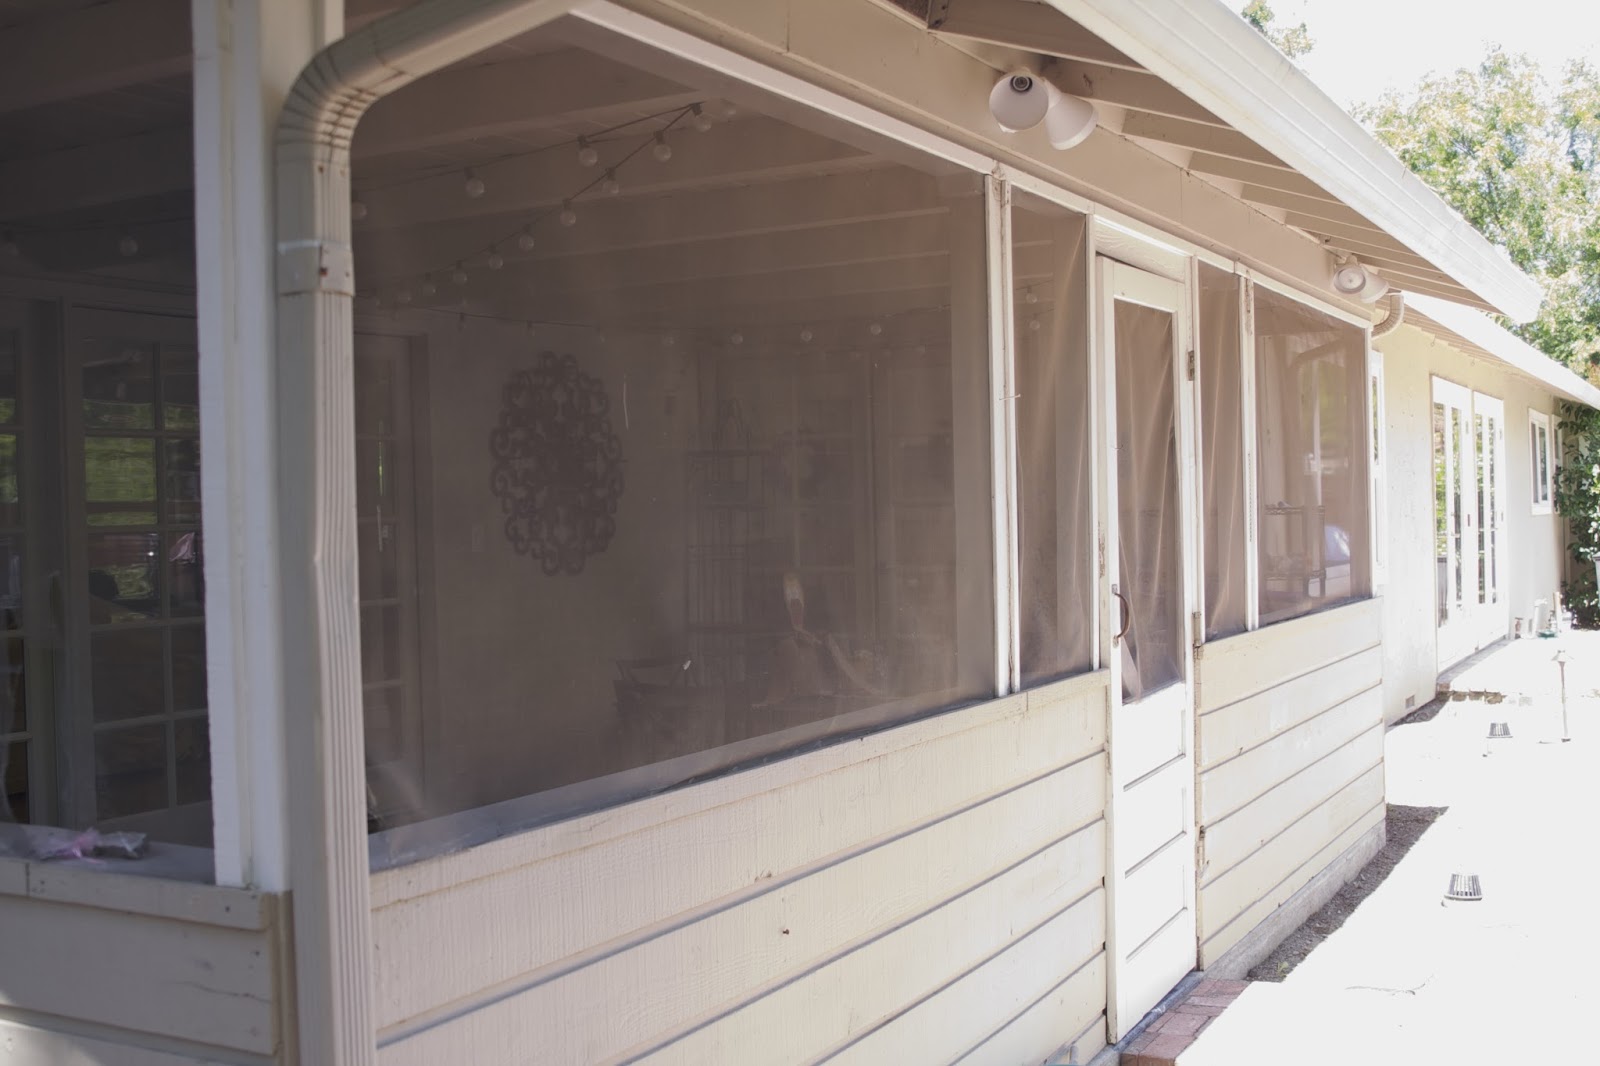
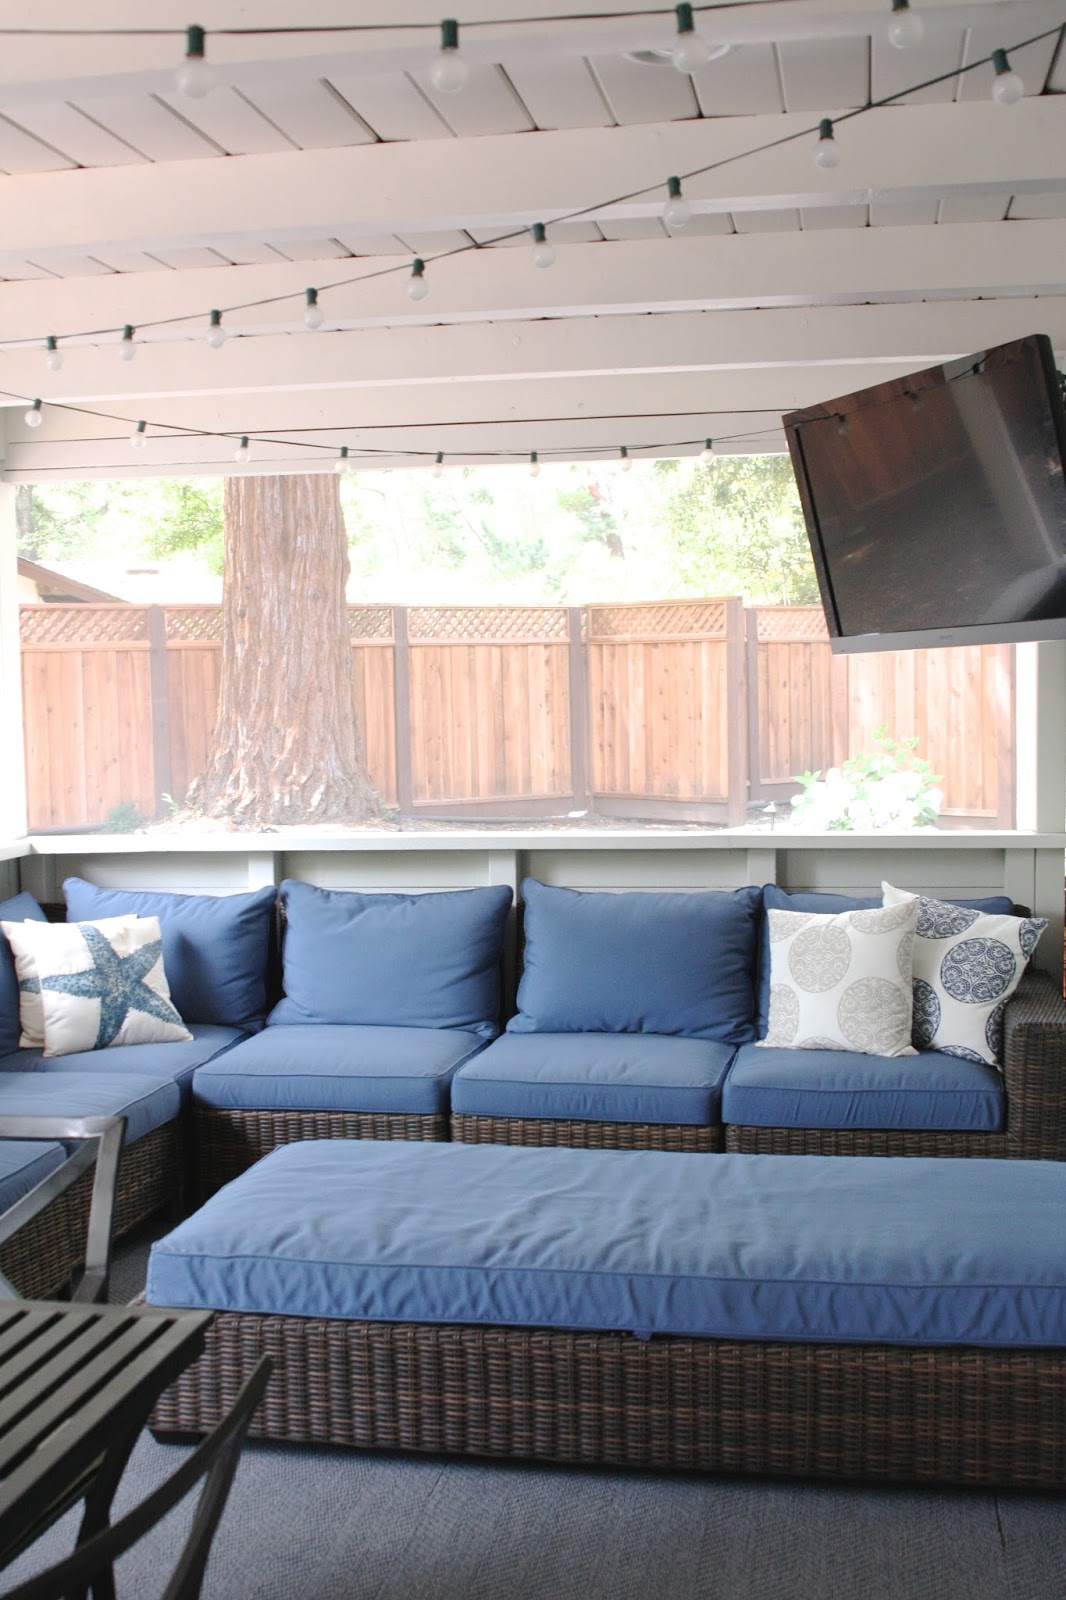
With my garage finally in order, I’ve started chipping away at my list of home improvement and repair projects. Since summer is here, top of my repair list were the screens in the screened-in patio. Last year, I re-did this outdoor patio with a fresh coat of paint, Flor carpet tiles, overhead lighting, a new sectional and mounted tv. Hands down one of the best decisions / projects I took on last year. No question. This room is one of our favorites! Especially during the summer and fall…
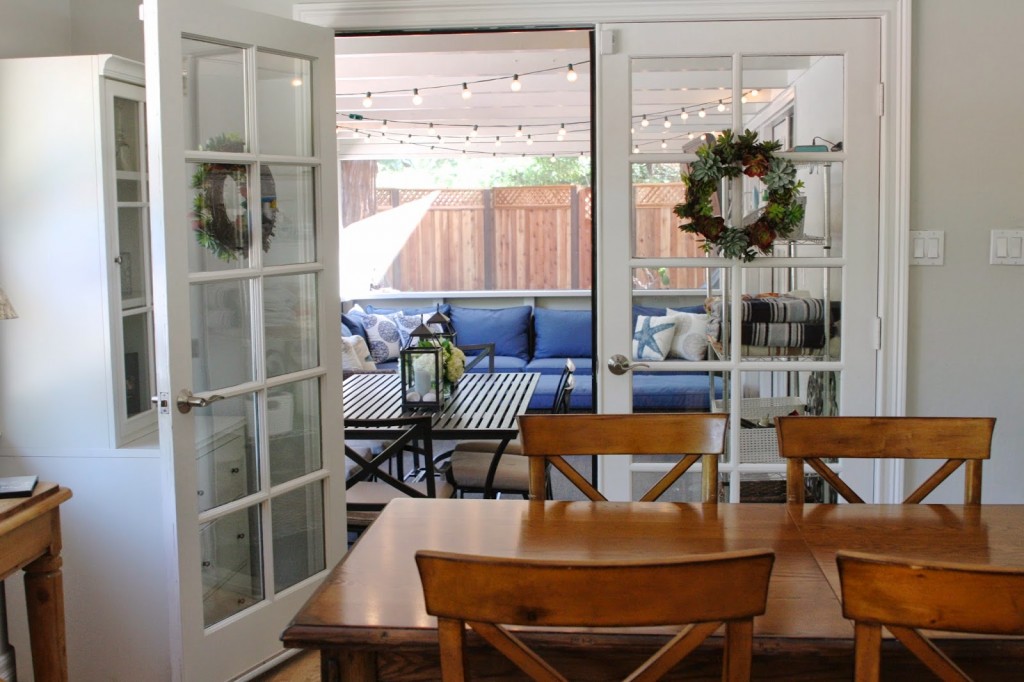
It’s situated off the kitchen and playroom and added another room to this house. Love love it!
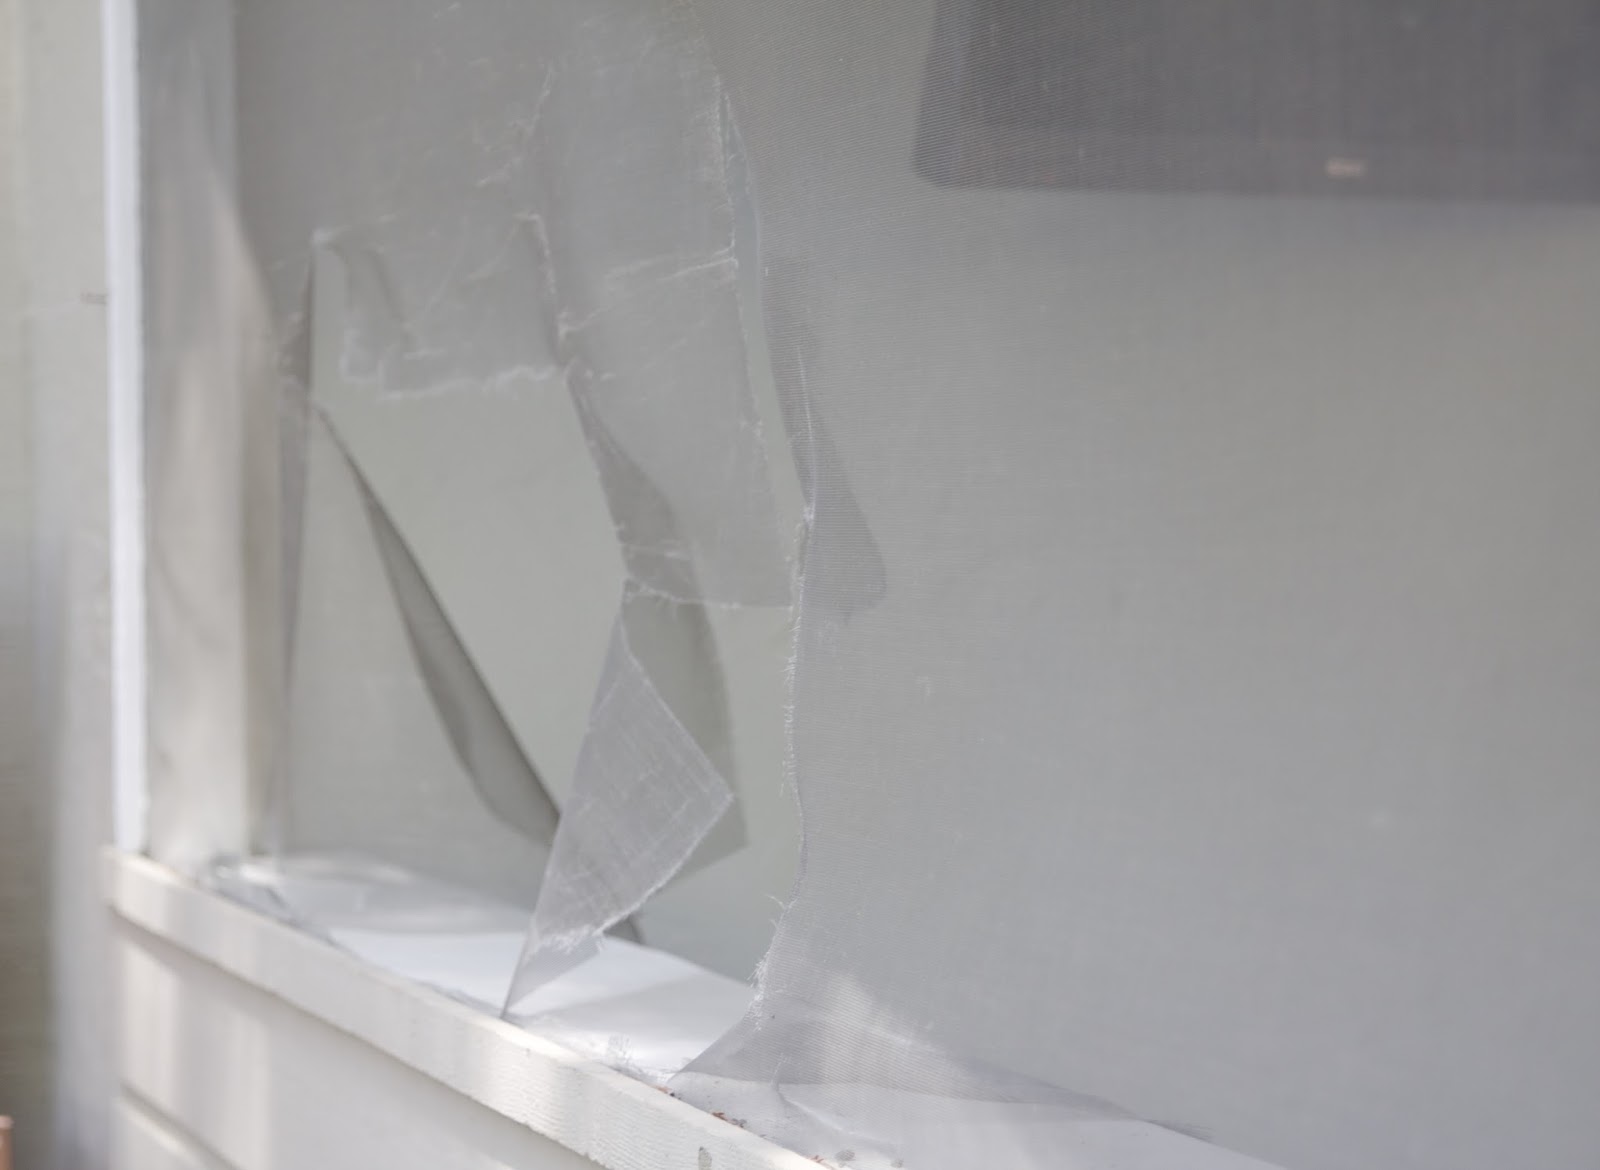
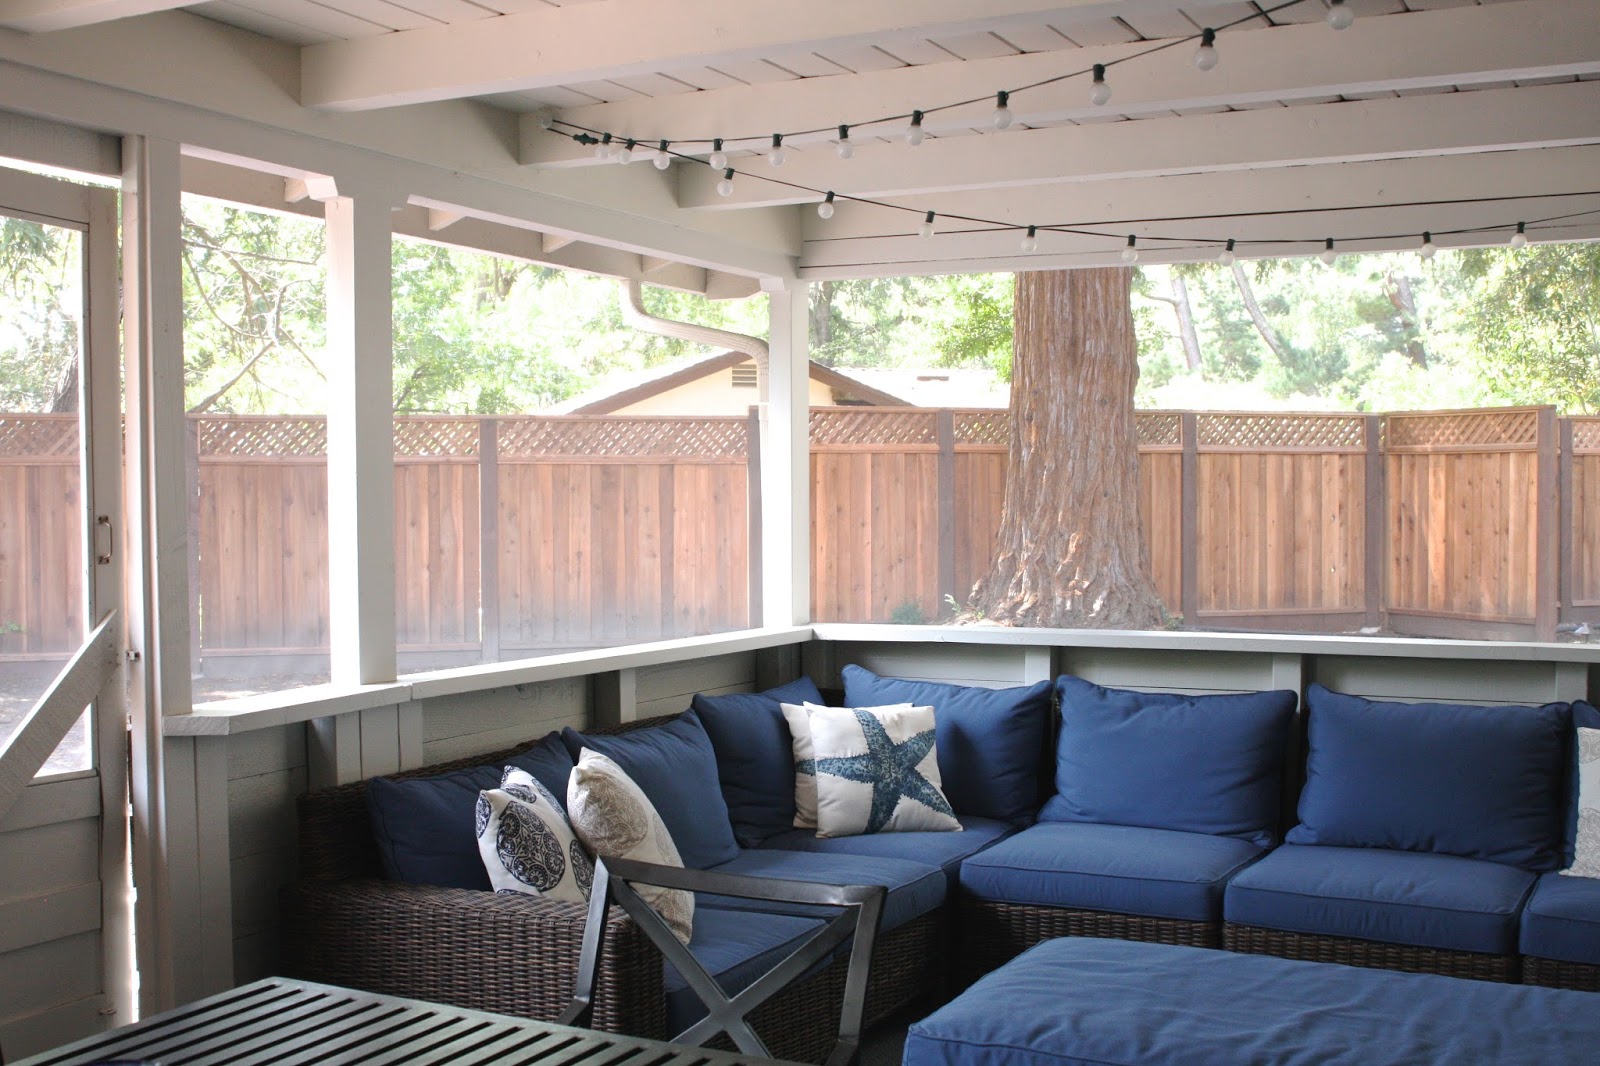
But what you didn’t see going on were the small holes in the screens. This one behind the couch was in the worst shape. Hard to see here but the bottom of the screen was getting pulled out of the moulding….
And the kids kept picking and pushing at it to the point of it getting to this just a few months later…
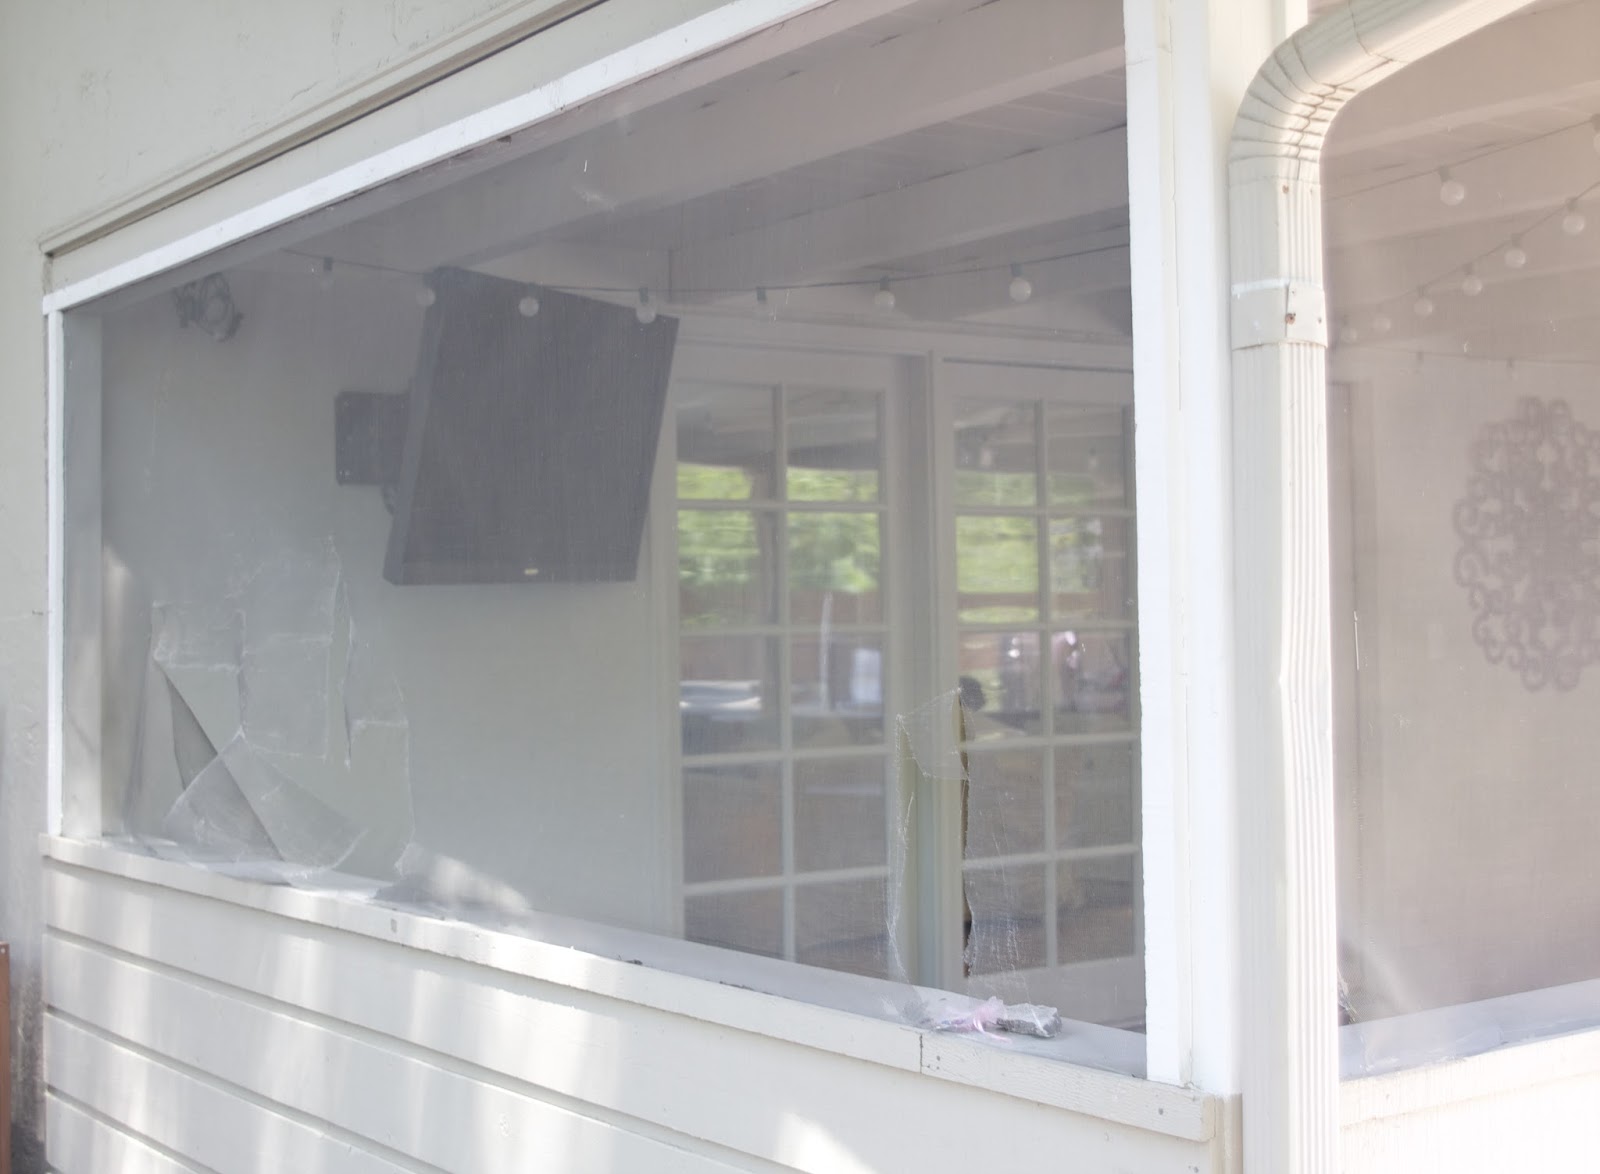
Yep, it was bad…
With summer bugs, it was time to get new screens up all around this bad boy…
I knocked the job about in one day, but will admit it took a bit of time for demo. I first removed the existing moulding with a crow bar and hammer…
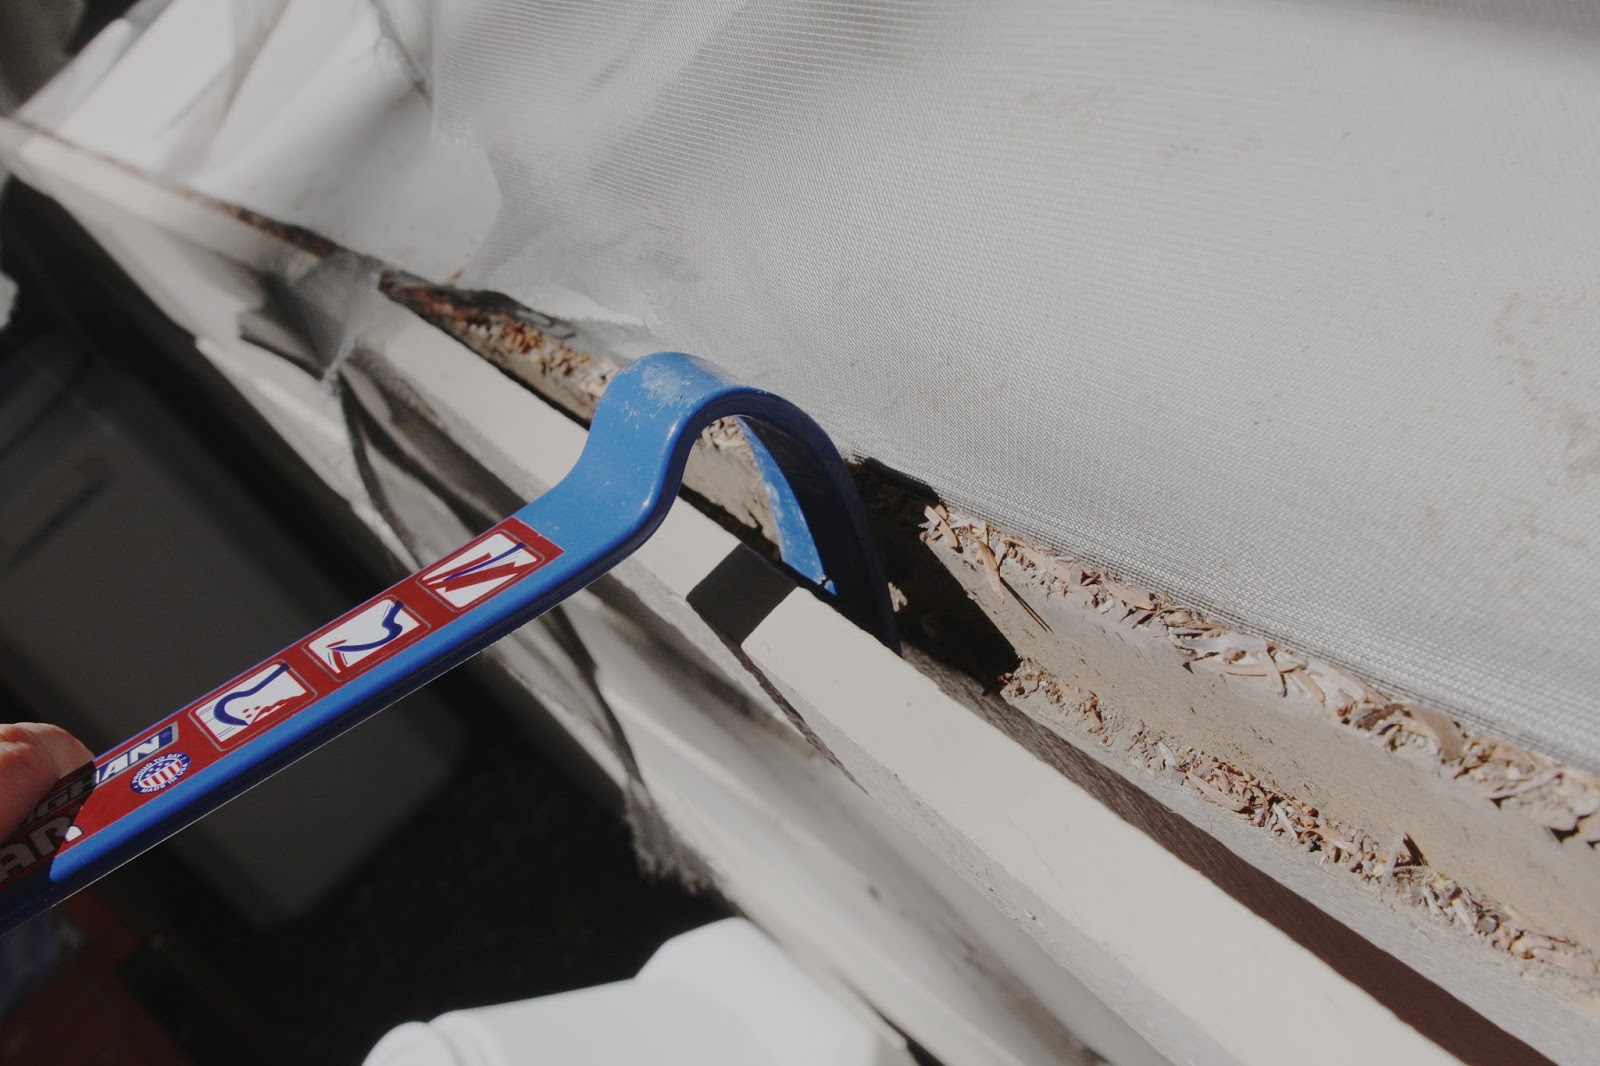
My plan was to remove these pieces as gently as possible so I could recycle and put them back up. But the wood was so old and worn that it cracked and splintered into pieces with each small pull of the crow bar. After removing the bottom moulding on this end of the patio, I gave up and decided it would all be tossed and new moulding added. (That’s another project I’ll be sharing soon!)
As I removed the moulding, I peeled the old screens away (sorry, no picture of this as I was working alone). That was easy, although very dirty and dusty. Be sure to wear protective eye glasses. While the screen removal was easy, the difficult part came when it was time to remove staples and nails. I noticed some of the screens had been stapled in while other areas were nailed in…with nails that had heads or no heads. Removing nails or hammering them into the wood took forever.
Once that was done, I used a vacuum to clean up the dust and wood splinters…
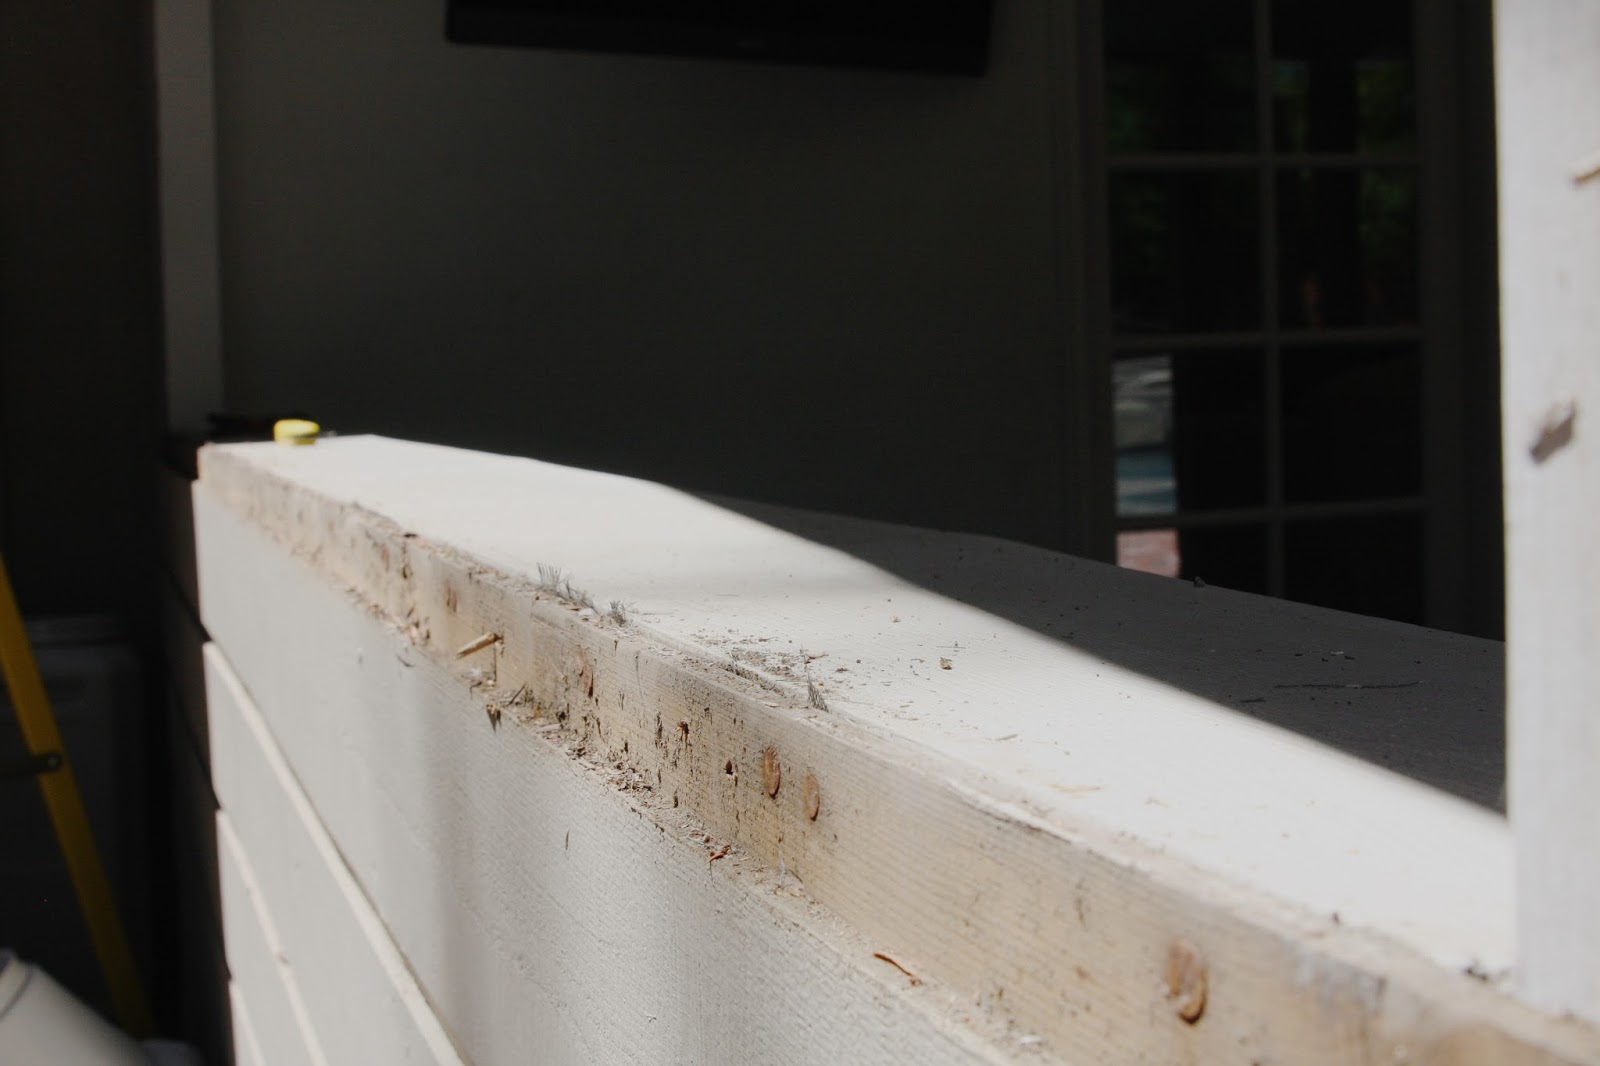
And I cleaned the interior ledges, which has been covered in dust and dirt during the demo process…

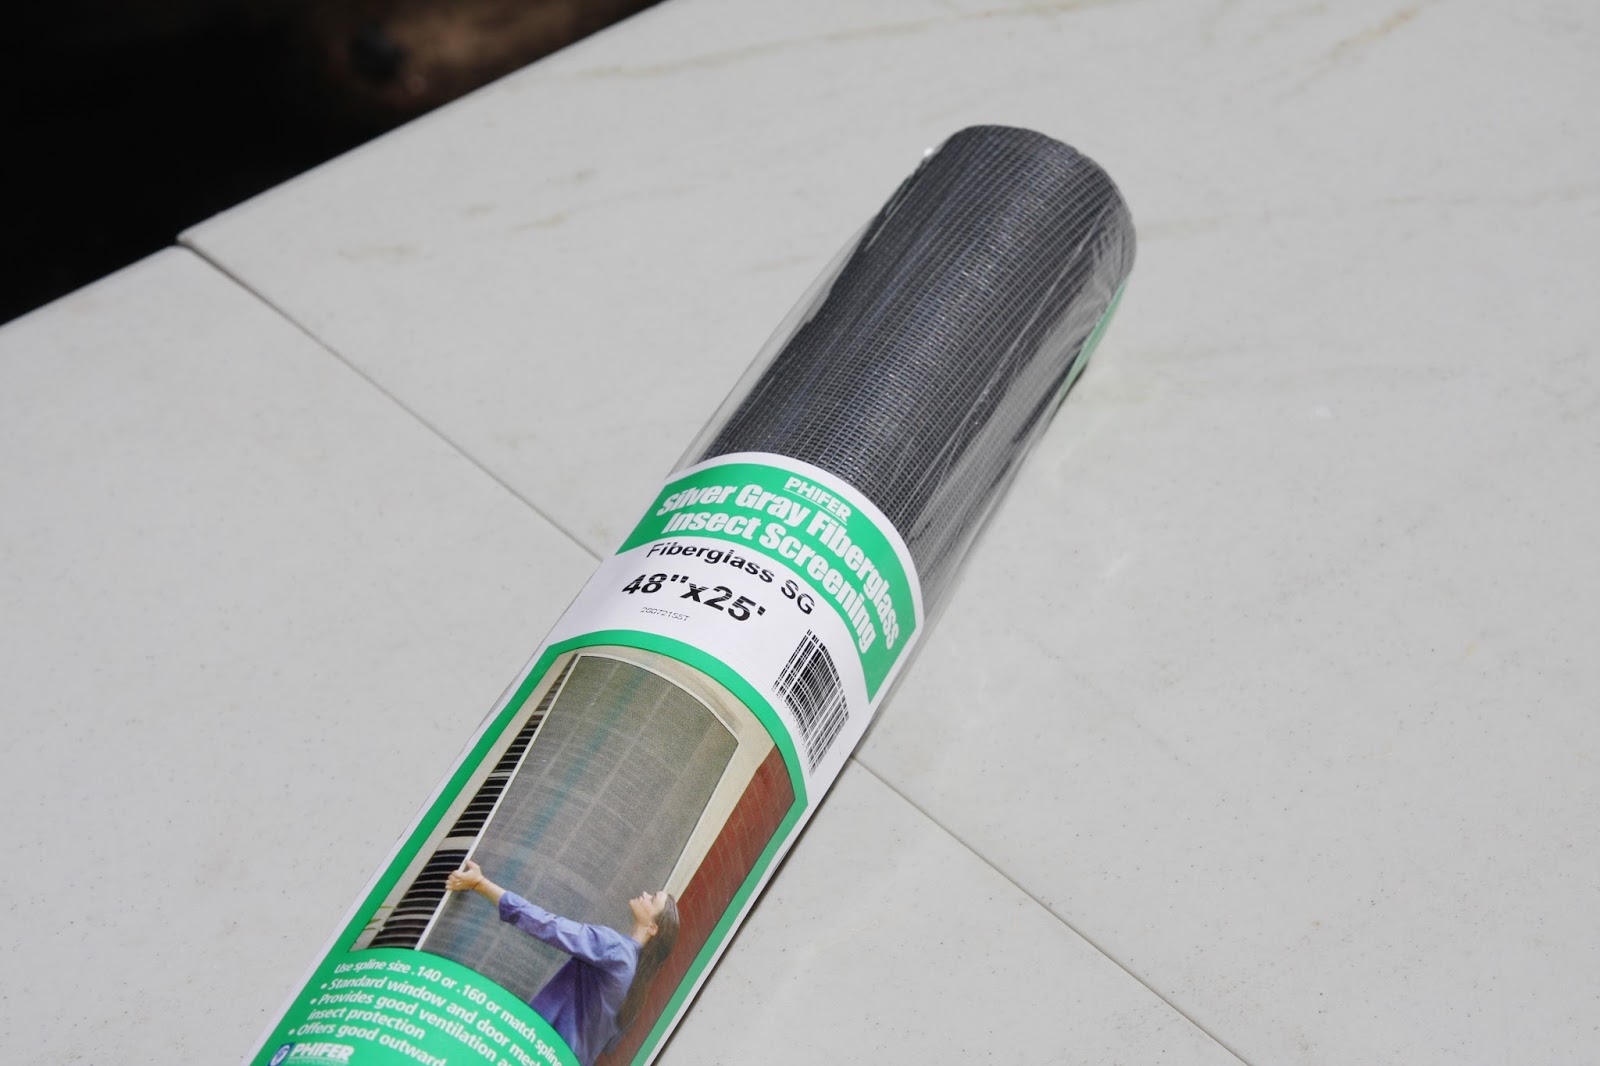
Once everything was cleaned up, I installed the new screens by measuring each opening, cutting my screening to size, and then stapling in place. I found my roll of screening at Home Depot. I purchased 2 rolls of 48″ x 25′ and they worked perfectly! There’s even some leftover in the event we get another hole. *hope not!* I purchased the silver gray color because I wanted it to appear as if there wasn’t even a screen there…
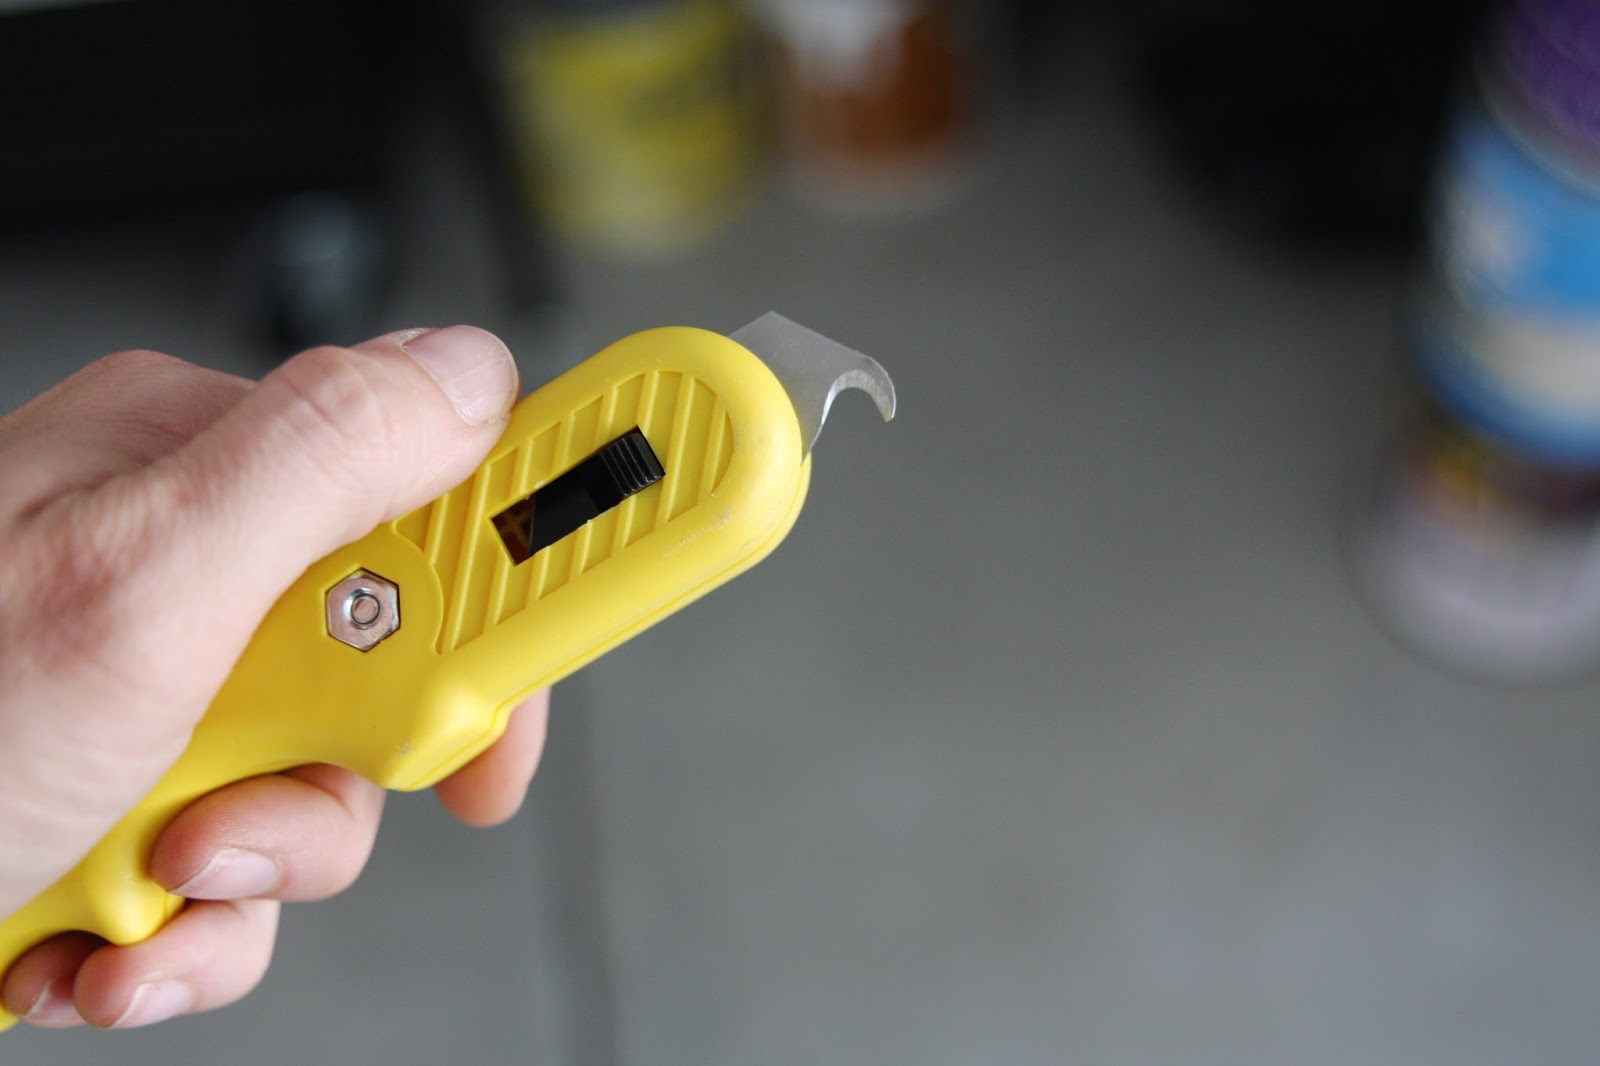
I cut the screening using this tool, also found at Home Depot…

The end has a hidden trimmer blade that cuts the screen so easily!…
Once the screen was cut to size, I used a staple gun with heavy duty staples…
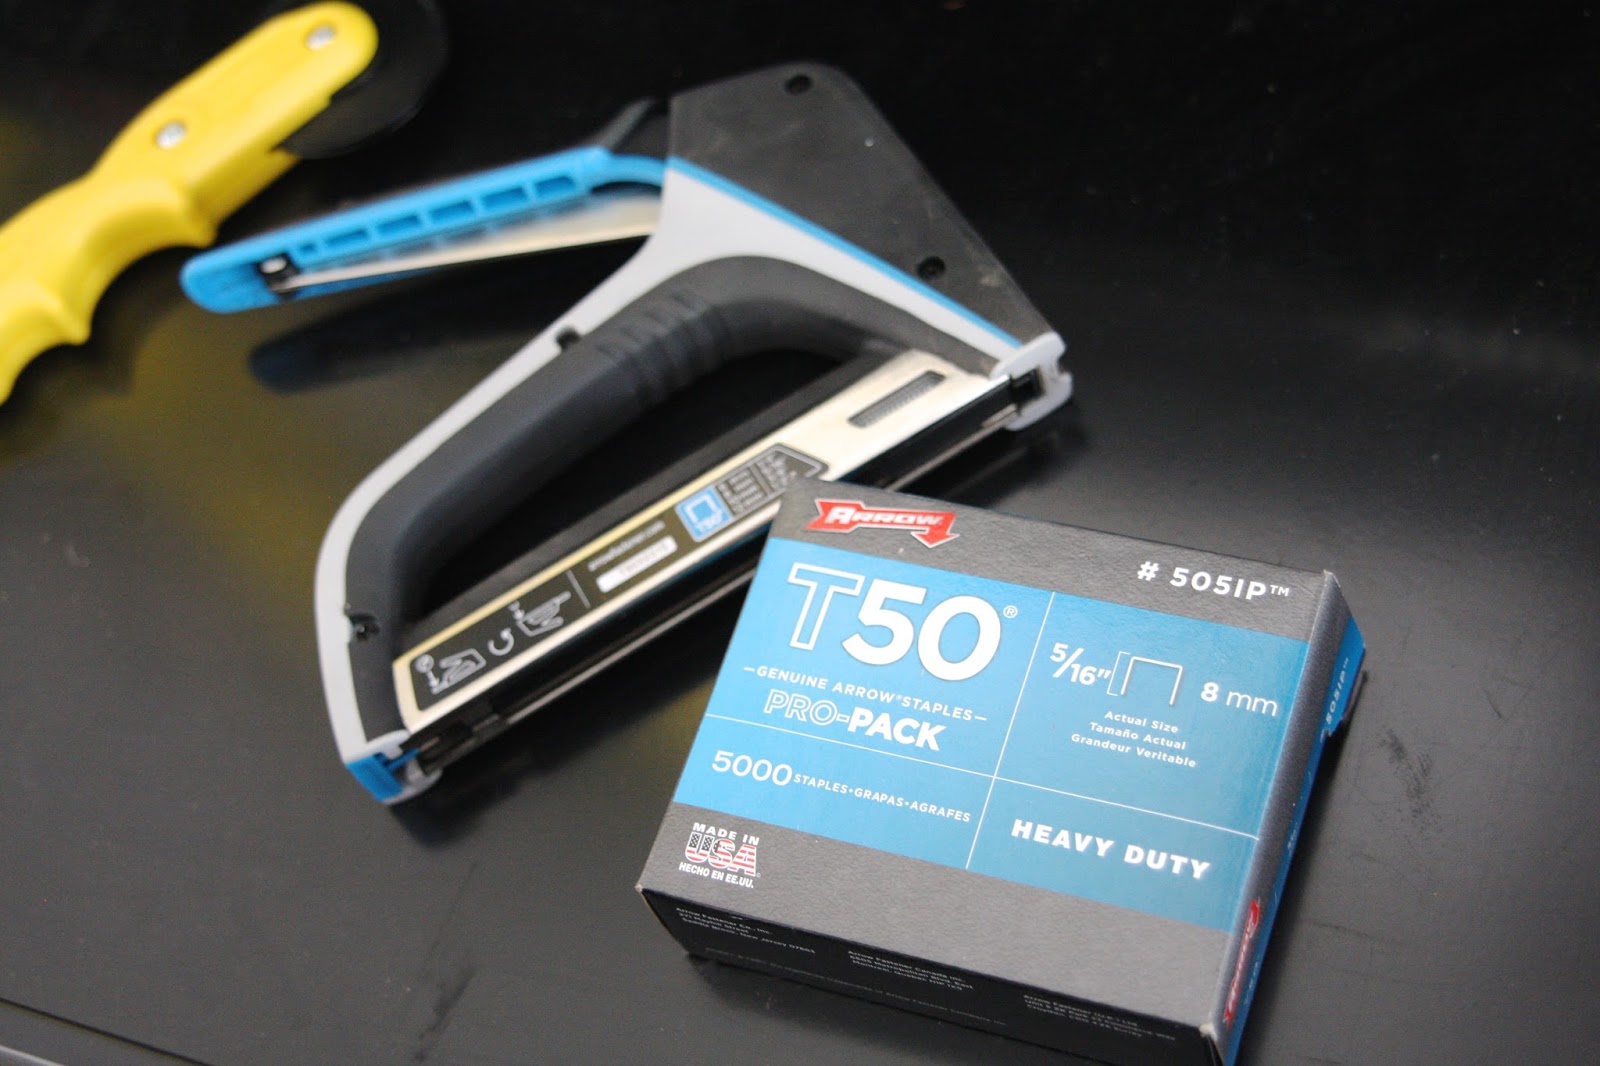
I started by stapling the screen at the top and then made sure to continue pulling the screen tight before additional staples were punched in. (Again, sorry, no photos as I worked alone here.) It was very very simple! I did use a lot of staples though so my hand was a bit sore after ;-).

I also made sure to leave some extra screen around the edges. Part 2 of this project will be replacing the moulding and I wasn’t sure how wide my moulding would be, so I left a bit of overhang for trimming later…

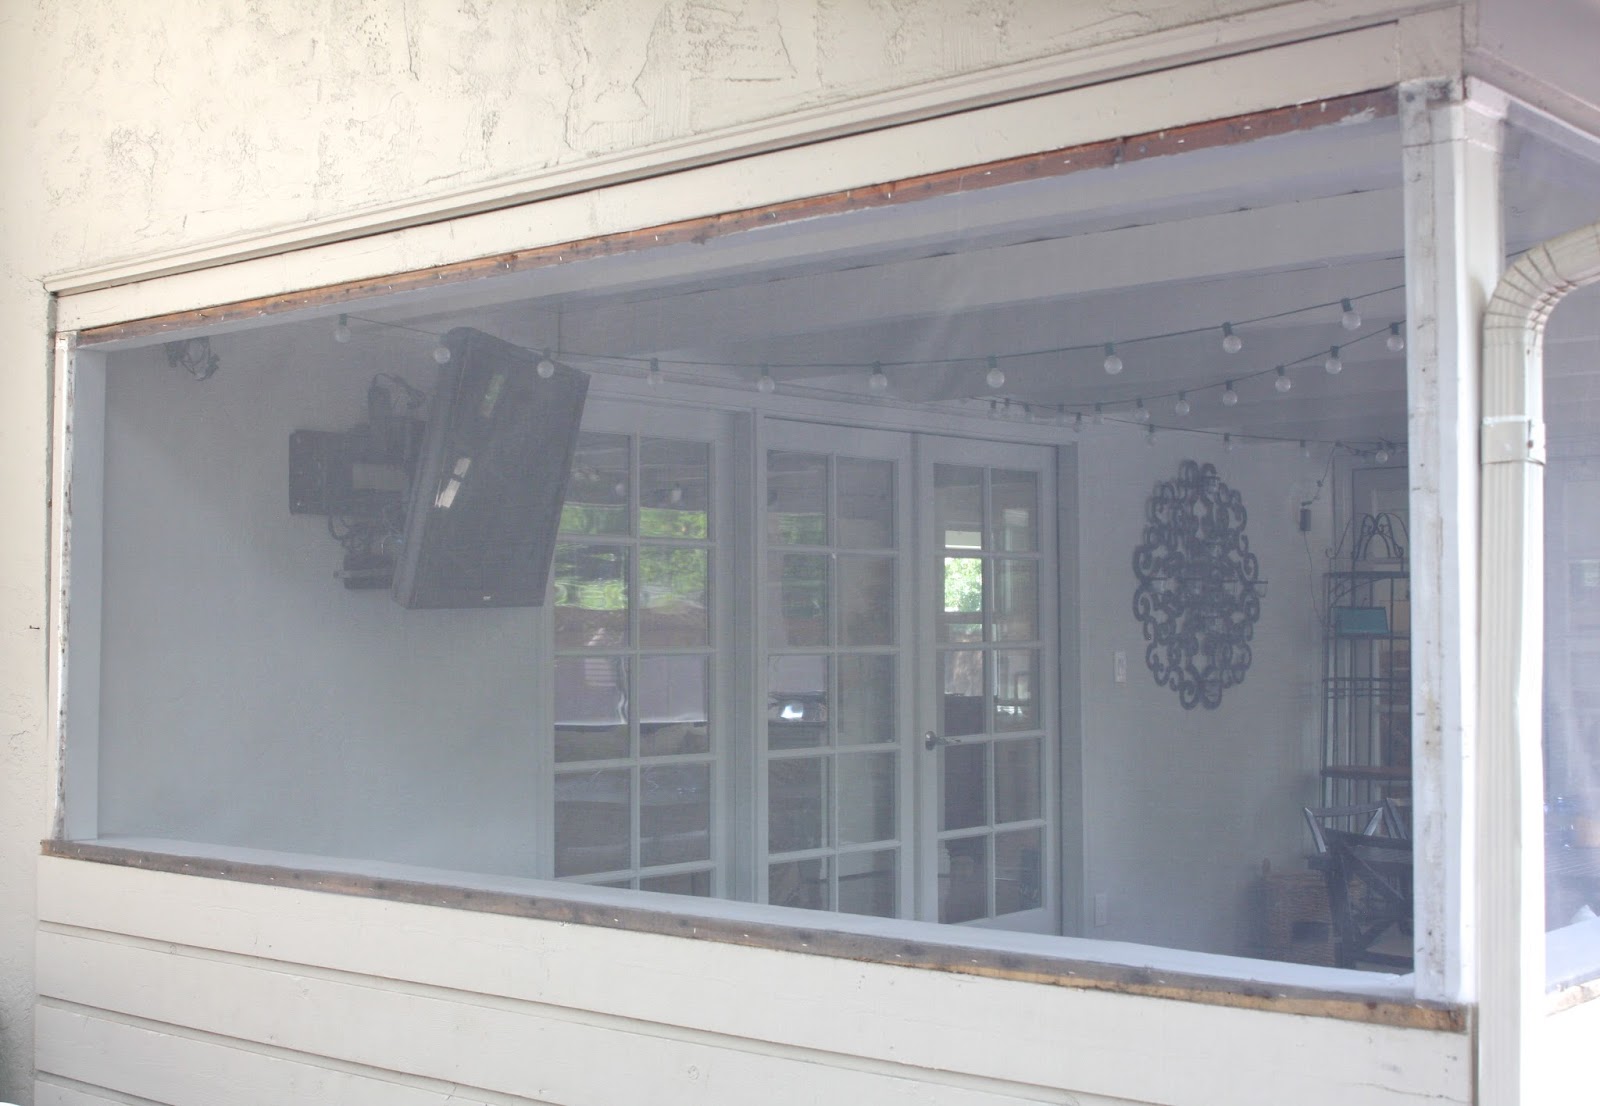
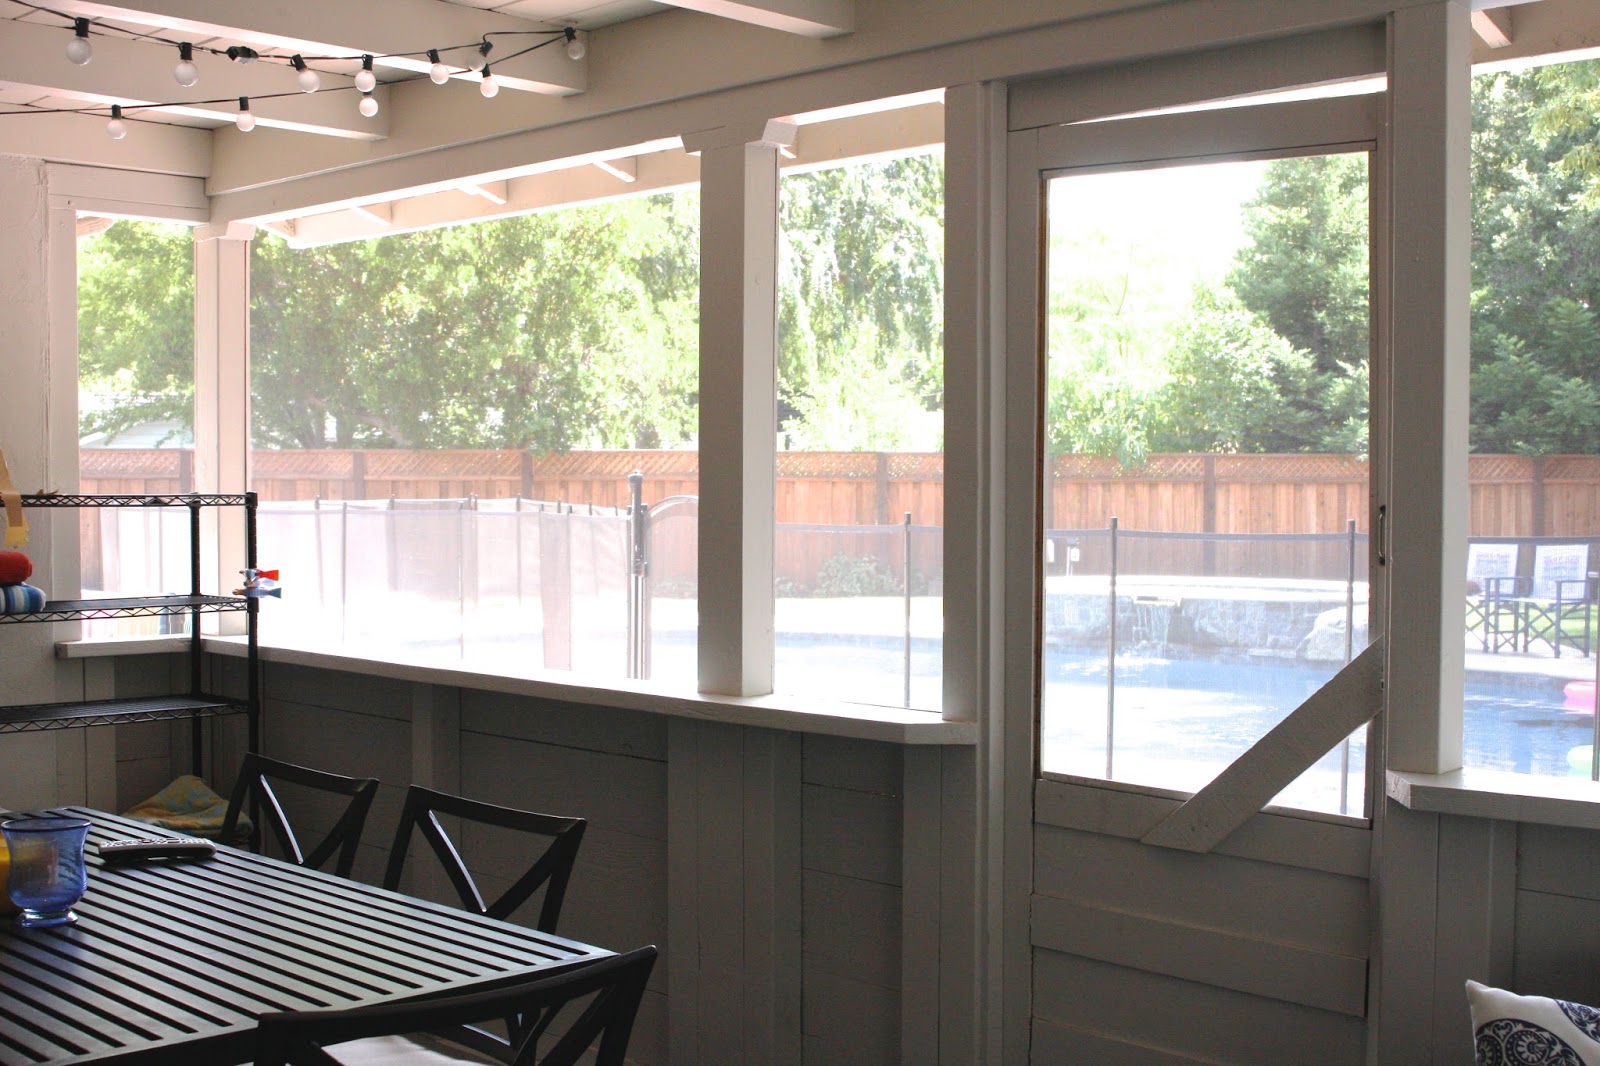
I love the new screens!…
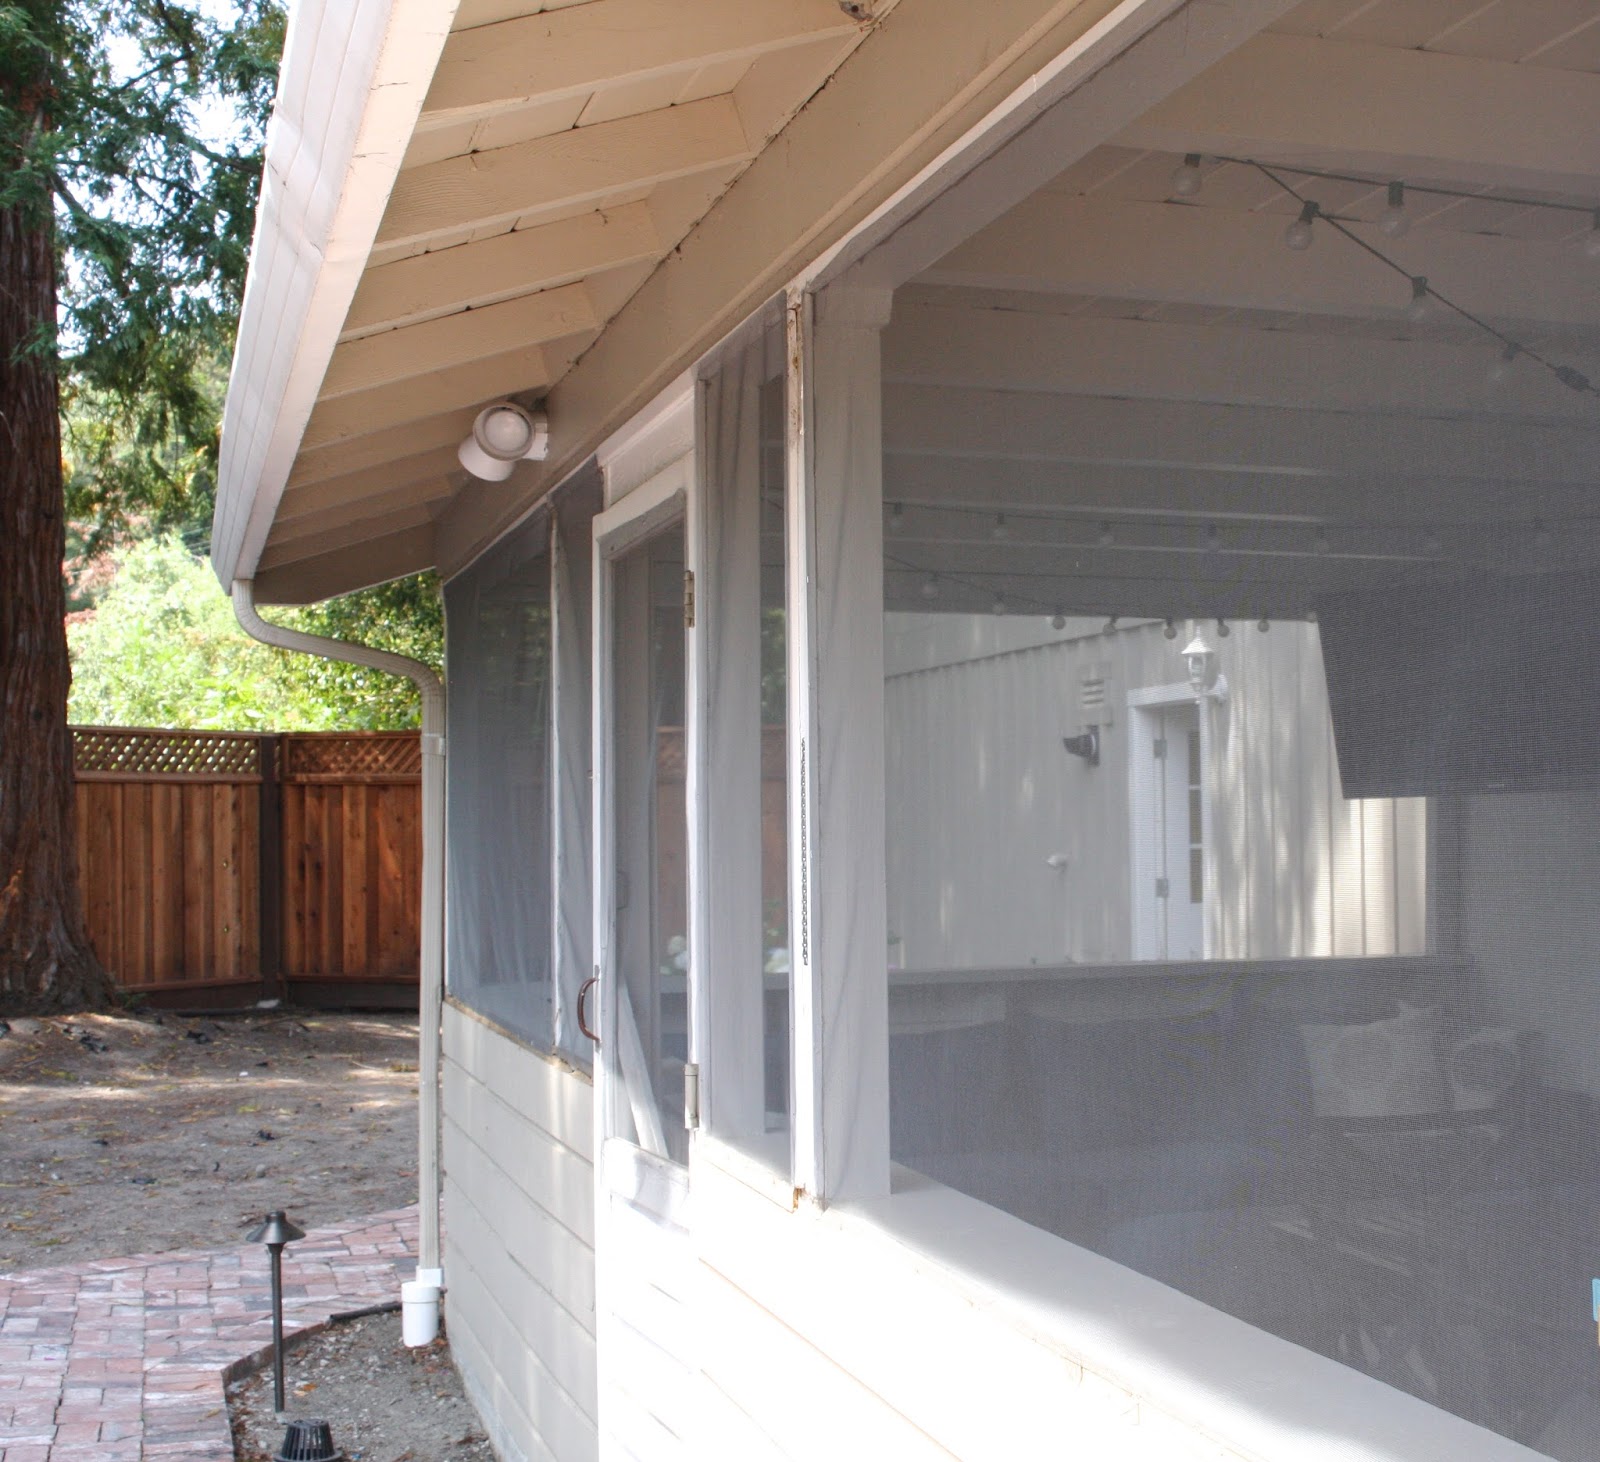
They’ll look even better once the moulding is up. But from the inside of the patio, you can’t even see them…
And that’s exactly what I was hoping for. Well, that and keeping the bugs away!…

This off-kilter door is on my hit list too…
If you have a screened-in patio in need of new screening, this is a very easy project to knock out in a day (or two). The screens weren’t costly either.
Go DIY something and have a great day!
With two dogs, a cat, and a boy who thinks it's okay to use his window like a door, I feel like I'm forever replacing screens. I even get the neighbors bringing me theirs to re-screen. It's worth it though on the nights we want to shut the A/C off and open our windows and still keep the bugs out.
I agree! Totally worth it – especially when you're able to leave windows open some nights during the year. Nothing beats some fresh air in the house!
xo,
Sam
I know a fair amount of people who have a patio, but not many of them have a screened patio. This seems like it would be better since it would keep the bugs out. I have a dog who feels like it is his duty in life to break things. I can’t remember a time I came home to a screen now being ripped, even though the dog door is right next to it. Anyways, I’ll see about trying your method of repairing the screen on my door. After that, I’ll see about adding some to my outdoor patio area. I’ll be sure to not let him near those.
Yes, pets can cause small repairs like this…gotta love them though! Hope this is helpful and be sure to come back to let me know how your projects work out!
xo,
Sam