While this client project took a lot longer than originally planned, I think you’ll agree it was more than worth the wait! What once was this…
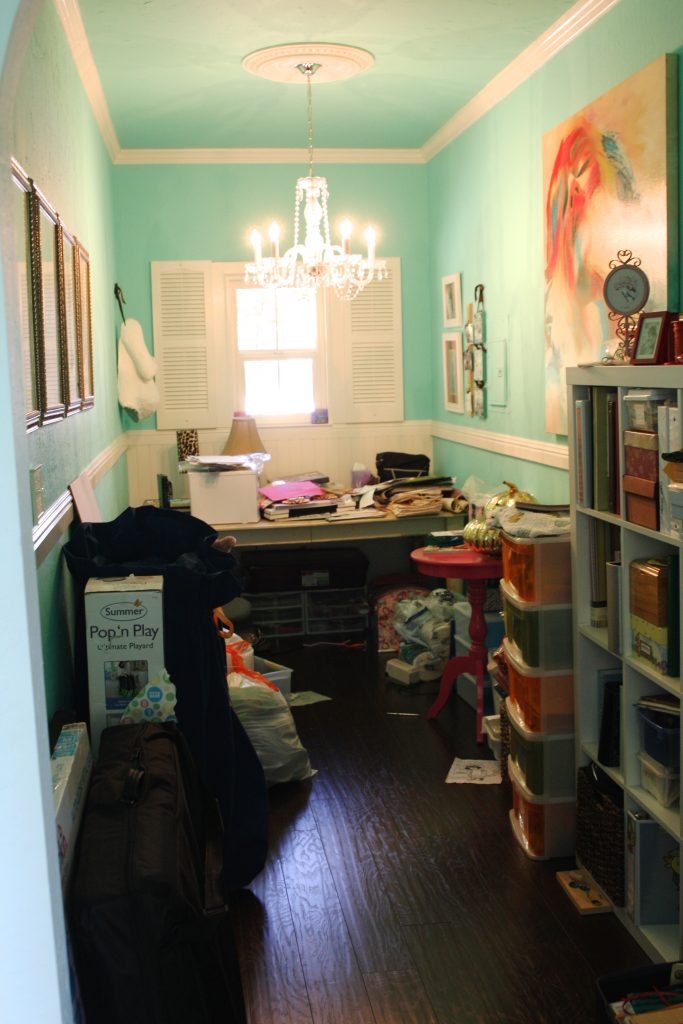
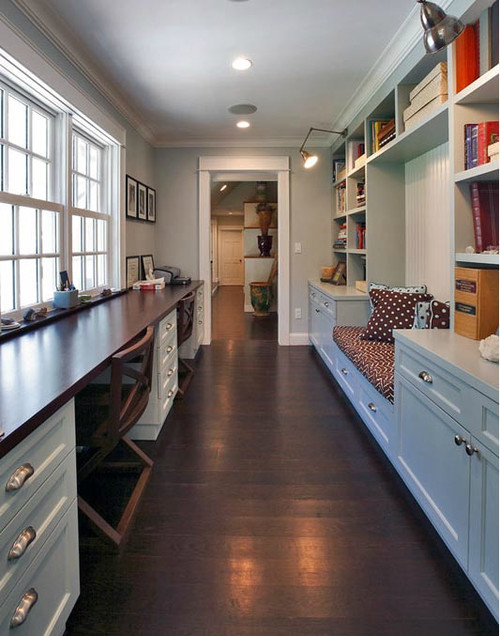
Is now this!…
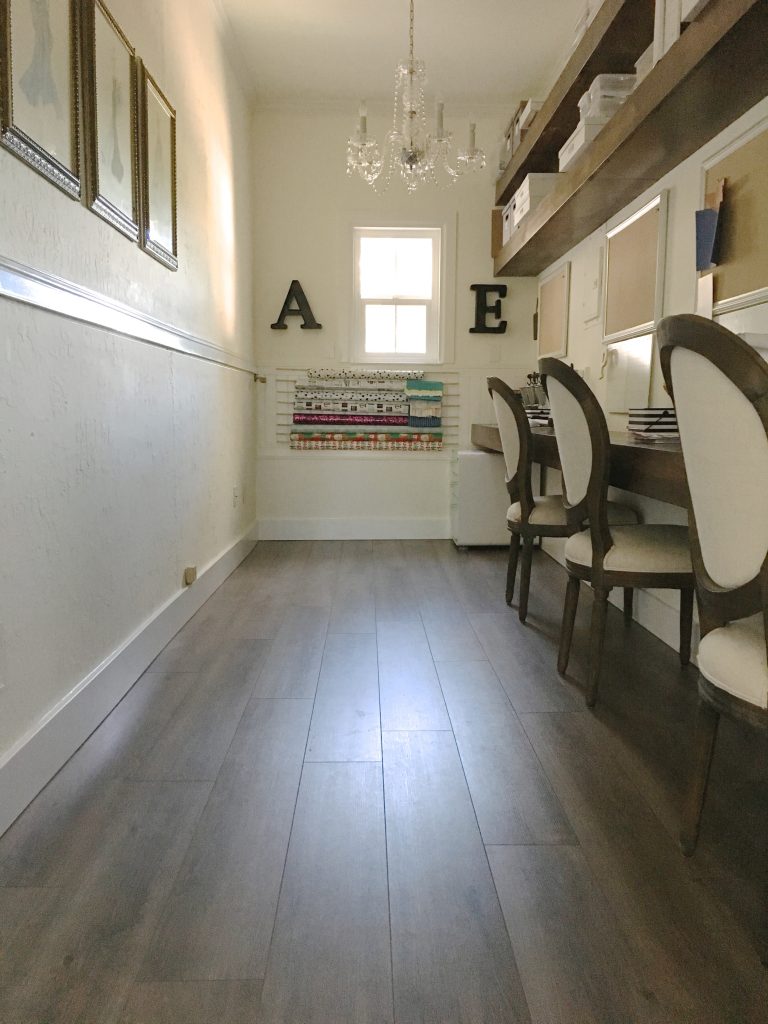
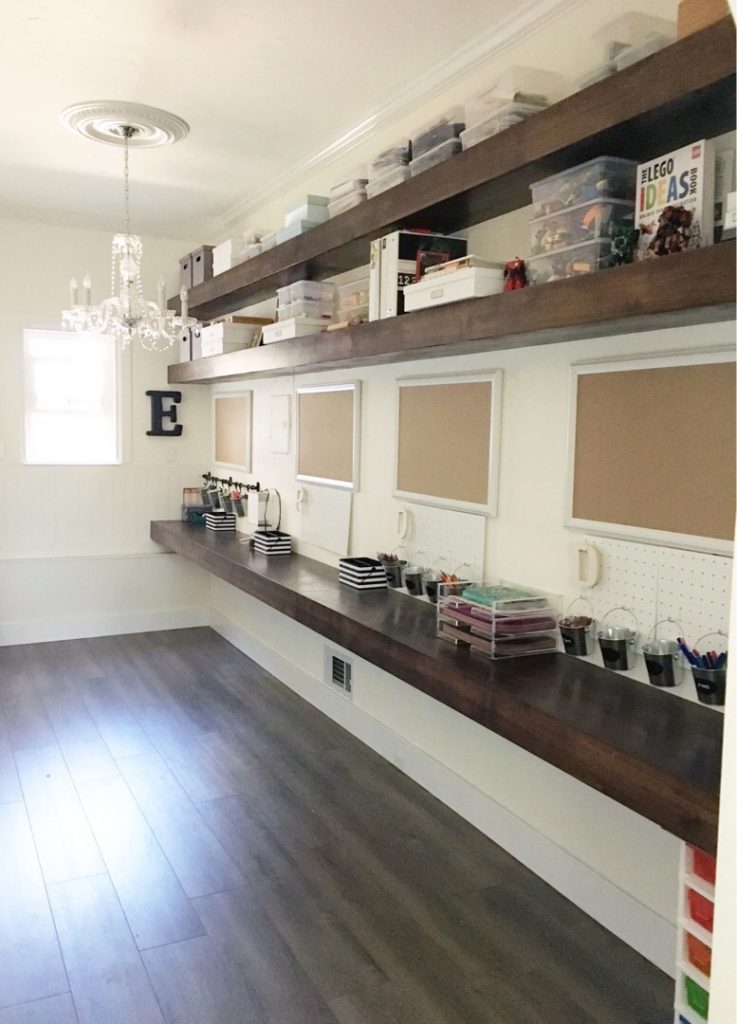
Oh my Lord. Even I need to take that in again for a minute. What a transformation!
You may wonder why this project took a year. We started last summer with a simple purge and sort process…
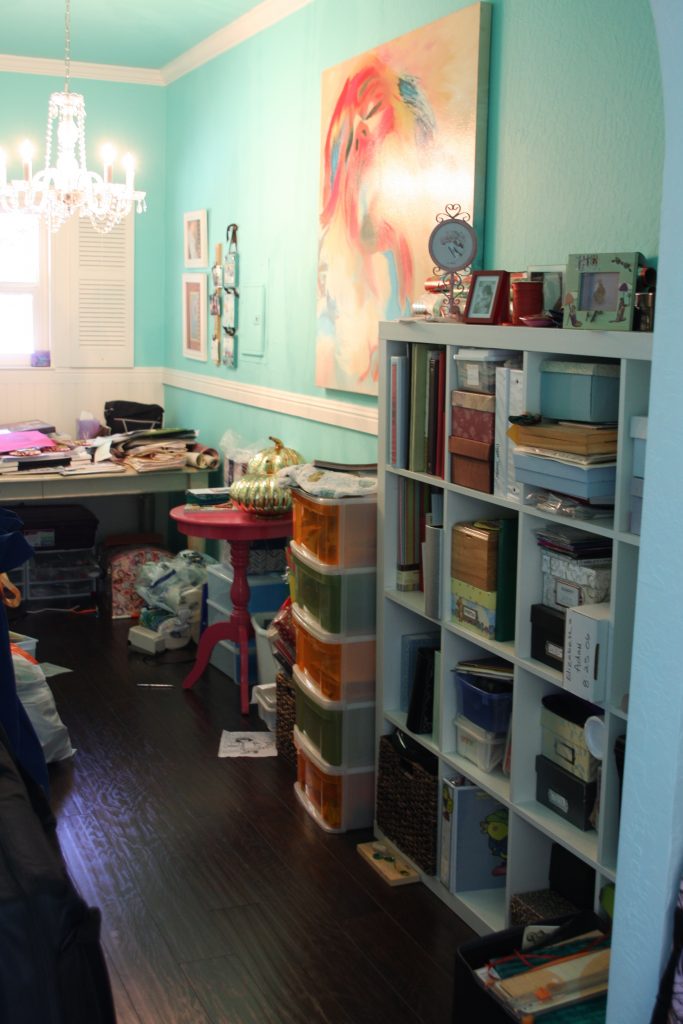
This great space is located just inside their entry from the garage. May have been a laundry or utility room at one point in time. It’s semi-detached from the main area of the house too. So as you can imagine, the combination of “outta sight outta mind” and it’s an easy spot to drop items on your way in from the garage, over time the space was full of random items. Some items too keep, some to donate.
No big deal…we got the sort and purge taken care of…
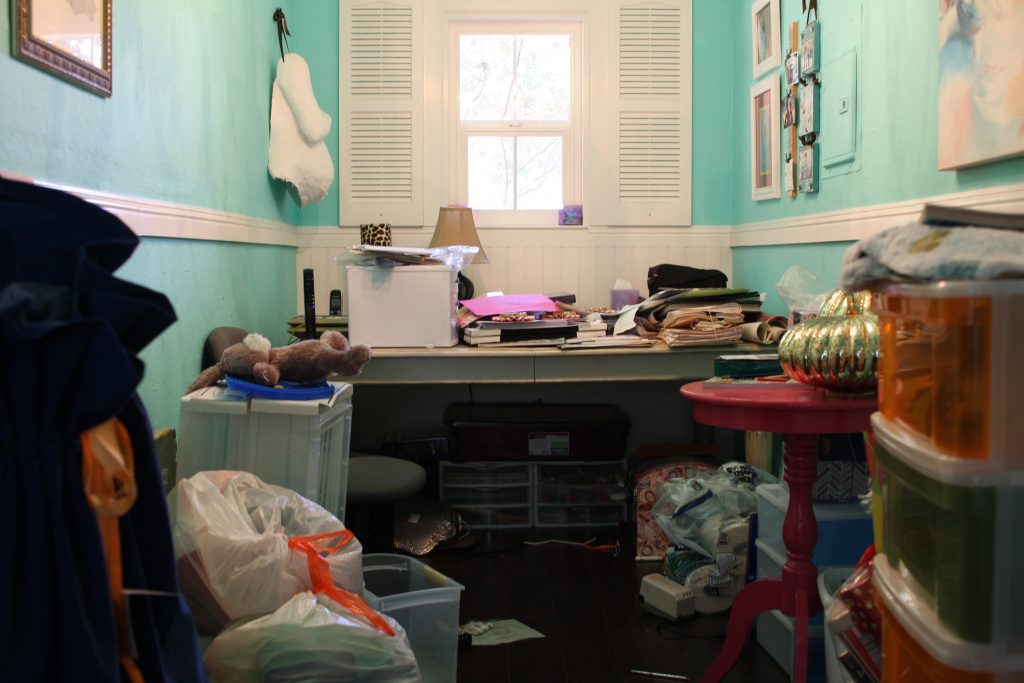
She had dreams for this room. Ultimately, she yearned for a homework / craft room where each of her 3 children would have space to work. Another dream was a small spot for herself to finally get back to scrapbooking. She shared a couple inspiration ideas on our secret Pinterest board…
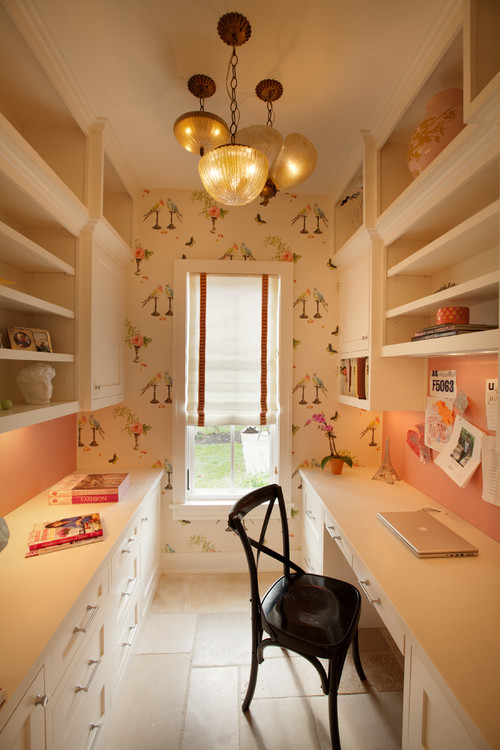
(via)
After many conversations, she decided on 2 very long floating shelves along with an equally long floating desktop. She liked the idea of the floating shelves I created in my own home. Trust me, I would have done them for her myself in a heartbeat, but was so concerned about my skills with a wall as long as this. (If you’d like to replicate this design, my plans could be easily tweaked to create a wall just like this…with the help of a handyman. Or you can take it on yourself!)
I brought in my custom closet company to design a great built-in that would span one entire wall length. The price wasn’t a good fit for our budget and we weren’t completely excited with the aesthetic. Thought about bringing in a handyman for a second. Then, the project came to a halt when they renovated their kitchen and surrounding spaces (living room, bathrooms, flooring, etc).
For several months we let it go until one day her kitchen contractor said, “I can do that!” and she jumped on his offer. Out of nowhere, this glorious image showed up via text…
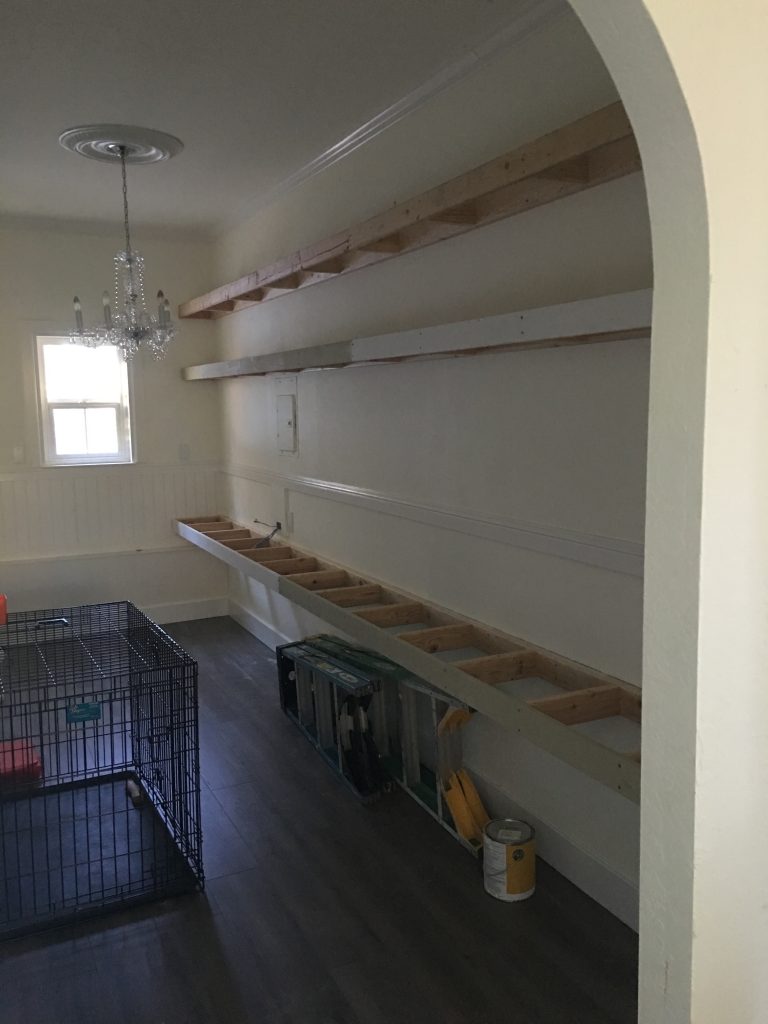
Praise the Lord!! I don’t think I was ever so happy to see a photo! Finally, we were going to deliver the craft and homework room of her dreams!
Once the shelving was completed and stained, here was our blank slate…
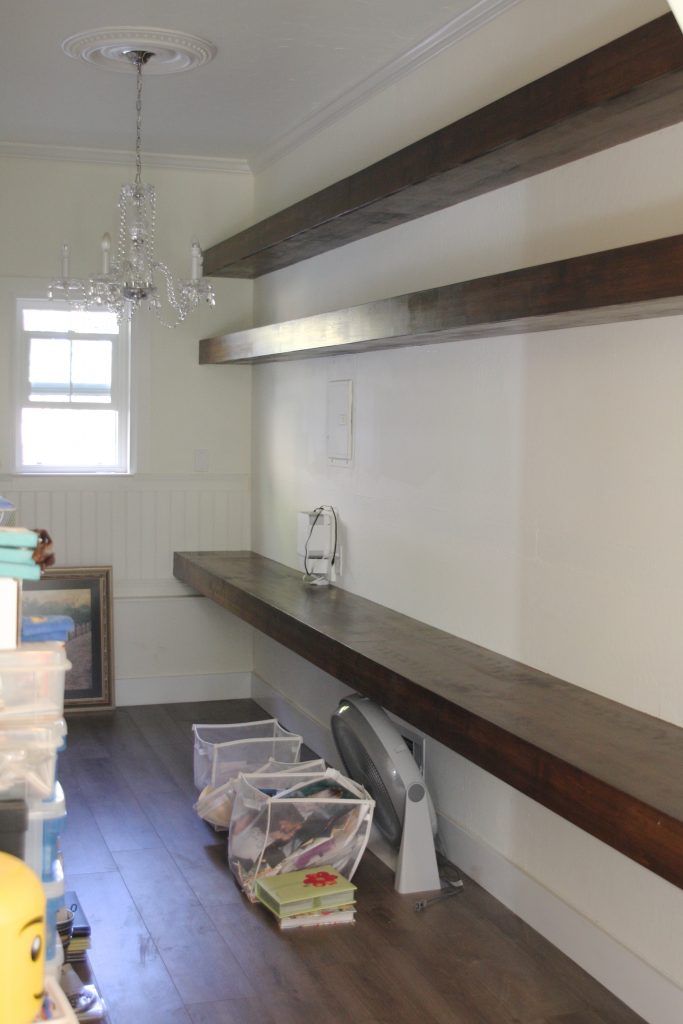
Now the fun could begin!
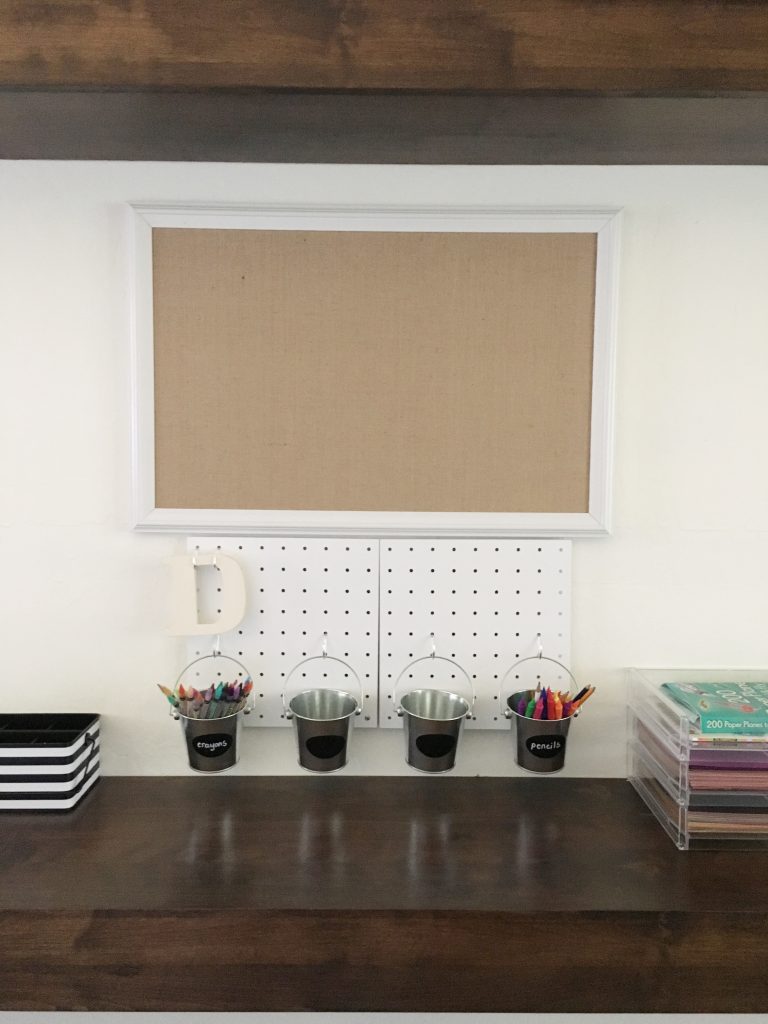
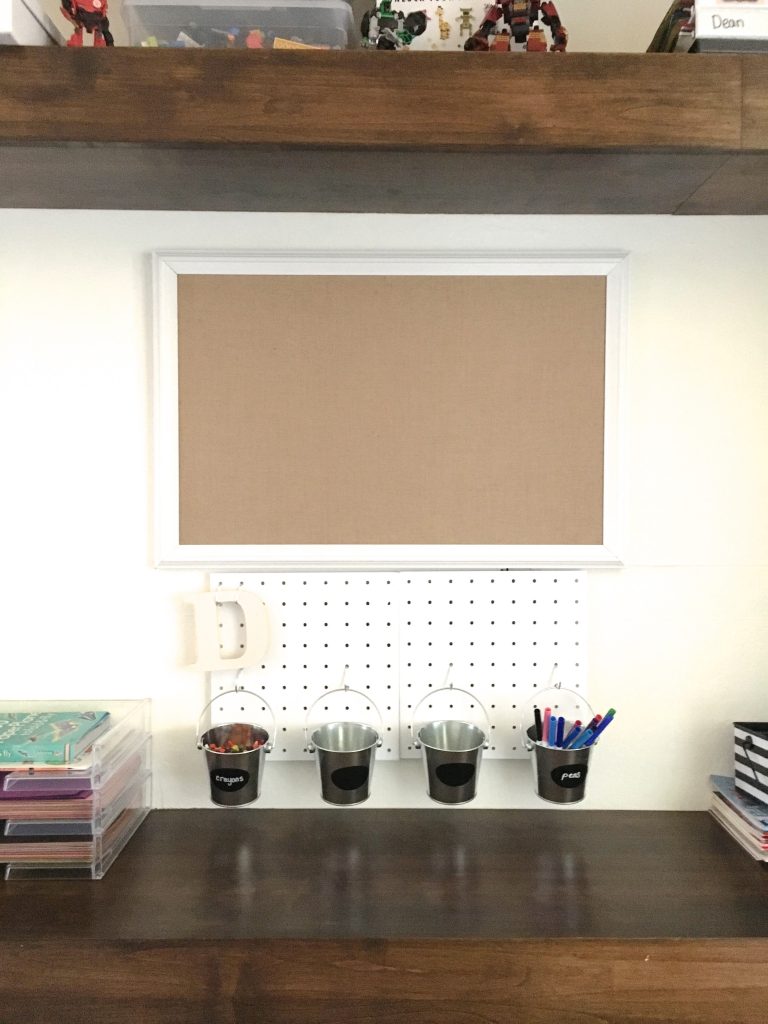
I started by hanging 3 burlap framed pinboards, pegboard squares and pails for the kids must-have accessories…
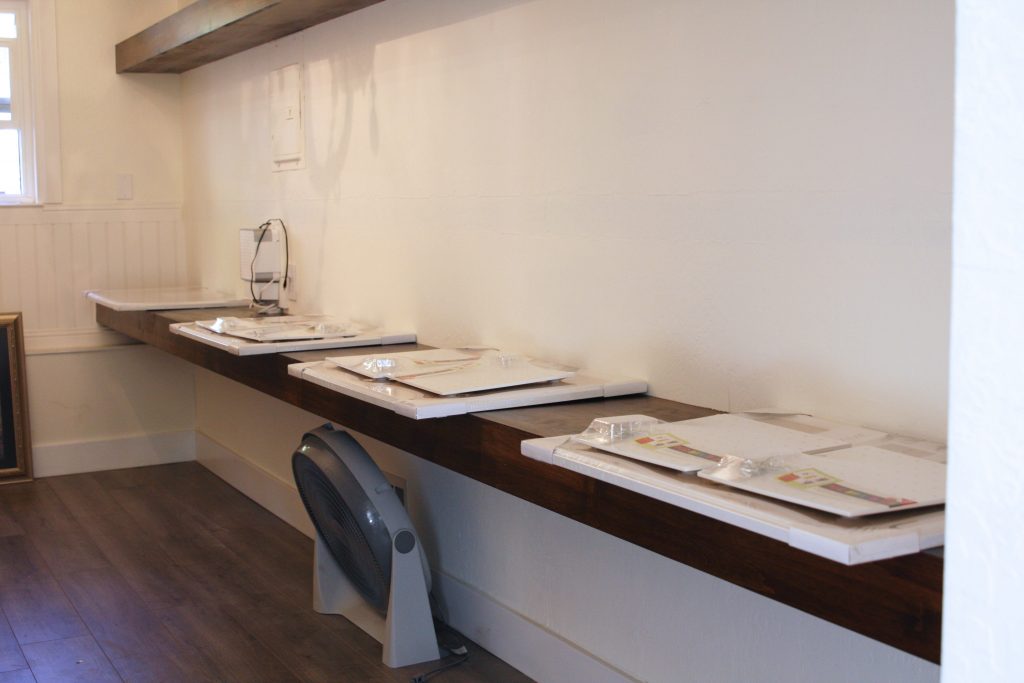
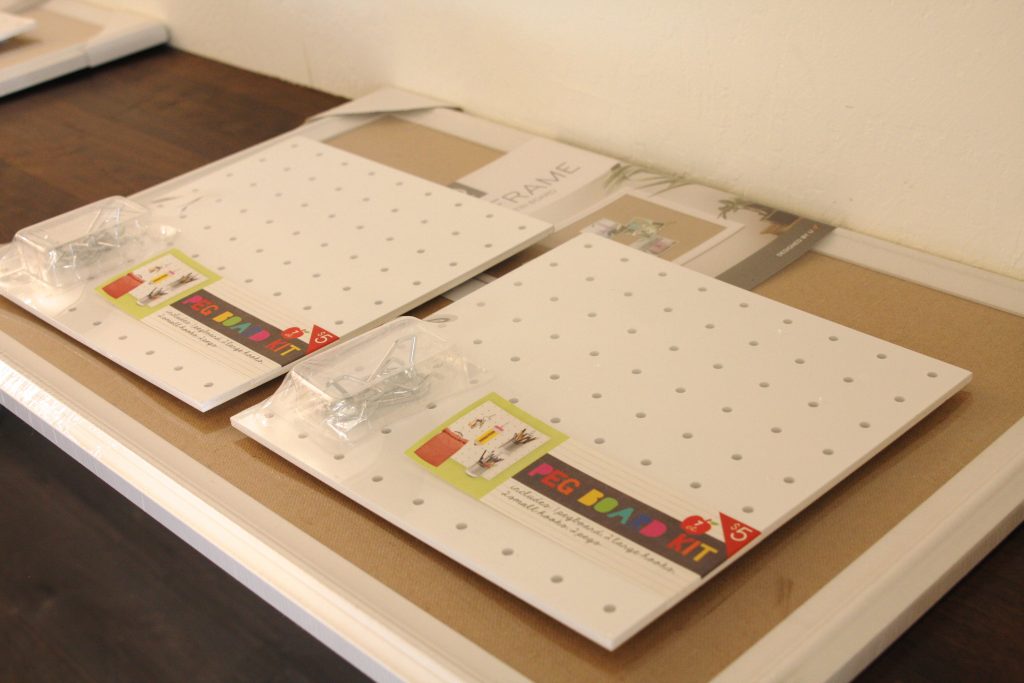
( Pinboard / Pegboard kit from Target’s $1 section )
On the pegboard squares I hung small pails filled with pens, pencils and little gadgets for homework…
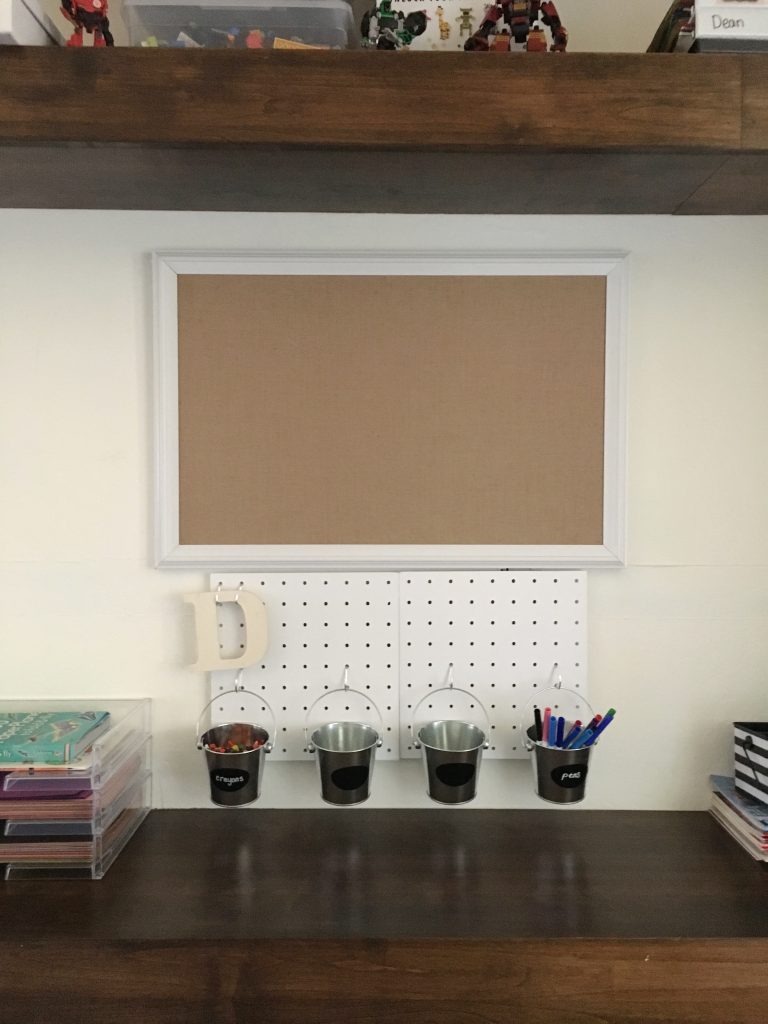
( pails / paper tray )
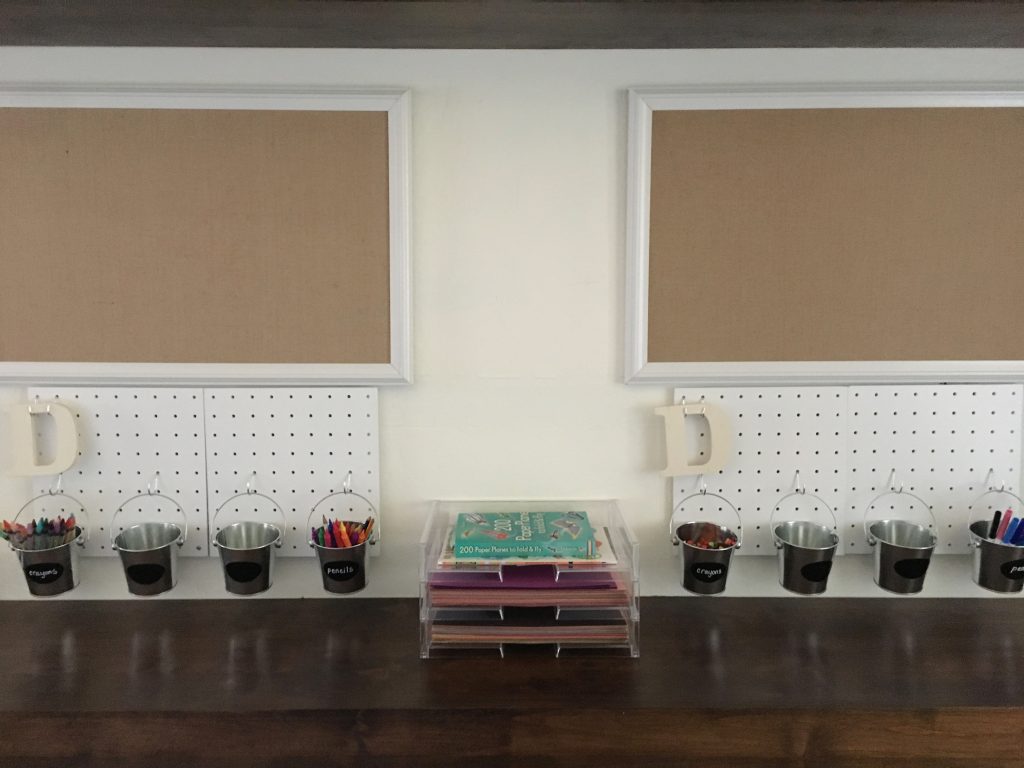
For additional desktop organization, I added these adorable and inexpensive caddies. They are less than $3 each when purchased in-store!…
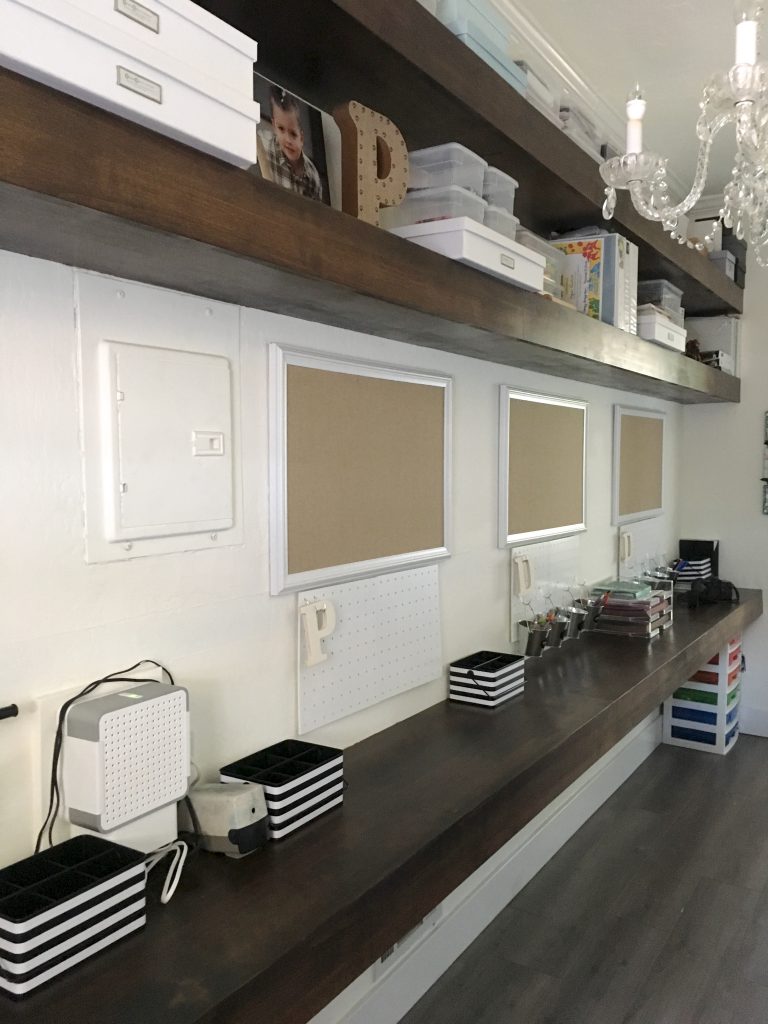
( striped caddy )
At the far end of the room, we carved out a spot just for mom…
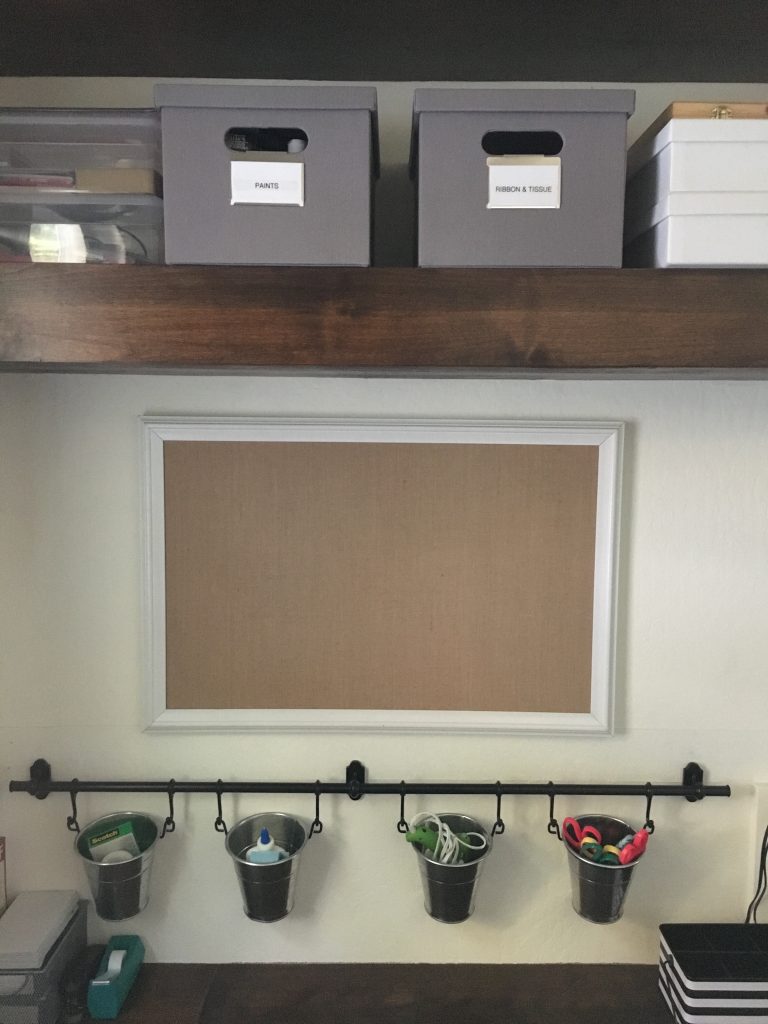
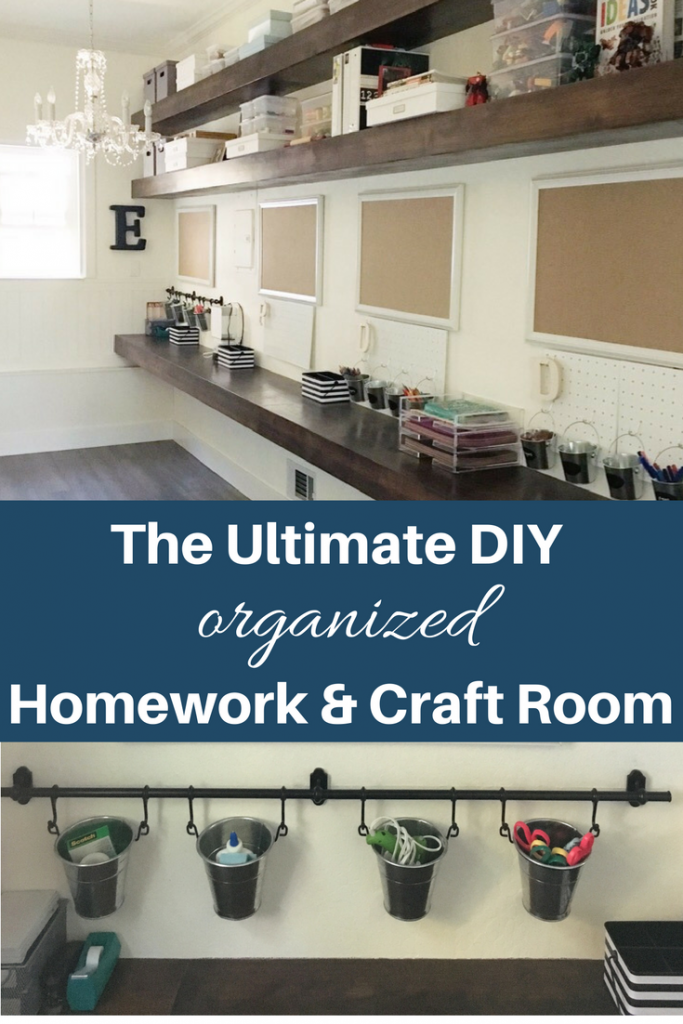
( hanging pails from Ikea / gray storage boxes / labels )
She has her own board, hanging storage and everything’s within reach to scrapbook, craft or wrap gifts…
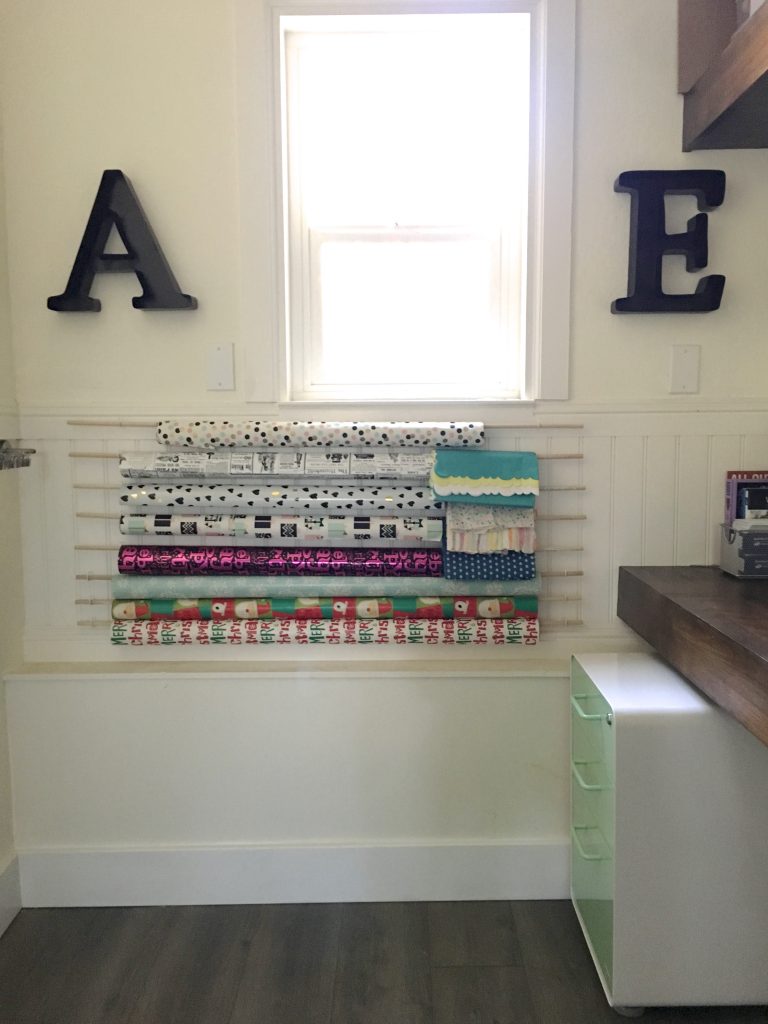
( file cabinet )
Along the back wall, I hung a long art string with clips. She had the string for a couple years just waiting on this “one day” dream. The kids have tons of room to display and show off A+ papers and tons of beautiful art!…
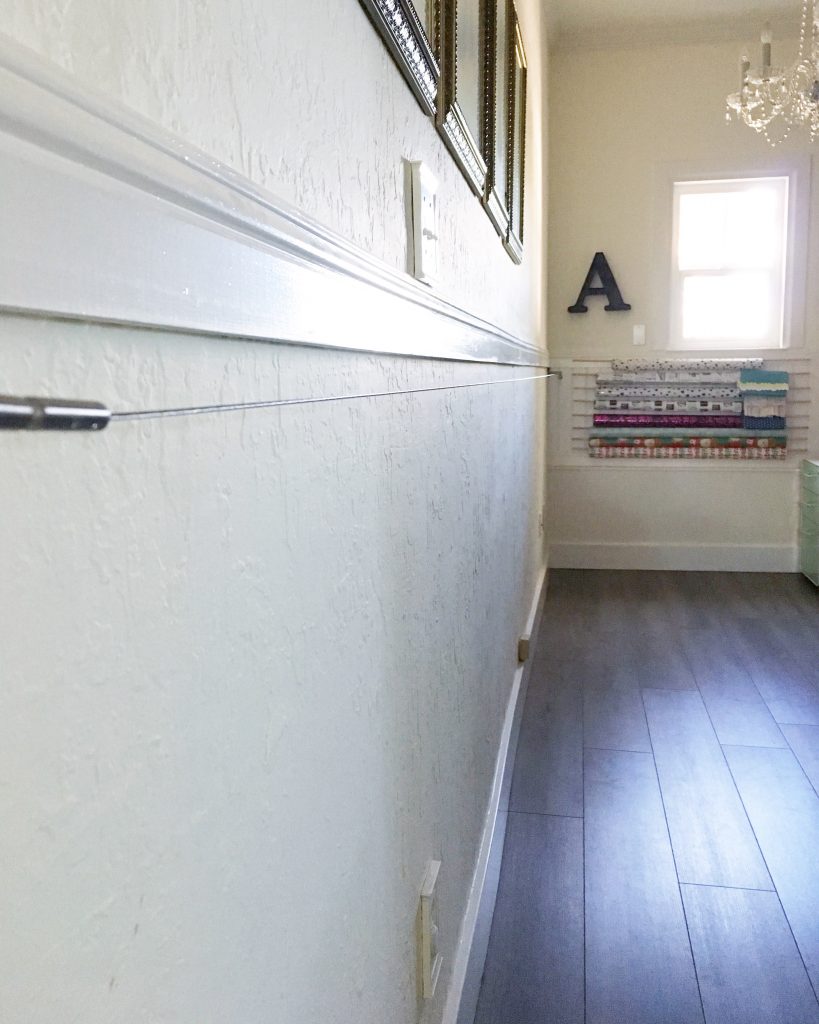
The 2 floating shelves contain it all. Literally! Everything is here and it’s all organized. Photos, photo albums, scrapbooking supplies, overflow legos, books, school memory books and more…
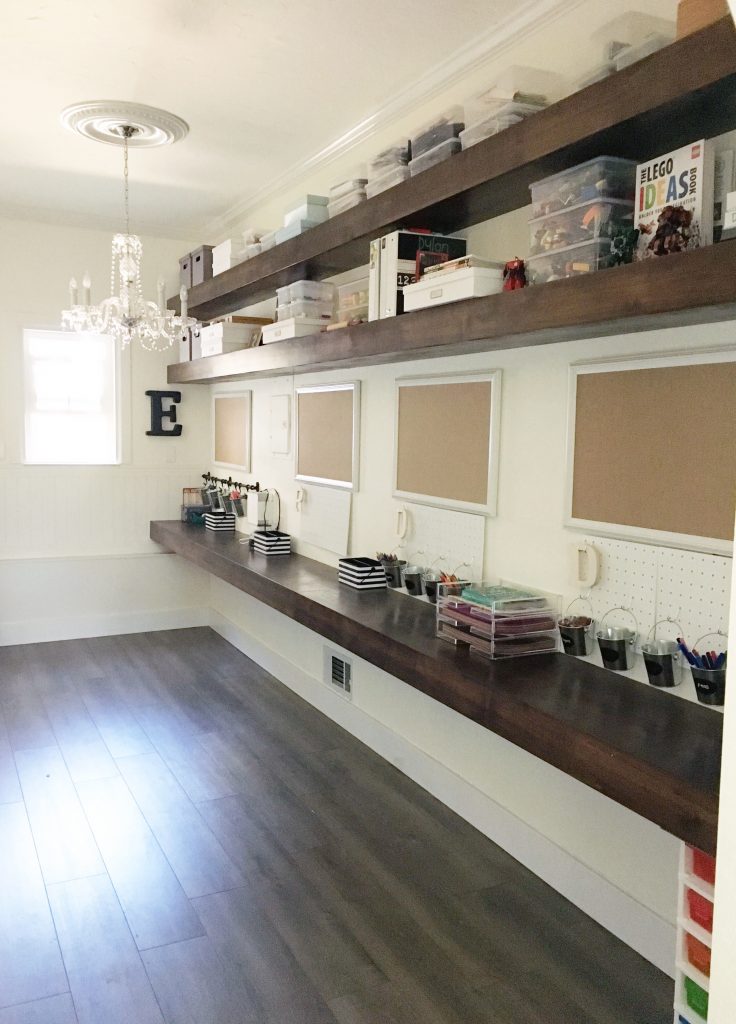
( clear shoebox storage / white collection boxes )

This space takes my breath away. Simple, beautiful, useful, functional…and the kids LOVE it!
Totally in love with this space…more than worth the one year wait!
Hope you enjoyed this look in on her new homework and craft room. If you’d like to shop this project, you can find most of the products I used right here…
[show_shopthepost_widget id=”2157344″]
Happy organizing!
*I shared this project on Tatertots & Jello
Hi! Such a beautiful room! Do you know the dimensions? I have a room similar that I would love to do something like this with. 🙂
Yes! please tell me the dimensions of the room! I am in love and want to make sure there is enough room in my space before going crazy with a DIY project.
This is going on my pinterest board. I’m actually working on a project just like this. I’m going with the long board ( currently being stained) but set on wood file cabinets I thrifted. And I just finished painting the trim on my oversize bulletin board (another thrift store find). And then I saw your post.
I wasn’t planning on a floating shelf, but I like your idea. I’m planning on using Ikea vertical files. This is going to be an office / craft / art area.
Wow, your amazing craft room design caught my eye at the Creativity Unleashed party and I had to pop over to take a closer peek. I can’t believe how much bigger the room looks now and what a fabulous work or play space. Pinned to share 🙂
Awe, thank you so much! I had a great time helping them transform the space and it is SO MUCH BIGGER! Just an amazing update! Thank you so much for pinning and stopping by to leave a comment!
xx,
Sam
How deep is the work area?
Deep?
From the front to the wall. 30 inches, 24?
Samantha I am doing a similar desk. Do you know what kind of wood they used for that counter? I seriously love all of your posts! Pretty much my favorite blogger!
Awe – sweetest compliment ever! You made my day!
We used a thick plywood that was then stained after install. I will ask her if she remembers the type of wood, but she may not. Because her contractor helped us, he may be the one who knows.
Thank you again so much!!!!
xx,
Sam
I LOVE this design!!! Can you tell me where your chairs are from?
Hi and thank you!
This is a space in my client’s home…pretty sure the chairs are from Restoration Hardware. Here’s a link:
https://www.restorationhardware.com/catalog/product/product.jsp?productId=prod1617246&categoryId=cat10220048
Thank you again!!
These shelves are exactly what I am wanting in our home office. I see the picture of the 2×4 “base” or main framework; were the covers or outer “pretty” wood parts of the shelves installed in the same way as the ones you installed in your own home? Top and sides, then bottom, then front? Do you happen to know? 🙂
Yes, that is exactly how they were assembled!
would love to know the width and depth of the floating shelves i want to do this in my sewing room that used to be my garage