I know this may be absolutely shocking to some of you (OK, maybe not), but I’m a total sucker for a great DIY project! I’ve done my fair share of them and experienced a lot of positive results, too. Some of my most frequently visited blog posts are those involving DIY projects I’ve shared over the years. So, I wanted to give you guys A Quick Recap of My Top 5 DIY Projects that I’ve showcased on the blog. If you missed them the first time around, no worries. You’ll get to be inspired all over again!
1. Trash Bags On A Roll
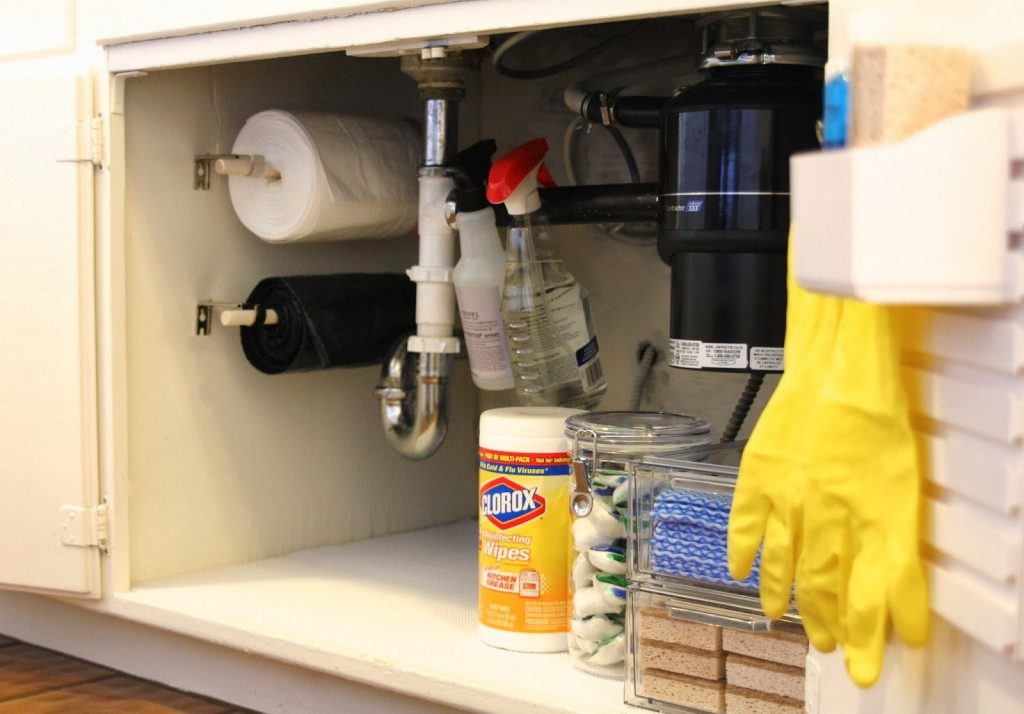
When it comes to organizing, I’m like a kid in a candy store. Organizing small spaces? Don’t even tease! There is nothing quite so small than the space underneath the kitchen sink and when my family moved into a new home, I was all about utilizing every last inch.
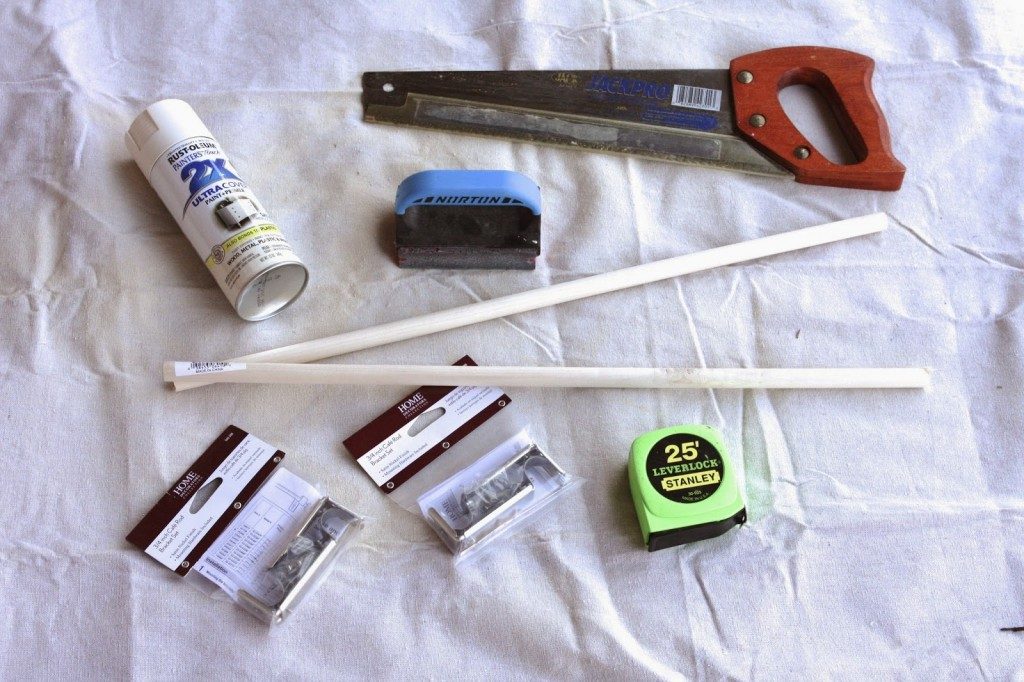
That being said, it didn’t take me long to tackle my first DIY project in my new kitchen and it took me all of 60 minutes to complete. I created a little trash bag organizer to make it easier to store them! Below are the only supplies needed to have on-hand:
Once the project was complete, I simplified the task of grabbing a new garbage bag and FULLY utilized the shelf space underneath the sink! Score! This has by far been one of my most visited posts and has been featured numerous times online and in magazines. So grateful!
Get all of the DIY directions and details in my post here, but let me assure you, you totally got this!
2. Floating Shelves
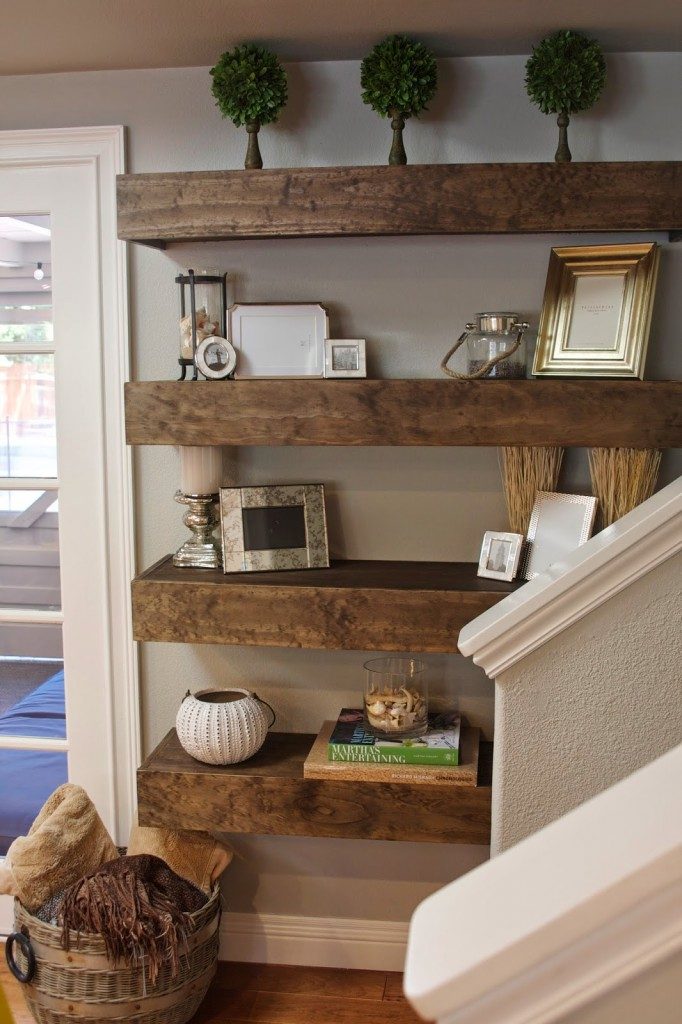
OK, I know these look super fancy and they ARE… duh! But, I don’t want to scare you off. Trust me when I say that if I can build these amazing shelves, you can, too!
First, let’s start with what you’ll need for supplies:
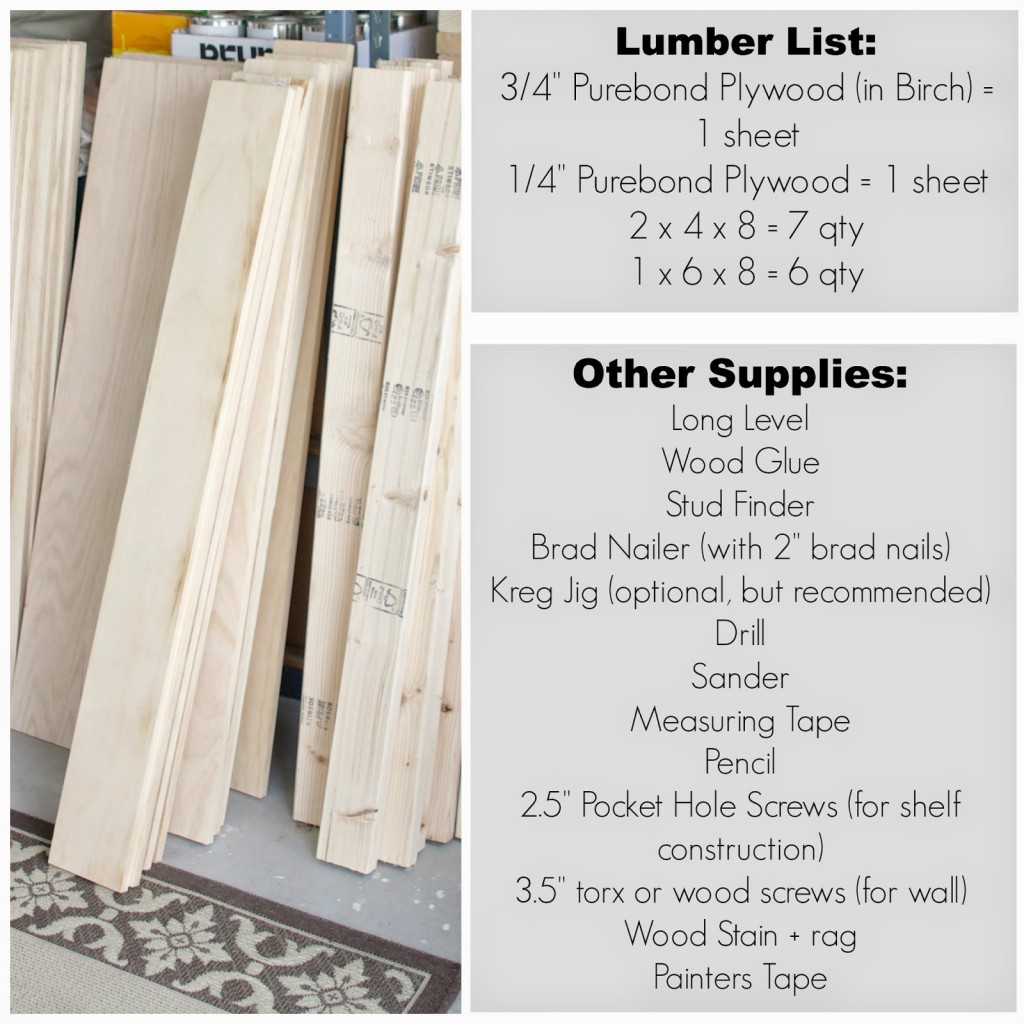
Please tell me you’re not running the other way on me? First of all, what you see above is enough to build 8 floating shelves. And it’s also only a recommended list. I get that you may have a few things that you may substitute in or out, but I at least what to give you the plans I used.
Next, all of this lumber should set you back around $180. If you make all 8 shelves, that means they will cost you about $22 per shelf! That doesn’t include power tools or wood glue you may need.
You can grab all of the step-by-step instructions on the previous Floating Shelves Tutorial post. I’ll walk you through EVERYTHING and again… don’t be intimidated! And of course, I’ll also share where I got all of the pretty things I used to decorate those amazing new floating shelves!
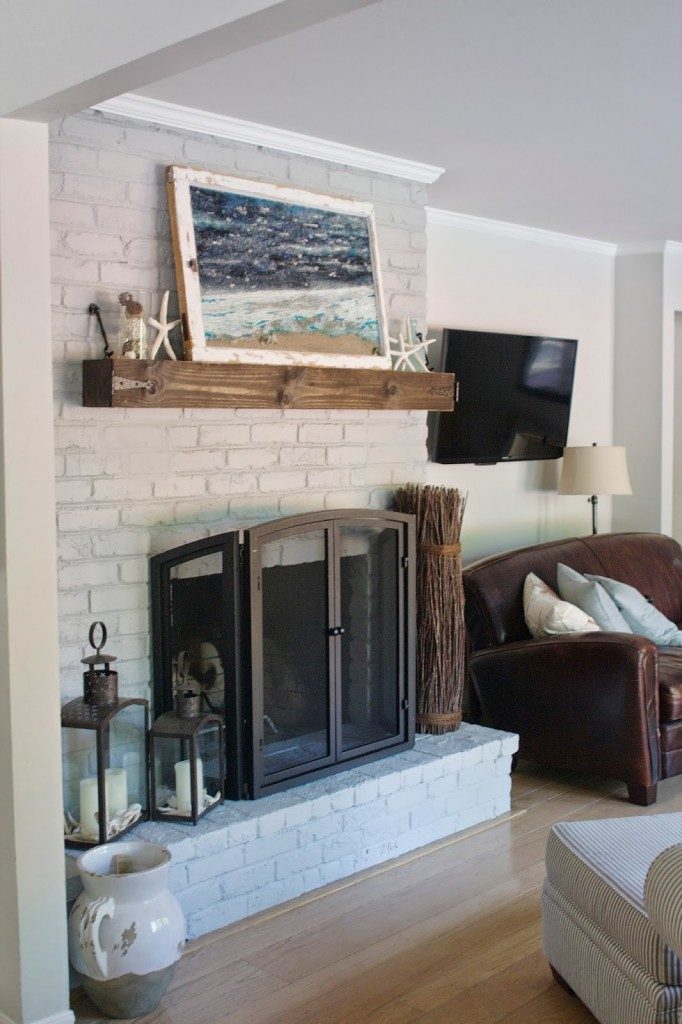
3. DIY Mantle
So I’m obviously a big organizing freak. Surprise! Give me a good organization project and I am ON it. It fuels me. But when it comes to actually creating my own furniture and decor? I get a lot more nervous. When it came to furnishing my new home, I started small. Above, you saw the great Floating Shelves that I built, so why not build my own mantle above the fireplace?
That is exactly what I did! This DIY Mantle was much needed and something I was ready to tackle with vigor. And let me tell you… it didn’t disappoint. I also learned a few things along the way. Here is where I started from:
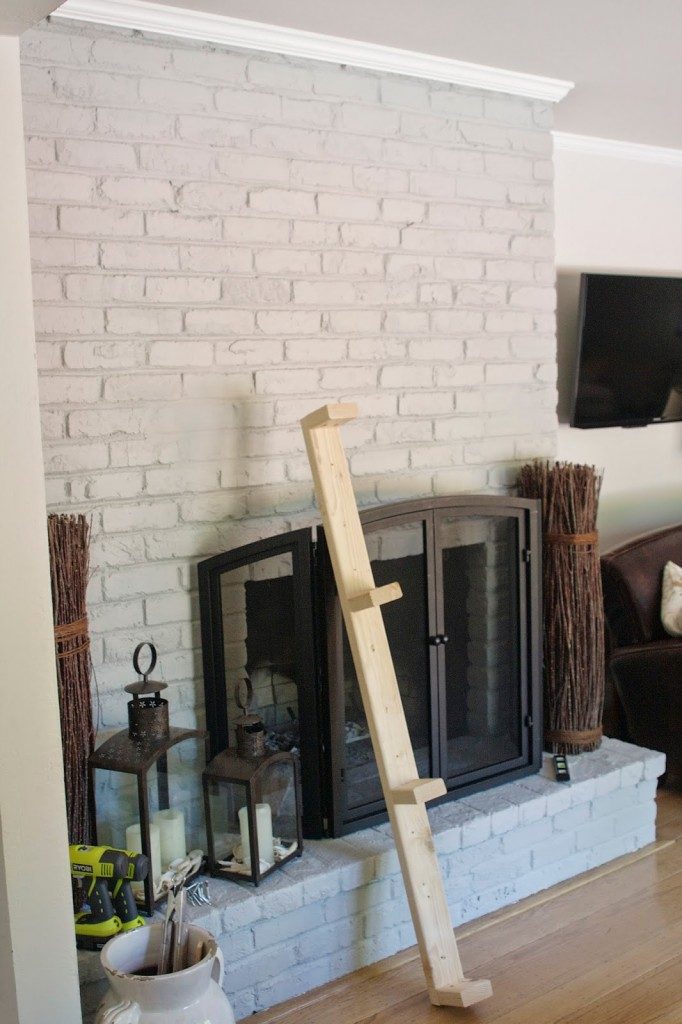
Head over to my previous blog about the DIY Mantle in order to get all of the specifics, like the plans I used, the color stain I used and specifics on installing.
And about that installation… if you’re drilling into brick, like I was, pay special attention. I got the job done, but it wasn’t without a tiny bit of frustration. But hey… what doesn’t kill us makes us stronger, right?!
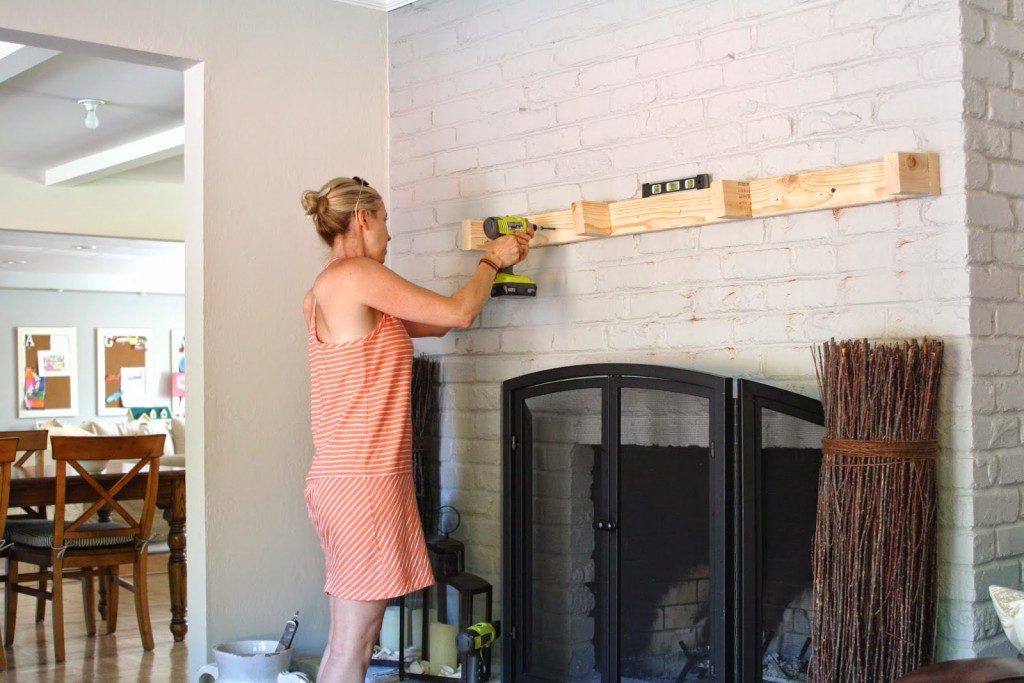
What I loved about this DIY Mantle plan is that I was also able to set up my anchor, put on my “floating” mantle, and than add decorative hardware to spice things up a little bit. It worked great with complimenting the fireplace.
And don’t worry, I’ll also share the deets on all of the fun things I used to actually decorate my mantle. Because it would just be mean if I didn’t share, right?!
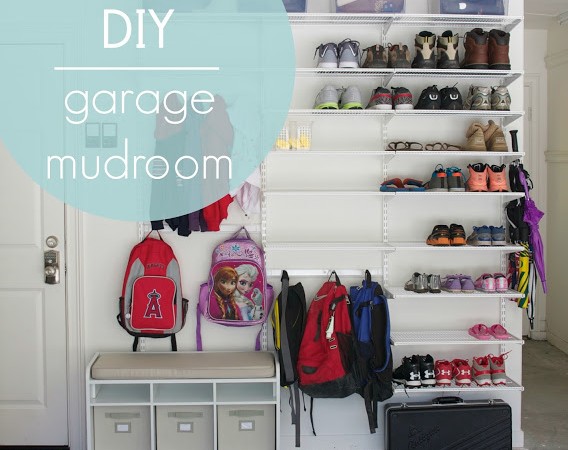
4. Garage Mudroom
Show of hands, who has a gorgeous, perfect, custom-made mudroom where they are able to store their entire family’s outdoor needs, along with school and sports-related items? You do? I’m jealous. OK, raging jealous, because I don’t!
But have no fear, because I have a previous blog post about transforming my old “blah” garage mudroom into something that is way more functional and full of purpose.
First step? Give that garage wall a fresh coat of paint! It’s amazing what fresh paint can do to clean up a space and it was the perfect way to get started on this DIY project.
Next, my previous garage mudroom was nothing more than a bunch of free-standing shelves that did the job, but didn’t quite do EVERYTHING I had in mind. Make sure you know EXACTLY what you’re going to be storing in your garage mudroom, because that is going to determine exactly what you should be purchasing for your redo.
Check out all of the specifics in my original DIY Garage Mudroom post, but to make it easier for you to picture, check out the before and after pictures… ’nuff said!
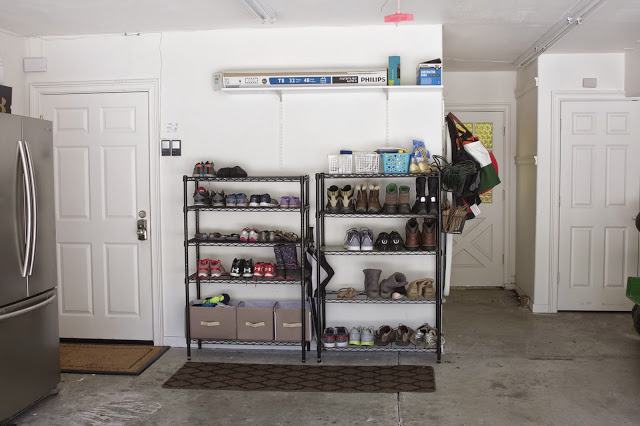
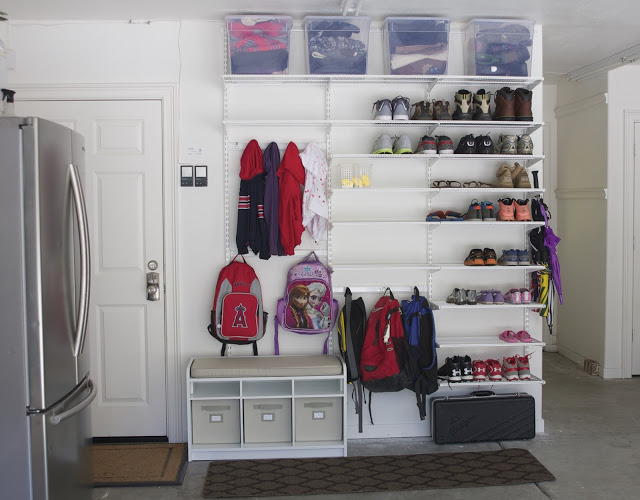
It might not be my custom-made top-of-the-line mudroom that haunts my dreams, but it sure is an upgrade for me. I just love it! And I’ve created many versions of this mudroom for very happy clients.
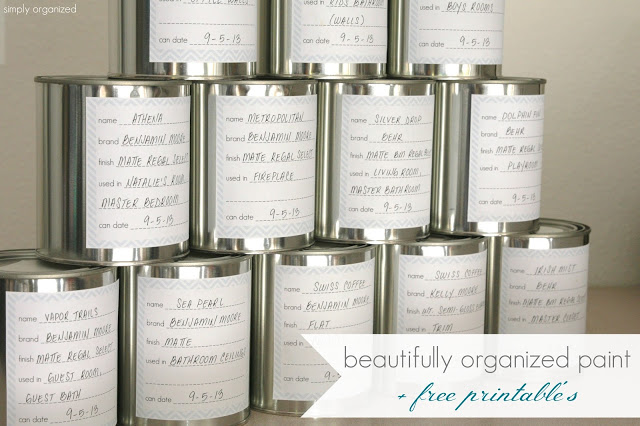
5. Organized Paint + Free Printable Label Template
Do you suffer from T.M.P.C.? That’s right… you may suffer from Too Many Paint Cans and not even realize it. If your garage, basement, or storage area looks like the picture below, chances are you’ve got T.M.P.C. bad!
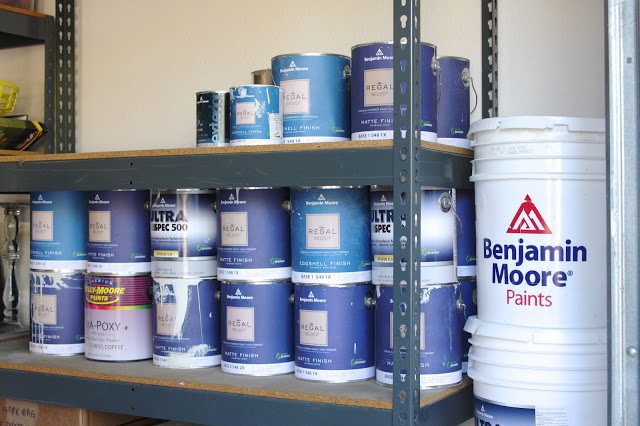
Don’t fret! This can be cured. That brings me to my last Top 5 DIY Projects that I’ve done over the last couple of years – Organizing Paint with Free Printable Labels.
First stop – your local hardware store (Home Depot in my case) to pick up some shiny new quart-sized paint cans that look something like this:
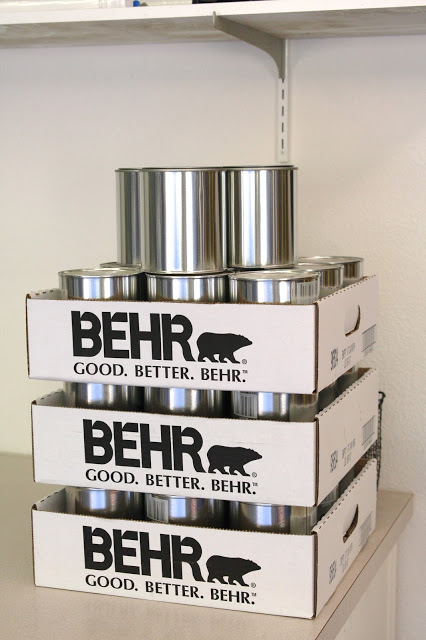
Pretty! And they’re only about $3 each. Next, I whipped up labels and printed them off on full-sheet Avery labels (get all of the specifics in my previous blog post) and got to work!
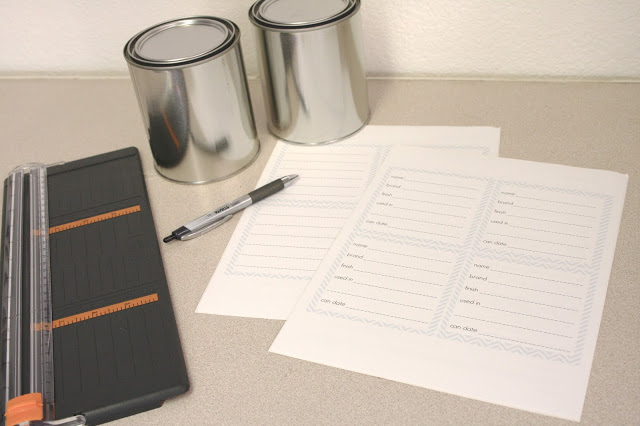
I took those old cans of paint, put the leftover paint in a shiny new can, dabbed a swatch of paint to the lid, hammered that lid on tight and put the new label on the paint color’s new home. Done!
Continue to repeat until all of those big ugly paint cans are gone and before you know it, your storage area will now look like this:
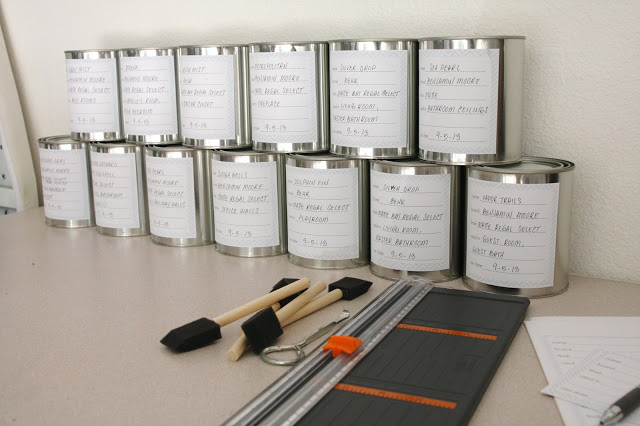
SOOOO much better and it’s also a great time to dump those old cans where the paint is too unrecognizable to even use. Storage space gets maximized and it costs next to nothing to organize your paint.
There you have it! That is A Quick Recap of My Top 5 DIY Projects and I can tell you with certainty that you can tackle each and every one of these with ease!
Shared with Tatertots & Jello
I may forward this to my husband who is not what you’d call floating shelves