A walk-in pantry is a dream come true for any homeowner. If you have one, you visualize this space being totally organized and beautiful, but sometimes homeowners struggle to execute that dream. Thankfully, they have me in their corner to help pull it all together. And I am grateful they contact me to help!
But I also write and share here to reach a larger group of people I can’t work with in person. So I thought it would be fun to share how a professional organizer generally organizes a walk-in pantry. Or at least how those pro organizer does!
A local homeowner was lucky enough to have me organize their walk-in pantry at no cost (wow!) – all thanks to InterDesign! They are the company who makes the clear fridge and pantry bins most of you have become familiar with around SO. Like these in my office drawers…
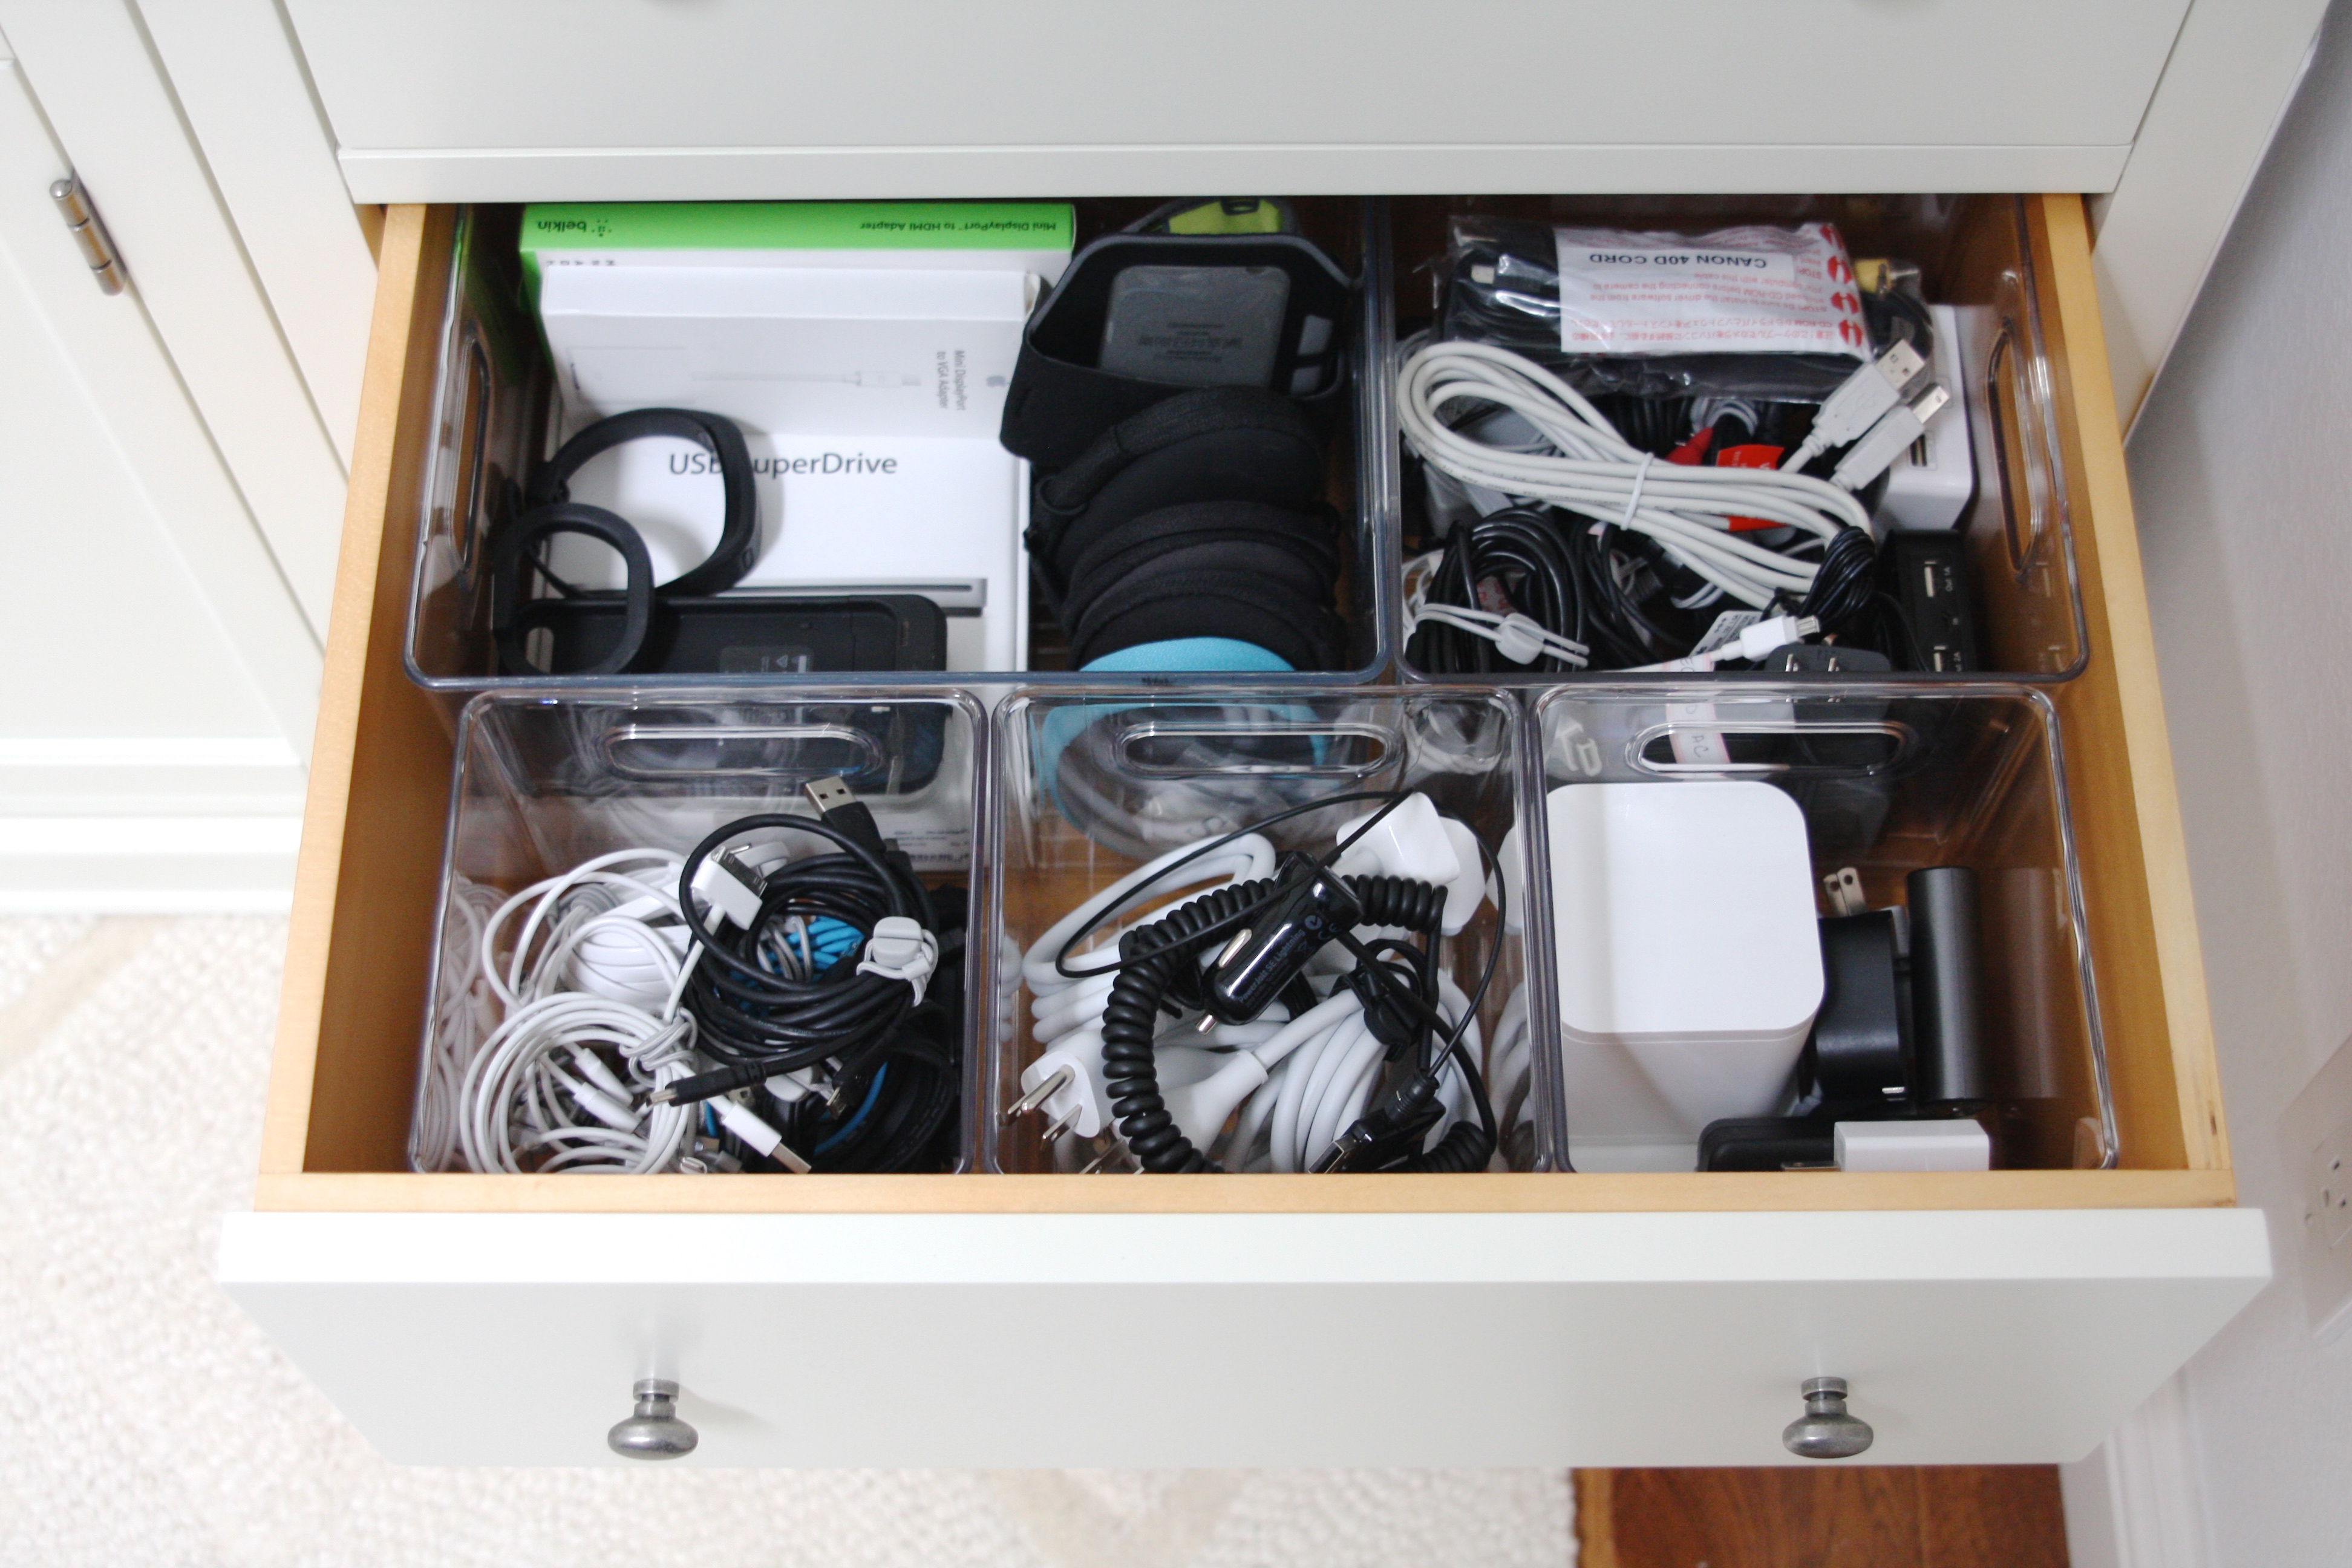
( small bin | medium bin )
And the yogurt bins in my fridge…
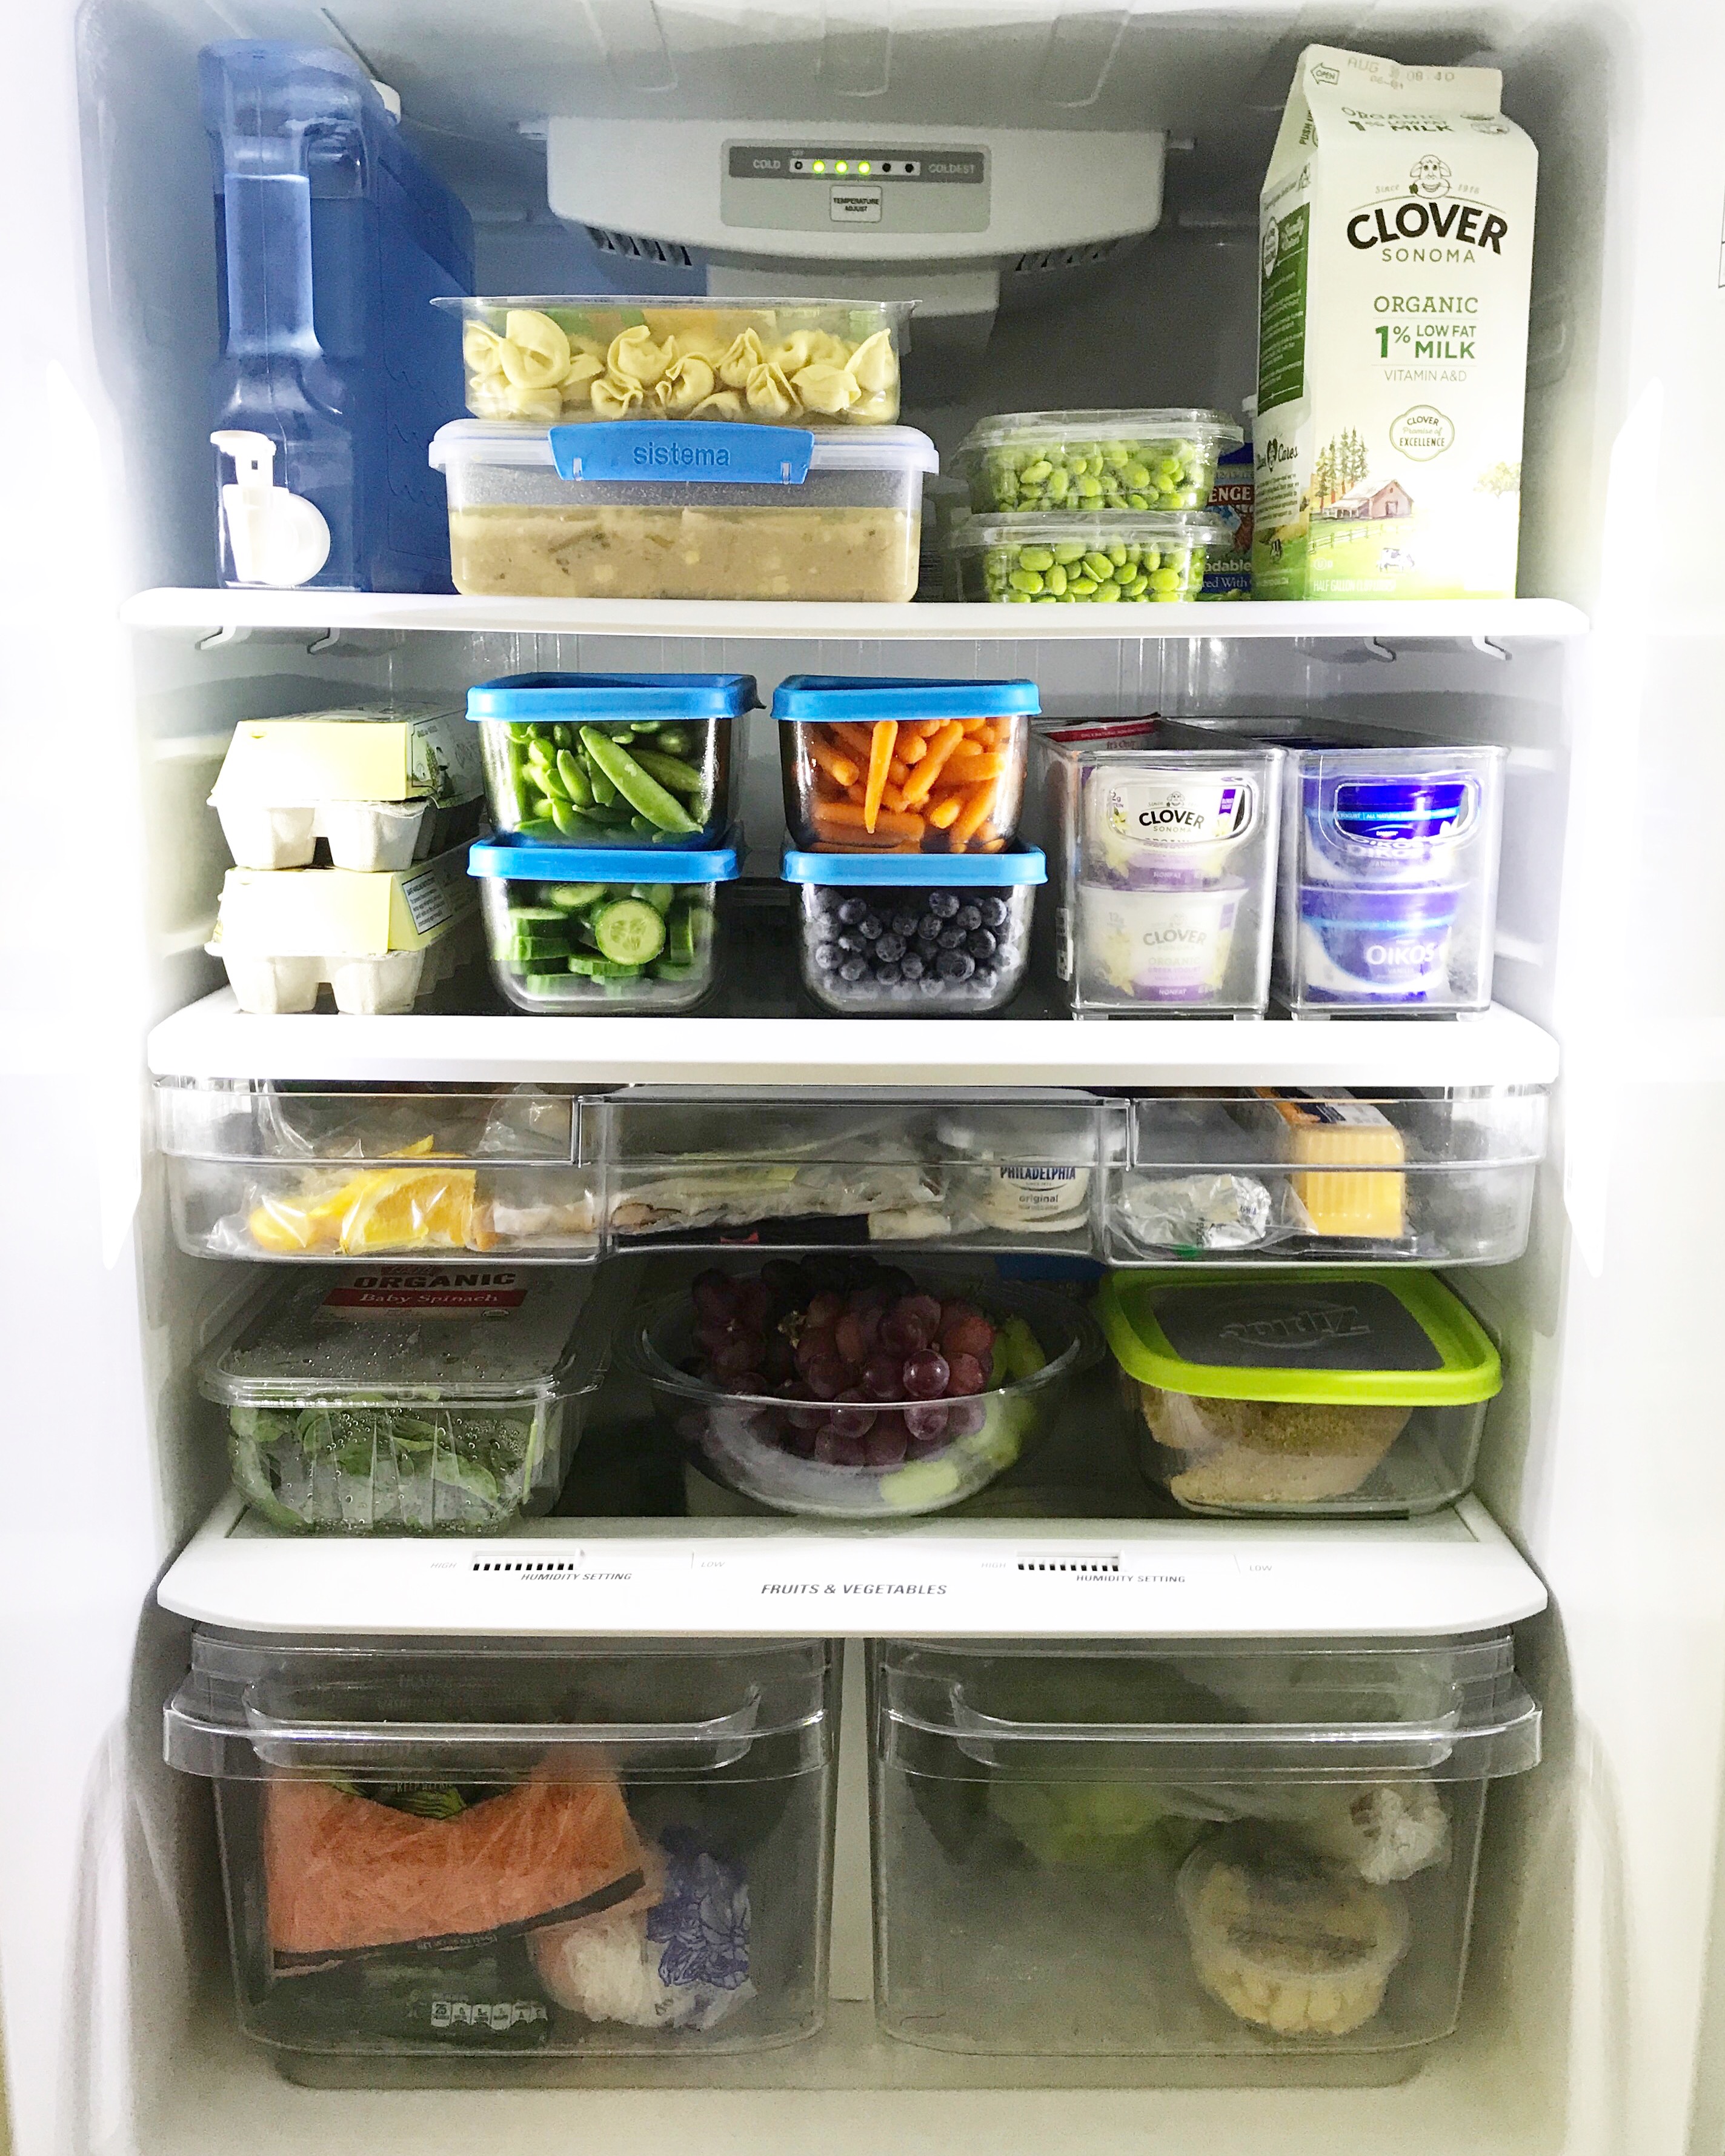
( deep fridge bin )
The deep bins are my favorite because it helps make the most of space in those deep cabinets or on deep shelves. They are clear which means a label isn’t necessary. Love that! And they are easily re-purposed if you choose to use them somewhere else around your home. A lot of the new homes I’ve been working in have very very deep shelves. These are everything! A total game changer!
Trust me, I work with A LOT of organizing products and these are in my top 5 go-to’s.
I was excited to work with InterDesign on this project and want to thank them very much for inviting me to team up…AND for gifting a local homeowner with a beautiful new pantry! Look at this beauty though in my truck!…
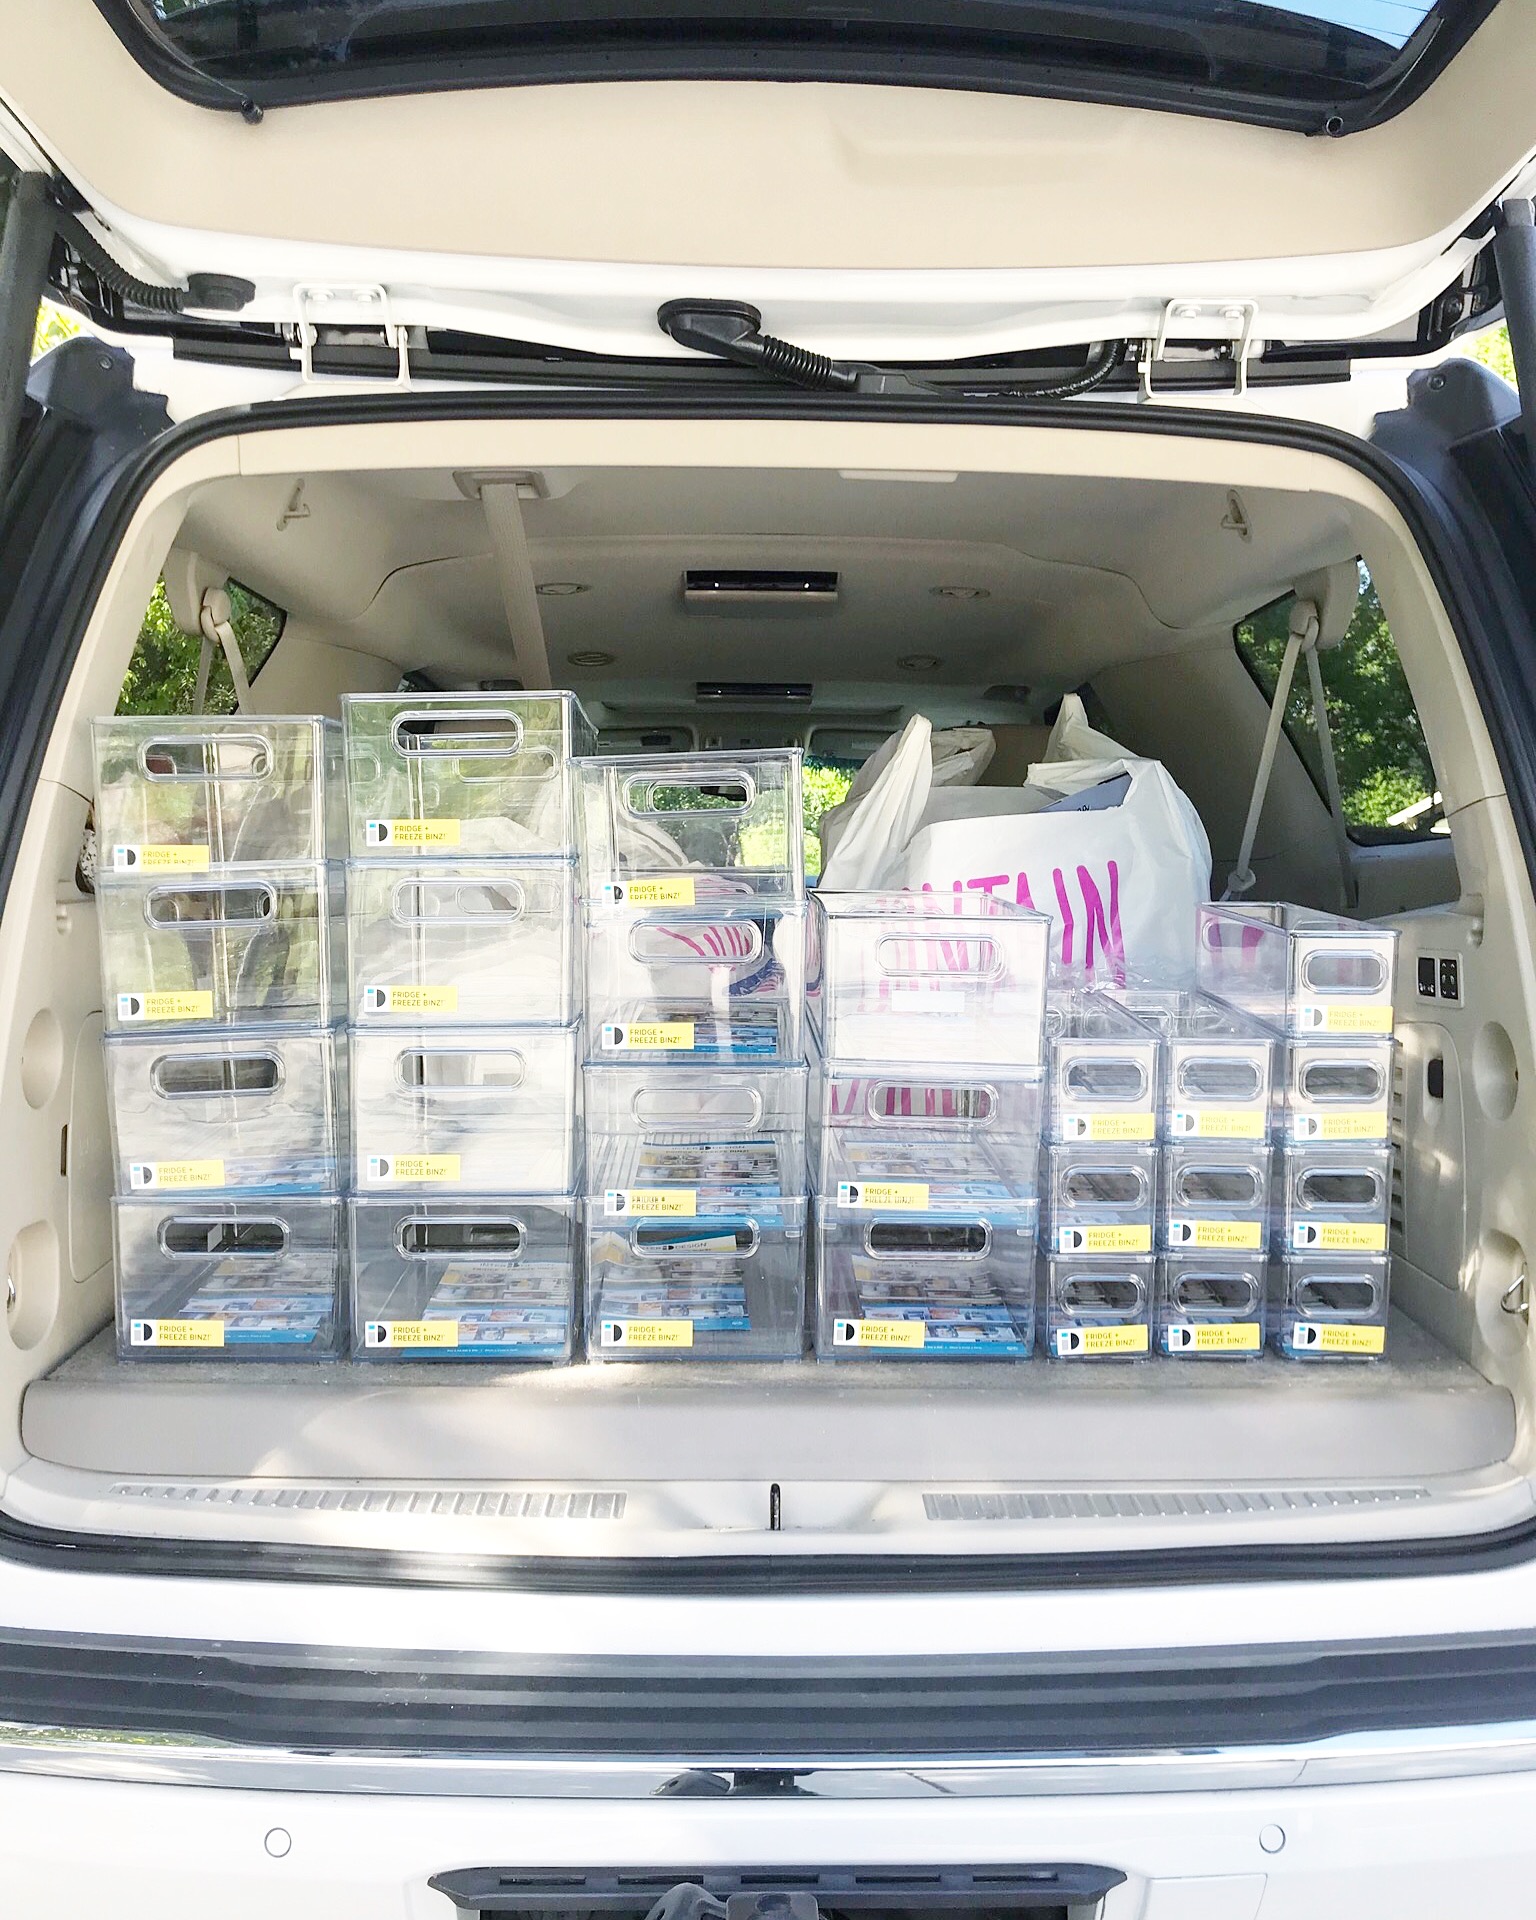
All the heart eyes from yours truly!
Let’s get focused here though and talk about organizing…
HOW TO ORGANIZE A WALK-IN PANTRY
For starters, before you even consider purchasing a single product – you need to know what you have, how much you have and what specifically you’ll store in your pantry. For example, I’ve organized pantries that contain very little foods, instead functioning as a butlers pantry for linens and kitchen ware. Knowing what you’re putting into the space FIRST is an important step you don’t want to skip. And that is always where my process begins.
MEASURE AND MAKE A GAME PLAN
Once you know what you are storing in the pantry, it’s time to make a game plan and measure the space. Measuring shelves as well as the space on the floor and at the very top is important. It will help when you’re scouring the web or your favorite home store looking for solutions.
Measure x3 – Purchase x1. It’s real! Make a note and commit that to memory, friends!
PURCHASE YOUR CONTAINMENT
Using your measurements, have some fun searching for ideas online. Before buying anything, search Pinterest or Houzz or thumb through those home magazines you have stacked up. (I see you!)
Joking aside, have some fun with it and take your measurements with you when shopping.
Pro Tip: I follow the sale cycles and if you’re in the throes of organizing your entire home, you should as well. Just take one space at a time and purchase containment for that category on sale. You can also find great products online, such as on InterDesign’s Amazon store. They have great pricing on their items year round and it’s shipped conveniently to your home. On prime!
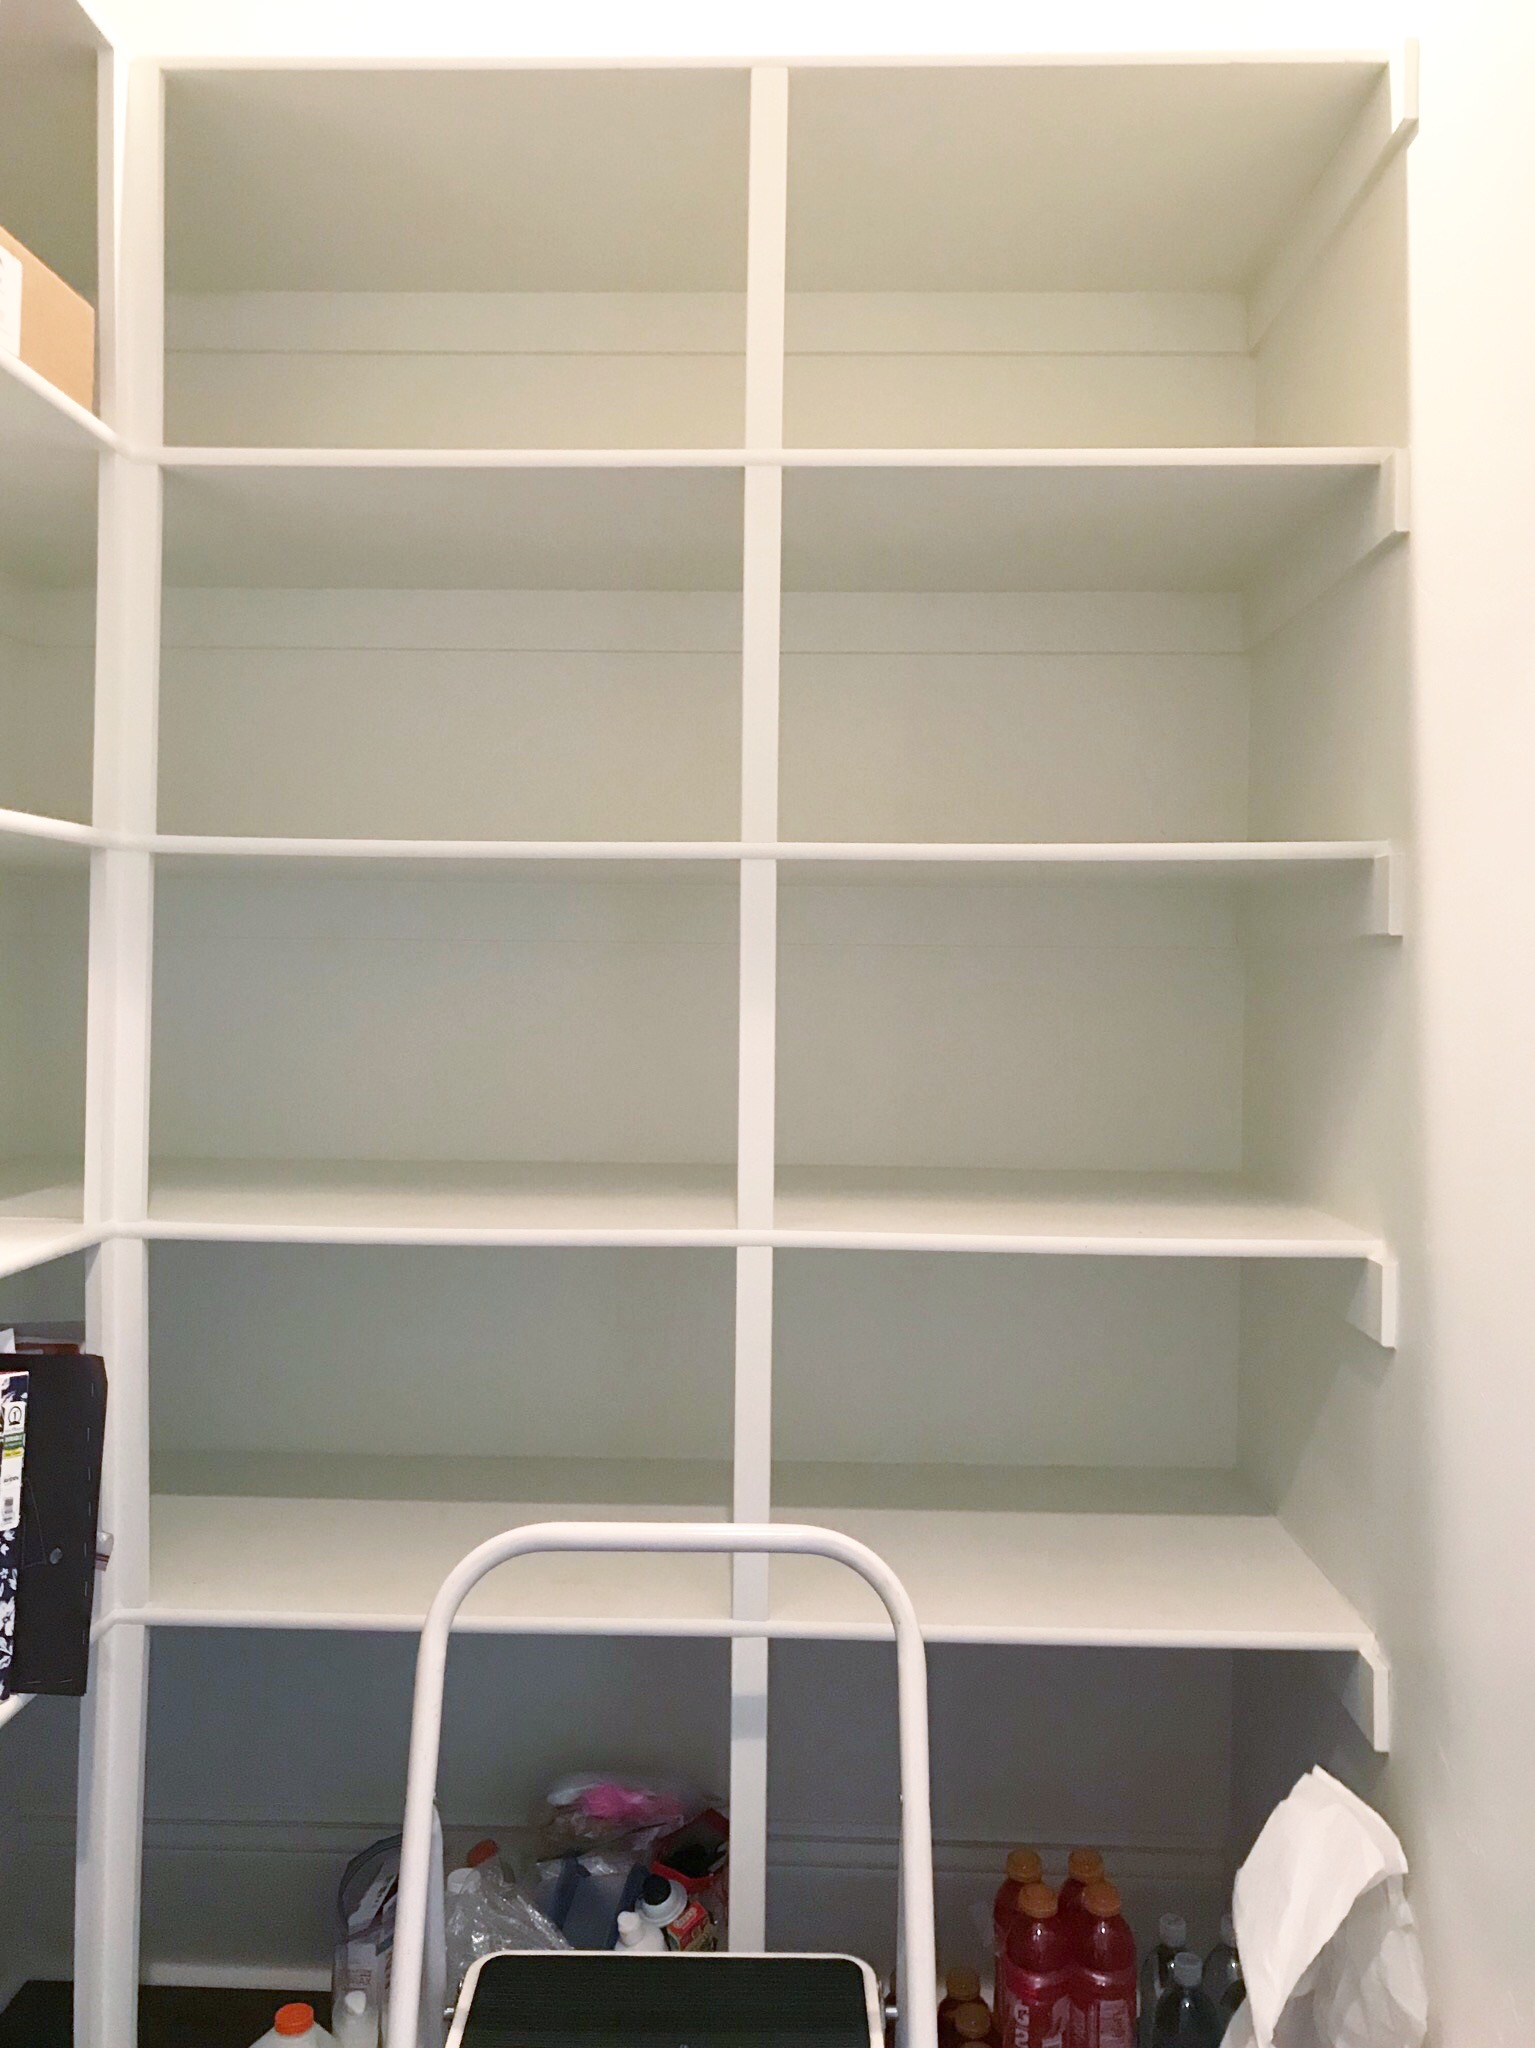
EMPTY & CLEAN THE SPACE
Once you have your game plan set and containment purchased, empty the pantry completely and clean the space…
SET UP YOUR ZONES
I first set the containment in the pantry and then play around with it like a puzzle…not removing labels until the entire scene is set. This will give you time to move things around to the shelf that makes sense to your lifestyle. If you don’t eat one category more than 1x per week, consider placing it higher up. Keep your most accessed items within reach and eye level.
You can see here I still have the labels attached. Items were in motion at this point of install…
LABEL IT
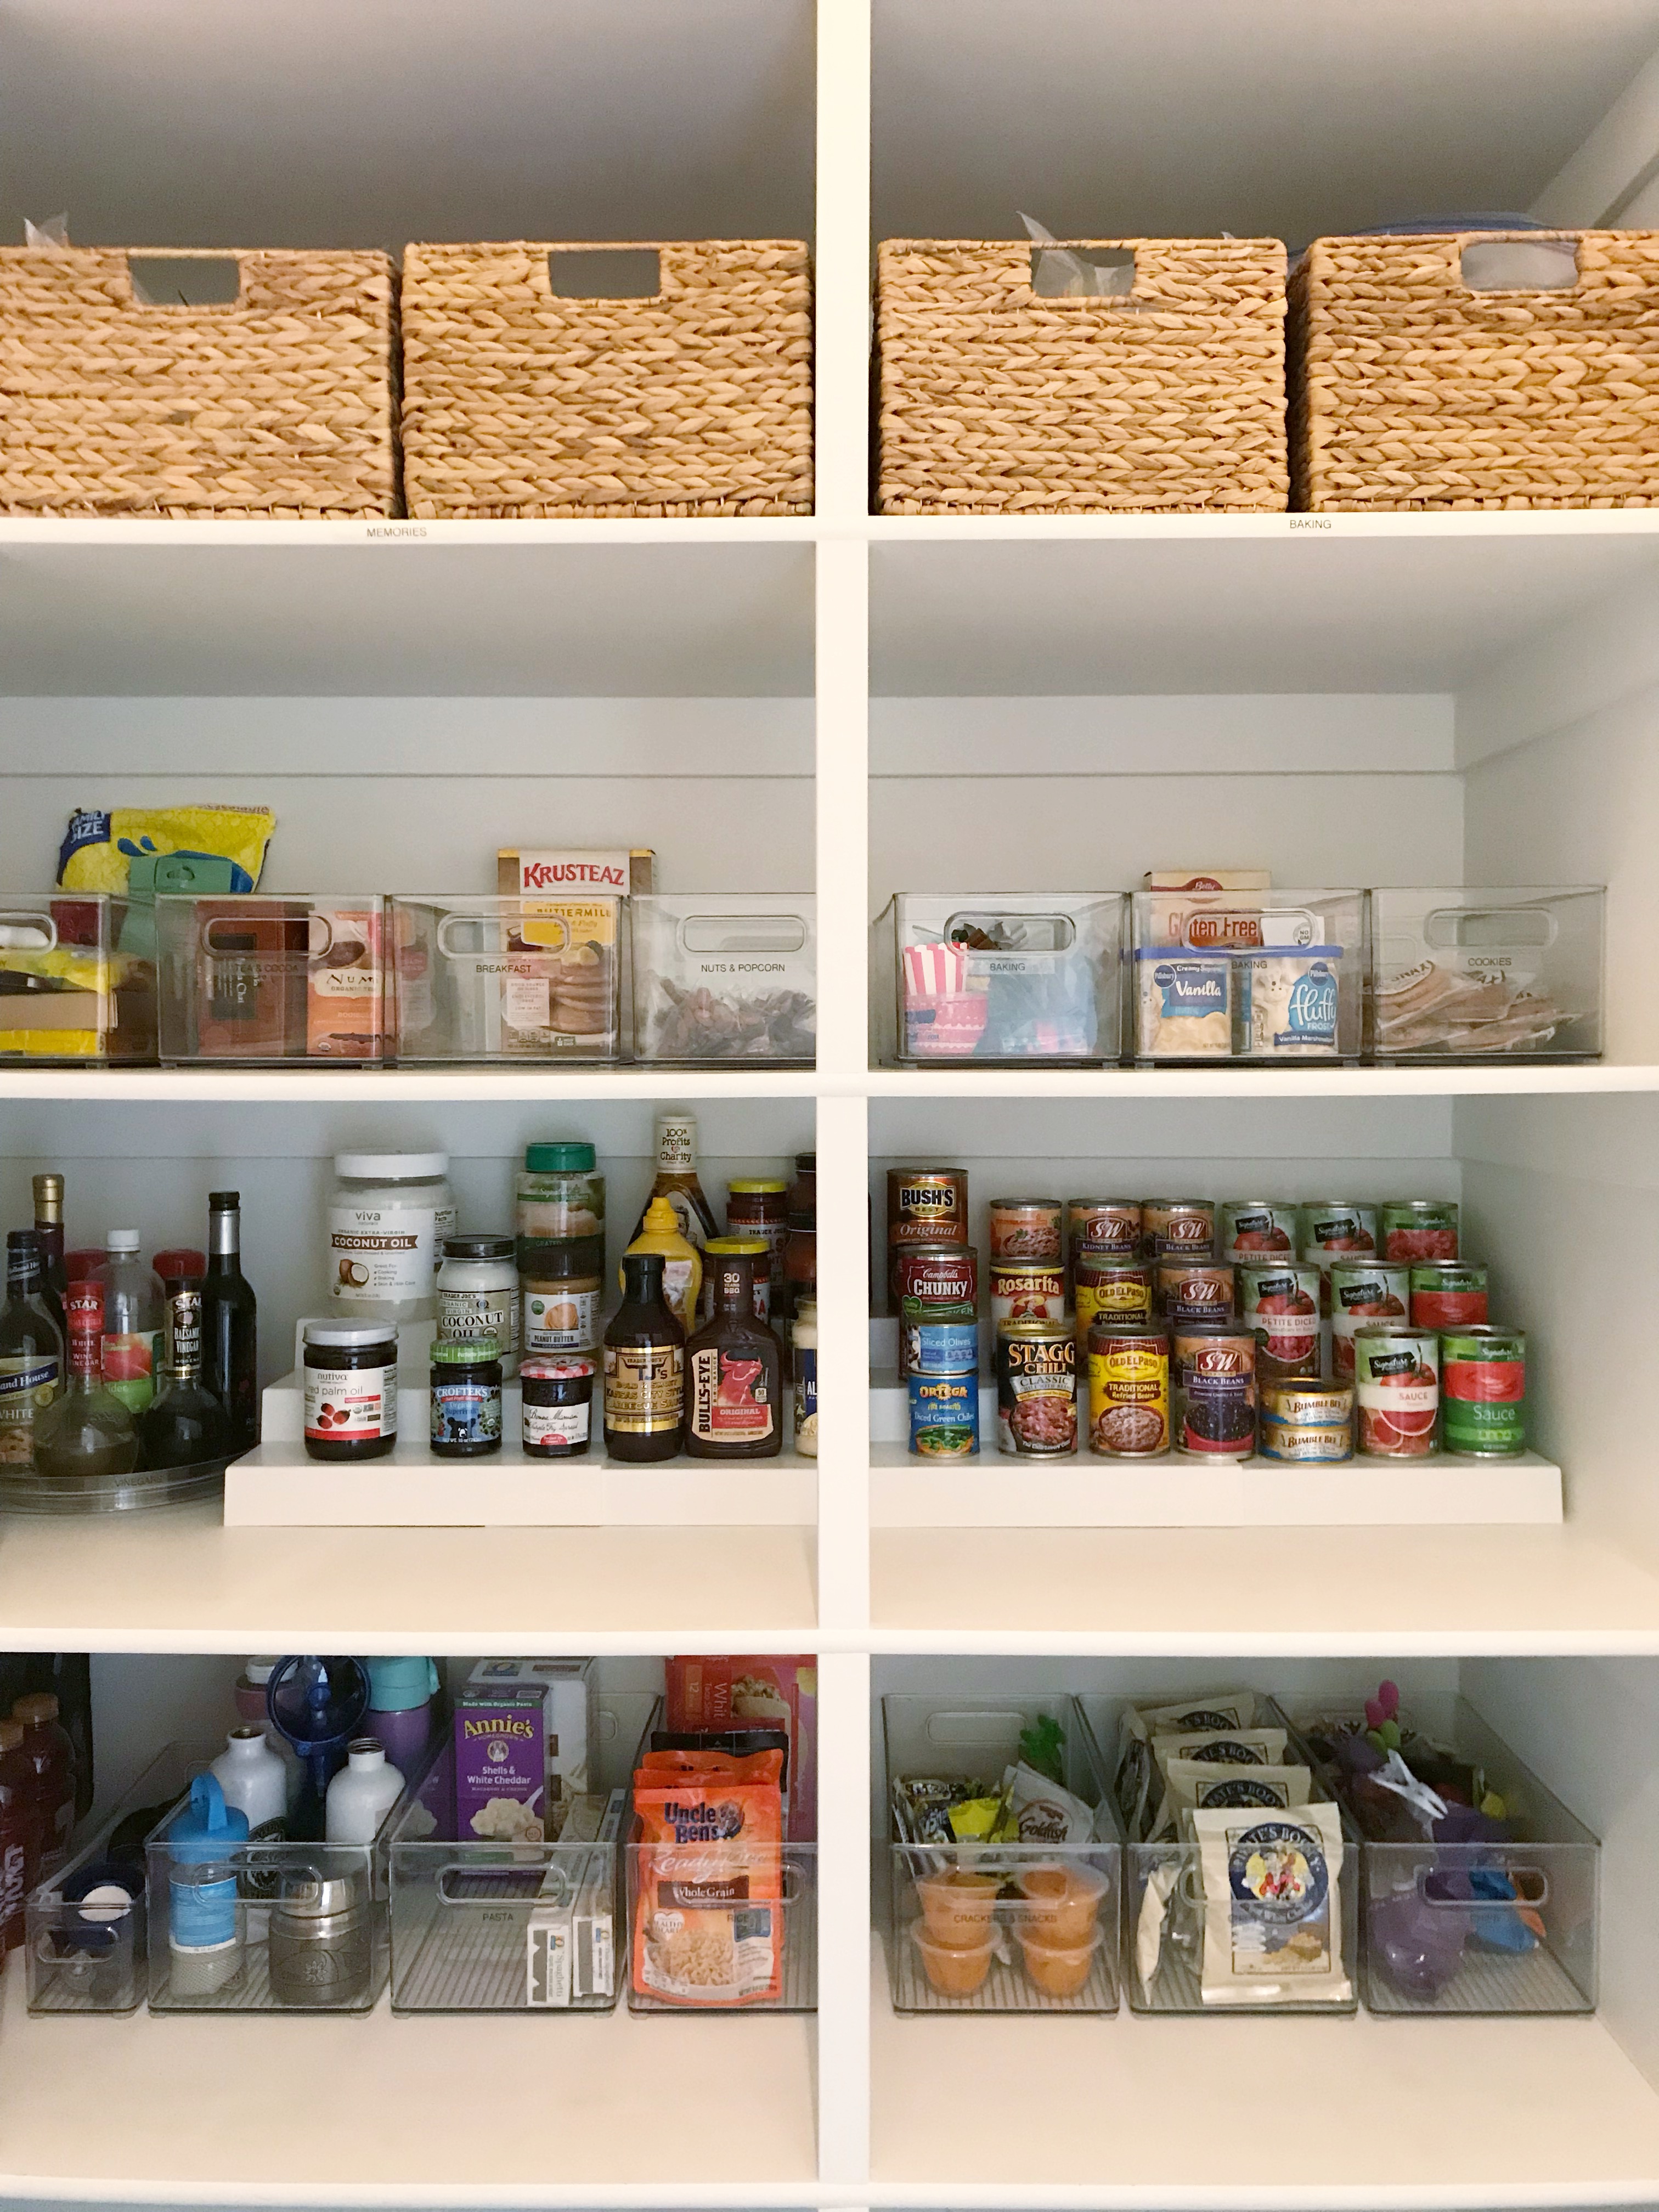
Once it all came together and the homeowner was happy with placement, I removed the labels and added simple clear labels of my own. As I mentioned already, not everything needs a label. The reason it occasionally helps is if you want to hold yourself accountable. Sometimes, even having containers isn’t necessary. You can huddle like items together and label the shelf fronts, if you wish. But in this case, she wanted a bin for each category. Happy to oblige!
![]()
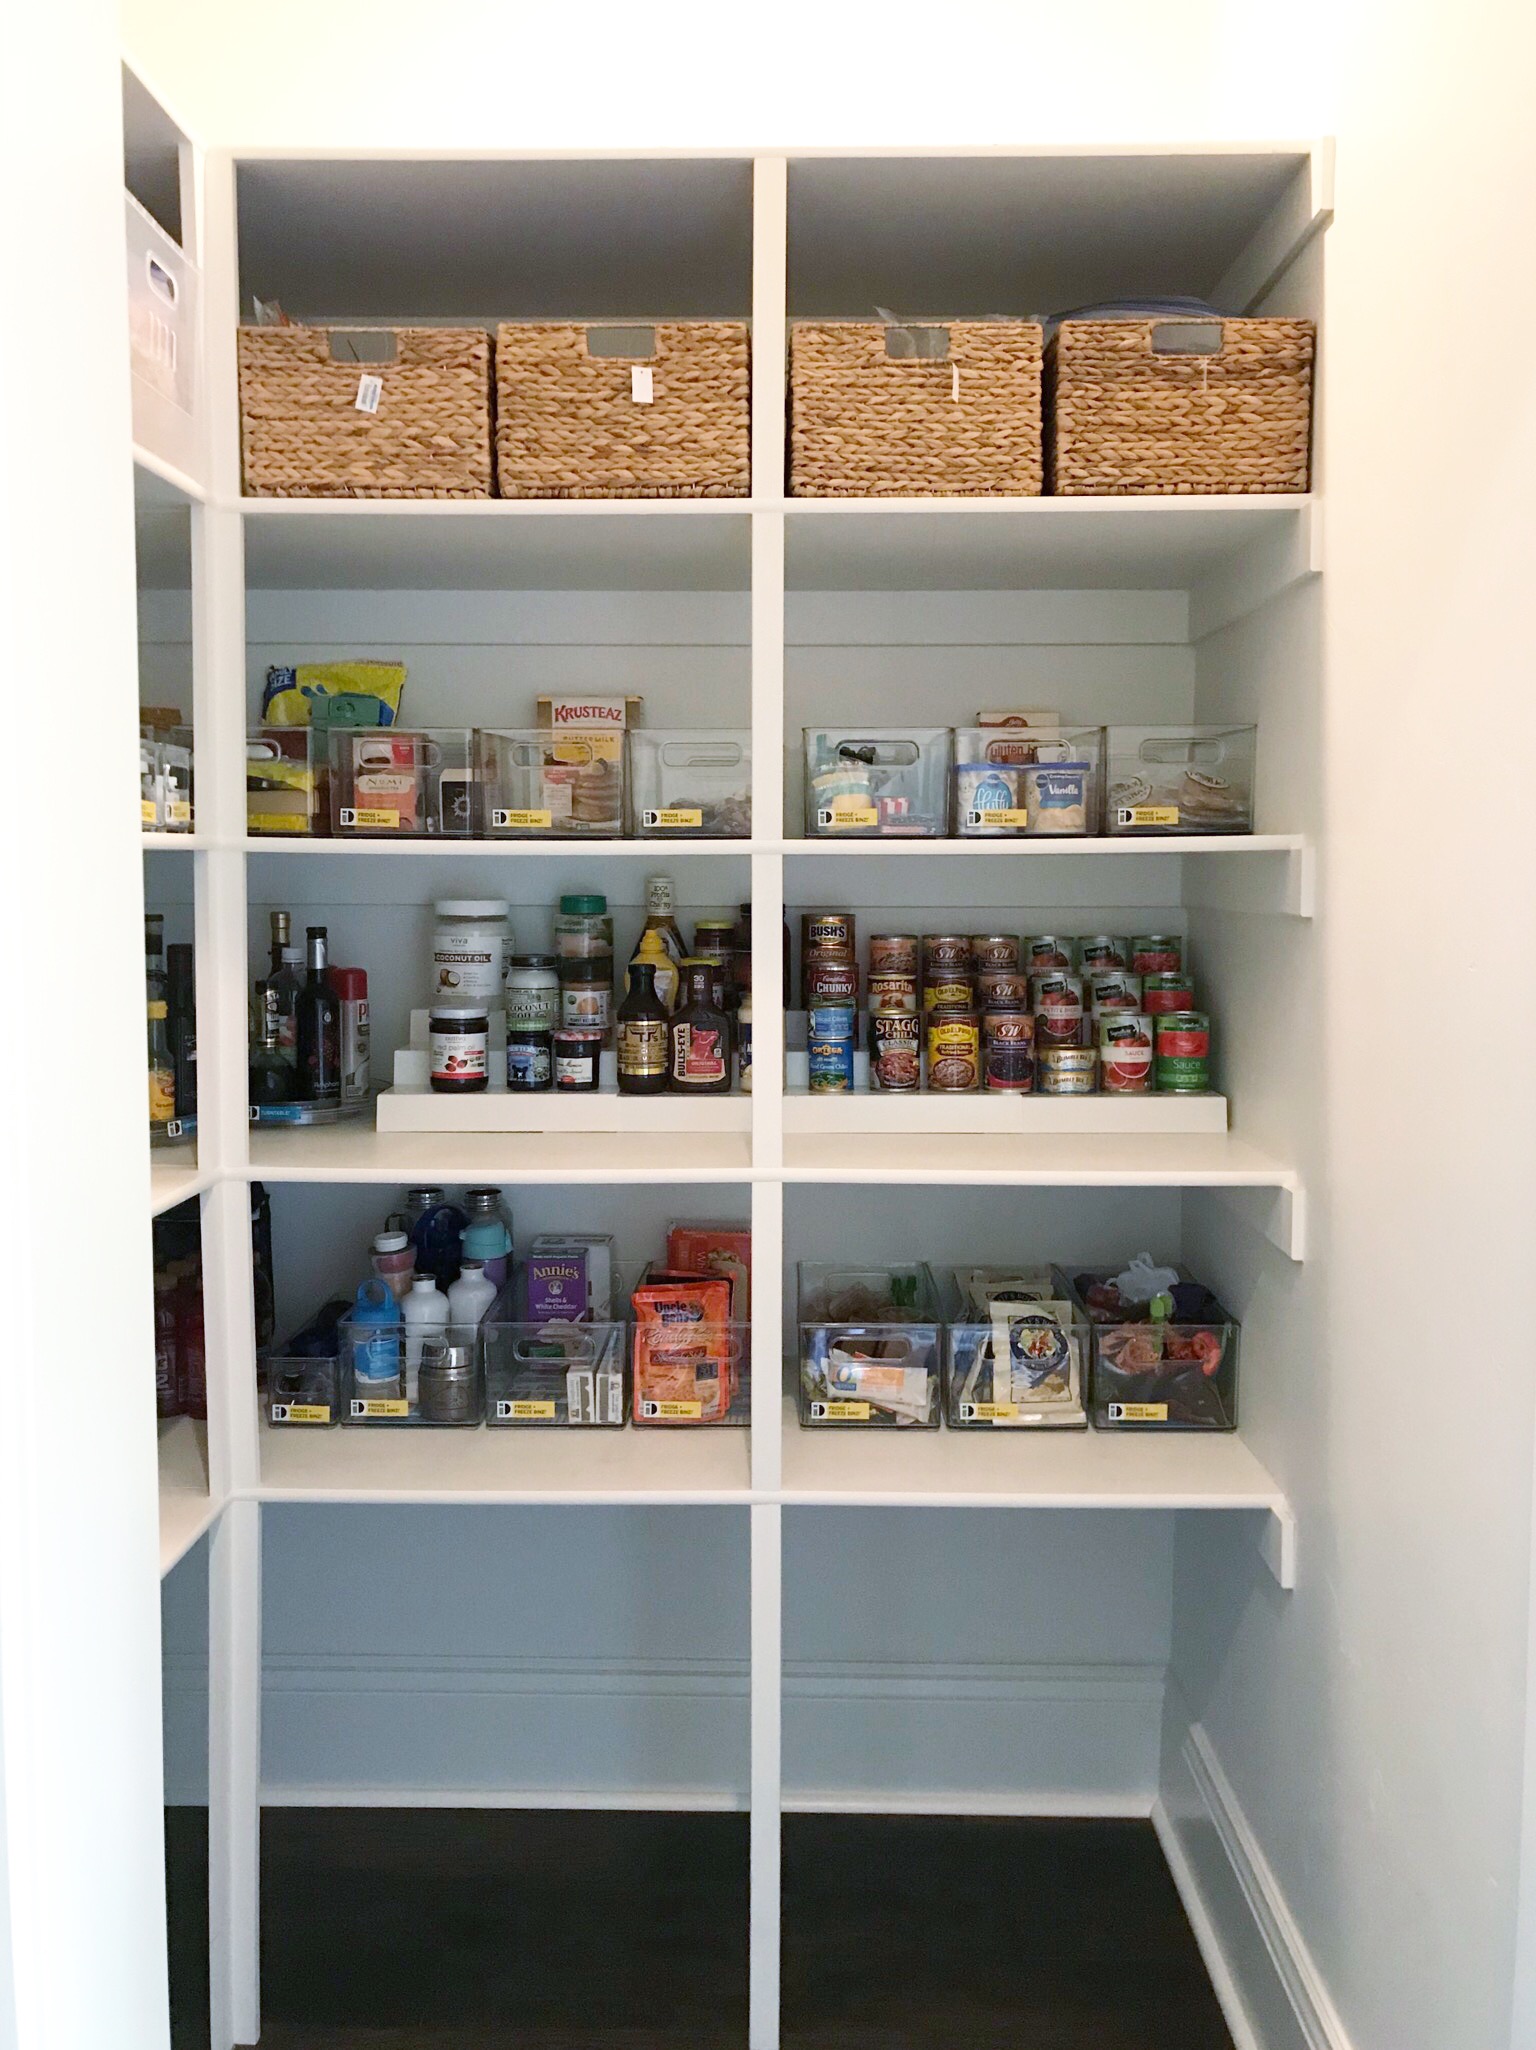
STEP BACK TO ADMIRE YOUR ORGANIZED PANTRY!
PRODUCT CLOSE-UPS
Now let’s take a closer look at the products I chose for this space! My favorite part!

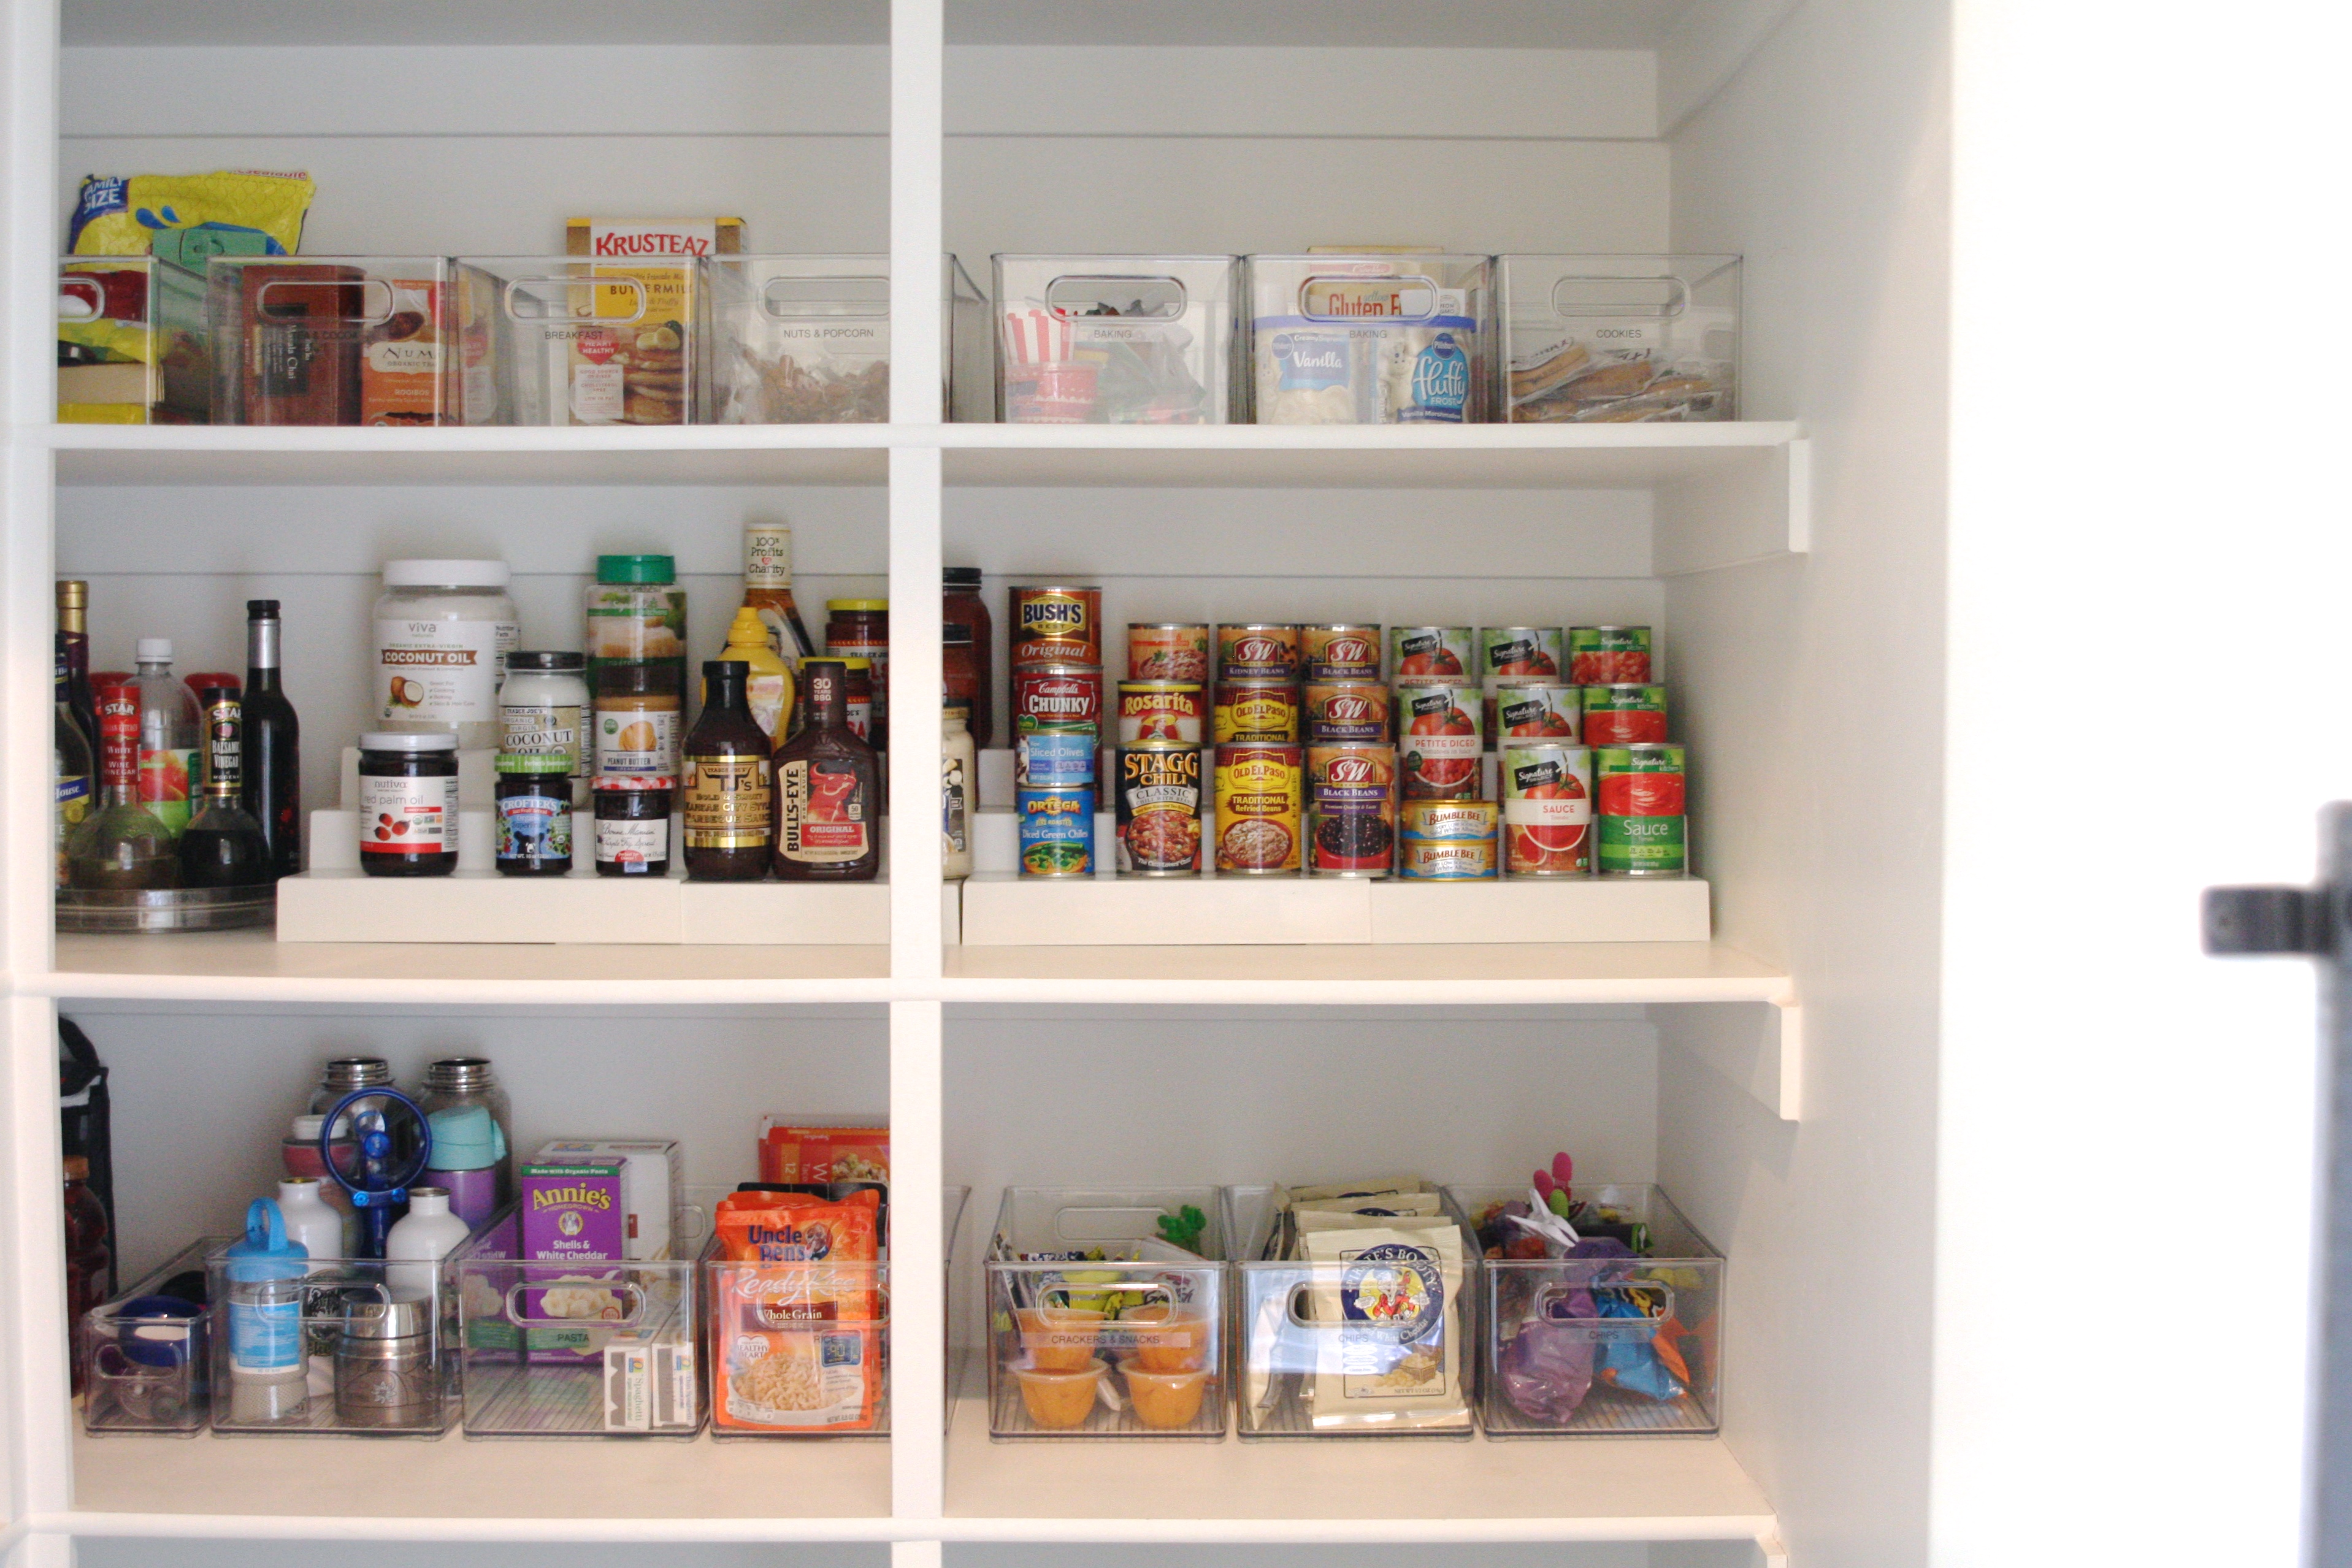
( canned food riser | clear turntable | deep bins )
These shelves are deep. I wanted to give this family the option of leaving the bins pulled all the way forward or pushing them back against the wall. There’s plenty of wiggle room with these deep bins. Adding a riser for canned goods is awesome, but keep in mind it isn’t always necessary and can sometimes take away valuable space if you have a tighter walk-in pantry. In this pantry, we had room to spare so I added 2 of those. Otherwise, these clear bins and a couple turntables / baskets were all we required…
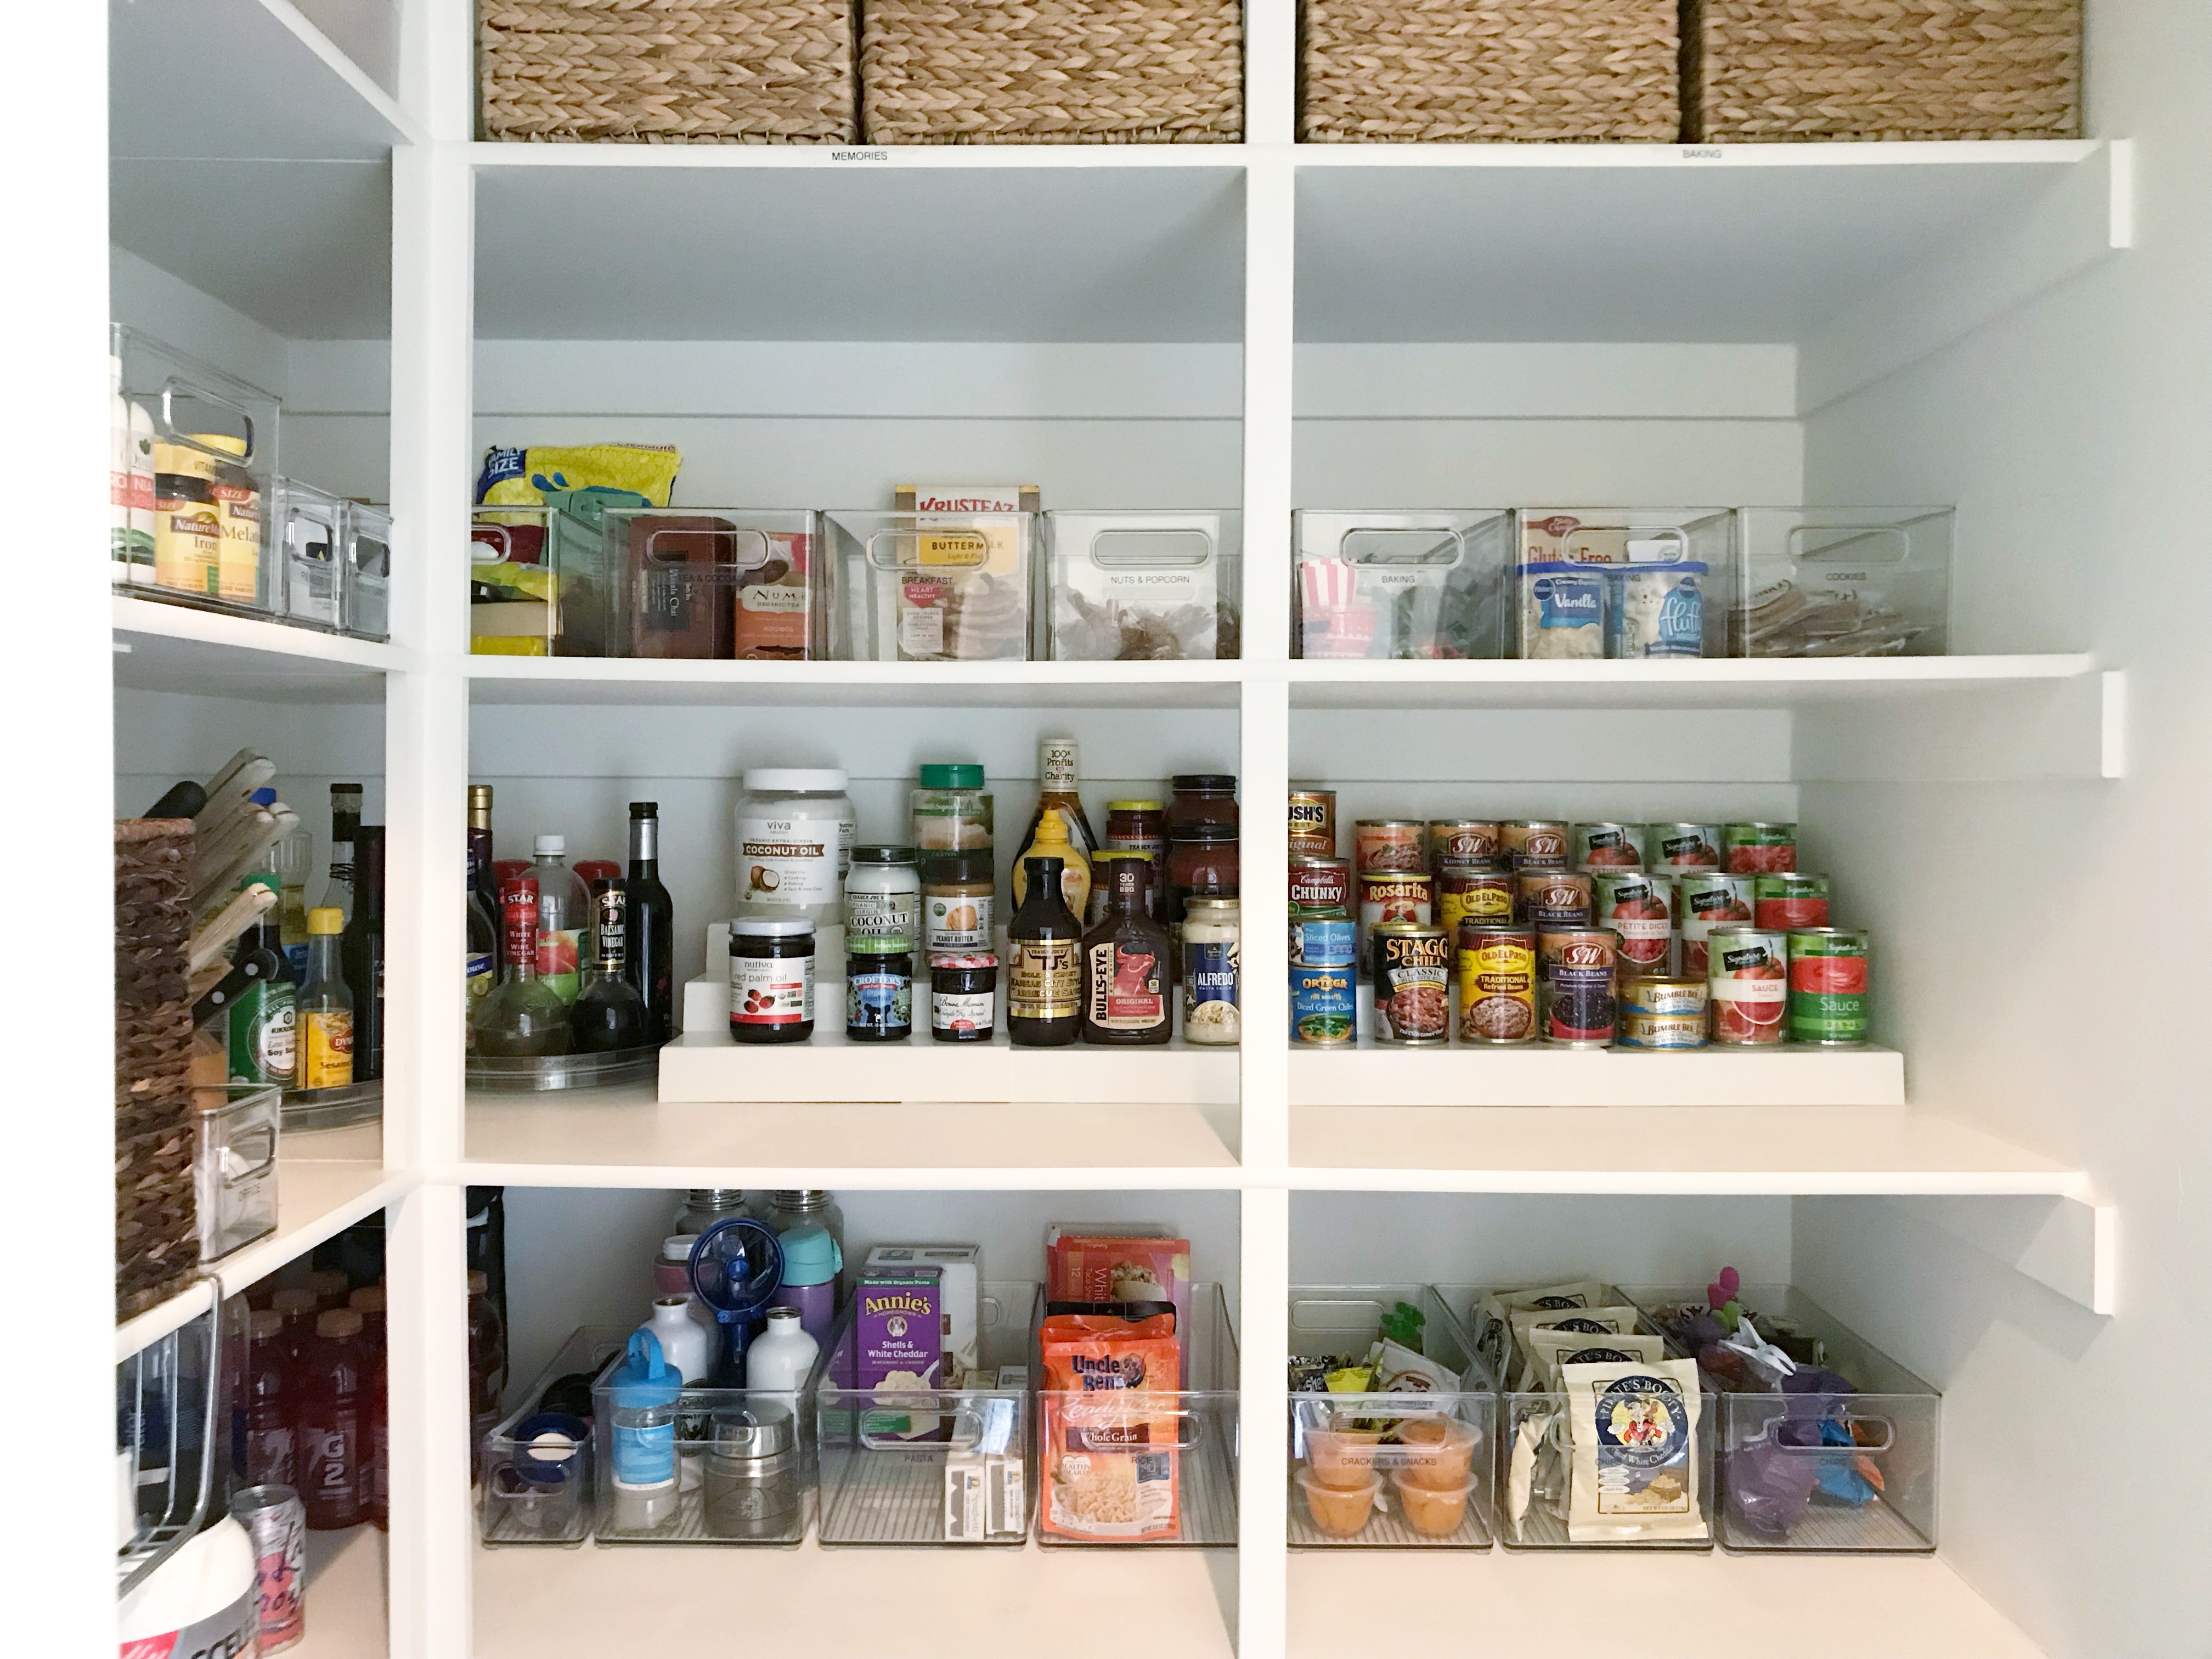
I love to make the most of corners in any space by using turntables. In this pantry we went with the clear version to keep it all in sync. Turntables make accessing those corners a whole lot easier…by just turning you can reach items in the back. Simple!
![]()
( clear turntable )
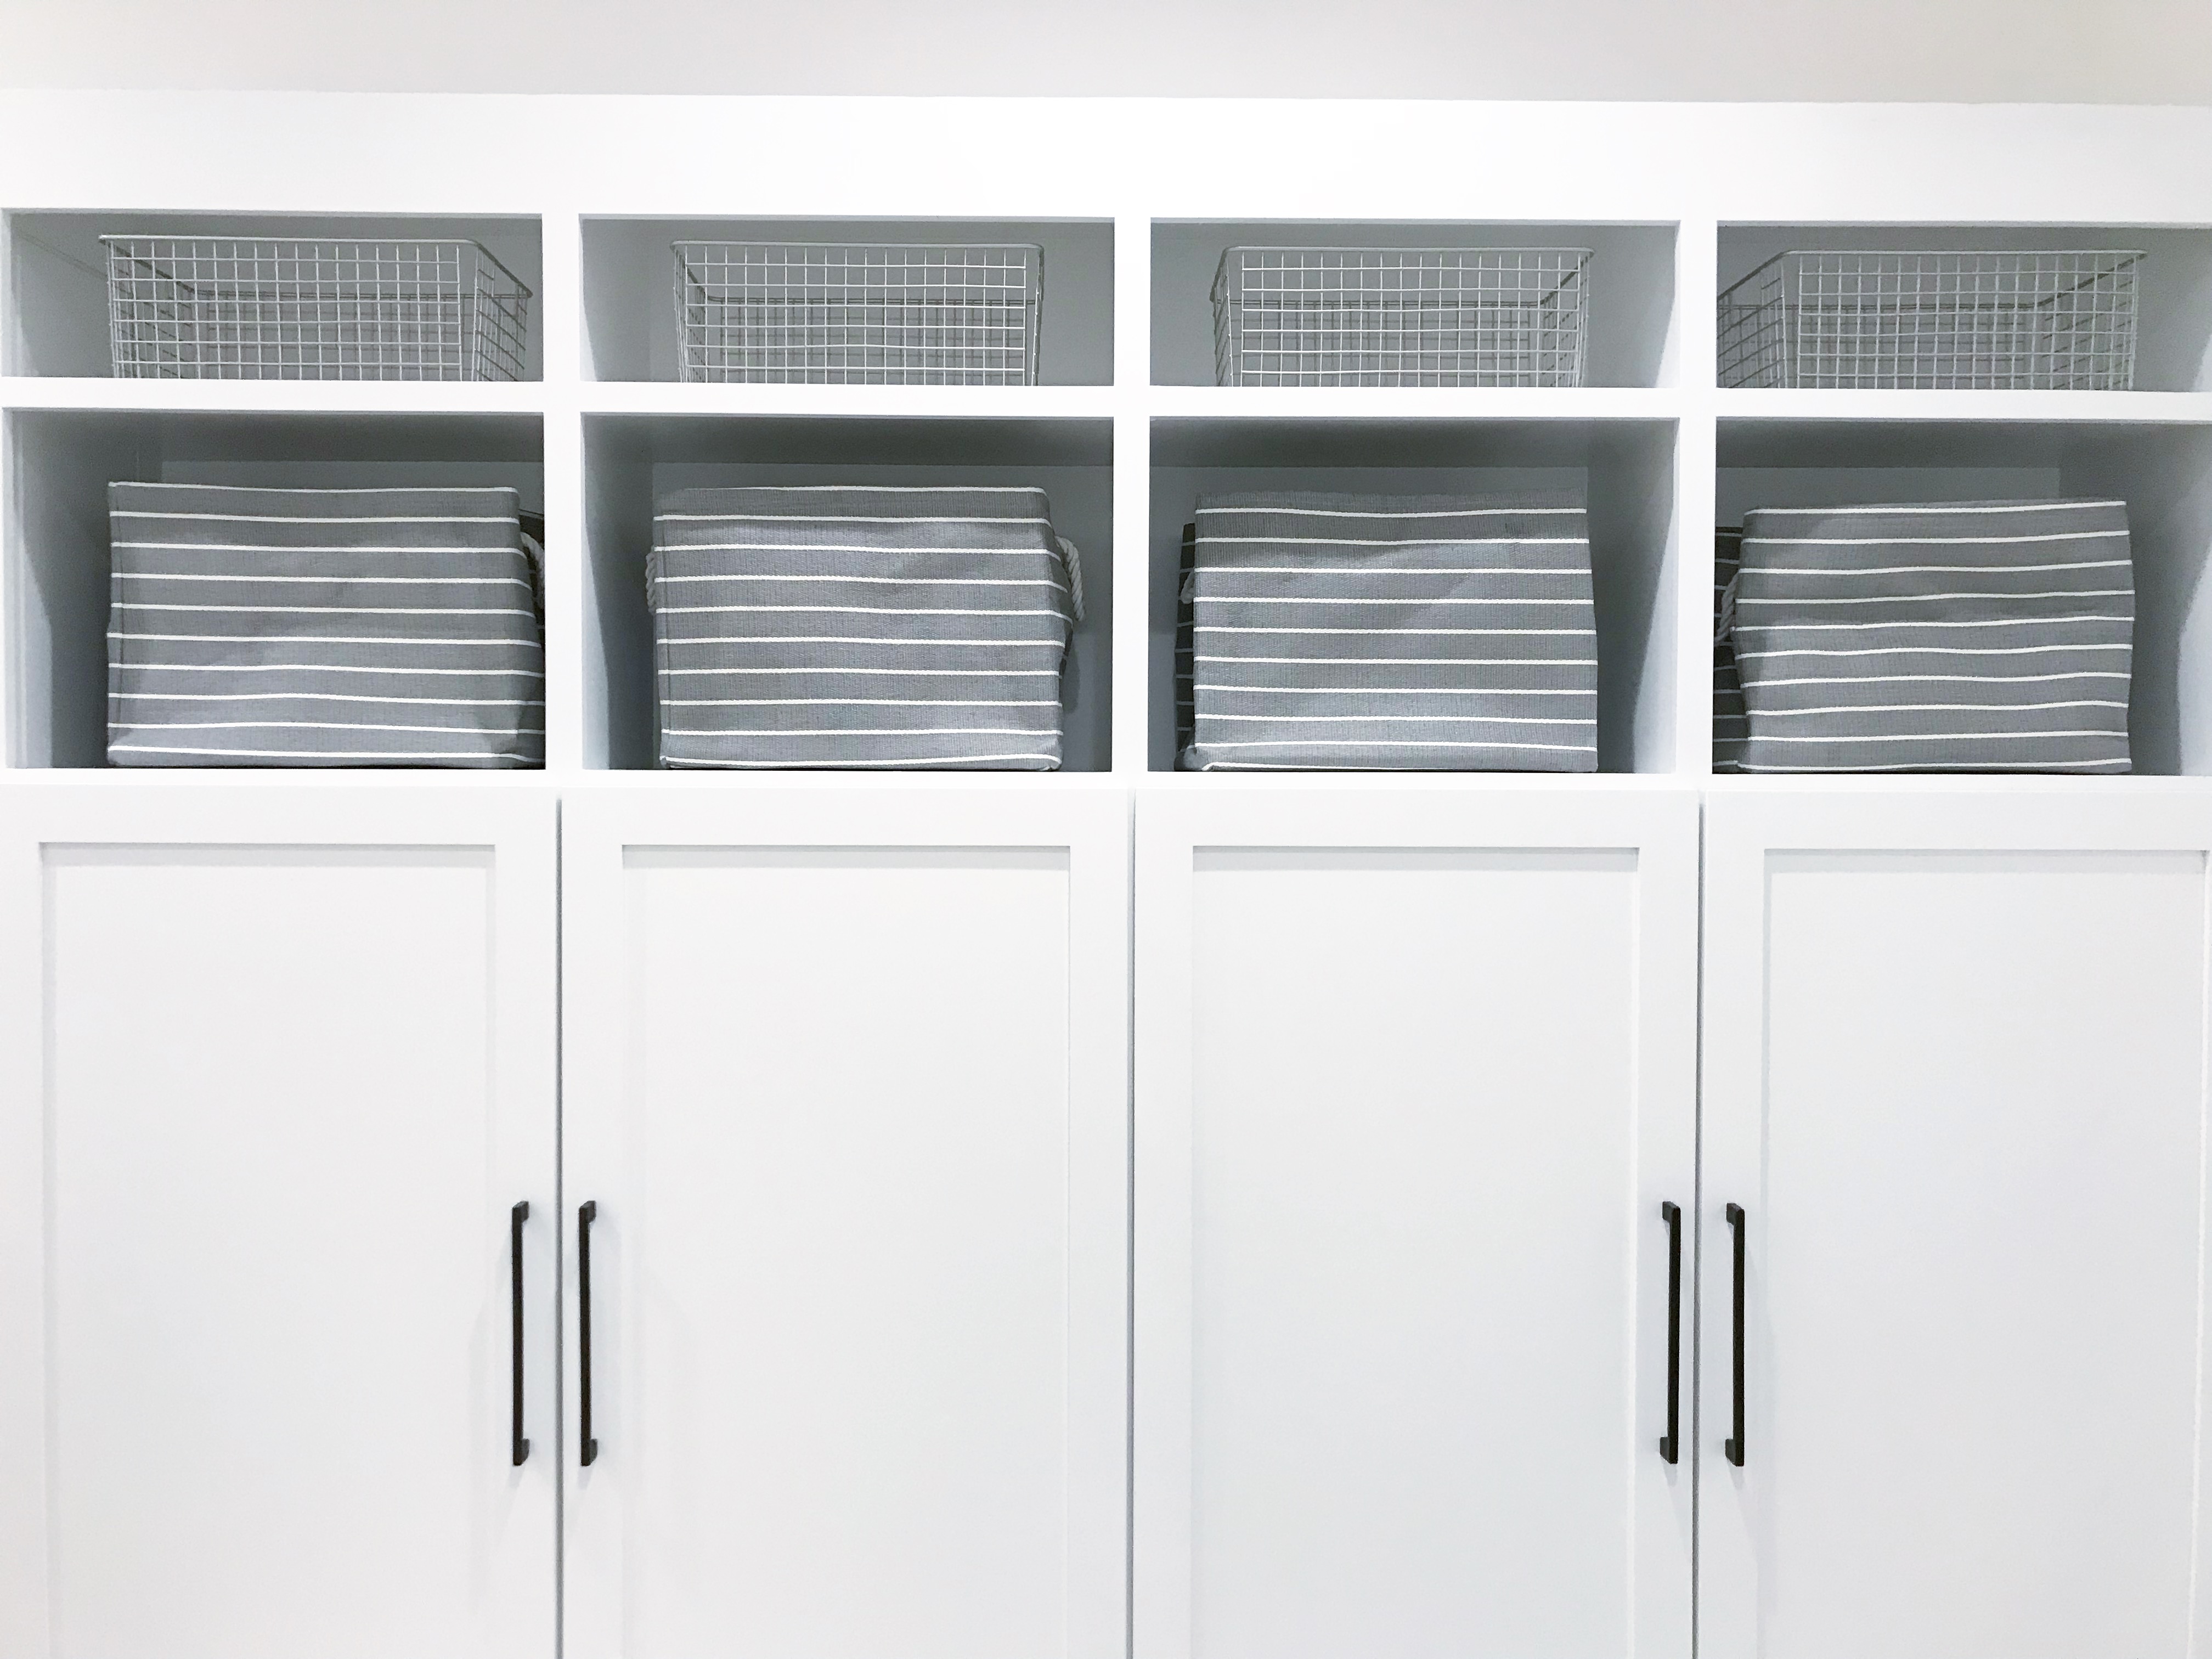
For the space up high, it’s great to store away overflow foods or items you aren’t accessing very often, like seasonal things. And I love to make it a little prettier by adding baskets…
( baskets | clear bins )
For this family, their home office / kids homework center is located just outside the pantry door. Therefore, they store a few office / school related supplies on the left side of the pantry, including their printer…

I re-purposed her 2 baskets to contain electronics and office / paper supplies. Using 2 under-shelf baskets we maximized the space by adding a landing spot for printer paper and envelopes…
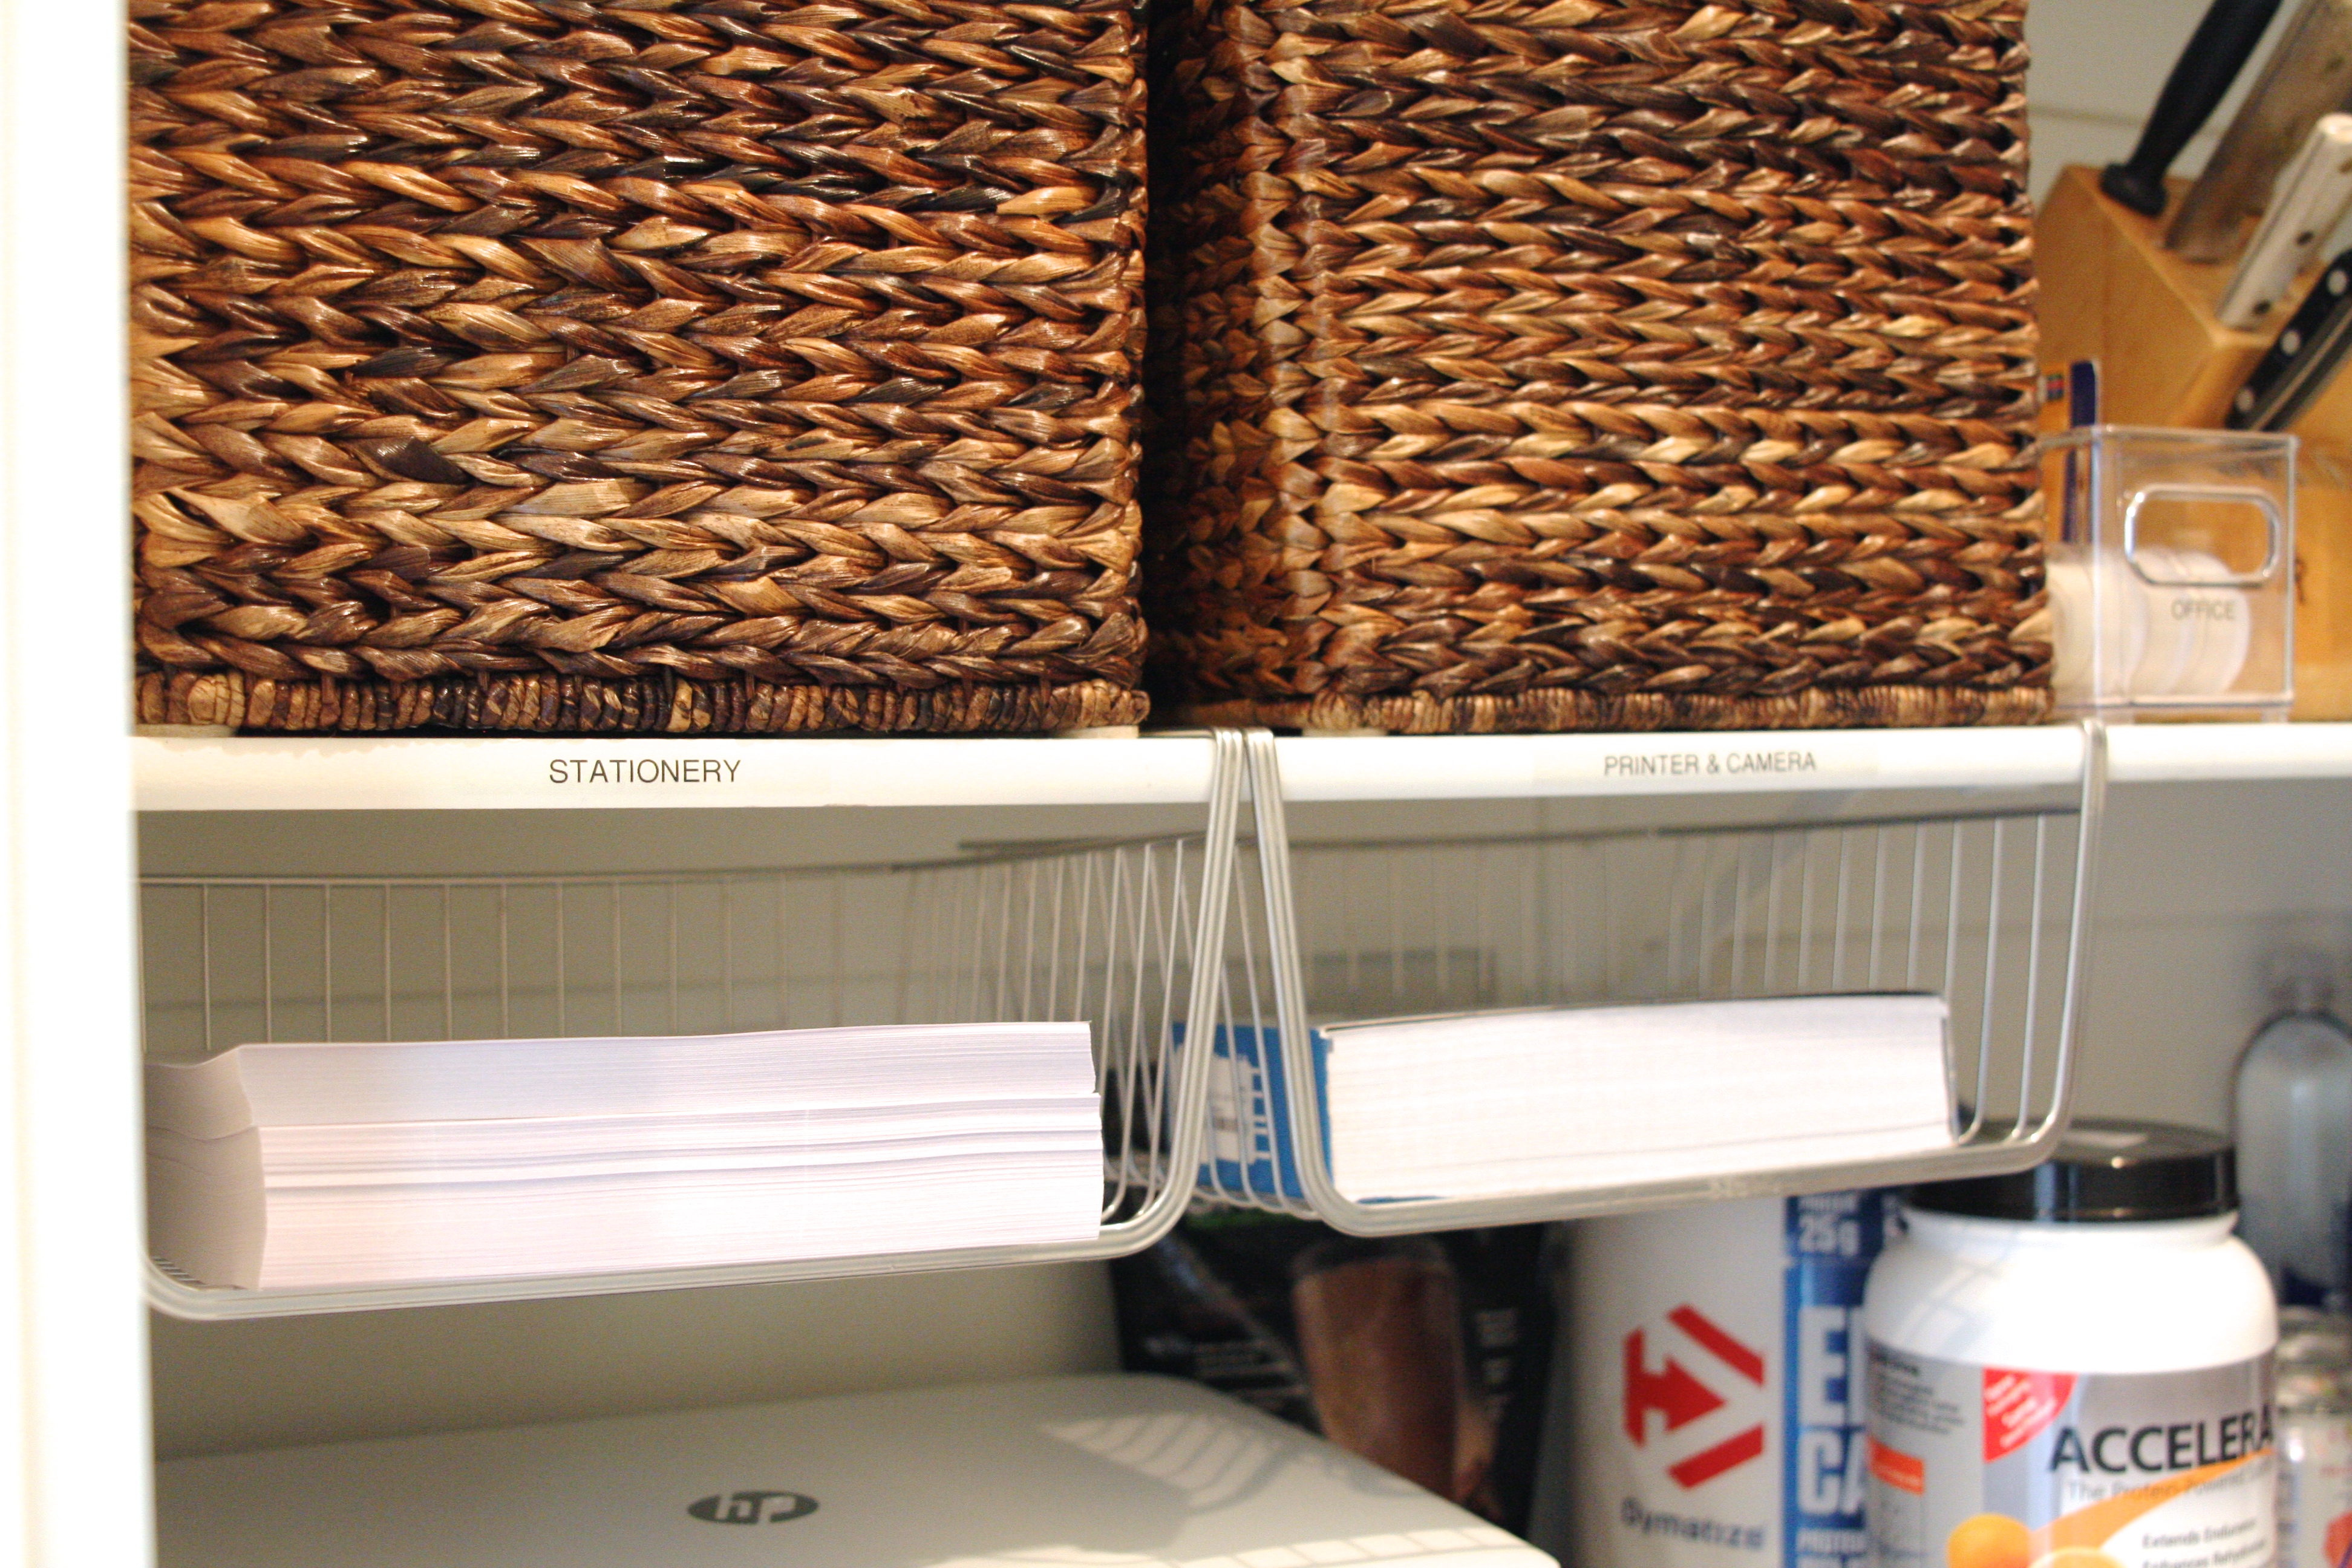
Love it!
![]()
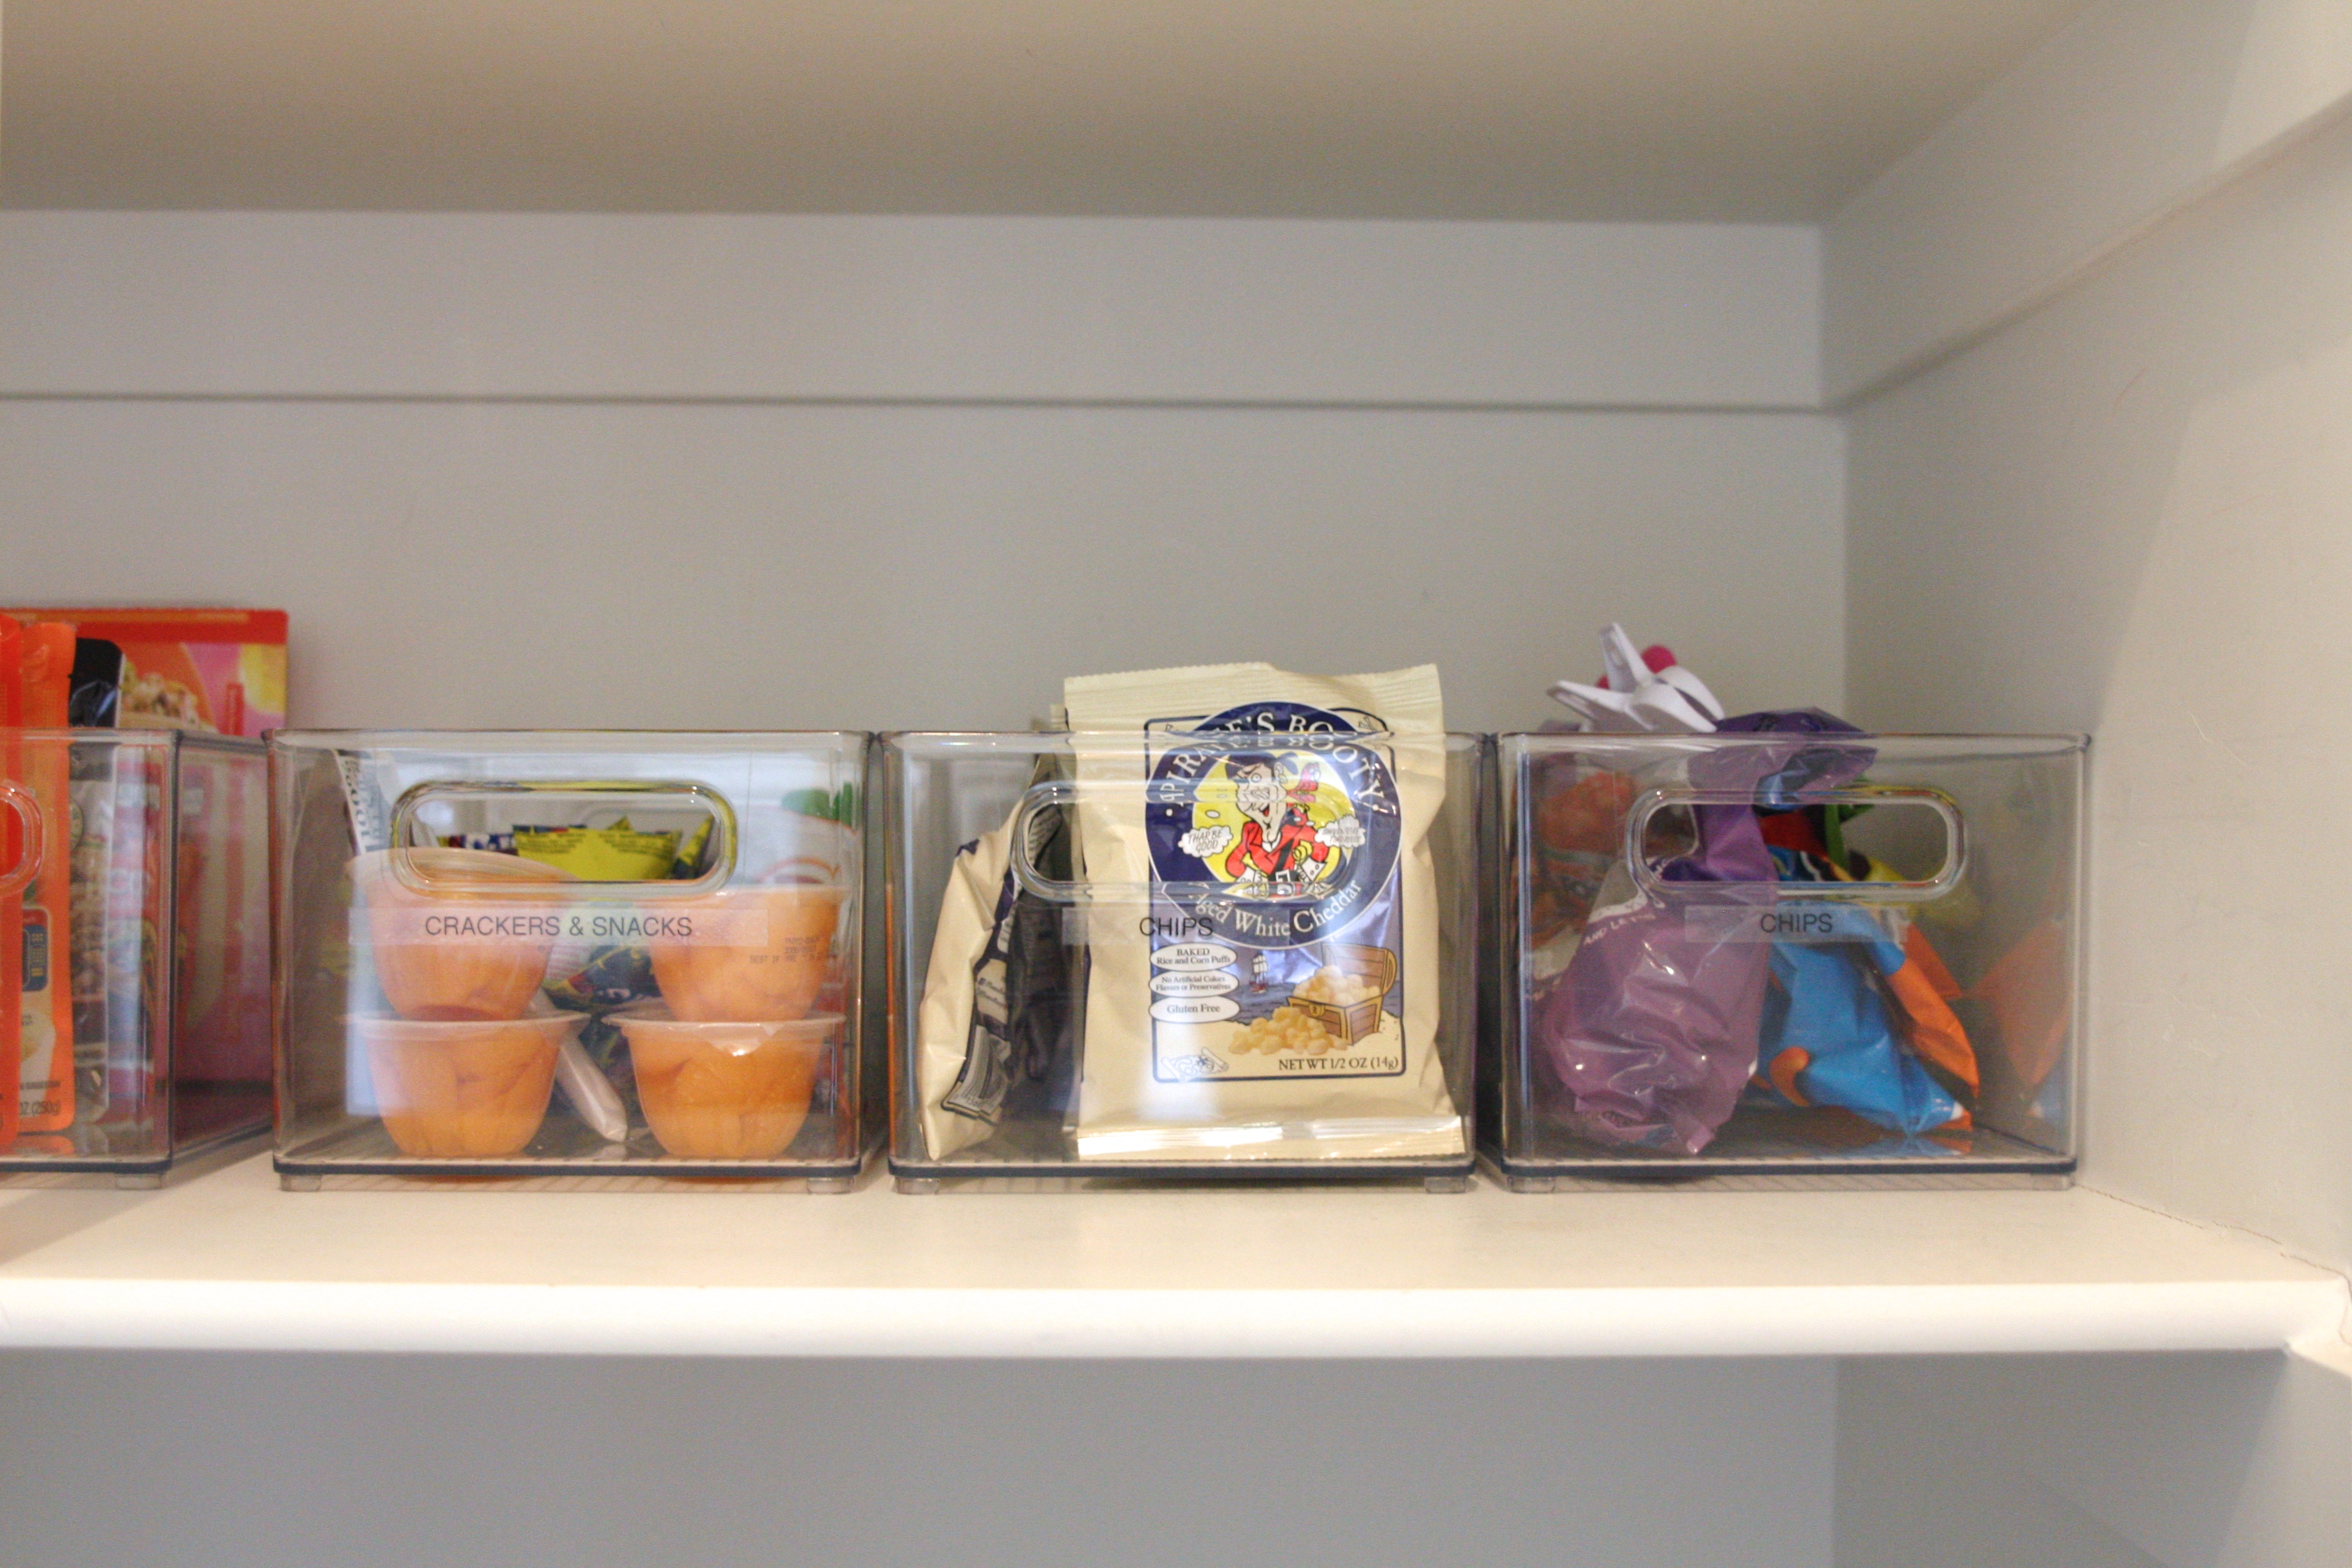
You can see my clear labels – it’s pretty simple and will keep them accountable for what goes where. Also helps when the kids make their own lunches and know exactly where to grab items.
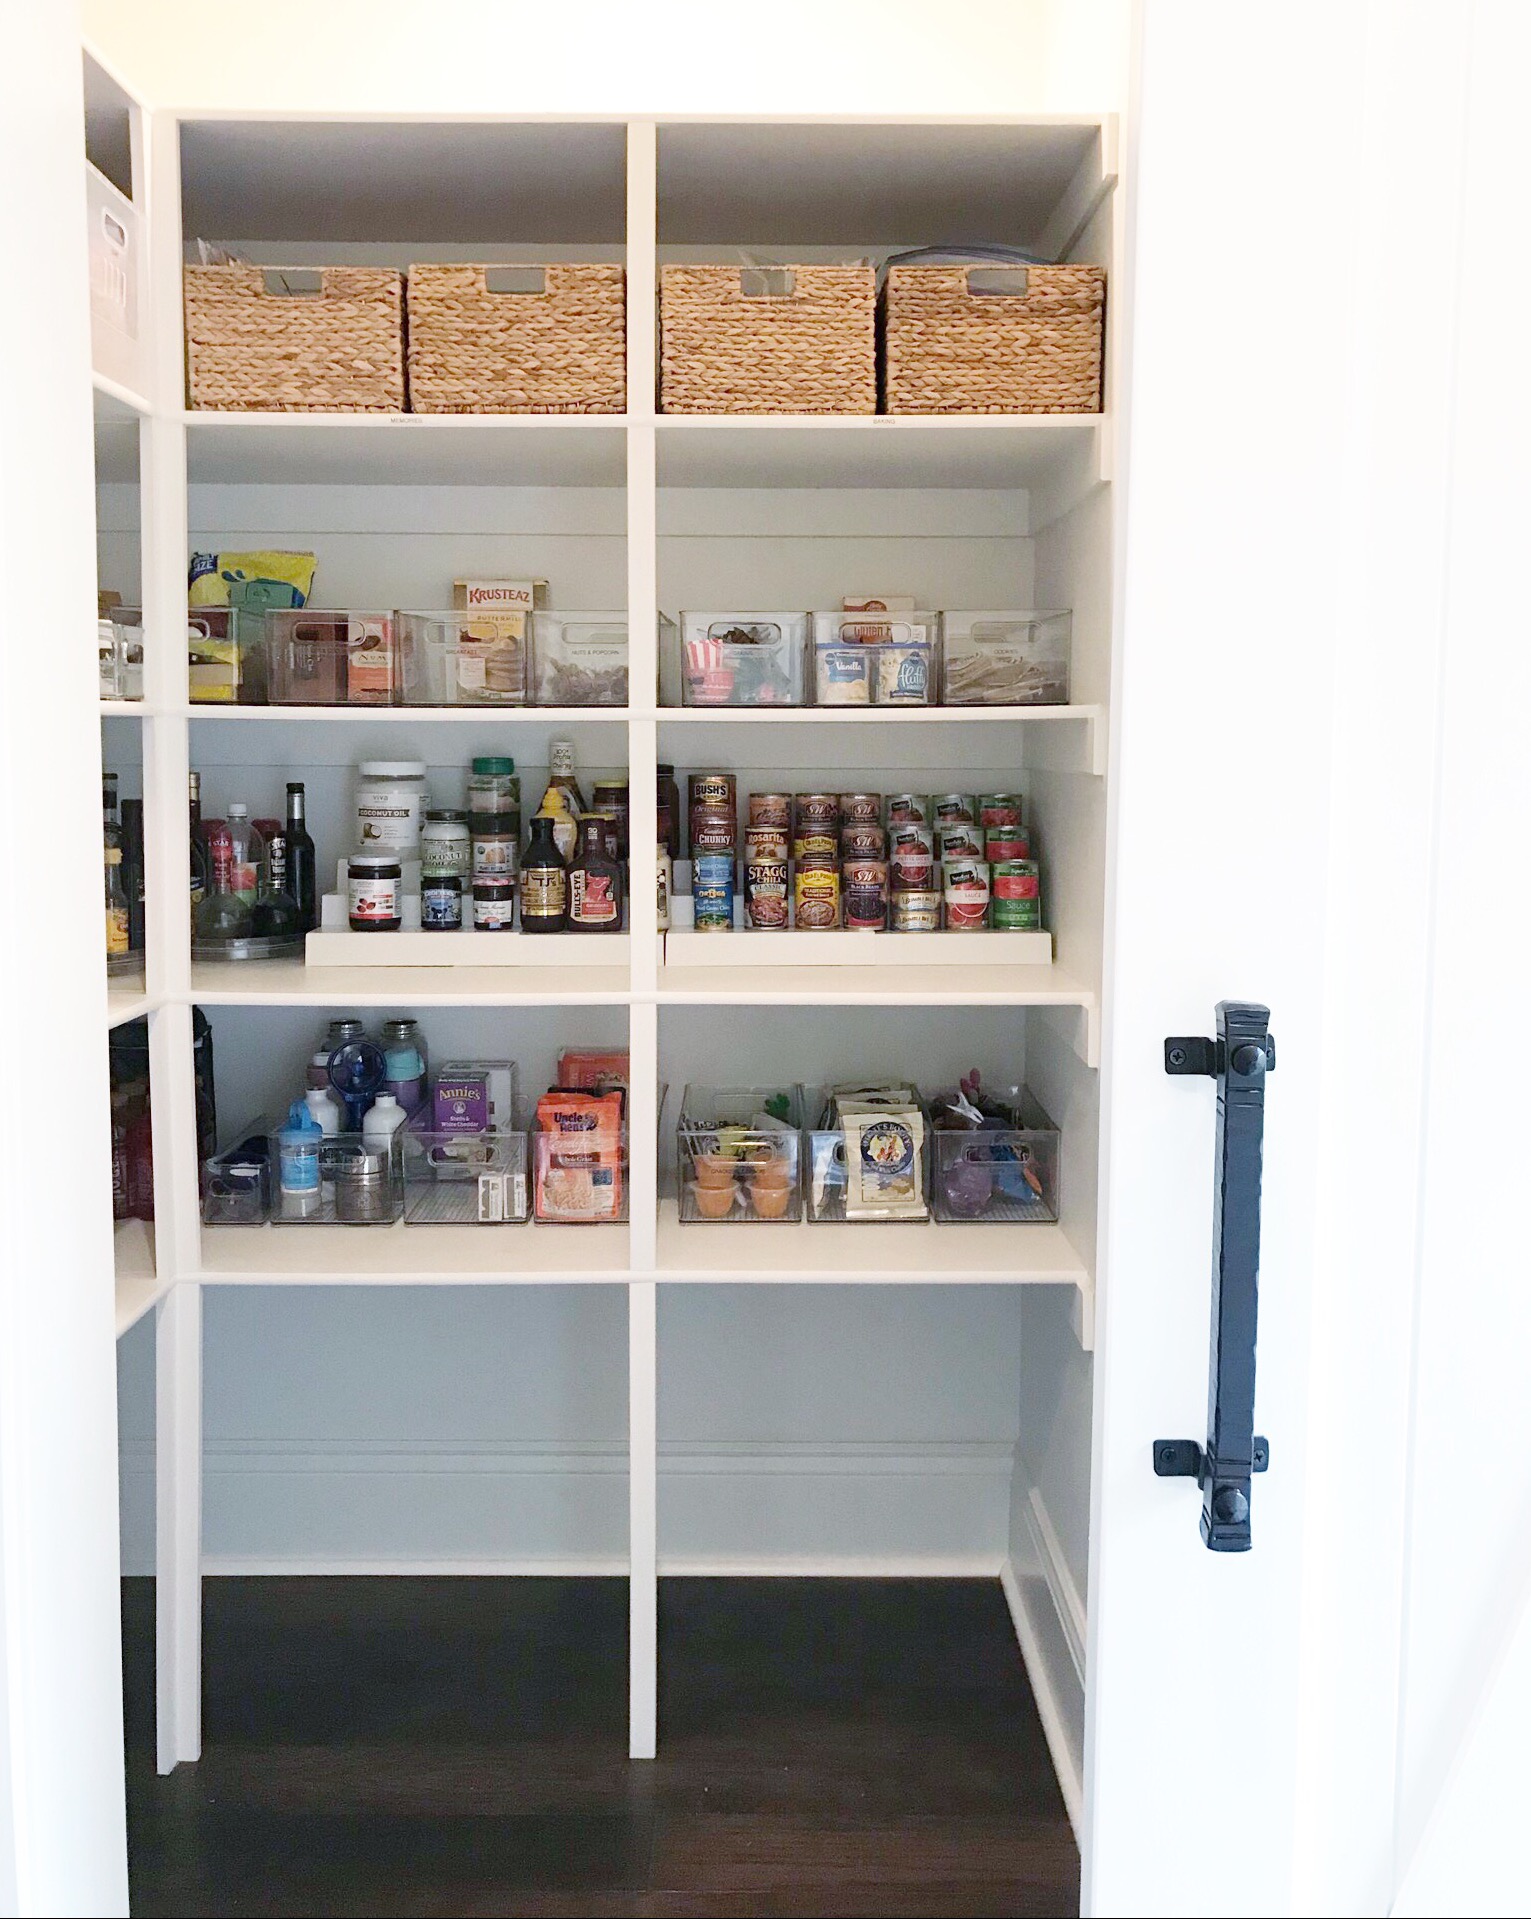
The pantry turned out beautifully and love how bright and open it is. They have a barn door on this pantry but no need to close it – I’d be staring all day every day…
Again, the key to organizing a walk-in pantry is knowing what is living in the space, having a game plan and measurements, purchasing great versatile containment, and placing it in zones / areas that make sense. It’s easy…and can be beautiful by keeping most of the containment clear.
Thank you again to InterDesign for working with me on this space. Had so much fun!
Definitely check out the InterDesign Amazon store – they have a ton of great products, like those I used to organize this beautiful mudroom…
Look forward to sharing more projects soon! Love getting back into the swing of blogging. I miss you all so much!
xx,
Sam
*some affiliate links were added to this post for your convenience. you pay nothing more by clicking any link, anywhere on my site. i promise! thank you for supporting this blog and allowing me the opportunity to continue delivering amazing content for you! xoxo
So enviable! Love your work and so happy you can do what you love for a living.
Thank you! I do love this job!
xx,
Sam
I’m moving to my new home in August or September and my pantry looks just like the empty one! Love your tips especially to first think what I’m going to use the pantry for! I assumed I would use It basically for food items. But using for partypartyware, big appliances etc are good ideas.That is one of the most exciting things I’m looking forward to fill. First I’ve never had a new home and Never had a pantry. Thanks!!
I wish Inter Design would make the bins for counter depth fridges. They only have I think 1 style for counter depth. ???? Thx for the post.