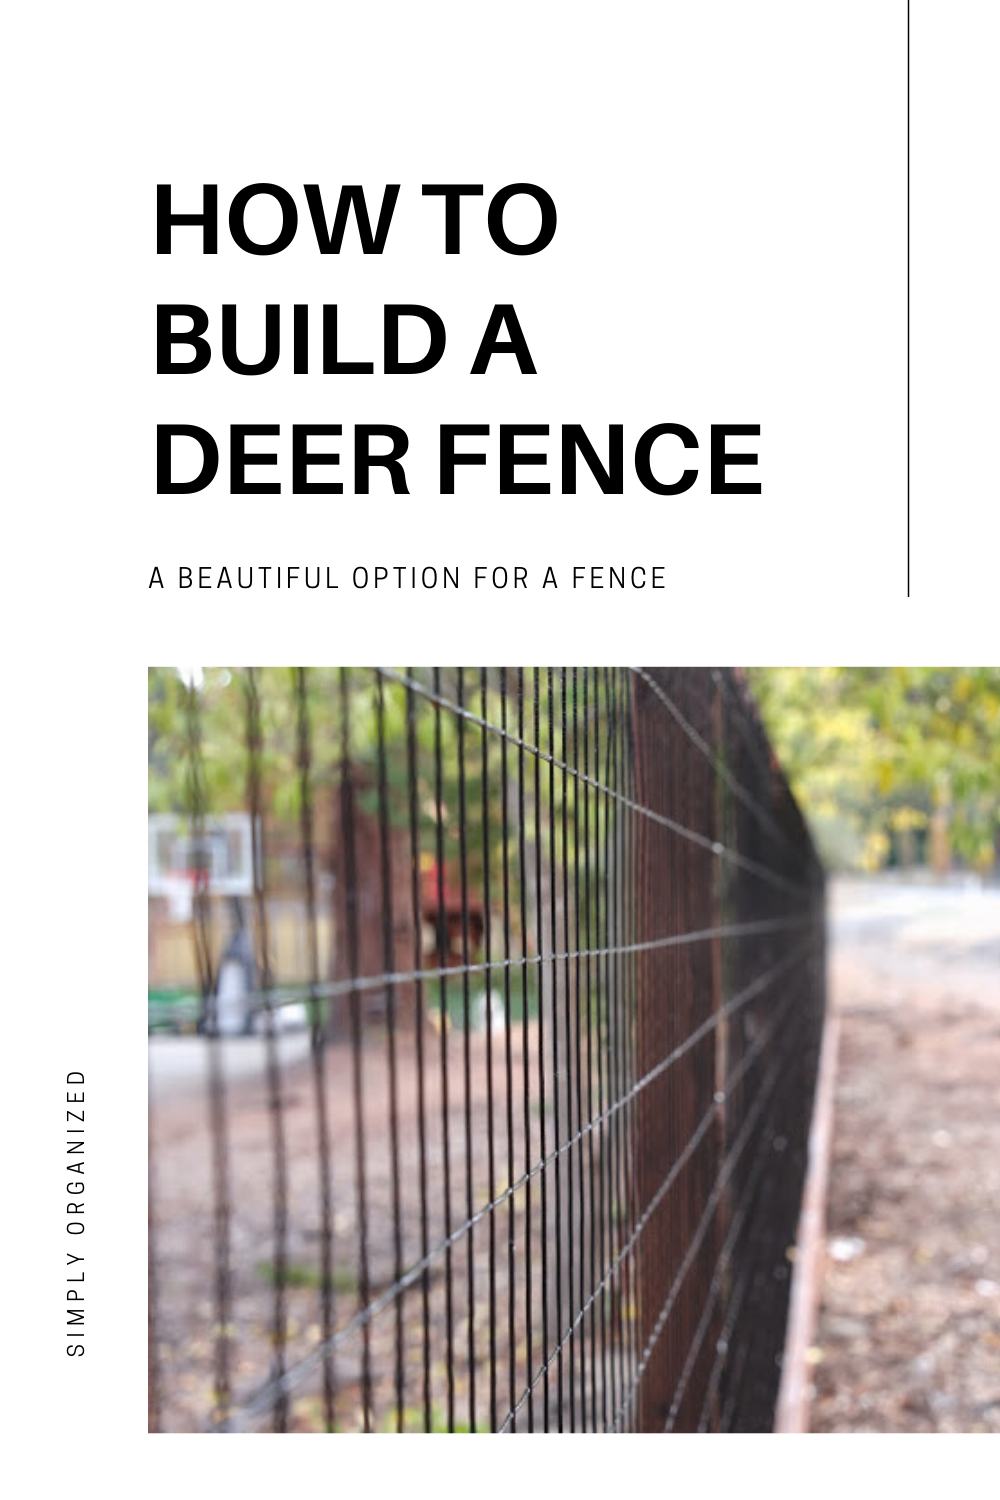
Couldn’t wait to share the results of a recent project – installing a deer fence in the front yard! Turned out so beautifully and encourage you to consider this option if you have a view you don’t want to obstruct.
Besides the driveway, another big selling point about this home and property is how it feels very country. You can’t see our home from the street and we are nestled behind 4 neighbors. Love how quiet it is back here and the age of the house. AND of course love all the great improvement projects to work on.
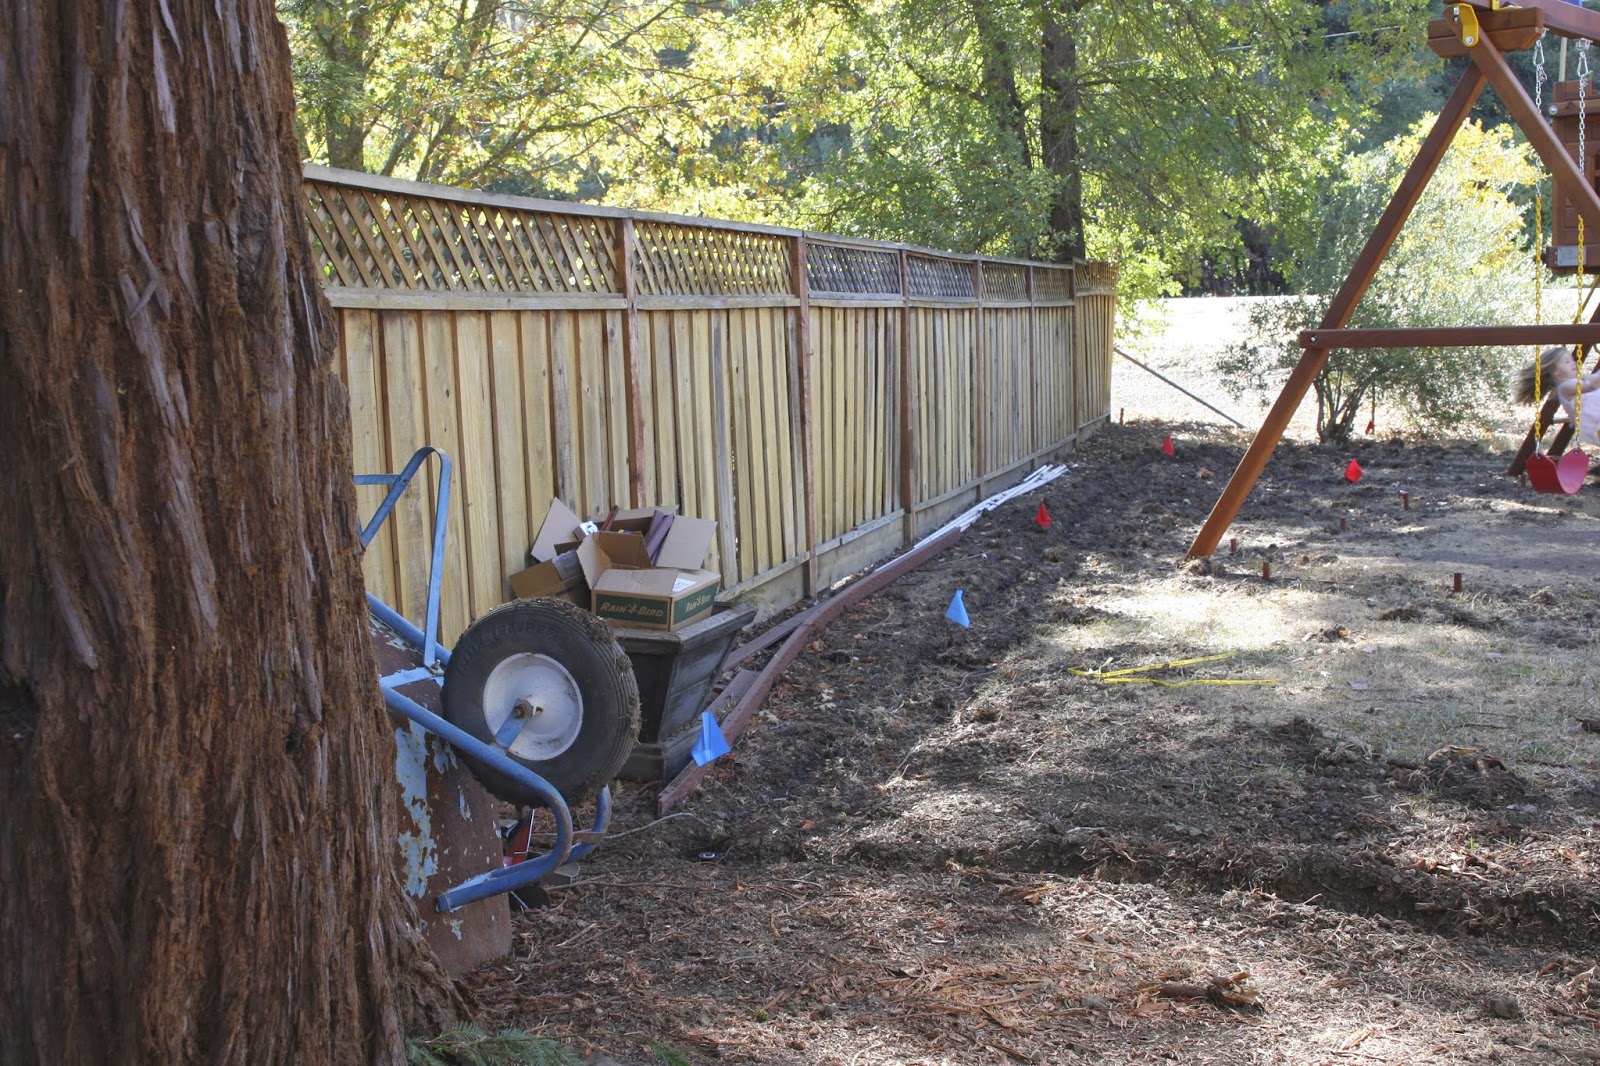
But let’s talk about fencing. It’s in pretty bad shape. With the exception of this fence line (along the left side of the house) most of it is falling apart…
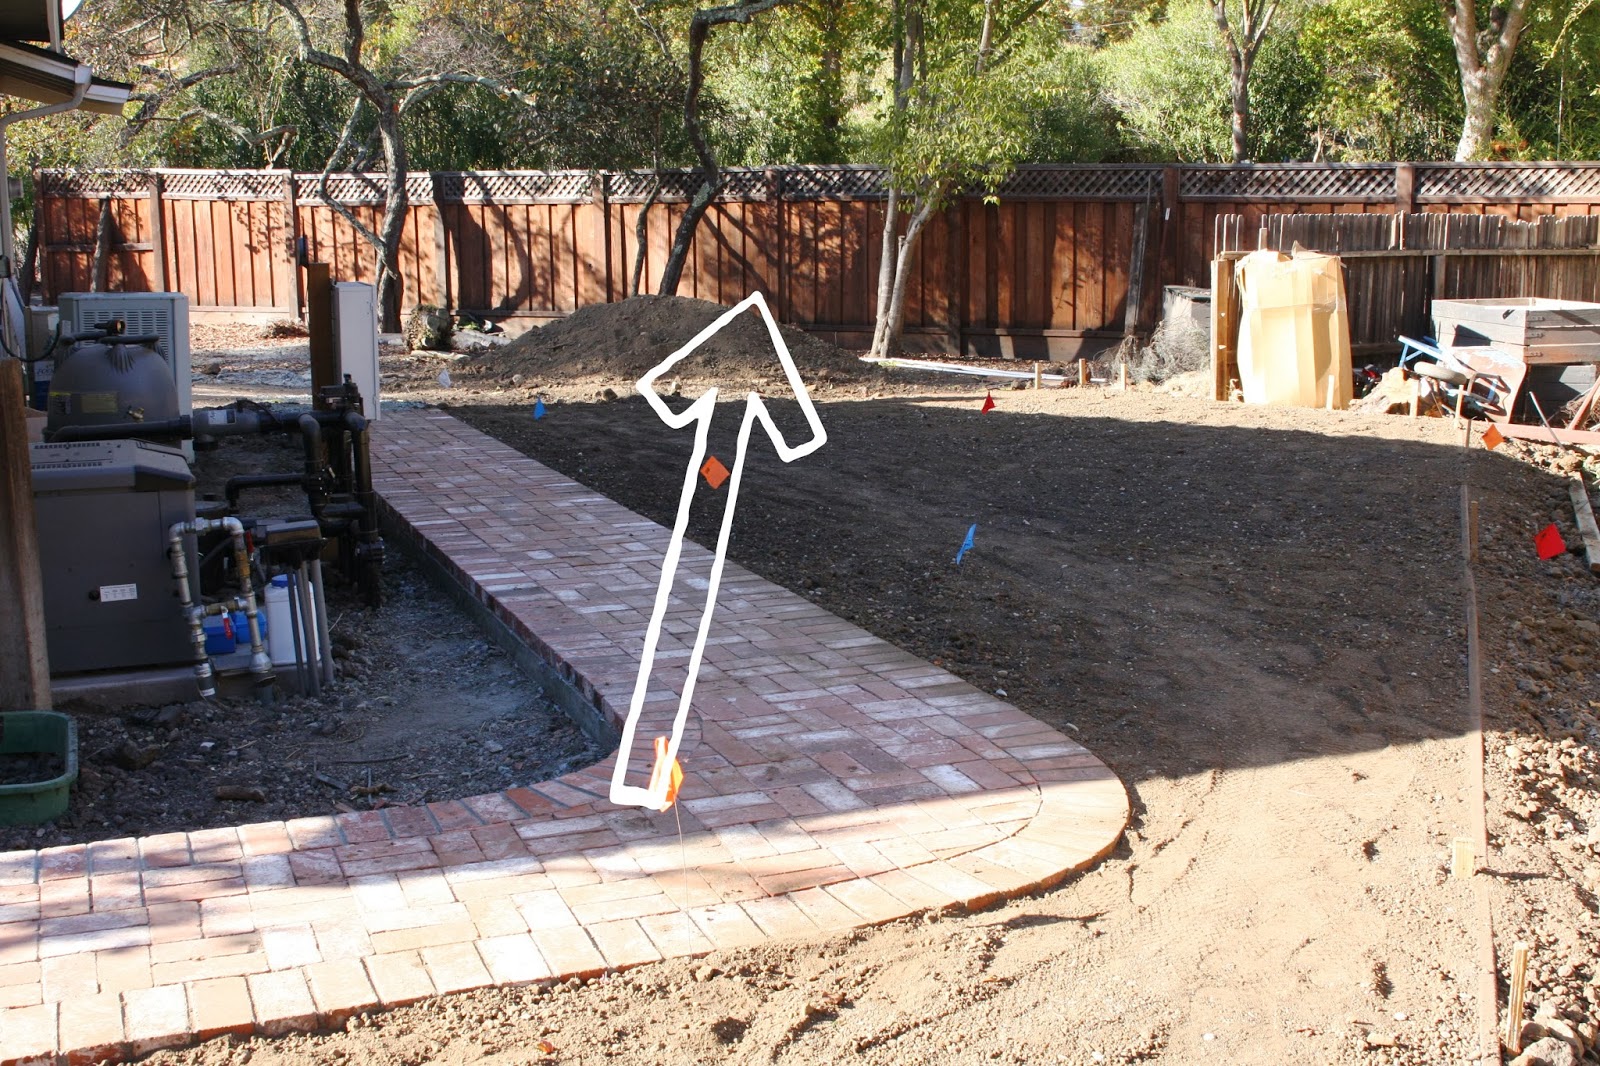
This fence that runs one full length along the back belongs to one neighbor. yet there are two different fence styles. Both falling apart…


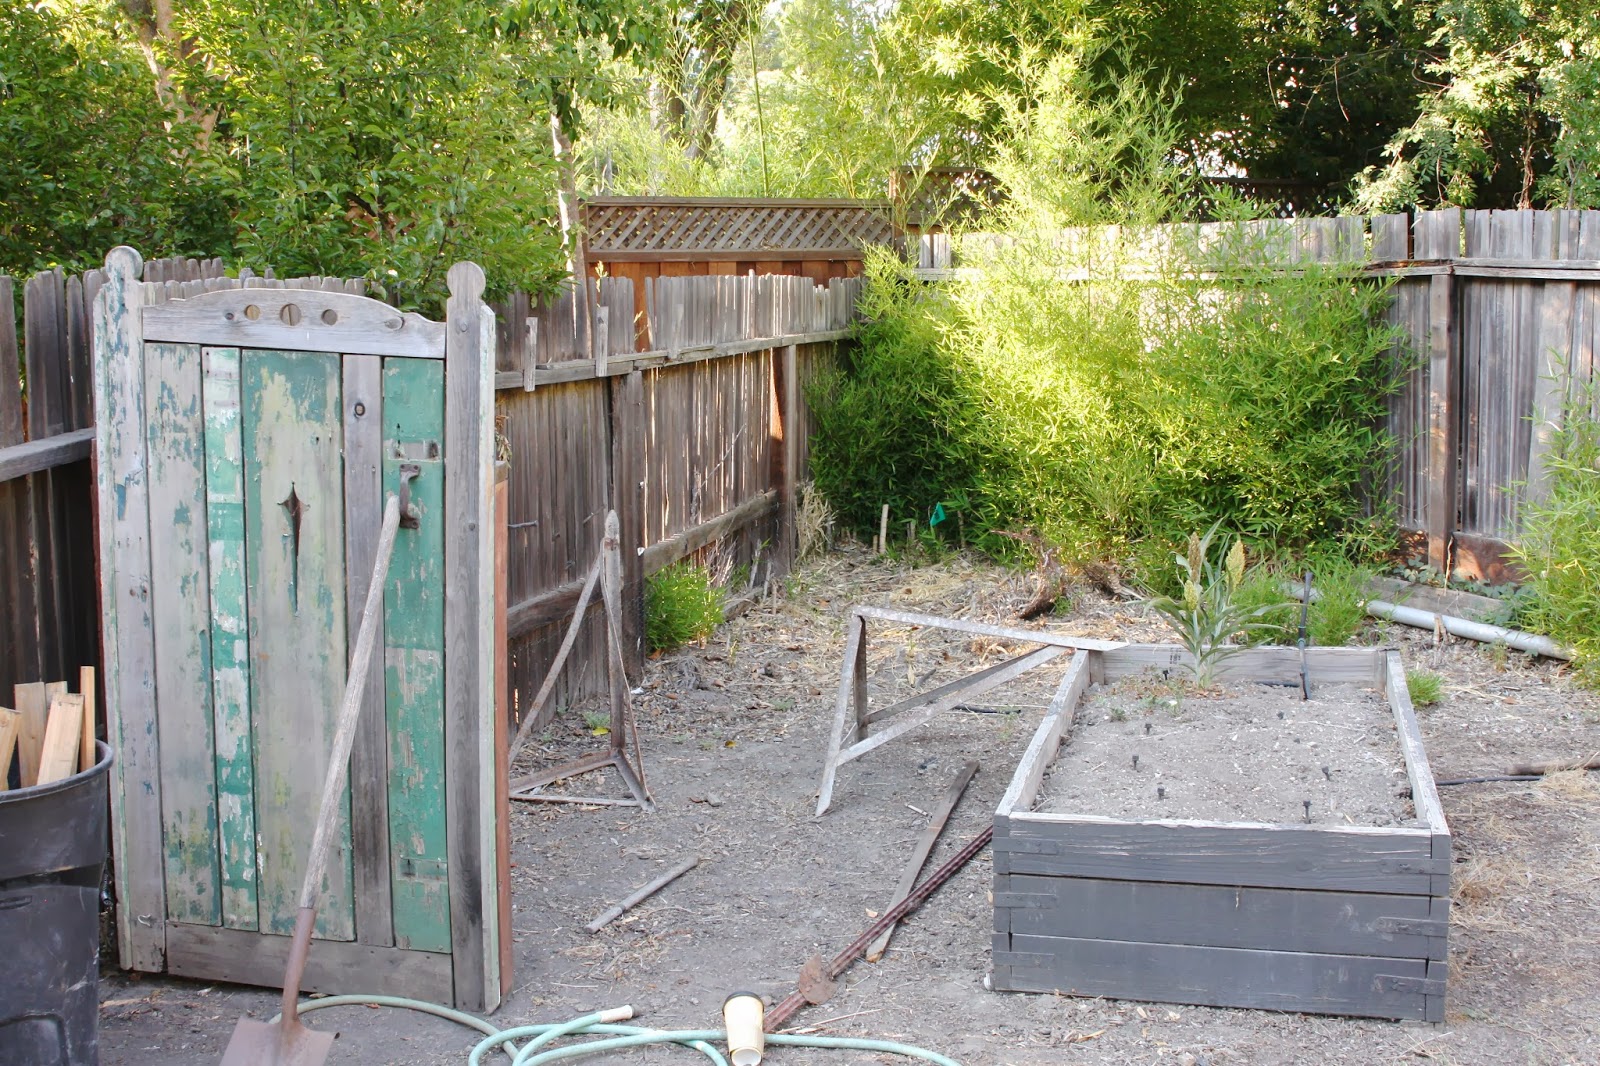
The final fence, belonging to a 4th neighbor, is in “ok-ish” shape but the lattice along the top is falling apart and her dogs can easily fit their entire head through a few slats…
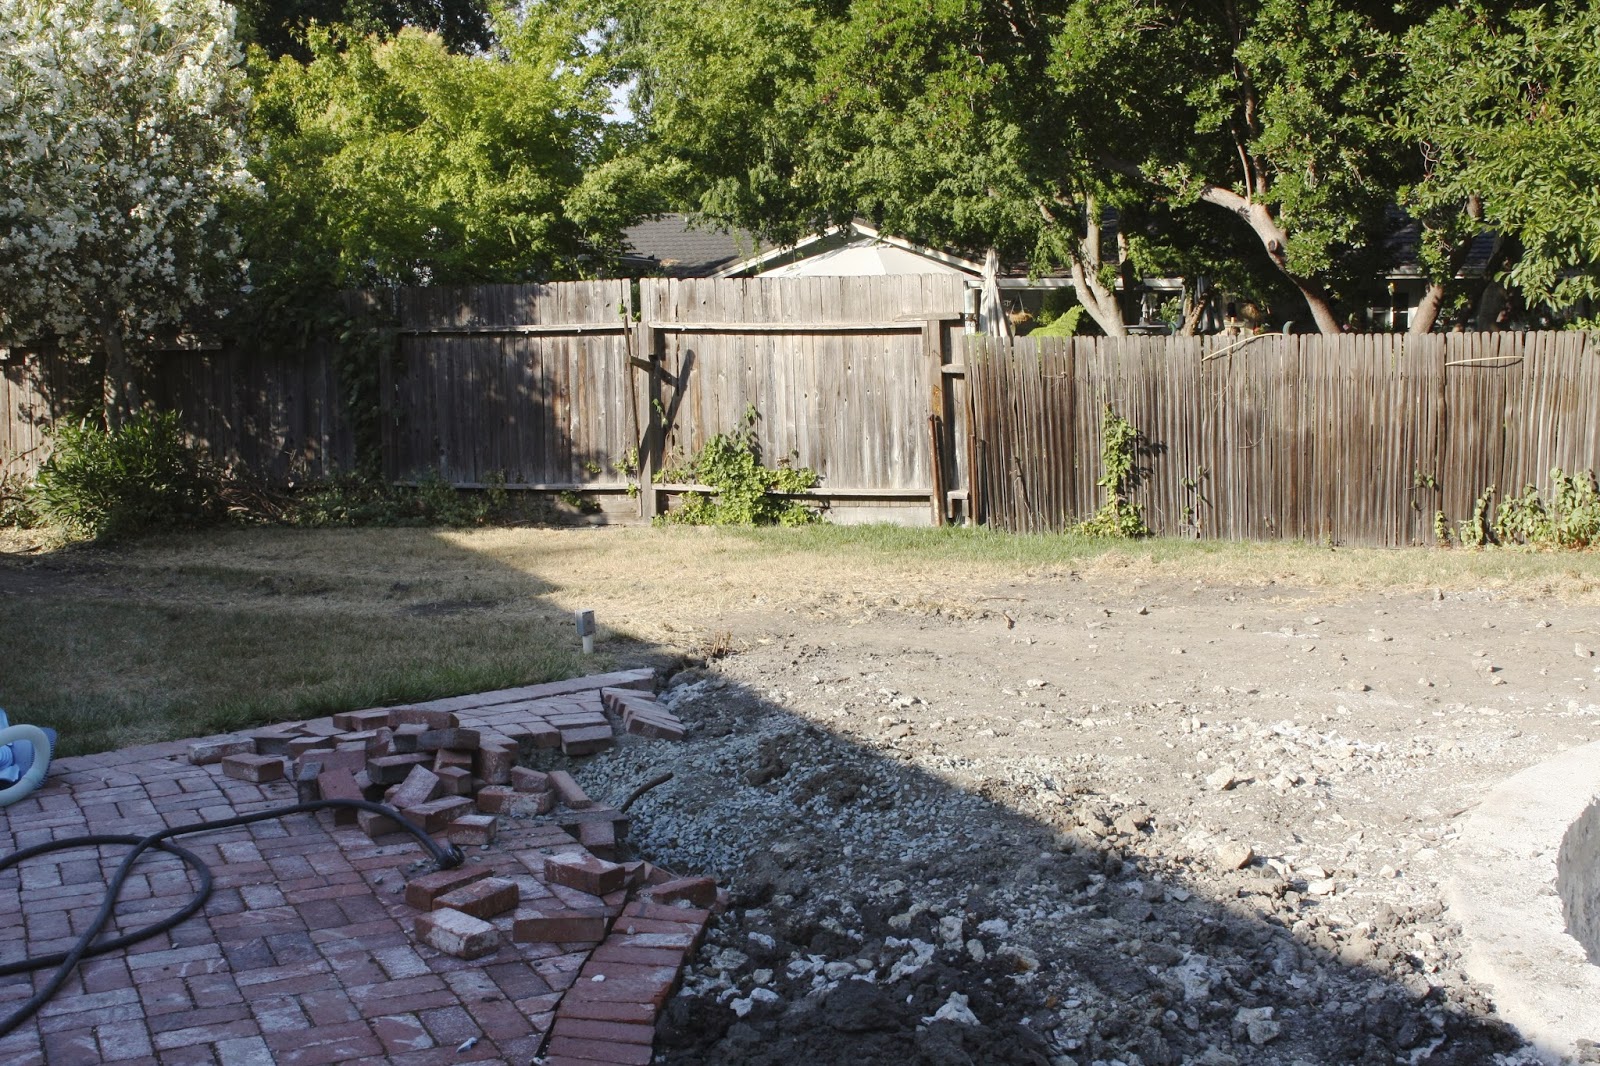
Then there’s the side gates, which came down during the pool renovation process. The pool guys removed those in order to get trucks back there.
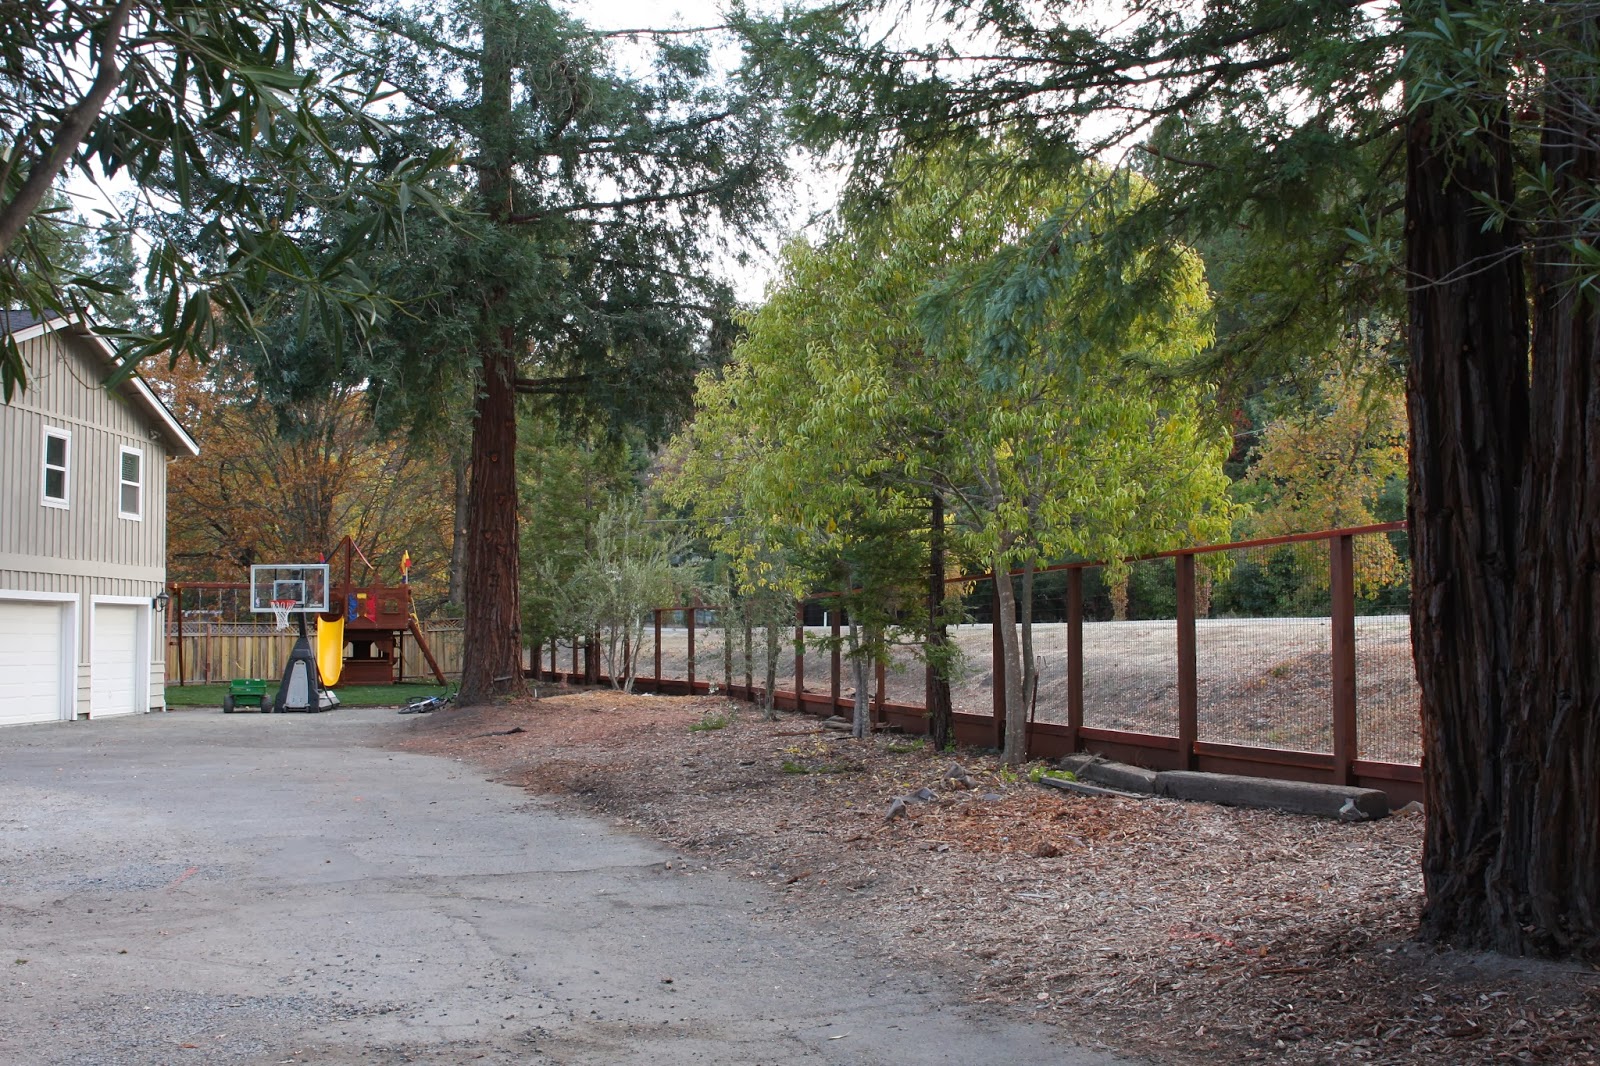
FRONT FENCE LINE BEFORE
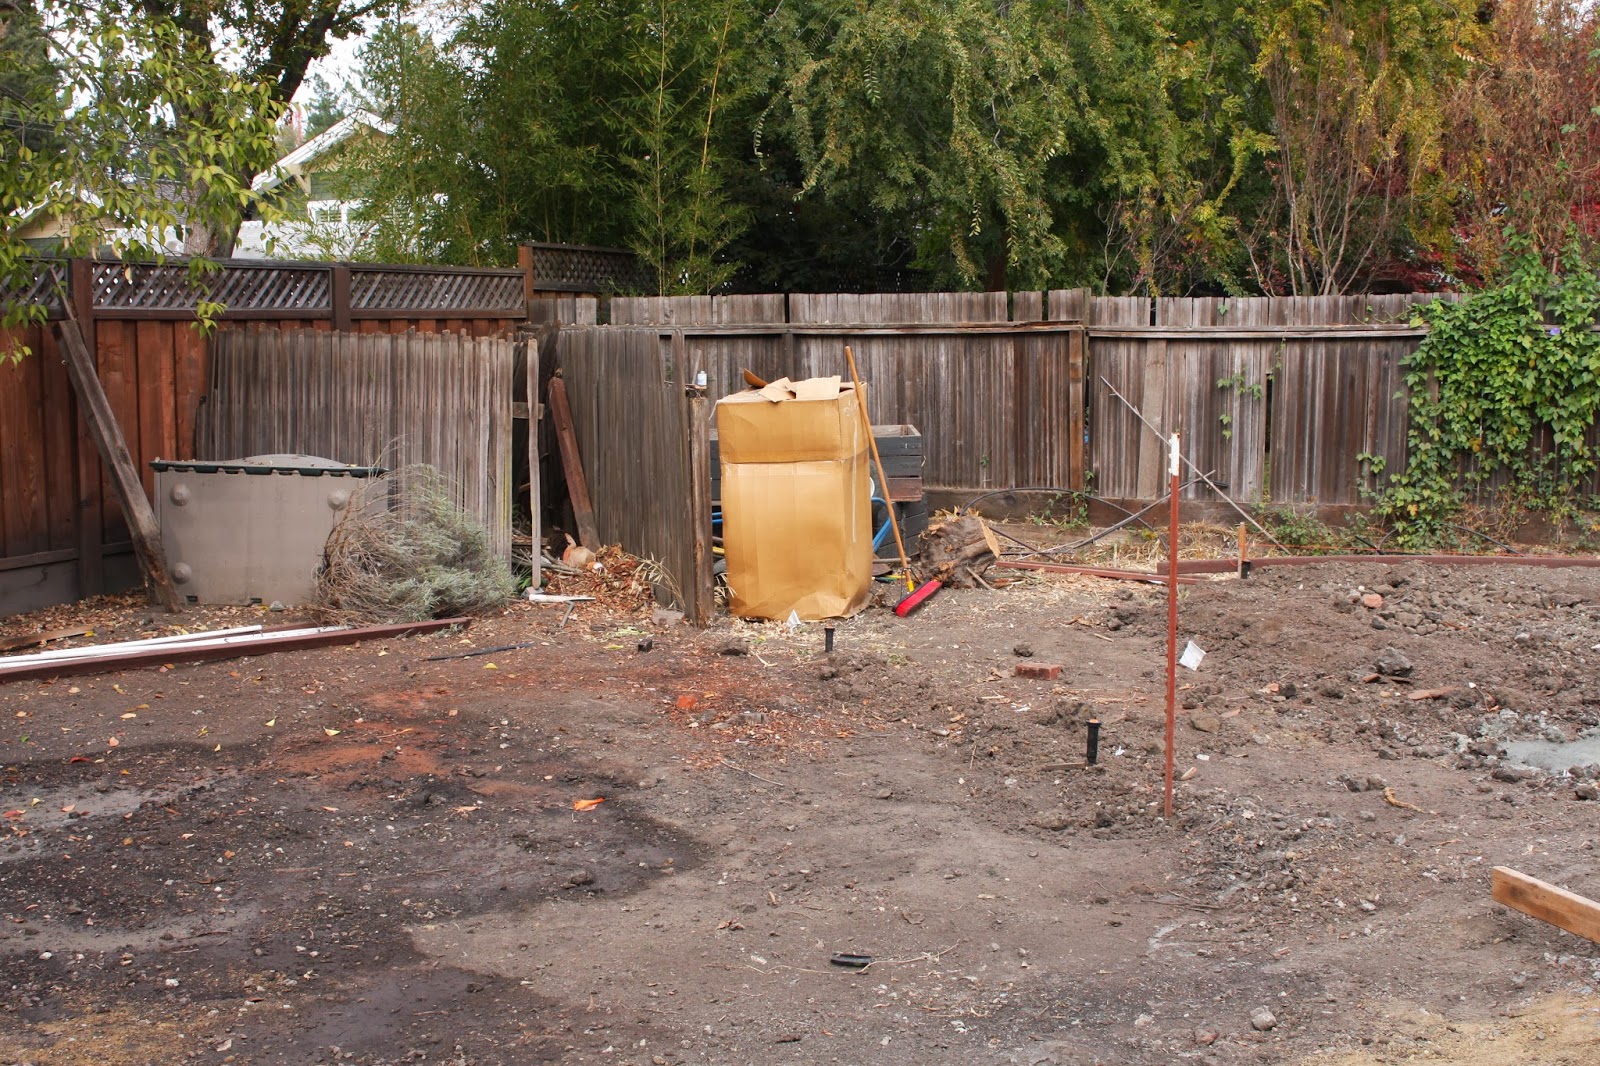
The fences in the back will be updated at the beginning of the year. But there’s one final fence that has my attention right now and it’s in the front yard.
Actually, it wasn’t even a fence to begin with…
The front yard faces a beautiful walking trail. The previous owners had this little 4′ fence to define the property line…
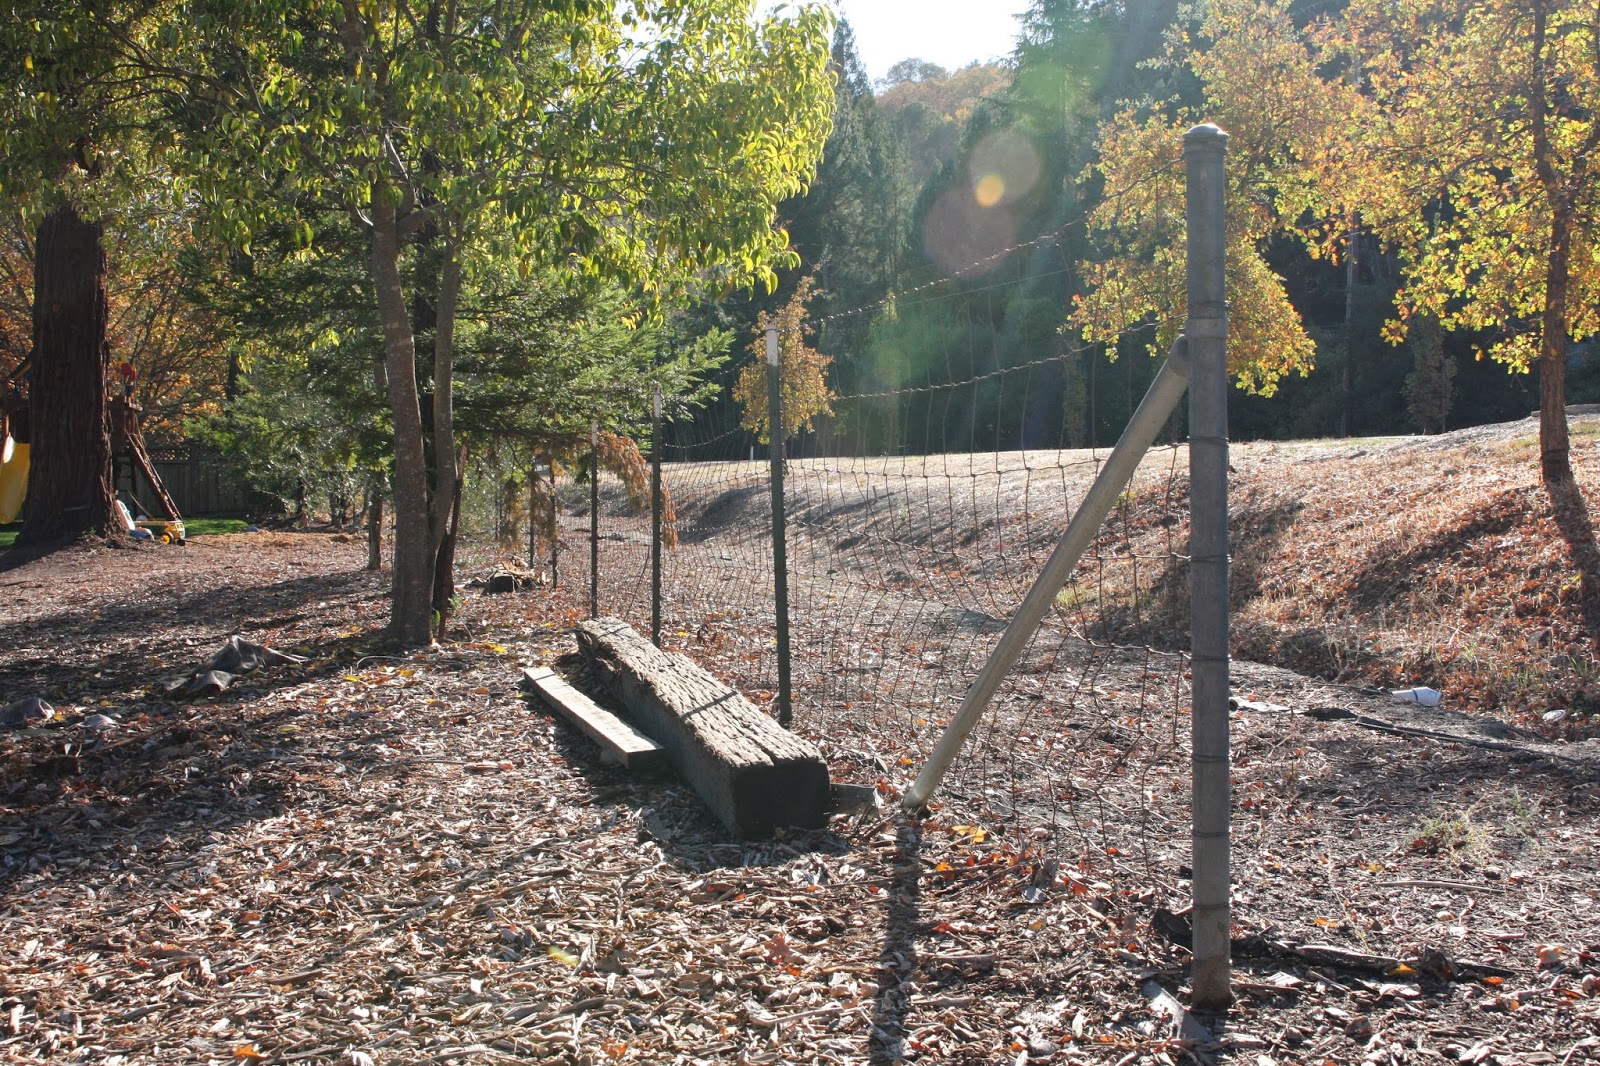
I love seeing families and people riding bikes or walking dogs on the trail but we needed some sense of security – not only keeping people off our property (which happened more than once), but additionally keeping my kids on our property. We definitely needed a fence here but my goal was one that didn’t obstruct the view. Iron fencing was a thought, but it was expensive given the length. After doing a little research I landed on deer fence which can actually be very pretty!
You’ll see!
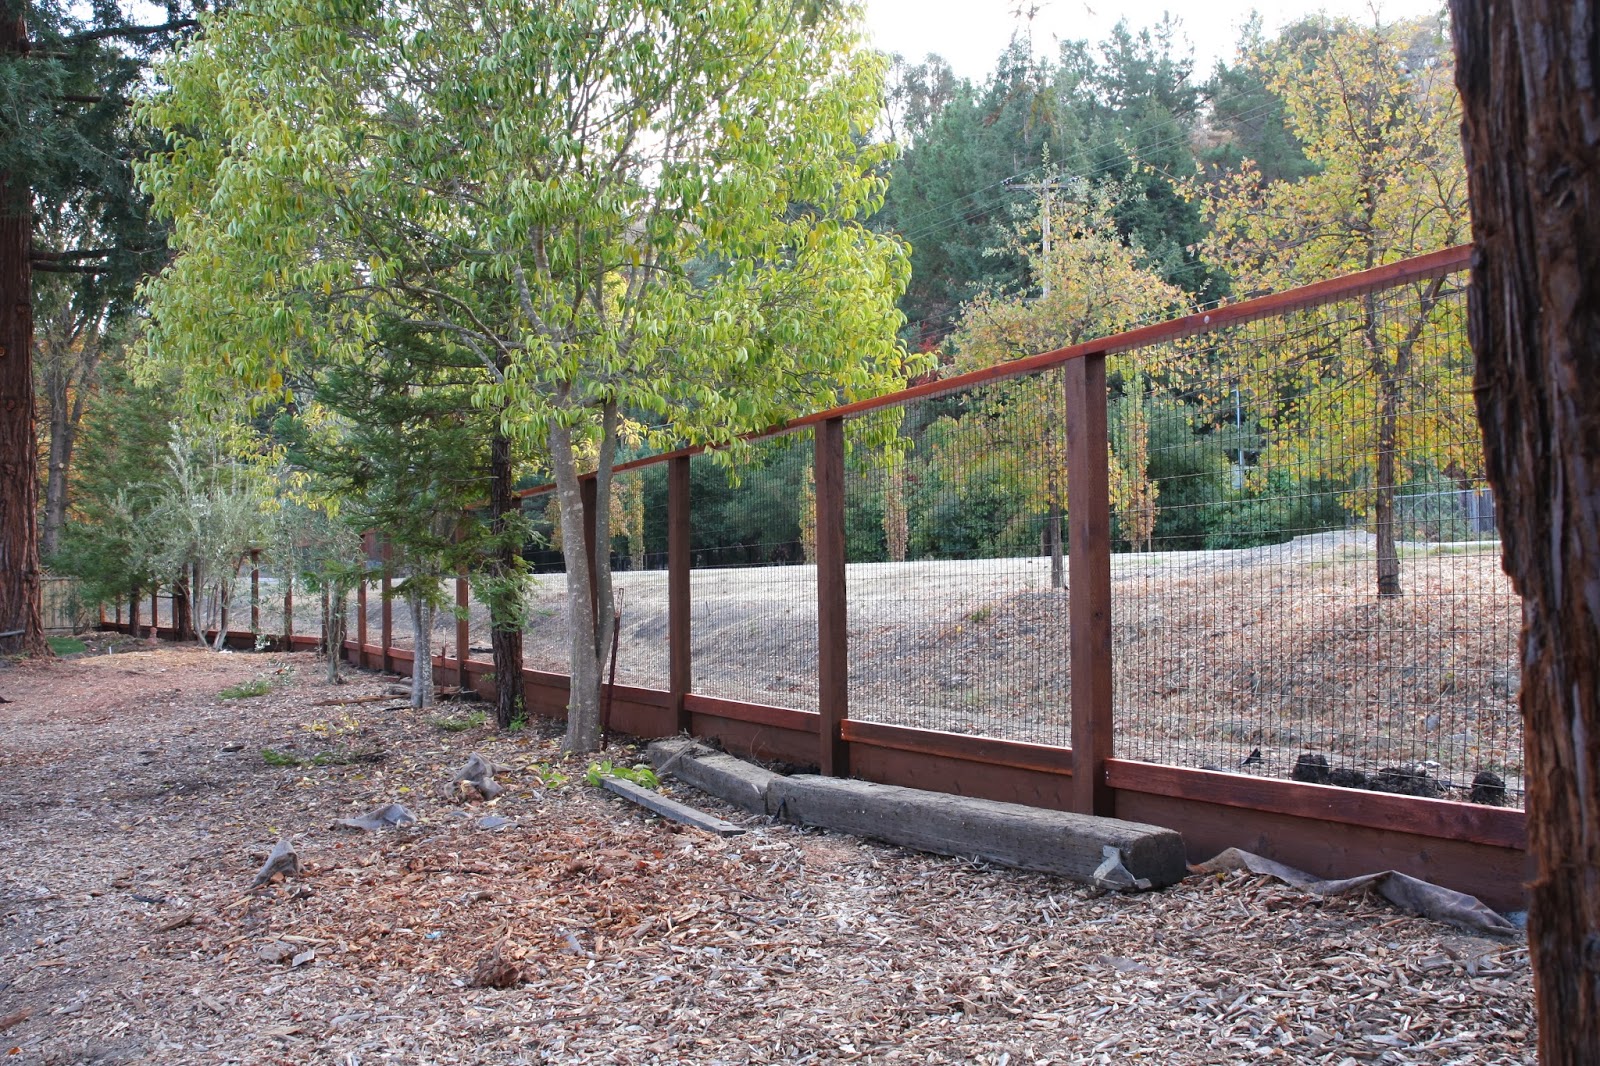
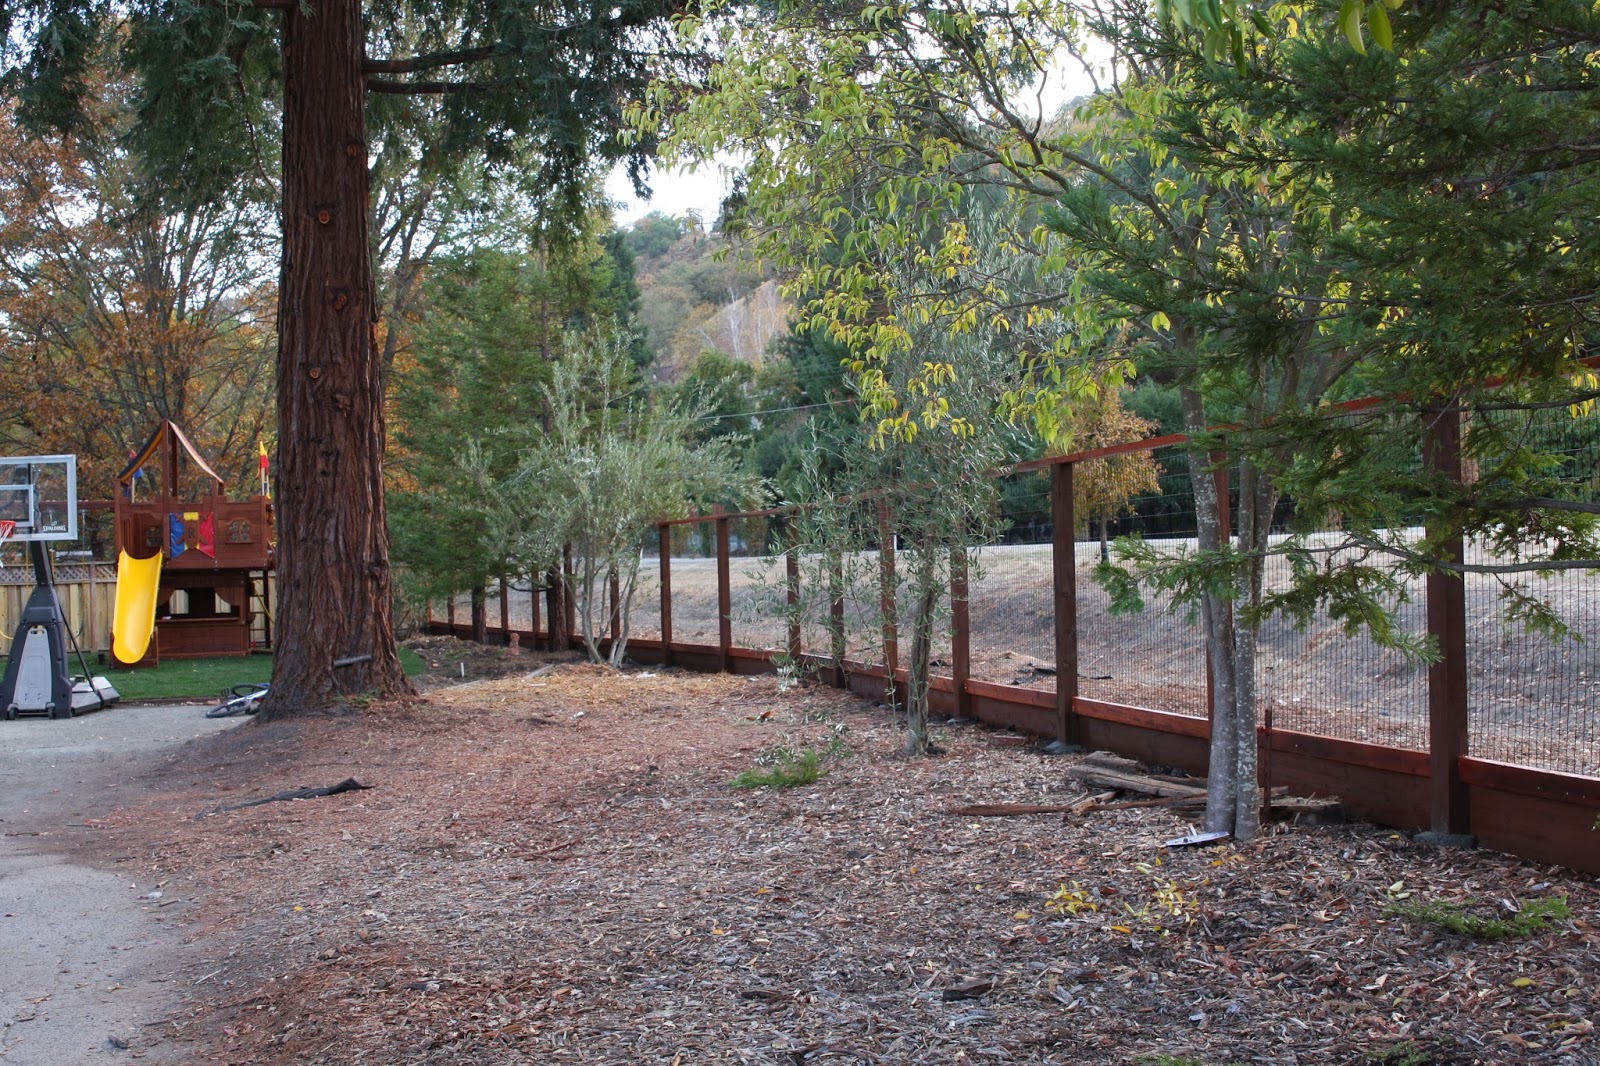
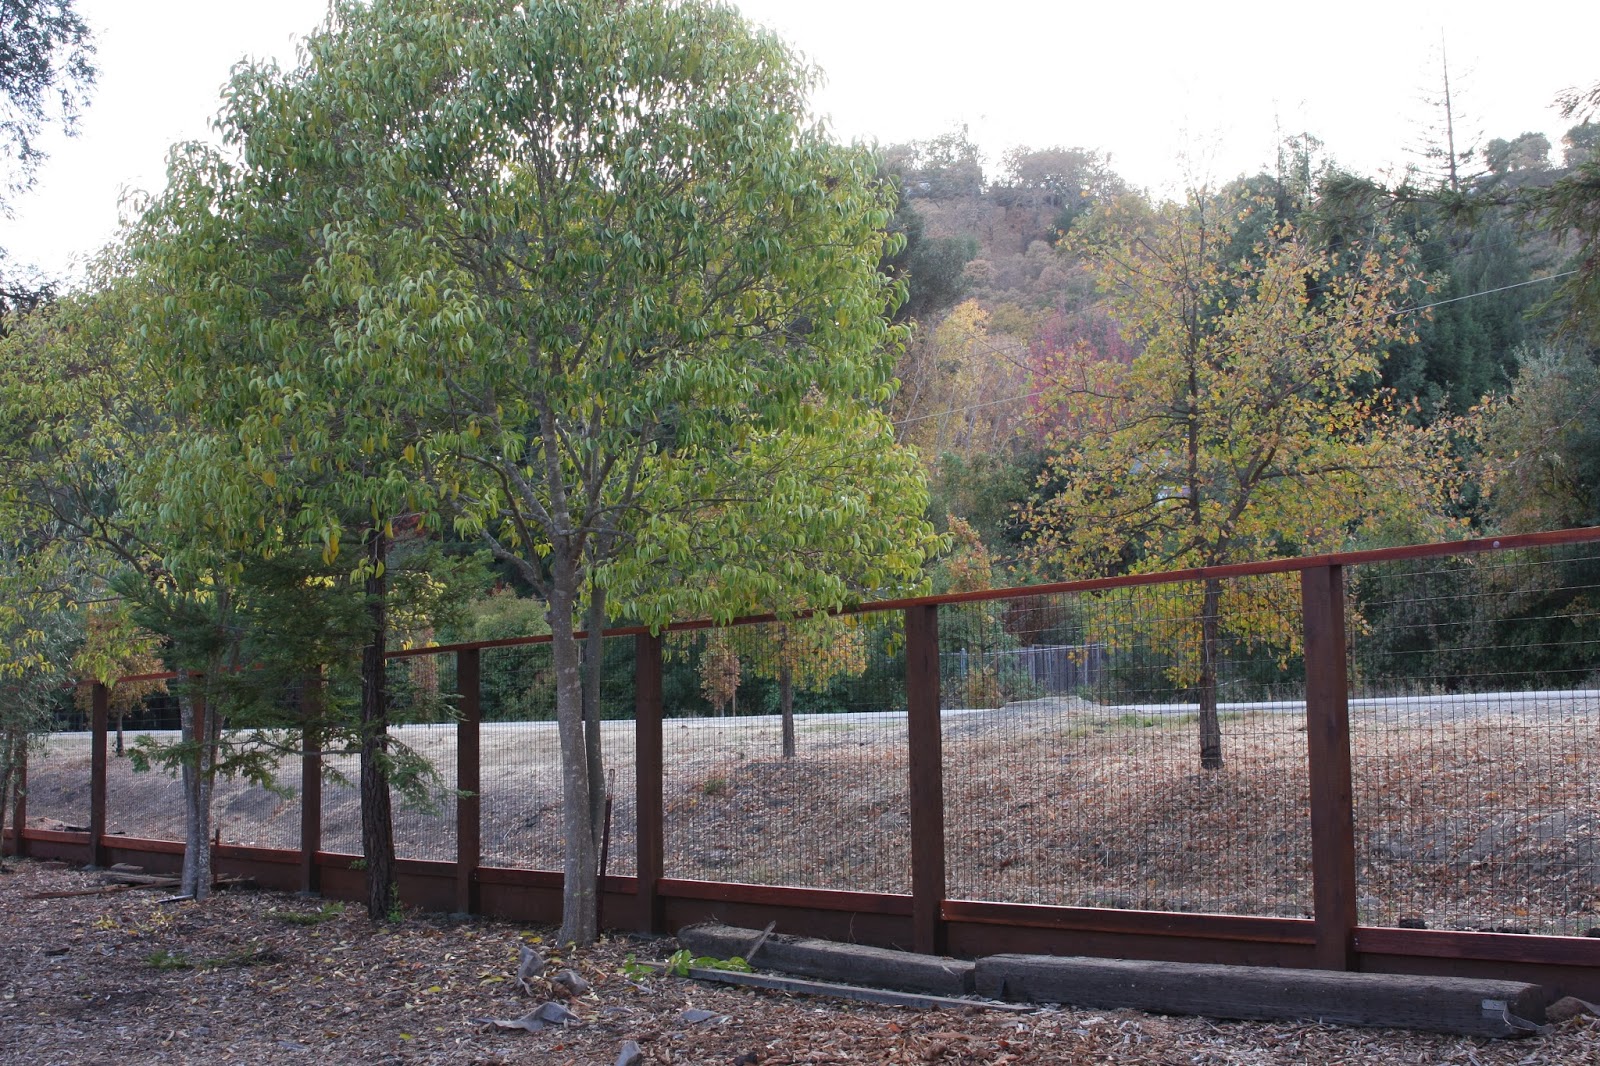
Not only is deer fence a perfect option if you’re looking for a fence that doesn’t obstruct a view, it’s also inexpensive, quick to install and looks incredible! On Monday, the front property line went from this…
To this…
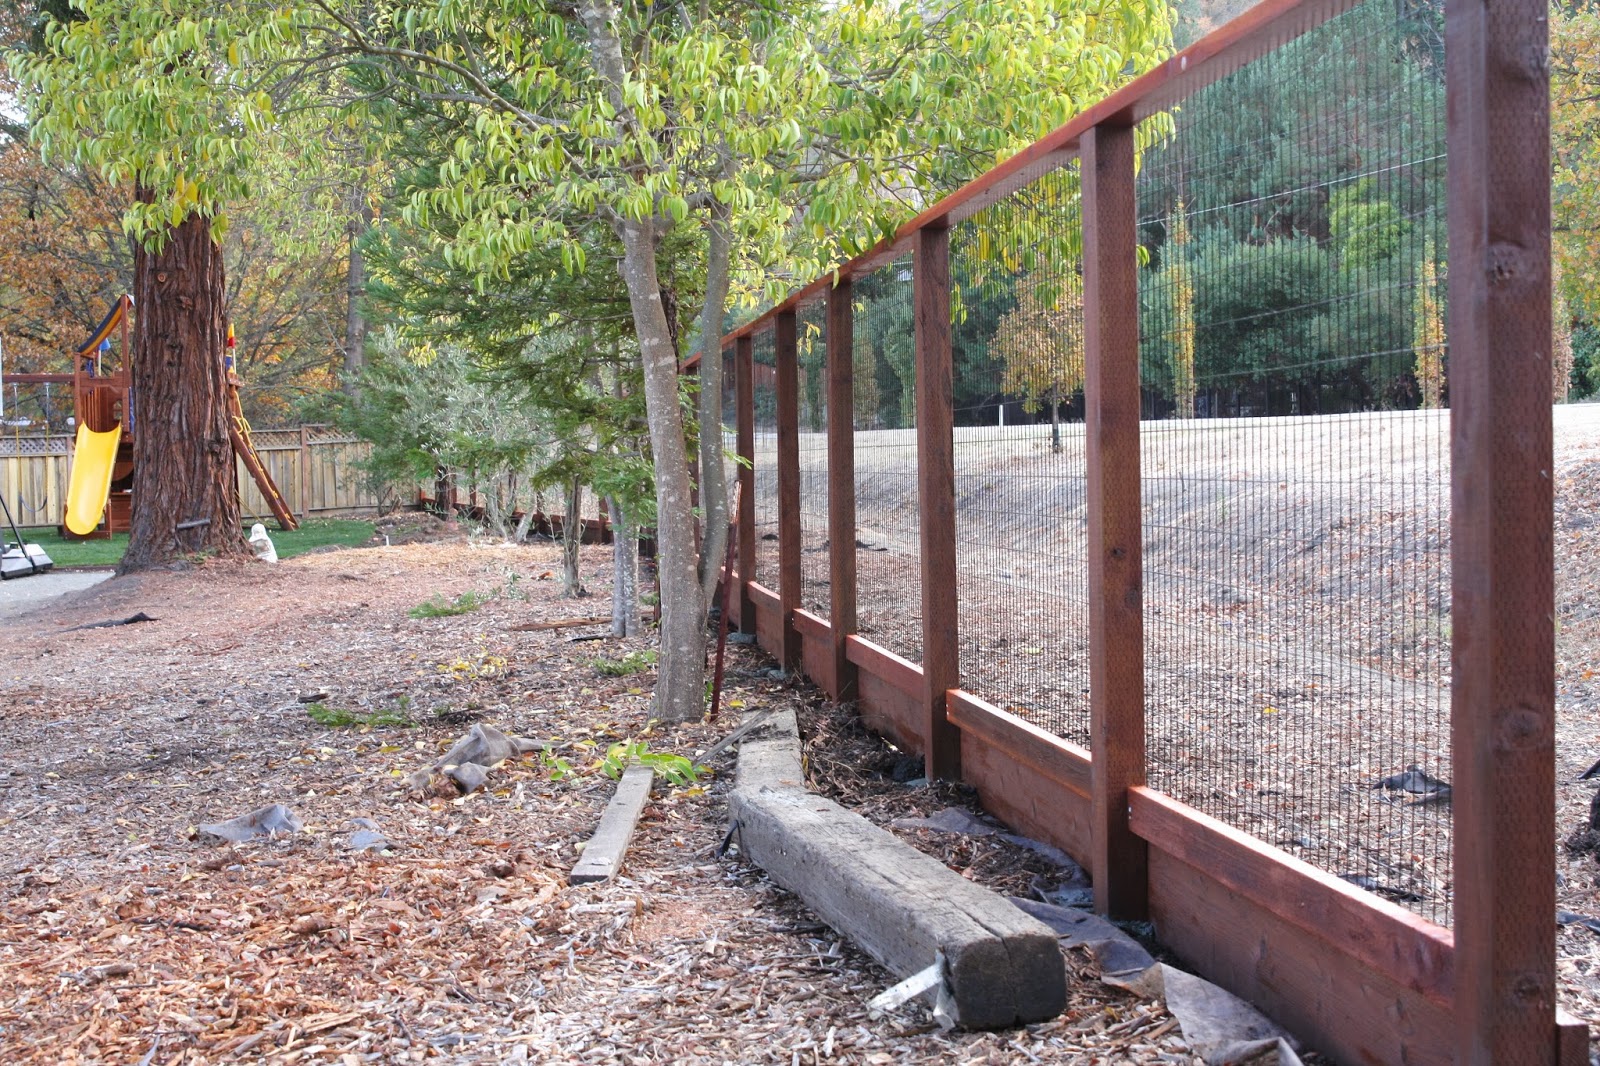
LOVE!!!
HOW TO INSTALL DEER FENCE
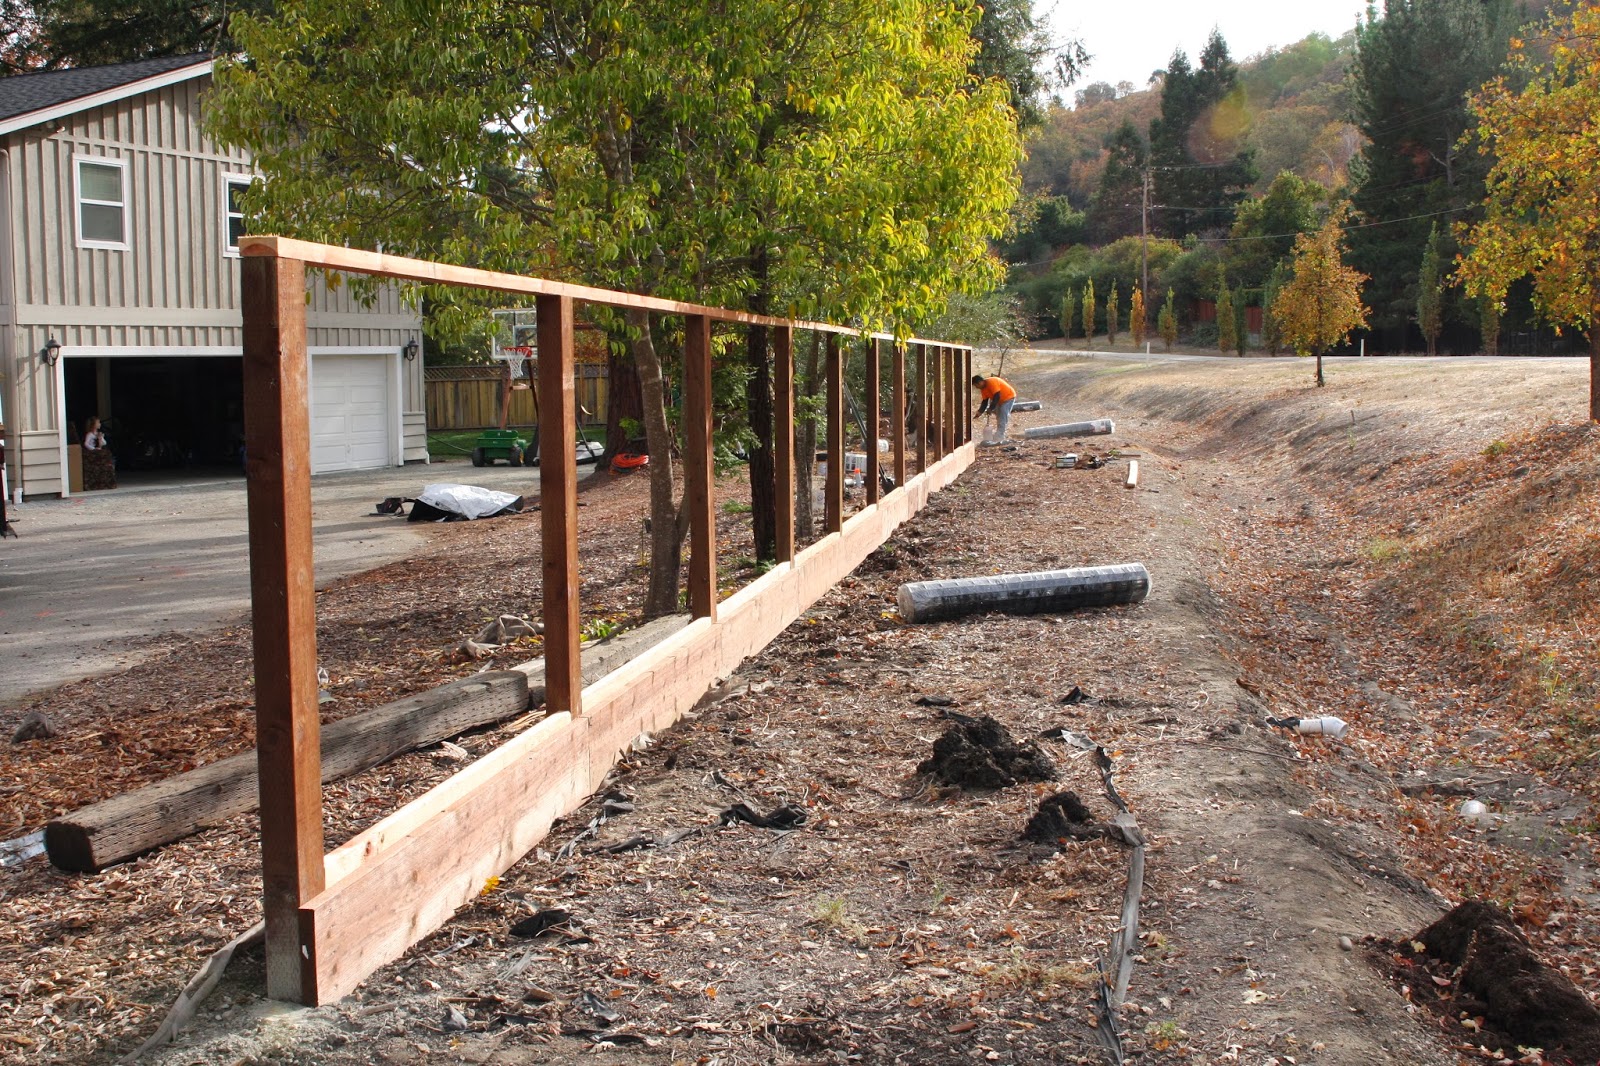
Step One: Measure
First step is measuring your linear feet in order to determine your supply list. Personally, I wanted our posts 8′ apart but everyone has their own preference. This is one of my favorite tools for measuring linear feet.
Step Two: Purchase Materials
You’re going to need posts and the materials to install / secure them in the ground (concrete), boards for the kick plate at the base of the fence, 2 x 4’s to frame the top and bottom, wire fencing with nails to install, as well as all your other standard tools like a level, measuring tapes, gloves, safety glasses, nail gun, etc. You can easily find most of these materials at any big hardware store. And stores like The Home Depot, for example, have great staff members to help walk you through the steps of installing AND point you in the right direction as to which aisle you can find everything.
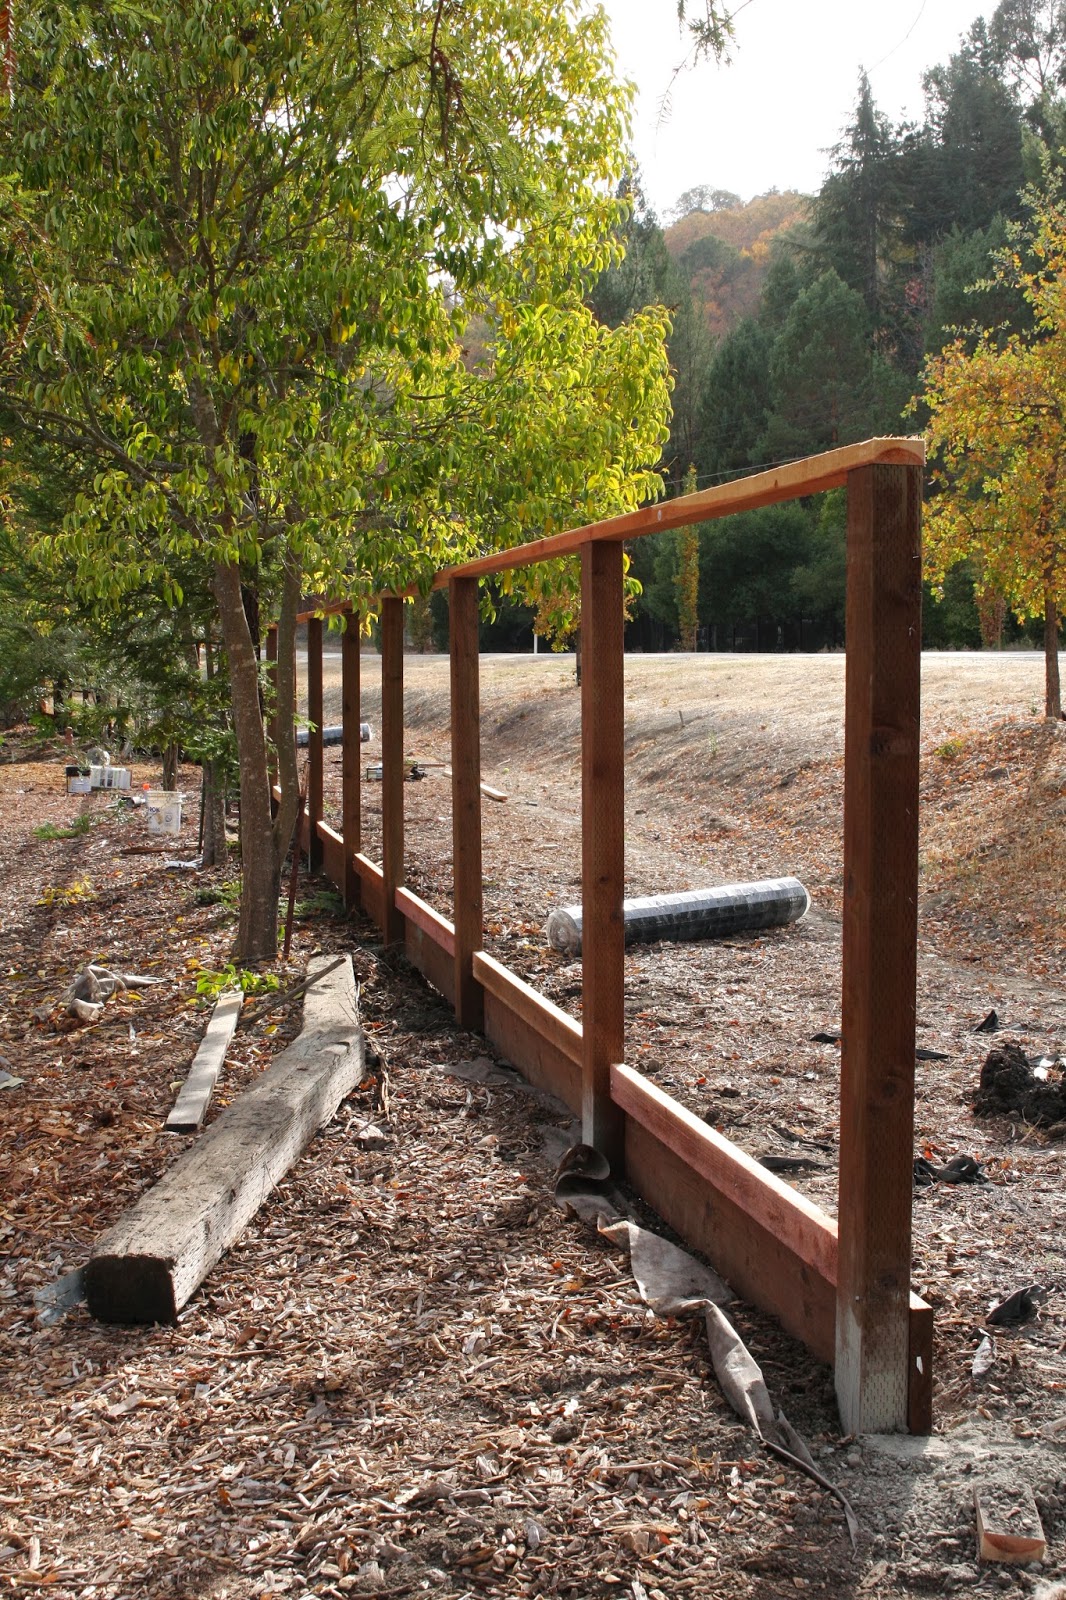
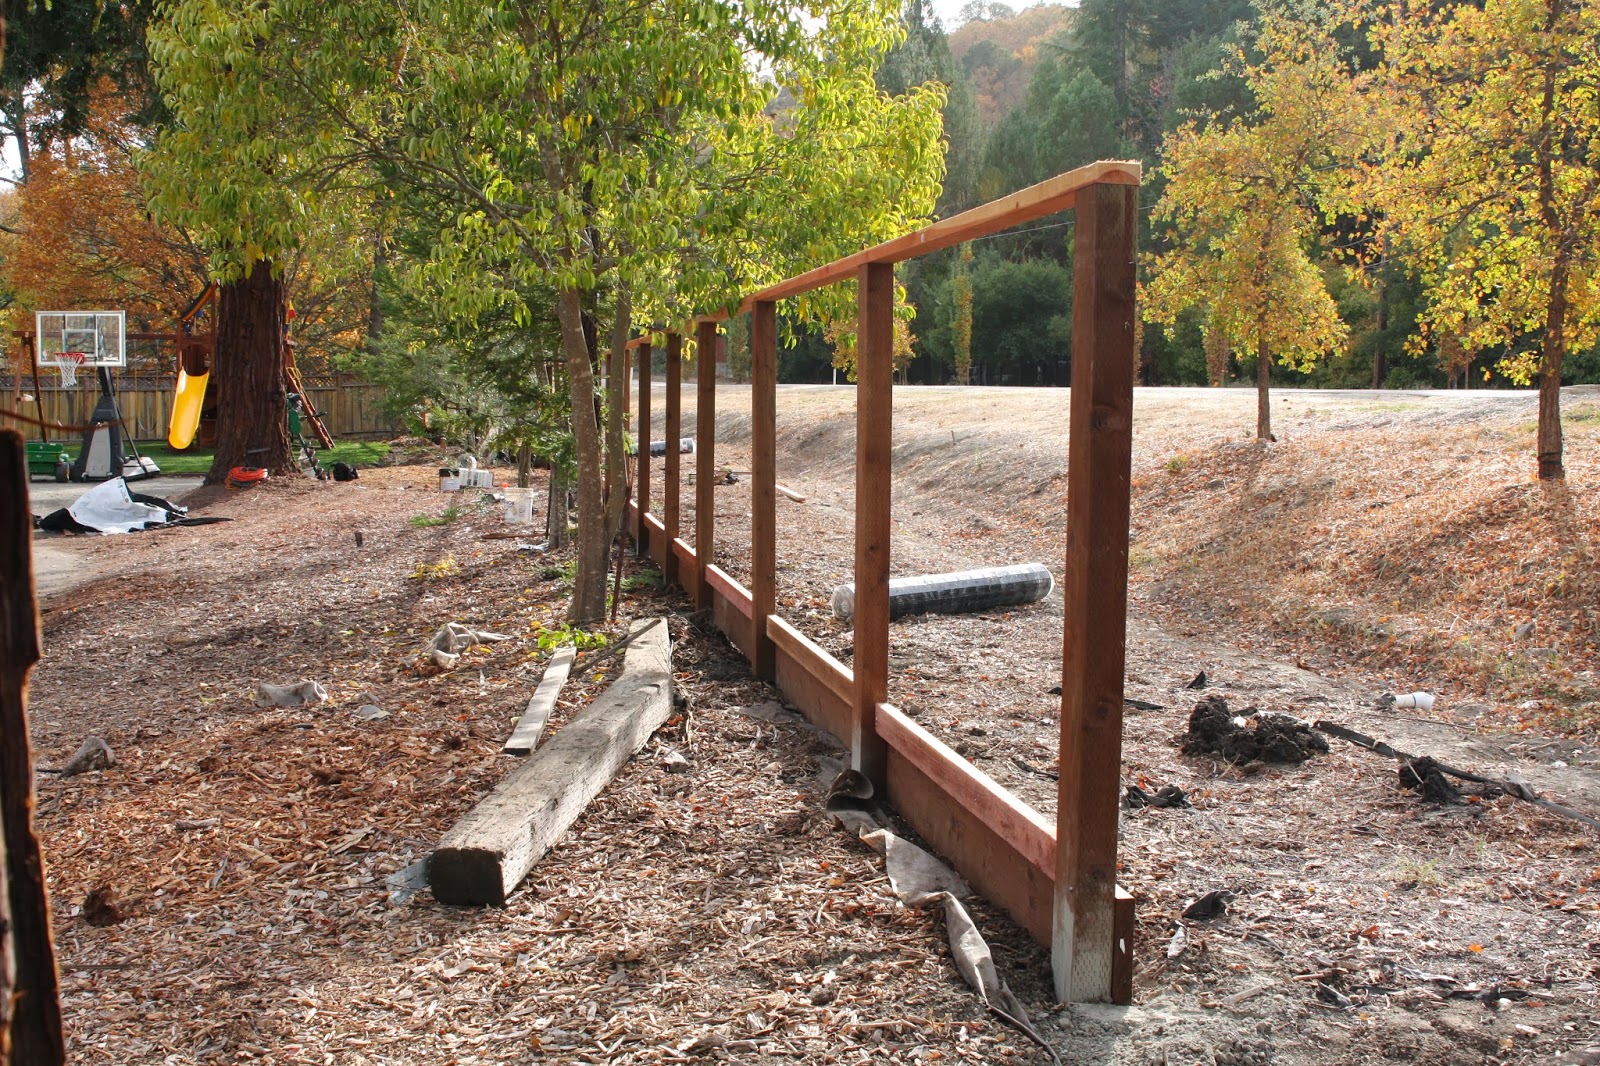
Step Three: Mark Post Distancing and Install
I placed our posts 8′ apart.
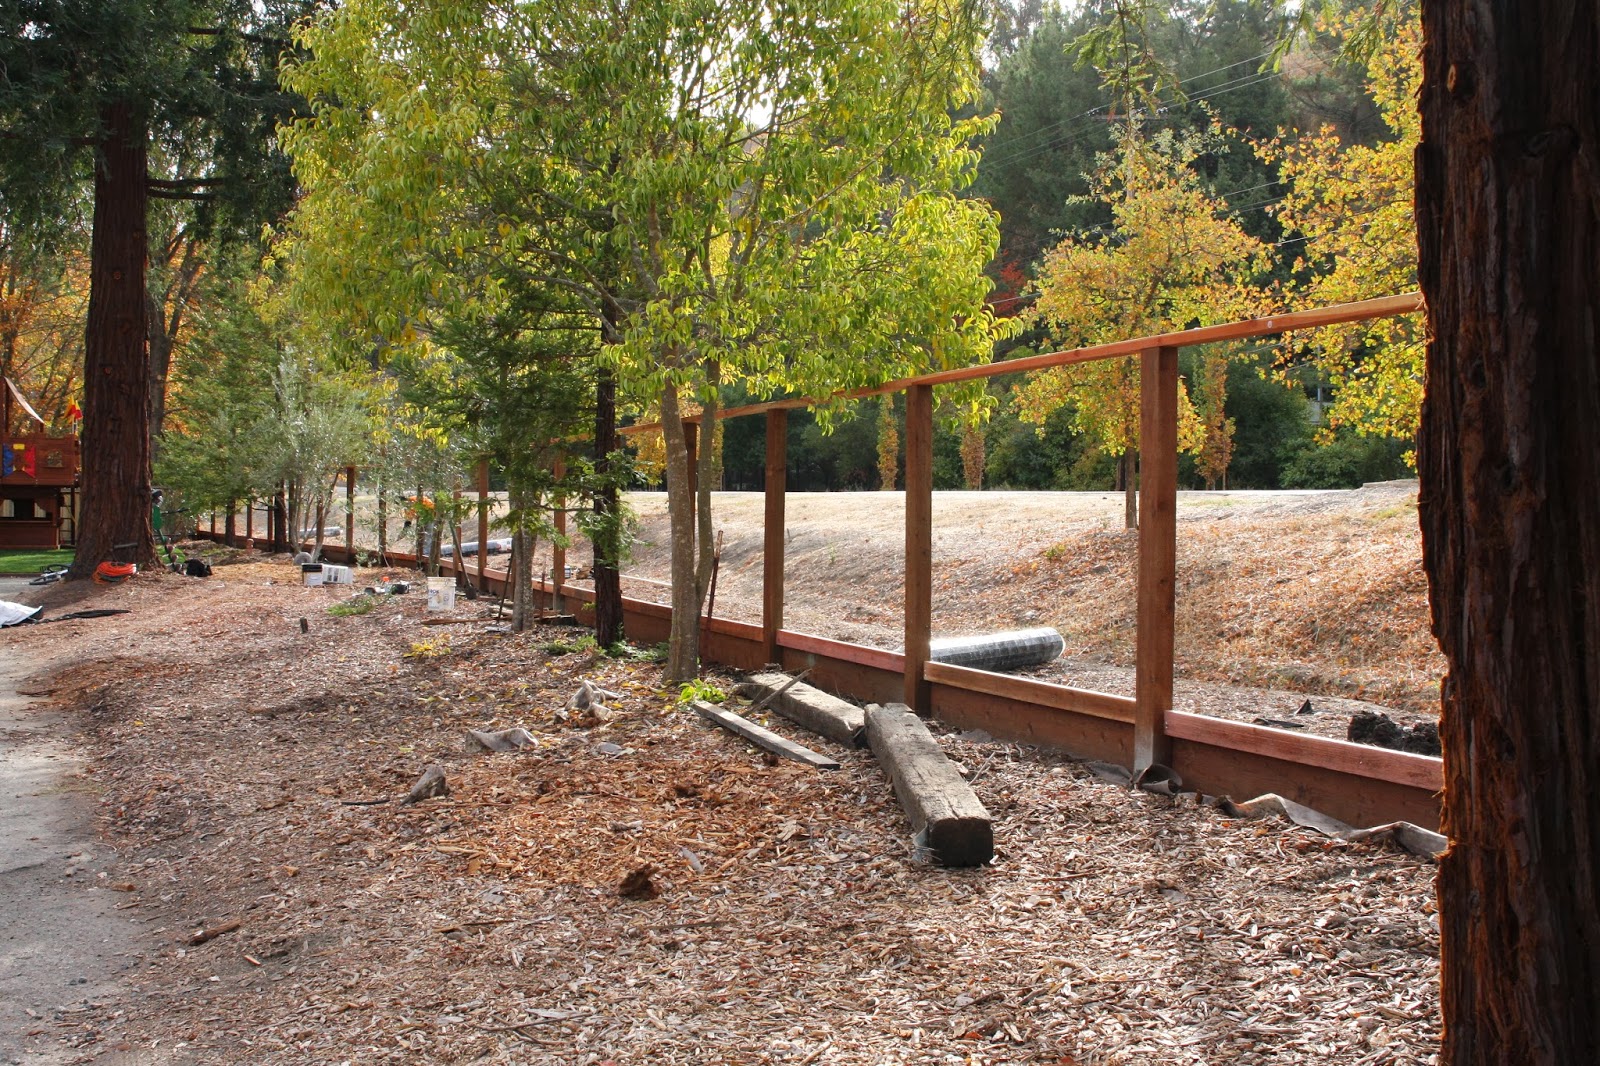
Step Four: Install Kick Plate / Footer Boards
Step Five: Install 2 x 4’s on the top and bottom
Step Six: Stain Wood
This is the time in your project to stain or paint your fence…before the wire fencing is added. I chose a stain as opposed to paint…
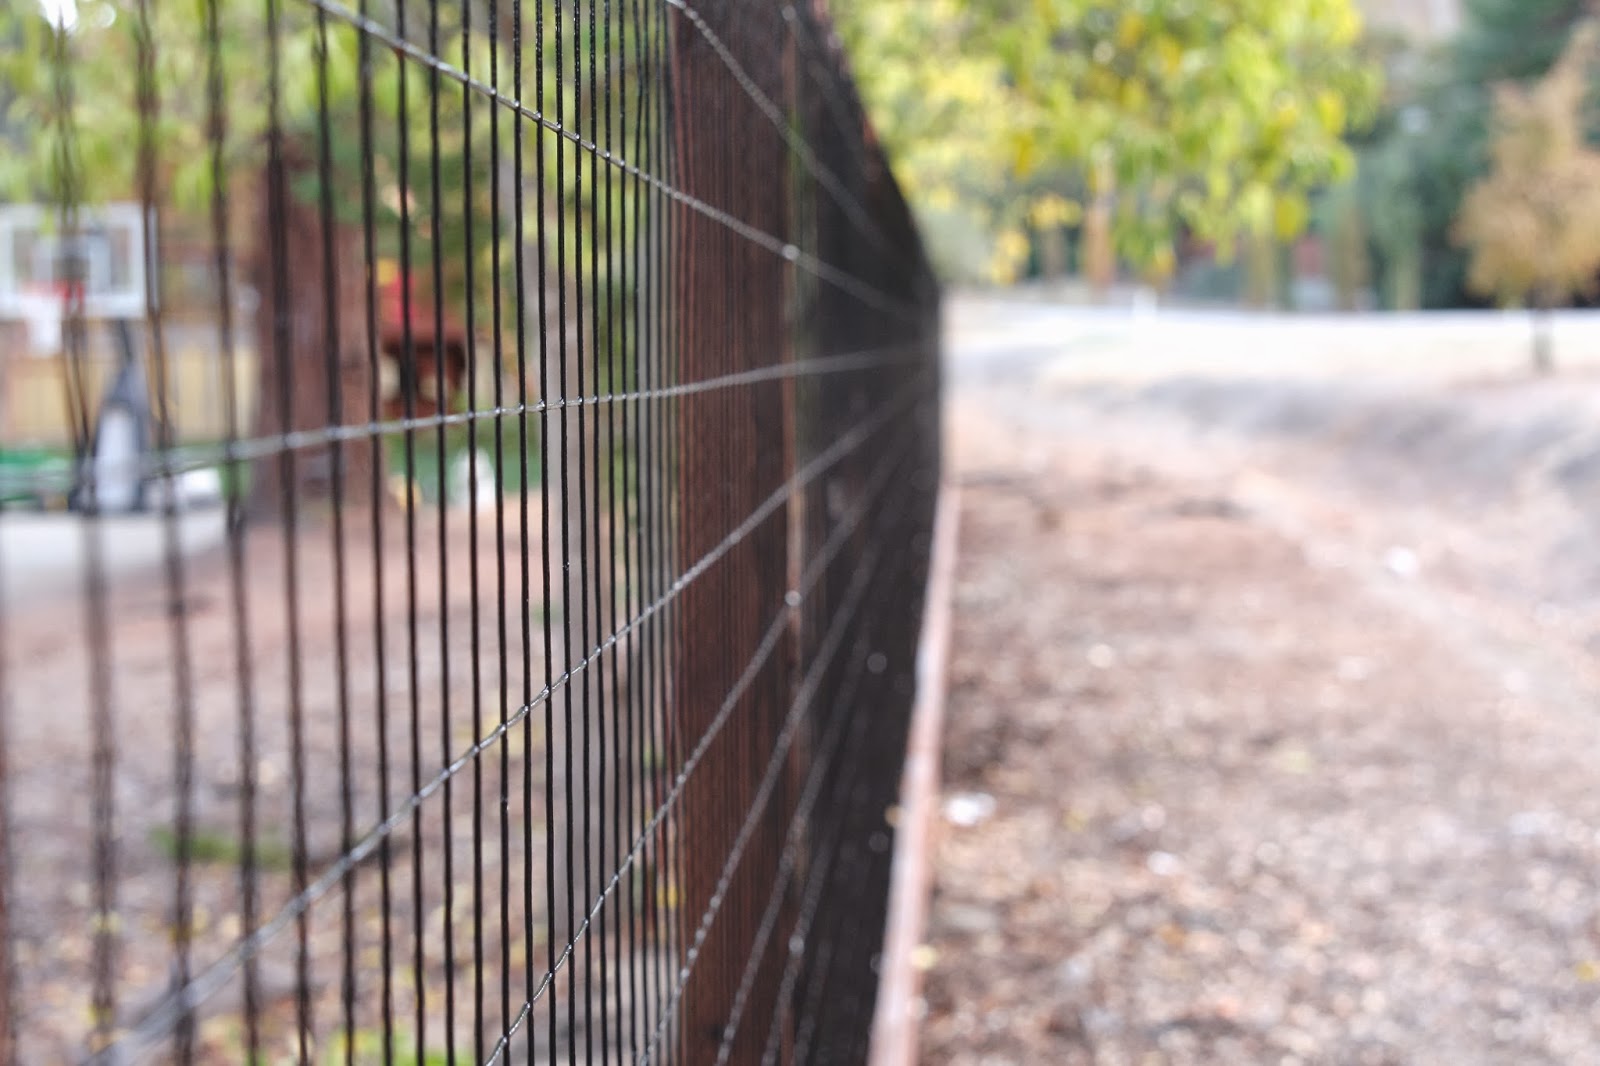
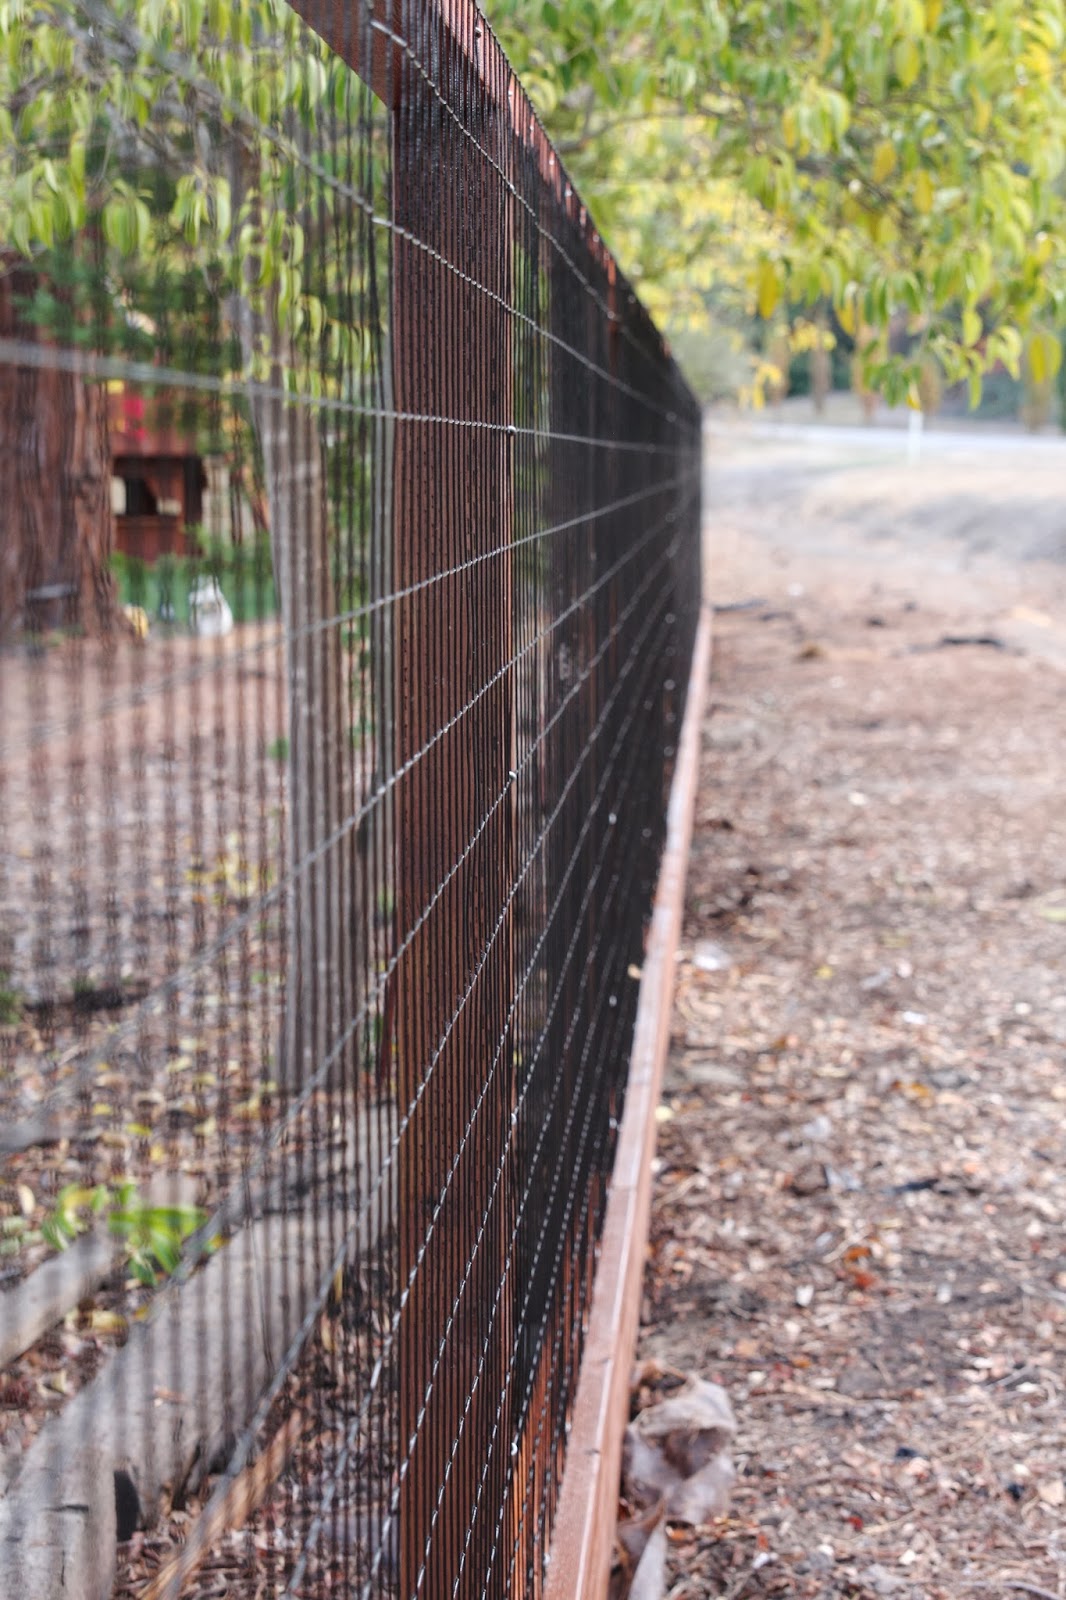
Step Seven: Add Wire Fencing
Finally the black wire in installed. This is easily done by nailing it to the backside of the fence. I didn’t want to see the black nails on our side so it worked well to nail it onto the back side. There’s a lot of nails but they blend in well…

A few hours later, a beautiful new fence!…
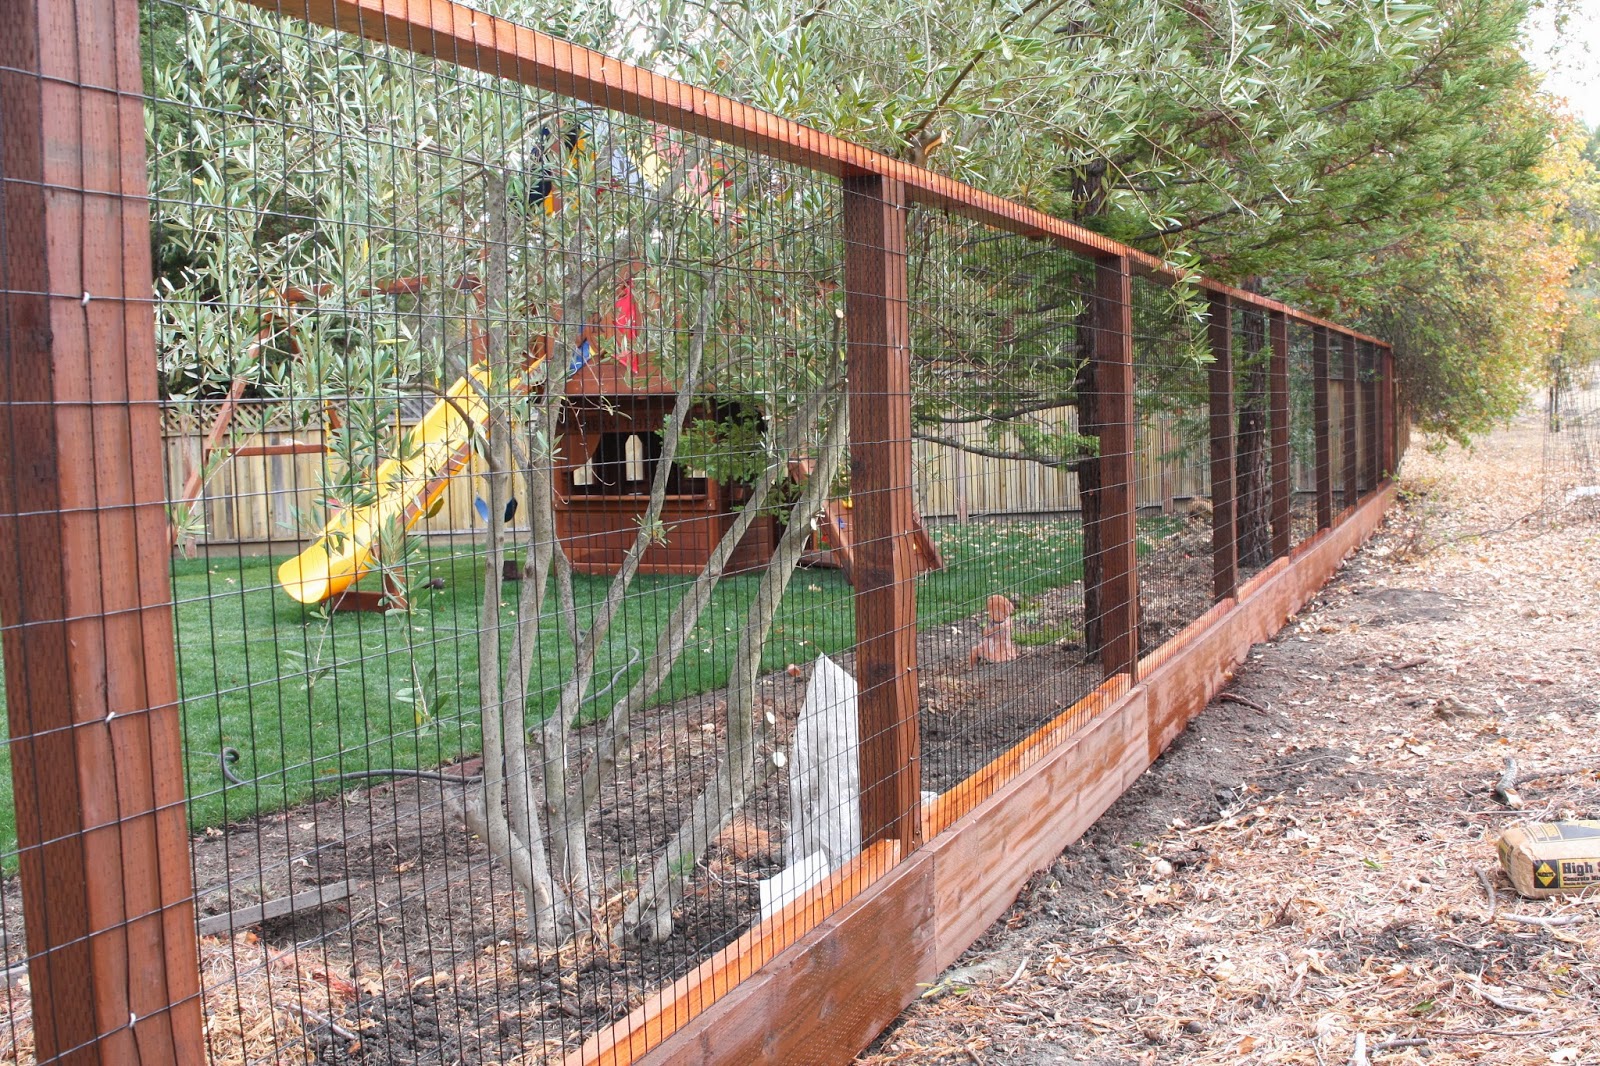
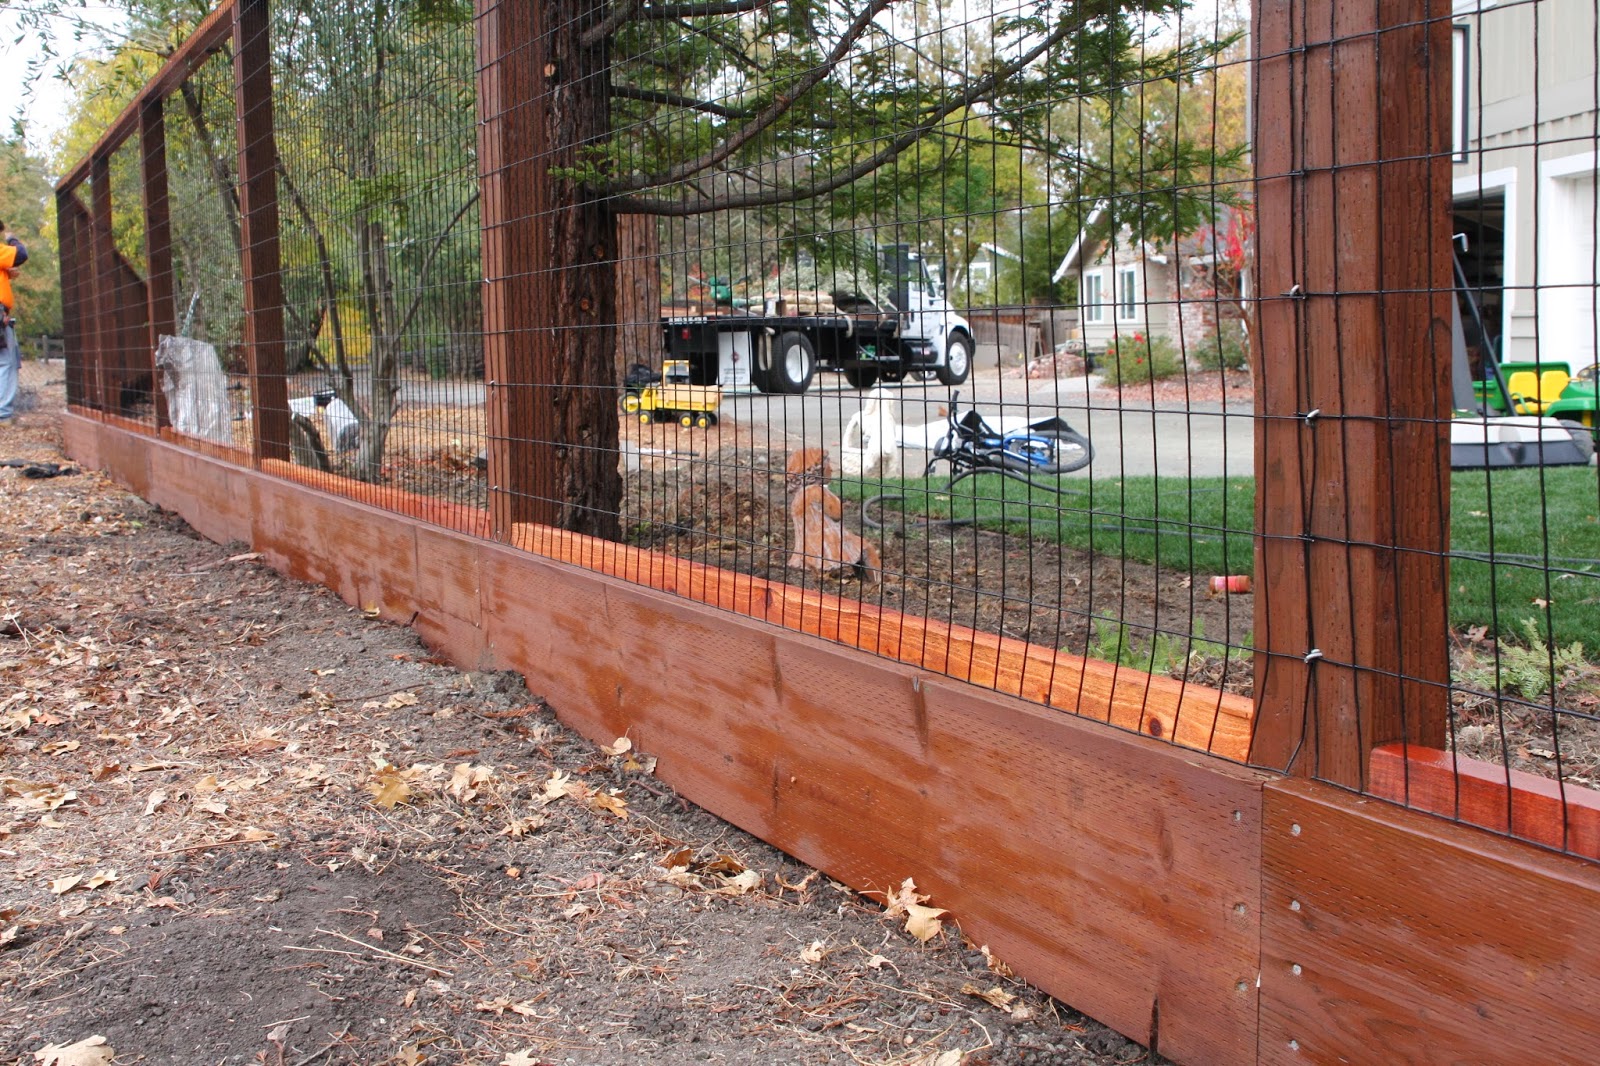

There are options for color when it comes to the fence wire. I opted for black because it appears to blend better…
Now we are secure in front, but you can still enjoy the view…
I seriously love this fence!!!
** Since writing this post, the additional fences have been completed. You can see that outcome here.
Look forward to sharing more home updates and hope you guys are doing well!
xx,
Sam
That is really good looking deer fencing! I love it and it sounds like a great solution. I can't wait to see the rest of the fencing. What a difference that is going to make!
It looks beautiful, I really love the deer fencing! Can't wait to hear how you go about replacing all the wood fencing and how that works with the variety of neighbors you share borders with.
The deer fence looks great! What a great solution- I never would have thought of that!
Wood used? Did you use 4×4 posts, how tall is the fence and how deep where the posts set in? Were 2×4's used for the top rail / lower rail framing? Is that a 1 x 8 for the kick plate? Lastly distance between posts.
PS I will not show my wife the part where it only took 5 hours! 🙂
Just love your projects – everyone of them has something I would love to do at my home or cottage. The deer fence is amazing as were the driveway pillars and what originally drew me to your site – the floating shelves. Is it possible to point me in the direction of how to make the frame for the deer fence. Just love it. I have a dog whom I wish to contain from other properties at the cottage and this would allow him to have full run of the cottage at a price I can afford! As well- keep the deer and bear outside the cottage lot. Well maybe the deer~ : )
Deer AND bears??? Yikes! 🙂
Thank you so much for your sweet compliments – I appreciate that so much. As well as the time you took the read my post and leave a comment.
I don’t have specific directions for how to build the framing – just went with what seemed efficient and easy. First, the posts were set in concrete (8′ apart), A kick plate was added to the bottom. 2×4’s are lining the top. Then the wire comes in a 100′ roll (in several colors – I chose black)…just rolled and stapled on. Heavy duty staples. After installed, a guy came through with a spray machine for staining. It’s a loooooong span of fencing so it took an entire day with several people doing the job. But it was much much easier than building an actual wood fence. And I love how pretty it is…how nice it keeps the front yard. We live on a regional trail so I am still able to enjoy the view, while keeping the kids safe and people off my property. And certainly no deer or bears have shown up! haha!
Thank you again and please let me know about additional questions!
xo,
Sam
6 ft fence?….it’s actually real wire, correct ? Thank you!
Hi Samantha,
I know this is an old post but I love the fence. I was curious: (a) How high is it? (b) Did you need to stack wire at all? As in, did you need to put one roll of wire above the other to achieve any height? I ask because I’m looking into wire type now and the tallest I can find is four feet. (http://m.homedepot.com/p/Everbilt-4-ft-x-50-ft-14-Gauge-Black-PVC-Coated-Welded-Wire-308382EB/204331908) is this what you used?
The fence is 8 feet high and the wire came from a local fence company. It comes in very long sheets – my fence is VERY long so they gave me sheets in 100′ length. The wire is not stacked, it’s one full sheet…just rolls on and as you go you staple it to the framing. My suggestion is to contact your local fence company or a local fence company supply shop to see about purchasing the wire.
Sam 🙂
I’m pretty sure that kickplate is a 2×8 or 2×10, I’m committing to making a fence like this around our vegetable garden.
Sorry to say, but deer can scale a fence taller than this one. Nice looking tho.
I’m sure they can, but they haven’t in the amount of time this fence has been up. And there are a lot of deer in this area.
It is 8′ tall…thank you for the compliments! It really is beautiful!
It sure doesn’t look like it’s 8′ tall.
Can you please supply the name of your fence company? Thanks.
Hi! I know this is an old post but I just stumbled upon it! Thank you, Pinterest!!!
If you can remember, do you know about what it cost you to build this? We’re moving into our dream home but it’s lacking a fence for our two big dogs and we’re buying it at the top of our budget!!
I LOVE this fence! Thanks in advance!
Hi! Let me dig around in my paperwork and get back to you. I need to pull out house papers anyway because I need to find out the color of my concrete…yay!
xx,
Sam
Did you find the total cost?
I love this fence idea. Can you tell me how you handled stapling the wire at the corners? We’re building a similar fence and the wire will be stapled to the inside of the post, but we can’t figure out what to do with the corners. Thanks!
Thank you! I love this fence!
For stapling, it’s stapled on the side of the fence that doesn’t face the house. Therefore I was able to staple up the back side of each vertical post and at the top and bottom of the horizontal posts. The fencing is rolled out in one long sheet so I didn’t staple it on the inside of the posts. Hope that all makes sense!
Sam
Ah yes, that makes sense. Since we need to staple it to the inside of our fence, I think we will add a couple of 2 x 4s on the corner posts, which will give us something that we can staple the wire fence to.
i am wondering if you made any gates in this fencing anywhere? if so, i would love to see what they look like. we are about to start doing a very similar fence for our chicken run, but i can’t figure out the gates…any help would be SO appreciated!!! you fence looks BEAUTIFUL!!!! great job!
Hi!
I didn’t put gates in for this stretch of fencing so I’m sorry I can’t help you with that. Thank you so much!!! I do love the fence and it has held up beautifully!!!
xx,
Sam
Hey where did you guys purchase the black coated with fencing and how much was it? What we’re the dimensions of fence? We are looking to do something similar! Great looking fence.
Hi,
The wire fencing came from a local fence company. Came in long rolls that you roll out and staples to the posts / framing. I can’t give you the dimensions because that would take me a long time to measure out. It spans a very long distance across my front yard. 🙂
xx,
Sam
Beautiful- i want to do this for my place up north
What type of wood did you use for the posts , bottom and top rail. Do you need to put a kick plate in ?
Love this! Thanks for posting. Looking for ideas to fence in an area for my dog without obstructing mountain views around my cabin.
You’re welcome! I love it too!
We have a chicken coop and are thinking of adding this around that area as well. You cabin sounds lovely!!
xx,
Sam
Old post but. How long were the posts before you concreted into the ground?
Did you dig a trench to put the kickplate in?
Thanks
Hi,
This project was from a very long time ago…not sure how long the posts were. And we did dig a little trench for the kick plates…
Been so long – wish I could remember everything!
Sam