Simple DIY: Industrial Media Console / Bookshelf

Aug 15

 I’m one step closer to finishing Aiden’s bedroom. A few weeks ago I shared my ideas and an inspiration board here. I’m going for a bit of an industrial look by bringing in a ceiling light, nightstand and desk chair that has a rugged, silver look. Sad to admit, but my boy is growing up…and his room needs to reflect that.
Anyway, progress has been made since I last posted about his room and a few items I ordered have arrived. I was searching for a great media console type shelf for his room, but wasn’t finding one I loved….and if I did, it was too much $$$.
Soooooo, in that case…why not build one?! And I found the perfect inspiration shelf from Ana White! All I did was adjust her idea to fit my preference.
You guys, this was seriously so easy to make. And it could work in a lot of places around your house, not just a bedroom – think kitchen, garage, or a bathroom.
Your supply list:
* 2 x 12 (4 pieces @ 36″ each)
* aluminum angle (4 pieces)
* 4 casters
* 1 1/2″ self tapping screws (for attaching angle to wood)
* 1 1/4″ standard screws (for attaching casters)
* stain, brush and rag
* driver, drill, sander
All of my supplies were grabbed at Home Depot and they also did my wood cuts since I don’t own a saw (yet!).
I started by sanding each piece of wood…

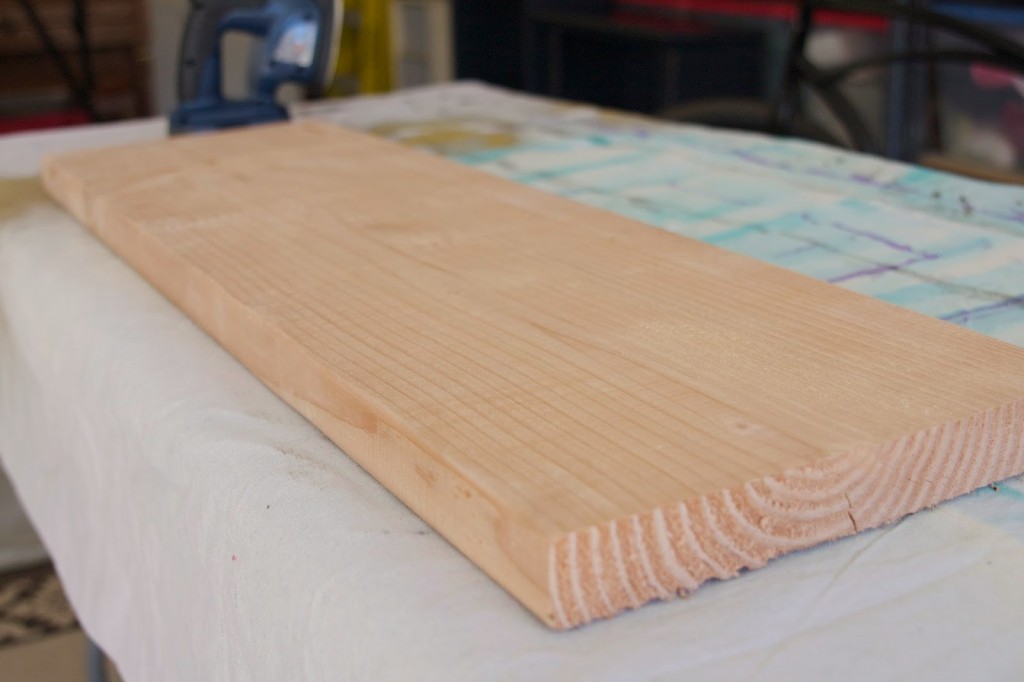
I own a Ryobi Corner Cat sander. It’s awesome and saves a lot of time…

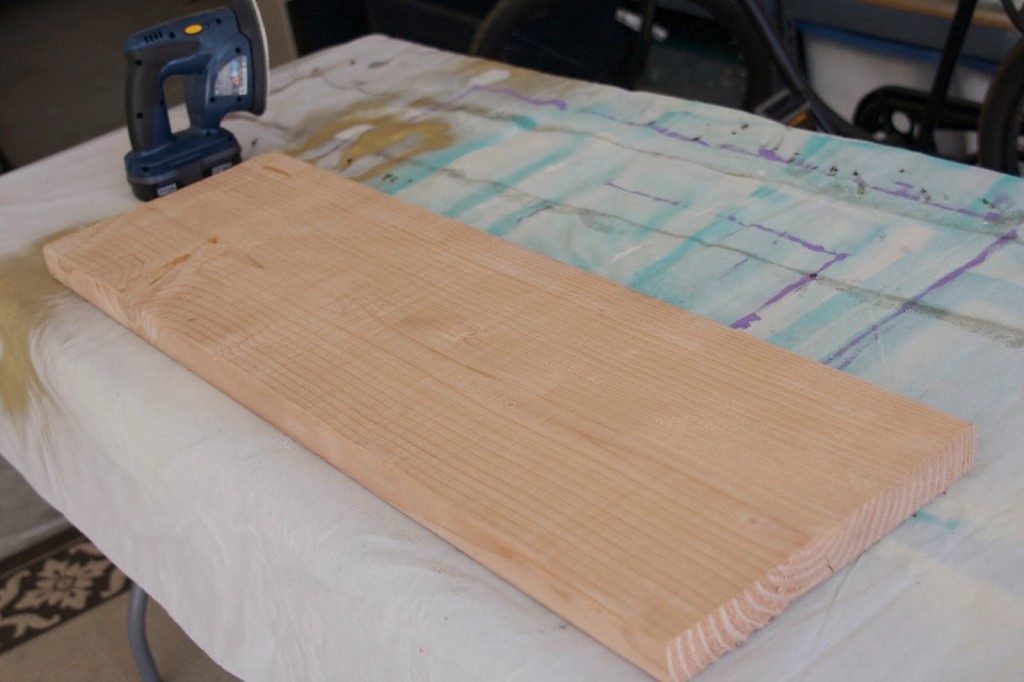
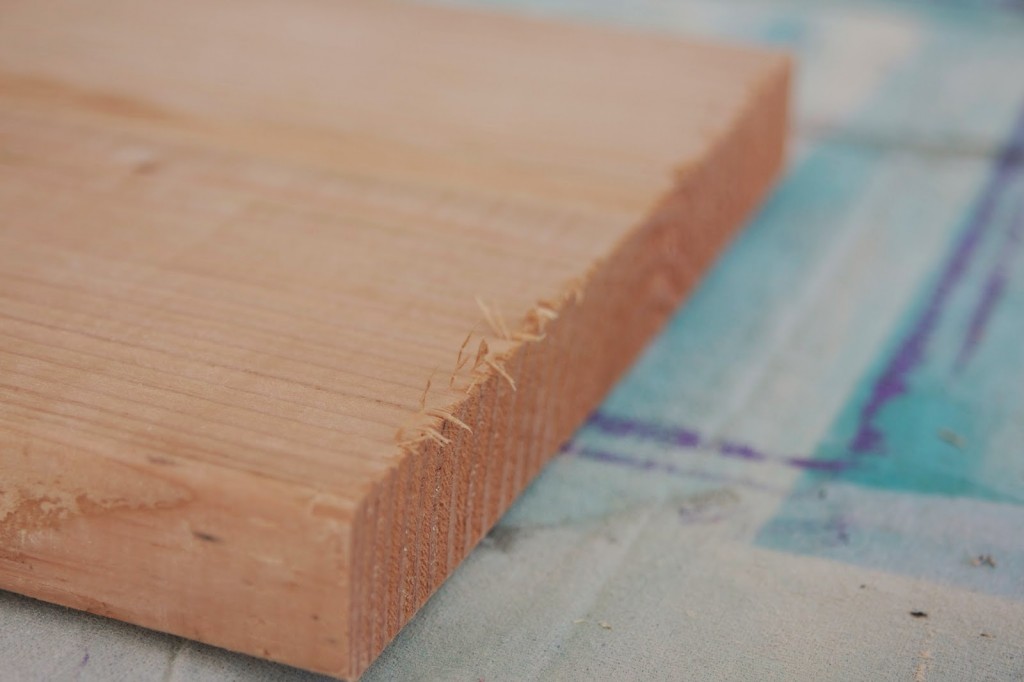
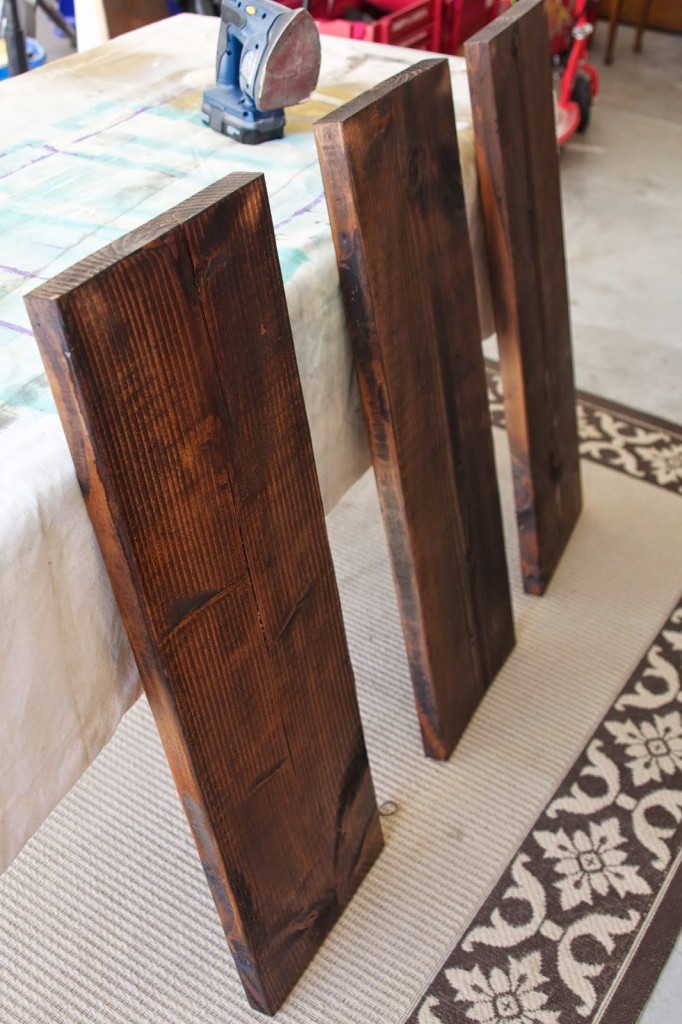
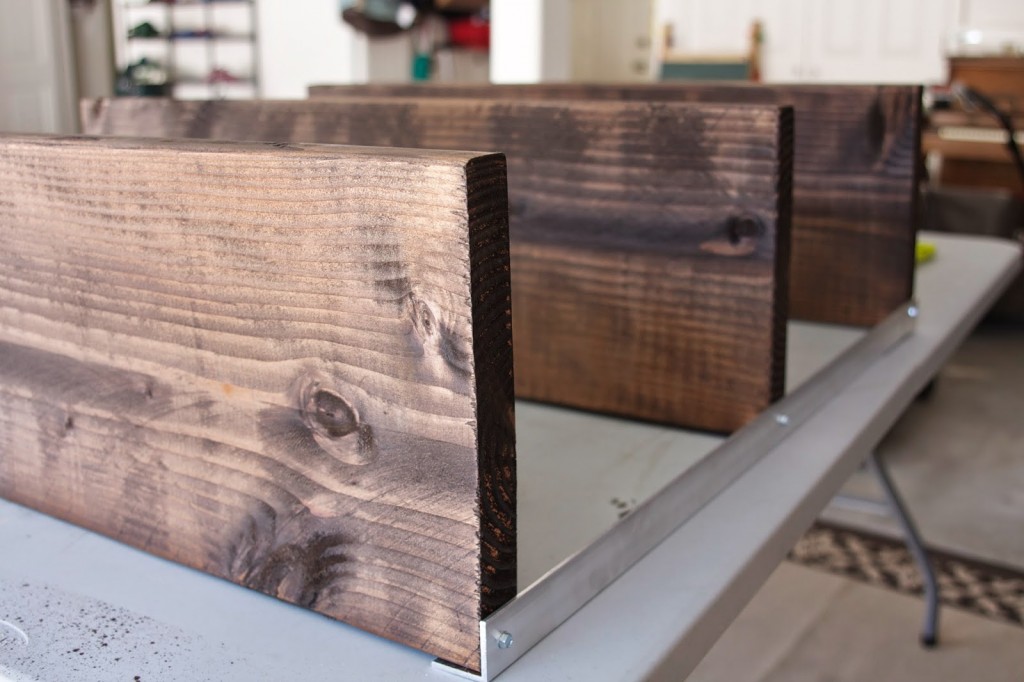
You can see here why sanding is an important part of the process…


Once everything is sanded, stain your wood. I had a can of Dark Walnut that I’ve been using on other projects, so I just used that. I first applied a couple coats with a brush…
Then I wiped it off with a rag to lessen the intensity…
Make sure you work in a well-ventilated area because stain has a strong odor.
Once all of my wood was stained, I set it aside to dry…
I allowed my wood to dry in the garage for 24+ hours. The next day I used my jig saw to cut the aluminum angle at 36″ each. The angle I chose was chunkier than Ana’s…
I wanted a bulkier look for his room. And I was adding a 4th shelf so I wanted to be certain the angle would hold it all together. My jig saw, with a blade for cutting metal, easily cut through the angle…


Then I used my driver to stagger holes where the screws would be…


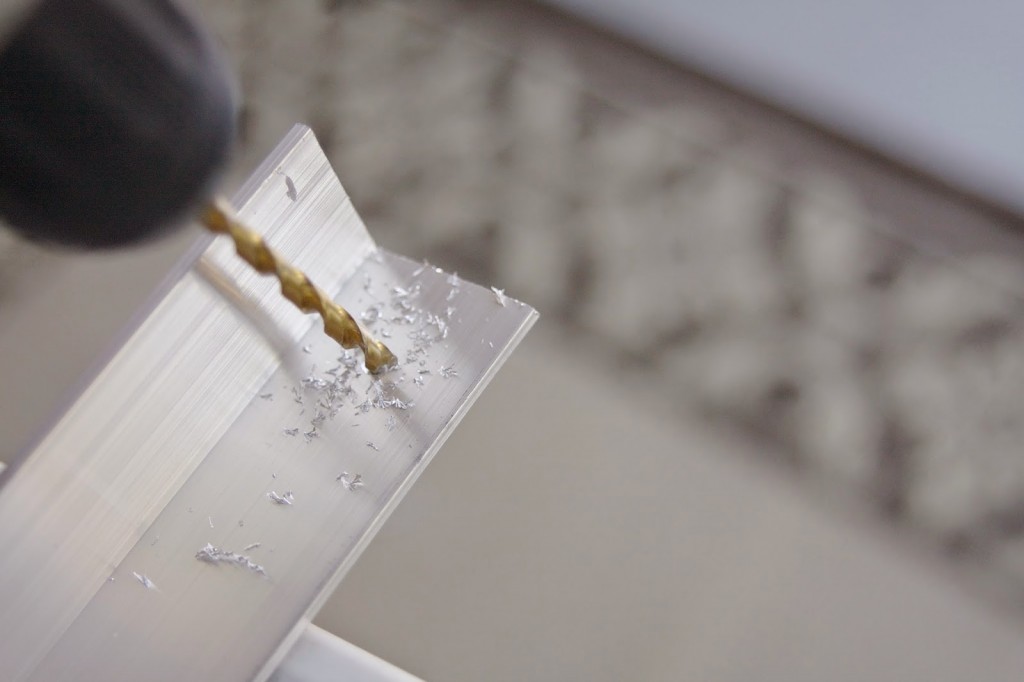
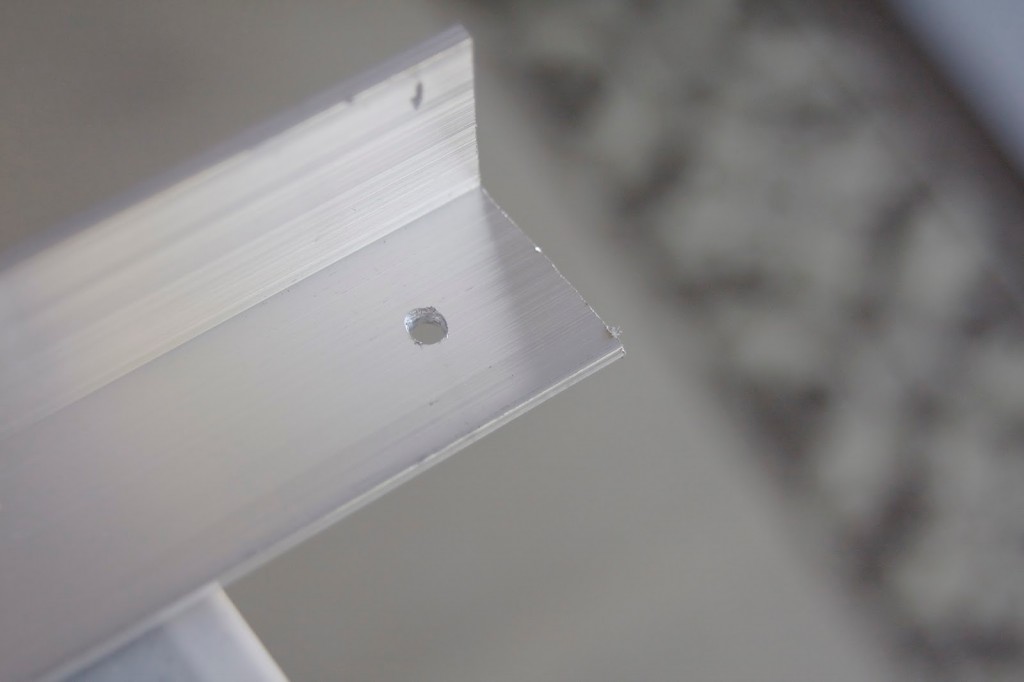
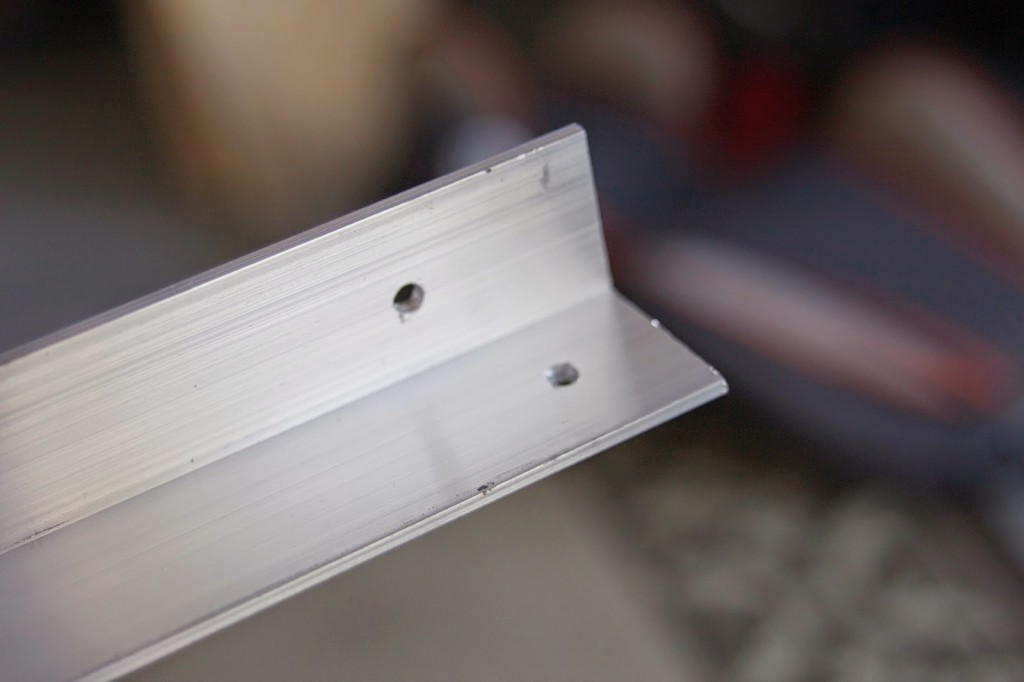
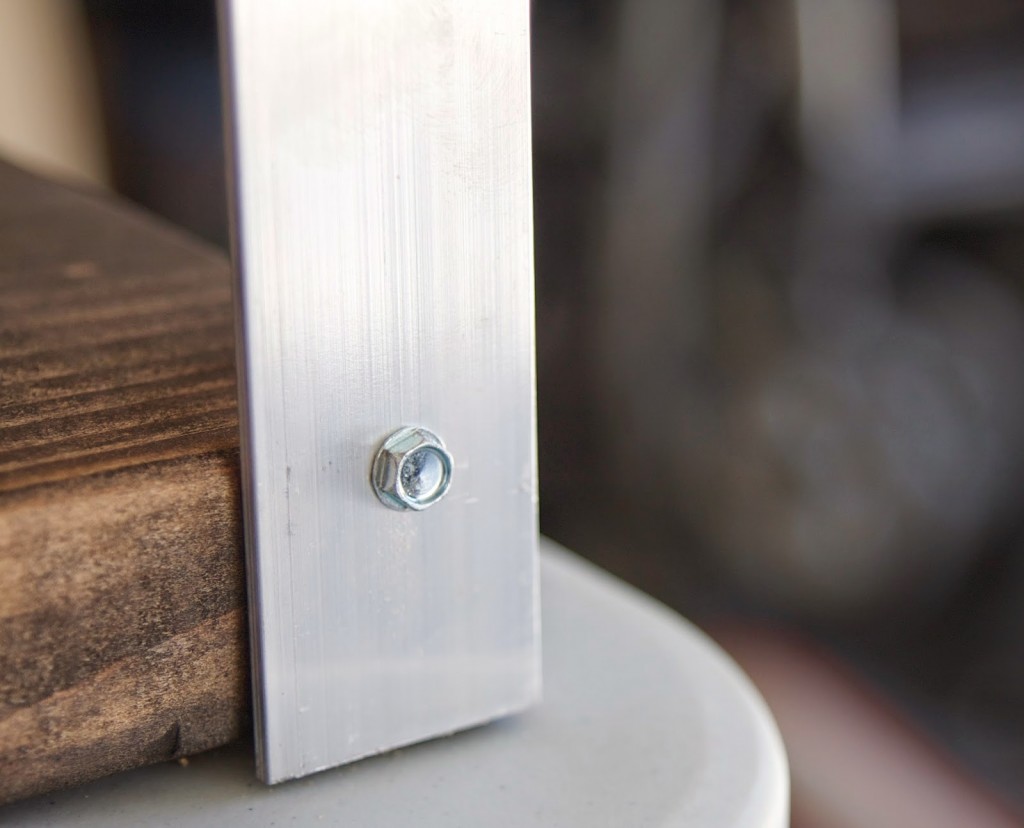
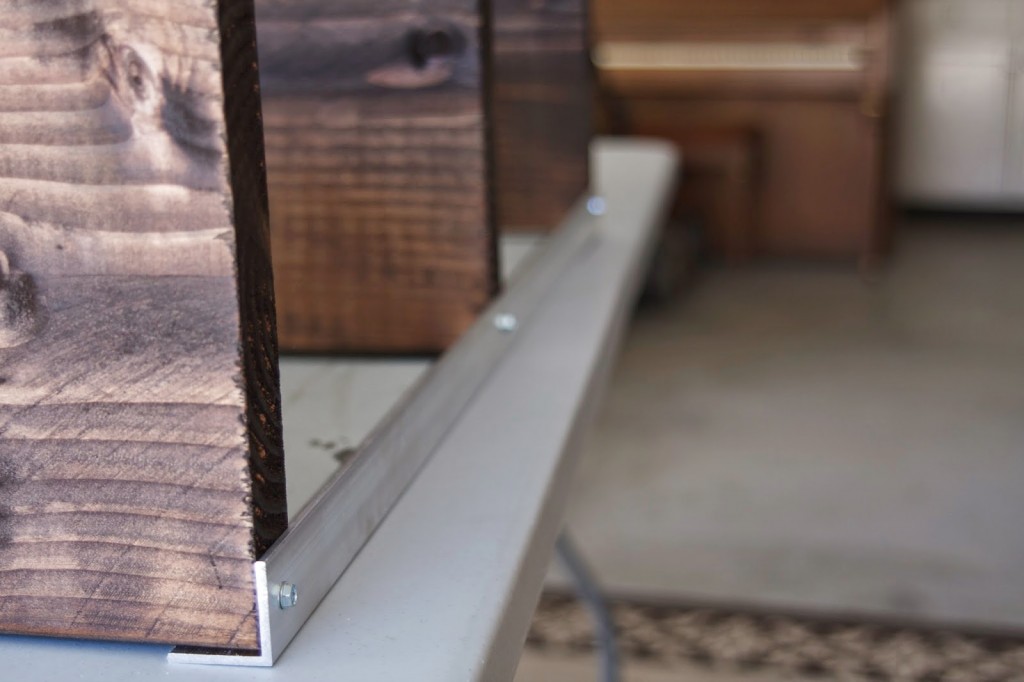
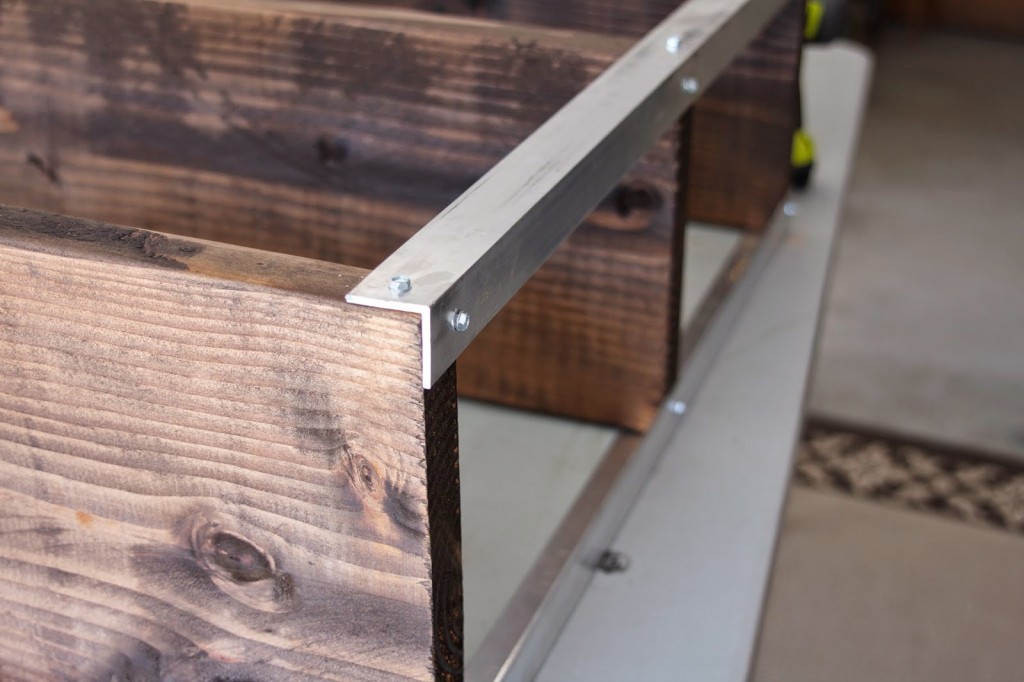
Staggering the holes like this allows the screws to go in without touching each other…

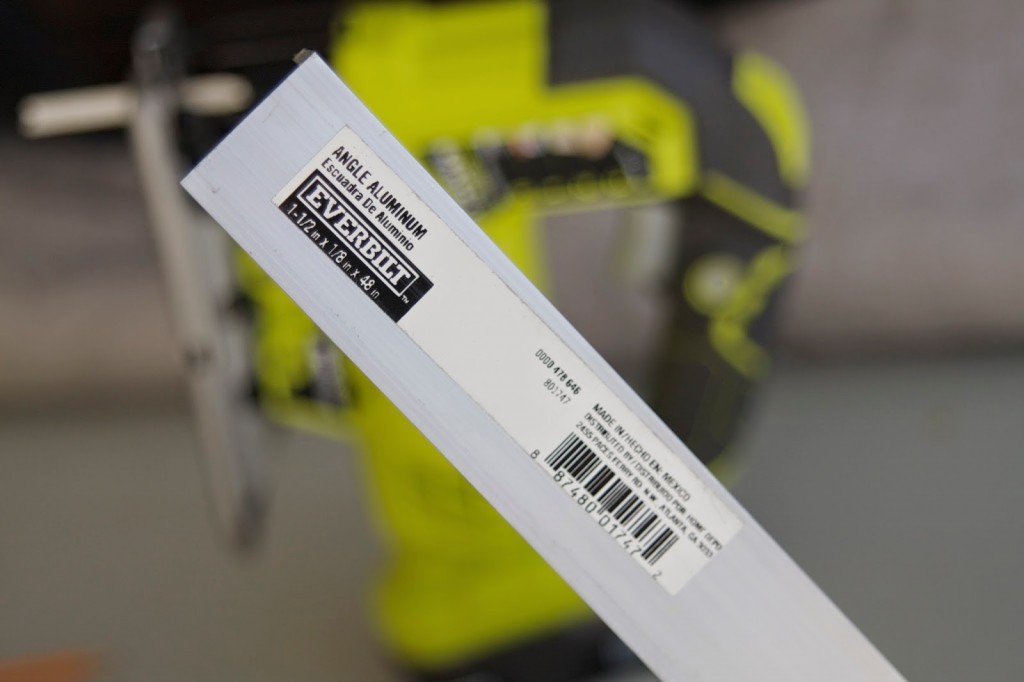
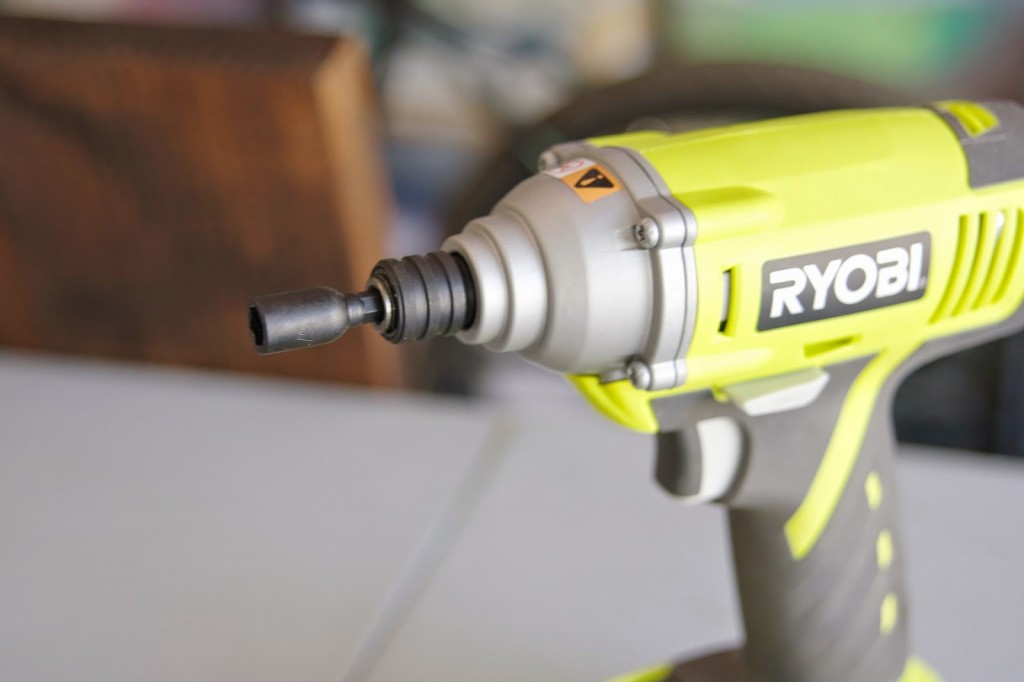
Make sure your bit is made for metal…

Done!…

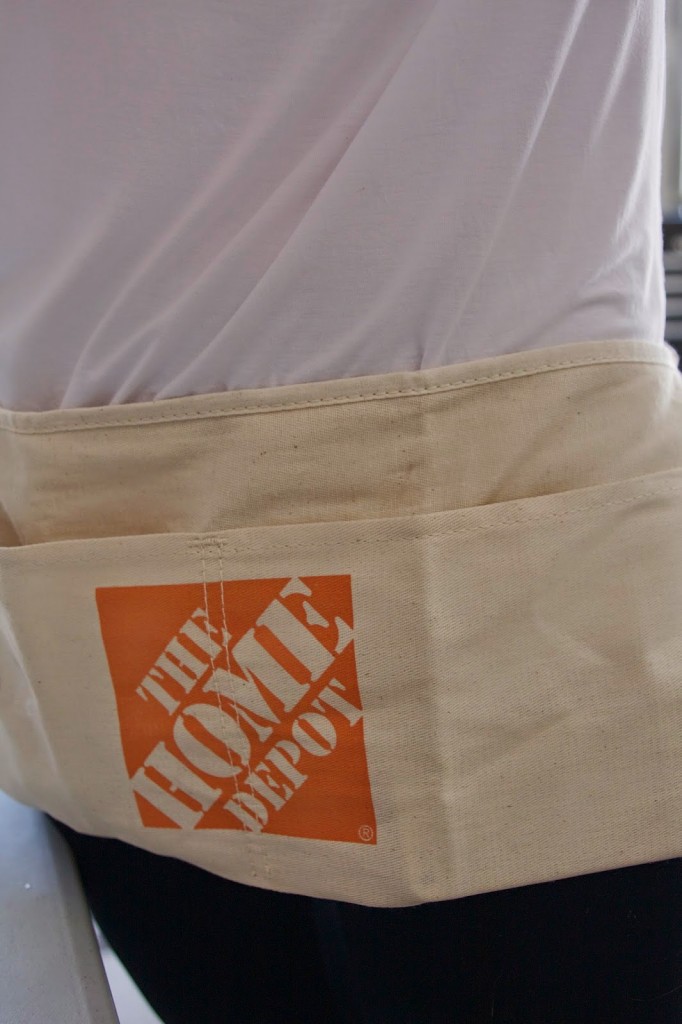
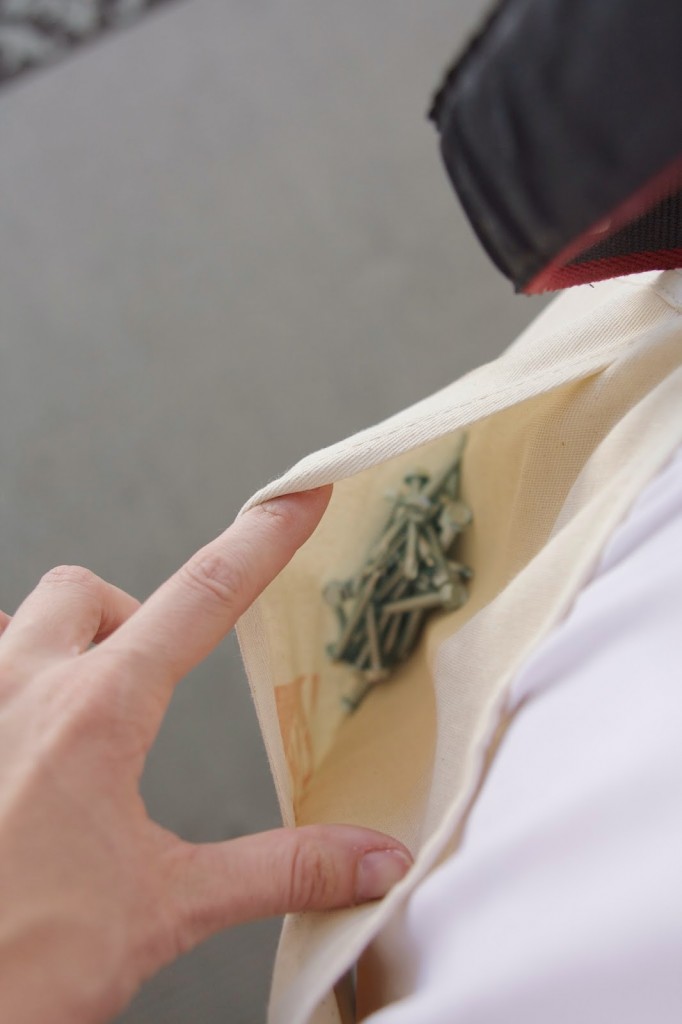
Now it was time to assemble. Before I start this process I throw on a little apron…only $.75 and so handy!…

This ensures I have everything I need and don’t run off, leaving my drill out around the kids…

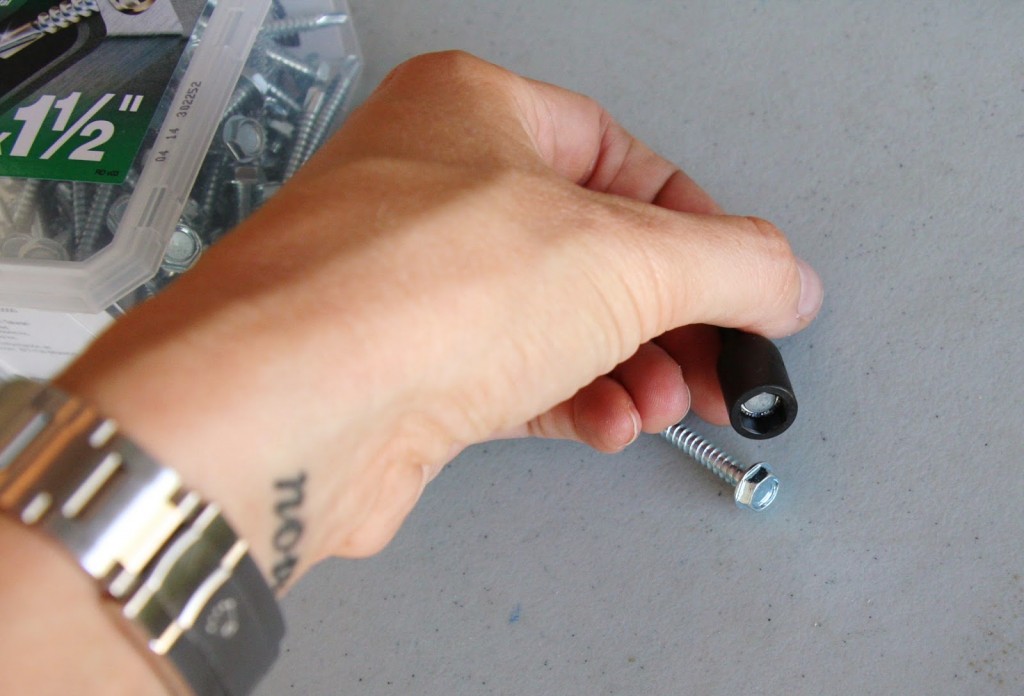
Self-tapping screws are awesome and add more to the industrial look of this shelf…

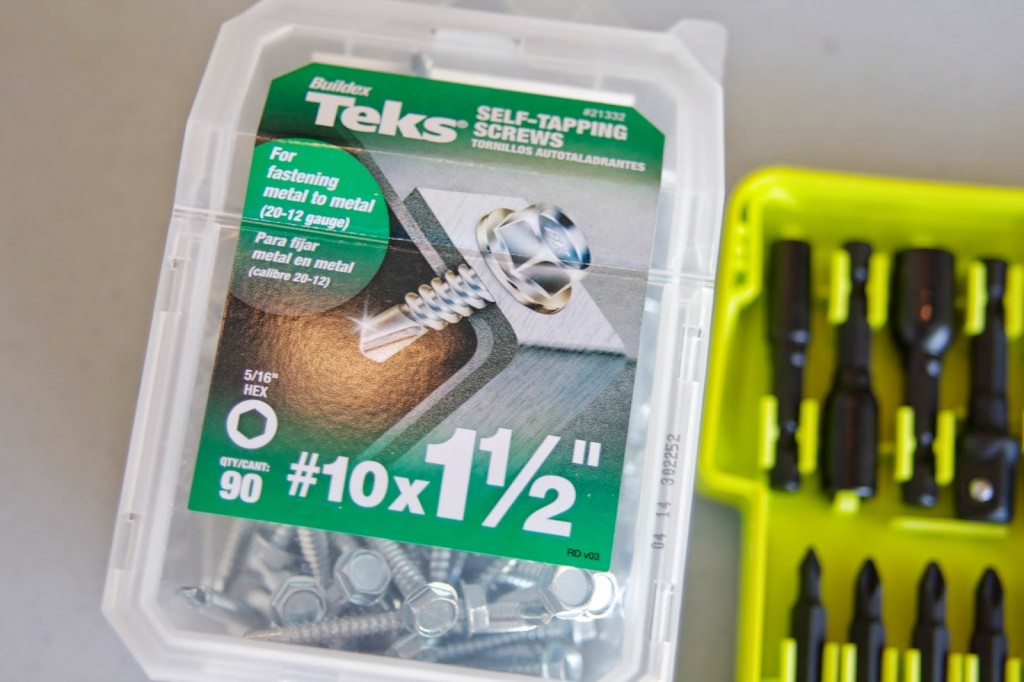
All you need to screw these in is to know which size bit you need for the screw. See on that label above where it says “5/16 HEX”? Just find your 5/16 in your box…

They are all labeled, which makes it easy. Mine are black and it was hard to photograph where they are labeled, but this is the right one!…
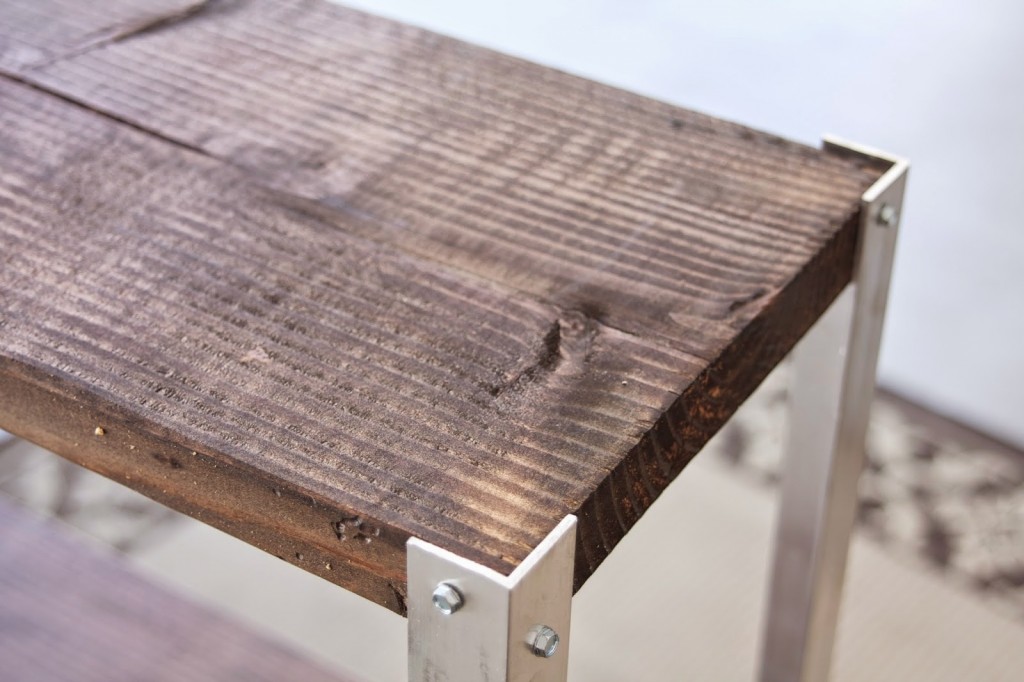


We’re ready!


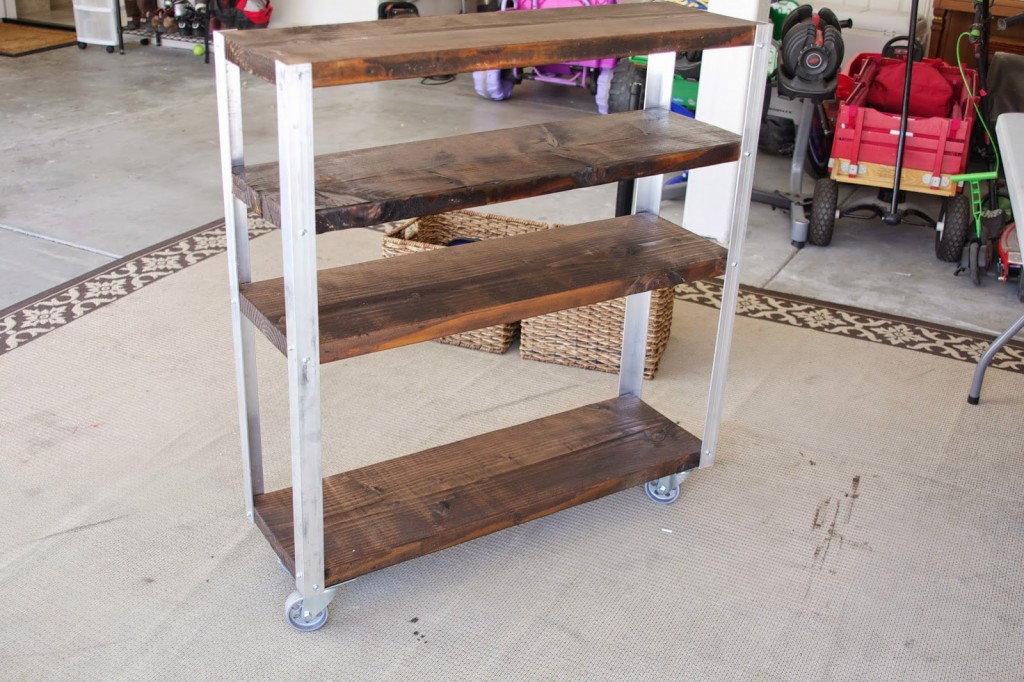
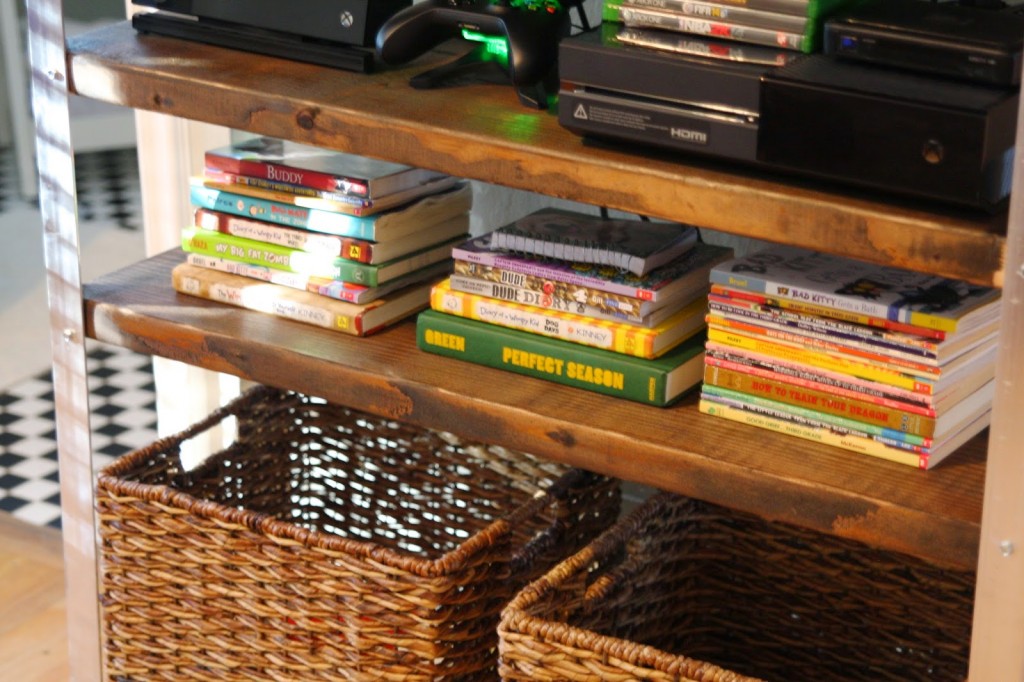
You can see I started with 3 shelves, but then added the 4th after more thought…


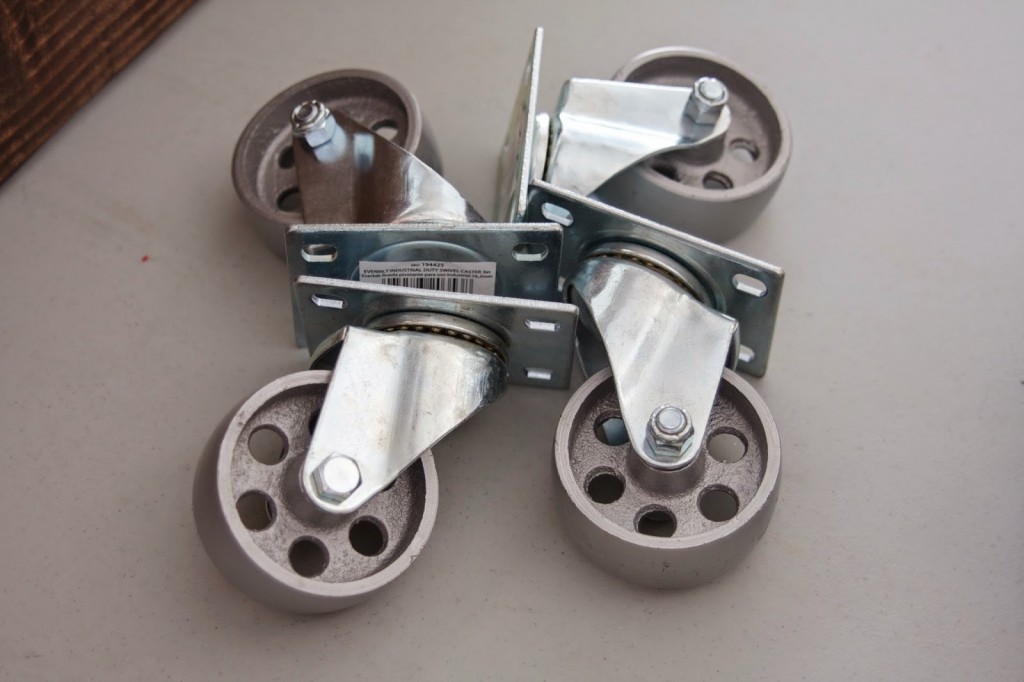
With the shelf assembled, I flipped it over to add the casters…

How cute (I mean cool) are these?!…


All done!…

I couldn’t wait to roll it into Aiden’s room and get it all set up! This old bookshelf wasn’t working well in here…

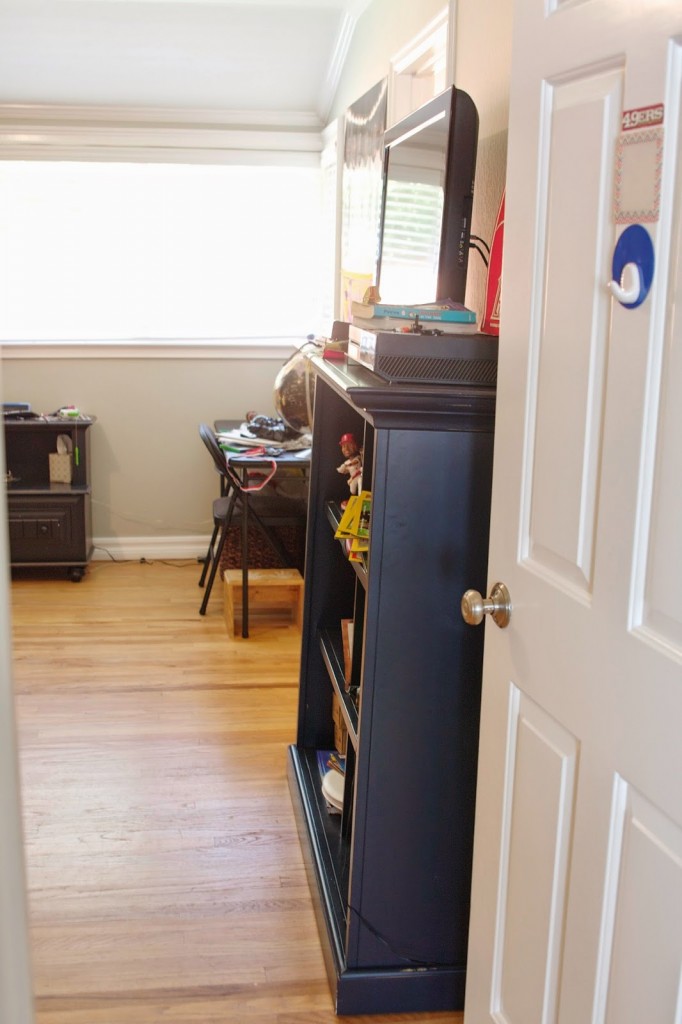
Don’t worry, it found a new home in little bro’s room…and is working much better in there!

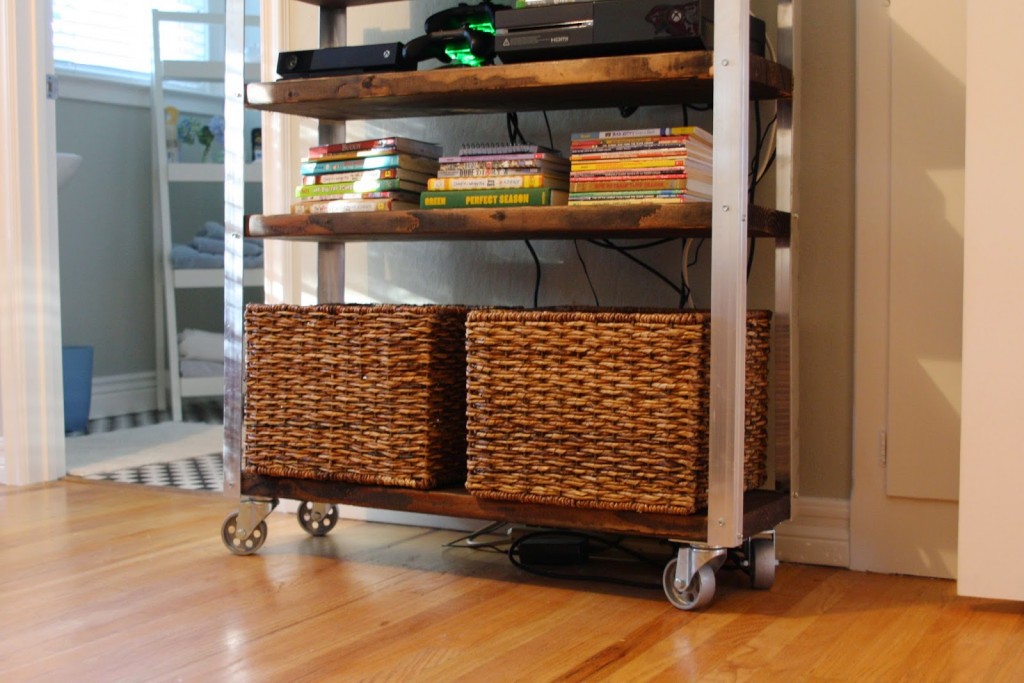
But here is the shelf in its new home!…


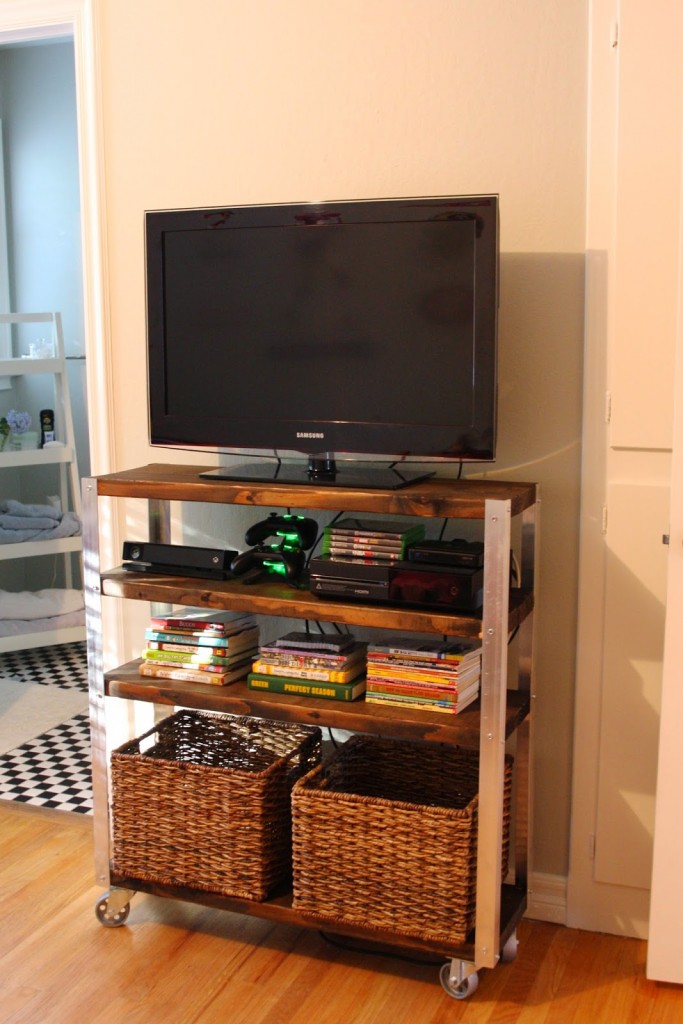
I loooooove this!!!!

So many reasons this is going to work better for him / us…

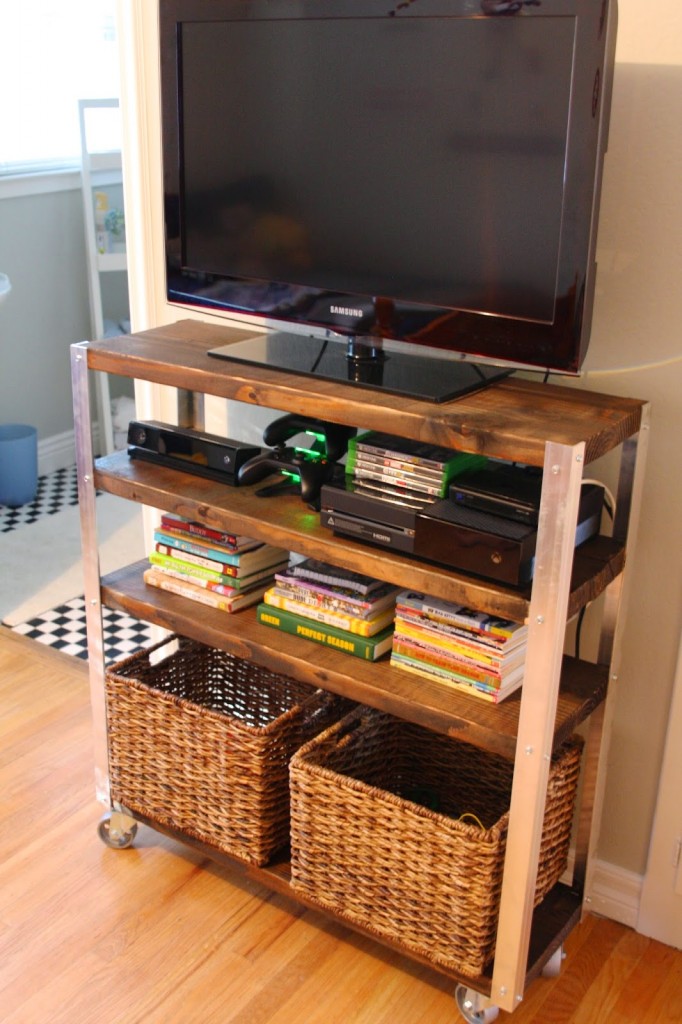
1. His collection of books is smaller now that he’s into chapter books and not picture books. One shelf is really all he needs. And he’ll have his desk as well as his nightstand for more.

2. He has a random collection of small items that ended up all over his room, so the baskets will help contain that clutter.

3. He has an xbox in here, and now there is a spot for those components.

What will change….his tv will be mounted and the cord clutter will go away soon.


If you have been itching to try your hand at building something, this shelf was so easy and is a great beginner project. What I love most about building things is that I can make it the way I want for a specific space. And you save a lot of money! This shelf was maybe $45!

Go build something and have a great weekend!!

Tagged in:

comments +

  1. Jessica says:

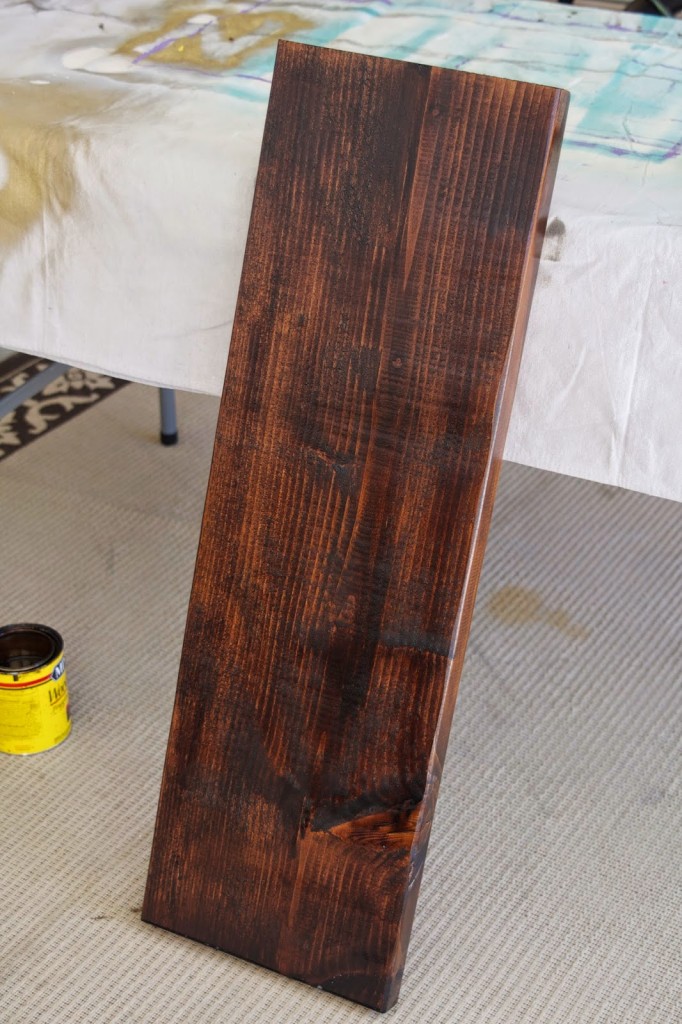
    This really came out beautiful!!

  2. tpigg2010 says:

    First off this looks awesome!! Secondly, I had no idea you had a tattoo on your wrist! Our of curiosity what does it say??

  3. Izzy71 says:

    Great job Sam! Love that shelf/idea!!

I'd Love To Hear From You!

DESIGN BY TONIC SITE SHOP

|

terms of service & privacy policy

|

© 2022 Samantha Pregenzer LLC |
Bay Area, California