Back today with another outdoor update. This job is definitely a process as there are many people involved. Like I said the other day, it will be easier for me to just update as we go because of that.
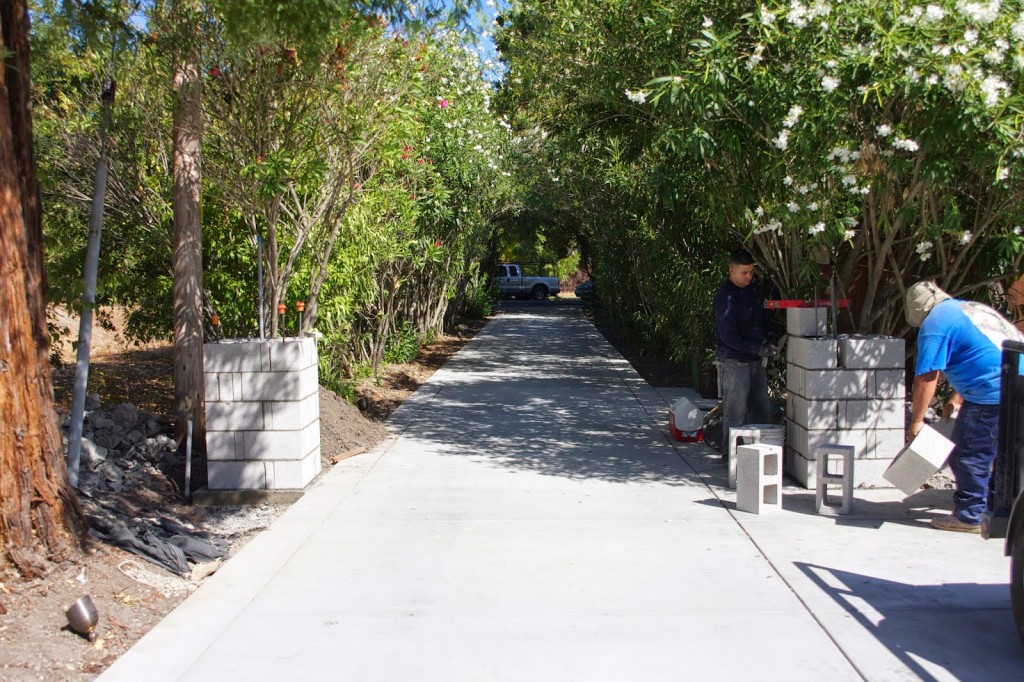
To start, my pillar boys (mason’s) don’t mess around or waste any time. Earlier this week, after they drilled out the concrete to add a sturdier base for the pillar footing…

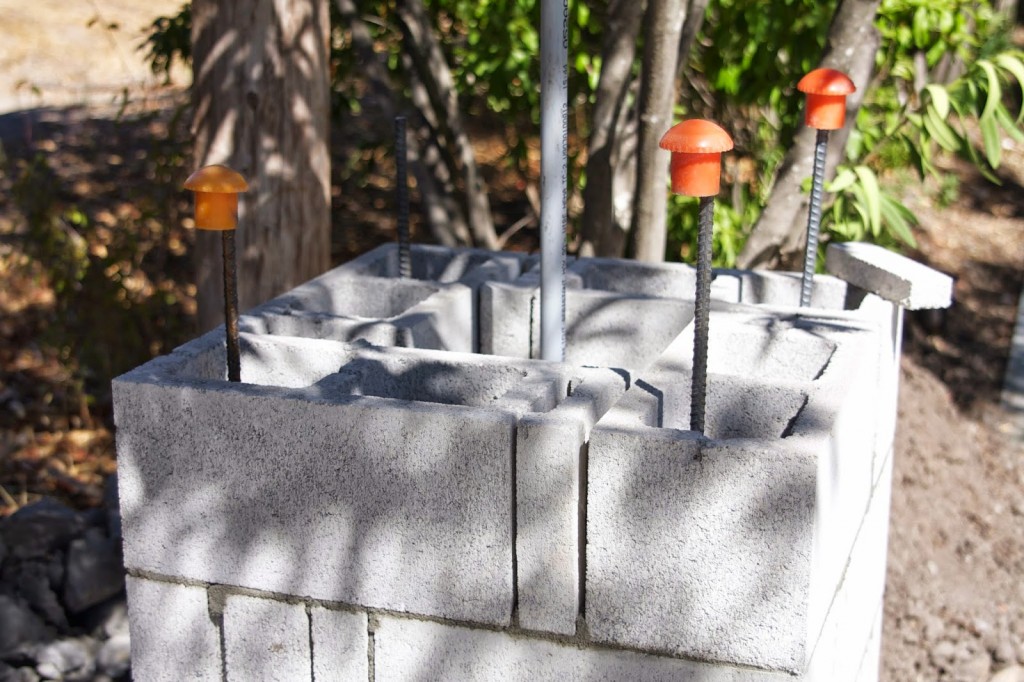
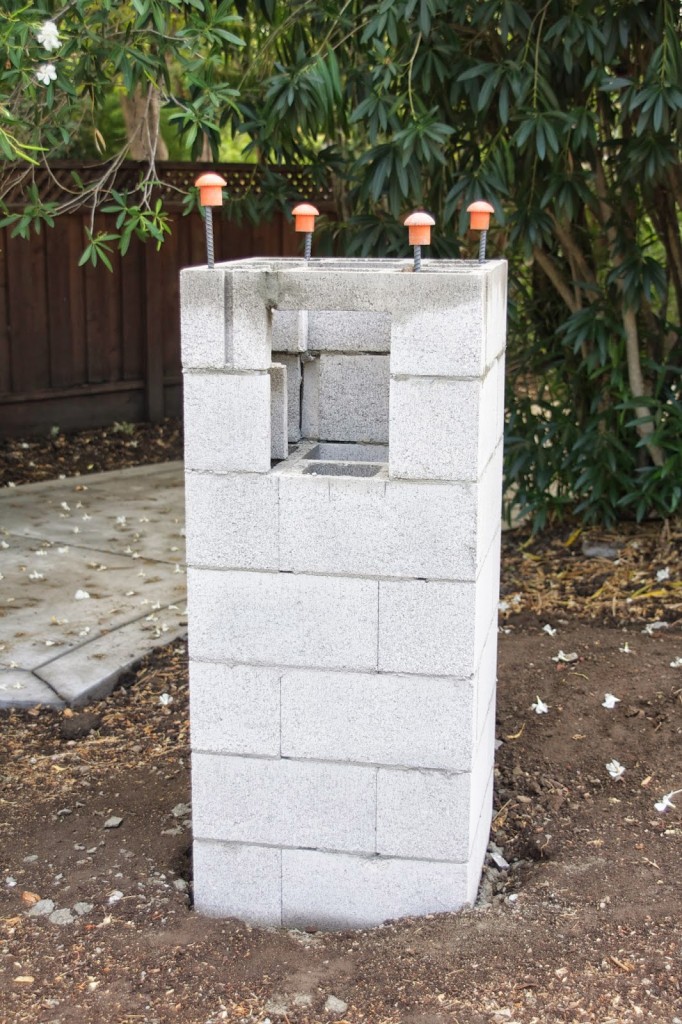
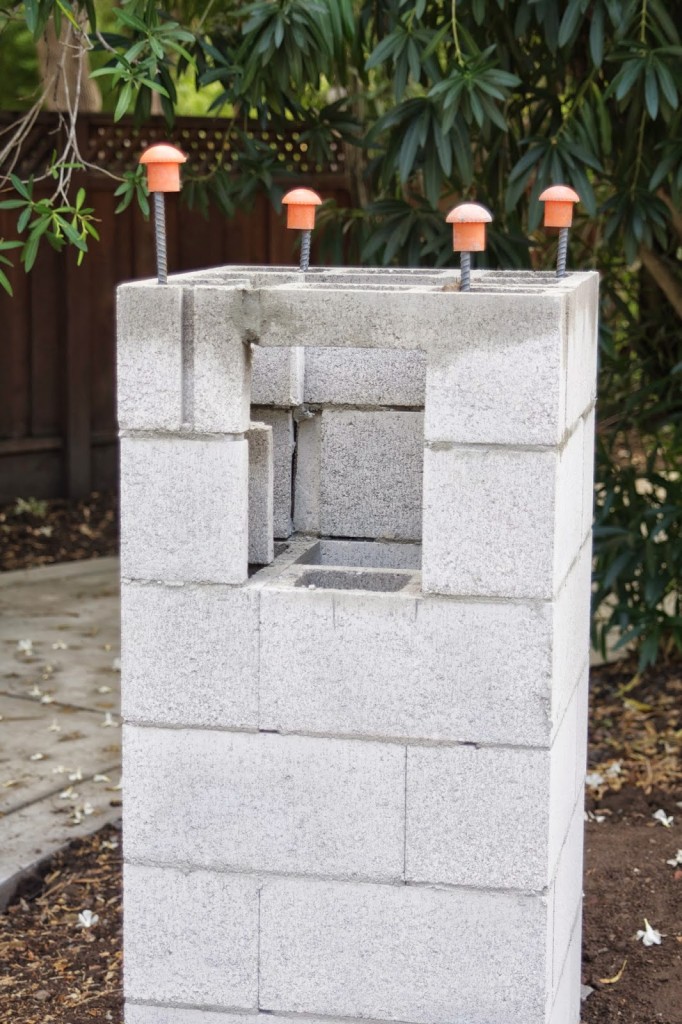
they quickly poured the footing and got to work on the pillars, which are formed out of cinder blocks and concrete…

They added the footing for the mailbox too…

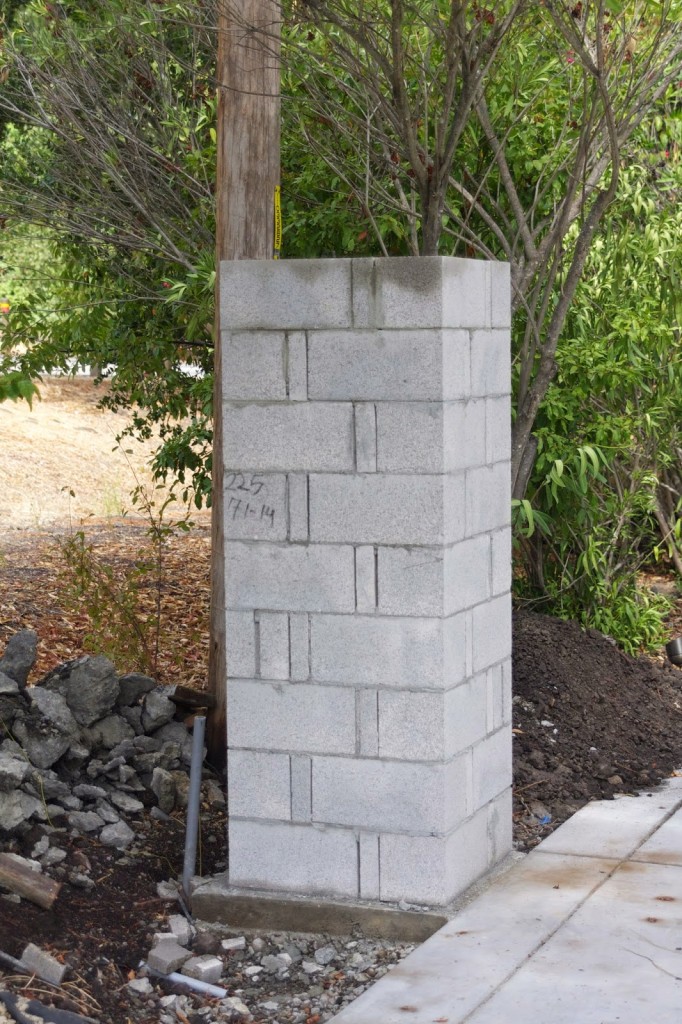
By end of day yesterday I actually had 2 fully formed pillars and 1 fully formed mailbox…

Amazing!…

Let’s talk about the gate pillars for a minute. They are each 6′ tall (3′ x 3′ squares) and the lights, which will face up the driveway, will be 4.5′ up from the bottom…
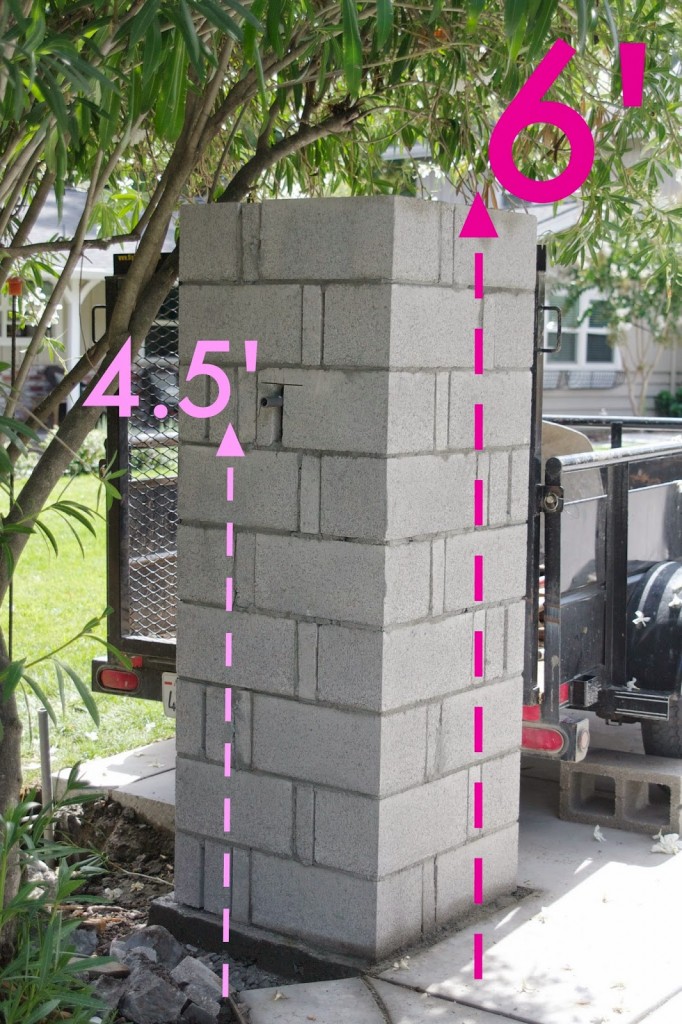
You can see we have the conduit ready for the pillar lights at that 4.5′ mark. Speaking of lighting, I finally made a choice. This was a tough decision for a few reasons. 1. right now the house looks like a rancher. But when the kitchen remodel happens and the front of the house changes a bit, I’m hoping for a more modern / homey look. Not rancher-traditional. Have no idea if that makes any sense (ha!), but the outdoor lighting on the front of the house will change when that remodel happens….so I wanted to choose lights that would eventually match the house too. And 2. I was seriously struggling because there is like a billion outdoor wall-mounted lighting options. I browsed a few local stores (shoot me!) and bounced around online too. Ultimately, I ended up ordering online because Lamps Plus offers free shipping both ways. Or I can return in store.
Anyway, here is the light I chose…

Speaking of the stacked stone, I chose El Dorado Stone in Nantucket…

Hard to believe it’s not real, huh? That’s right, it’s not real and costs a whole bunch less than the real thang, friends. Yay for that!
The gate is on order now and I’m waiting on my fence company to come out and place the brackets into the pillars. As I said, there are a lot of moving parts here and no one works for the same company…I’ve sorta pieced them all together, but it’s working out. Once the pillar bases were completed, we have to wait for the fence company to come out and add the gate mounts…then we can move forward. Scheduling this has been real fun – not!
Speaking of the gate, here she is…

The gate will span about 11-12 feet. It’s on order and takes a few weeks to come in.
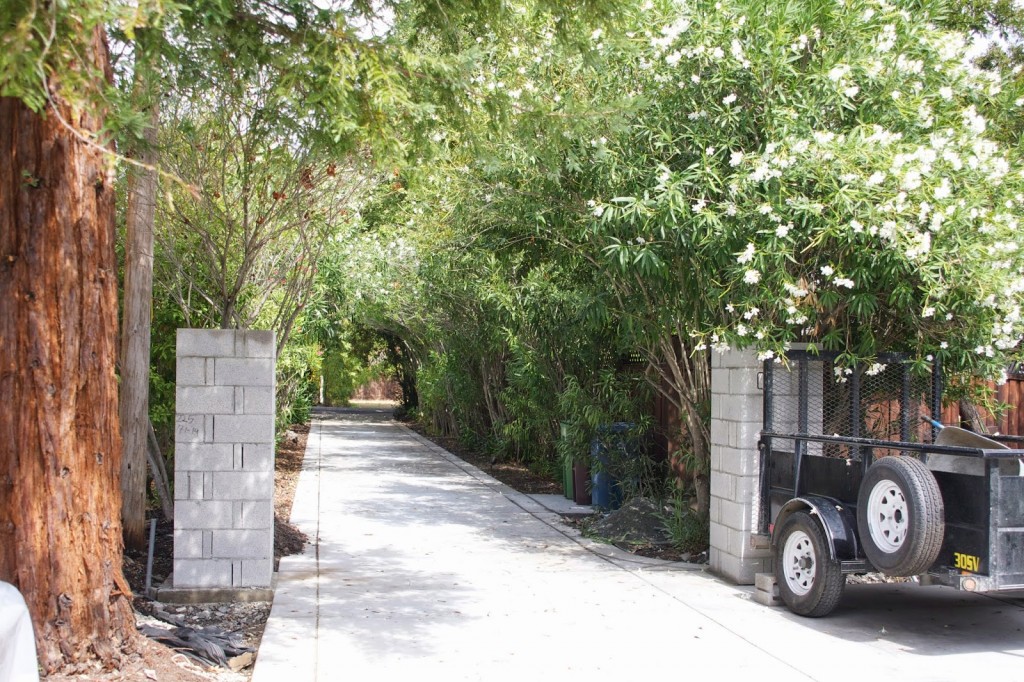
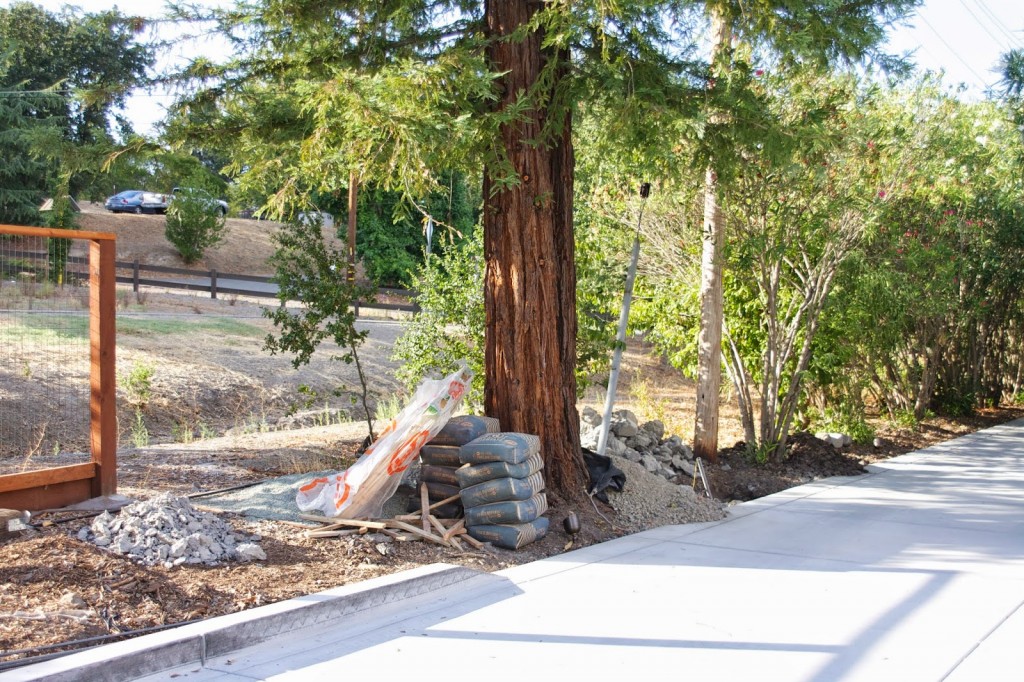
Before I move on, another issue I’m working through are the oleanders on each side of the driveway. These 2 may have to go…
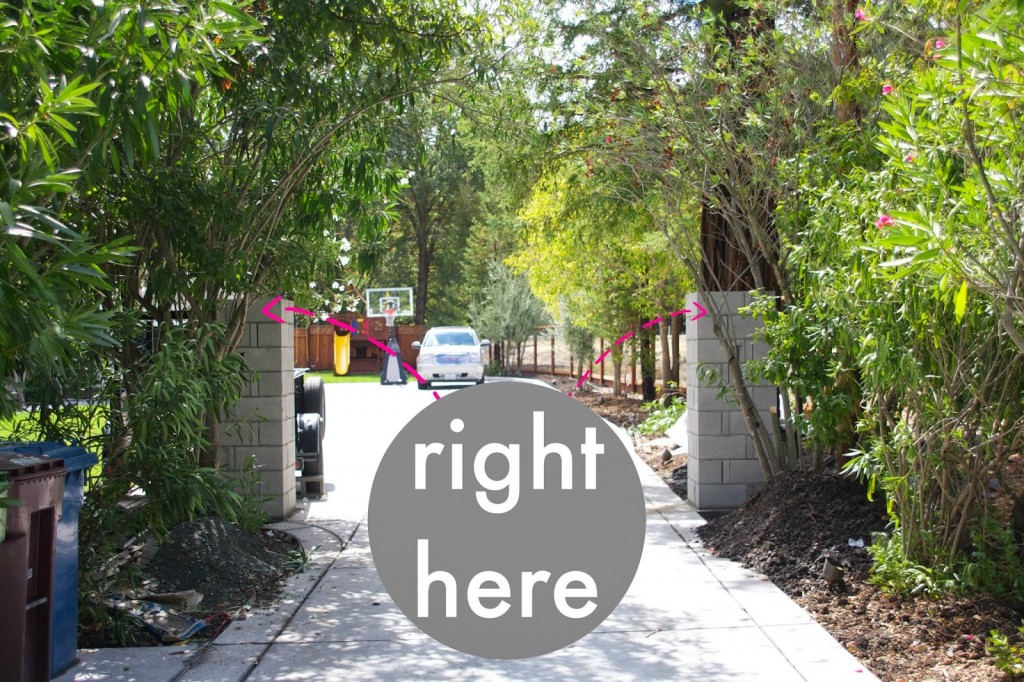
They are not only blocking where the lights will be placed, they may become an issue when the gate is automated. The machines for operating the gate need to go somewhere, and this is likely a good spot for them. I’m still working through it. I love these 2 little trees so much. We may be able to get away with just cutting off a few limbs. To be determined on that topic.
Moving on to the mailbox, it’s slightly shorter than the pillars and is a smaller overall square shape – about 26″ x 26″…
The mailbox insert opening has been cut…
And here’s what will soon be the new mailbox in that beautifully cut hole…
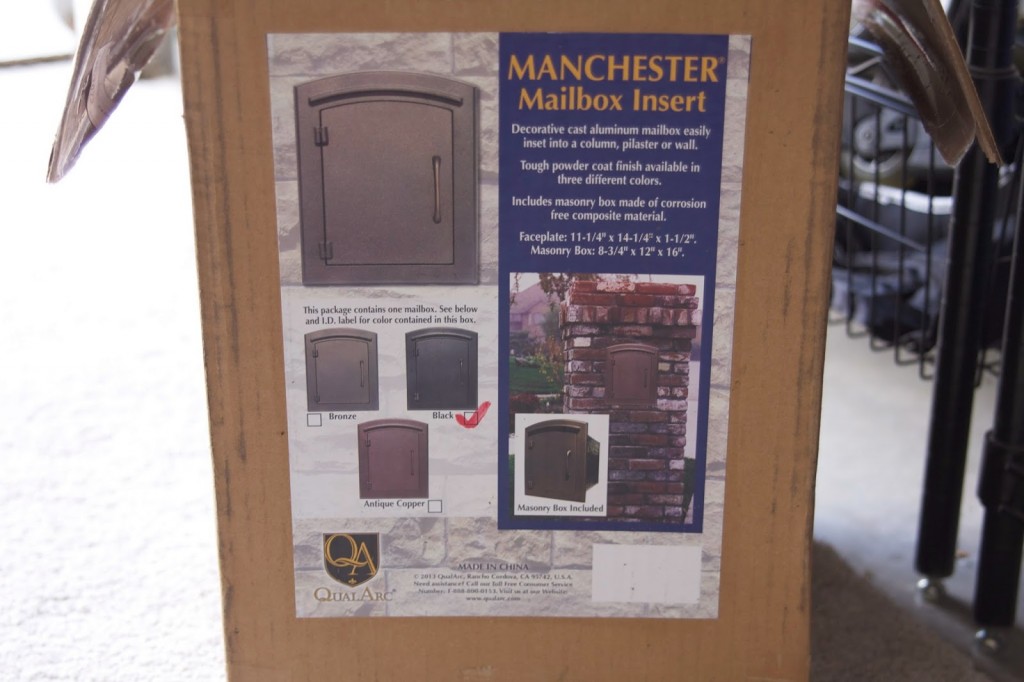
It’s the Manchester in black…

It will look like this once it’s inside the pillar…

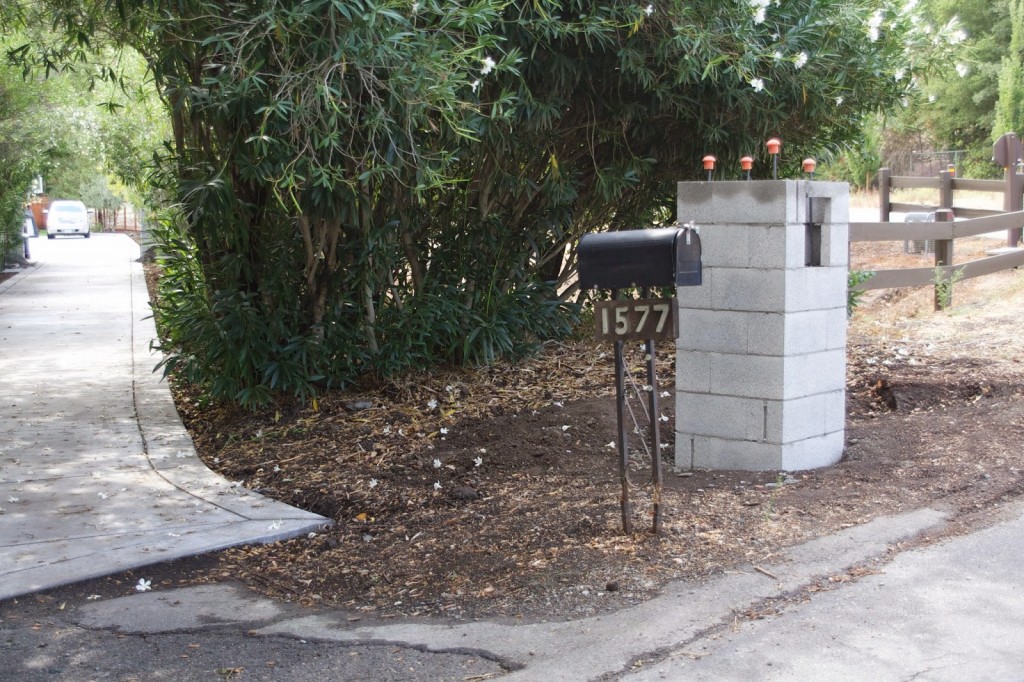
I’ve chosen not to have a light on this pillar. The mailbox will have the same nantucket stacked stone and I ordered 2 address numbers in stone for either side of the pillar. The old “soon to be gonner” mailbox is looking pretty sad and depressed these days in the new mailbox’s shadow :-(…
The final details are being worked out now too, like finishing off the deer fence to connect with the pillars…
And working out exactly how we will get out of the gate to toss garbage…or how UPS will walk through to deliver packages. I’m thinking once this oleander is gone or trimmed down…
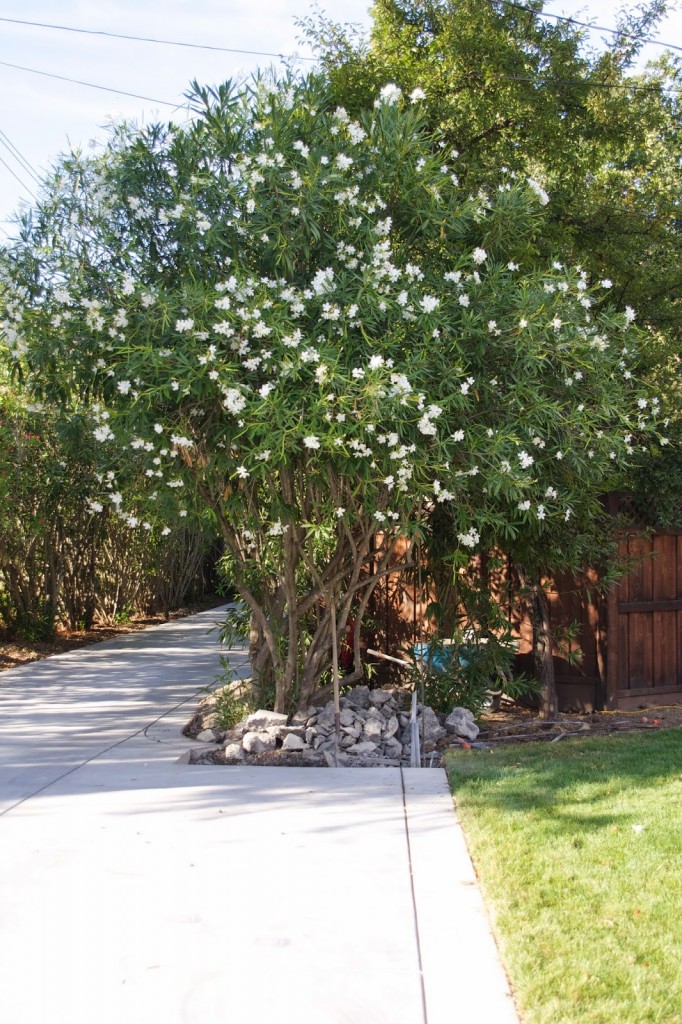
…we can add a little gate for coming and going, off to the side of the bigger actual gate. Again, hoping this makes sense to you guys. I have leftover stones from the front path that can be incorporated into this walk-through area…
Just more details, choices and decisions to be stressing thinking about, right?! Hey, there are worse issues in the World. 😉
There’s my outdoor update for today. Back soon to share the backyard landscape lighting…and hopefully more progress shots from the pillars / mailbox. Have a great day!!
Sam, those pillars are going to look great once they are completed. The yard is slowly looking fabulous. Good Job.
Millie…. http://frugaliciouschick.blogspot.com
What were the below grade dimensions of the pillars foundations? We’re about to construct 2 pillars ourselves for a very large & heavy aluminum gate!
It’s been so long I forget – I’m sorry!