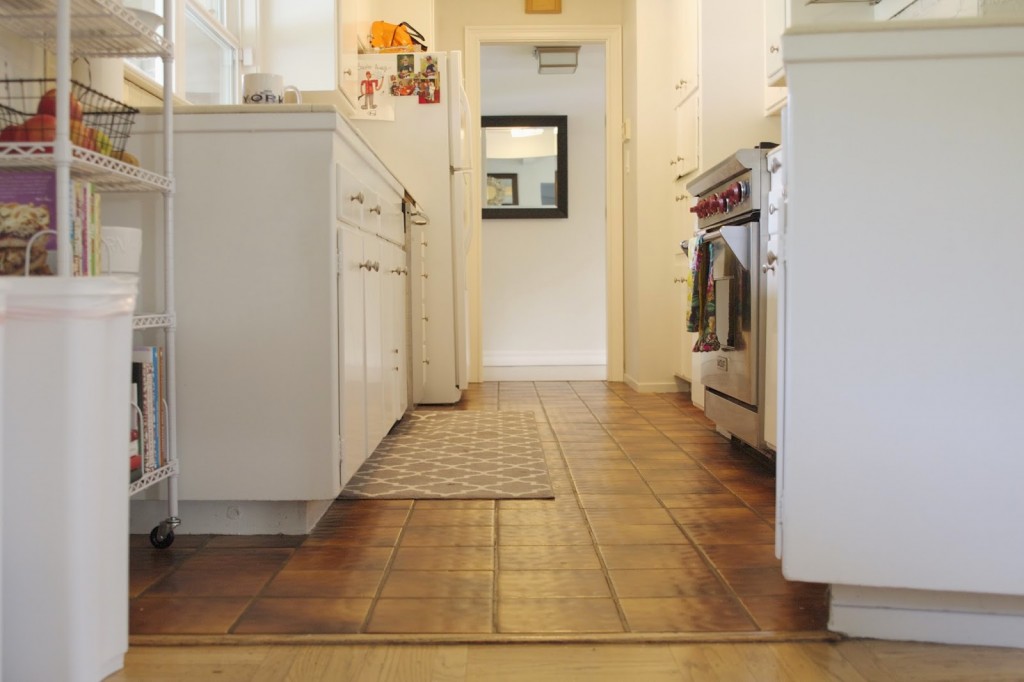
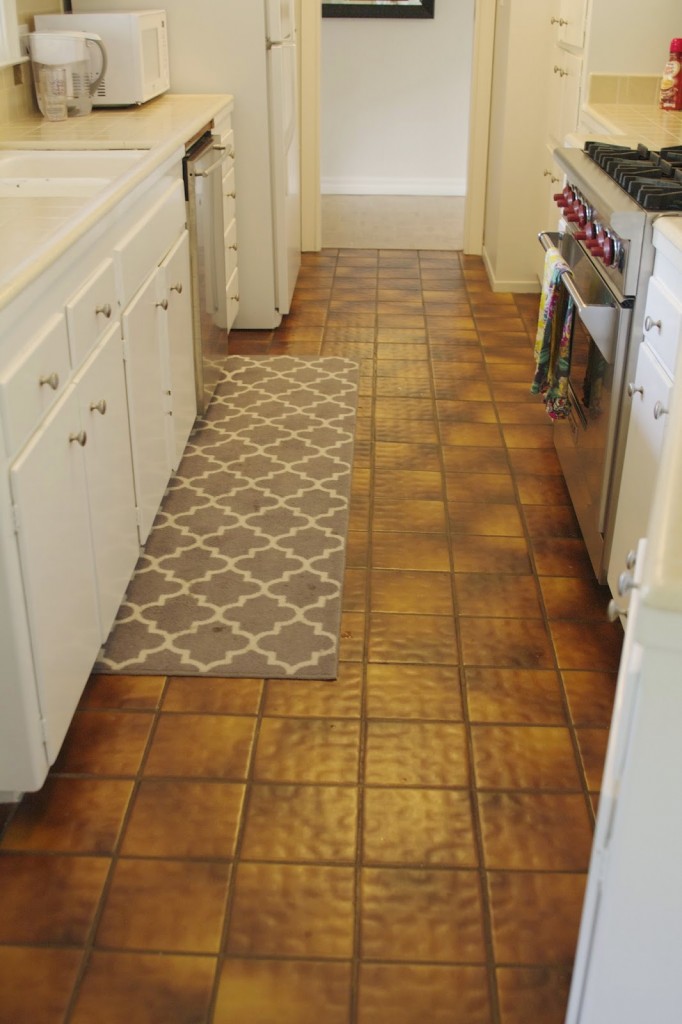
To say I’m fired up about the end result of my new, temporary kitchen floors would be an understatement. Remember this awful brown tile floor?…
Well, I can happily say it’s “buh-bye” and I’m all “hellooooo”…
Now, you may be wondering why I’m calling this a temporary floor – so let’s start there. This little kitchen isn’t going to be here forever. We’re in saving mode to gear up for that major improvement project, especially because it may also go hand-in-hand with a front entry update…and maybe even a 2nd story on the left side of the house. Still waiting on an architect meeting for all that craziness. In the meantime, these floors needed an update. Not only because of aesthetics, but also due to water damage from the dishwasher earlier this year.
For those that have been reading along for a while, remember when I had to hack away at the counter to remove the dishwasher…
I know, I’m a barrel of laughs. #not
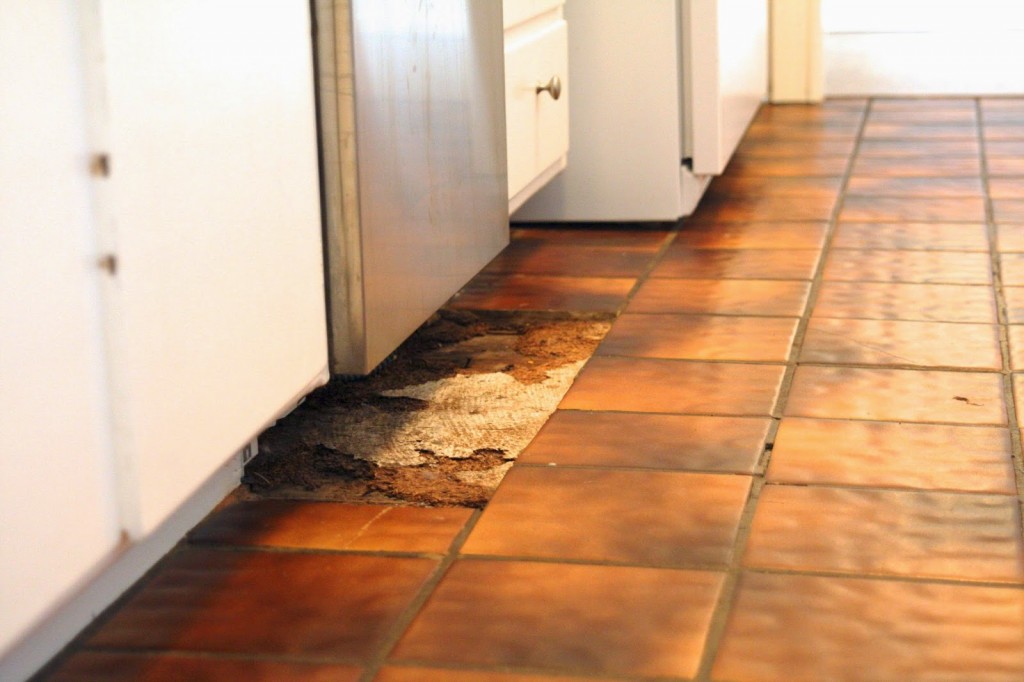
Well, it turns out it wasn’t only the counter that needed to be hacked away at. The tile floor was put down AFTER the dishwasher was put in. Don’t ask me why…these are the situations I scratch my head about all the time in this house. Bottom line, the tile floor in front of the dishwasher had to be cut away in order to get the dishwasher out for repair…
Since the repair back in March, I’ve done my best to temporarily cover the open spot in the tile…
My best being a long runner from Target. Ha! But that wasn’t going to last long because over time I noticed the tiles surrounding the opening were buckling and the wood beneath appeared to show signs of water damage. You know what that means – a perfect environment for mold!
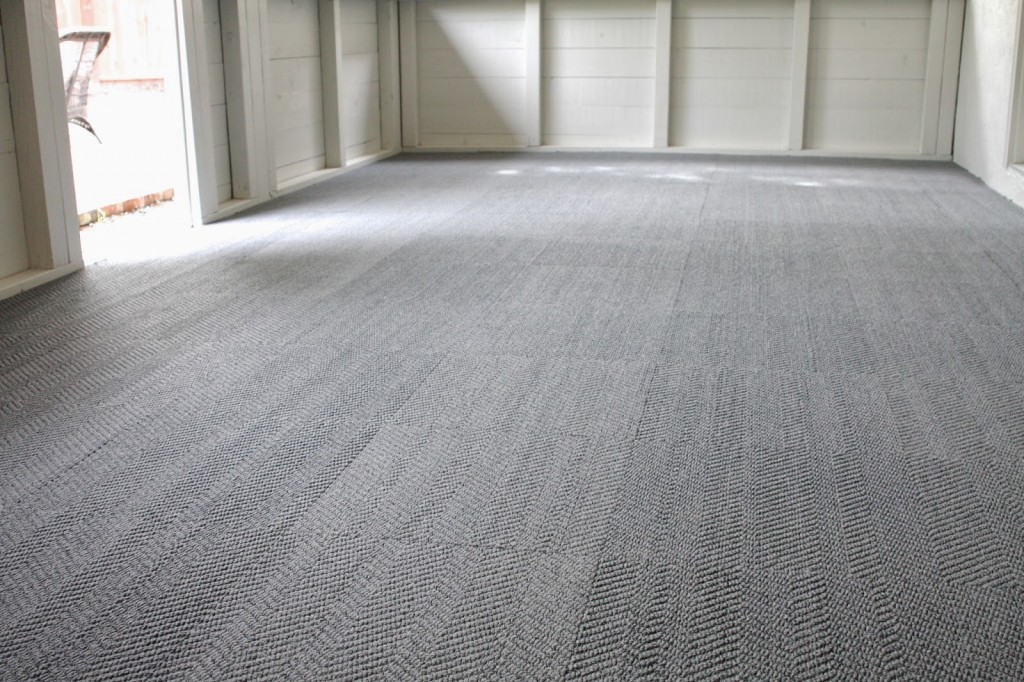
I wanted to pull up the floor and put in a temporary until the eventual kitchen remodel…and the perfect solution was something I already worked with here at the house – Flor tile squares. If you recall, I installed these in the screened-in patio last Spring…
We’ve had the best experience with these tiles. The patio is a high-traffic area and the kids frequently eat meals on this table…
While it’s not usual to have carpet in a kitchen, I figured this would be the best temporary solution for us. It would allow for the old, ugly tile to go away…we could clean up the subfloor to make sure we didn’t have mold…and it’s easy to maintain / clean carpet tiles. We know this because we have had a great experience with them on the patio. Oh, and their recent 25% off sale helped seal the deal too. 😉
I’m not going to lie, this job took 3 days but that’s because it took almost one full day to remove the old floor, which had adhered itself to the house. He wasn’t leaving without putting up a good fight. And the kids were here all weekend so there were many interruptions. That said, this job was easy and if I can do it – you can too!
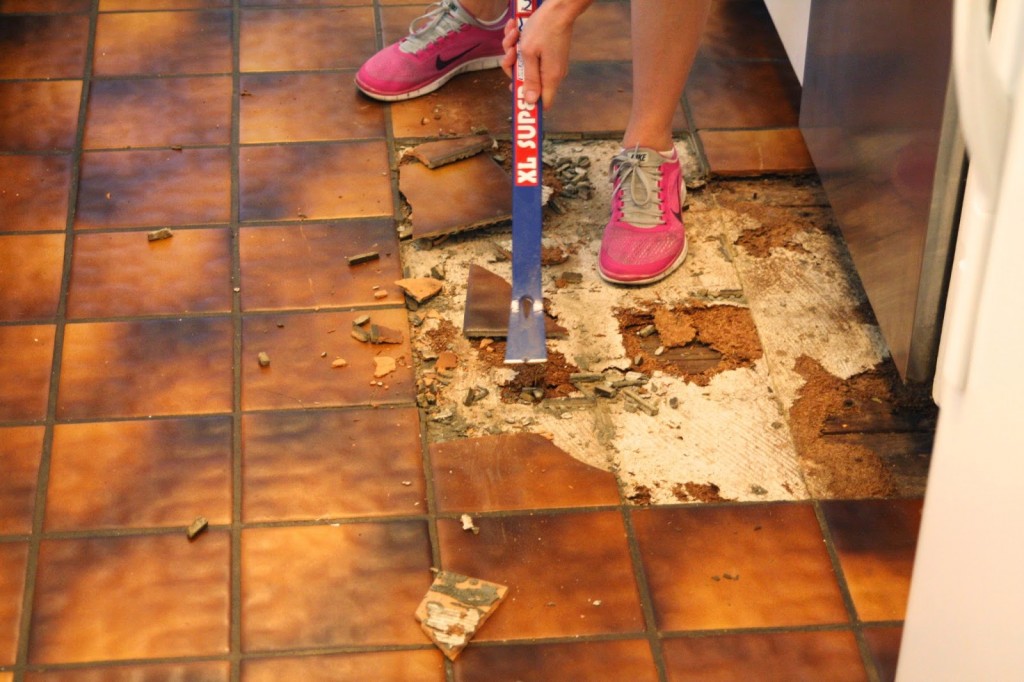
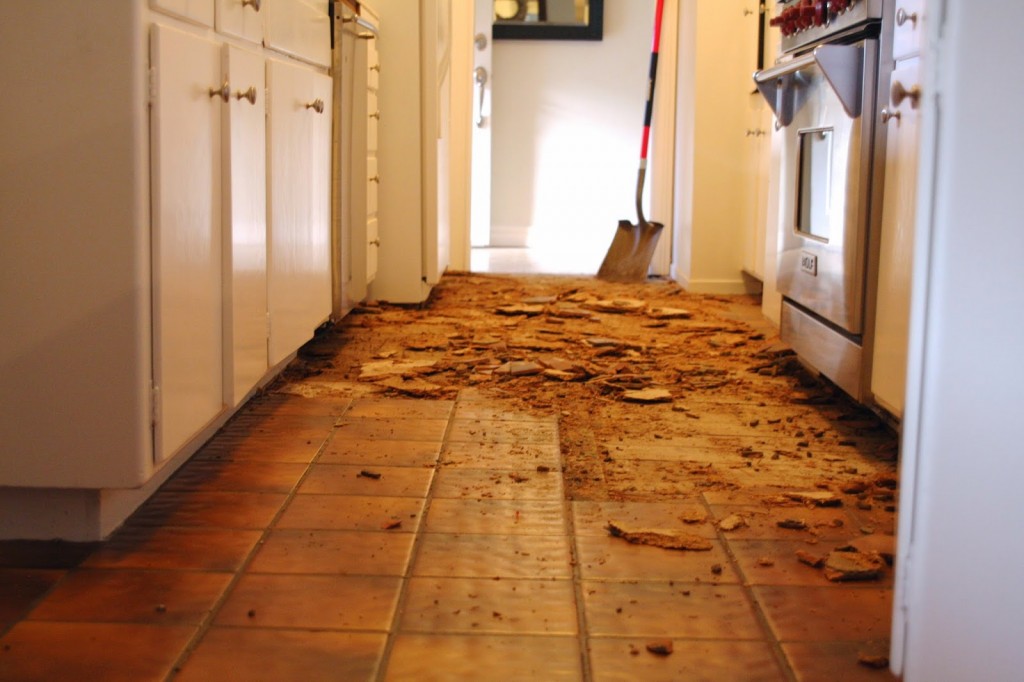
The tile demo started out easy because I was working with an existing opening…
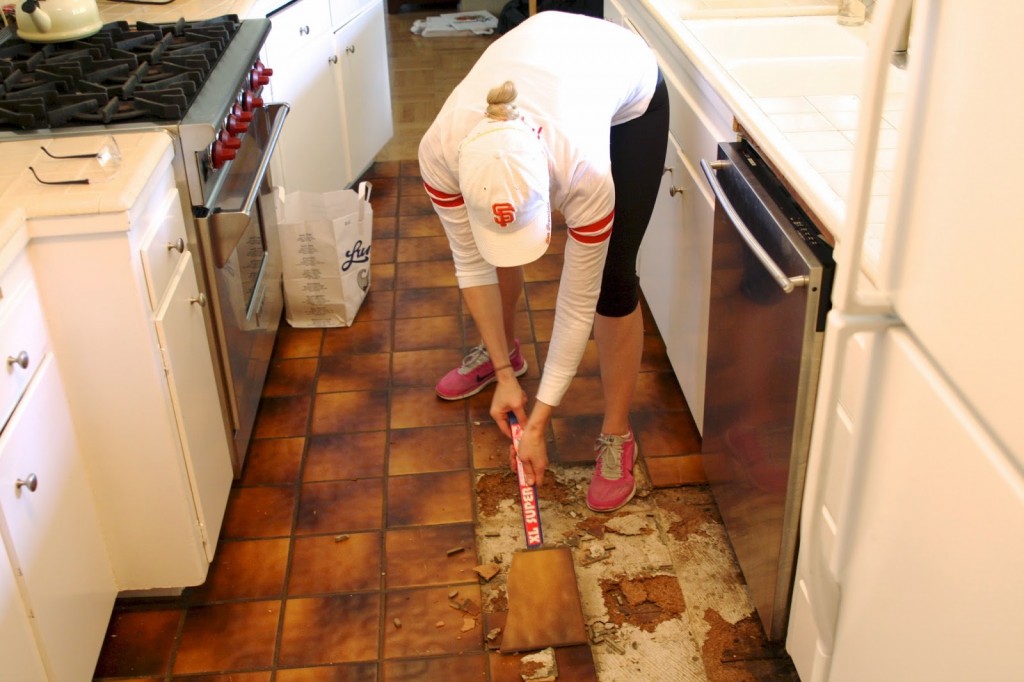
I started digging away at the already loose tiles. However, the further away I got from the opening – where it had been moist – it got a bit harder and needed to update the tool to a larger tile scraping pole. Very technical terms here…so I hope you can follow along. 😉
For the next several hours there was a lot of scraping and hacking and back bending…
Sure, maybe even a little swearing and stomping of feet…
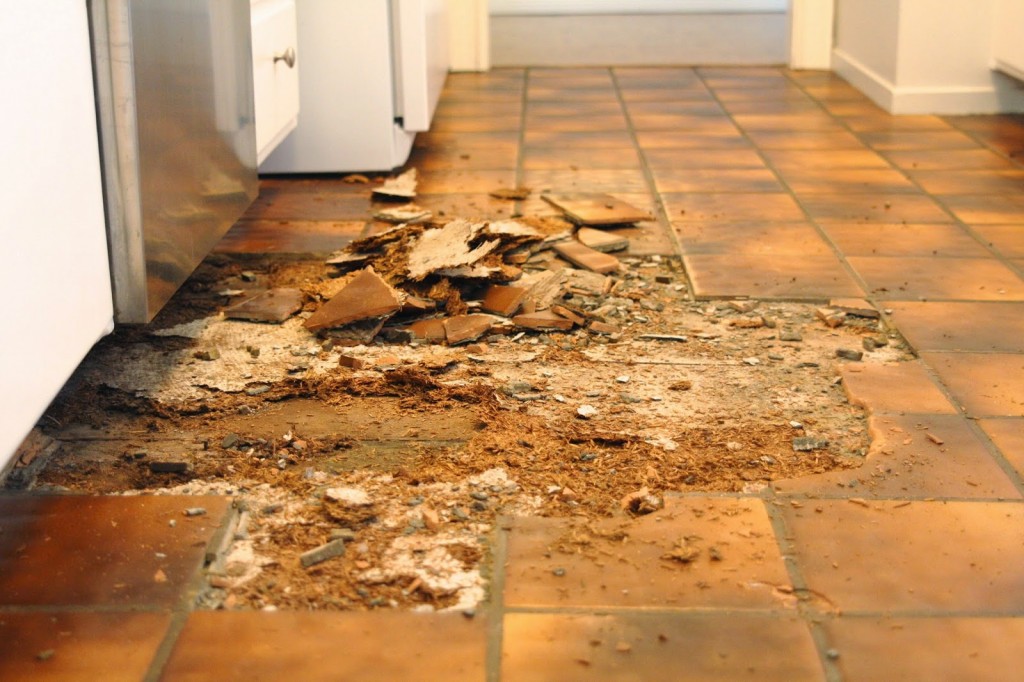
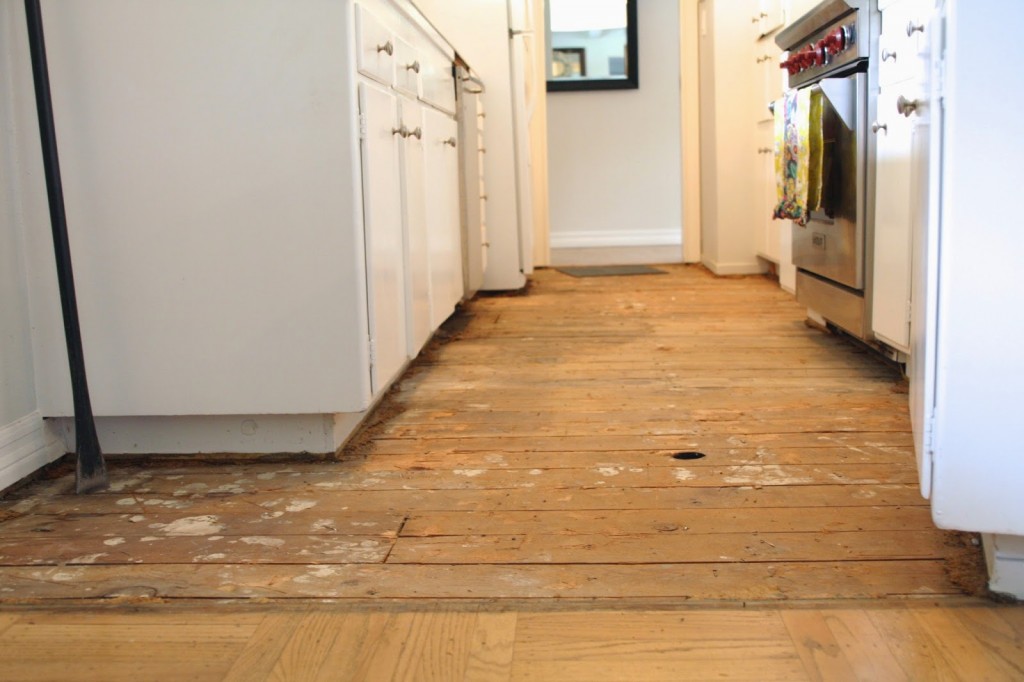
Until finally it was all gone…
Not only was the old tile an issue, but the plywood over the sub floor was totally disintegrating. It splintered everywhere. Make sure if you do this job, you are wearing safety glasses and a mask. The splinters, dust and odor were no joke.
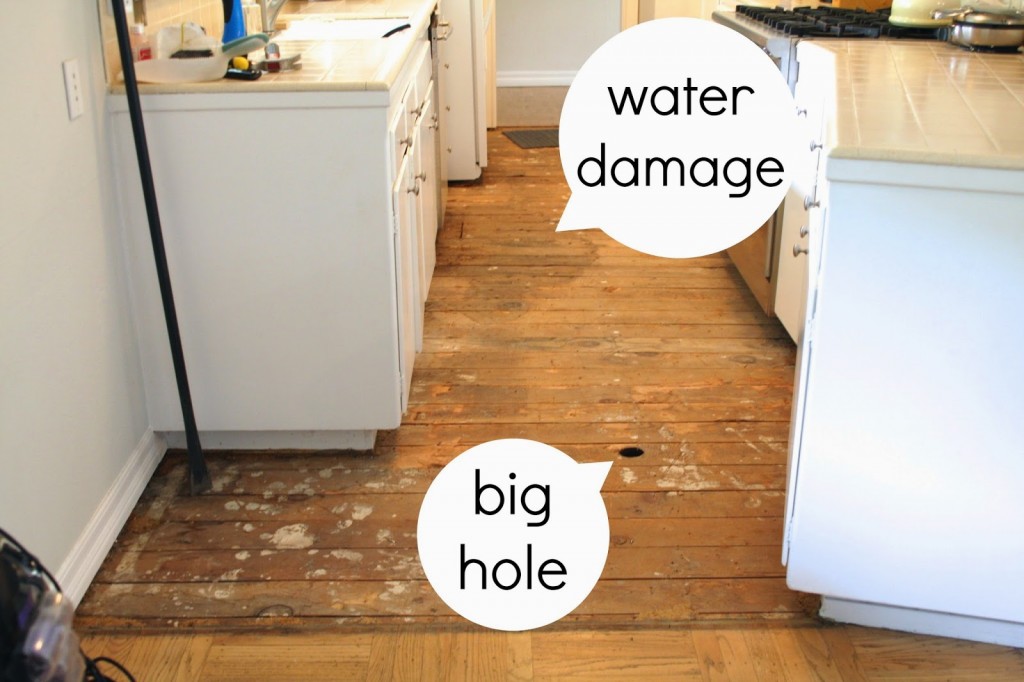
Once the floor was up, the holes and water damage were revealed…
Thankfully the water damage wasn’t too serious. I sprayed some bleach / water onto the now dried wet spot, let it air out overnight, and the next day started laying the new floor.
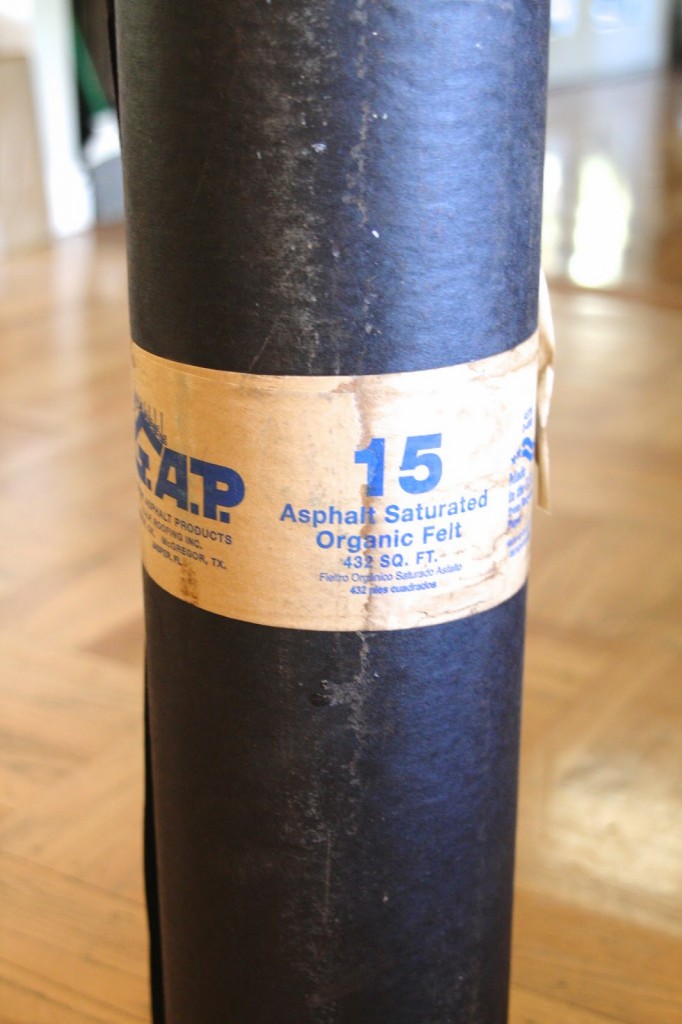
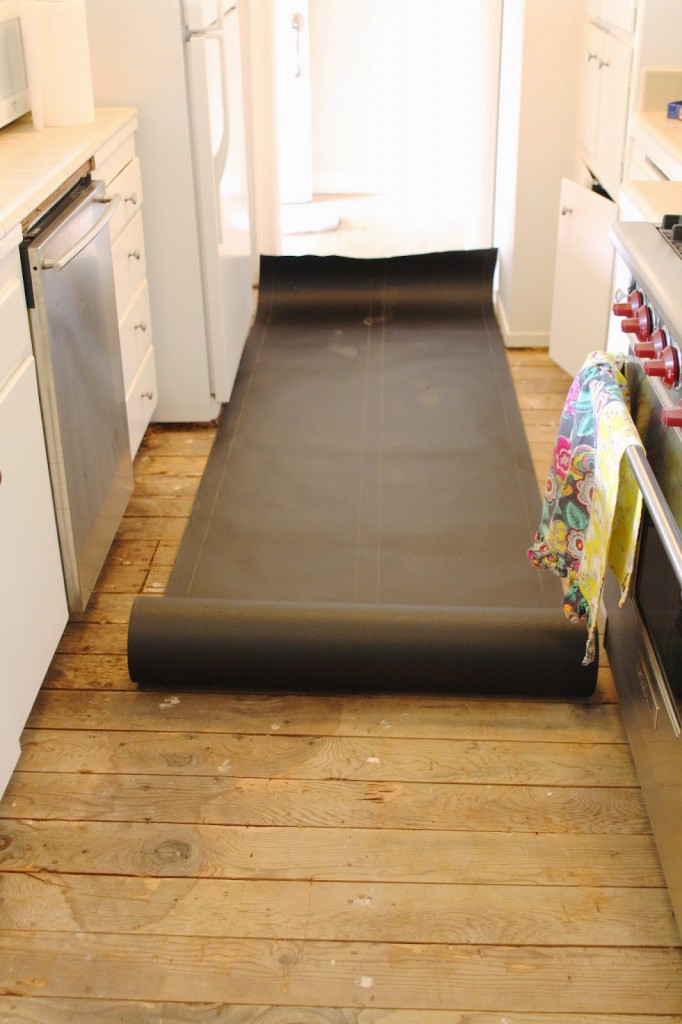
To begin I added a layer of roofing paper. This creates a moisture barrier, much like it would on a roof…
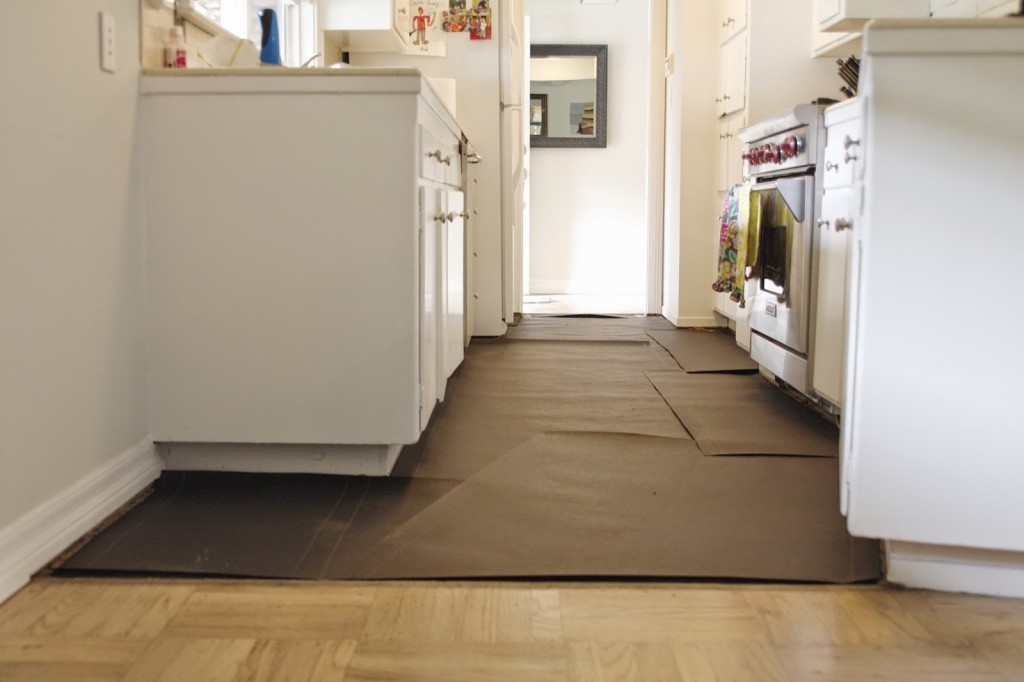
All I did was roll it out and cut pieces to fit the angles…
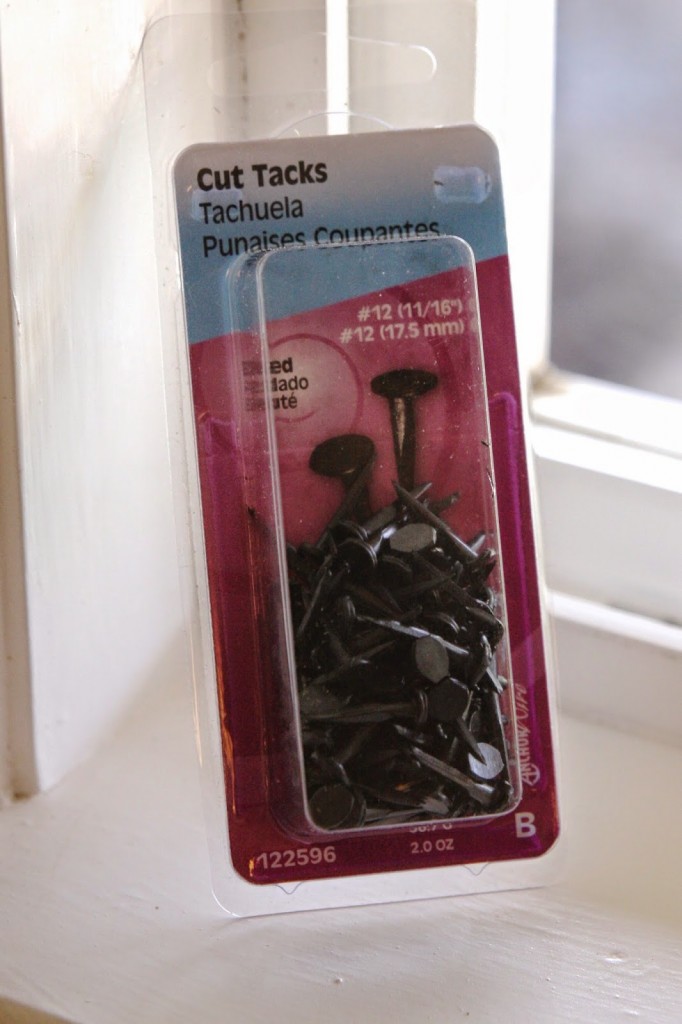
To keep the paper in place I hammered it down with tacks…
Done…
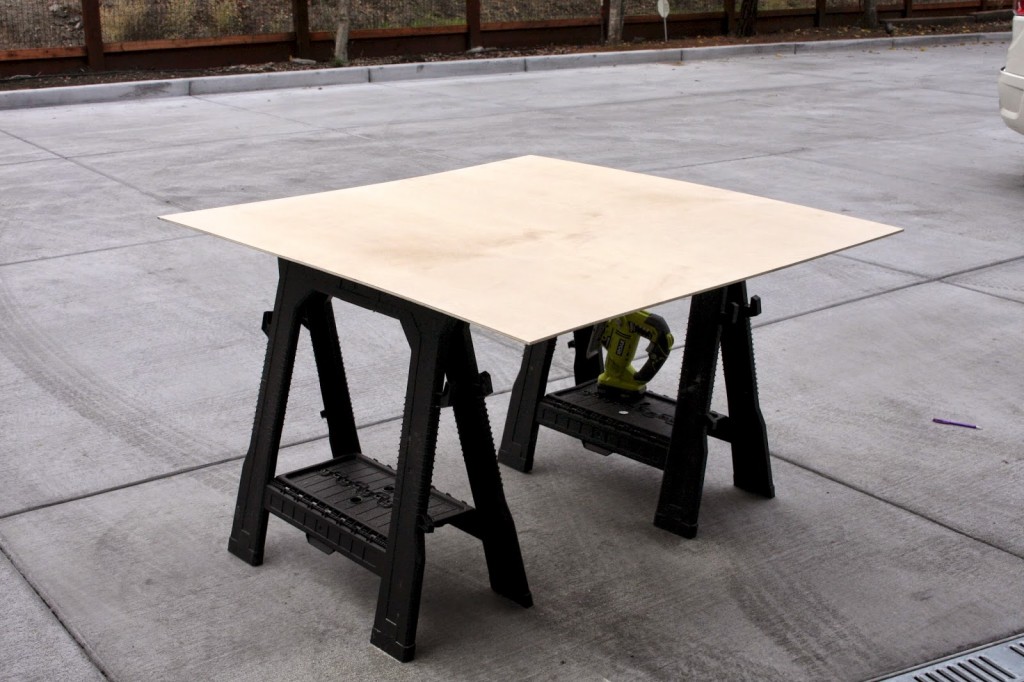
Next was a new layer of plywood. I went with 1/4″ and used my jigsaw to fill in the floor like a big puzzle…
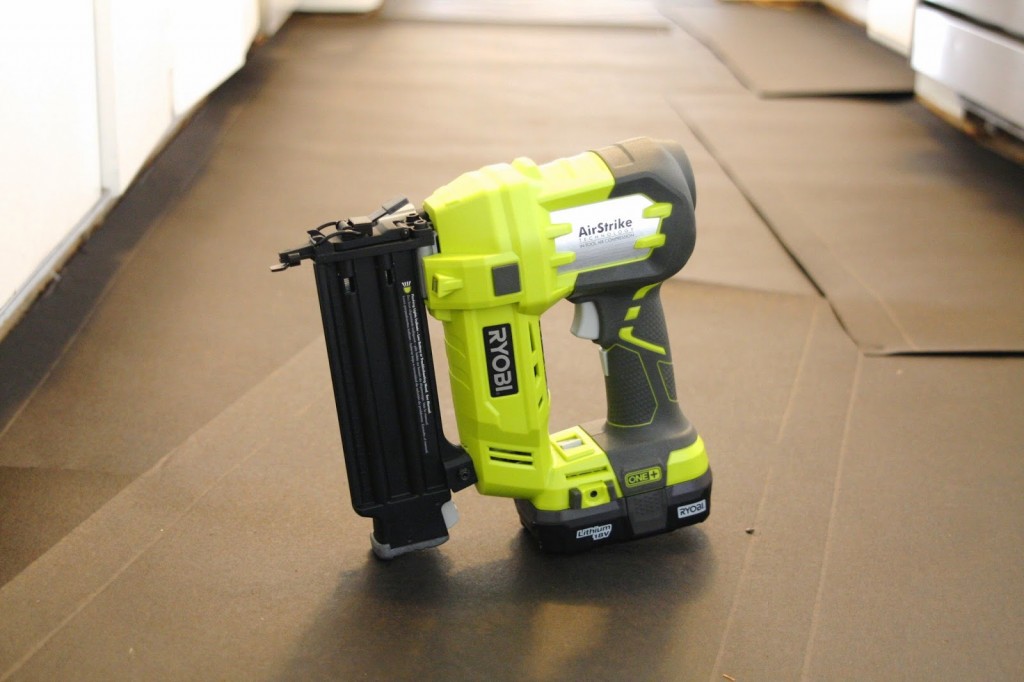
With the plywood in place, I used my brad nail air gun to secure them to the subfloor…
That was it for day 2. I thought it was particularly adorable when my 4 year old saw this finished plywood floor and exclaimed with a big sigh of happiness, “I love it!!!”. Ha! If only.
On day 3, the floor was ready for the new carpet tiles. On the patio I chose to keep the tiles in the same direction, therefore making it look like a regular wall-to-wall carpet. This time, the carpet tiles I chose had a pattern. I was inspired by the product image on the Flor website when choosing the flooring…
(For those wondering, it’s called Straight and Narrow in gray. Not getting paid to talk about Flor here, by the way.)
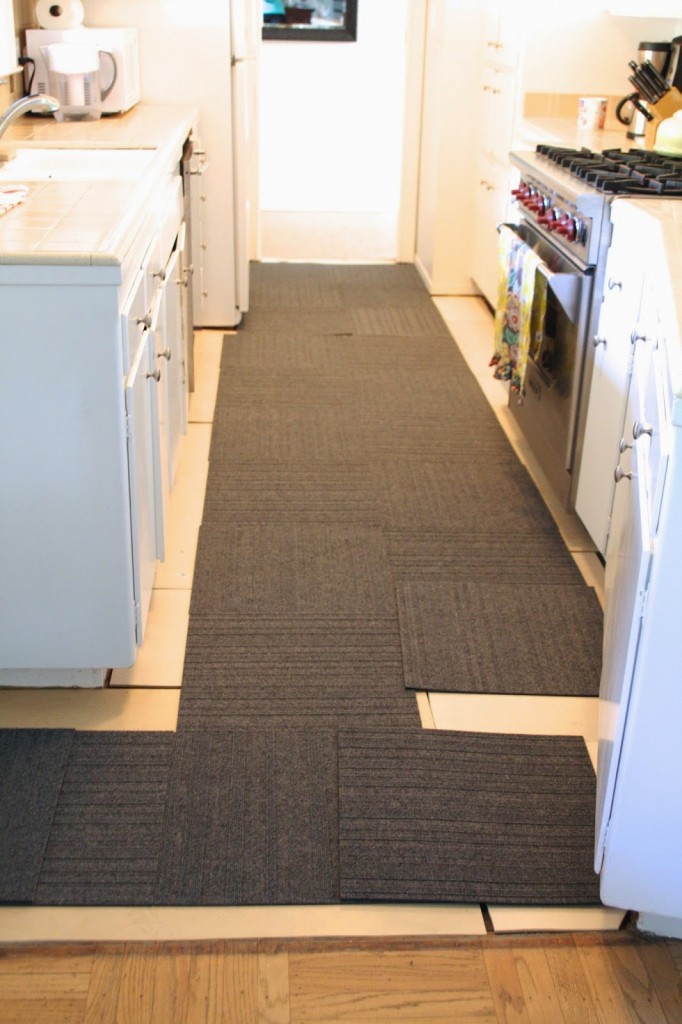
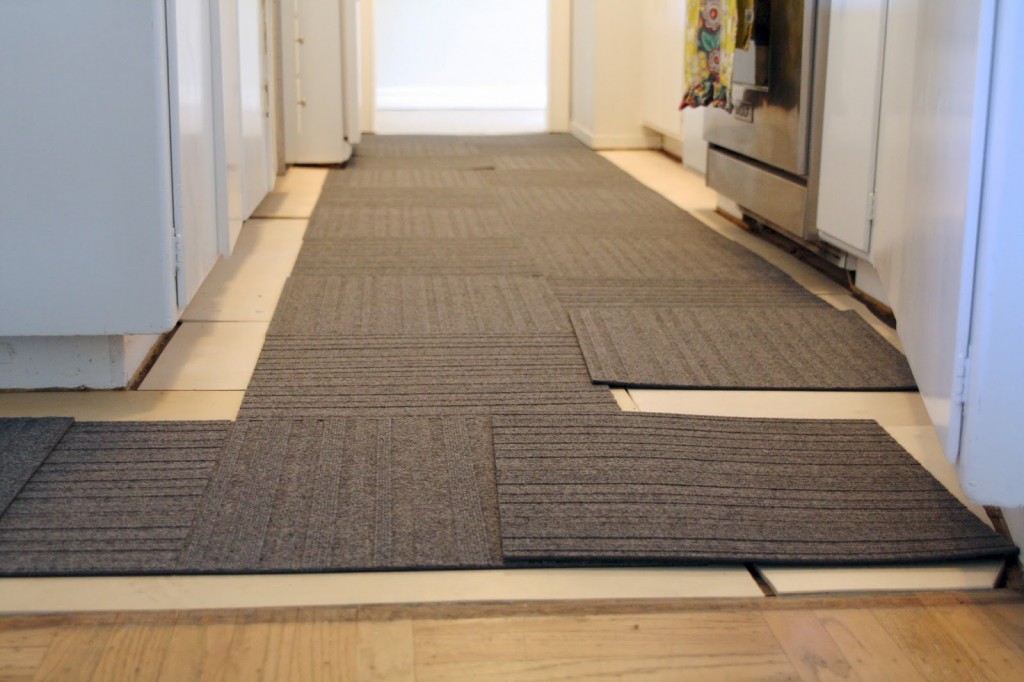
I started with one long strip down the middle of the kitchen floor…
And worked out from the middle to each side…
Cutting the tiles is easy. I used a box cutter to score the back. Once it was scored, I snapped the backing and then cut through the carpeting side. Pretty easy, but time consuming. This was the one point I was happy to have a small kitchen. 😉
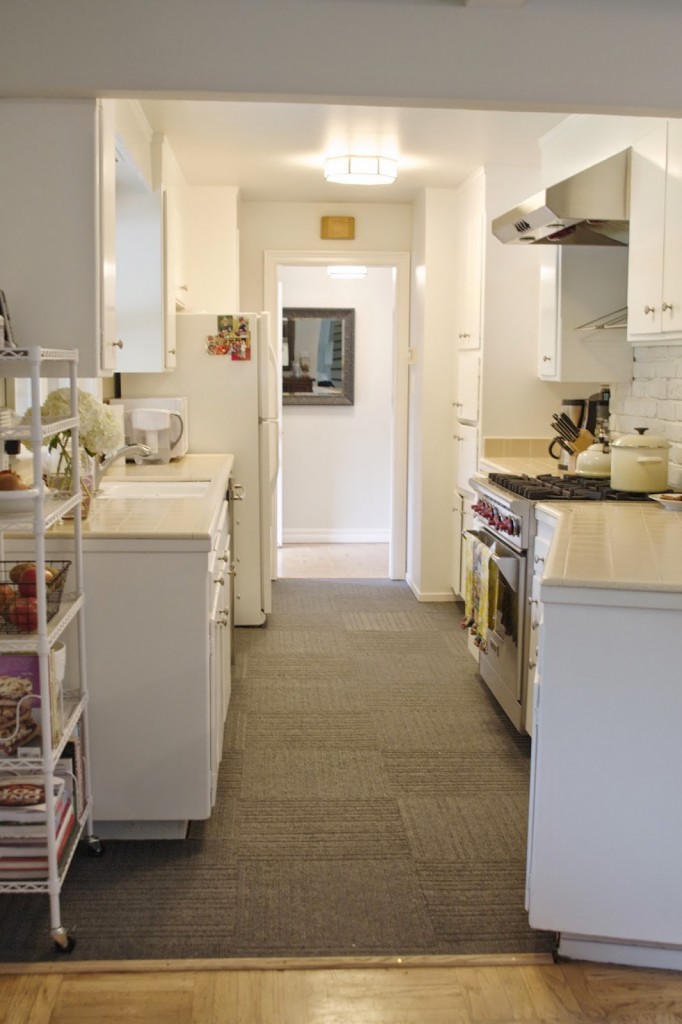
Done!…
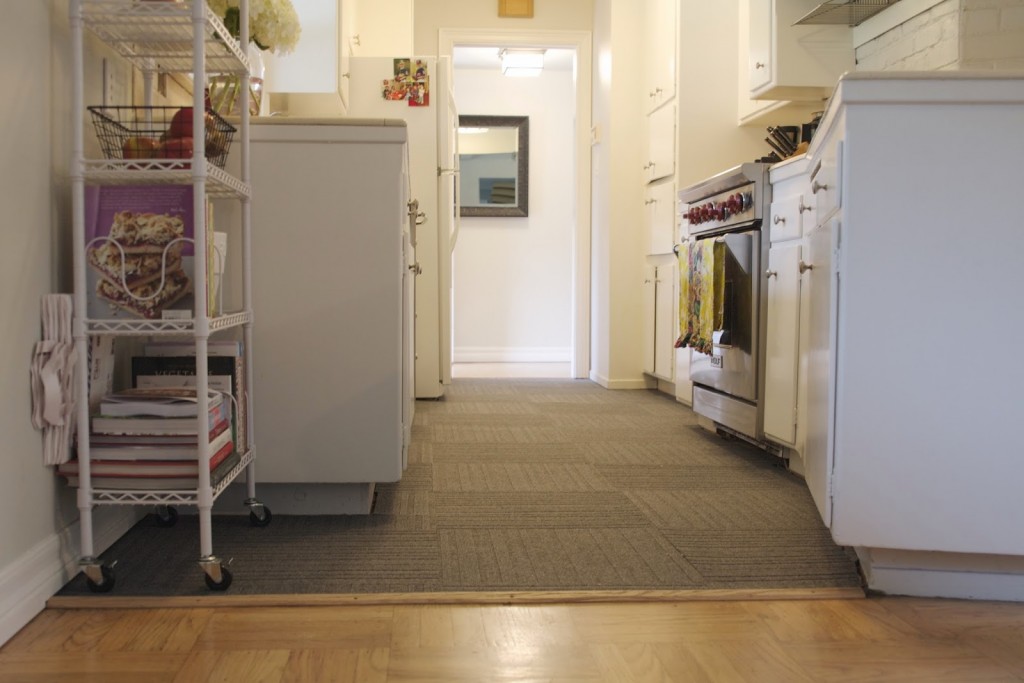
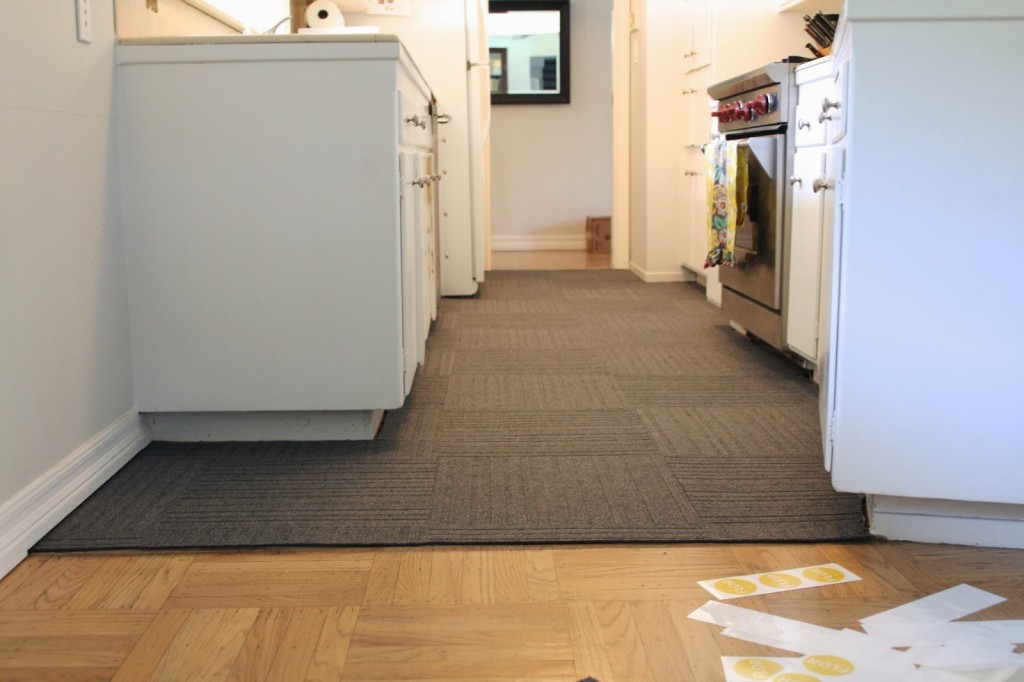
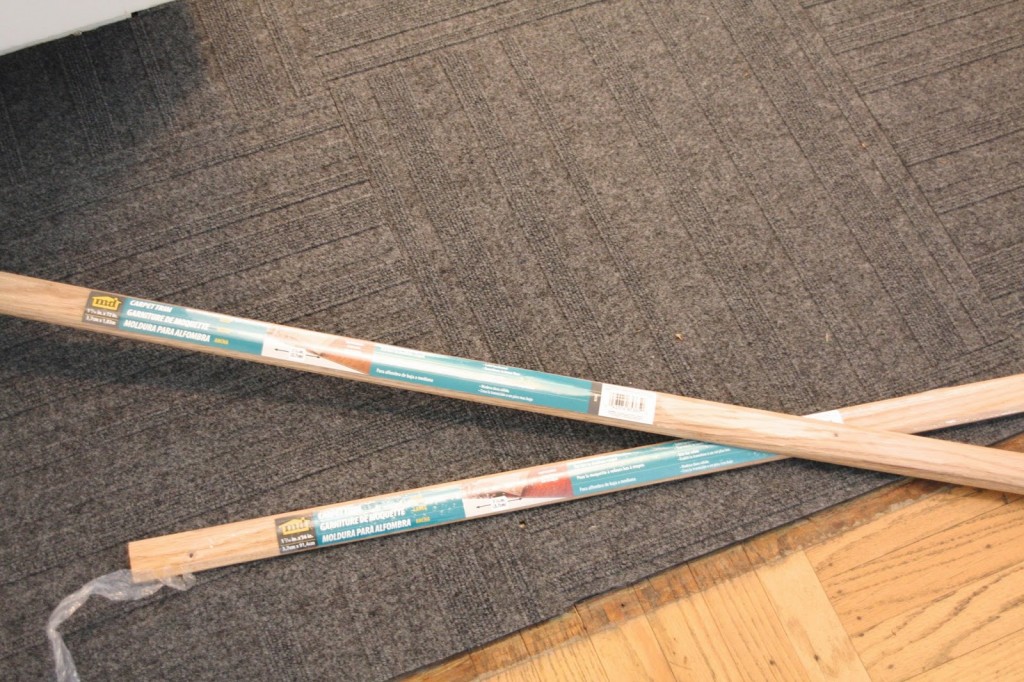
Once the tiles were cut and in place, I adhered them together with the Flor dots and added a new threshold on either side of the kitchen. You can see the line where the old threshold had been. I wanted to update and give it a finished look on either end of the carpeting…
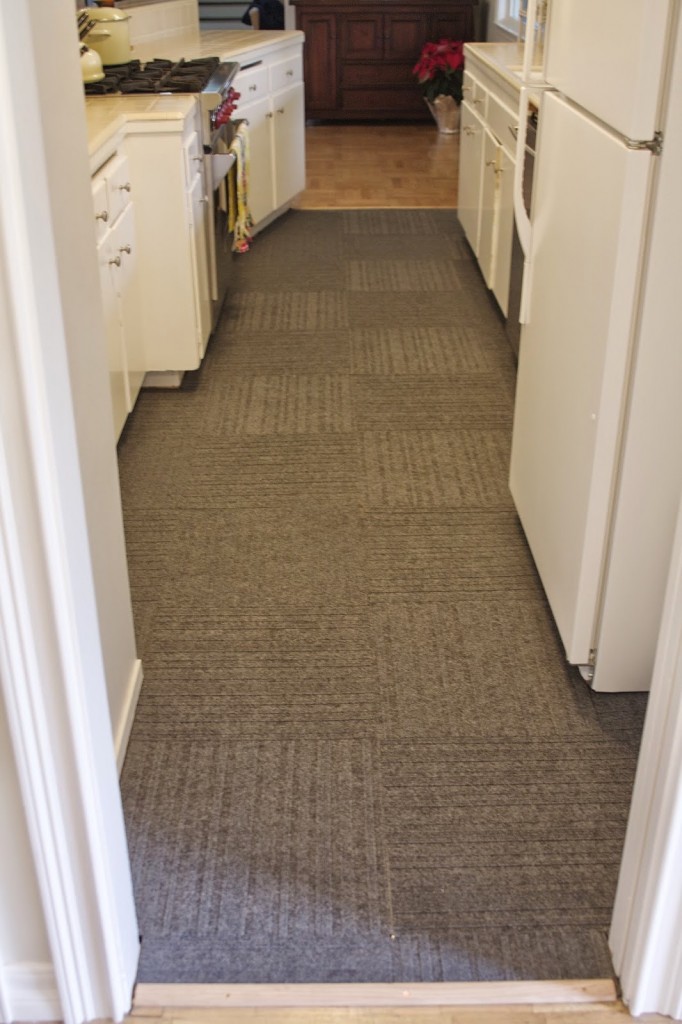
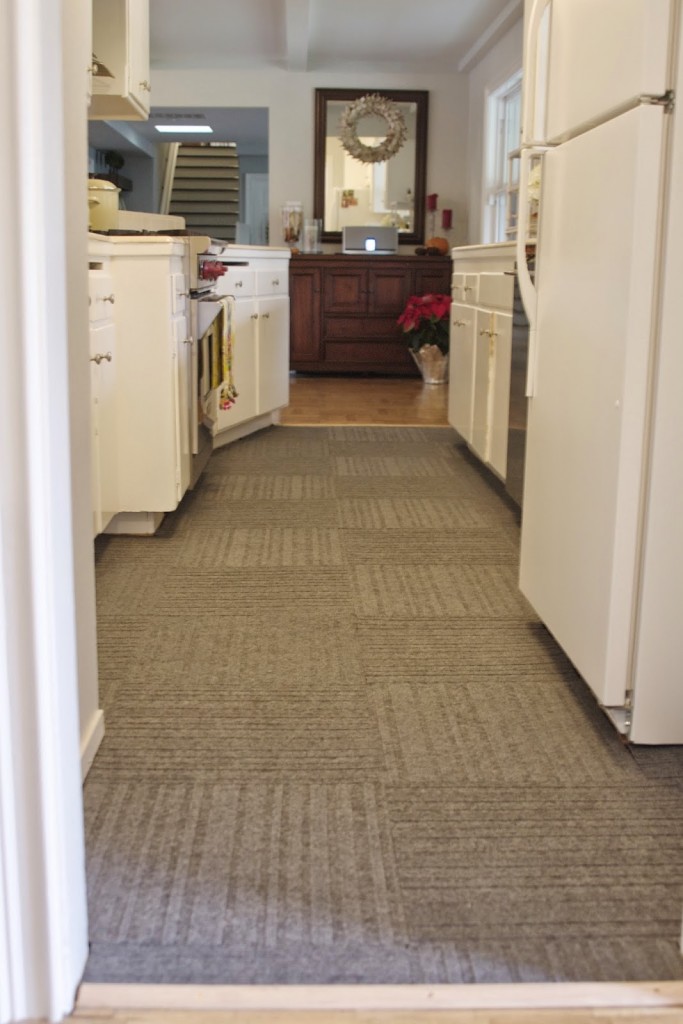
Finally…totally done!…
I love the end result. I’ll probably add some kind of comfort mat in front of the kitchen sink because it’s not the softest flooring, and when I do I’ll be sure to update with more pictures. For now, I’m a very happy girl….
How’s this for a before and after?…
While I was at it, I updated the kitchen faucet too. What was once an old standard faucet…
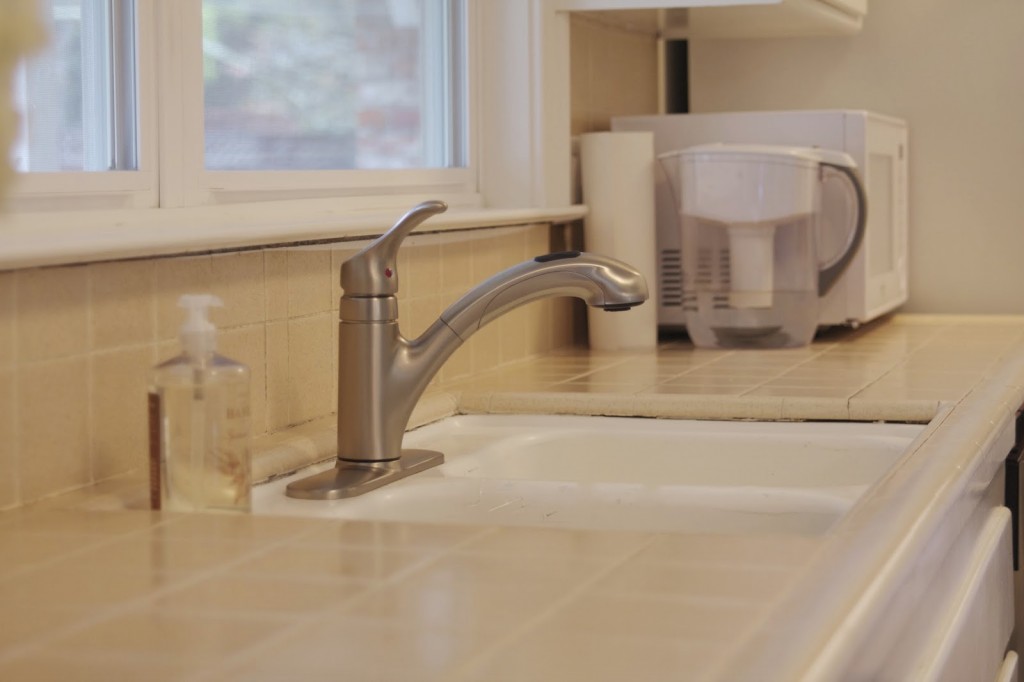
Is now a nice pull-out…
I may have used the saws-all while removing the old faucet, but I can clean my sink so much easier now!…
It was something I had always wanted to do. While I was at the hardware store grabbing materials for the floor, I grabbed this Moen faucet…
One more small improvement here at the house. If you have found yourself in a similar situation in your kitchen or need to cover up a bad floor while you’re renting, this is a great solution. And easy too!
Go DIY something and have a great day!









Amazing job. You go girl.
That looks really nice! My grandparents had a carpet square floor in their kitchen for years. It sounds bizarre and counter to what you'd normally put in a kitchen, but those squares held up insanely well, were easy to spot clean and a quick vacuum once a day kept it fresh.
Thanks for all of your inspiration!
[…] I would go with Flor carpet tiles again since I’ve had a great experience with them (here and here). Because this is a garage, in the event anything happens to a tile, they are easy to […]