*Lowe’s Home Improvement is a sponsor of this blog post. They provided all of the items I chose and I was compensated for my time conceptualizing, sourcing, decorating, photographing, editing, writing and promoting this blog post. ALL of the links here are NOT affiliate links. If you click a link, I receive no compensation and you pay nothing more. Thank you to Lowe’s for sponsoring this great blog post and project!
You guys know better than anyone my all-time favorite projects involve challenging circumstances. As far as I’m concerned, there are fewer spaces more difficult to figure out than a closet placed under a staircase. I know – these closets make you want to rip out your hair. Don’t! Please…don’t. I love you. And your hair. And I’m here to assure you this is an easy fix!
I’ve shared a few of these projects over the years, and recently even had a few virtual clients walk me into their tiny under stairs closets for tips and recommendations.
There’s an answer for every difficult space. I promise.
So if you have a closet with odd angles, a low ceiling, or one beneath a staircase…chin up. I got you!
Grateful to partner with Lowe’s on another awesome home improvement / organization project – always with the goal of inspiring you!
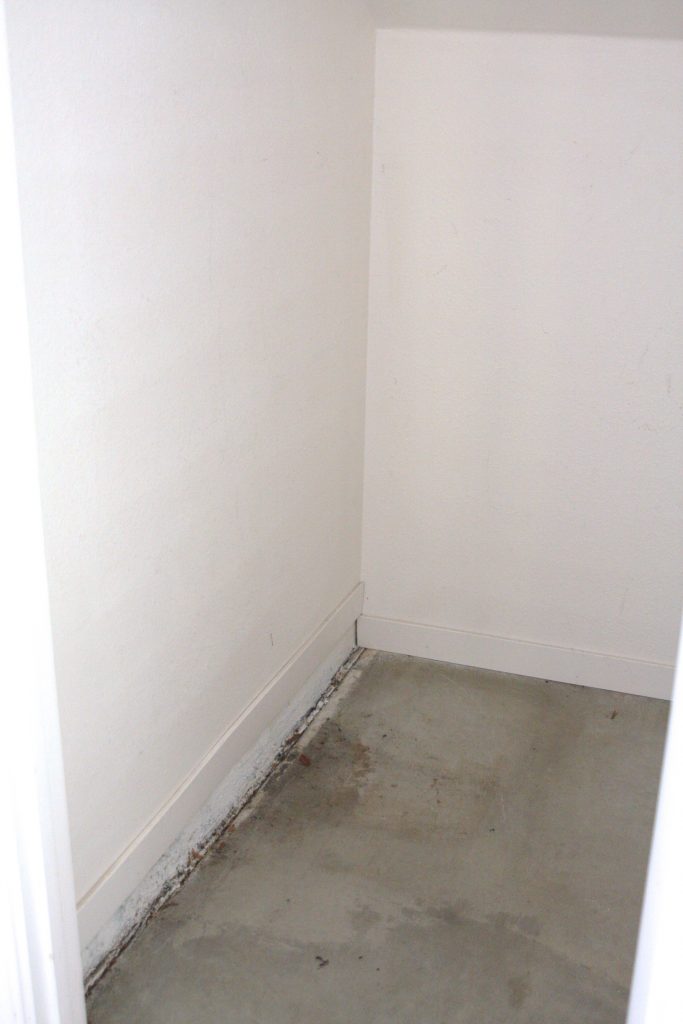
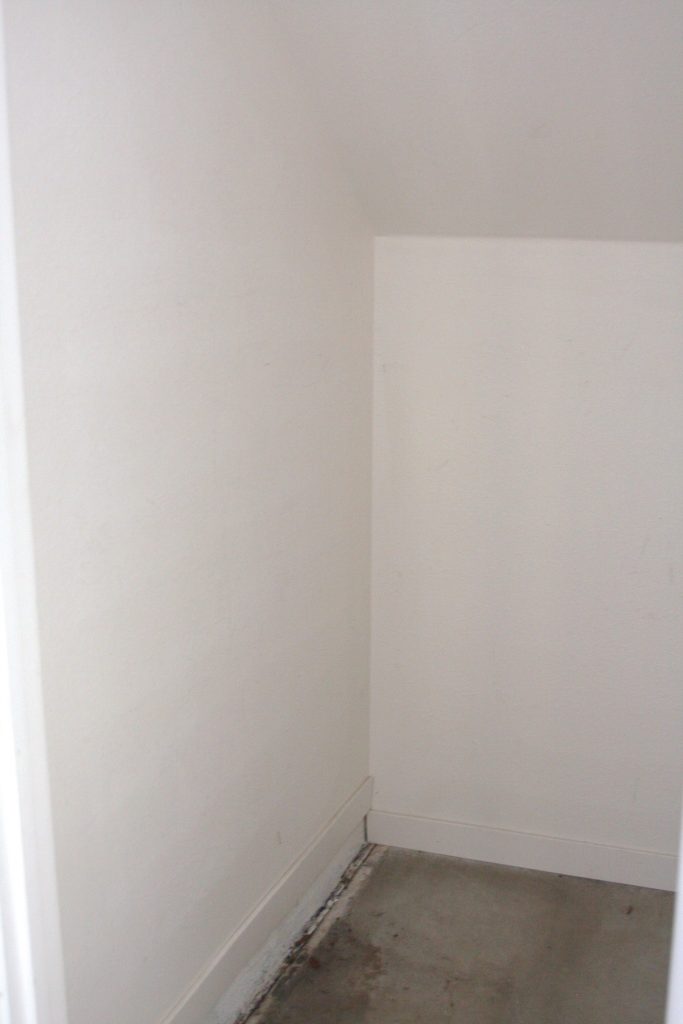
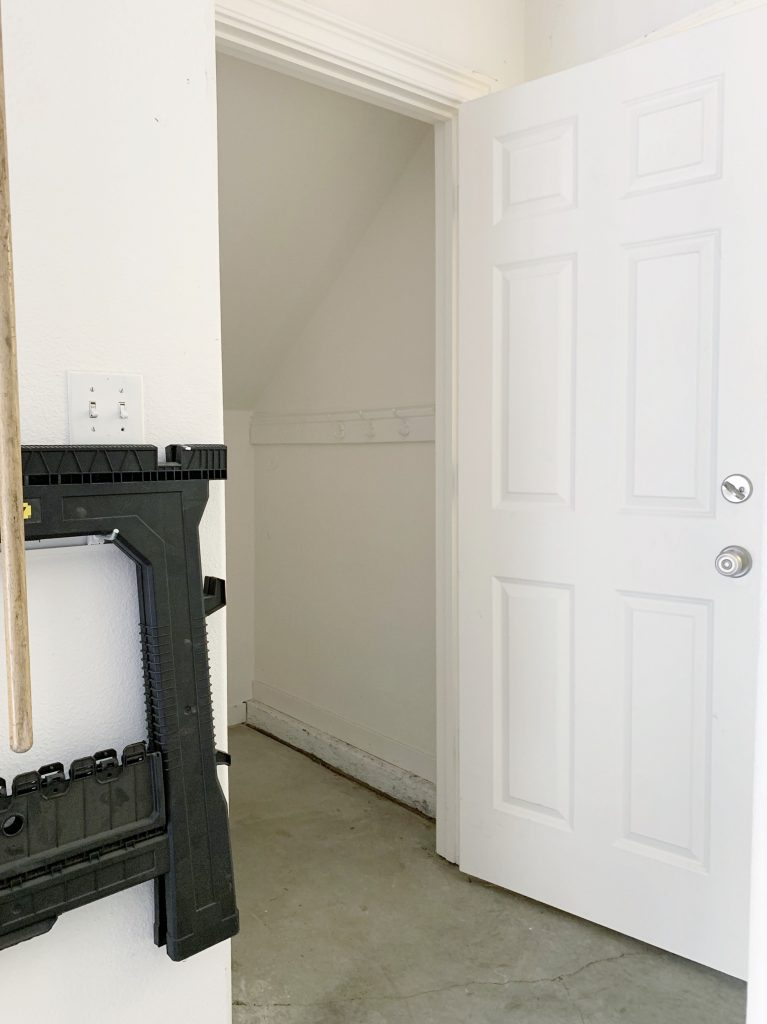
BEFORE
This project gave me a serious high. Why? The closet happens to be located in a garage. Challenging space + within a garage + involves tools = my idea of heaven!
In this space the goal was to add functional storage yet also make it easy to walk in / out. No bumped heads allowed!
GAME PLAN
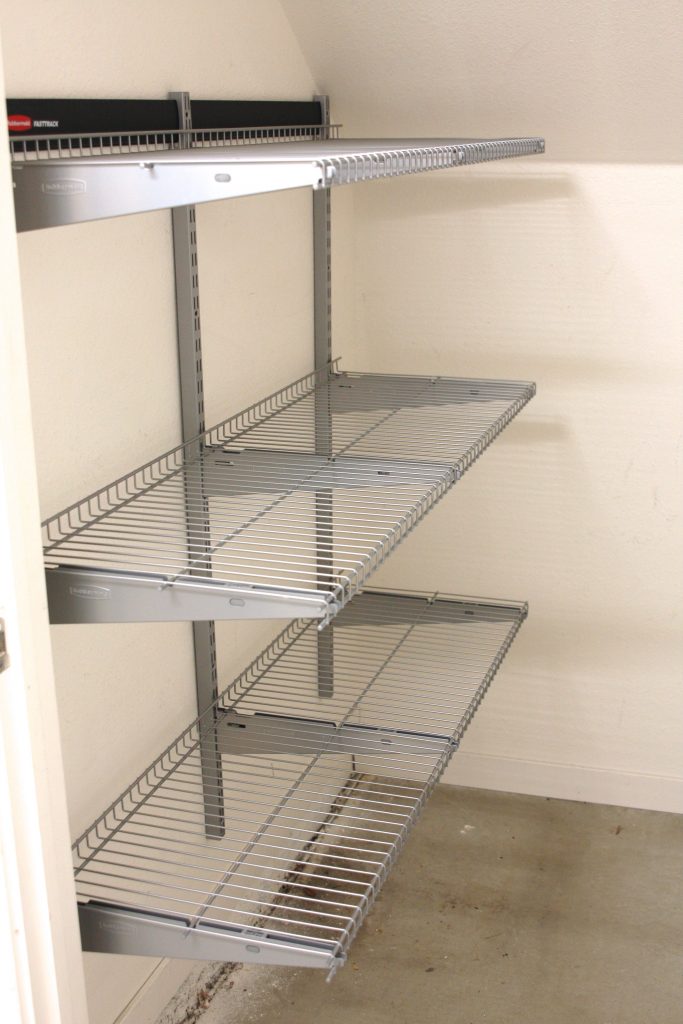
After taking in the contents of the greater garage space, and the amount of space to work with in this closet, I decided the best way to maximize was adding shelving to one wall. This one in particular on the left…
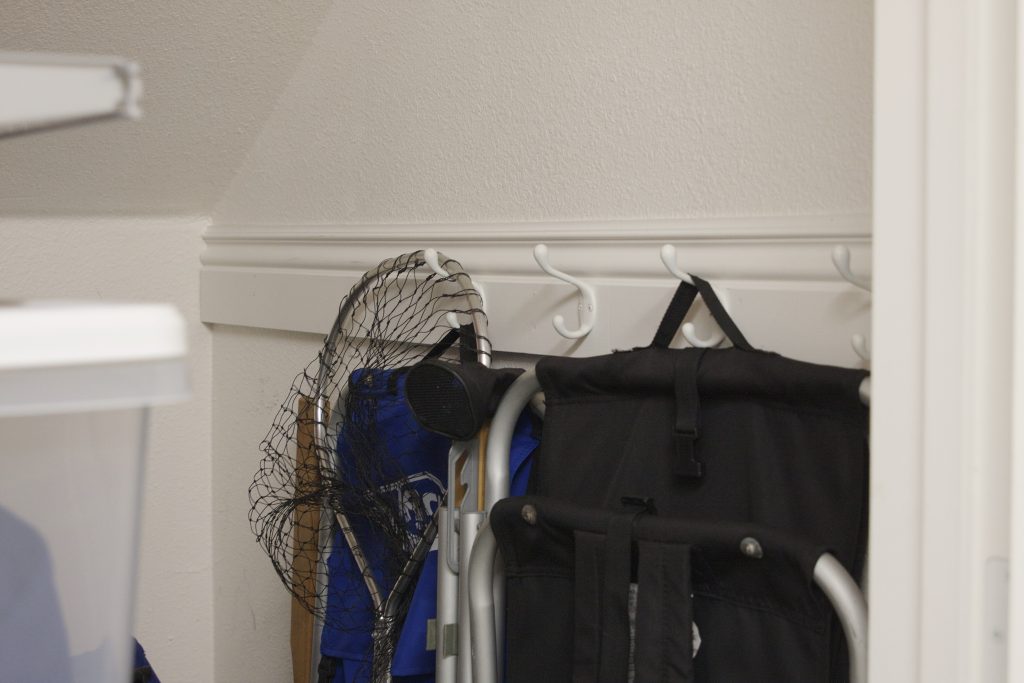
Depending on the closet space, angles, door access point / swing, and more…these are things I’m considering when deciding where to place shelving. In this closet, the left wall made the most sense for shelving placement. The back wall was too short and I wanted to keep the existing hooks on the right…
The overall plan for this small but soon to be mighty space was to add shelving, use bins to contain items and keep the floor space open. Couldn’t wait to see just how much of an impact the shelving would make.
STEP 1: ADD SHELVING
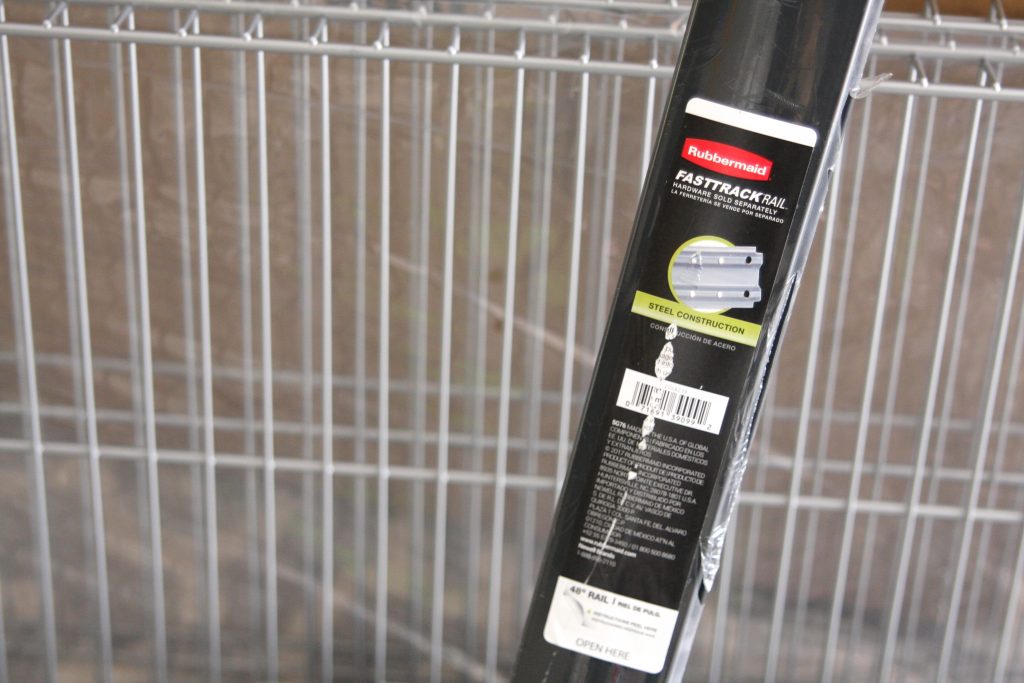
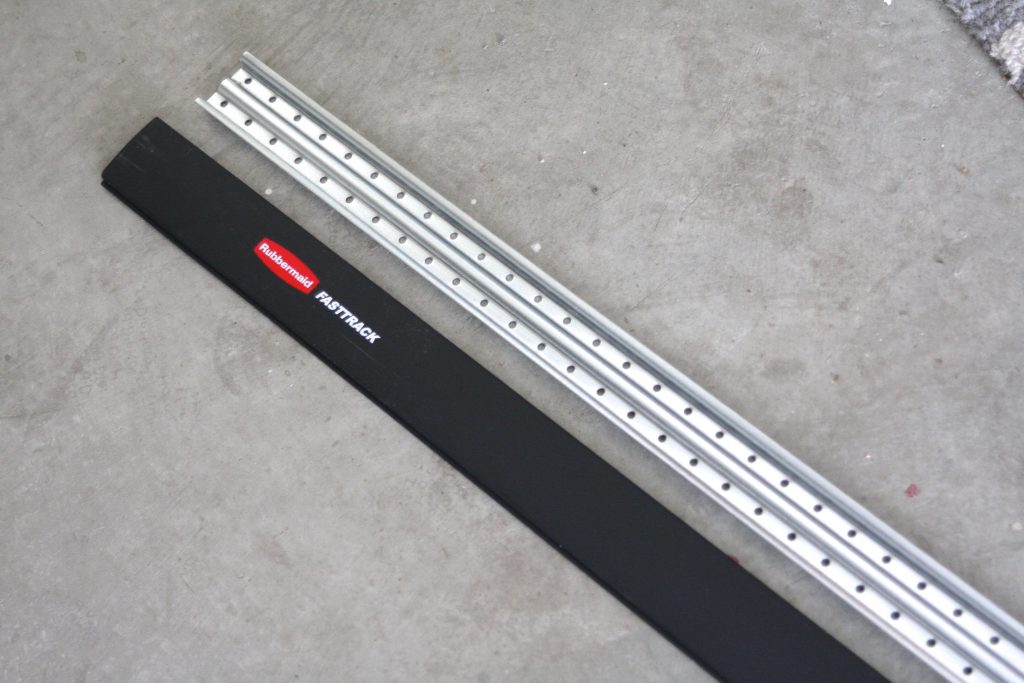
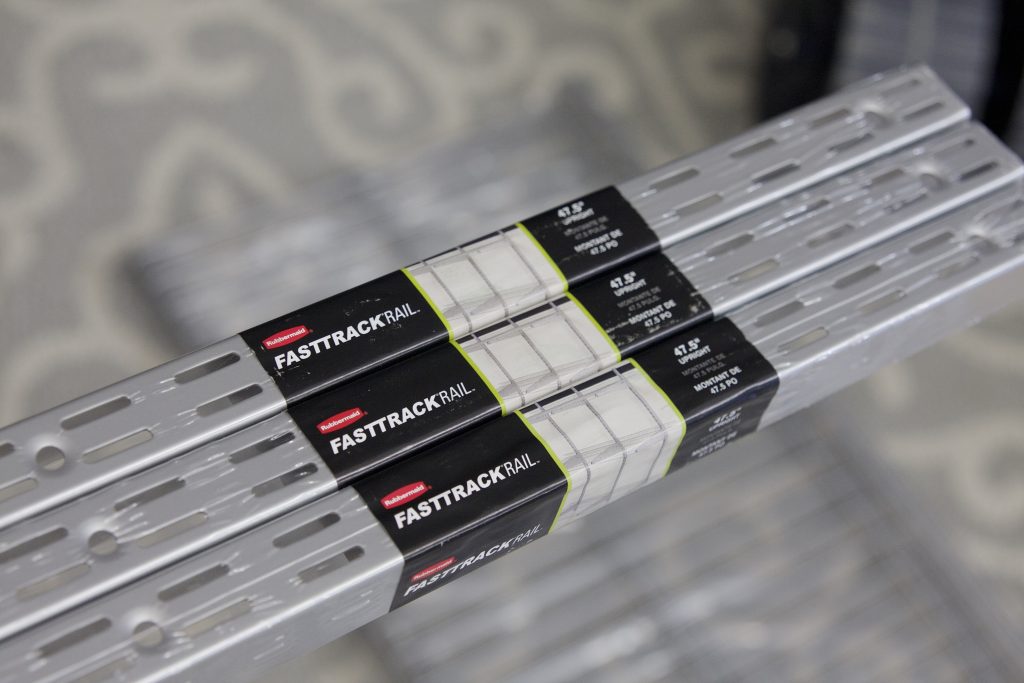
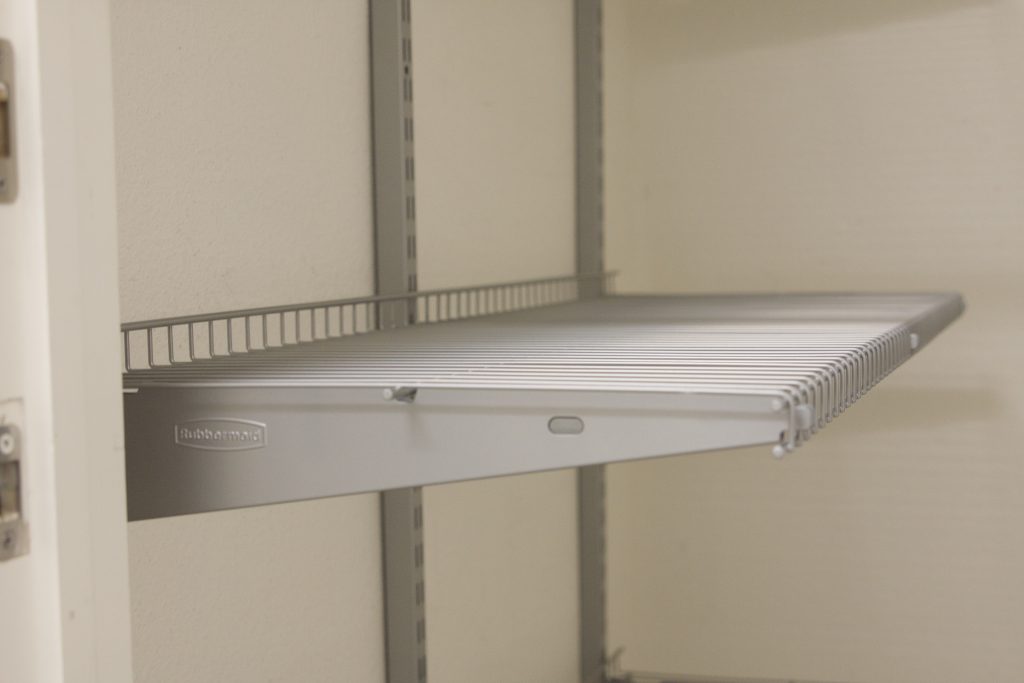
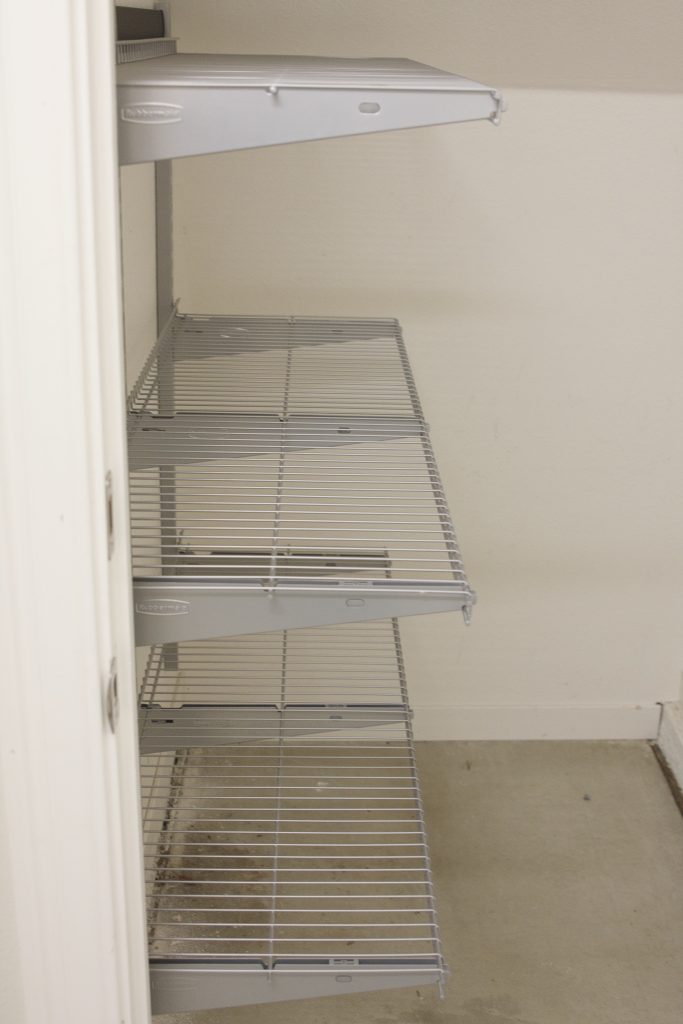
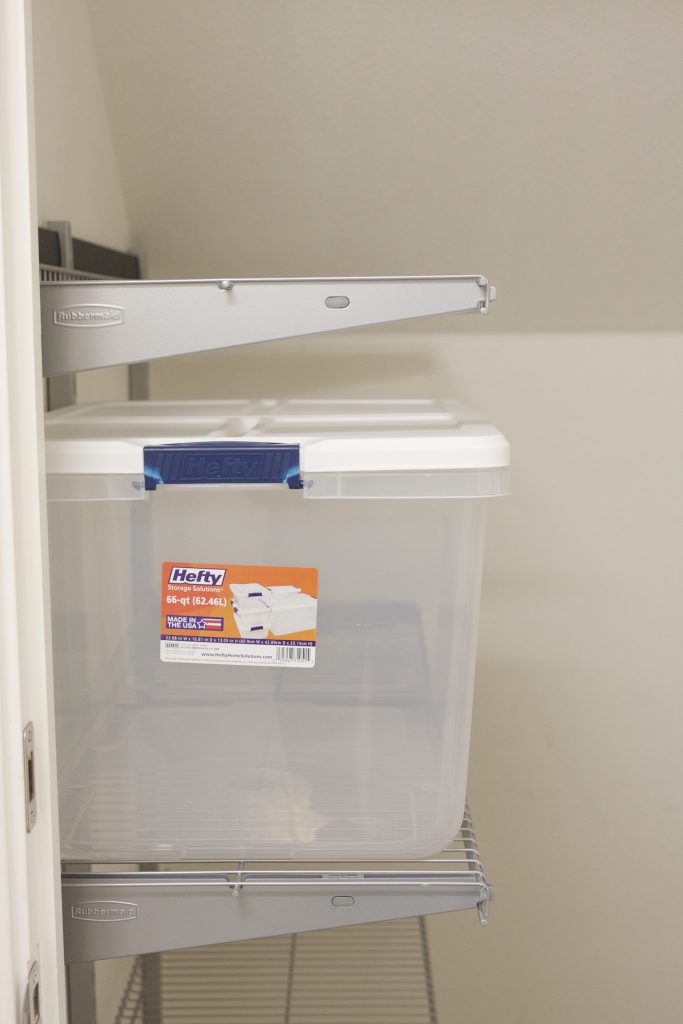
The shelving I chose for the space is the Rubbermaid FastTrack System from Lowe’s. It’s easy to design and install.
I’m not just saying that – I mean it…
But to break it down…I started by first locating the studs. This is easily done using a stud finder. Once you’ve marked your studs, and know where the drywall is as well, you’ll pre-drill holes for either wood screws or drywall anchors.
The beauty of FastTrack is that you don’t NEED to go into studs, but it definitely helps to go that route if you’re placing heavy items on your shelving. And garages tend to have heavy contents!
Don’t worry, the instructions are included with the Fasttrack system and it couldn’t be easier!
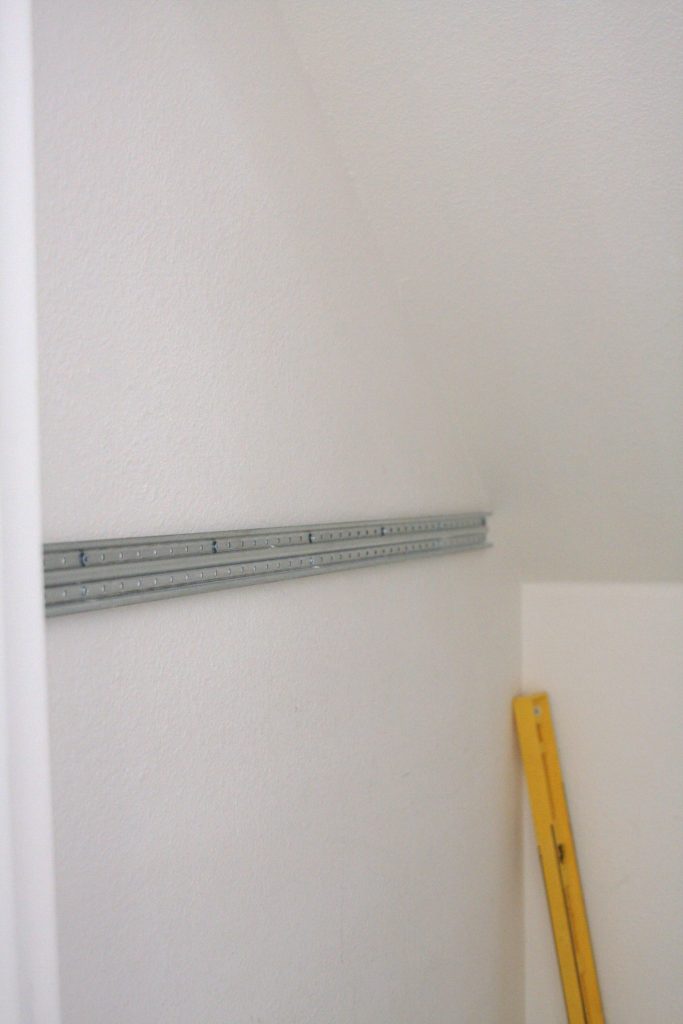
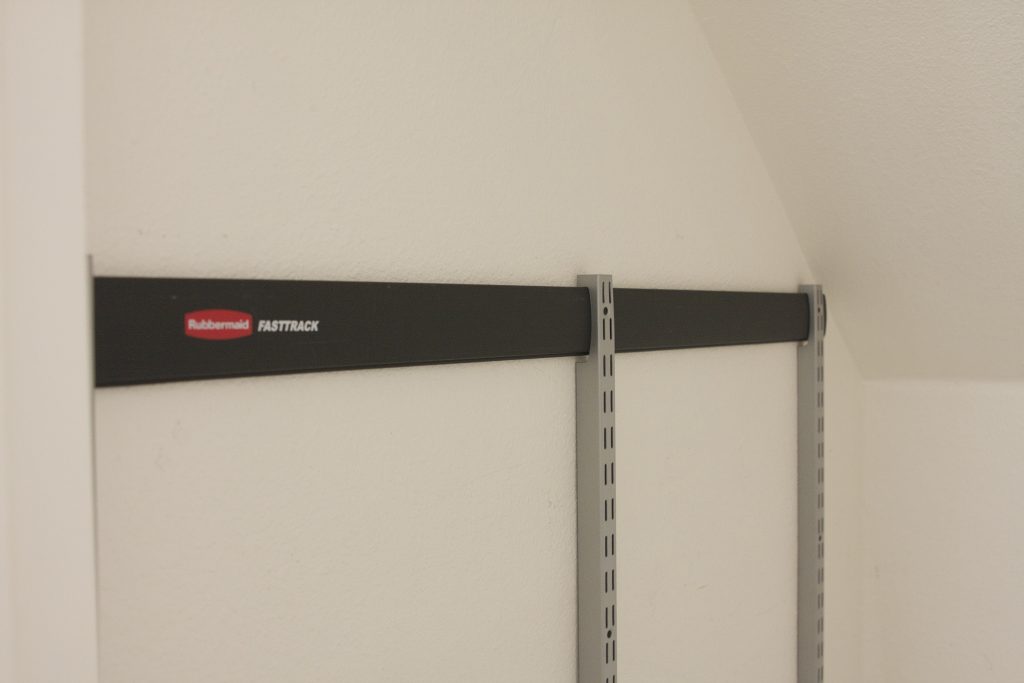
Once you’ve pre-drilled, place the mounting plate on the wall with the appropriate screws…
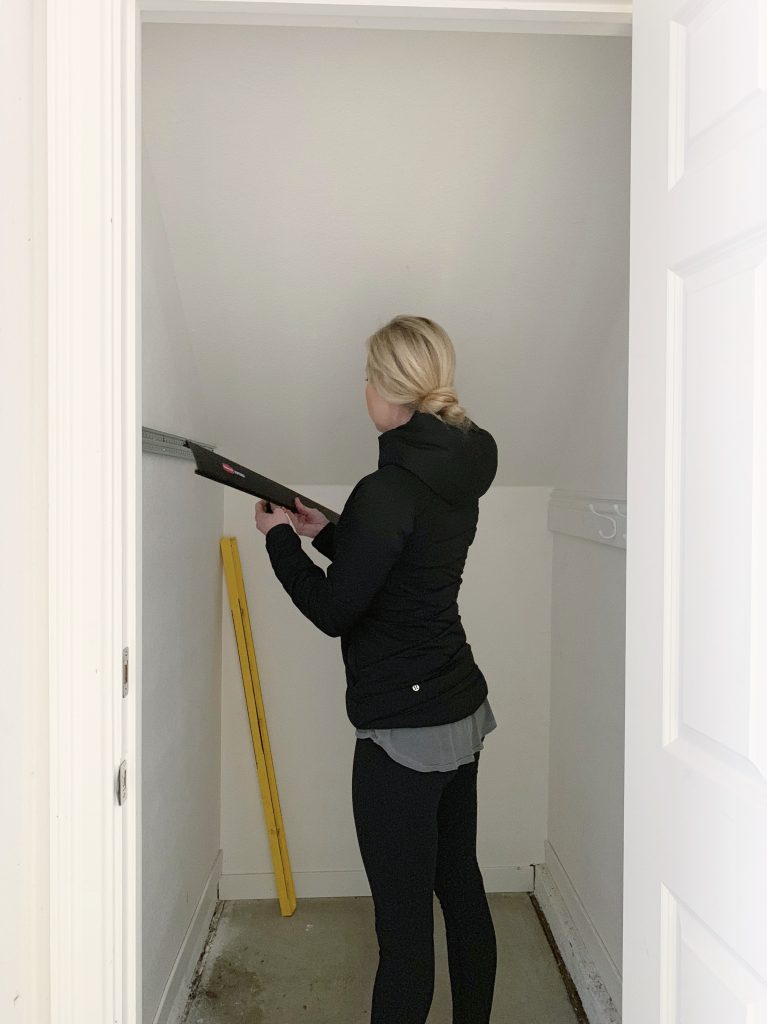
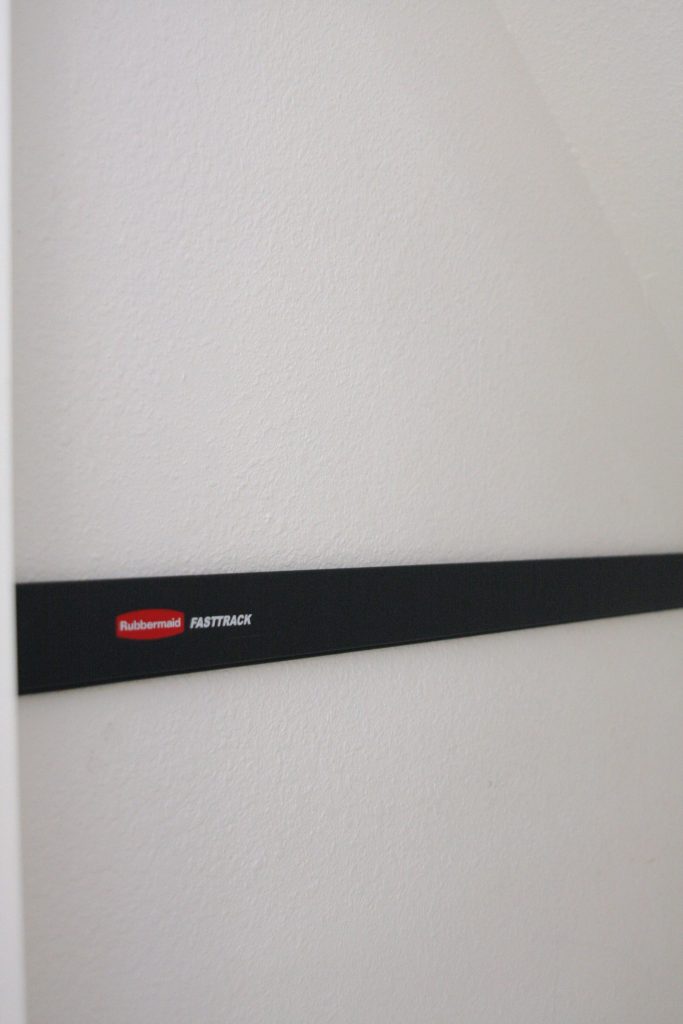
With the mounting plate secured, I added the plastic cover…
The cover has groves on the top and bottom for the uprights (rails) to hang from it…
Each rail holds up to 1,750 pounds. Whoa!
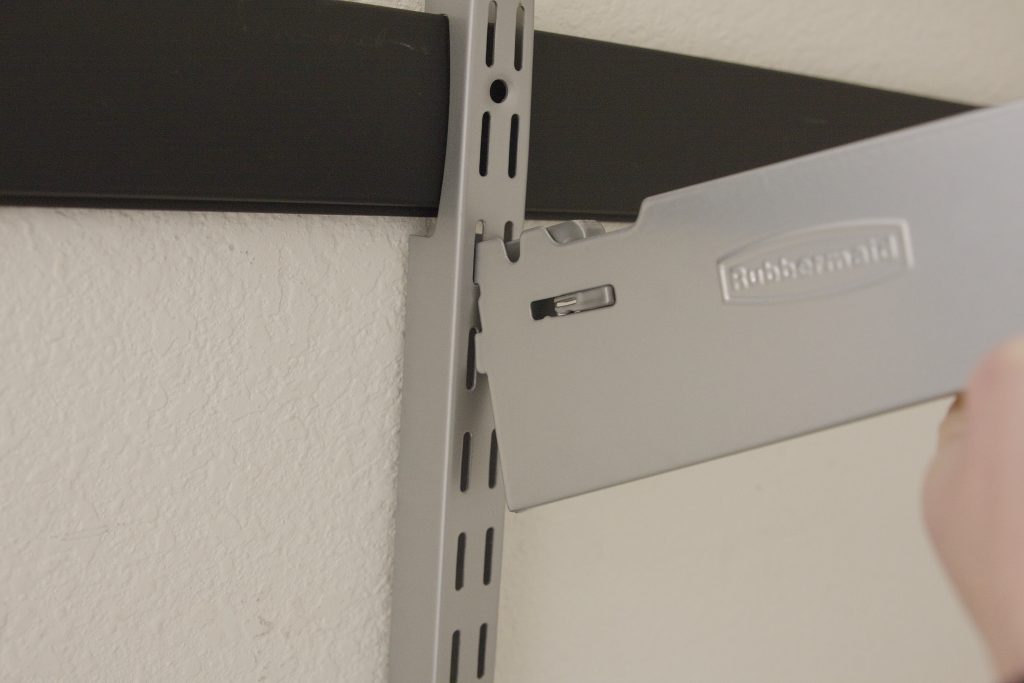
Once the uprights are, well…upright, it’s time to add the shelf brackets. You can space these as you wish…
Funny… did you know I’m a planner? Should be no surprise I knew exactly how far apart I wanted the shelves.
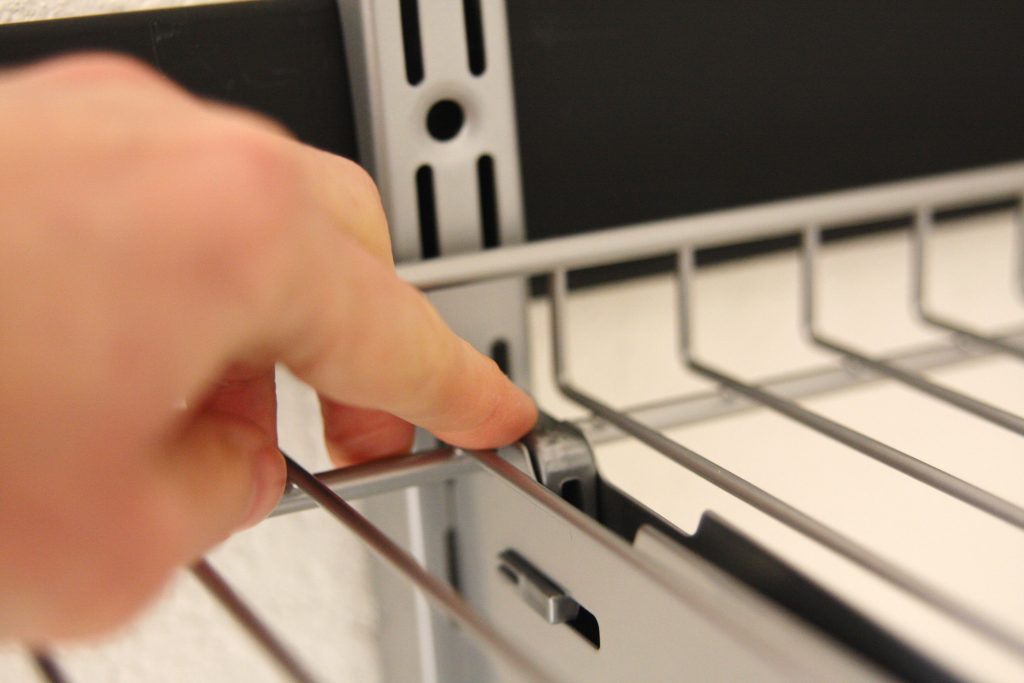
The shelf secures to the shelf bracket with a simple flip of a lock…
Easy!…
Love… the normal non-crazy type of love.
There are few things that make this heart flutter. Simple to install shelving AND mid-project excitement are a couple of those things.
STEP 2: USE GREAT BINS
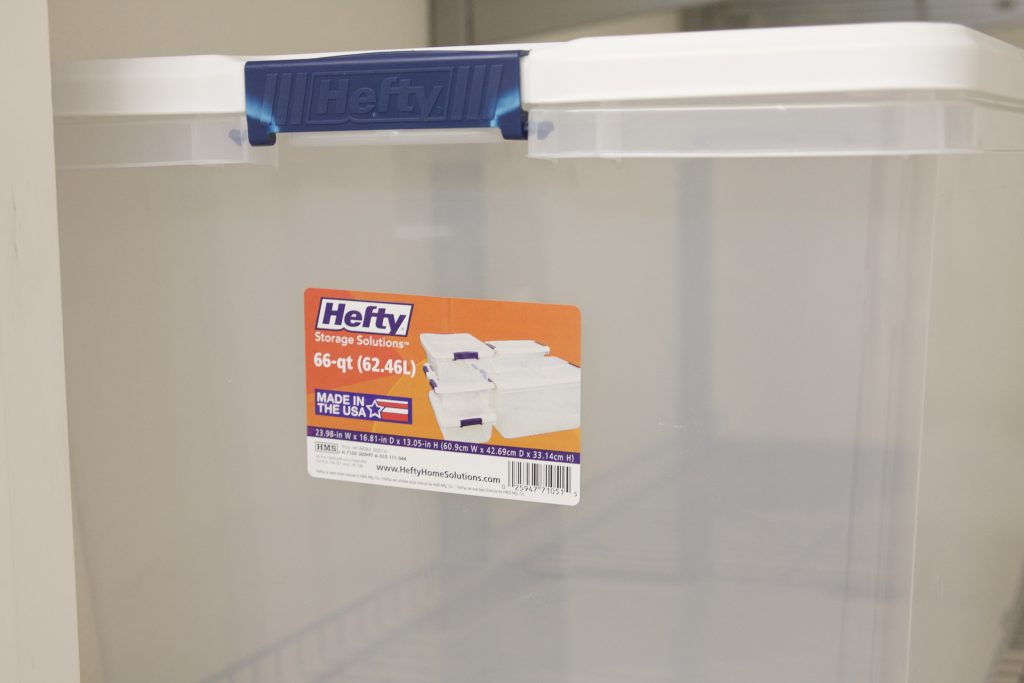
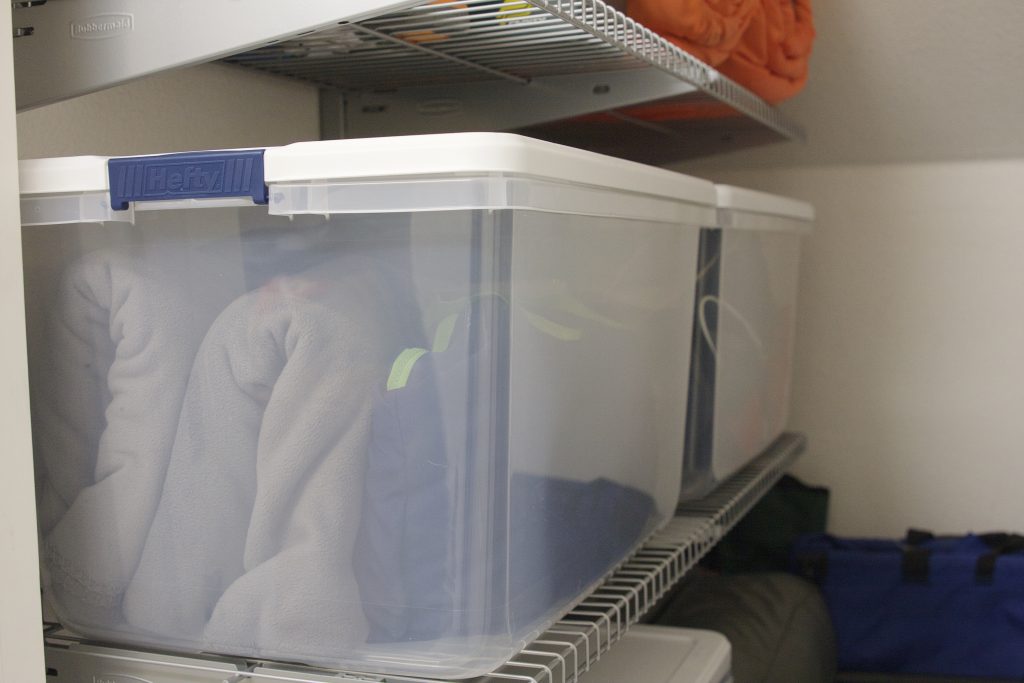
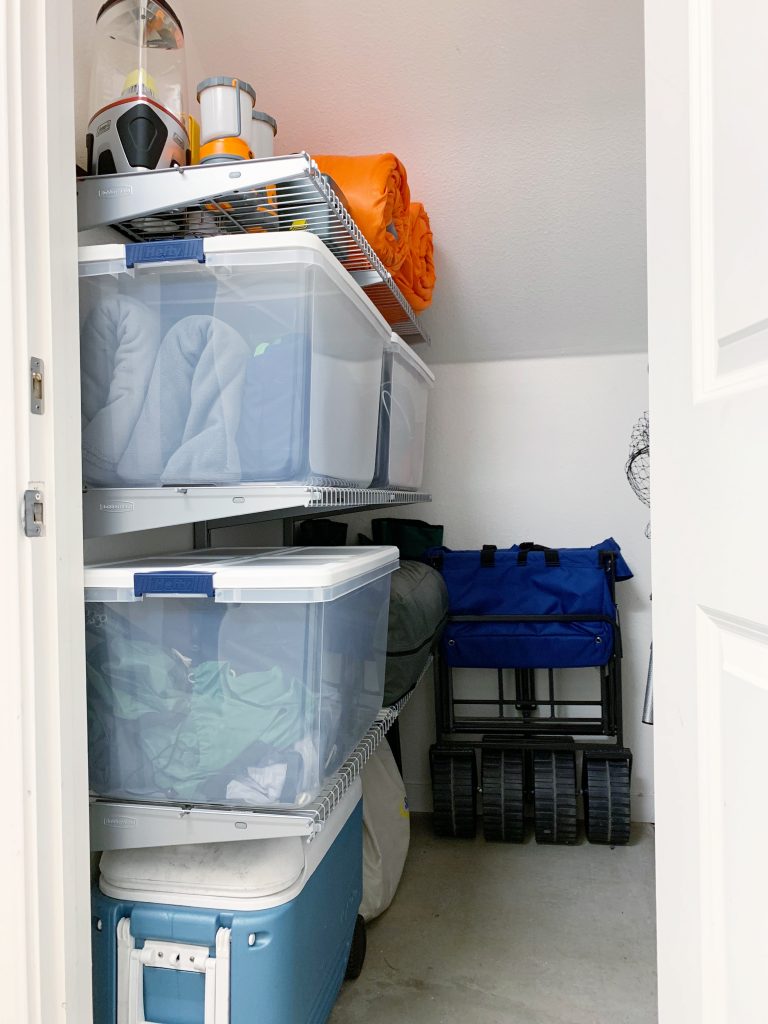
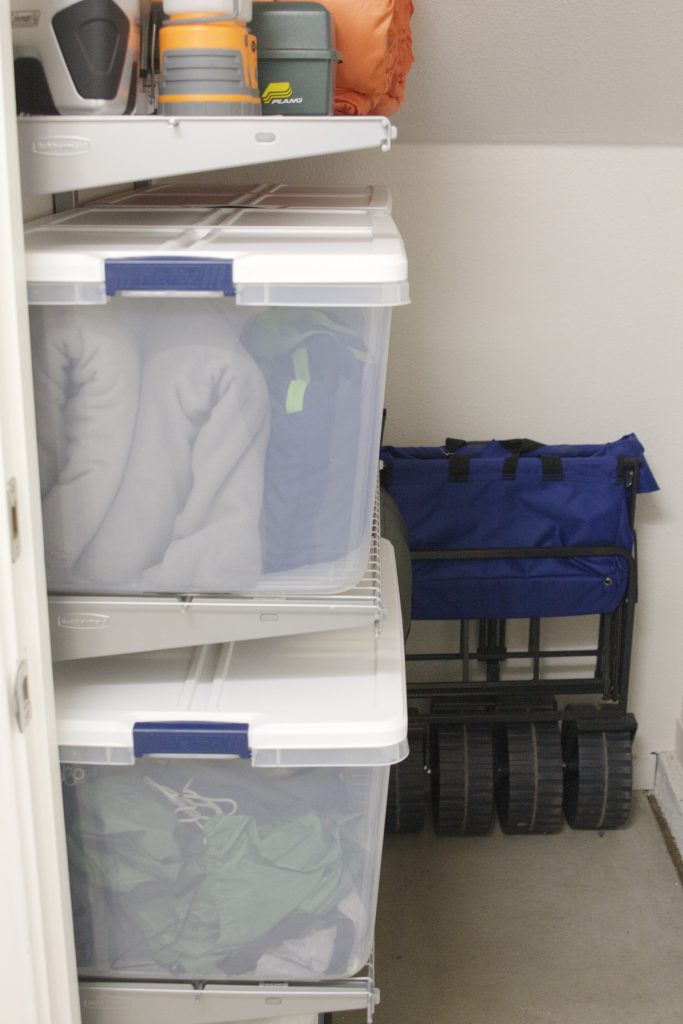
After assessing the contents of this garage, their camping gear fit perfectly in the closet. To contain some of the camping items, I used these great Hefty Clear Tote’s with latching lid locks…
I knew these would be great to store items, but also to grab the bins and go when it’s time for camping!
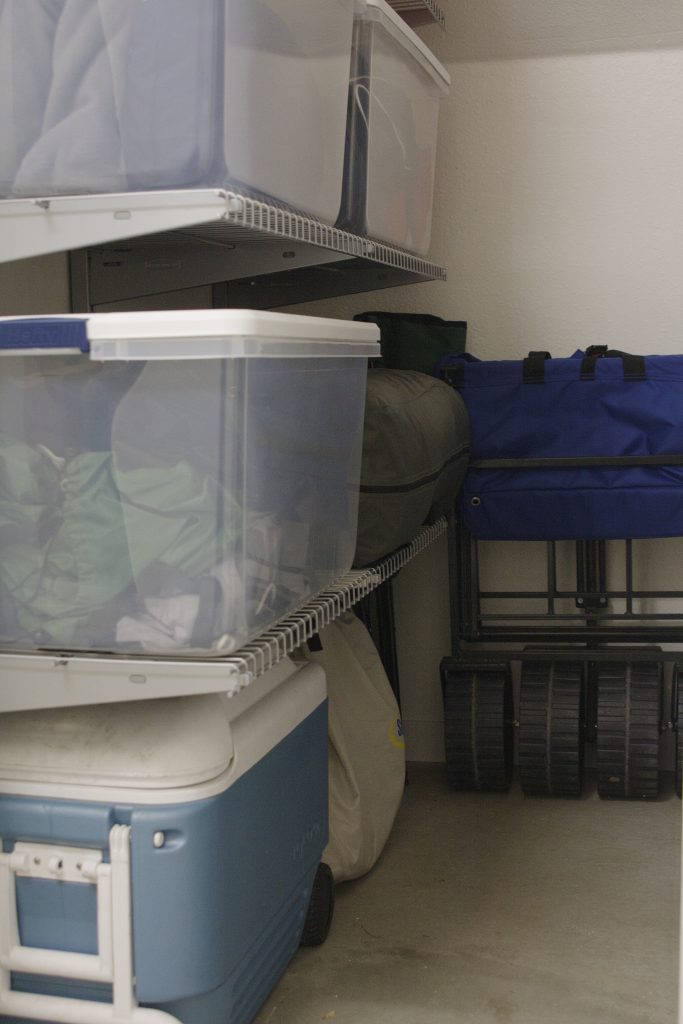
And they fit pretty darn nicely side x side here on the shelving…
Like a glove!
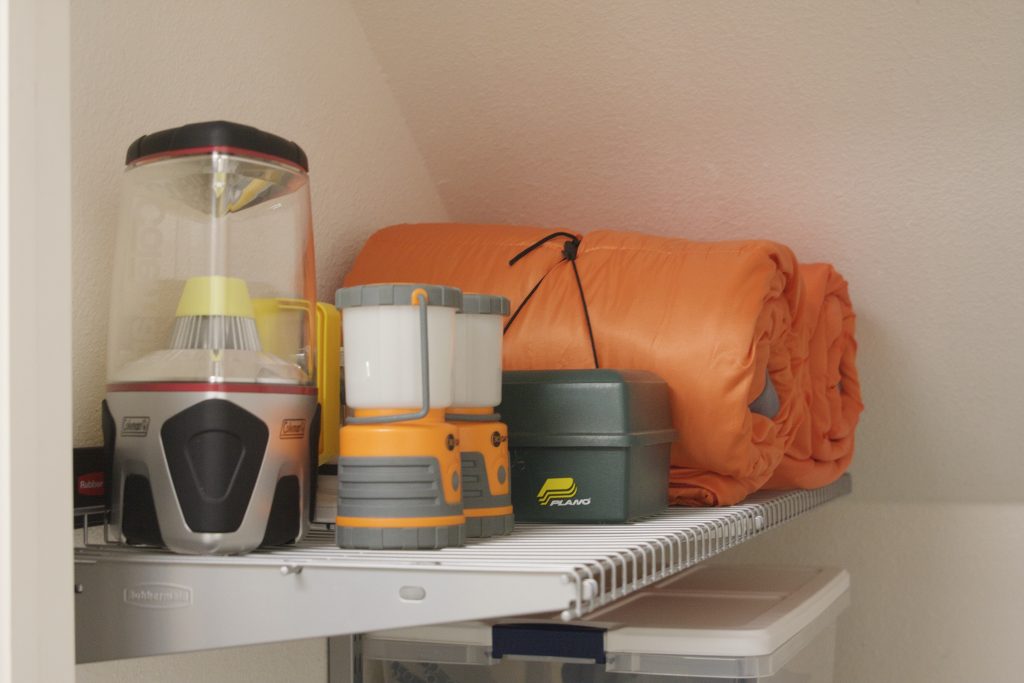
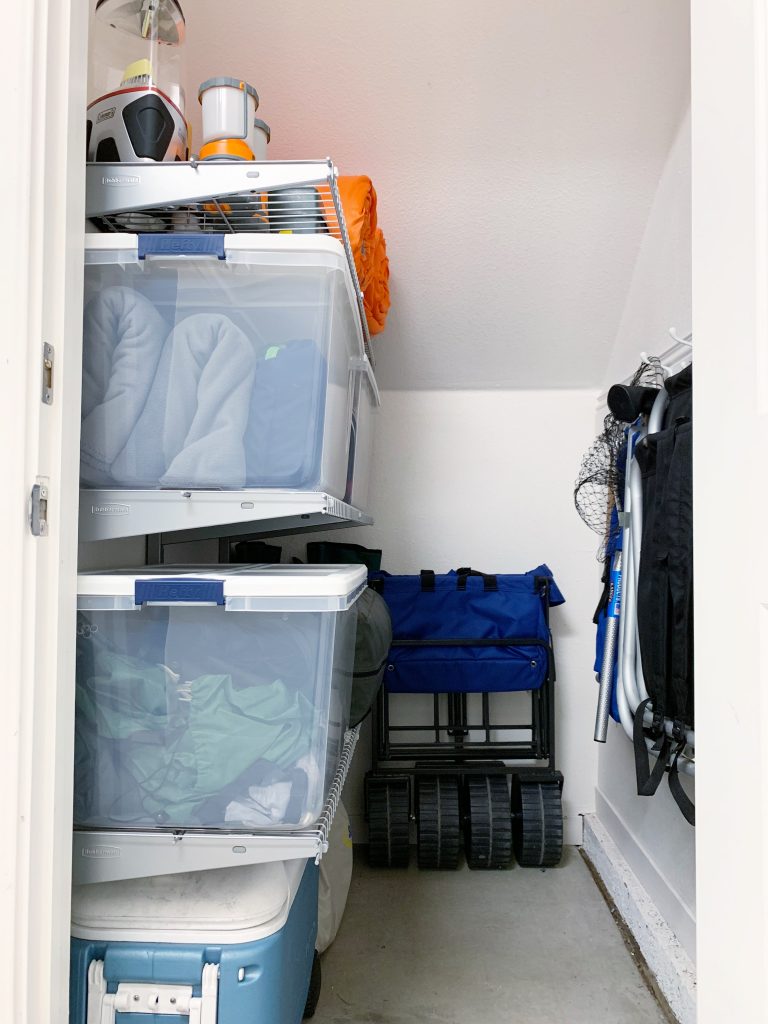
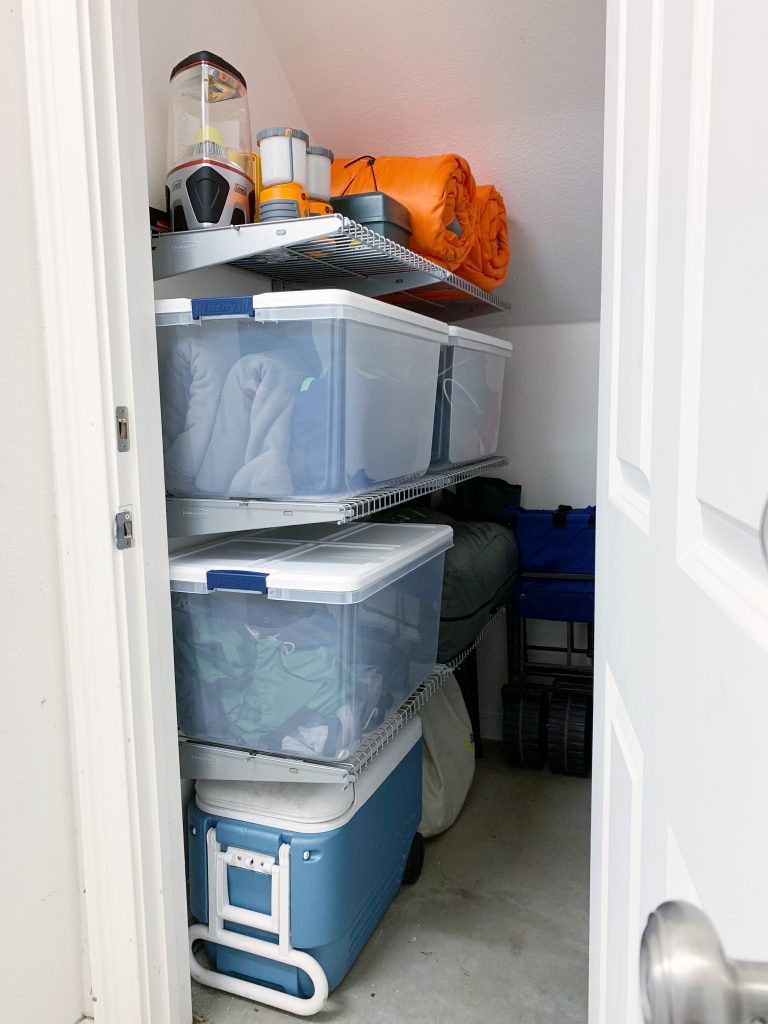
After adding bins to the space, I filled in the top shelf with sleeping bags, a tackle box and lanterns. I left the lanterns out and accessible in case they need to grab in a pinch…we’ve had a lot of power outages this season. With the odd ceiling angle in the back corner, the sleeping bags were the right fit to tuck away.
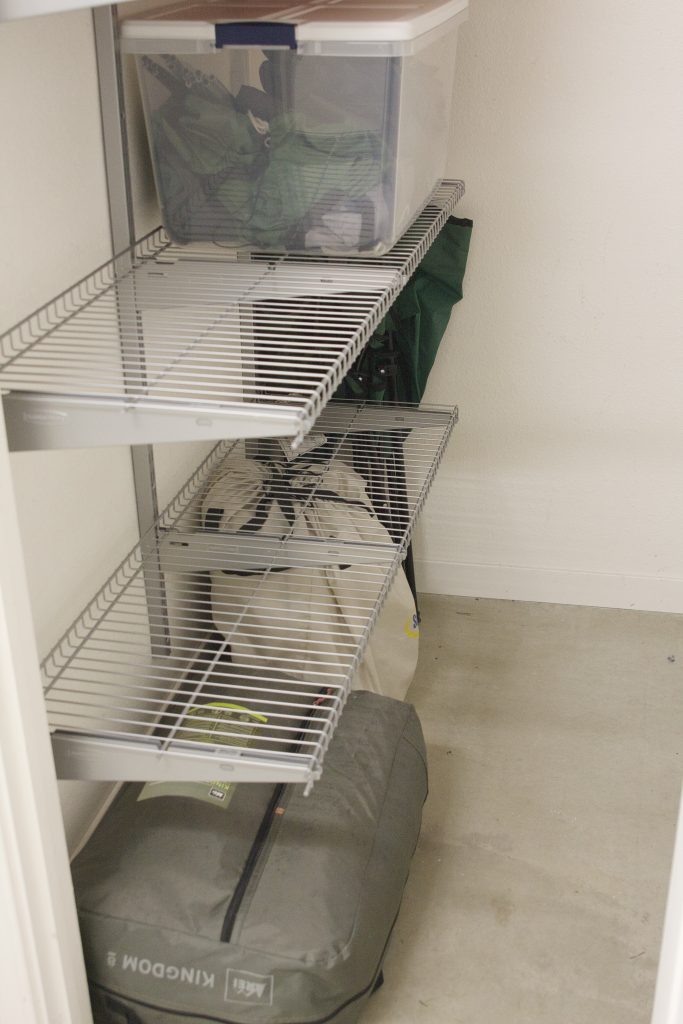
From there I continued adding items for that perfect fit! A couple camping chairs tucked in, a tent, air mattresses…all found a safe home…
Still plenty of floor space to walk in…
AFTER
SHOP THE POST
Up for the challenge in your own under stairs closet? The products I found at Lowe’s can be found right here…
Rubbermaid FastTrack Shelving System
A huge thank you to Lowe’s for partnering with me to complete this fun and easy indoor winter project! Each month I’ve been having the best time conceptualizing projects to complete based on their monthly promotions / themes. Truly, such an incredible and natural partnership!
And I hope you enjoy seeing these as well and feel inspired to do a little DIY of your own!
Back soon guys!
xx,
Sam


Gah! You make things look so easy. I had a traumatic experience with a drywall anchor. The pilot hole was fine, but when I added the anchor, it somehow hit an obstruction and went in sideways! I must have just missed the edge of a stud without realizing it. This created a giant mess of a hole in the wall. Since then, I’ve been terrified of finding studs and drilling into walls, making holes, etc.