I’ve been waiting a long time to finally share this beautiful master closet and the story behind why I was called in to help. We’re heading back to Fall of 2017 for this space and sharing it brings back overwhelming memories / feelings. A lot of them are personal, but the timeline is one you’re familiar with…
Had just finished giving my keynote in Canada, was starting the divorce process, was so down on myself and worried about the kids…but I remember feeling a small sense of hope and excitement about the road ahead. After giving the speech my goal was to do some of my best work and really build the business. Dig in. Heads down. Focused. Not distracted. Not working for free and building teflon walls / guarding my time as much as possible. I disappeared from the blog for long periods of time to do just that. I knew 2018 was going to be rough.
There’s a lot more that occurred in the Fall of 2017 and every time I think about this house and this family, it brings me right back to those days.
Anyway, one of my dearest friends built a dream home. Literally. It’s so perfect in every way that the editor of BH&G toured it last Fall with me and asked if I could submit the entire house to the magazine for consideration. Around every turn and corner, his jaw fell a little further. Can’t blame the guy! It’s truly a dream home!
Since this sweet family moved in, I’ve helped them unpack and organize the dining room, butlers pantry, kitchen & pantry…
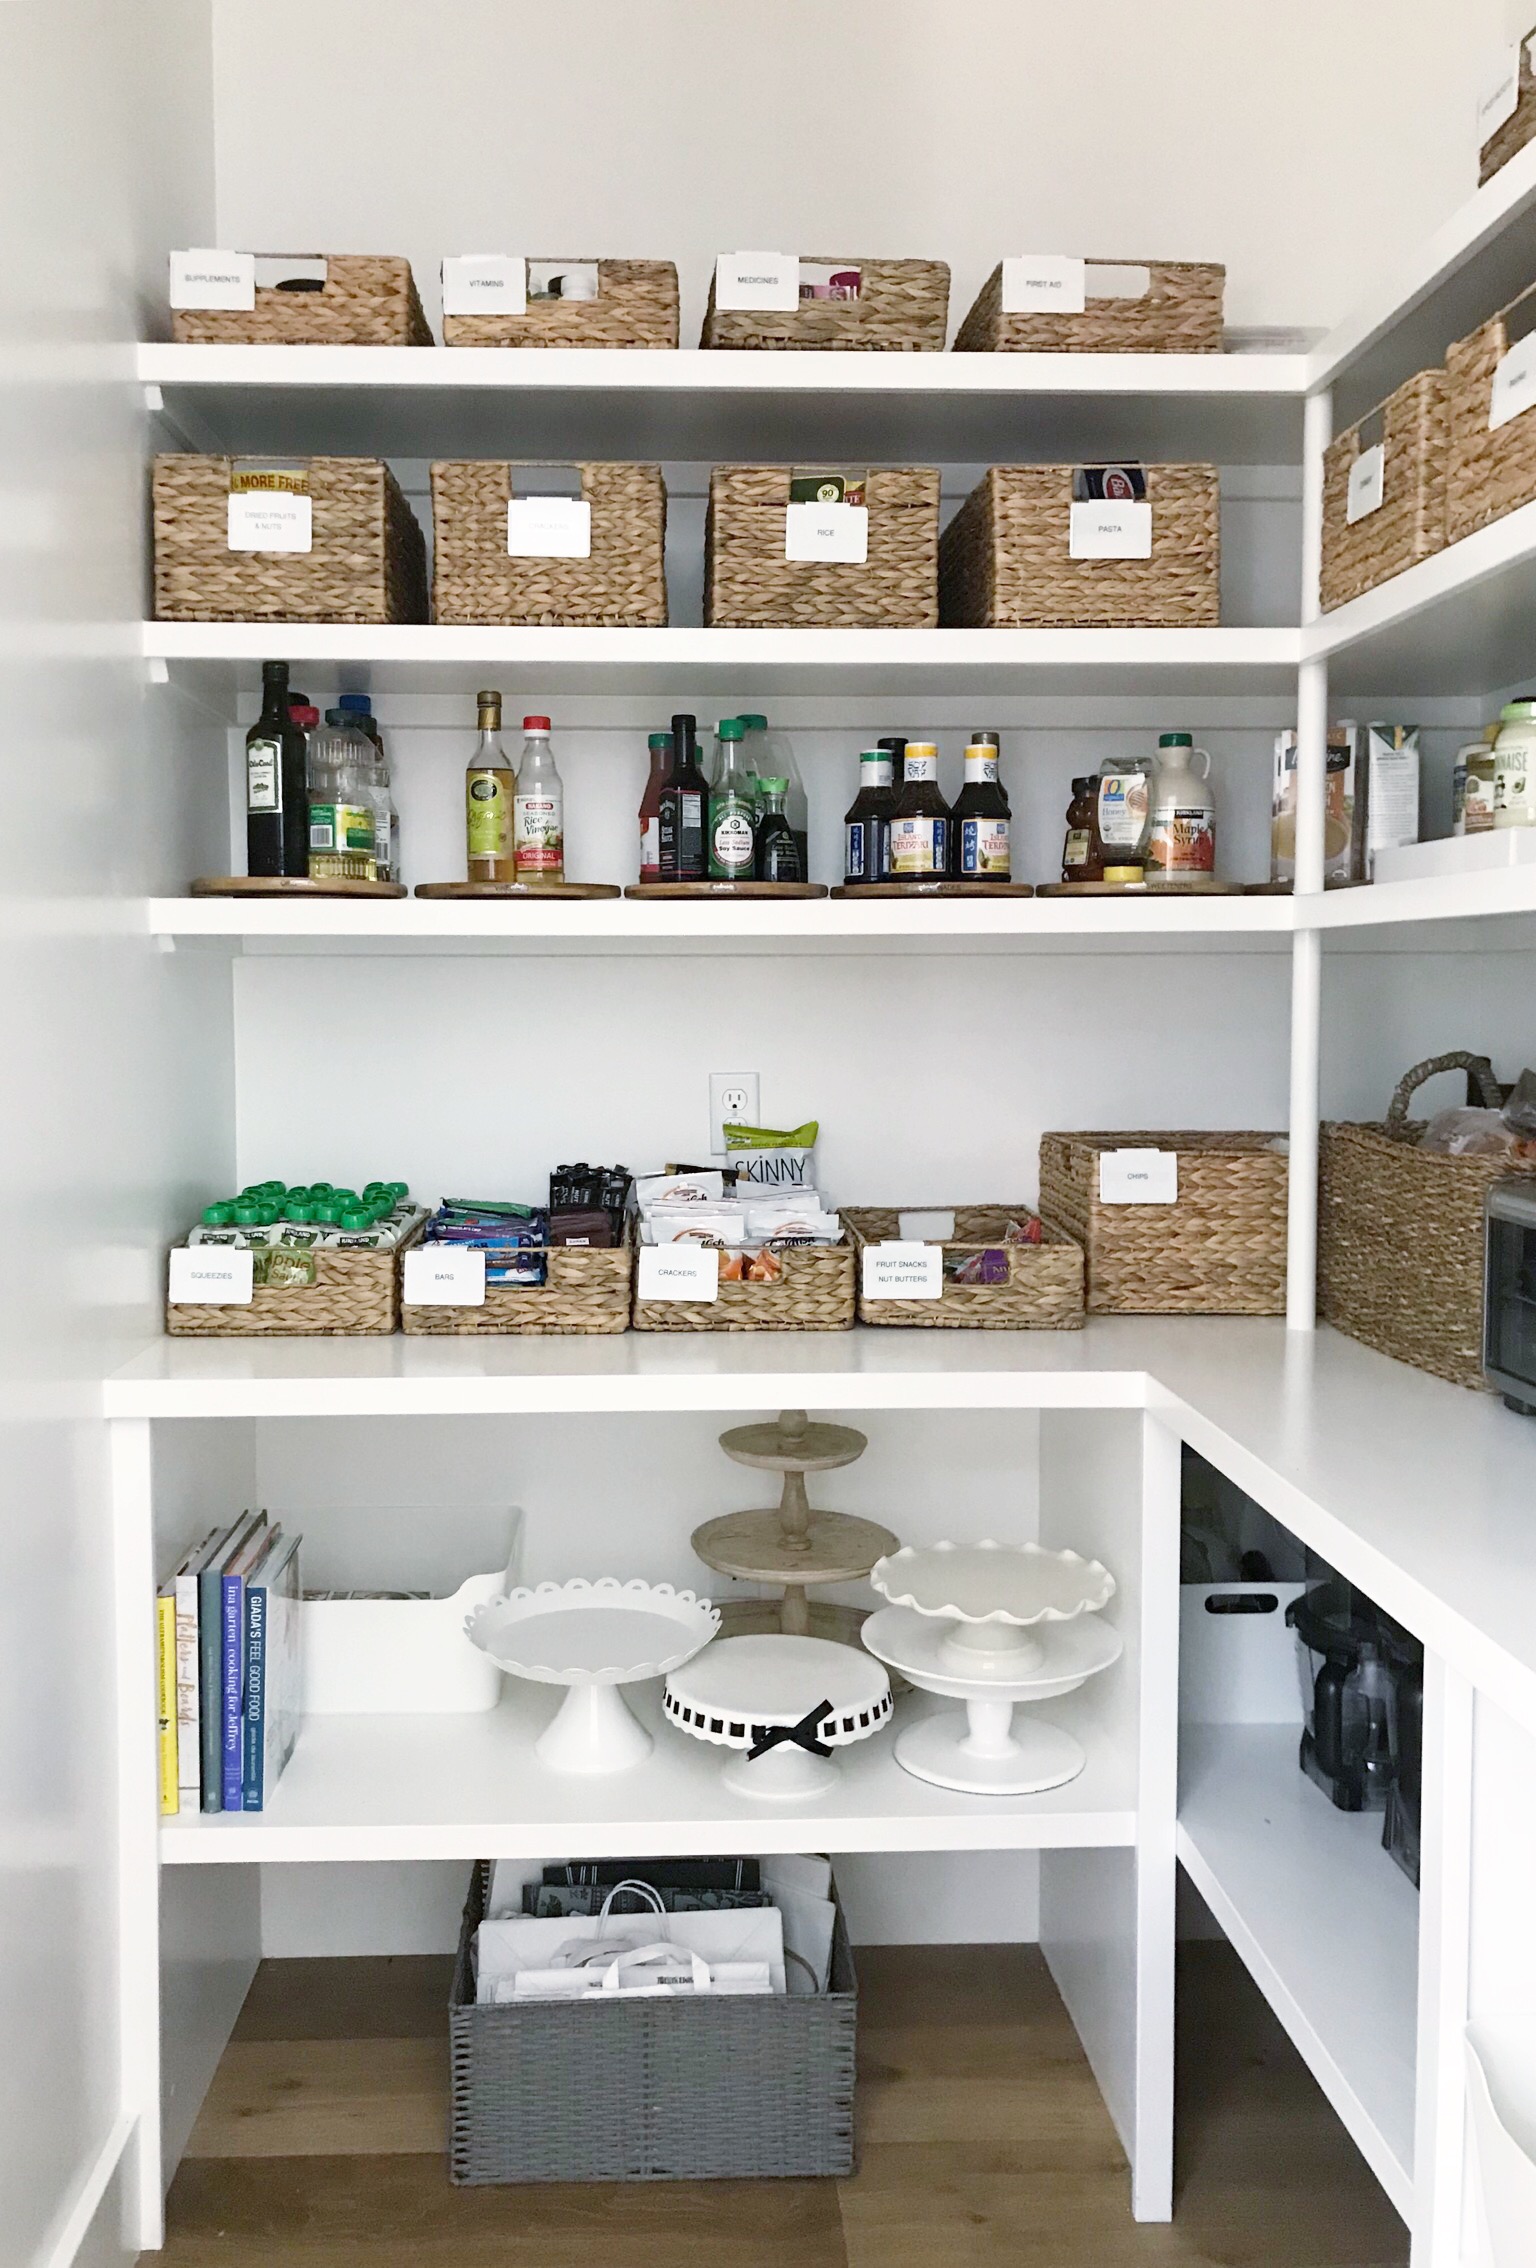
The mudroom…
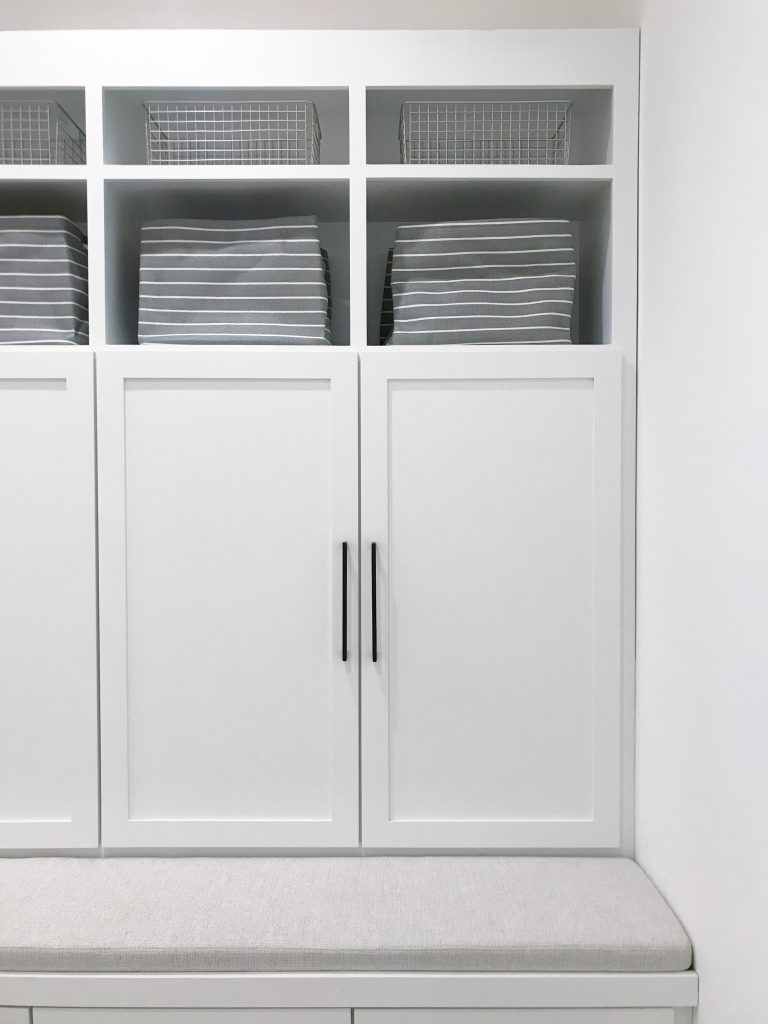
And her home office / closet. Can’t wait to share that one with you! (You’ve seen it on my social before but I just realized this closet along with her office has yet to be shared on the blog. Nice Sam!)
After the home build was complete, however, the first item of business was her master closet.
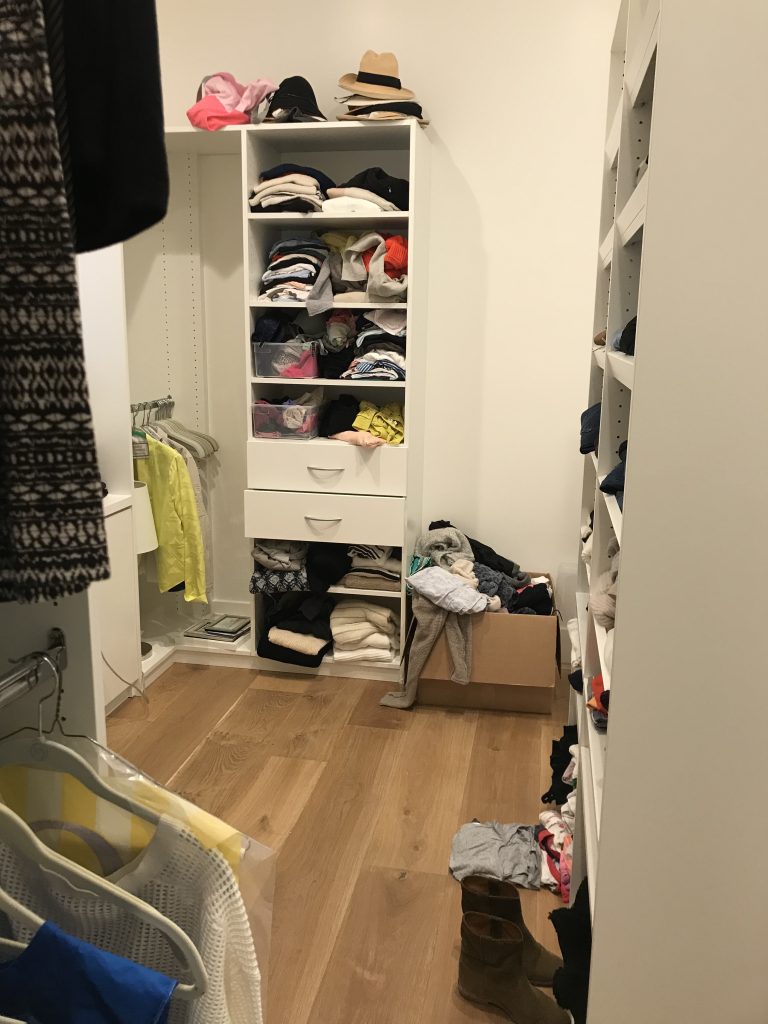
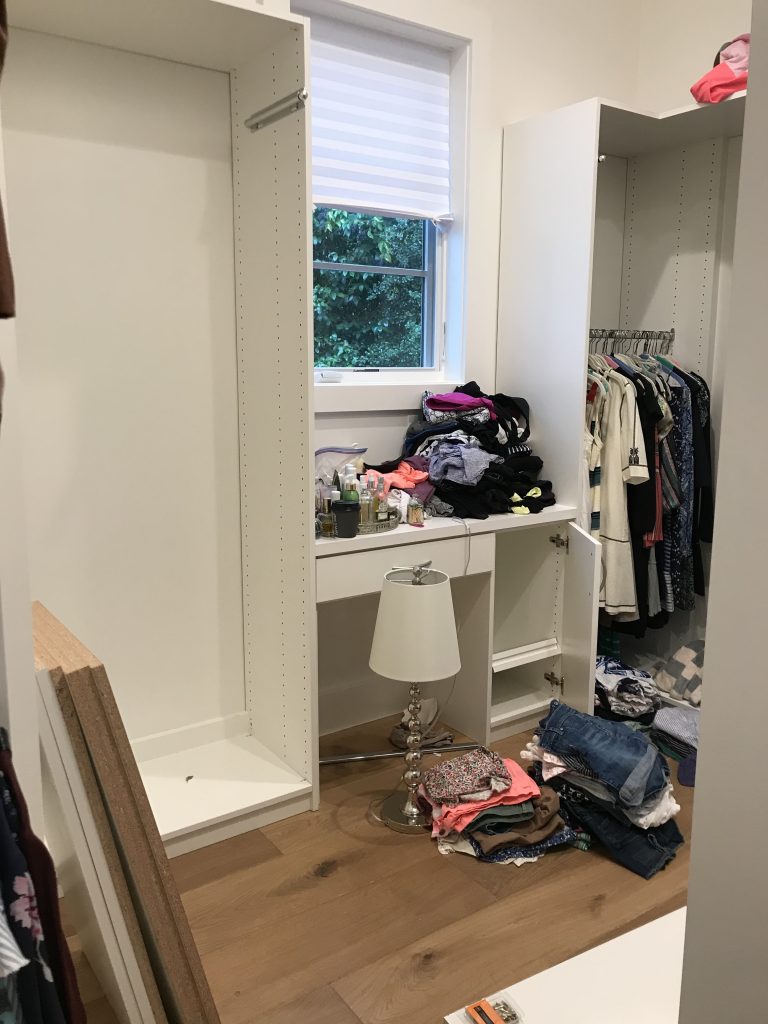
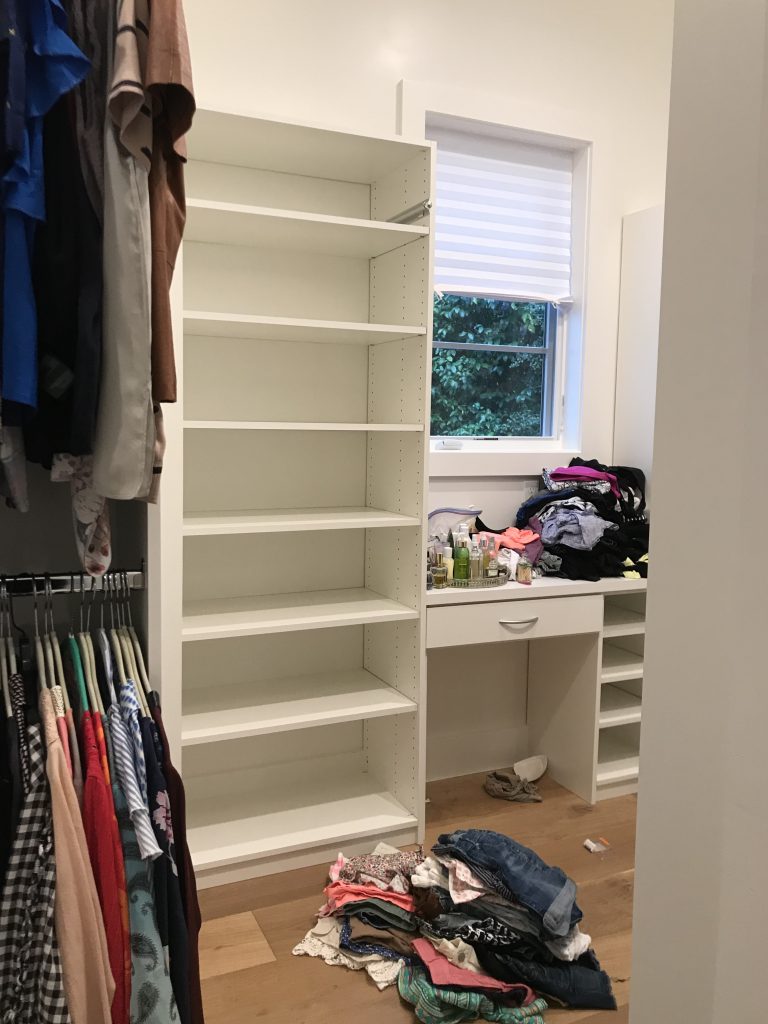
BEFORE
Most of us aren’t lucky enough to live through an entire home build. From start to finish. Demo to last finishes being installed. I know, it’s a dream to custom build your forever home, so don’t take it wrong when I tell you there were some issues. No one should complain about such an opportunity. I get it. But truth is it’s a VERY stressful and expensive process. Some of us barely make it through ONE space being renovated let alone an entire home being leveled, designed, built, and surviving the tidal wave of bajillion and one decisions made during the process.
This family went through a lot during this period of time…not only with home build stress and expenses, but family stuff too. With everything going on, on top of it all, she was suffering from serious migraines. When she called me to help her unpack and get a little more settled. I dropped everything to help.
Over the course of a few days I unpacked and organized the kitchen and tried to get the pantry set up so they could begin living there / feeling a little more at home. But her master closet was HIGH on the priority list…
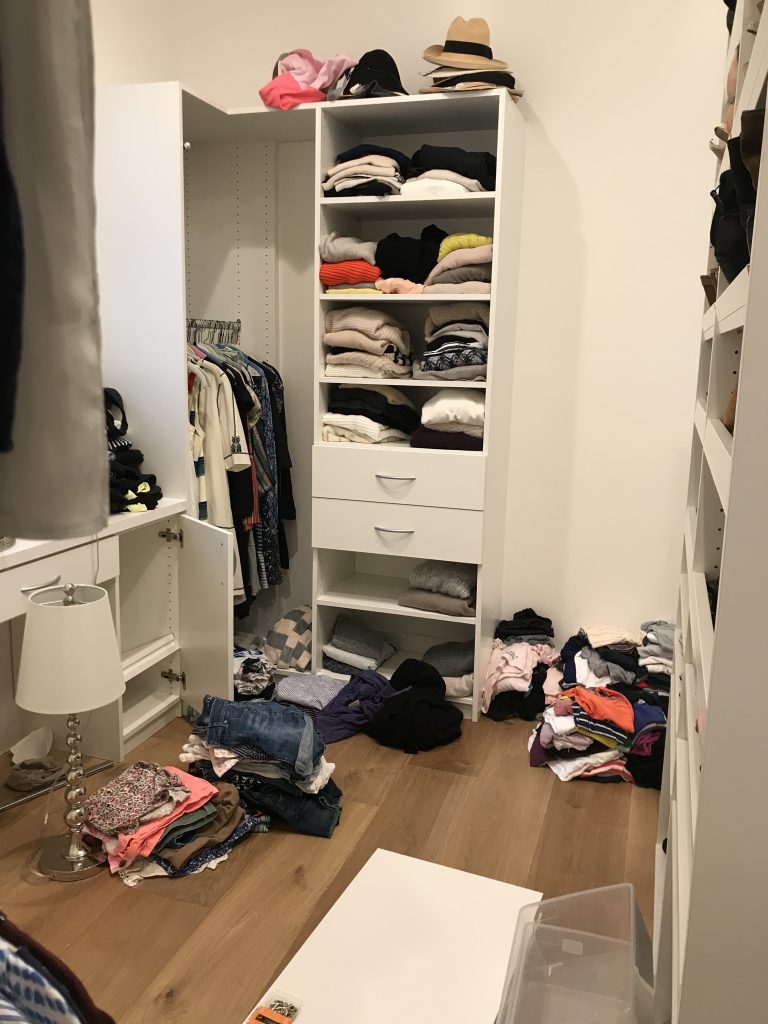
With a move, the first areas you want set up are the beds, the kitchen and the bathrooms / closets. Other spaces can wait, but these are always top of the list. Her SWEET husband wanted to surprise her with a custom closet in the space carved out for her behind the master bathroom. Pressed for time, he quickly had a closet company design / install the space…
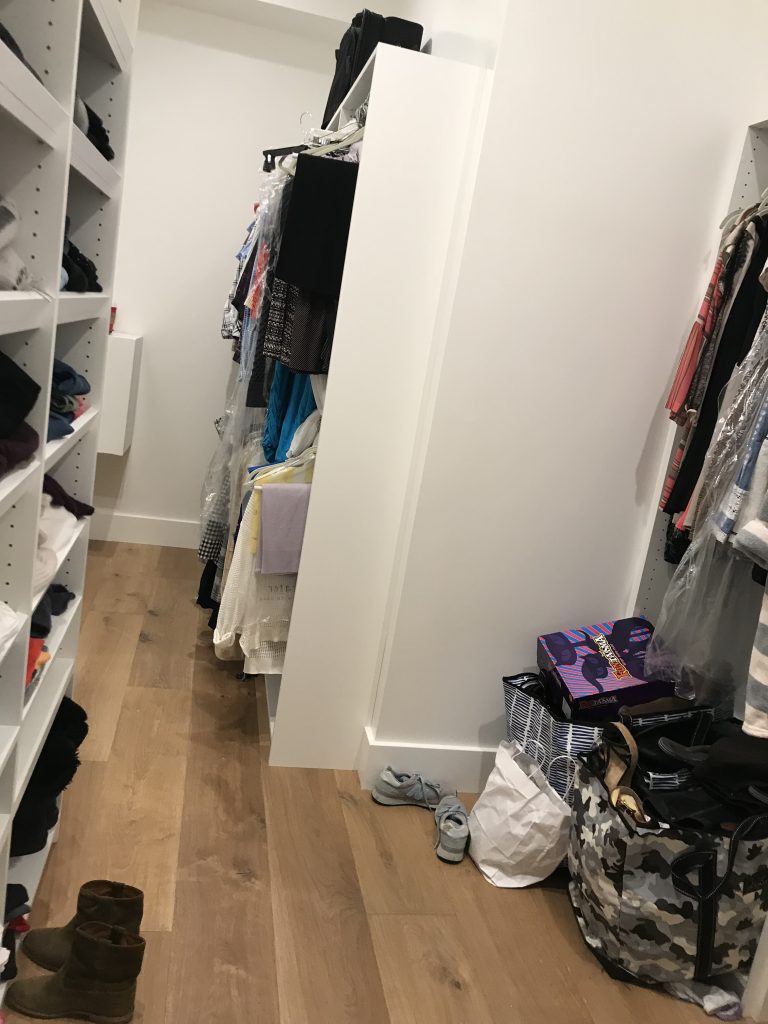
Totally sweet of him and the designer didn’t do a bad job – except they didn’t really plan in very much shelving. There are only a couple drawers AND the shoe shelves were slanted.
If you don’t know – I don’t like slanted shoe shelves…and you shouldn’t either. They really do waste space.
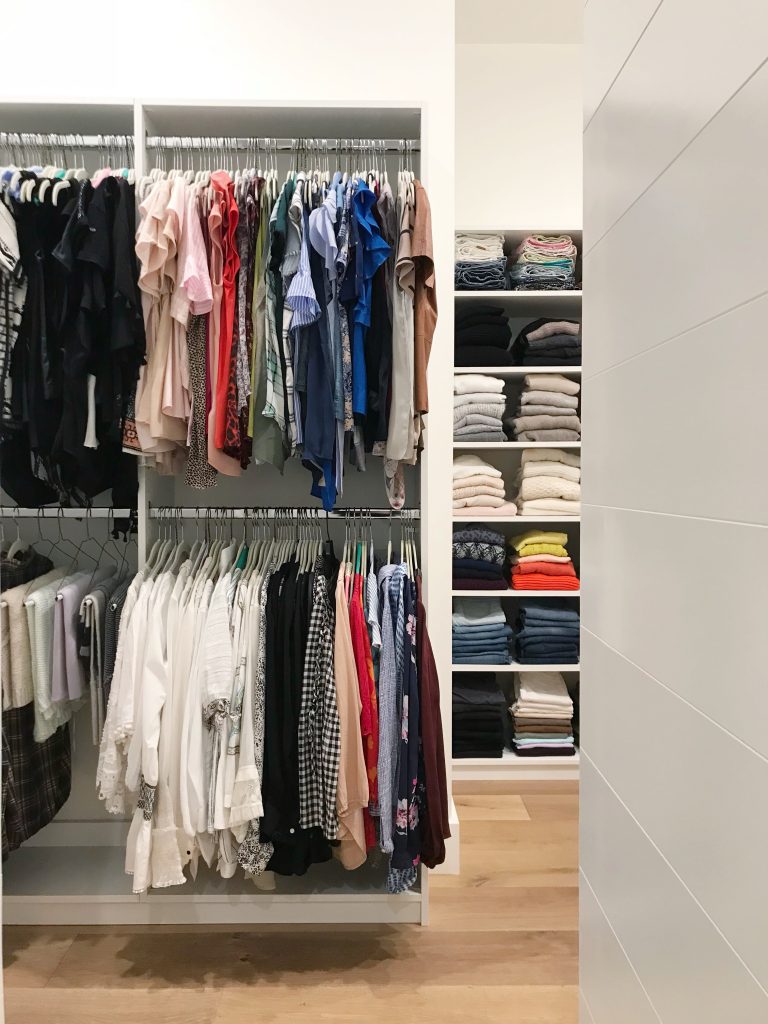
AFTER
Not a big deal. I am all about fixing spaces as they are…no need to have the closet company back out to update.
Where we had a win in our corner was all of the hanging space / bays. The one thing you can ALWAYS turn around in a challenging or non-efficient closet design is by removing the hanging rods to add shelving. It’s a simple and easy fix and gives you more room.
For example, the large hanging section on the right went from this…
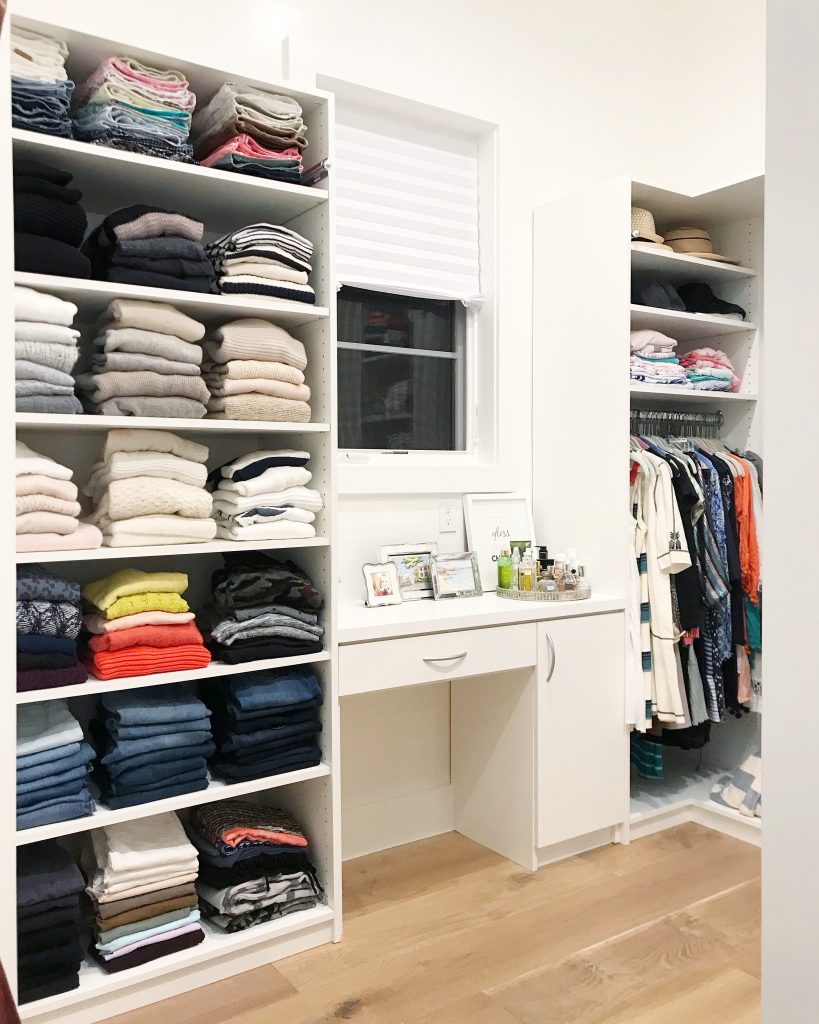
To this!…
And all it took was 6 melamine shelf cuts!…You can see the shelves propped up here before I installed them…
She already had 6 short hang areas, so there wasn’t the need for another section of 2 short hangs…adding those shelves was the solution. You can see I also added a few shelves in the small cabinet area under her vanity…
In the corner section you see below, I kept the long hanging area and added a couple shelves above it for hats…
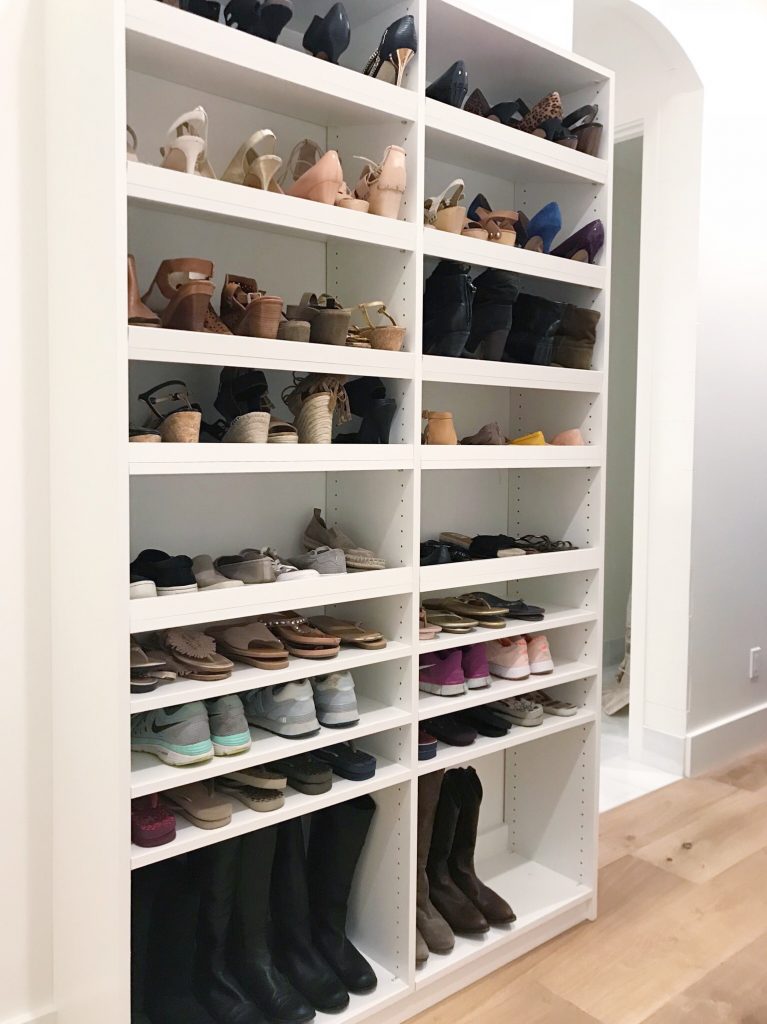
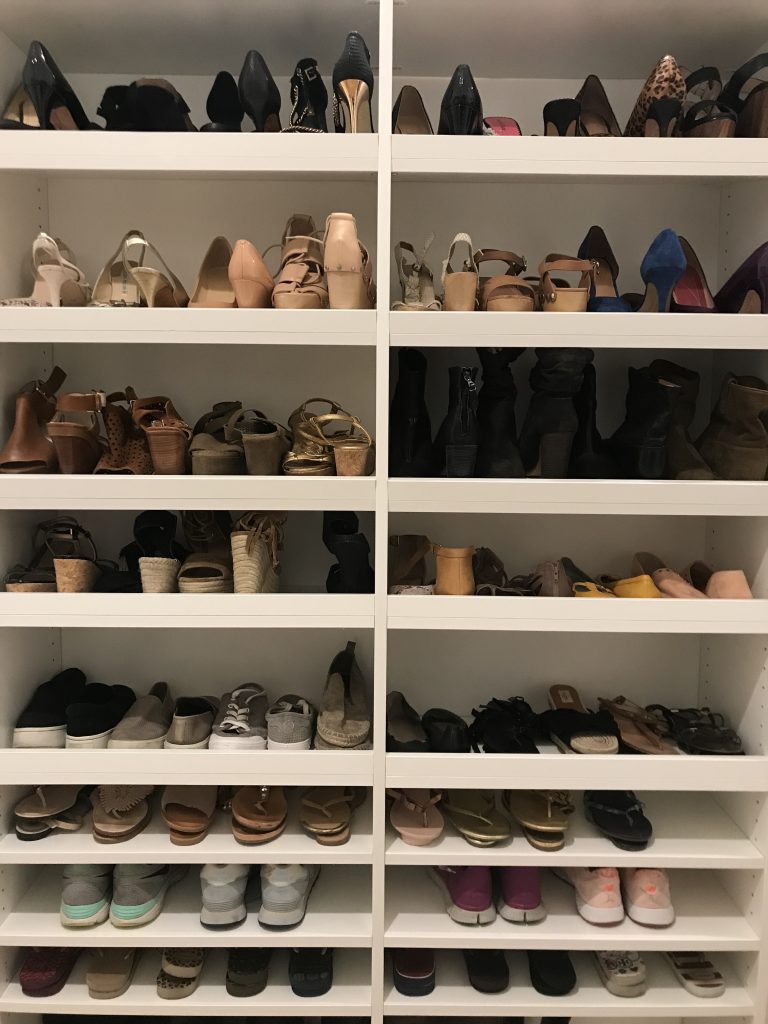
In her shoe section, I leveled the shelves to make them flat and added more shelving. She has a lot of flats and flip flops, and if that’s the case in your own closet, consider adding shelves closer together so not an inch is wasted…
Am sure you already know this tip, but if you’re really tight on space place your shoes heel to toe. You’ll gain more storage…
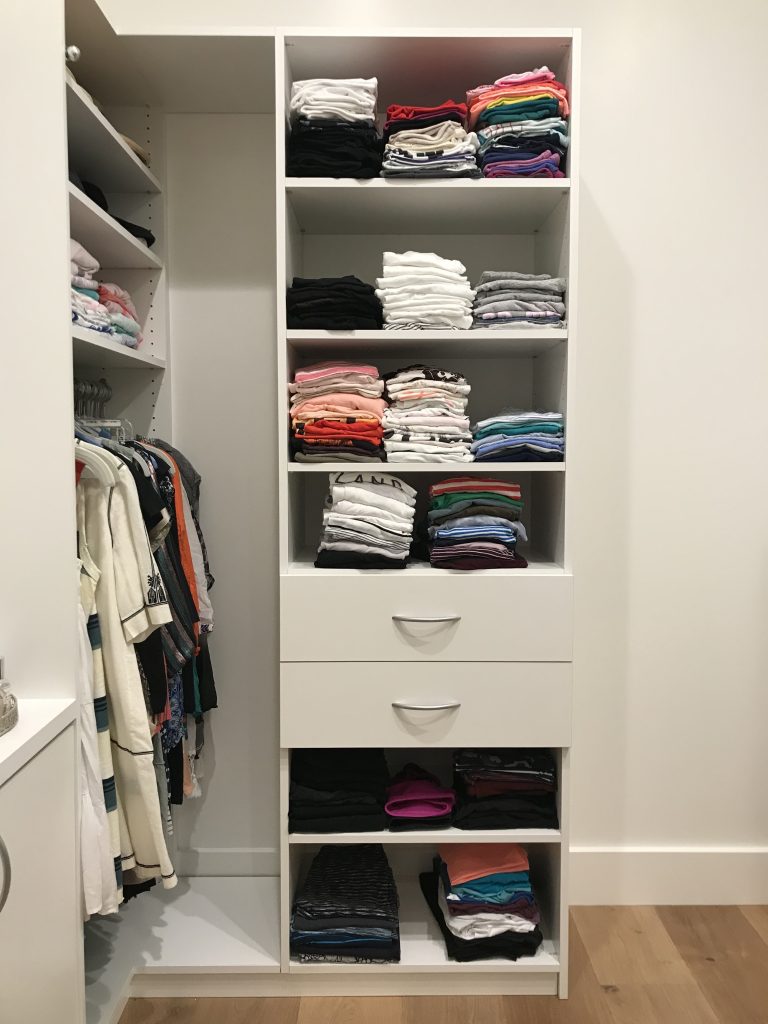
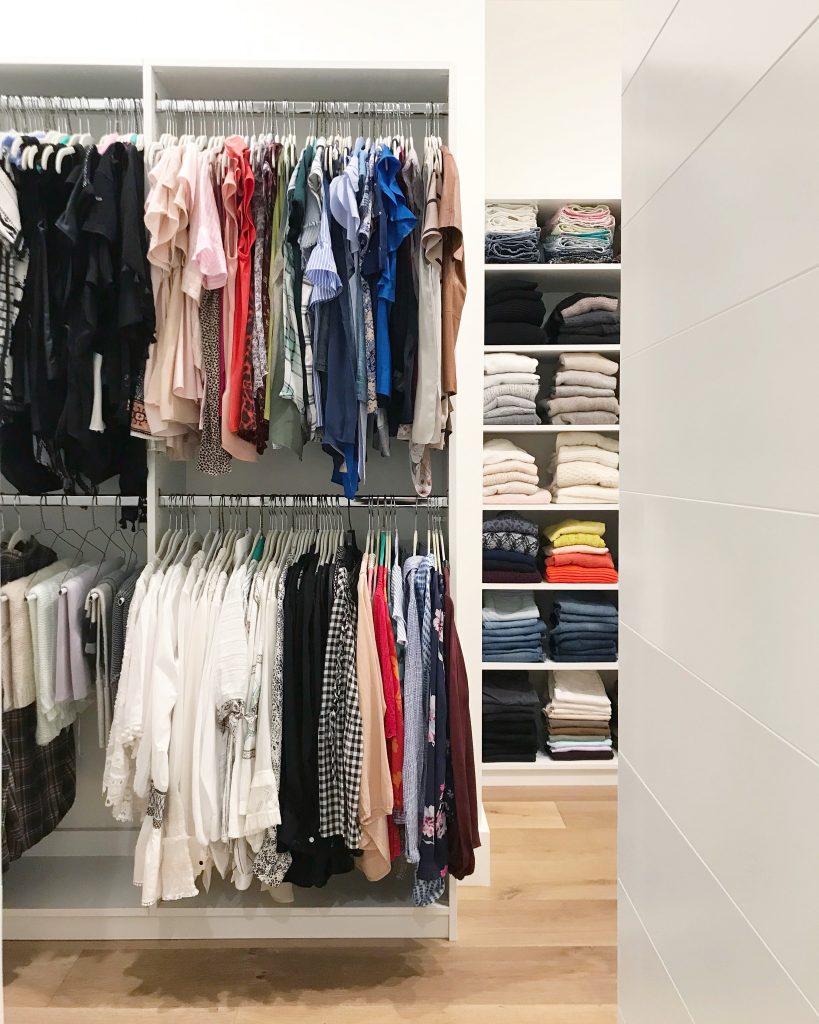
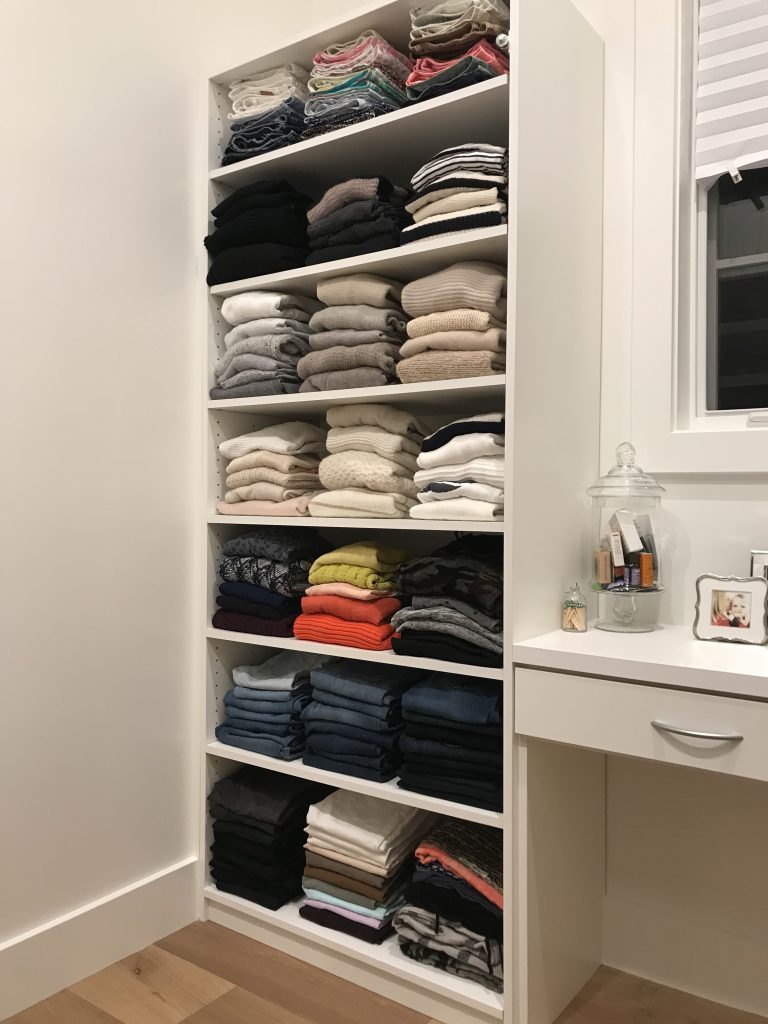
I do wish we had more drawers, but in the meantime folding by category helps!…
In the large folded section, I put out of season shorts up top with jeans and pants below. Remember, this was organized in the Fall. All she has to do is rotate the shorts down when spring and summer are here…
All it took was a few shelves and some re-organization of the space to make it work out just fine! No added custom closet expenses.
This closet makes me smile every time I see it…but not as much as when I see this mom. She recently started a flower business and is crushing it. Big time!
Can’t wait to share more about her business and more spaces around her gorgeous home!
Back soon guys!
xx,
Sam
* some affiliate links were used for your convenience. you pay nothing more by clicking any link anywhere on this site. i promise! thank you for supporting this blog so that i can continue to deliver excellent, new content for you! xoxo


This looks great! What a good way to make a few tweaks to an existing system that’s not quite living up to its potential!