Remember when I shared my word of the year? In case you missed it, I made mention of it here last week. The word is SIMPLIFY. We’ll dive into my word, how I chose it and more in the coming weeks (it’s not too late to claim your own!) but am proud to share I’m making good freaking strides on simplifying around here.
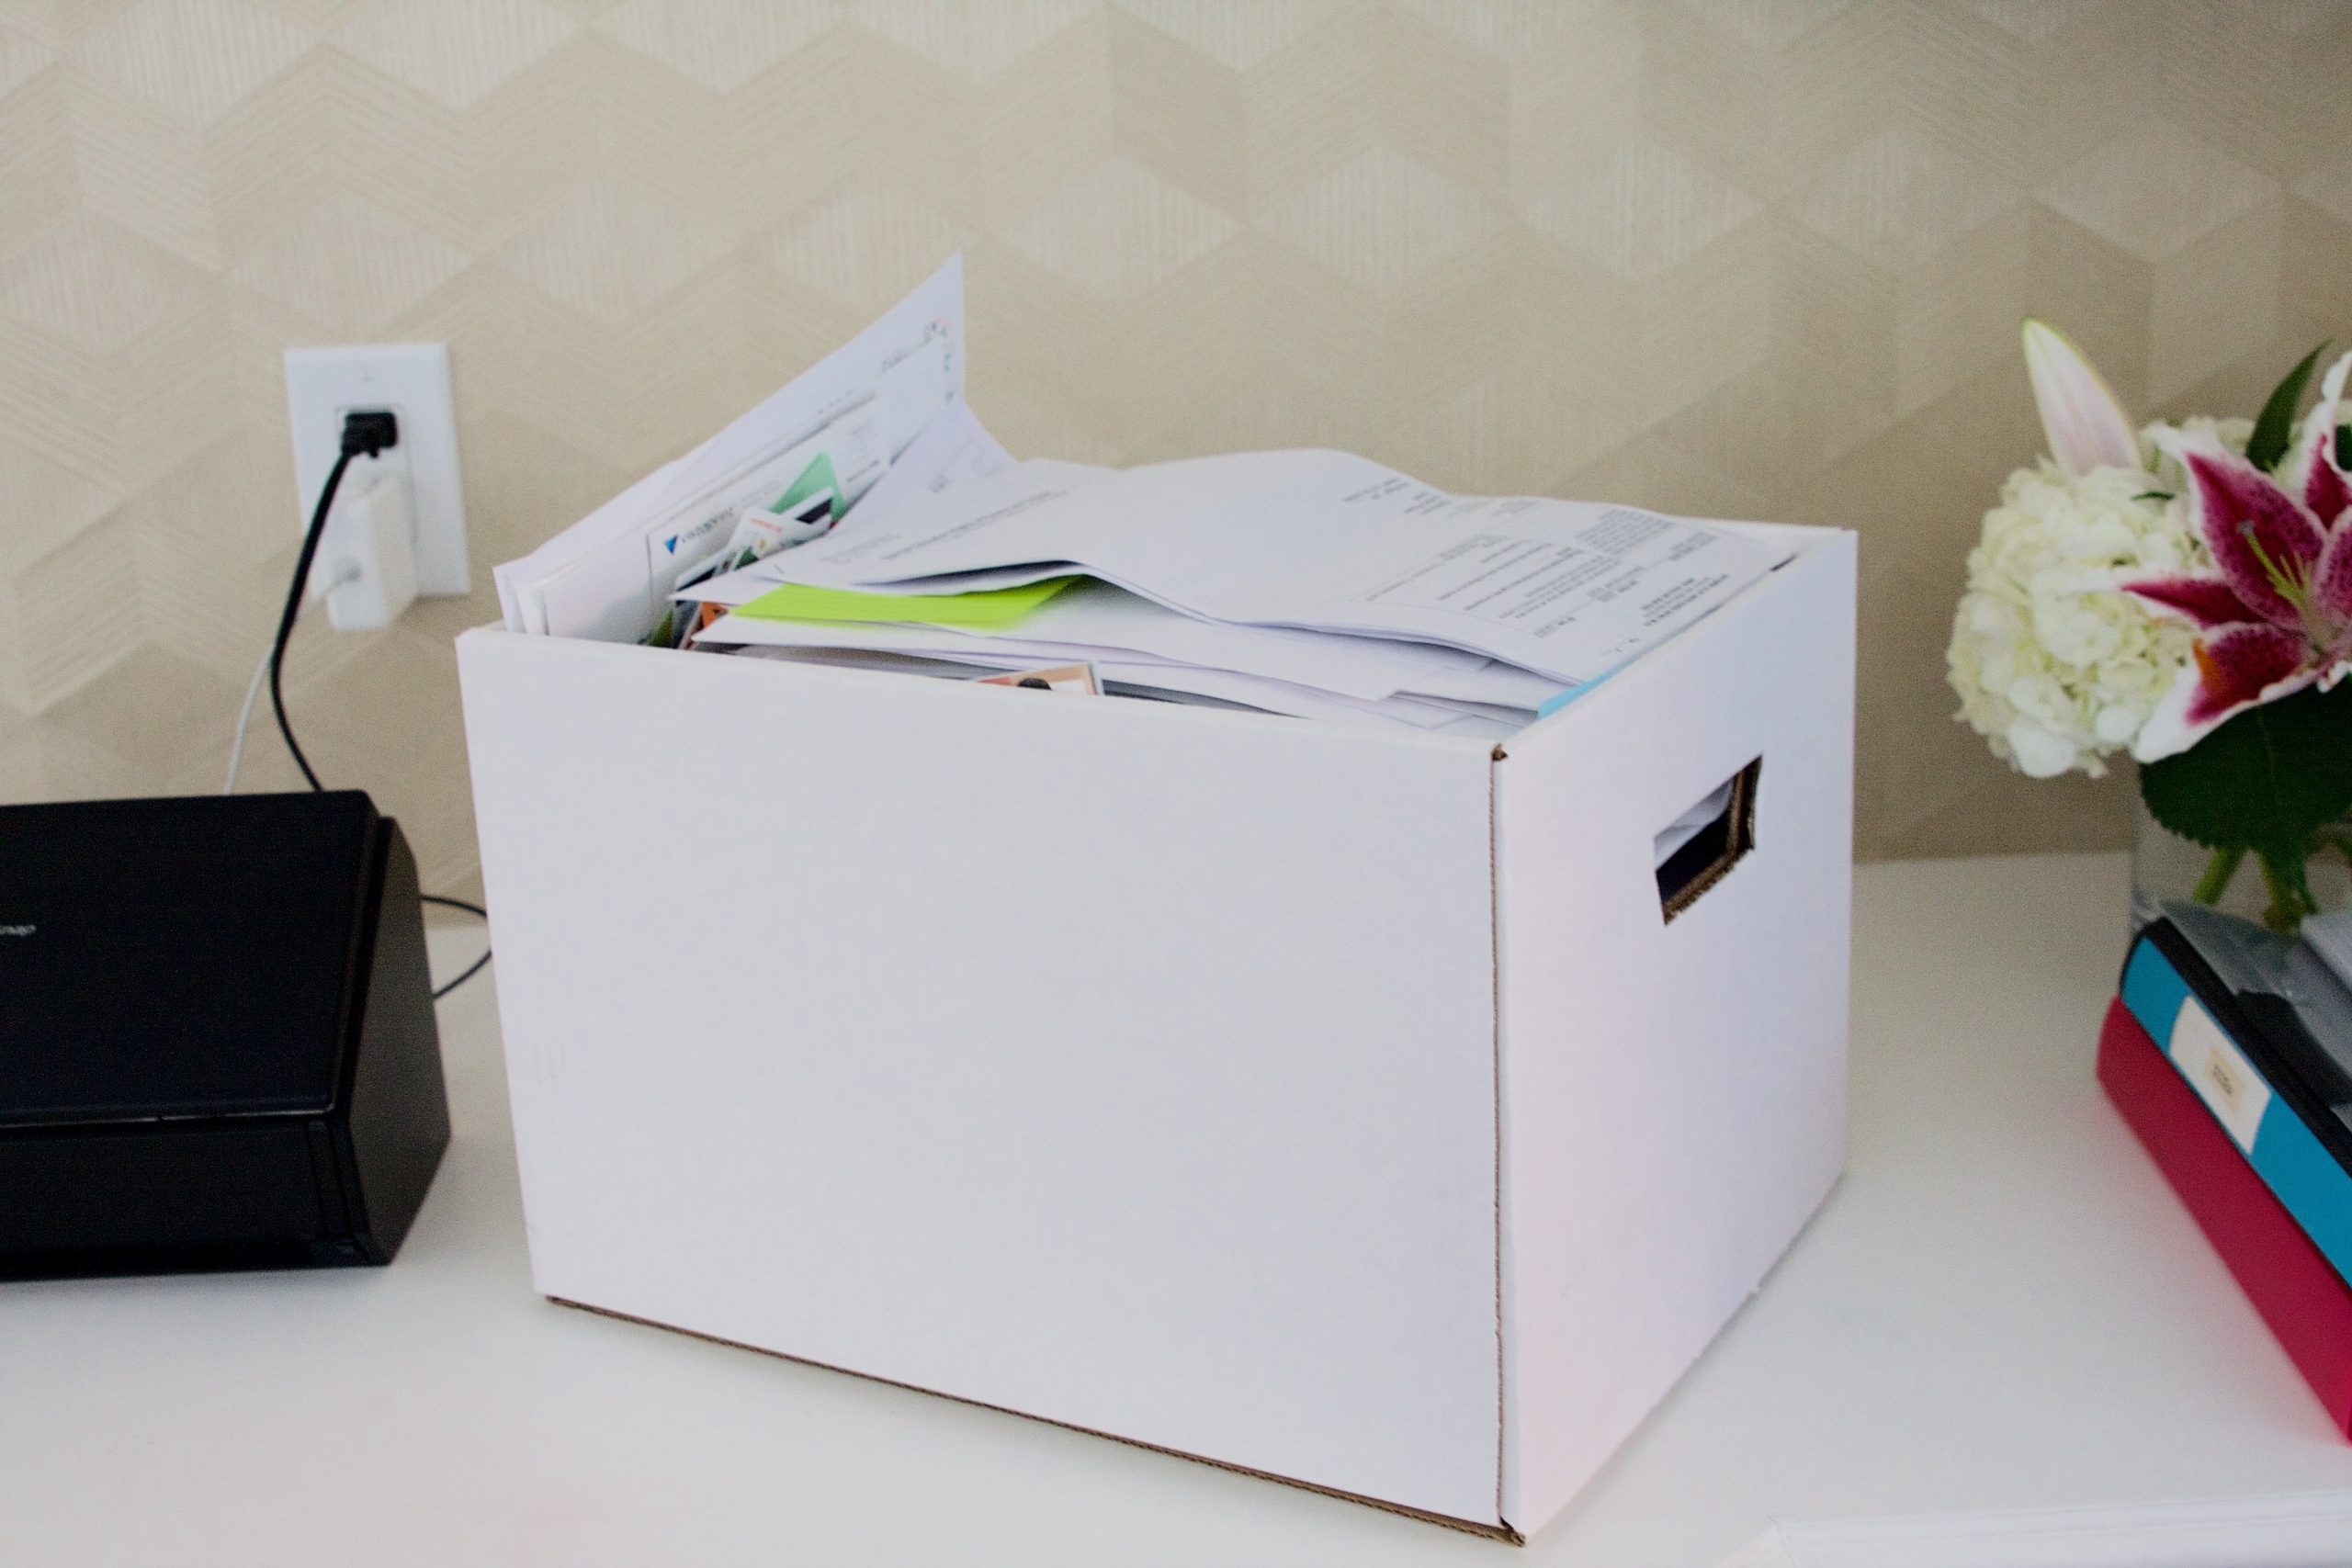
Last week I cleaned out / reorganized the fridge and pantry. I continued my work on simplifying internal parts of the business. Said no to quite a few things – personal and professional. Also said yes to the right things – personal and professional. But the biggest accomplishment last week was taking this pile…

And turning it into this…
See that shiny new printer cart? It was my incentive and reward for getting through this big scanning project.
I’m not going to lie – scanning is one of tasks that’s mundane and takes time (depending on how much paper you’re working with). But in the end you will be GRATEFUL and HAPPY to have it completed. You’ll feel LIGHTER in your office / home / work space. You’ll feel organized, know where everything is … and the biggest benefit is your ability to access important things from ANYWHERE.
While scanning takes time, it’s VERY EASY and today I’m sharing my simple, easy method to get you going on the right track.
MY SCANNER
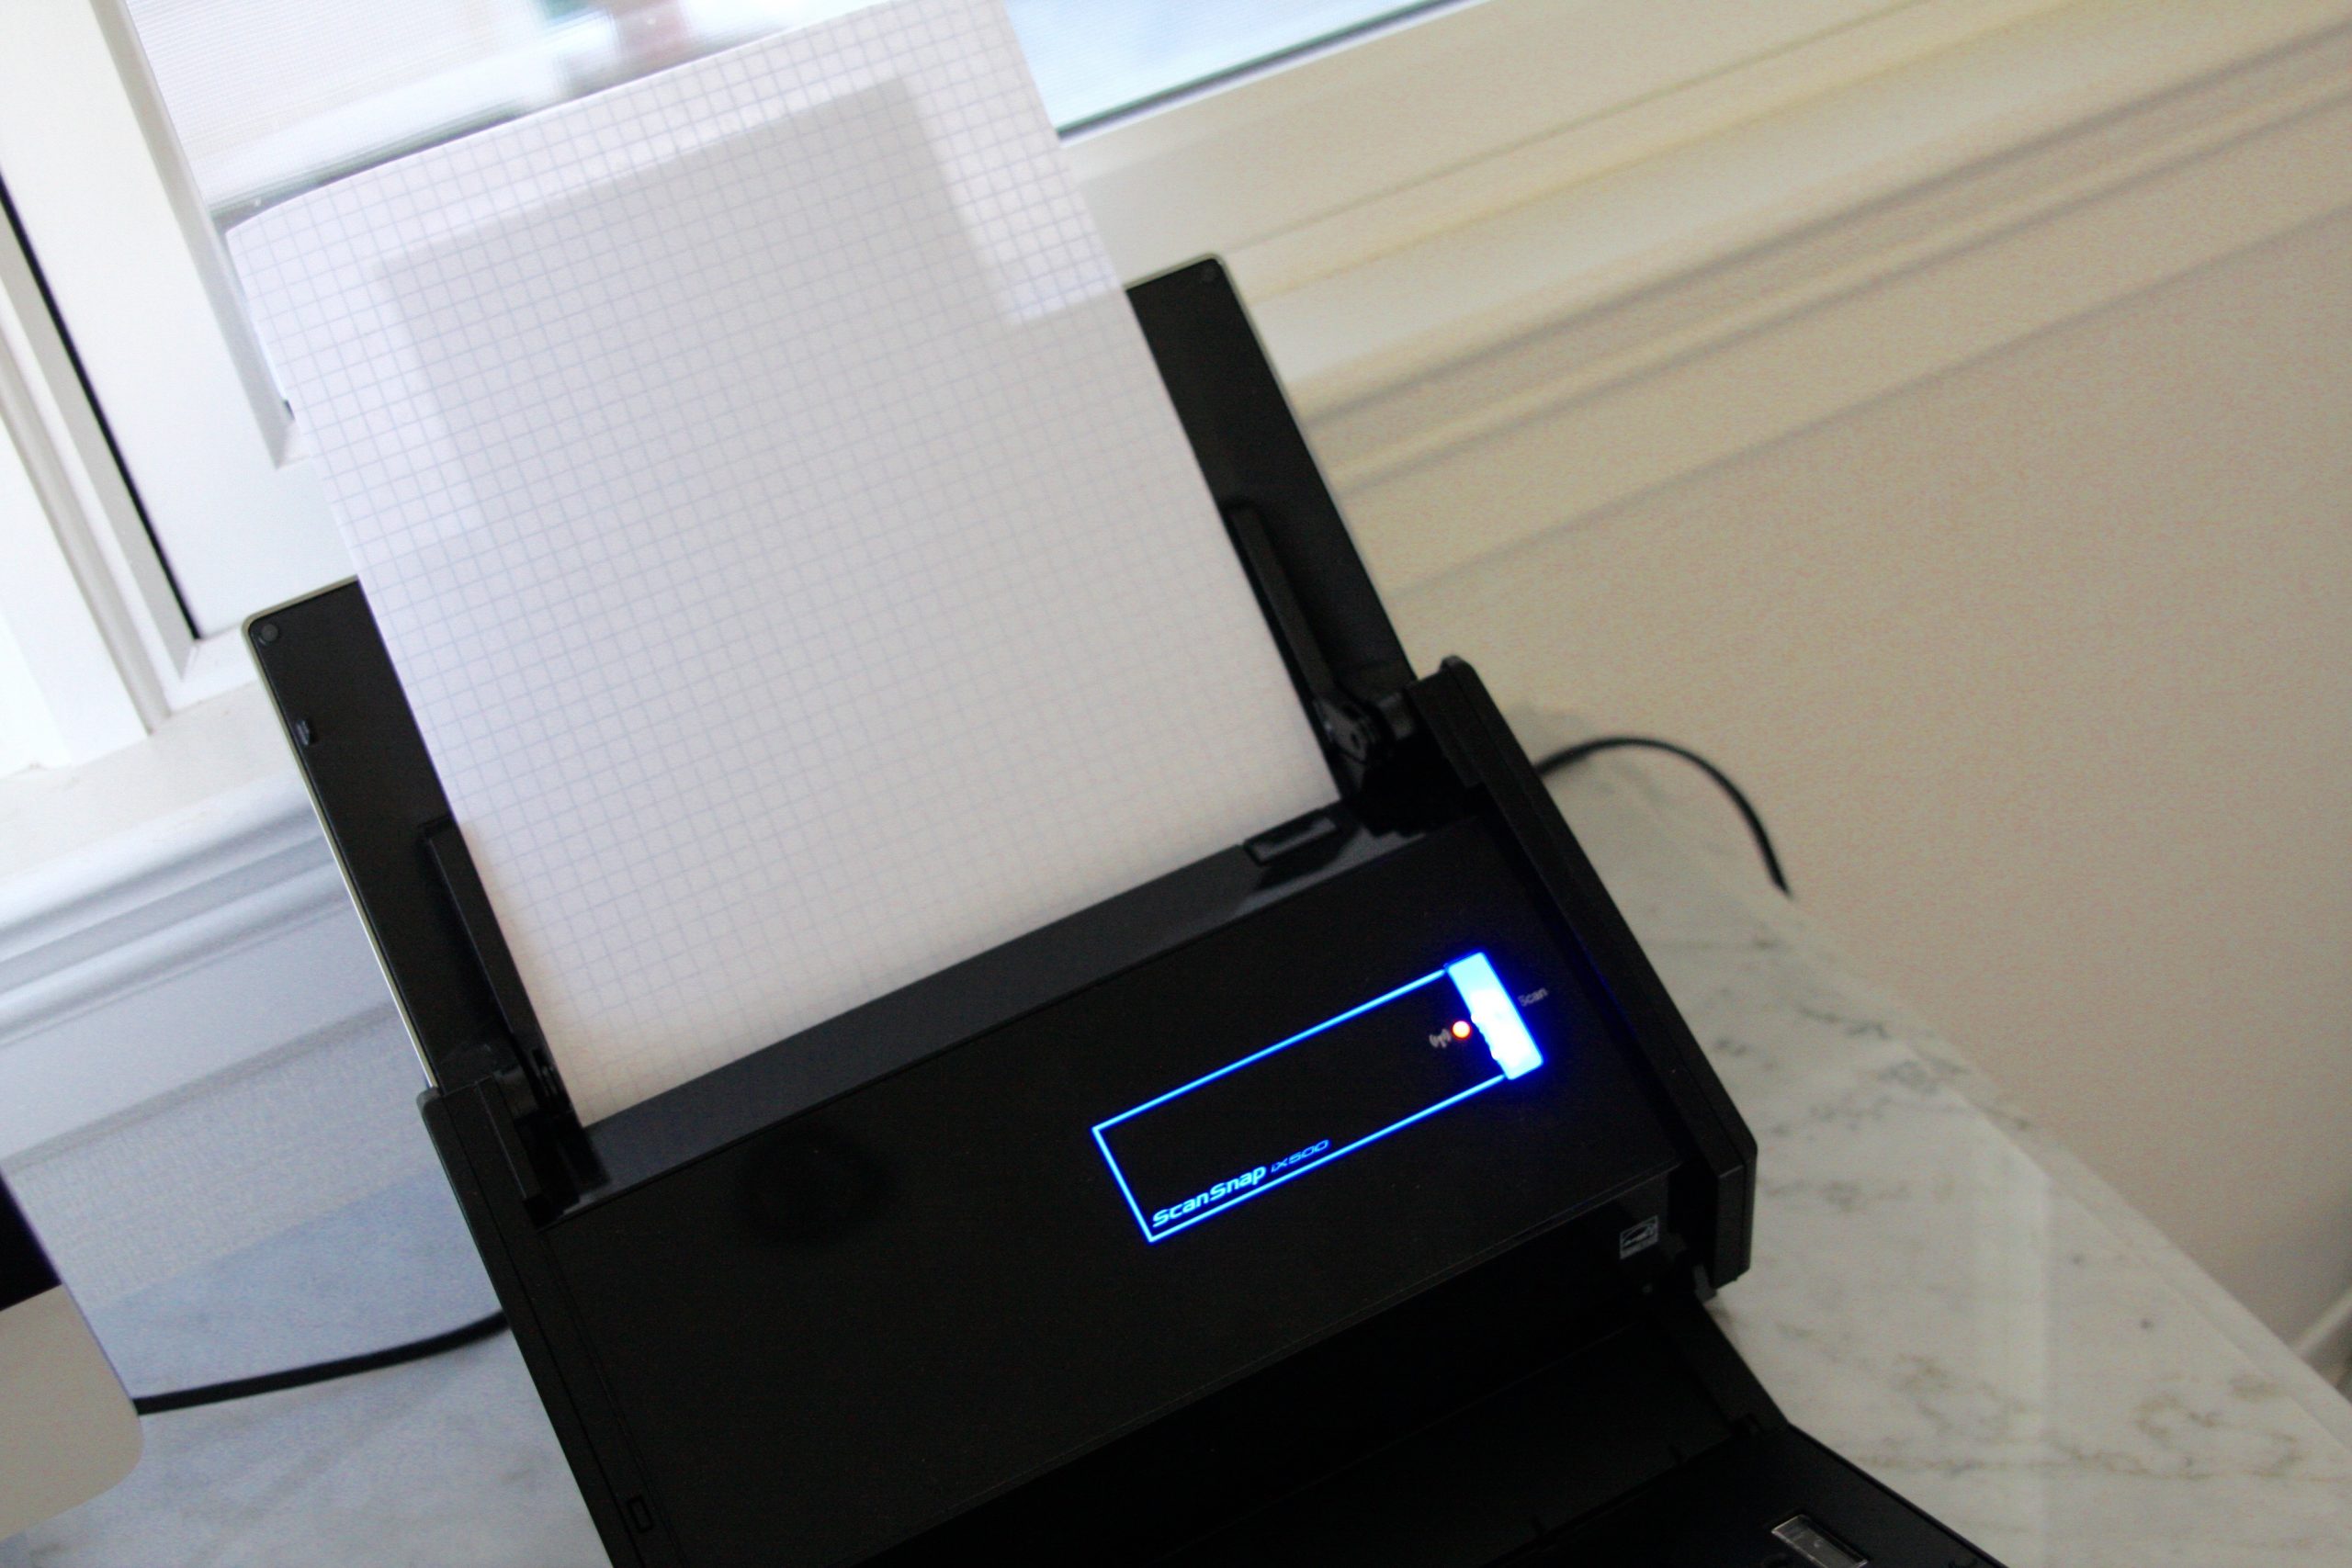
I’m going to break down a few key elements for successful, easy scanning, but it all begins with a quality scanner. Because scanning takes a little time, if you have a product that takes too long, jams the paper or doesn’t accept more than a few pages at a time, you’ll get frustrated and throw in the towel. Investing in a good scanner is important.
The scanner I use is a Fujitsu ScanSnap – no, this isn’t a sponsored post. This is the actual scanner I use personally and professionally – and the one most recommended within the professional organizer community. Which is why I purchased one a few years ago…

It folds into a cube when not in use, is lightweight and powerful.
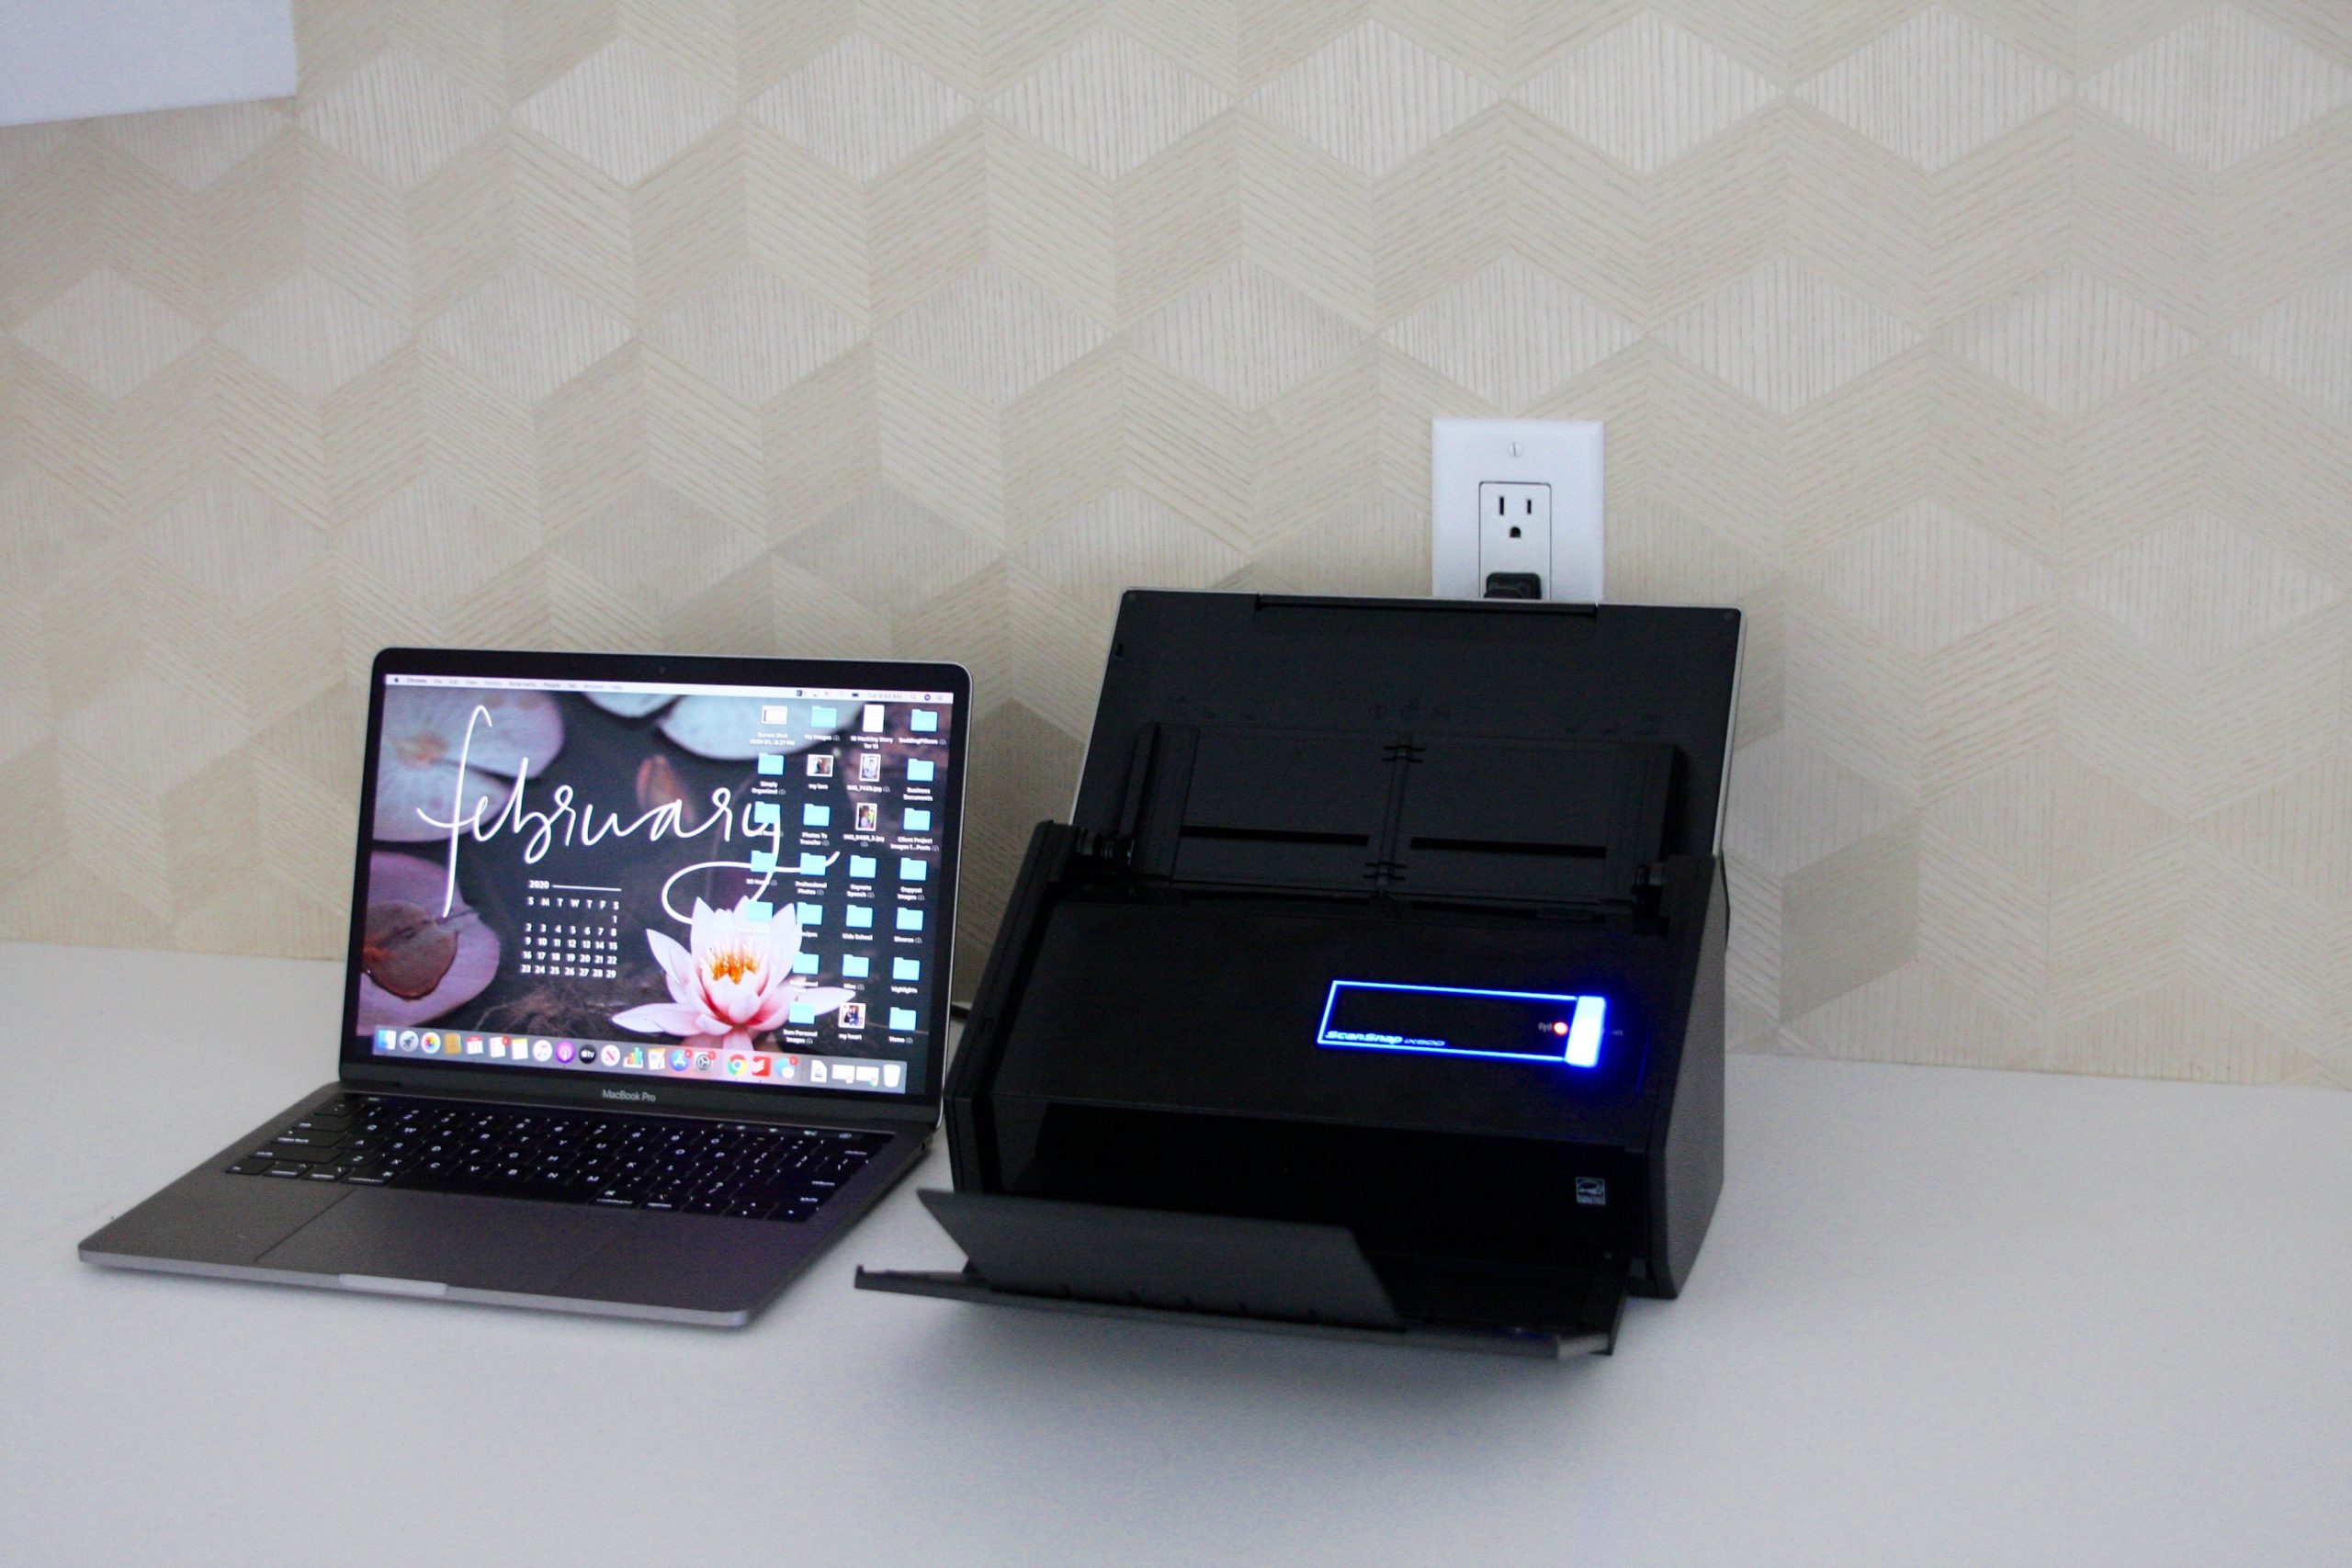
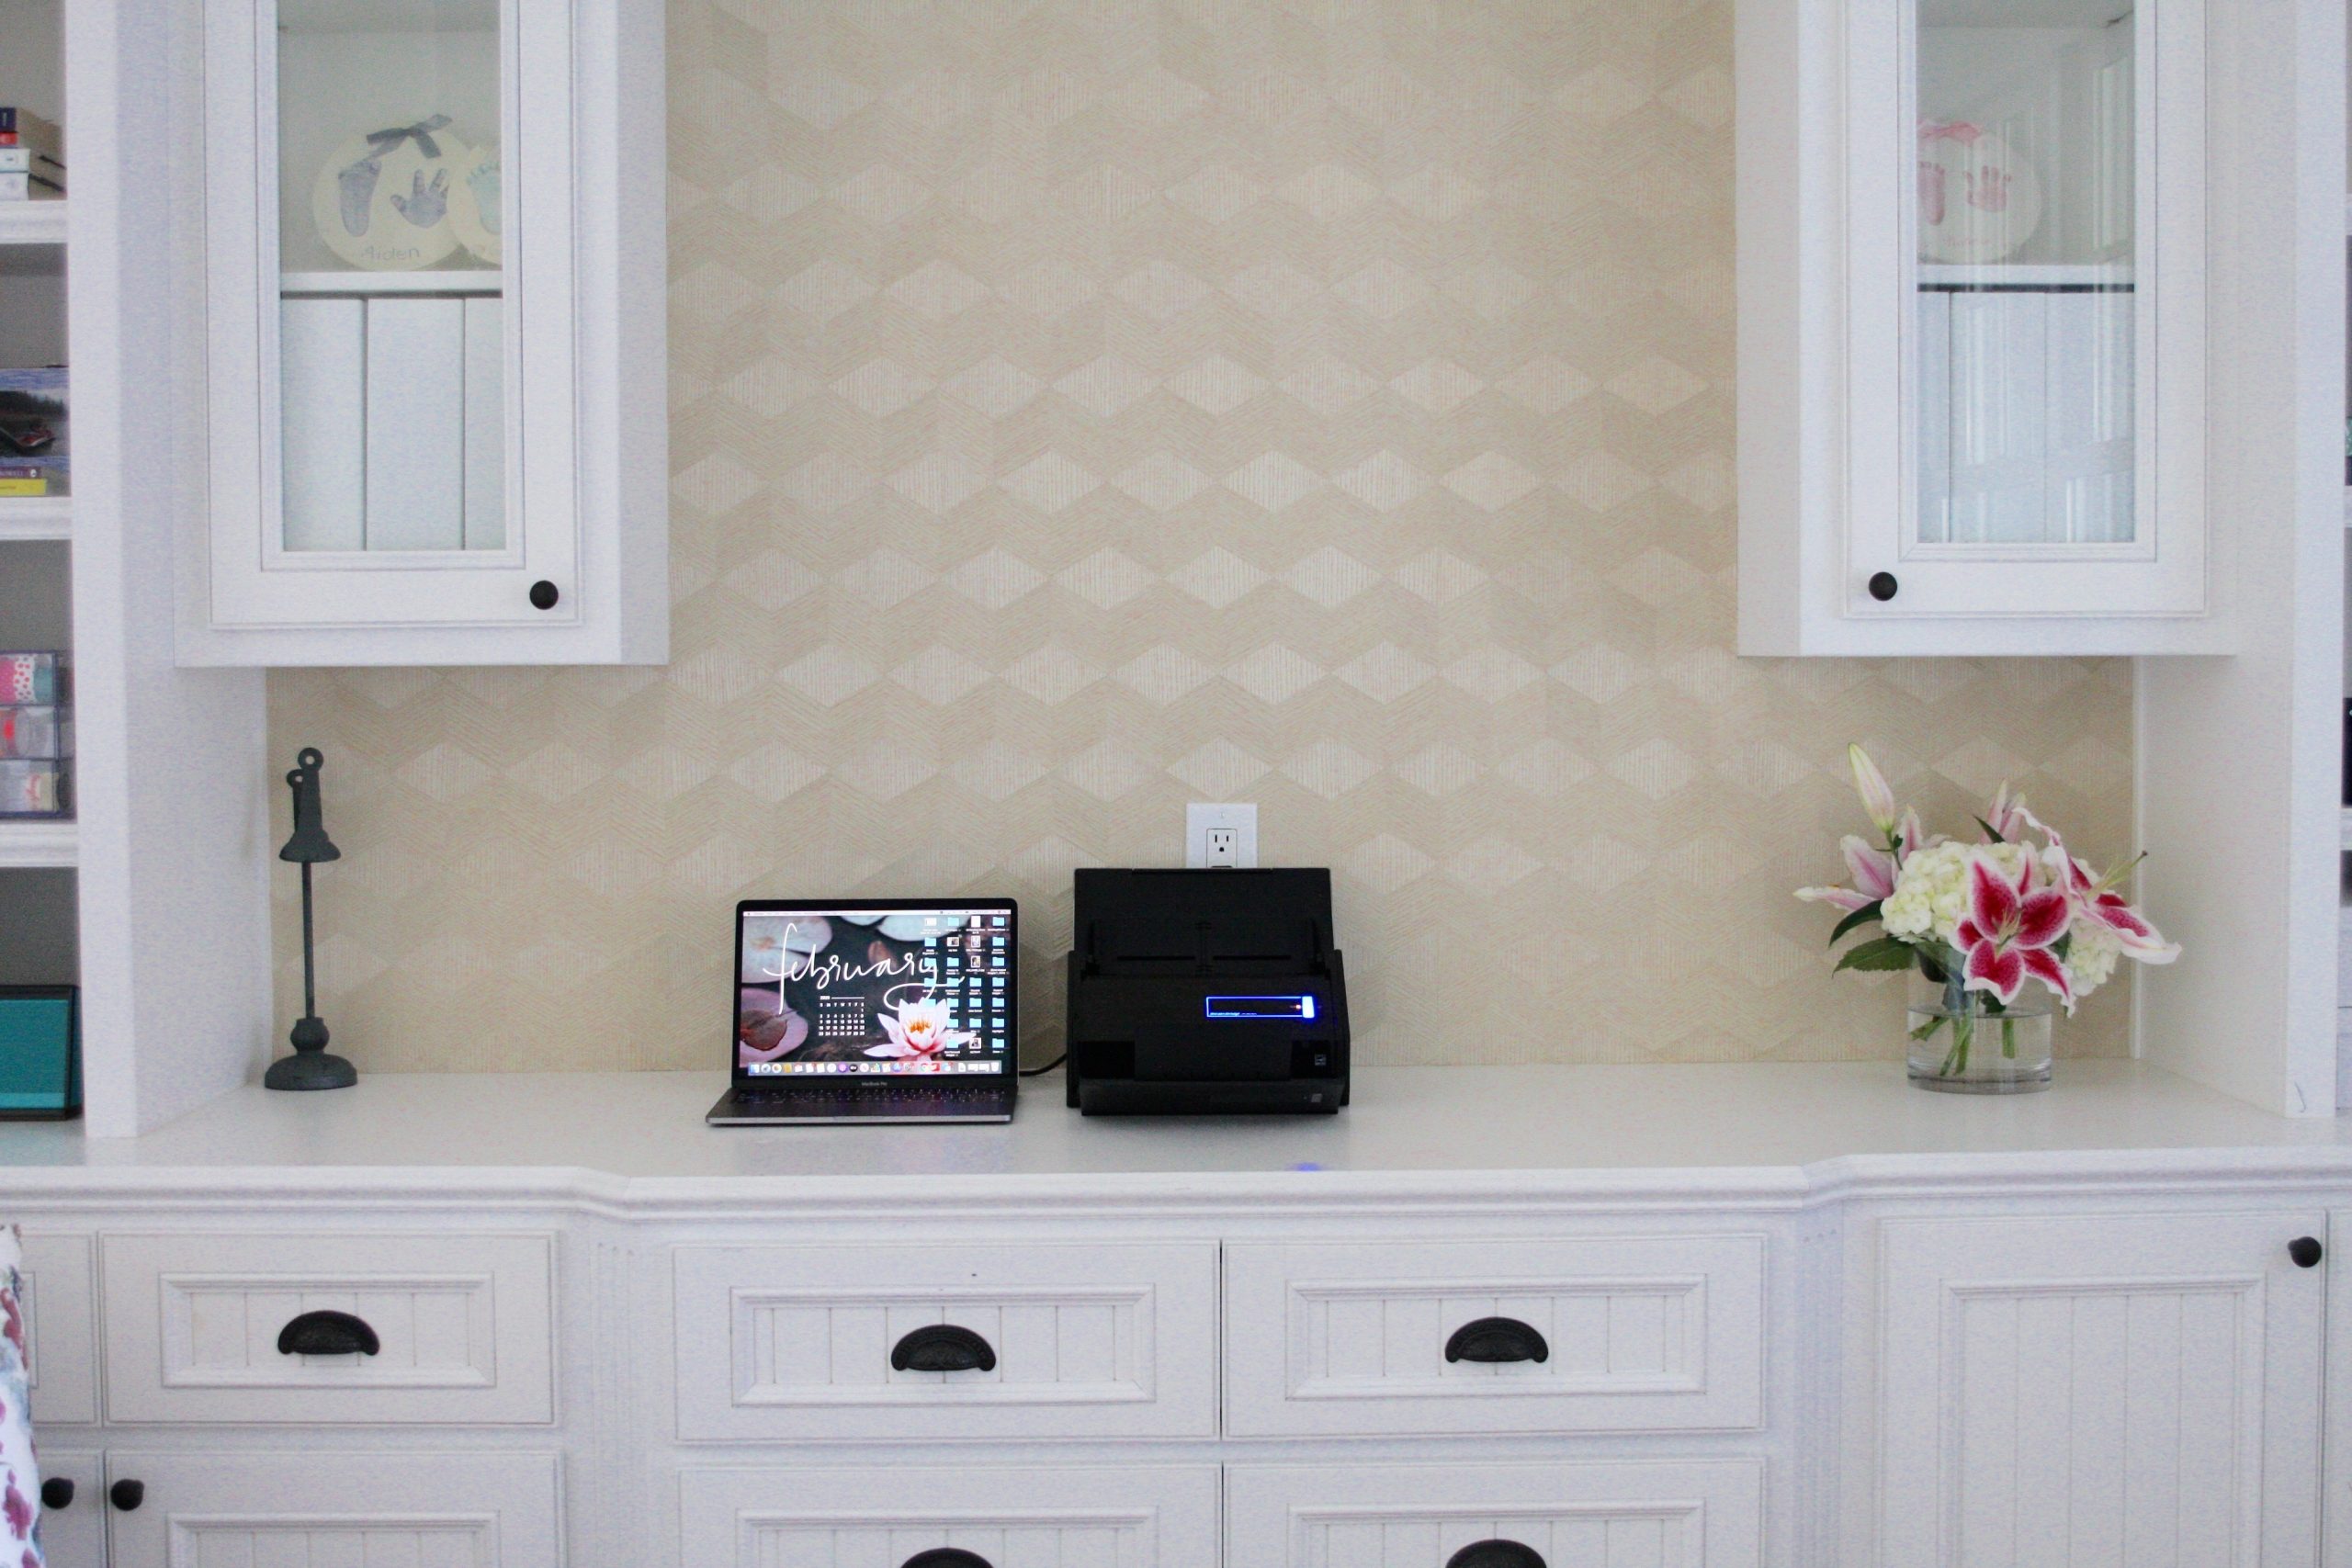
For this project, I moved it to the big work counter so I could spread out and really get into the project….without obstacles or feeling tight on space. This scanner allows you to work from anywhere you’re comfortable.
There are other scanners on the market, but this is mine and the one I stand behind / can recommend.
Other benefits of this scanner is the ability to scan double-sided, it deletes blank pages, accepts up to 50 pages at a time, connects with a cable or wi-fi, automatically scans to cloud services such as Dropbox or Evernote, and more. It’s super fast, which I personally love!
HOW TO
Scanning is easy! But if you’re batch processing a lot of paper, setting yourself up with an assembly line will help you work through it quickly.
I started with small piles of paper on the far right…then scanned my item, named it as the scan popped up on the laptop screen, filed the digital document in Dropbox, then dropped my scanned paper into a box for shredding, which was on the far left.
It’s really as simple as that!
After a few hours – with only a couple breaks – here was my box of shredding!…
While working on this project, I shared live updates with the Instagram Community. SO MANY GREAT questions came through which I will soon answer in an IG Live. But one of the top questions was how I label my documents.
I think we tend to overcomplicate labeling – and this is an example of why you should really keep your labels / names simple.
Just name the document for what it is and add a date / year.
One of my biggest motivators for this project was getting all of my son’s special needs paperwork scanned. One entire white file box was his paperwork. Soon he will be retested and the idea of thumbing through a whole file box of papers to locate ALL of his previous tests, evals, IEP goals, report cards, progress reports, and more?…not only is it painful to find specific documents because they go back to December 2008 (!!!) but the search elicits a lot of painful emotions. I wanted to easily and without heartache quickly respond to a Dr with digital copies of any report…from the most recent date…or the earliest date of testing.
I’m sharing the above to let you know I would name those documents specifically and add a year. For example, “IEP Goals – February 2018” or “OT Assessment – November 2015”.
I have ONE Dropbox file dedicated to all things IEP, Testing, Special Needs, Special Ed related. And all of those documents are stored in that file.
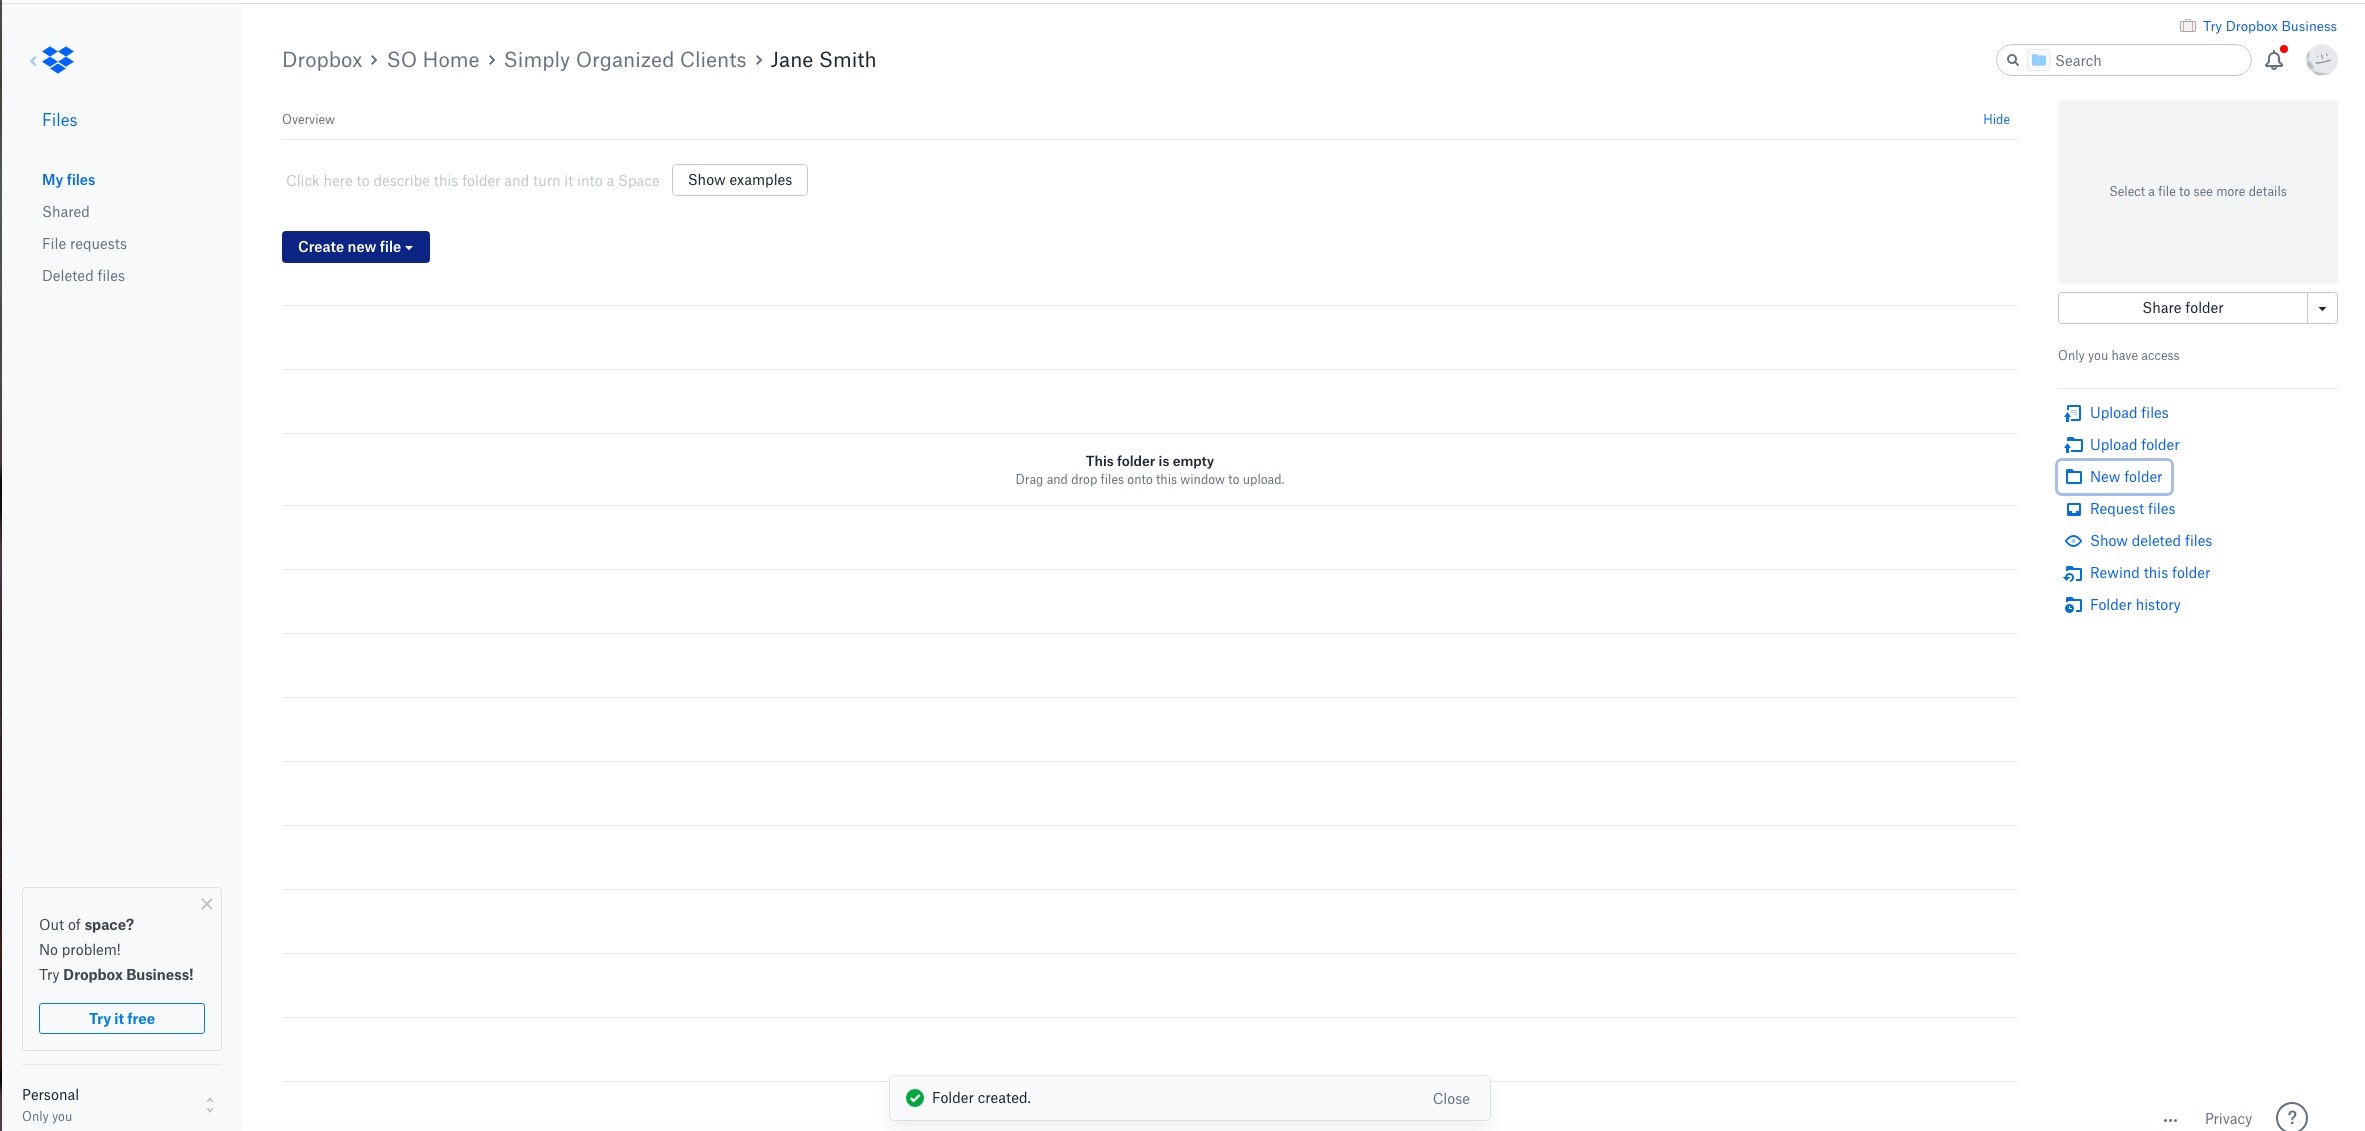
Here’s a few screenshots within my Dropbox account. I created a fake client name for this example.
Within Dropbox I have a SO | Home File…within that file, I have a subfolder dedicated to clients. This is where I keep measurements, product receipts and photos. Here you can see Jane Smith’s subfolder…
I scanned in her kitchen measurements and labeled them just that way…

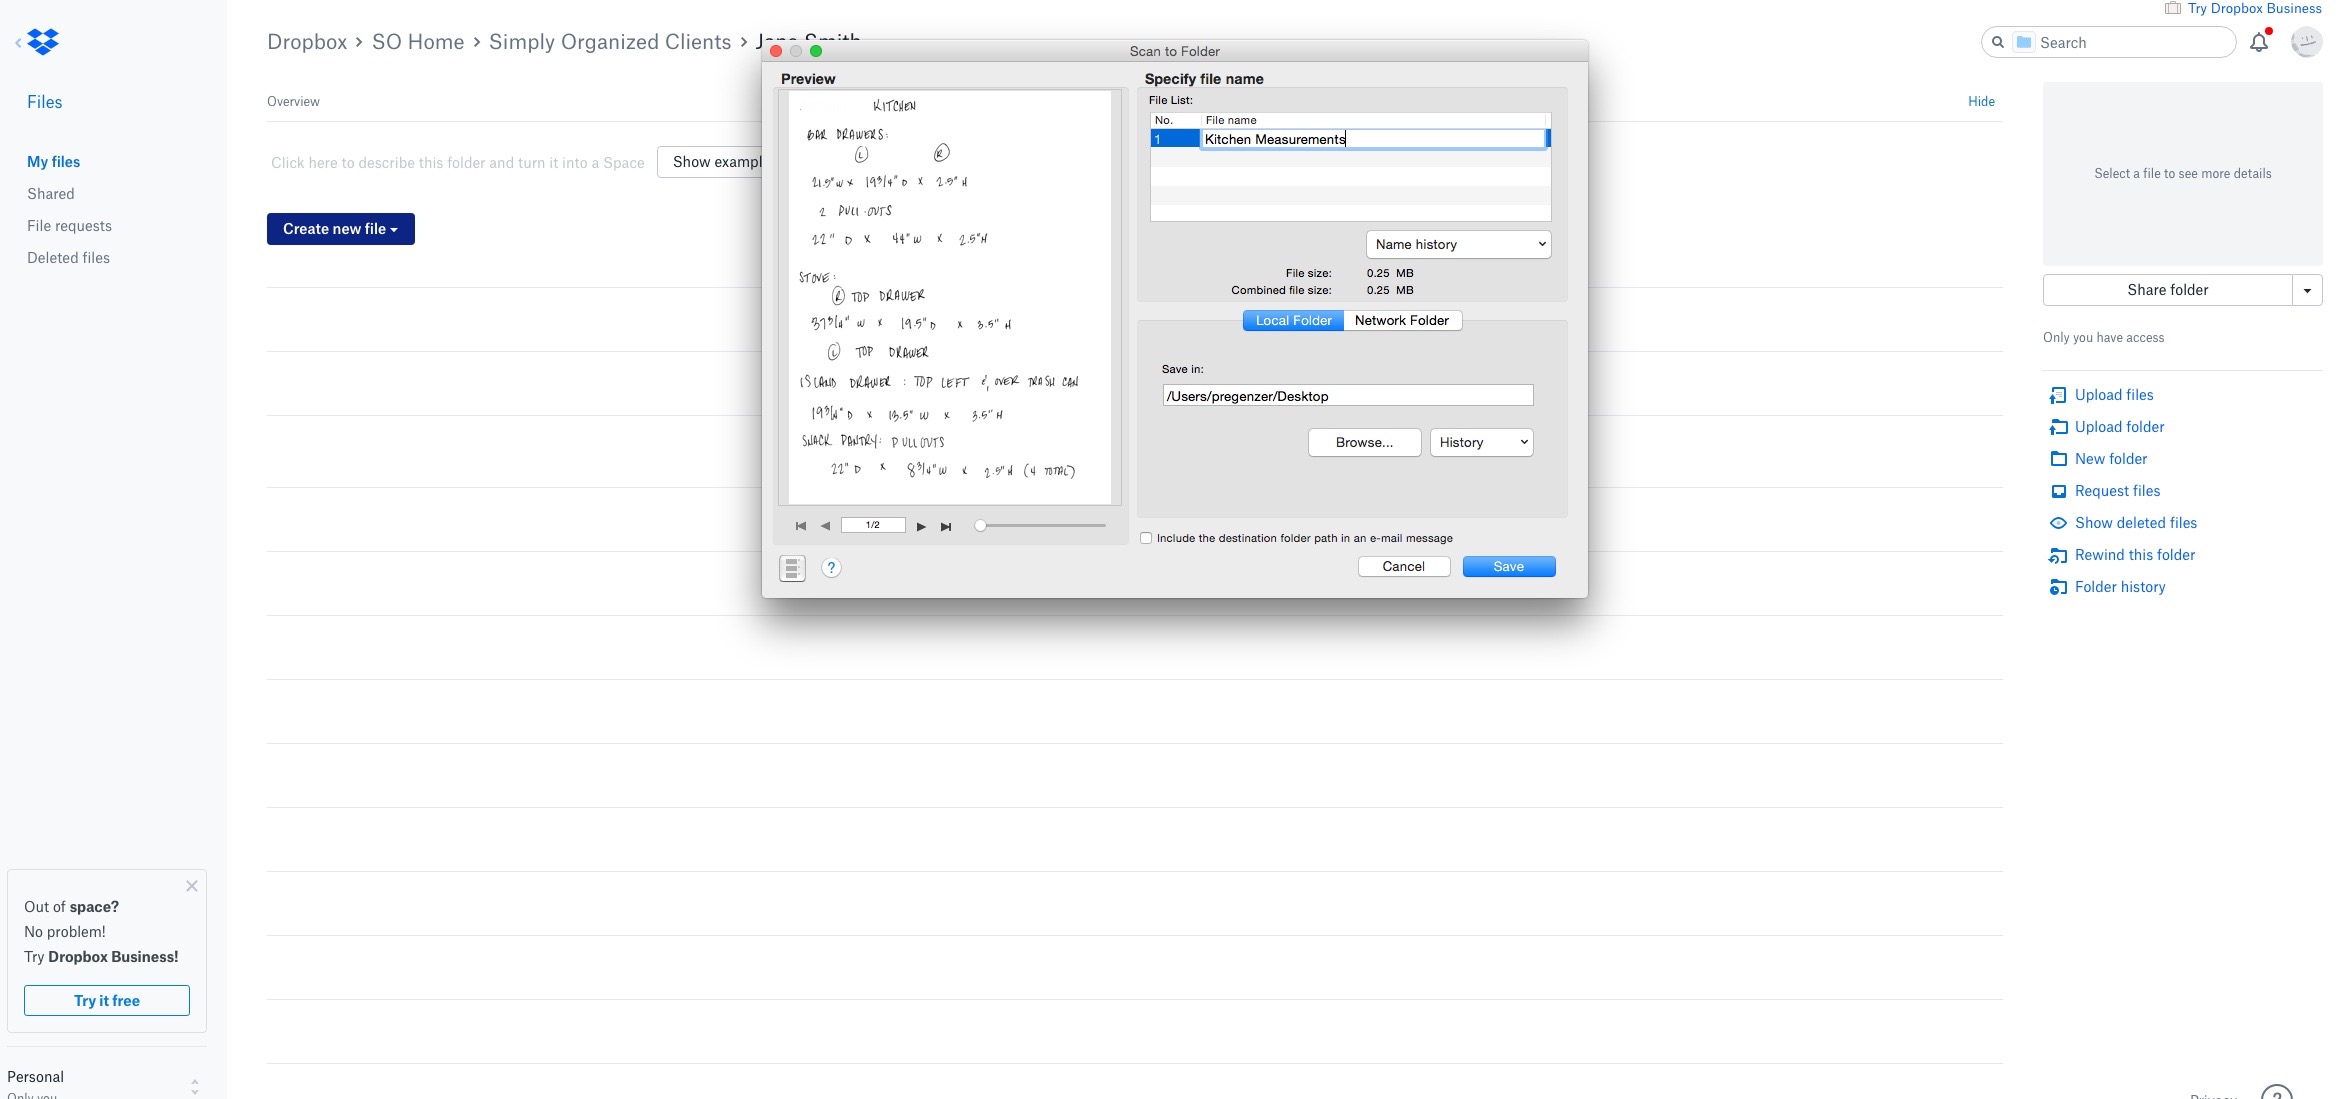
Then saved them to her Dropbox file…
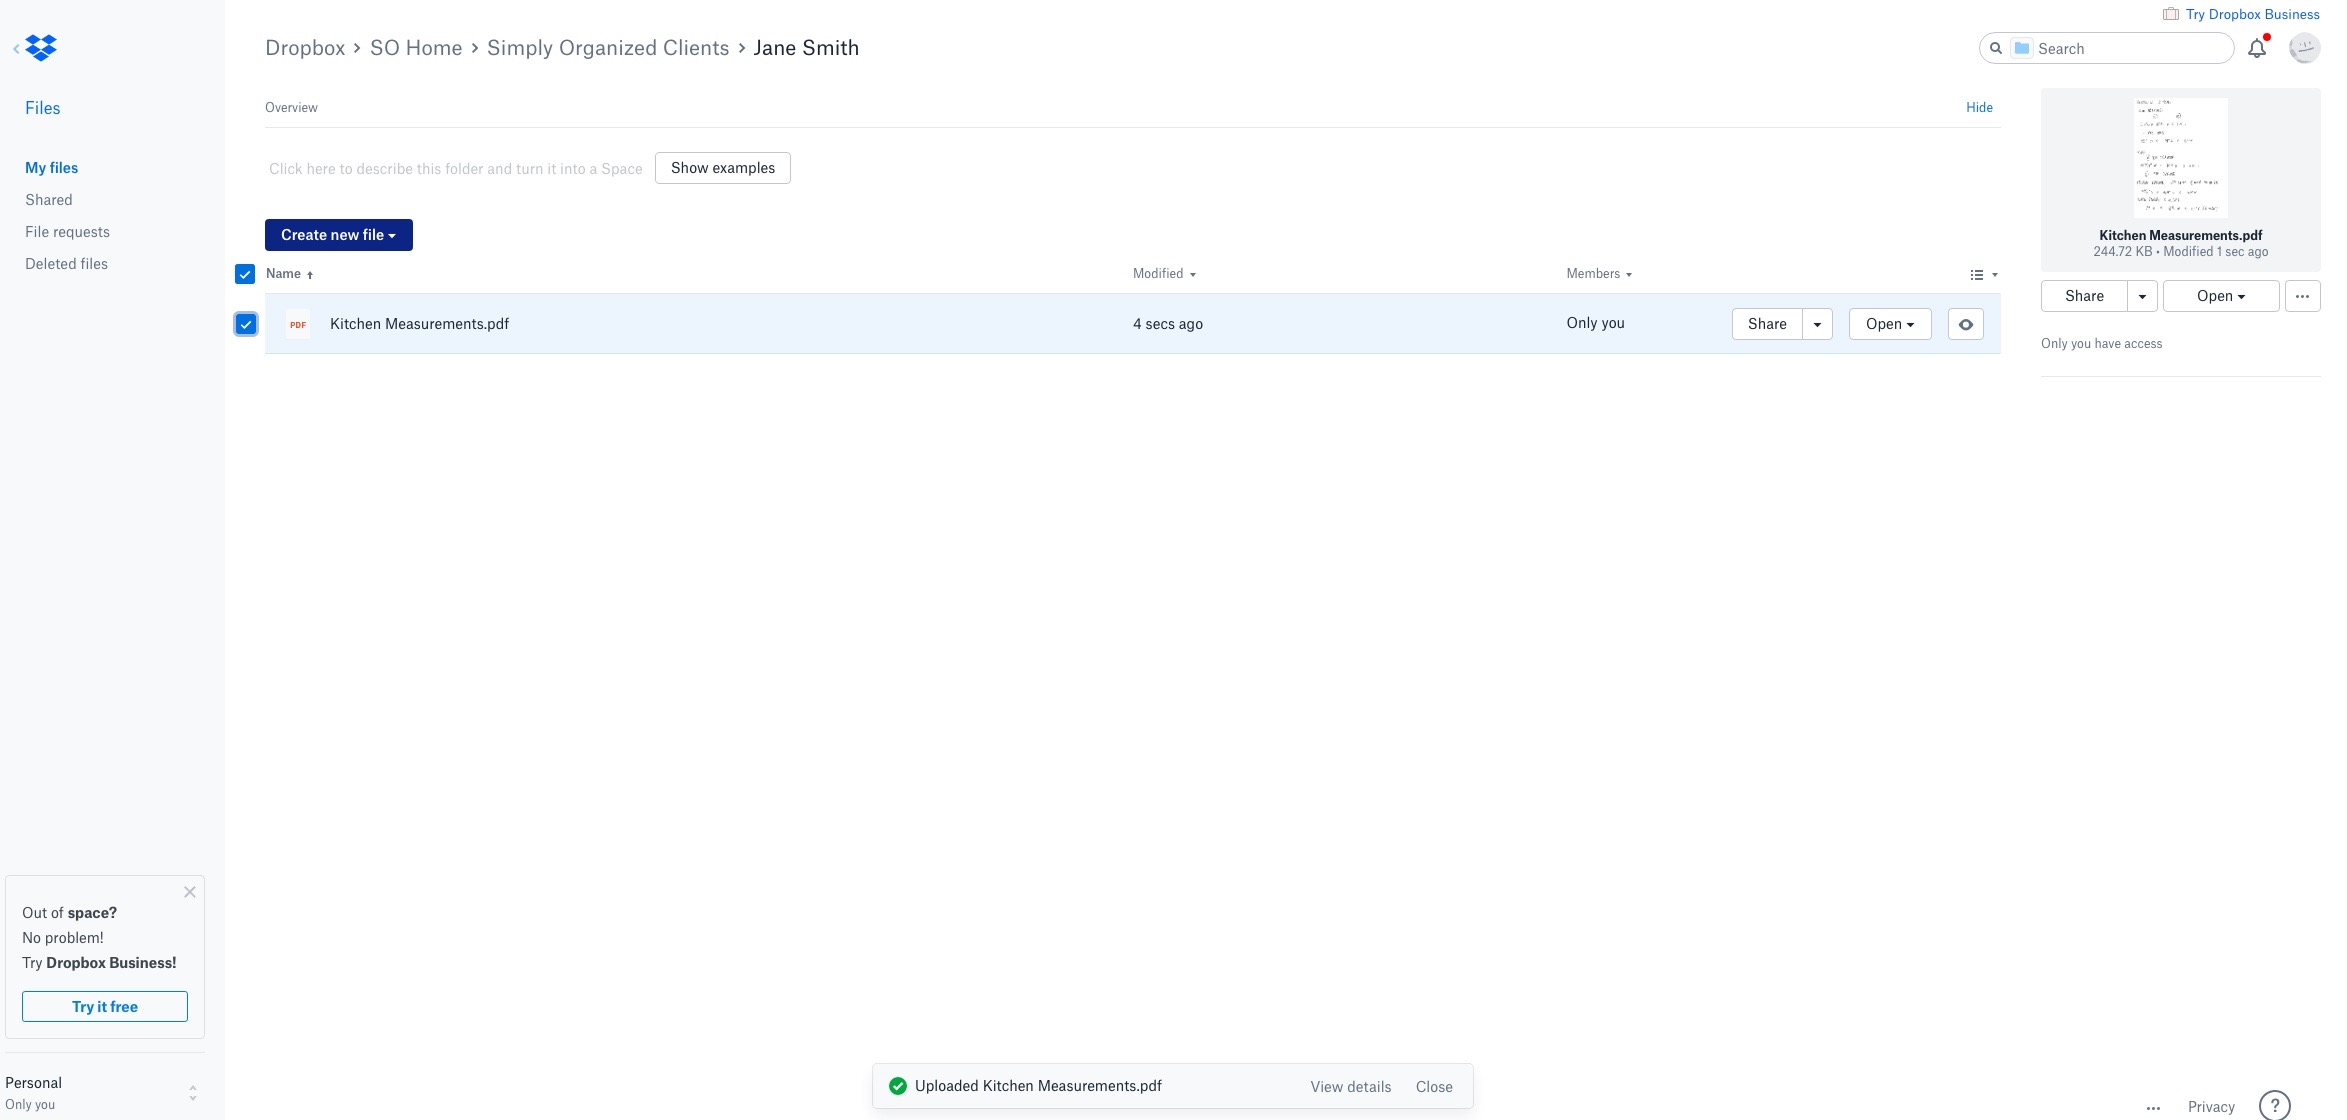
That’s it! Now if I need these while out at The Container Store or Target, I can access it from my phone.
Easy!
Keeping labeling simple will make your life easier. If you’re working in Evernote, for example, you can tag your document so that no matter how you titled it you’ll easily be able to locate it.
WHERE TO SAVE YOUR DOCUMENTS
On that note, there are several cloud services where you can save scanned documents. I use both Evernote and Dropbox….but for different reasons. You don’t have to keep everything within one service. I love Evernote for certain functions such as clipping articles or recipes from the web…but I scan and keep all of my personal / professional documents in Dropbox. Why? I just prefer to do it that way and created the habit a long time ago.
Again, this is one of those decisions or choices you shouldn’t labor over. Just do what works for you…but whatever you choose, stick with it. As in my example above, if you choose to keep recipes in Evernote because you can easily clip new recipes you find from the web…then don’t scan your paper recipes into Dropbox. Scan them into Evernote.
There are a lot of articles online about which cloud service is the best and there’s a lot comparison articles too. Take a look at those if you wish.
What I use is Dropbox and Evernote.
TIPS FOR KEEPING YOU ON TRACK
If you’re starting from scratch or have a large volume of paper to process, here’s a few tips to keep you on task:
TURN OFF YOUR PHONE OR DISTRACTIONS
Keeping yourself free from distractions such as Facebook or texts or emails is going to keep you focused and moving quickly. Turn off your phone. Shut down all other windows on your computer.
GIVE YOURSELF SMALL PILES
Work in small piles. Seeing a huge box of paper is motivation to get the project done but when you only see small amounts at 1/2 inch at a time coming out of the box…and seeing ALL that remains ahead of you…you may lose steam. Pull out small piles at a time and scan until completion.
TAKE BREAKS
When you finish a small pile, walk away for a short break…but don’t forget to come back! I stepped away for about 30 minutes at one point to take the dog for a walk. I returned refreshed and ready for more piles of paper.
REWARD YOURSELF
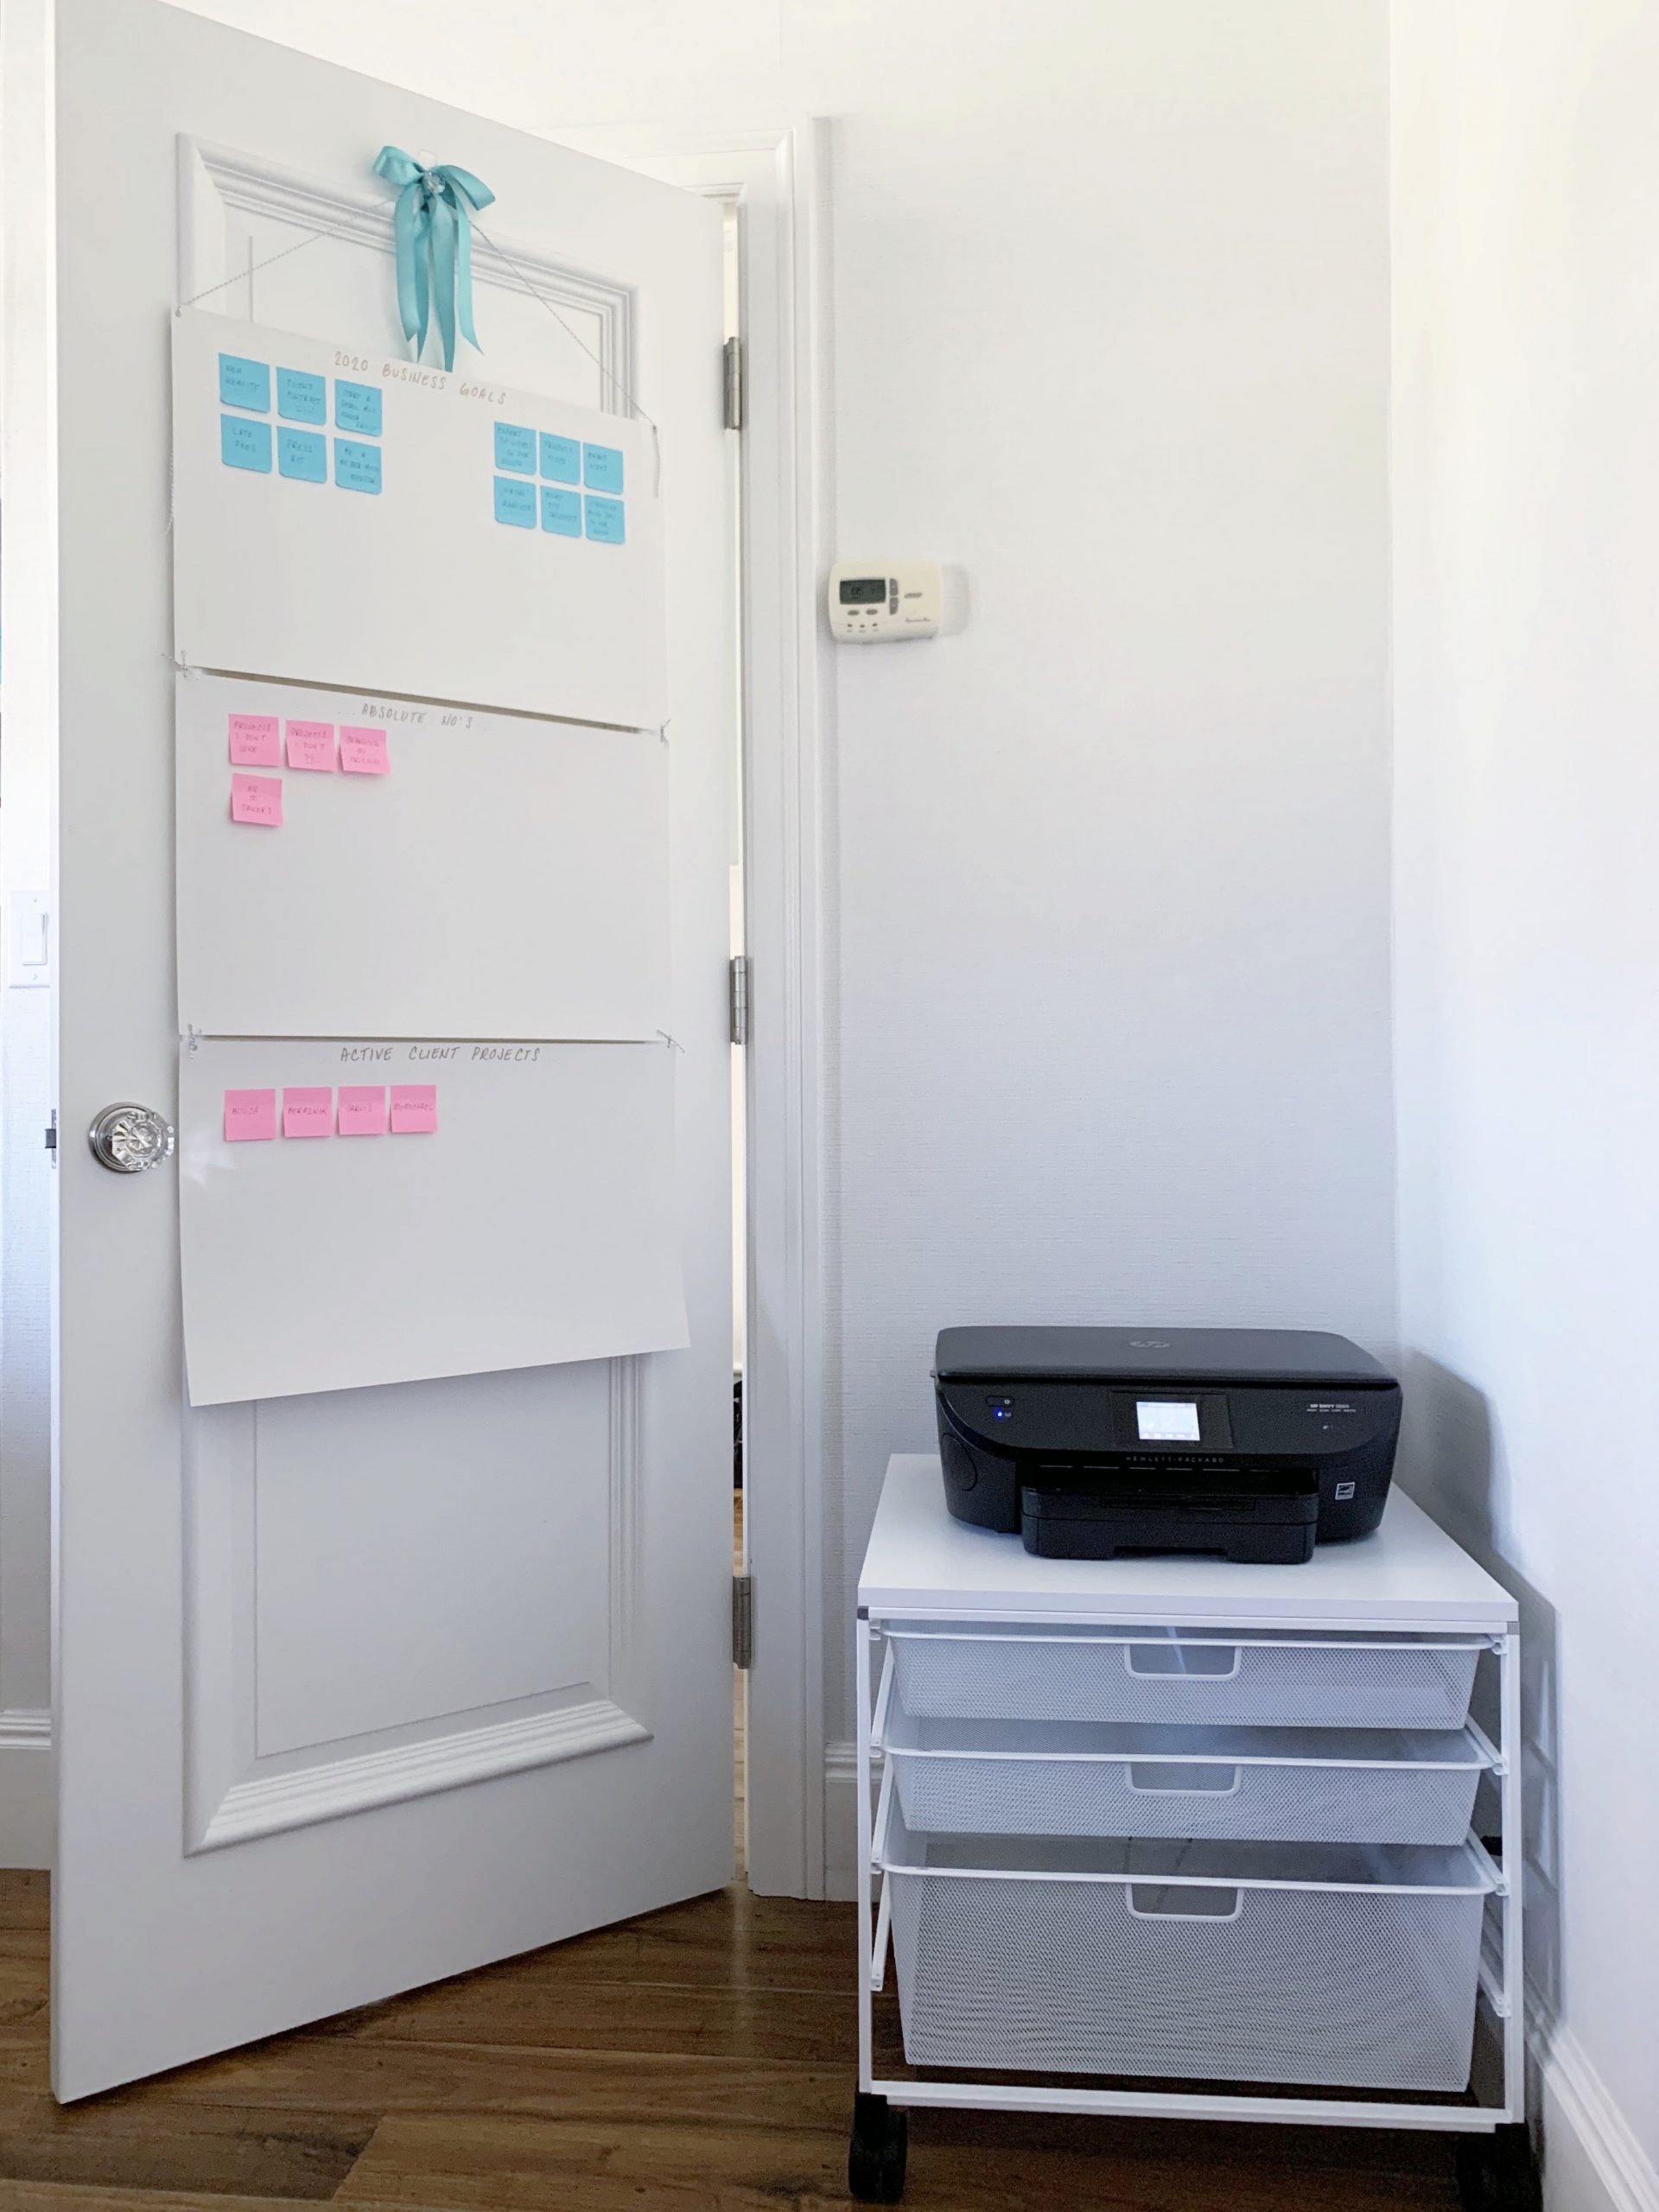
Sometimes an incentive or reward is appropriate. In my case, my ultimate goal was to update this corner of the office…
Our printer had been sitting in a different corner that was a pain point…
It was on top of our safe, blocking our ability to open the cabinet to the left and the printer wasn’t functioning all that great sitting on a surface it wasn’t intended to sit on. I had dreams of a small printer cart behind the office door where the printer could sit AND we could organize our ink and paper supply beneath it. Once the project was completed is when I could make the small investment / update.
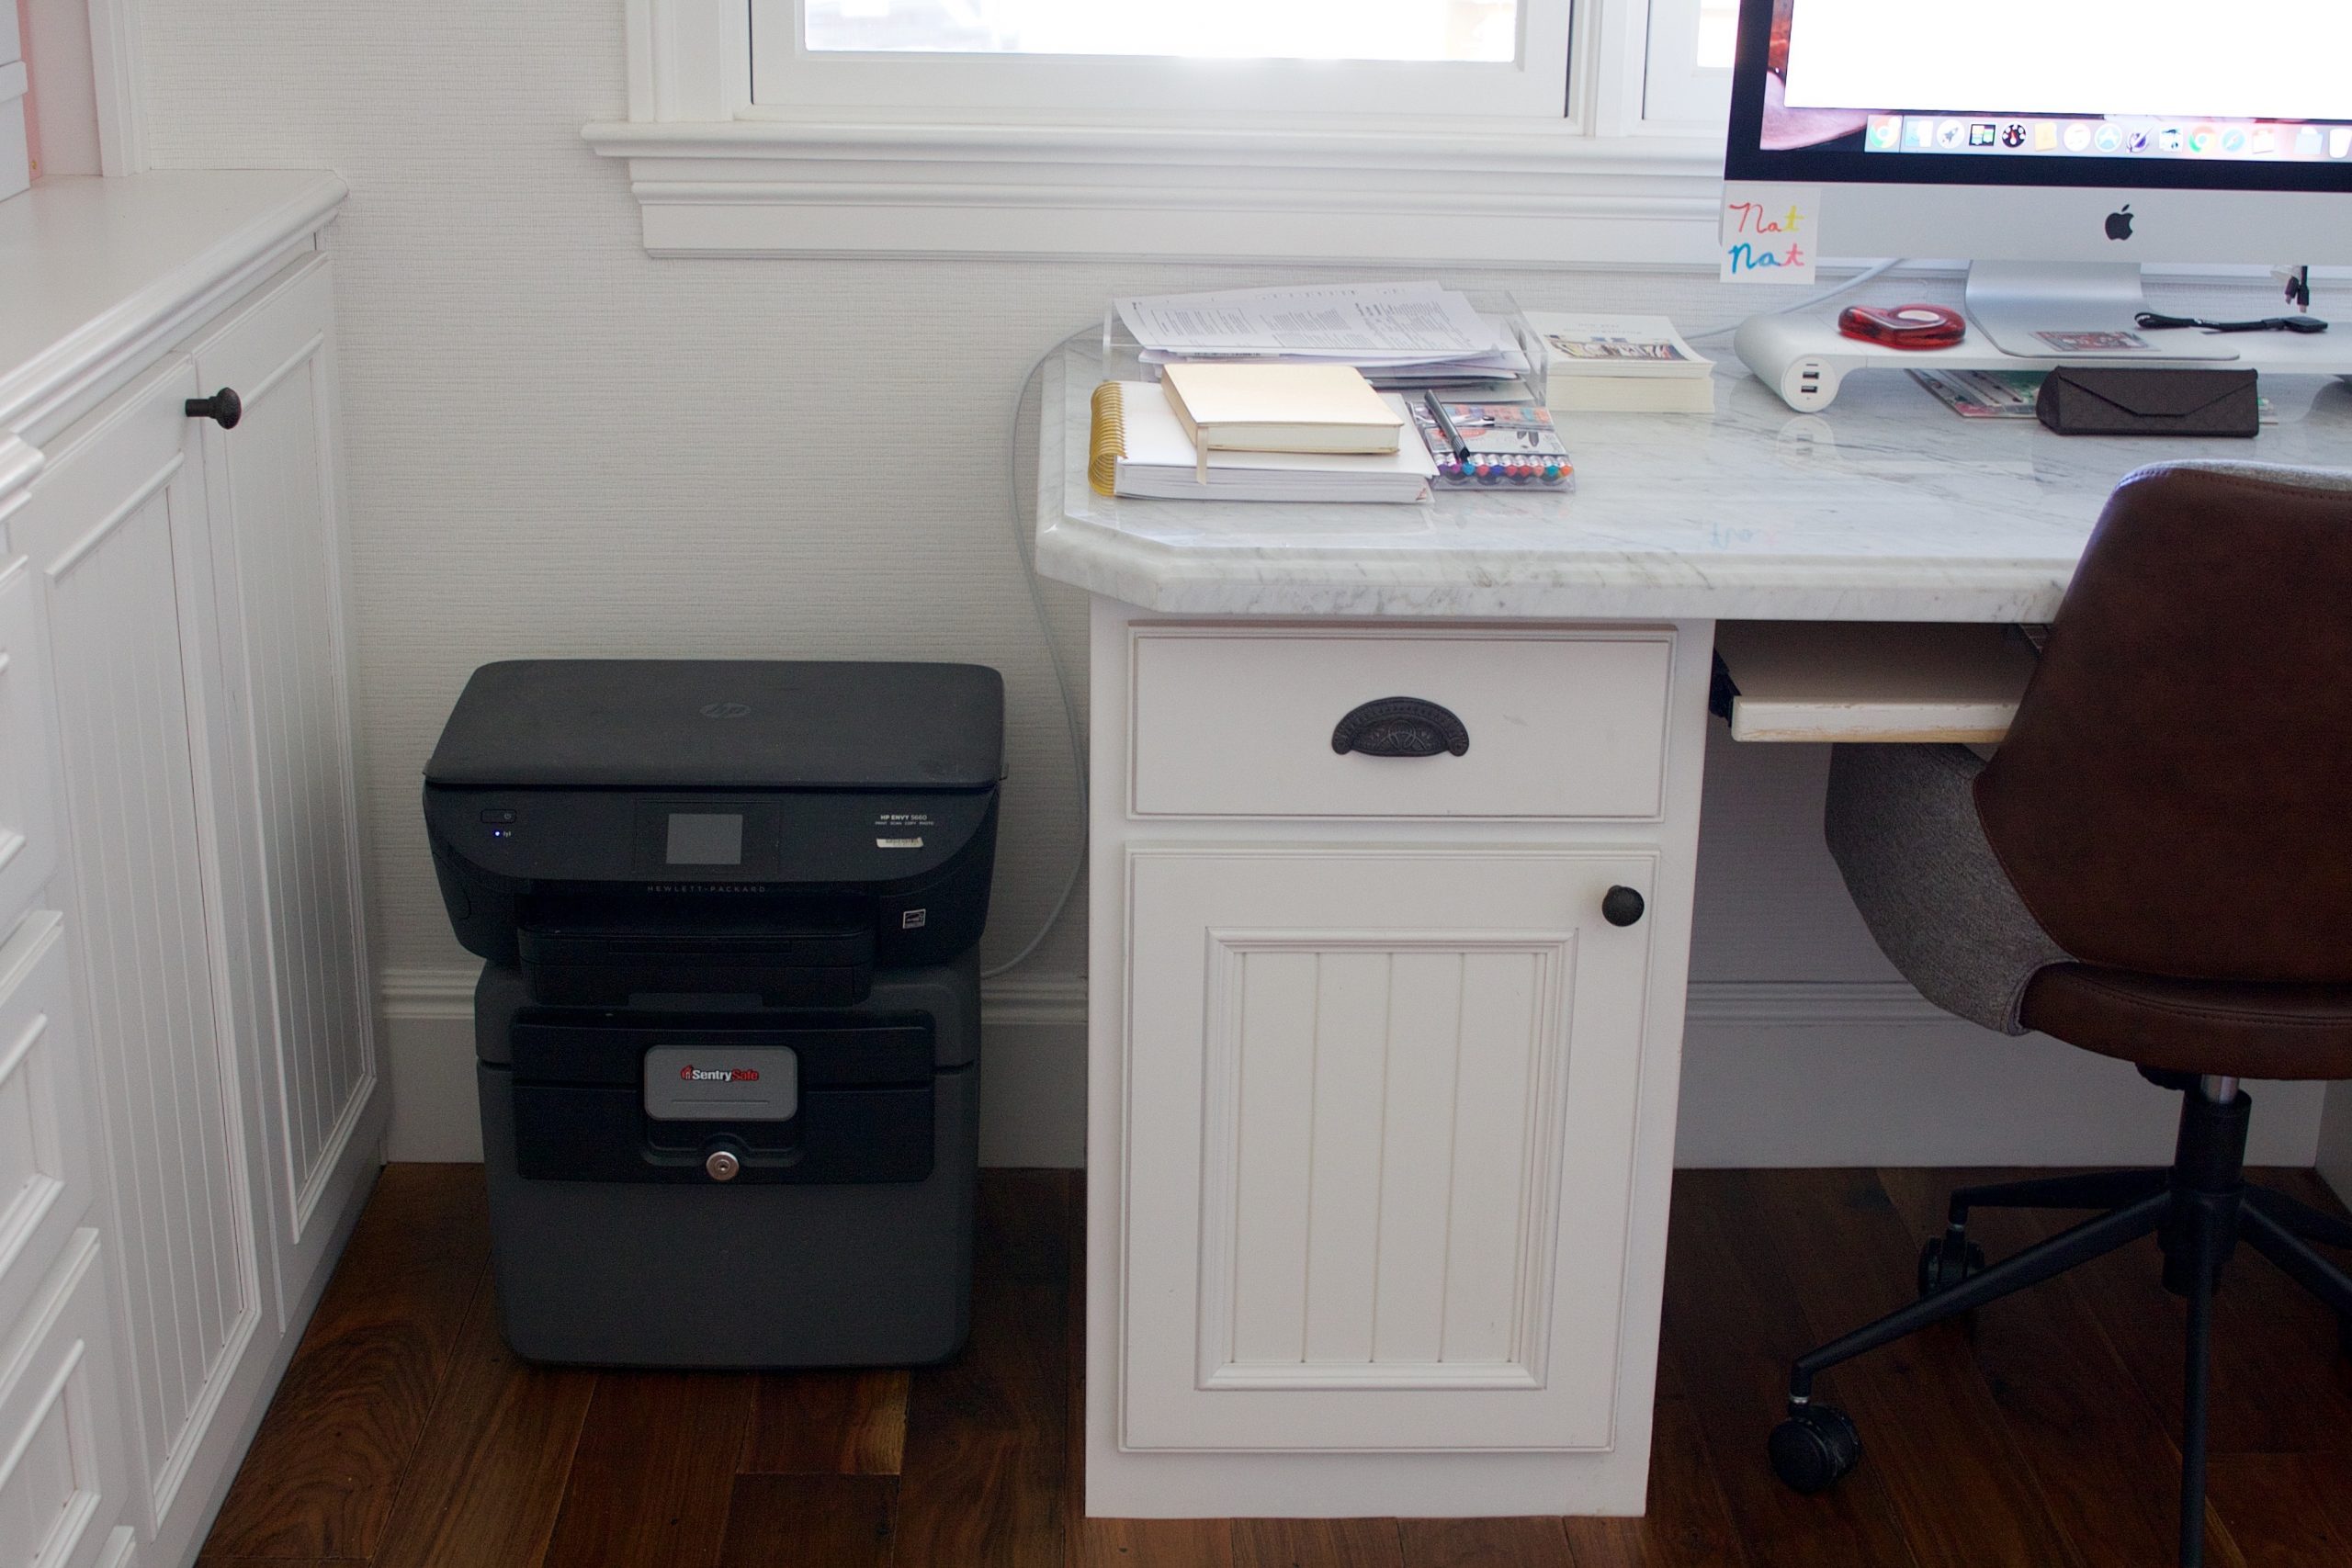
Here is that corner now!…
The cart is from TCS and can be found here on sale right now.

( printer cart )
SHRED IT
Finally, when your project is complete you’ll want to shred anything with private information. Most of my paperwork had private stuff so I took the entire box to my local UPS store for secure shredding…
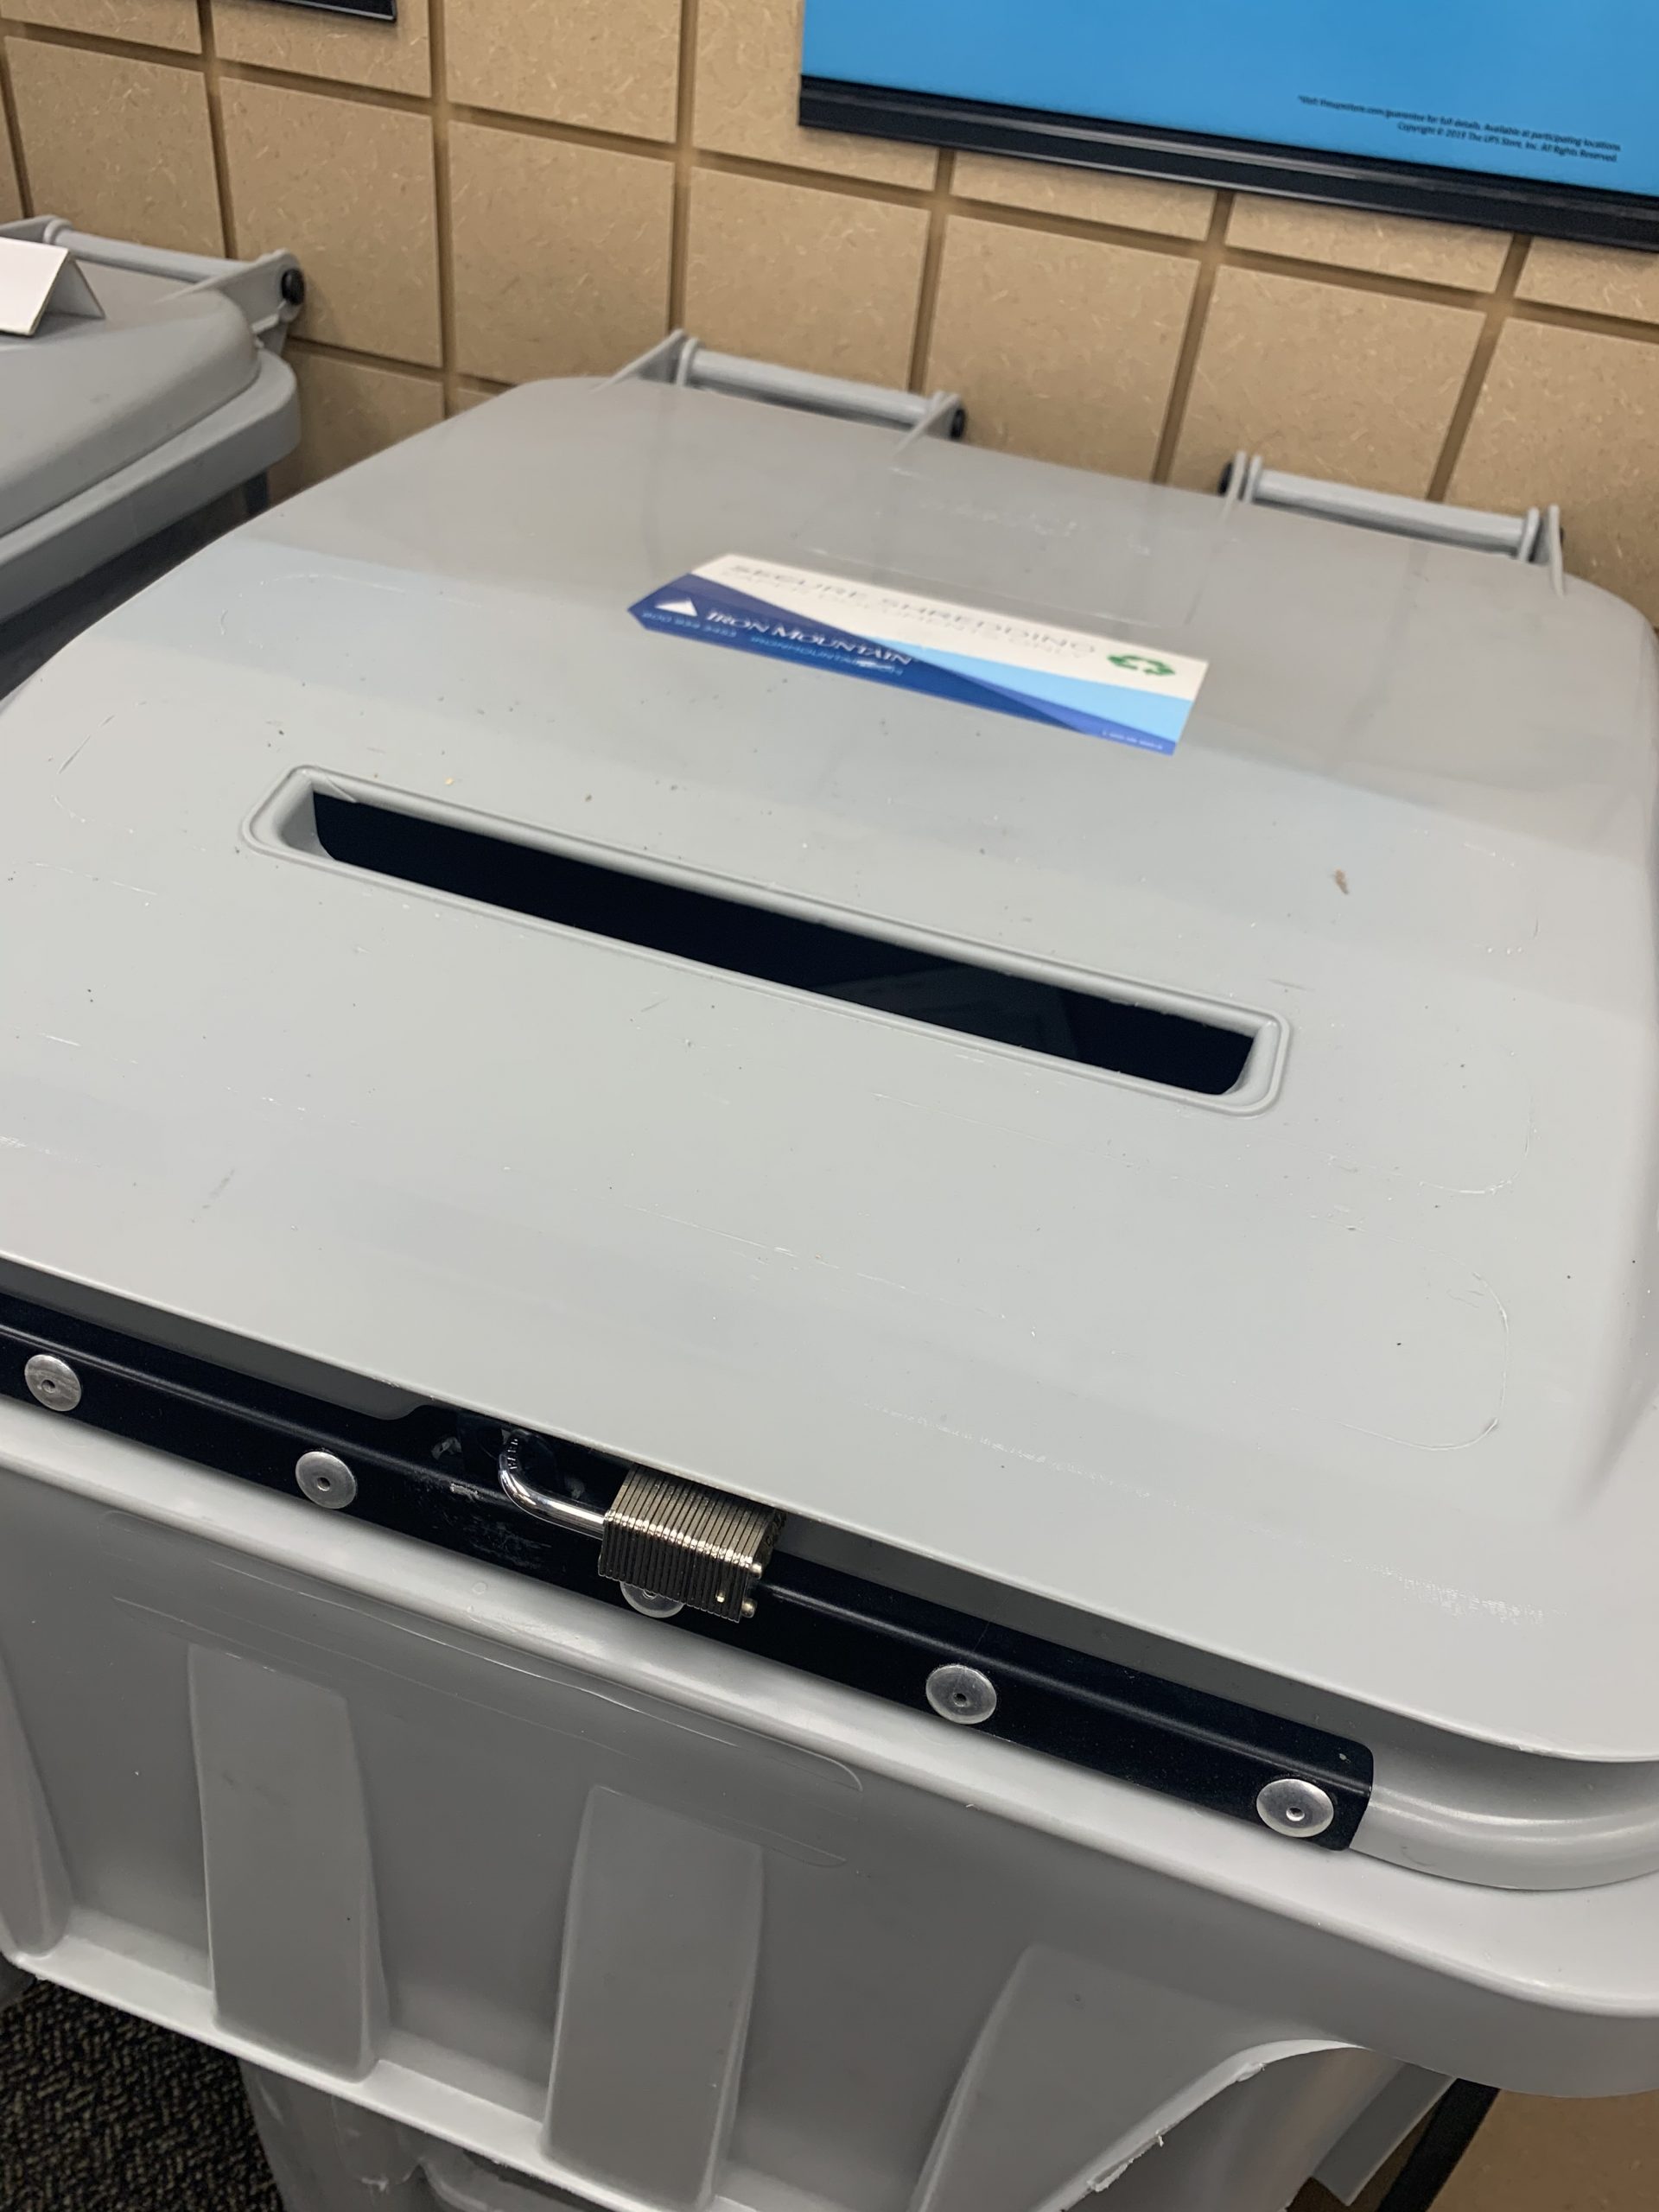
The UPS store charges roughly $1 per pound. There are other shredding services but I’ve found this one to be the most convenient and least-costly option.
As I mentioned, received A LOT of great questions from the IG community and will be answering them soon in a Live session. Be sure to leave your questions here so I can add them to the list…and I’ll make sure to give you a heads up on the date I plan to answer them Live over there.
Hope you’re having a great week! What have you been up to?
Back soon with more!
xx,
Sam
Thank you for your helpful suggestions, Sam! Just a word of caution about receipts. I had hoped to scan my receipts to make them easier to find for return purposes, and discovered, after asking my most frequent retailers, that they require the original receipt and will not accept a scanned copy. 🙁
What great timing! I have a pile of paper in a plastic shoebox. Then there’s the plastic file box of very old papers that I’ve toted to at least 3 different homes within 20 years.
I also have a scanner at home, although it’s a Brother brand. I found one of the best shredders that will feed a stack of paper one at a time & comes out as itty bitty pieces of confetti!
I love the Elfa drawer system! We have a TCS about 2 miles from my house, which can be dangerous on the wallet!
Hi! I am looking for an effective way to keep my sons special needs paperwork. I have 3 special needs sons and as you may be familiar we have a lot of documents to keep. When you multiply that by 3 (now they are adults), I struggle to know what to keep and what to discard. I am going to think about scanning their documents and getting rid of their actual papers. That scanner sounds amazing. A bit pricey but maybe it will be an investment and a present for me. Any other suggestions you may have, I am all ears! Thank you for this post!