…And a *little* vent.
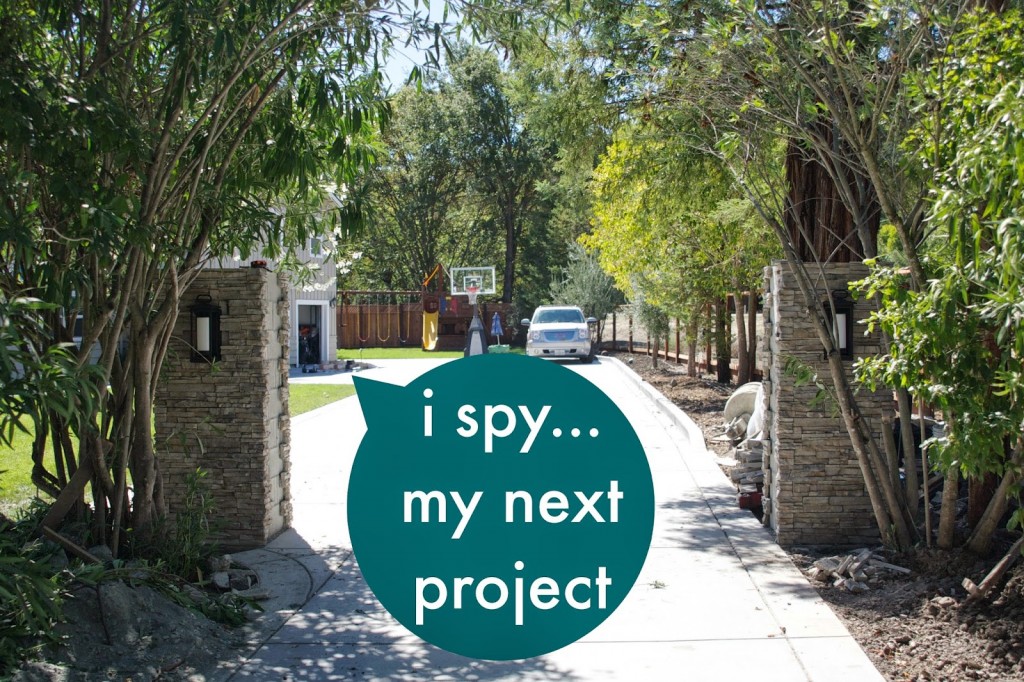
If you guys get the sense I’ve been blogging a whole bunch more about home improvement than organization….you’re spot on. My apologies if you’re following along for the organization inspiration. Trust me, I’m itching to get my hands into a good organization project. But don’t fret, my friends, it’s on the way! See, there’s one right here…
It’s an outdoor organization DIY project that I’ll be sharing next week.
While I prefer to only share organization projects, this blog is also my place to share / keep track of improvements made around the house. It’s been a lot of fun (and sometimes a gentle reminder when I’m down or stressed) to look back on projects and updates to see just how much the property has improved. The outdoor space alone has completely transformed in just over 1 years time.
But honestly – here comes my little pity party / vent – I’m pretty much at my limit with big ticket, large outdoor home improvements. While this project was much-needed and the lack of a gate / finished fencing was a home security issue, I’m over it. Done. I know my limits and this project has pushed me over that line.
I’m sharing this because I try to keep it real in here. Just because you see a beautiful project happening doesn’t mean it’s all kittens and rainbows in the process. 😉 This particular project involves several people and products (and money!) and there has literally been guys around here working or ringing my doorbell non-stop for the last few weeks. That’s hard for me to deal with when I prefer working alone on a project. But I recognize there are things I just can’t do myself. I’m still learning.
So what am I talking about? Examples…
The mason and the fence company are currently at odds with each other (you’ll see why below) and I ended up in the middle. Don’t like that. The fence company hasn’t been very responsive with me too, which is an annoyance because we’re paying a good amount for a custom gate. I have people giving me their opinions on anything and everything. I’ve finally had to put my foot down and be confident in my decisions / choices…because somehow, by the grace of God, they always work out for the best. A small example are the oleanders on either side of the driveway. I’m feeling as if I can keep them or part of them and one person is telling me no. Or when I work on a project (like the one above near the garage door) people walk over and give me their opinions / thoughts / what I could be doing to make it better / do it better. Yes, this is an organization / improvement project that has nothing to do with the gate or pillars or fencing.
Let’s just say, these gates can’t go up fast enough so that I can lock out the rest of the World for a little while. Ha!
*deep breath* I hesitated sharing with you, but again, I want to be real. My blog is the connection to you, those looking for inspiration. I don’t want anyone to read my blog and think things are perfect 100% of the time. Truth is – it isn’t!
Ok, vent over….let’s get to the positives in this home project.
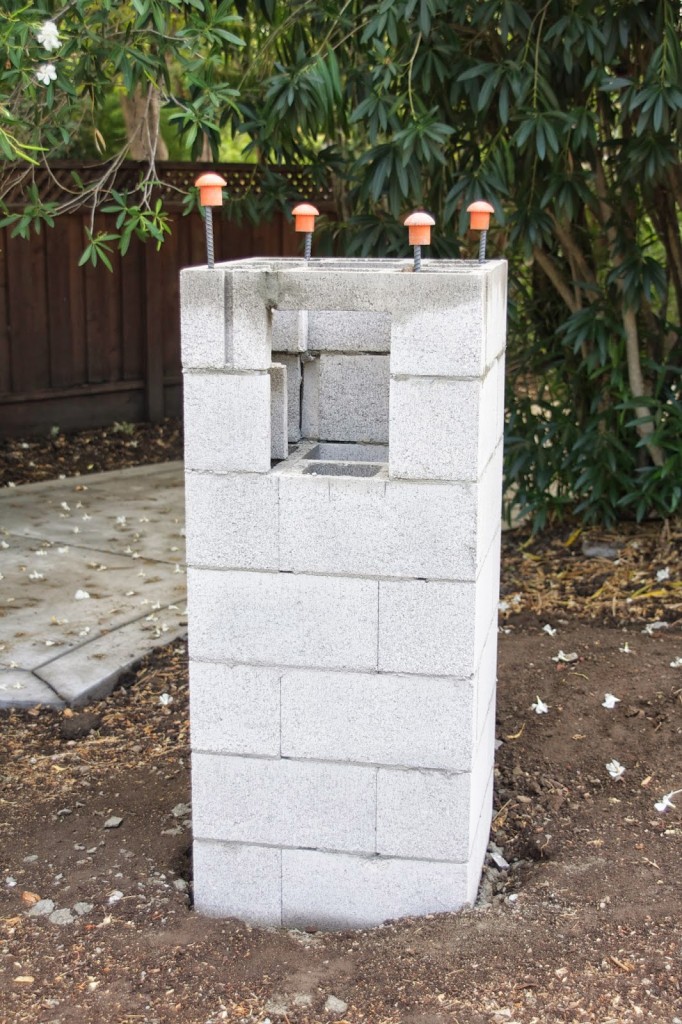
Last we spoke about the pillars and mailbox, everything was fully formed and ready for the stone veneer…
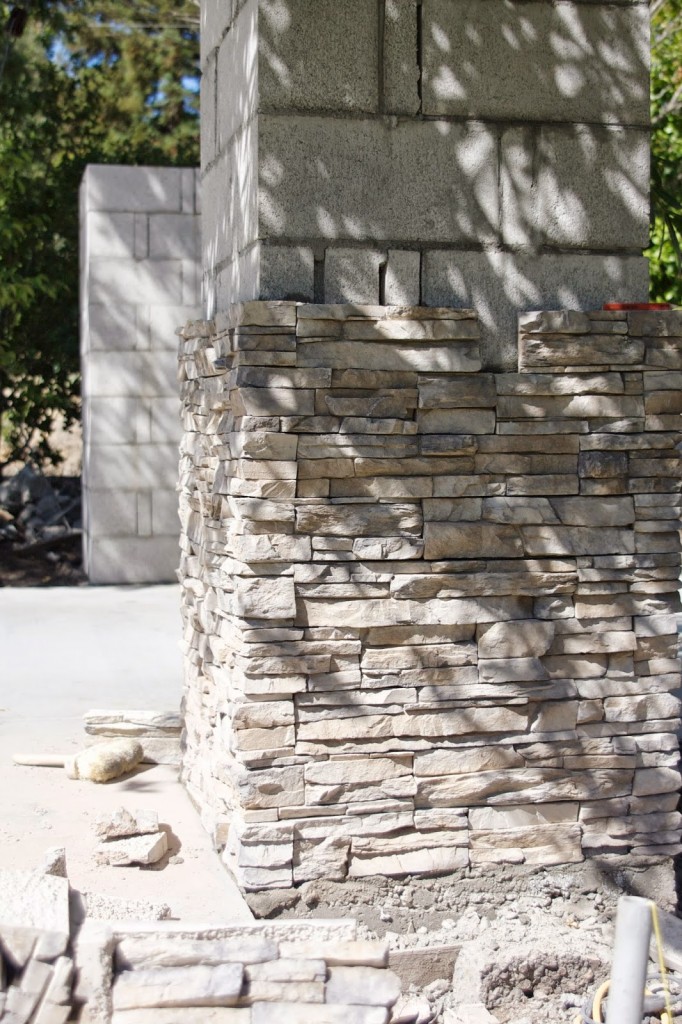
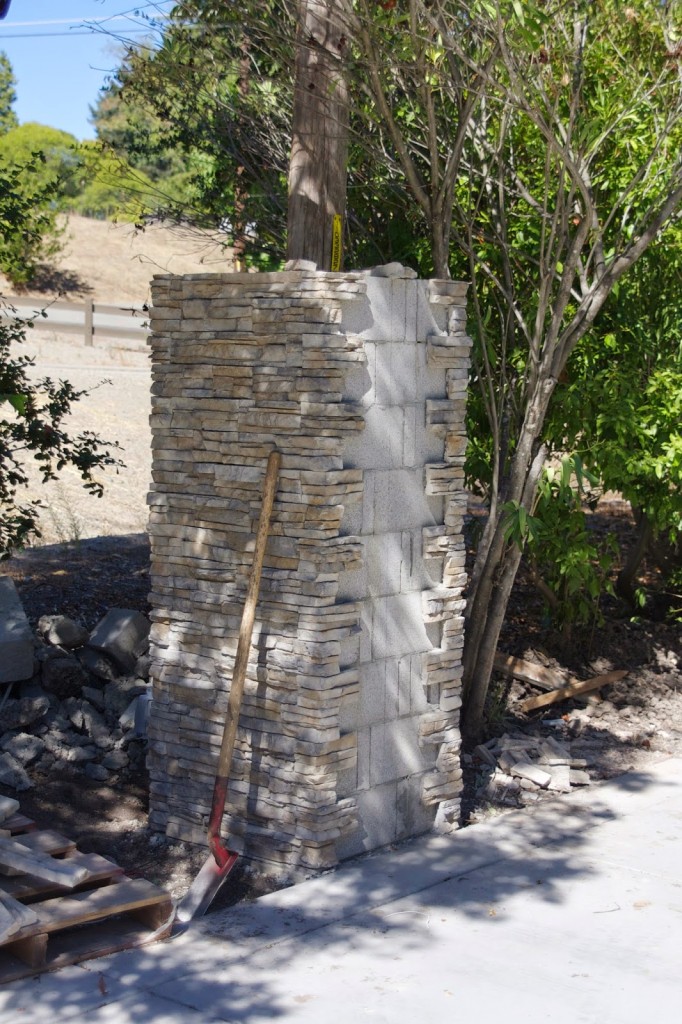
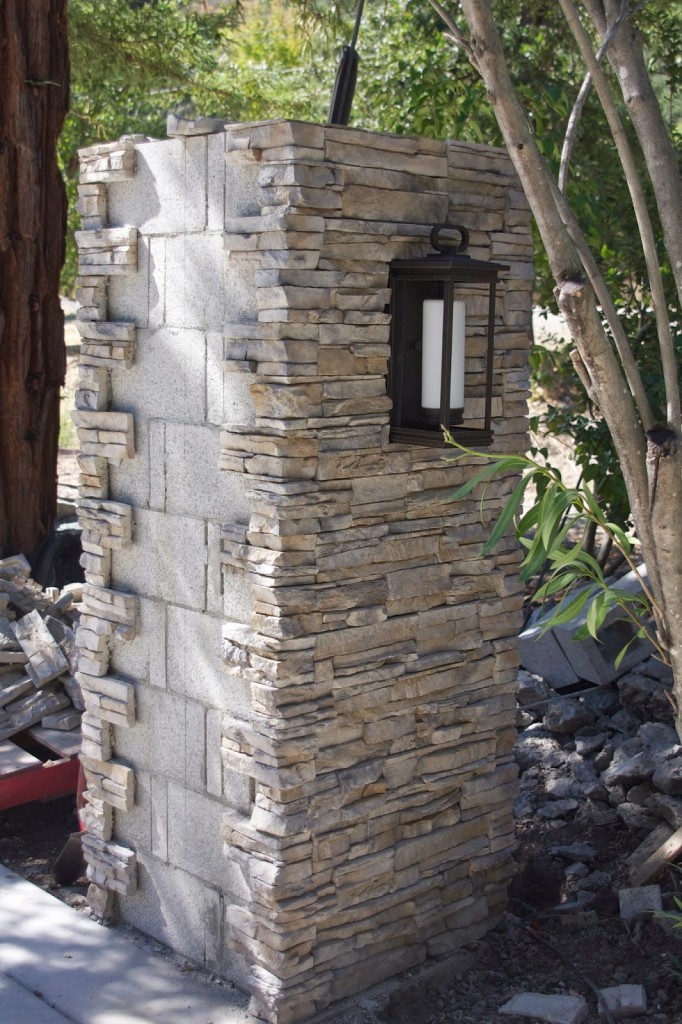
Last weekend we started adding the stacked stone. This is done by smearing wet cement onto small sections of the cinder block and then placing the stone pieces on top as if you’re completing a puzzle…
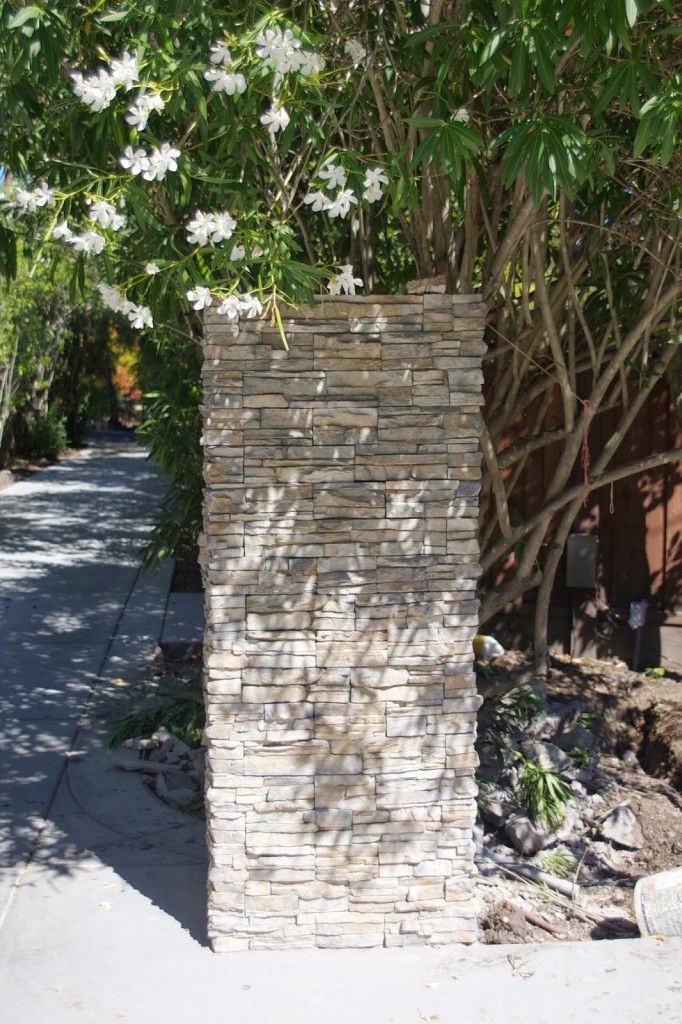
In between you just make sure the pieces are level, using a – you guessed it – level! The first pillar was 95% done on Saturday…
The second pillar was 95% done on Monday…
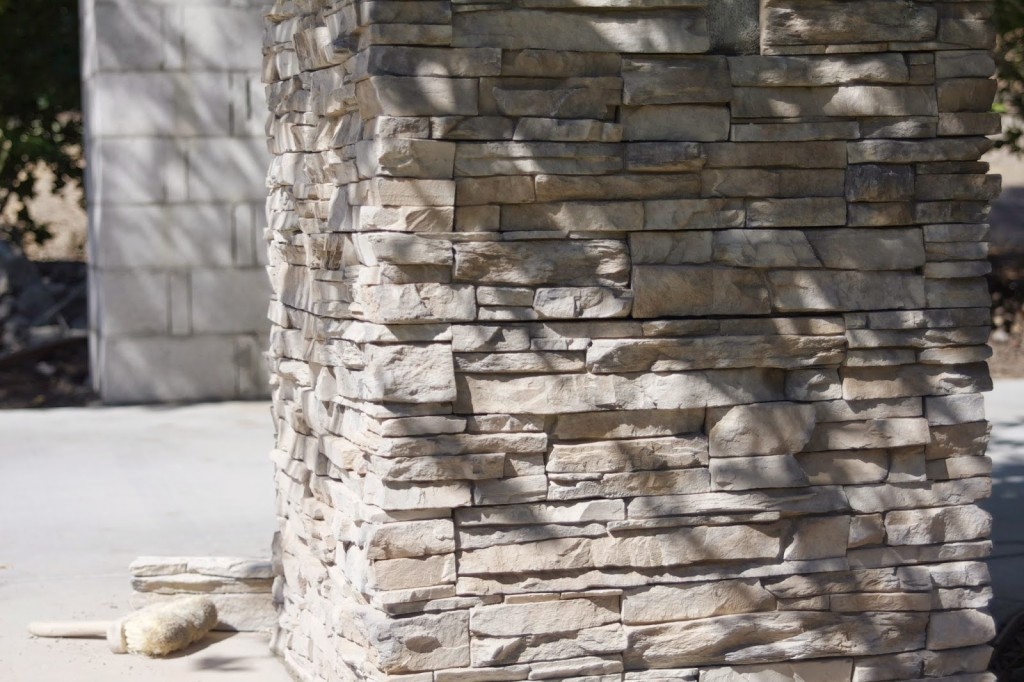
I am very very very pleased with the El Dorado Stone veneer! Hard to believe it’s not real, huh? It’s beautiful! I chose the Nantucket color…
You can see why I’m throwing out that 95% completed number…both of the pillars look like this and it’s where the gate will eventually be attached…
And this is where the mason and fence company are at odds. The mason is fired up and ready to help finish this job, but the fence company hasn’t sent over the gate mounts. All we need are the mounts, which will be attached by drilling them through the cinder blocks and then we’ll pour concrete in through the top of the pillar to add more reinforcement. The mounts are what will be holding the weight of the gates so this is an important part of the process.
Once the mounts are up, the mason can finish the stacked stone veneer. Aaannnnnd, once that is done, we can put the tops on the pillars too….
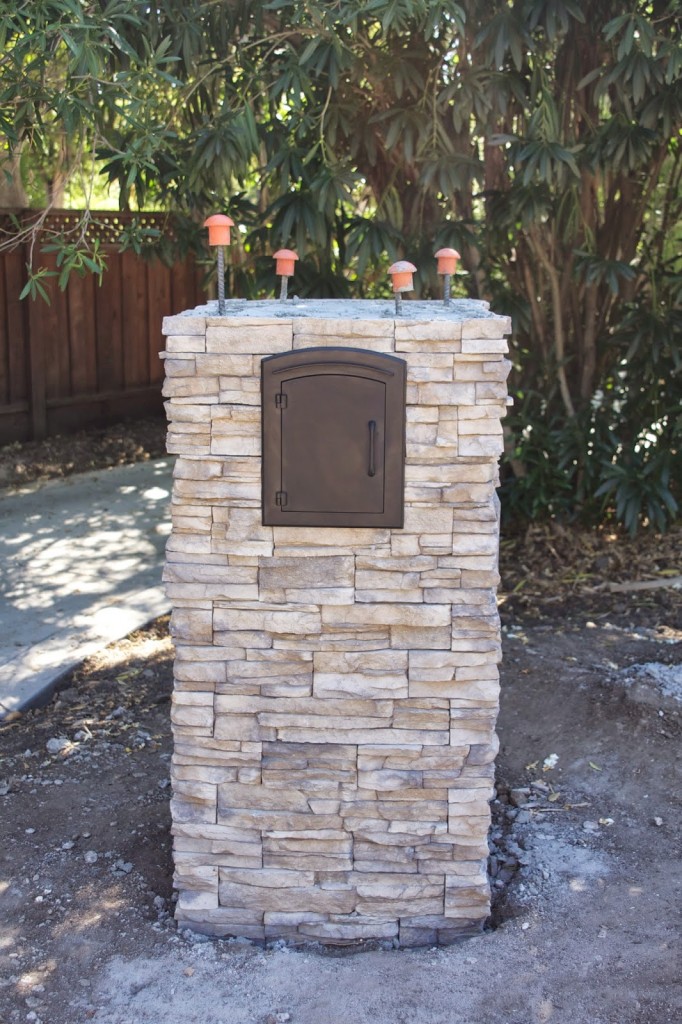
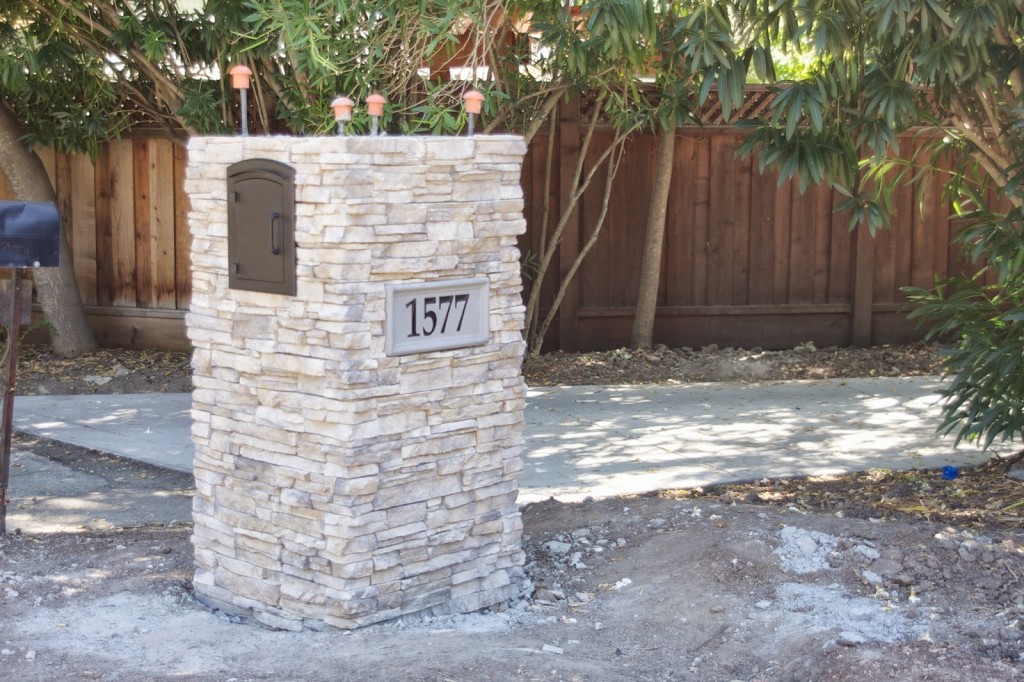
The mailbox is 99% competed – this was wrapped up on Monday as well…
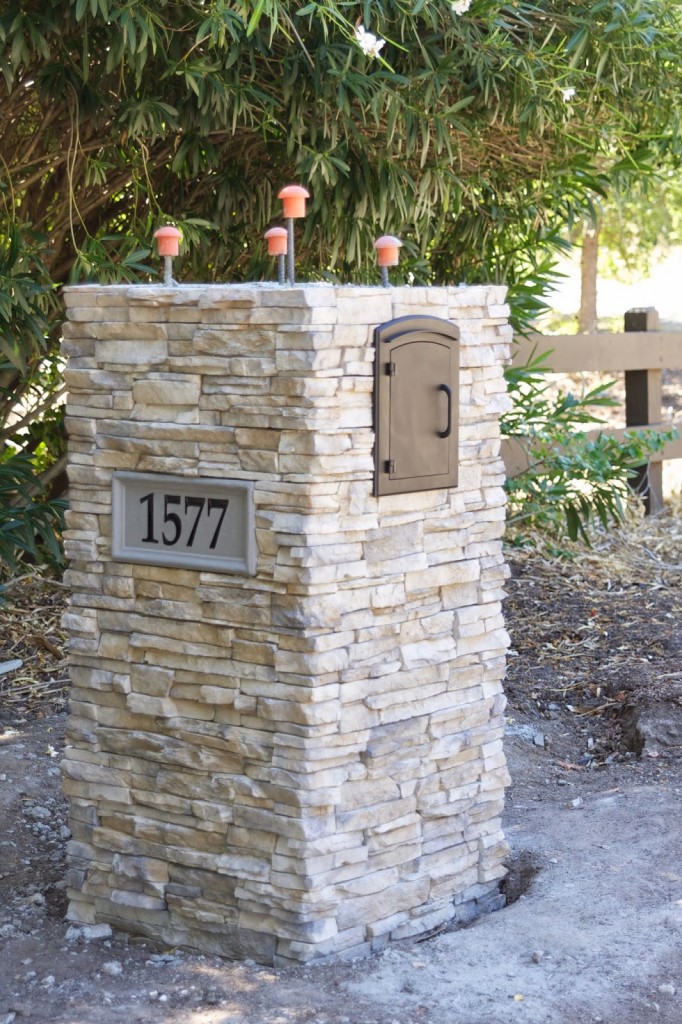
The numbers came in on Monday so we were able to finish the stone veneer and pop in the mailbox itself…
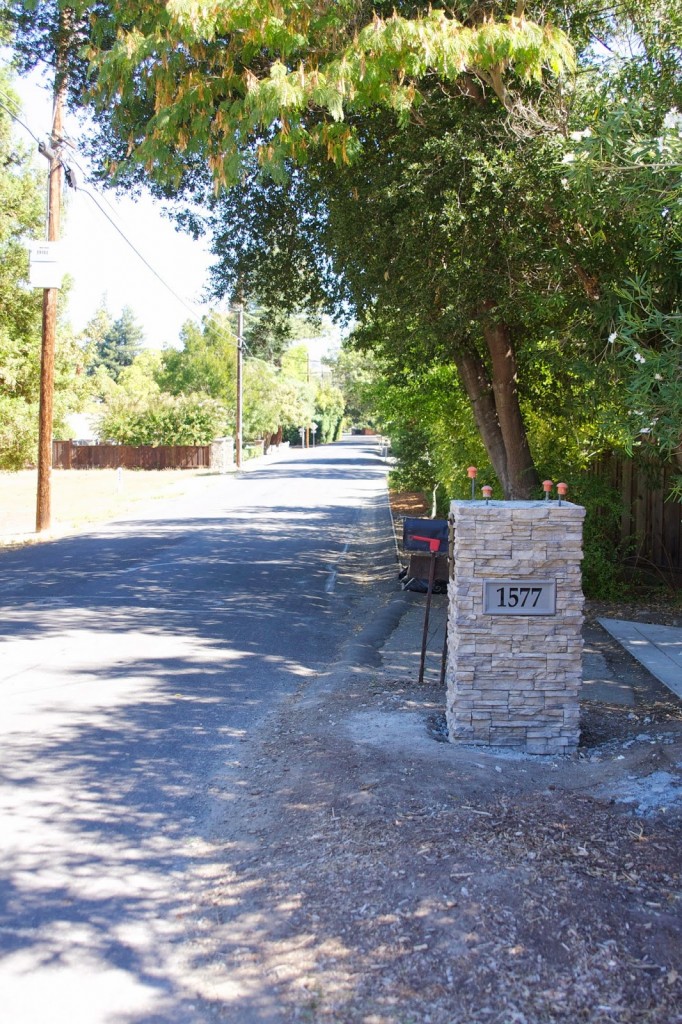
We’re waiting on the top piece for the mailbox too. I ordered a simple concrete square in light gray with a hammered edge so that it blends well. I opted for a number on both sides of the mailbox because those coming to the house can easily see the house number no matter which direction you’re coming from. You can see here that a side view makes it easier for those visiting or delivering a package…
I also had to meet with the mail carrier supervisor about the mailbox. Thankfully, he approved the location of the new box….meaning now I can take out some aggression my shovel and remove the old one.
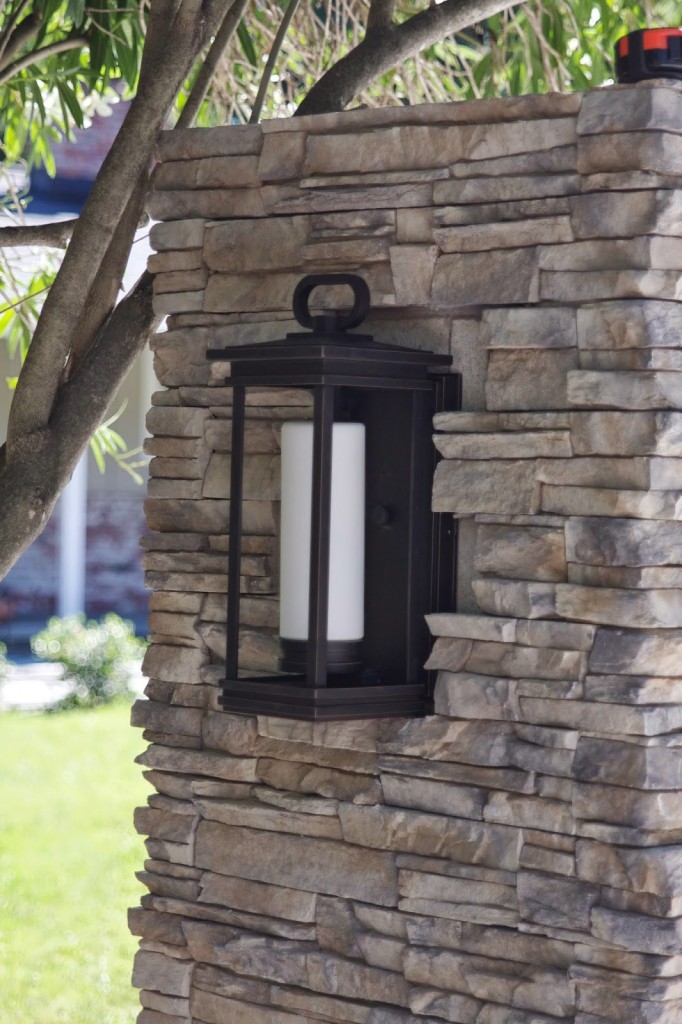
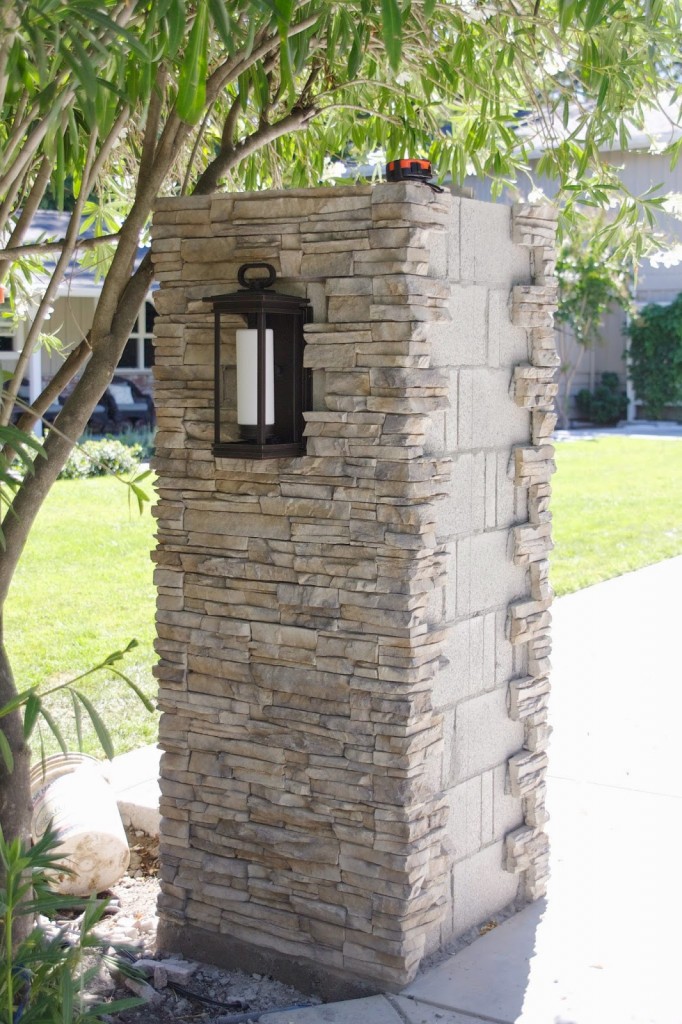
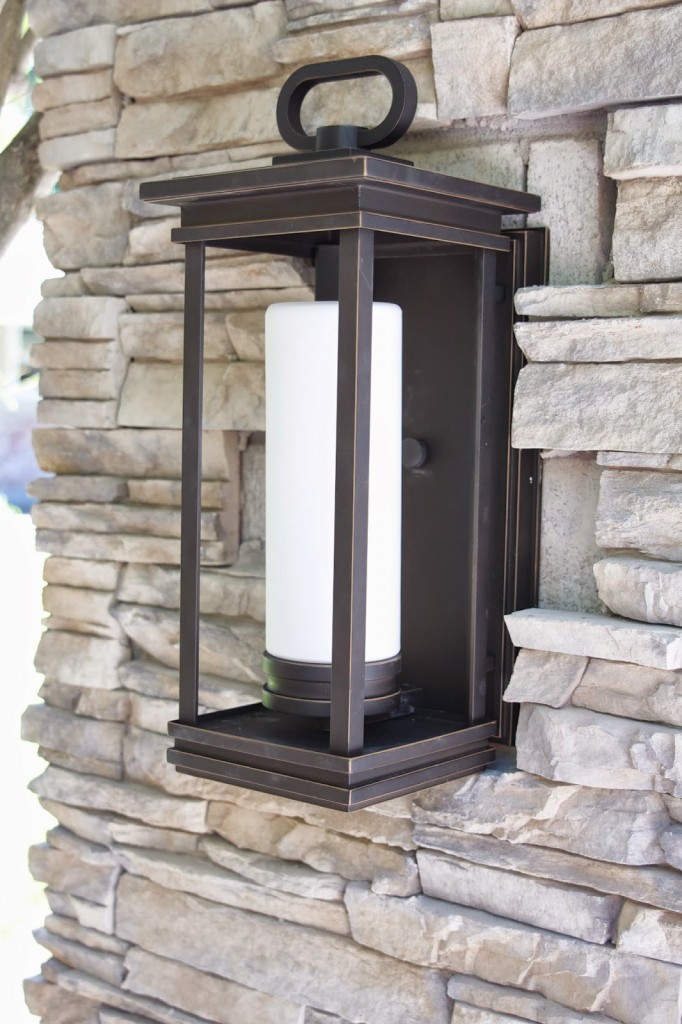
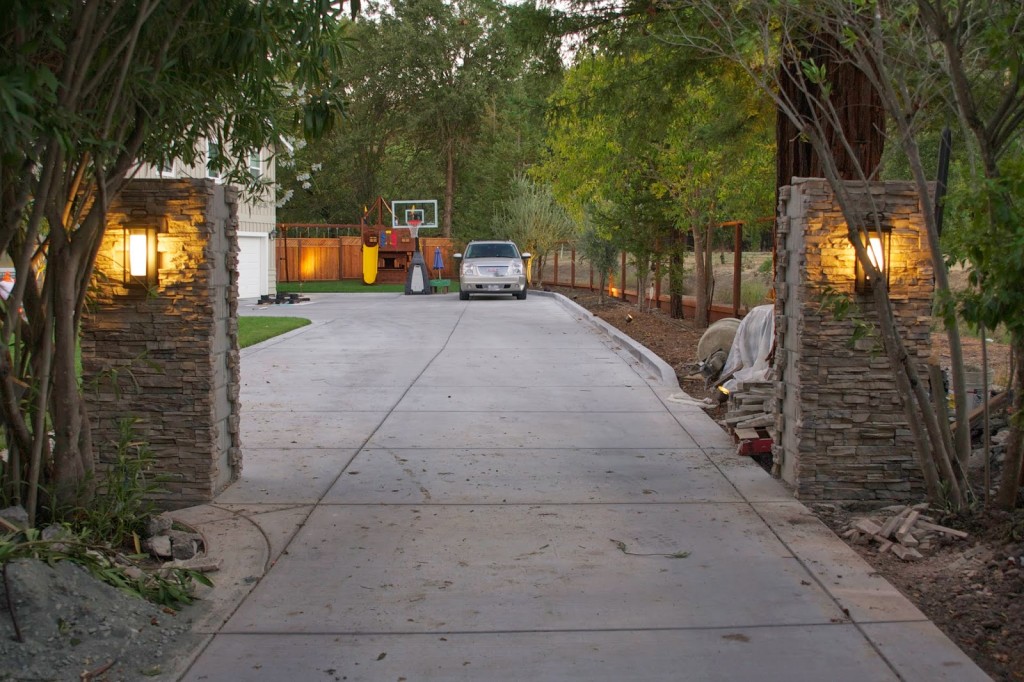
While we wait for the mounts, the pillar lights arrived so we went ahead and installed those. I couldn’t be happier with these beautiful lights!…
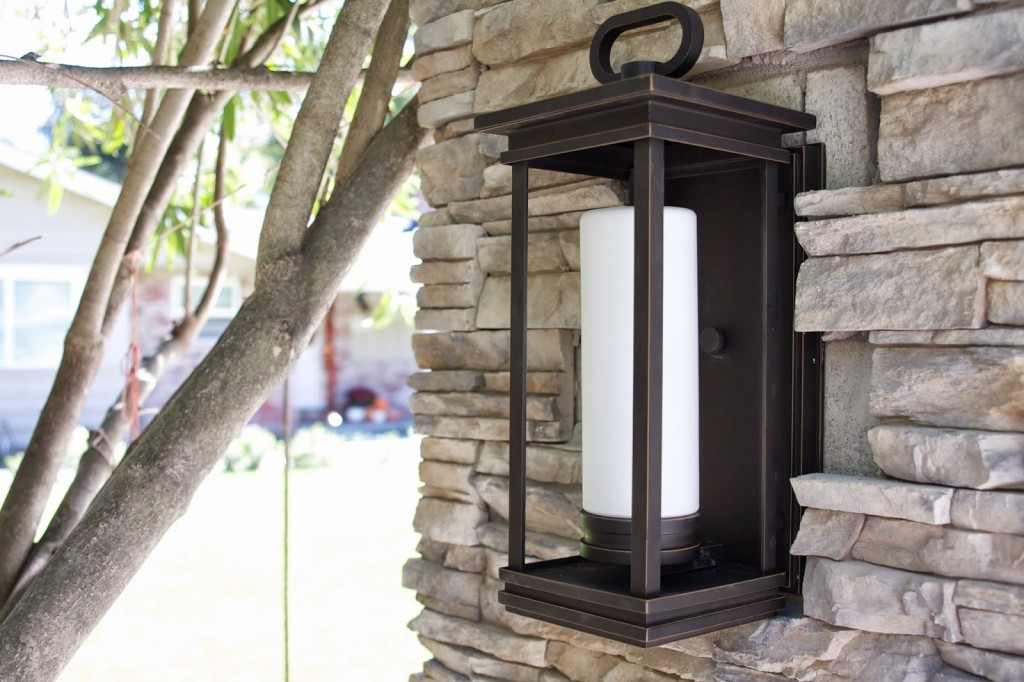
I didn’t want anything too obnoxious, but also not too small and I think these are perfect!…
This is the Kichler South Hope. I bought them on the Lamps Plus website, when they were on sale – yay! Lamps Plus offers free shipping and free returns, which is nice because it’s so difficult making lighting decisions. If you guys are interested in ordering this or something else, they are offering a coupon through the end of the year – Save $10 off $150 at LampsPlus.com with coupon code 36AFFDC6.
The lights are up and we’ll fill in the stone around them after the gate mounts are up as well…
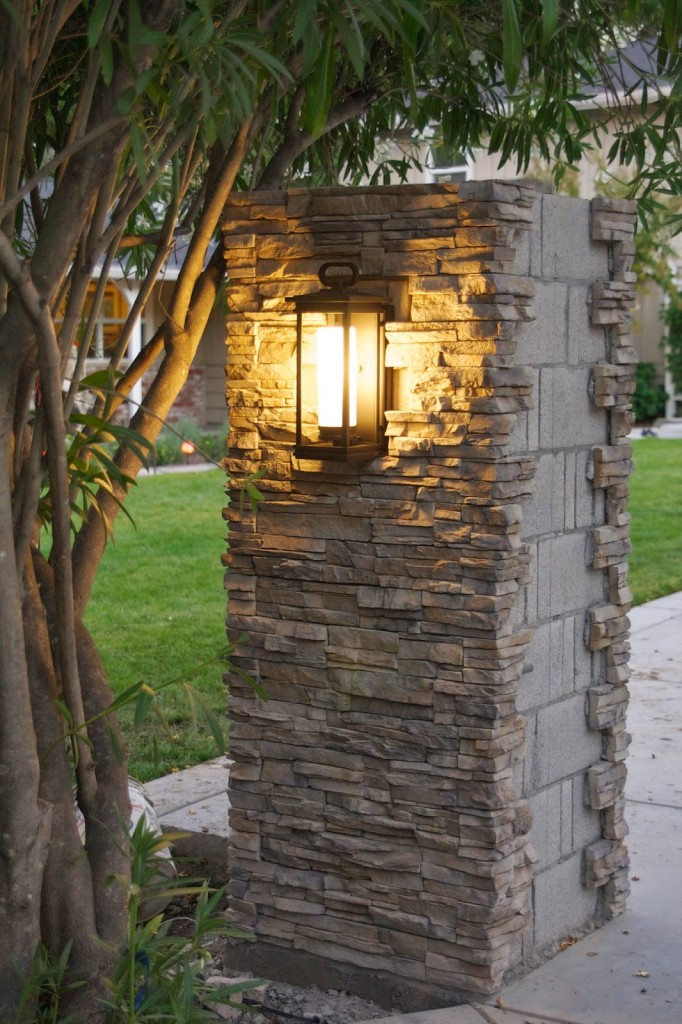
Here they are lit up in the evening – loooooooove doesn’t describe this for me…
That’s my outdoor update for now. Thank you for the “shoulder” guys! Projects always have their ups and downs. Hopefully this is the very down and it’s only up from this point on. I’m ready to seal the deal here with a finished gate and fencing.
Have a great day you guys!



Beautiful Sam! Hang in there!
thank you!!!!
they look amazing! what a classy entry!
Looks lovely! Hope the mounts/gate arrive soon! Trust your gut and keep the oleanders. 🙂
I love the home project posts just as much as your organizational ones. Both inspire me as they are all about improving your house to make it a home! You've come so far with all your big outdoor projects; it's truly amazing what you've been able to accomplish. Good luck getting through this one!
chin up Samantha! It is looking great! It is just a matter of time before you (and we) can enjoy another beautiful before and after picture heavy post!
Best wishes from the Netherlands!
Love the new posts they look so good and make the driveway look wow. Job well done. The lights look amazing as well. I love it
I do not mind reading the home improvement posts at all!
Maybe the gate guy is holding up because he wants to install the brackets to be sure they are in the correct spot (versus having the masonry guy install them)?
This looks stunning! Also – *HUGS* I don't know how you do it girl, I would be rocking and talking to myself in the corner by now if I were in your shoes. Hats off to you!
It looks amazing and will look great once it's all completed! Thanks for keeping it real and hang in there!
I know it’s been a while since this blog but, I was wondering what brand & color the stone veneer is. It’s gorgeous!!
Hi, where did you purchase the stone numbers and top piece for your mailbox? Love it!
Hi,
I purchased it all from a local stone company. It was in Danville, CA though – not sure where you are located. 🙂
Sam