Or otherwise titled…”that time I bought a sawsall”.
Because everything related to home improvement around this old abode must be a challenge and require extra $$ (insert sarcasm here), this is a story involving more of that. I’m sure you’re excited to hear!
Since my mailman has fallen hard for the new mailbox and immediately stopped using the old one, it was time for the ol’ eye sore to come down. But she wasn’t going down without a fight. Much like the occupy wall street movement, she dug in her heels, stood her ground and had no plans on going anywhere anytime soon. That is until my new BFF, Sawsall, showed up.
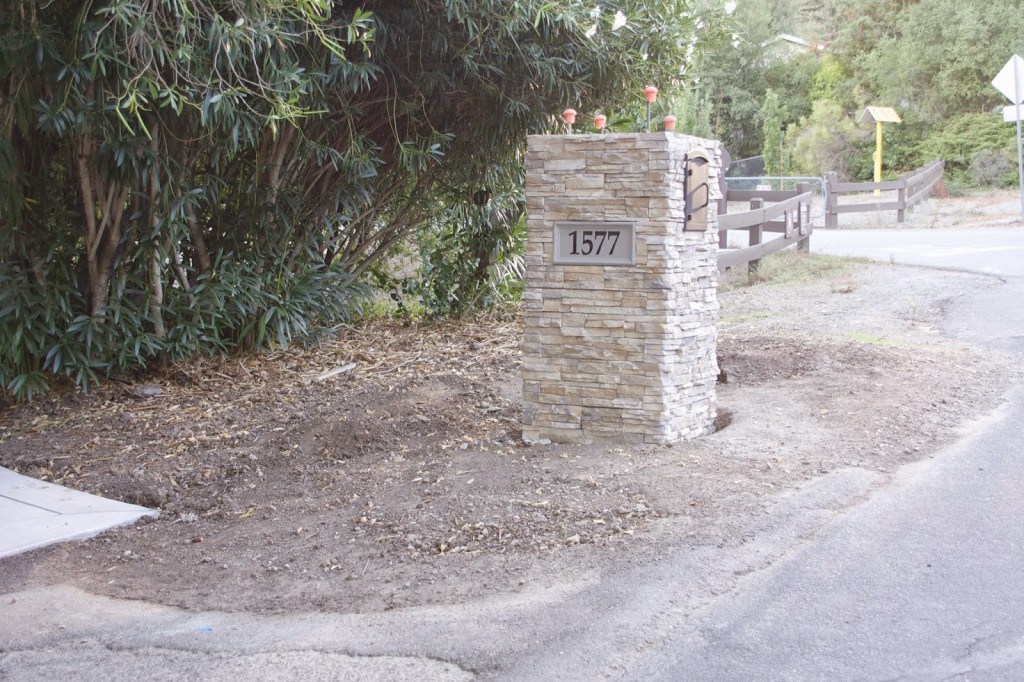
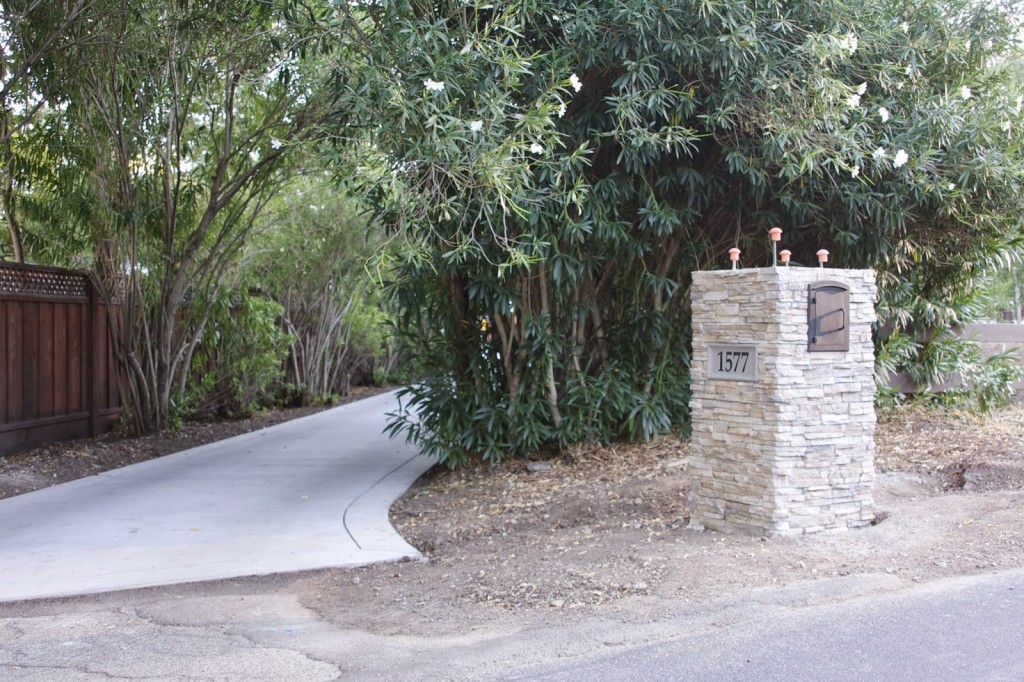
Here you can see the regal old lady standing as tall as she could against the newly formed mailbox…
She gave it her all, but in the end she came down. What I thought would be an easy demo ended up costing a little money…all went spent though because, as you’ll see, the new investment has more than one use.
I started by digging away at the base of the mailbox with a shovel…
I kept digging and digging knowing soon I would get to a cement base of some kind. After digging for almost 45 minutes and not yet hitting concrete remnants, I thought a good kick or shove would help bring her down…
What had me confused was that the top of the mailbox was easily moving back and forth, but the bottom wouldn’t budge. I couldn’t figure it out.
That is until….
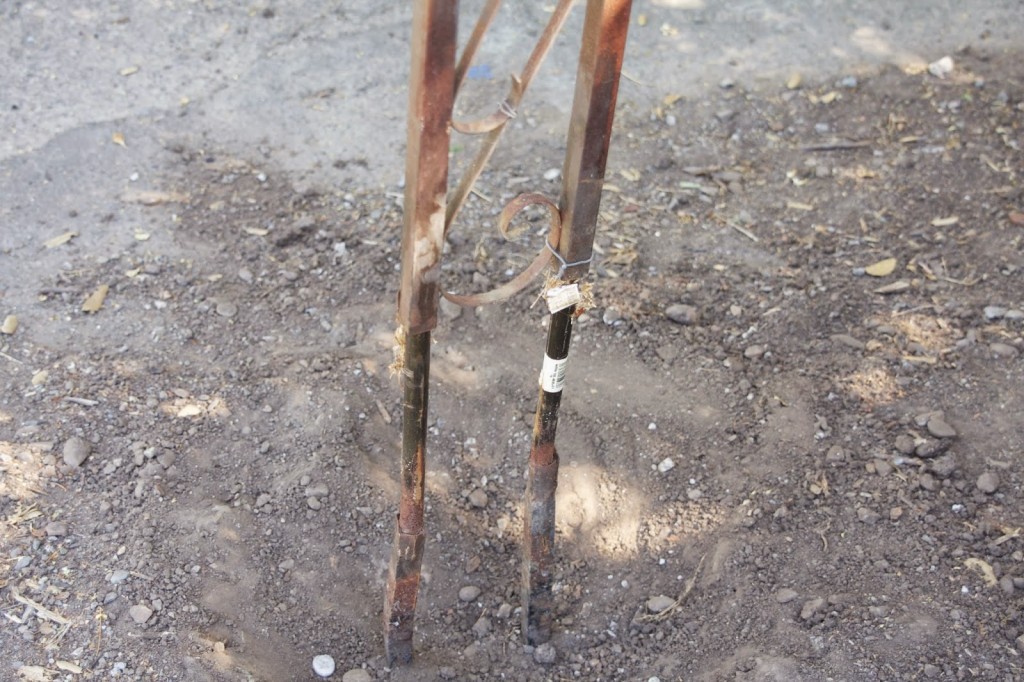
I discovered the top could slide off of what was 2 very odd looking rods??…
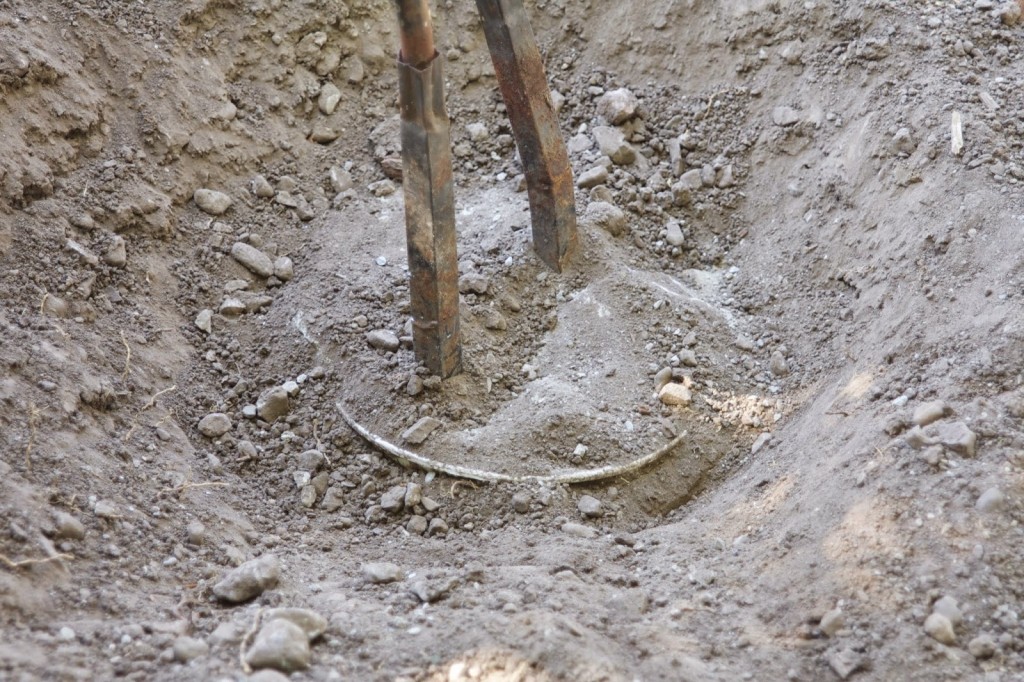
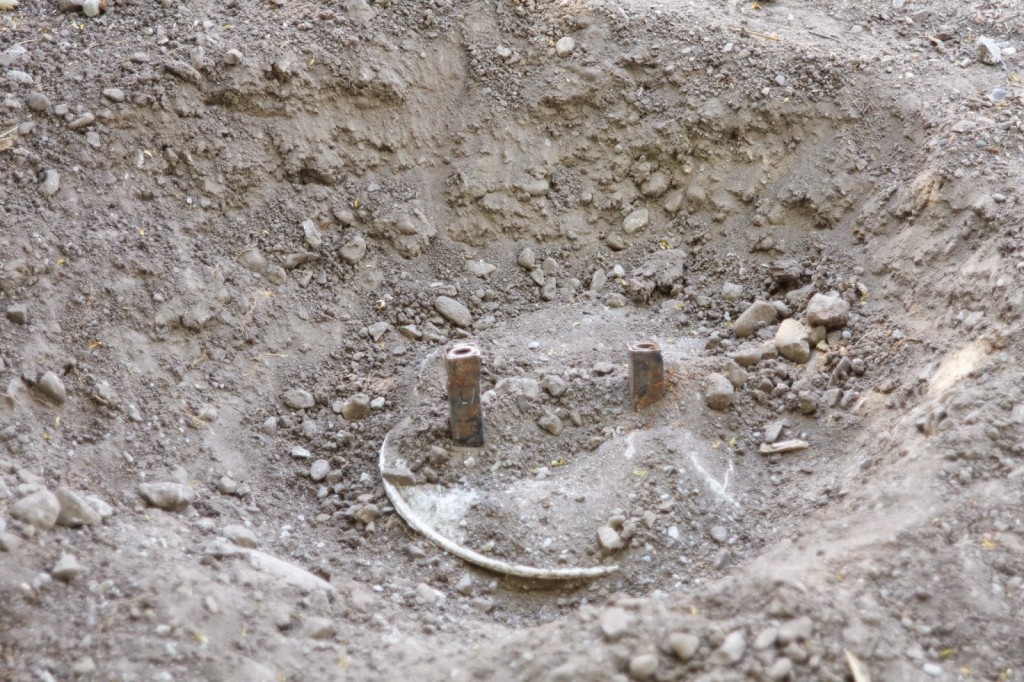
It appeared to be pvc-like pipe of some kind with the bottom portion of the pvc encased in steel rods?? I was shocked at this point and it only got worse when I kept digging and digging to finally discover this was the reason these rods weren’t budging…
The reason is because they were set in a 5 gallon bucket of cement buried underground. ?!
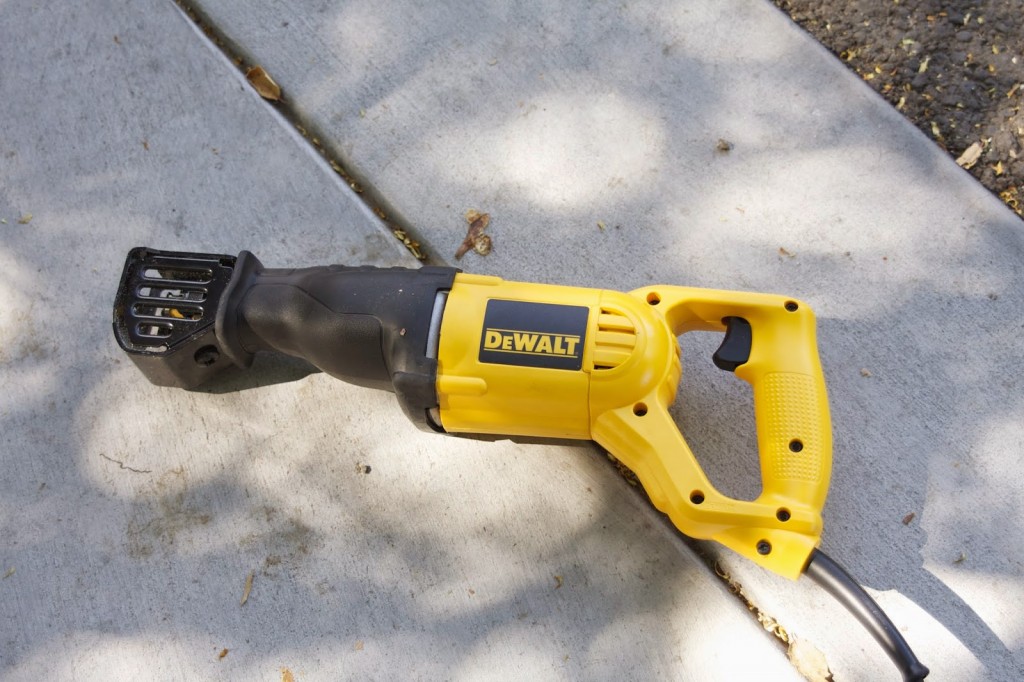
Hummmm, ok….so the “what the heck’s going on” was solved, but the “now how do I get it out?” was another question. I could keep digging and digging, but I wasn’t up for the workout. I was already in on the digging job a good 90 minutes at this point. This general area has a lot of clay and it was so hard getting to just this point. In the end, I ended up at my local hardware store, desperate to find the tool that could help me cut through the steel. But my friends….I found it! And here it is…
It’s a sawsall and you have the option of buying various blades for various cutting jobs. For this job, I purchased a set of thick metal blades for a few dollars. And it’s easy to make the cuts…
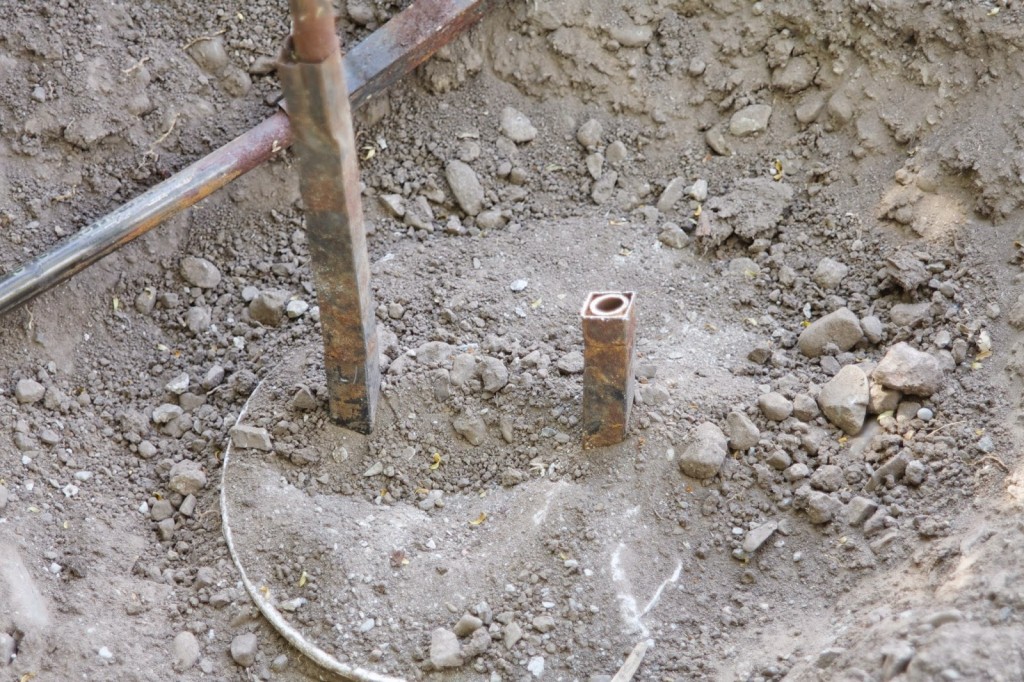
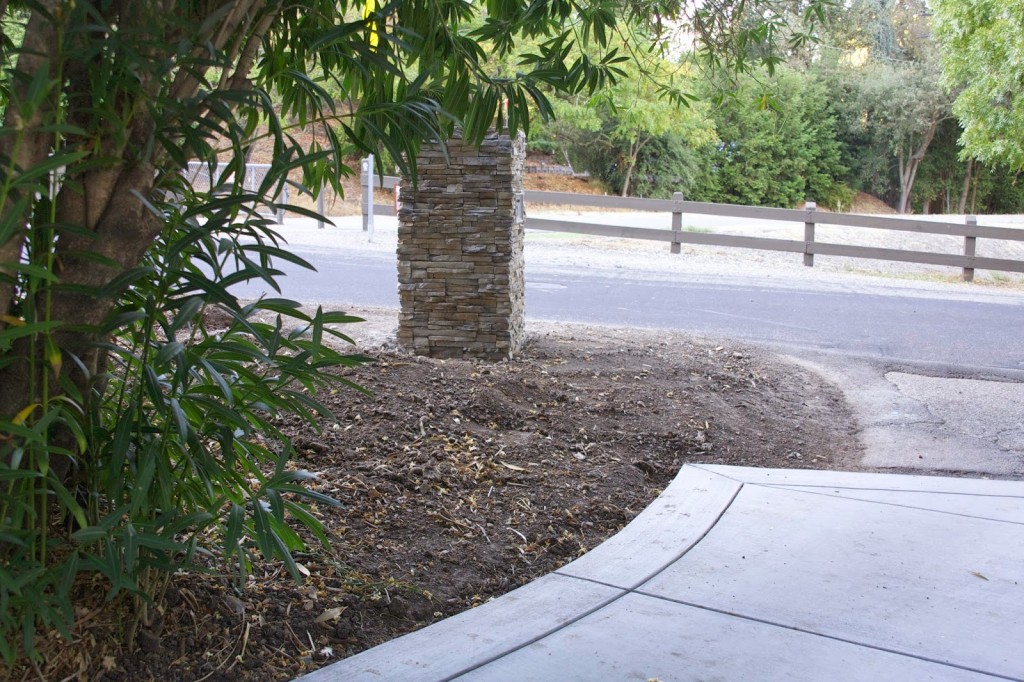
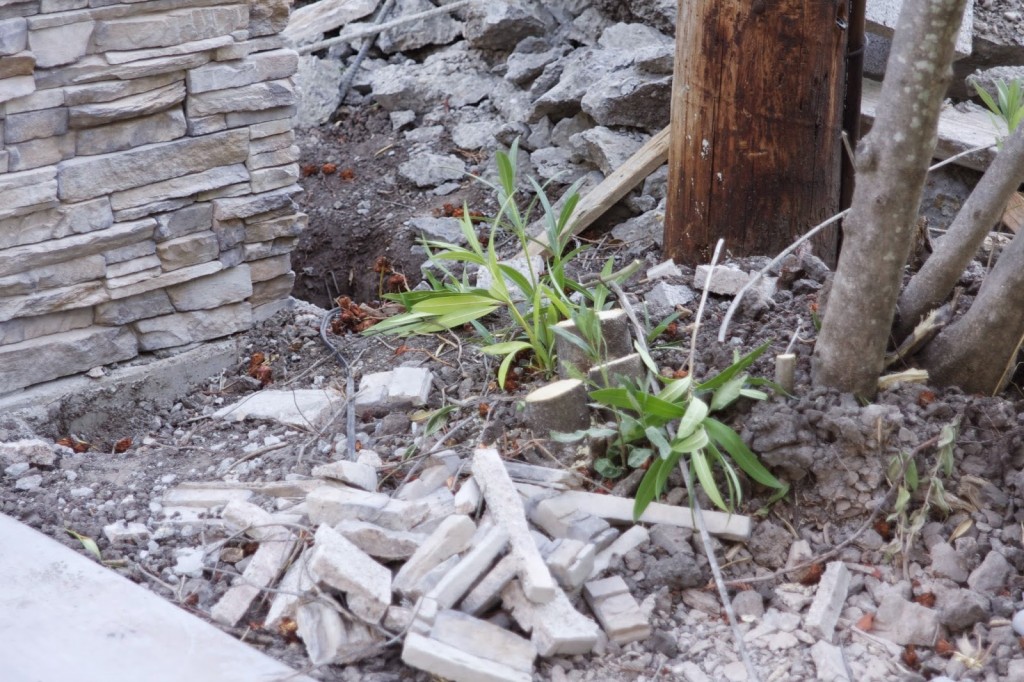
I cut the rods as low as I could get them. I could have cut a bit lower but it’s recommended to cut on a straight line, not at an angle. I didn’t want to dig away more dirt for that, so I left a few inches of steel. Truth is, this is so deep and landscaping will eventually happen above this area…so my plan was to cover it with dirt. And that worked!…
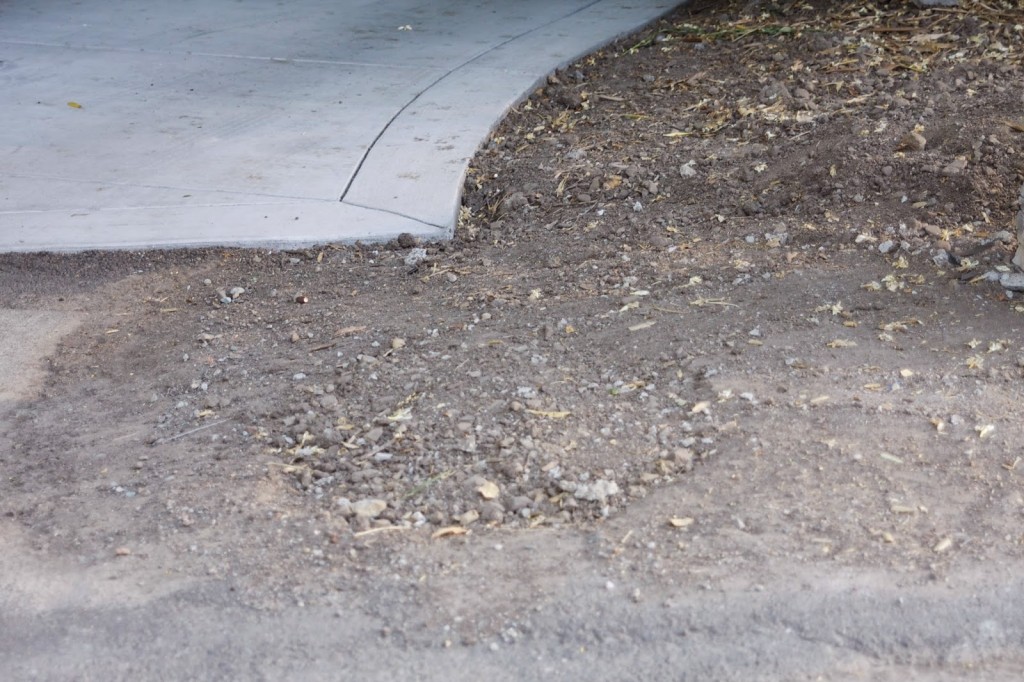
Covering the hole took minutes. I wish digging took that long!…
I’m looking forward to the day this mailbox is surrounded by plants and flowers instead of, you guessed it my long-time readers – DIRT!…
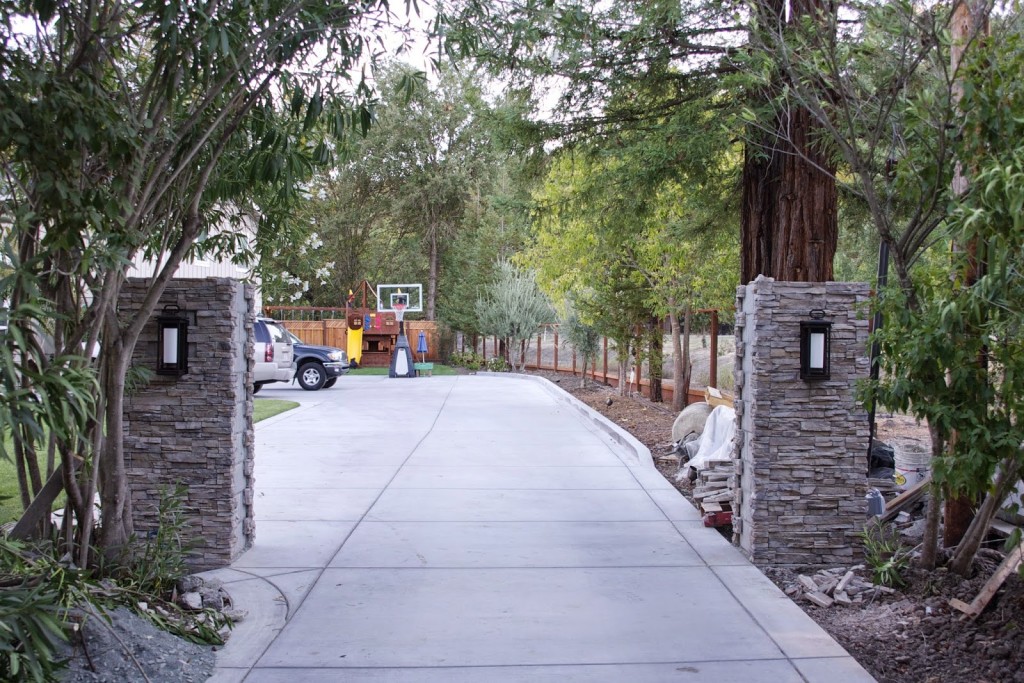
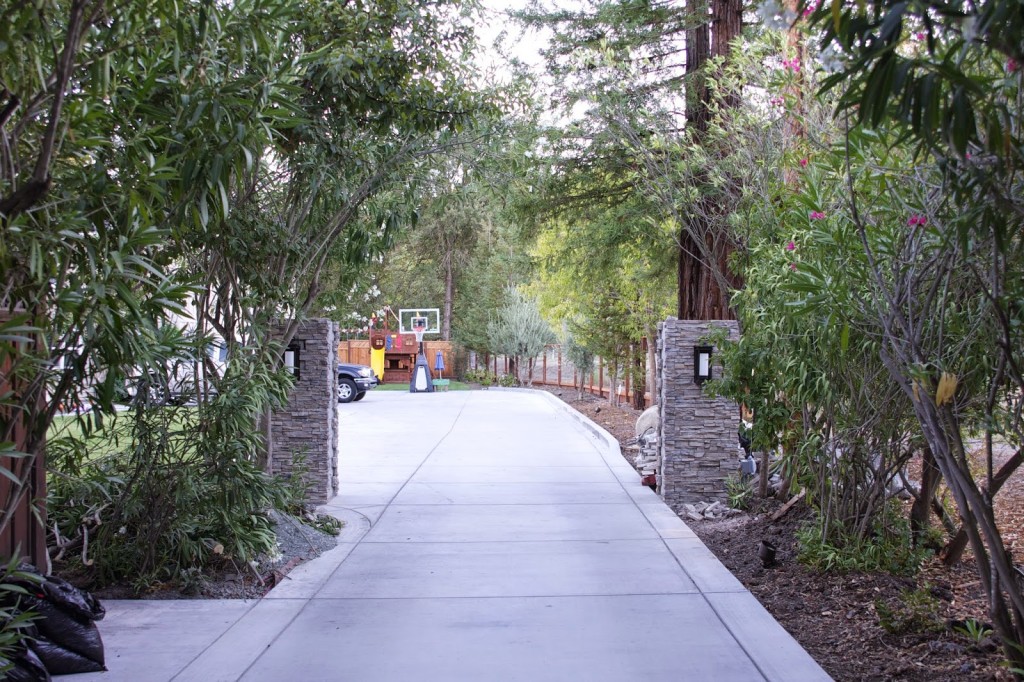
With the old mailbox down and a few more kid-free hours available to me, I drank a bottle of wine in celebration took the same sawsall tool and trimmed down those oleanders on either side of the gate pillars. I guess you can say I’m hoping this will prove my point to these guys that I can keep that oleander on the left…I’m such a girl, I know! Anyway, I think it’s looking ok for now…
As opposed to my pre-trimming…
You can see I basically took down the oleander on the right. It had to be done anyway because of the gate mechanics and the deer fence that will come down to meet this pillar…
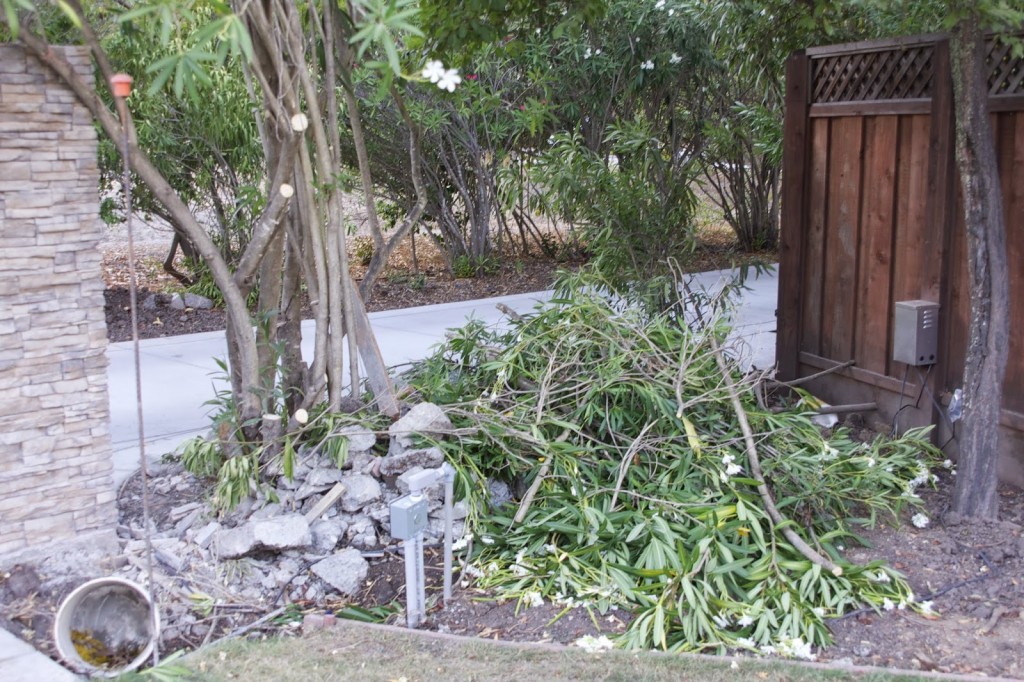
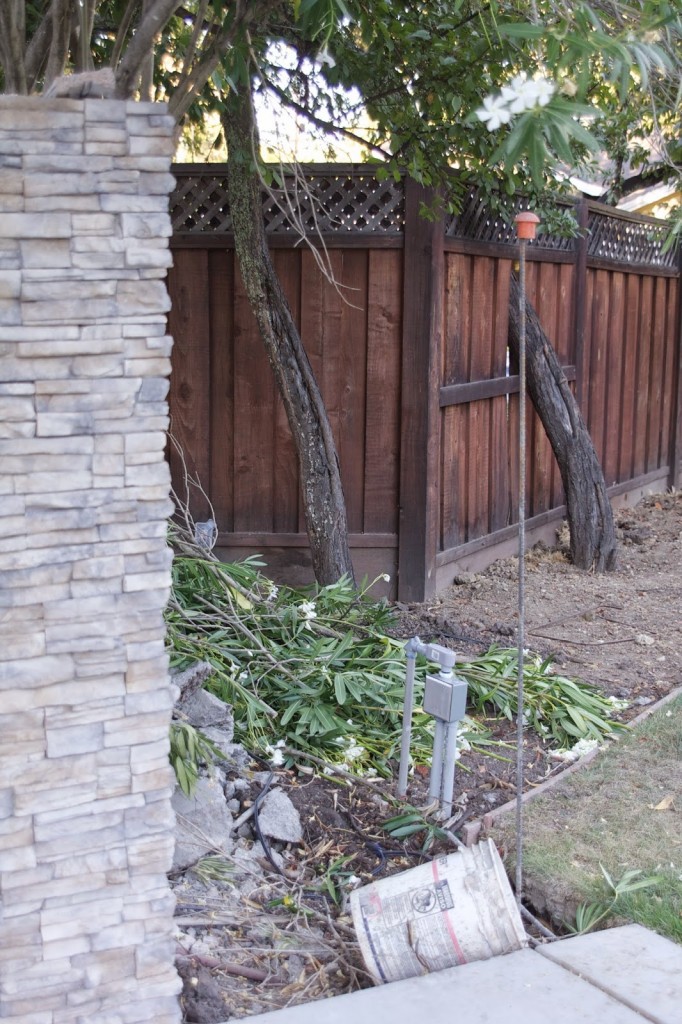
The sawsall did an incredible job pruning back the oleanders. I purchased the pruning blade which was a few bucks too. It’s an incredibly easy tool to use. Here’s the green waste stack I have so far…
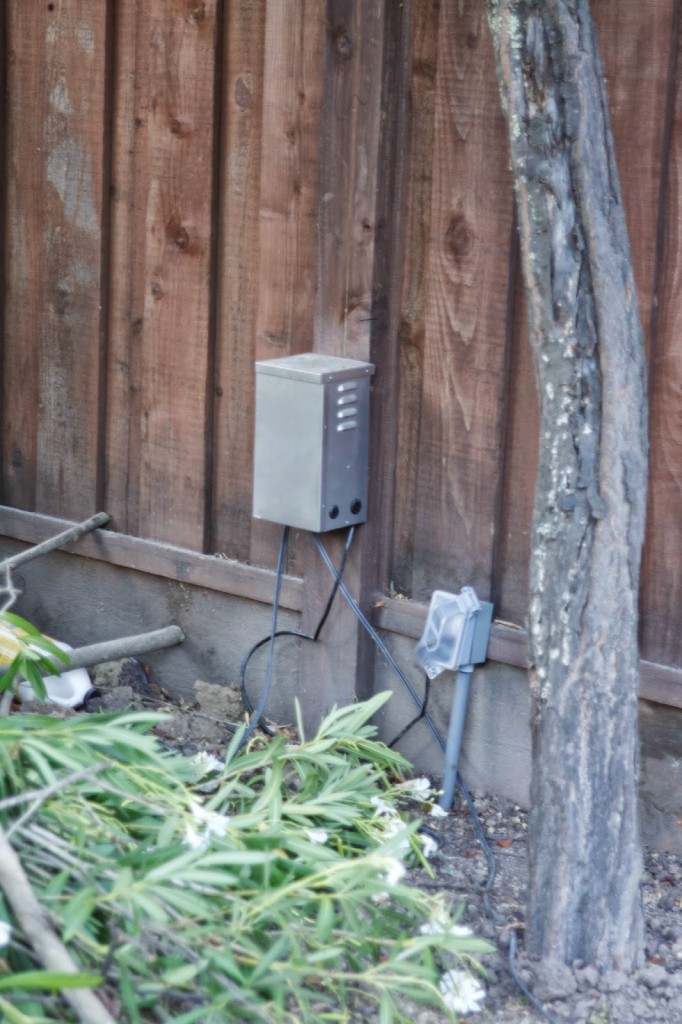
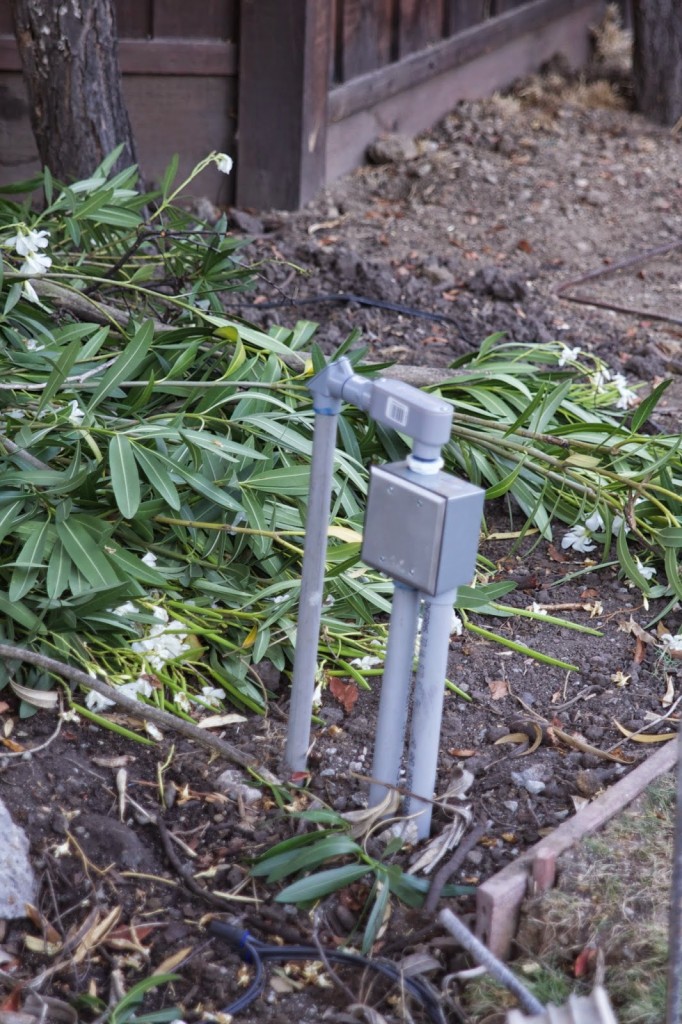
I’m hoping the fence company and gate mechanic peeps agree this is plenty of trimming. I really enjoy the flowers and tunnel effect the oleanders offer right here. If you spied some new electrical stuff, you’re good! I now have outlets on either side of the driveway for those soon-to-be holiday lights up the driveway and on the gate….did you hear me squeal?…
And this is for future gate automation, eventually to be hidden with a bush of some kind…
I’ve been putting a lot of thought into the walk-through gate over here too. I think it’s going to come off this concrete pad and make a little curve toward the trash bin area. I think I’ve also got a plan for securing this side with deer fence. It’s an awkward corner, to say the least, but I think my obsessive mind has it all figured out. You’ll see soon!…
Anyway, I guess my moral of the story here is….buy a sawsall. ?? It works like a charm!
Hope you’re having a great week!!





Dream home wow!
I bet whoever set that old mailbox did it when mailboxes were being attacked by teenage hoodlums. I am sure they got tired of having to replace multiple mailboxes. If the top slipped out of the tubes, it was probably necessary for them at the time. I love what you have done though.