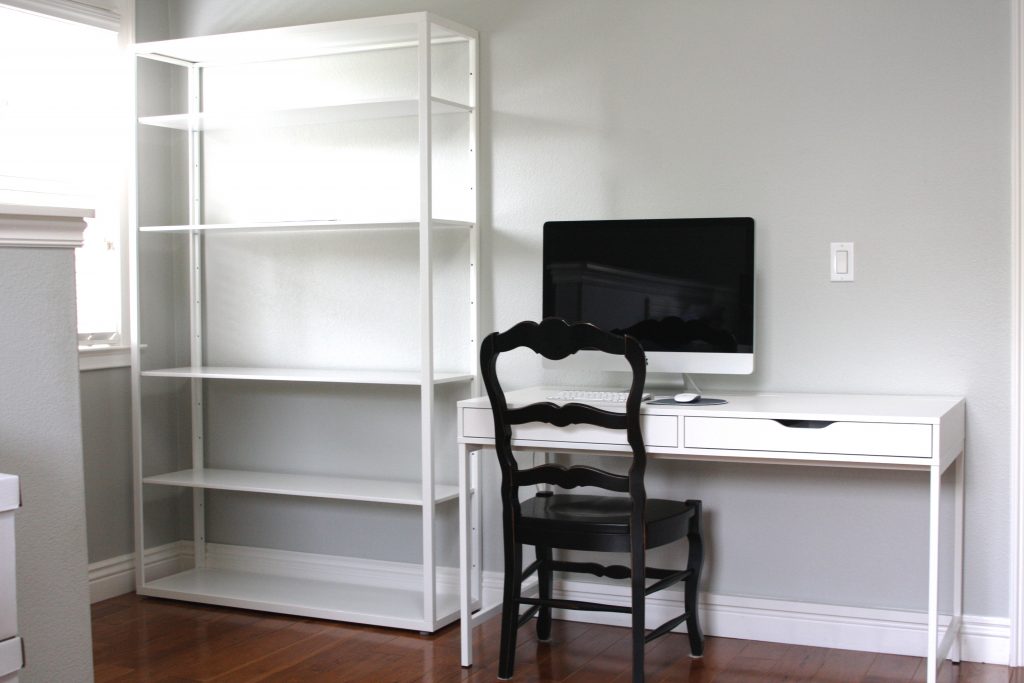
Really excited to share this easy, inexpensive Ikea shelf hack and organization project with you! Last week I shared the kid’s side of the office where I added a new desk and this beautiful, tall, wide shelf…
As with most organizing projects around here (and probably the case in your home too), they bleed from one area to the next. My projects tend to come on because there’s an issue in another space…and figure I can make a new spot to contain something in an area that makes more sense. If that all makes sense? Am I making sense? It’s been a long summer and back to school is this coming week!
Anyway, the master bedroom is on my hit list for a design update. I’ve had the same PB furniture collection since before 2004. It’s heavy, it’s dark and it’s a lot of brown. As in everything is brown – from the bed to the bedside tables to the leather chairs to the ottoman at the foot of the bed. Even the hardwood floor in the room. Yikes! And it must be a classic because PB is still selling it! It’s moved across the country and back but is in such great shape I’ll have no issue selling everything. Safe to say after nearly 15 years and 3 children, I’m due for something updated, light, airy and beautiful. When we moved to the house and I added the custom closet, there wasn’t a need for the tall dresser anymore. So instead, I placed it in the master bedroom across from the bed. The TV sat on top of it and the contents of the drawers? You guessed it – gift wrap. Totally makes sense right?
Hey, I was working with what I had!
When I was considering a piece for the top of the stairs, and I discovered the Fjalkinge shelf with the 2 spacious drawers, I knew this was the answer to get my gift wrap out of the dresser and, therefore, get the dresser out of the room. This shelf is positioned at the top of the stairs so it’s visible from the bottom. I wanted something pretty where I could display framed photos and decor, but with the drawers being so wide, they would fit gift wrap rolls perfectly. With room to spare!
Last weekend the drawers came in so I assembled them with a little hack – new drawer-front hardware…
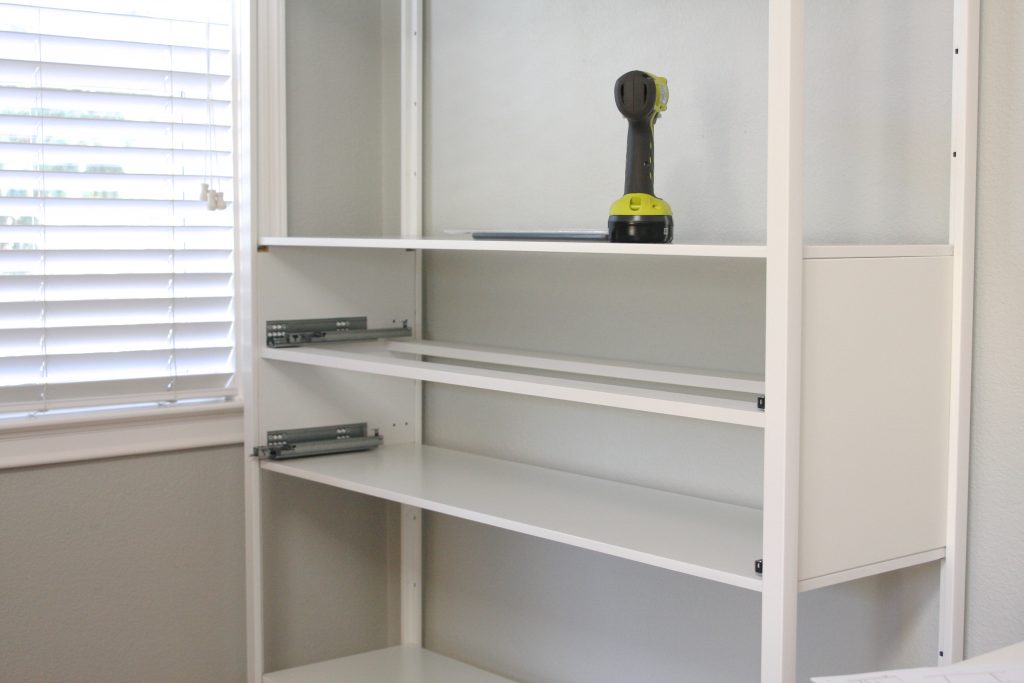
The drawer pulls that come with the shelf can be seen here…
They were ok, but I wanted something different. Ikea also sells drawer hardware. When I purchased the shelf in-store, I poked around and grabbed a set of standard black handles. They have so many options though! To update the drawer front, I measured and drilled holes…
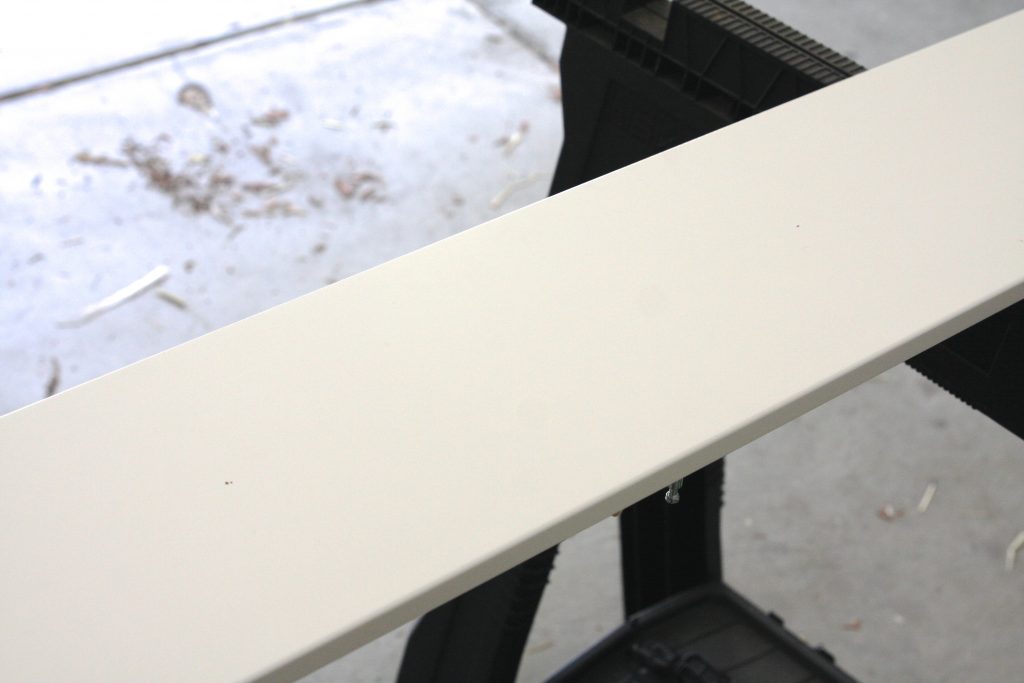
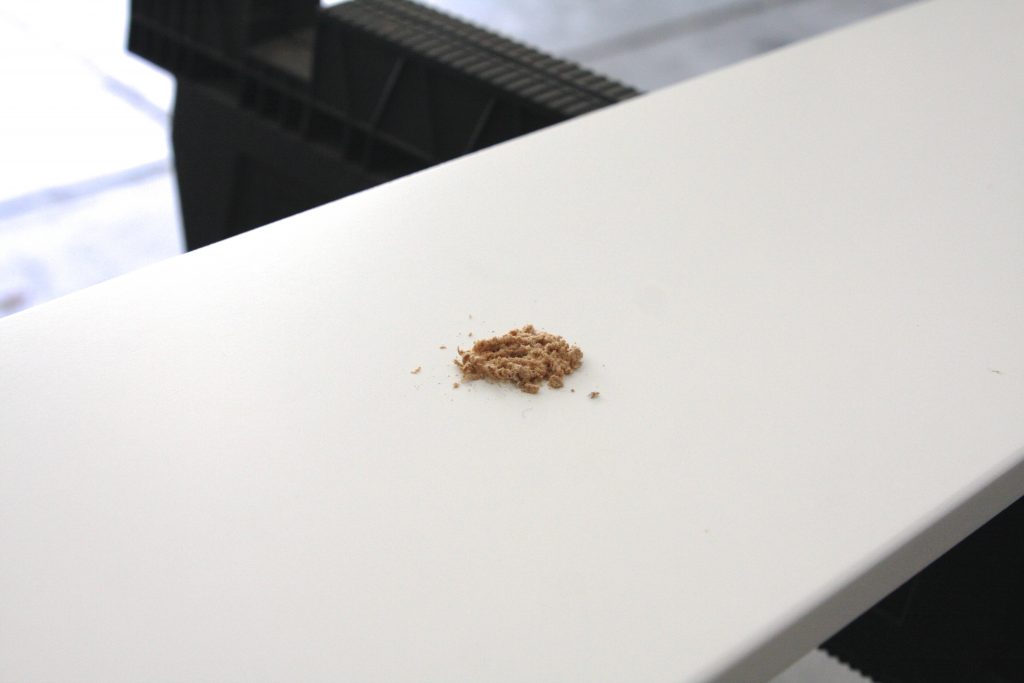
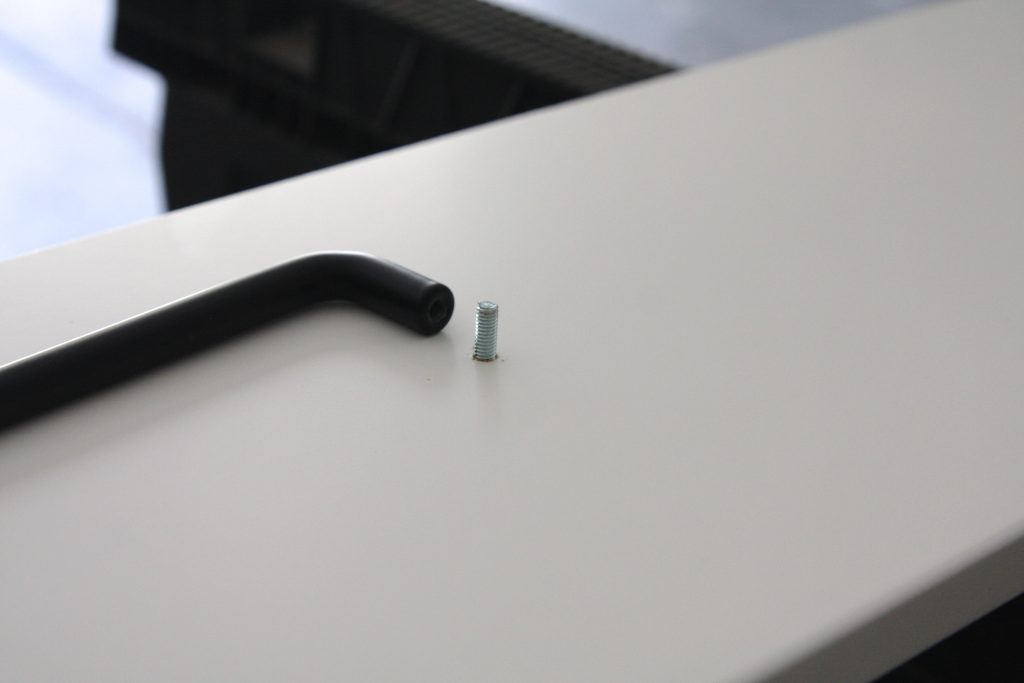
Much better, I think!…
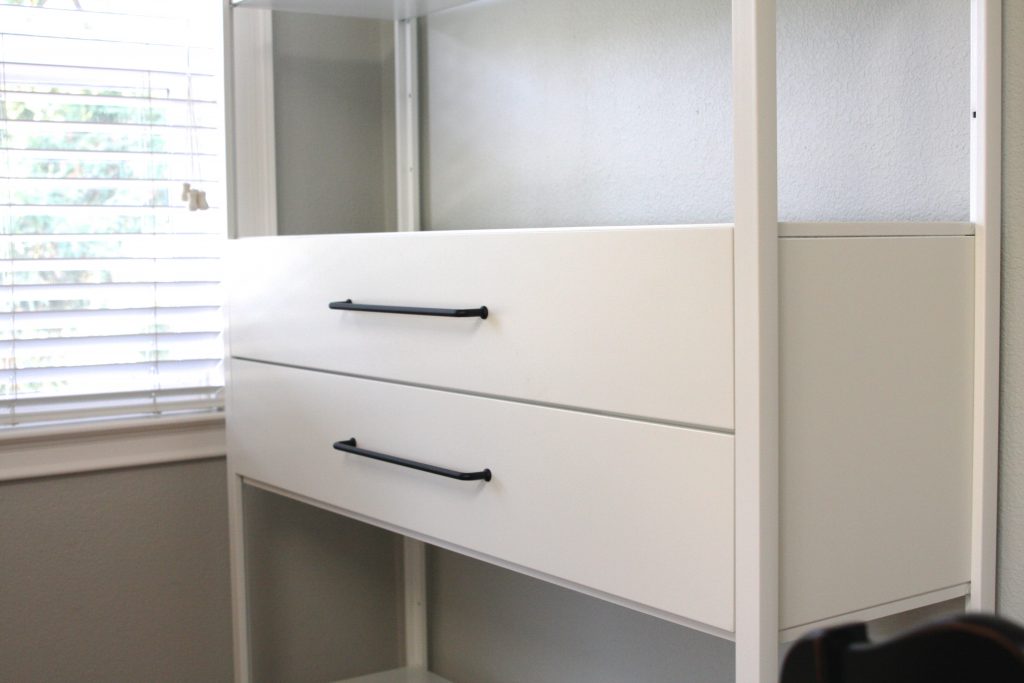
I thought about spraying them gold, but for now – I like it this way!
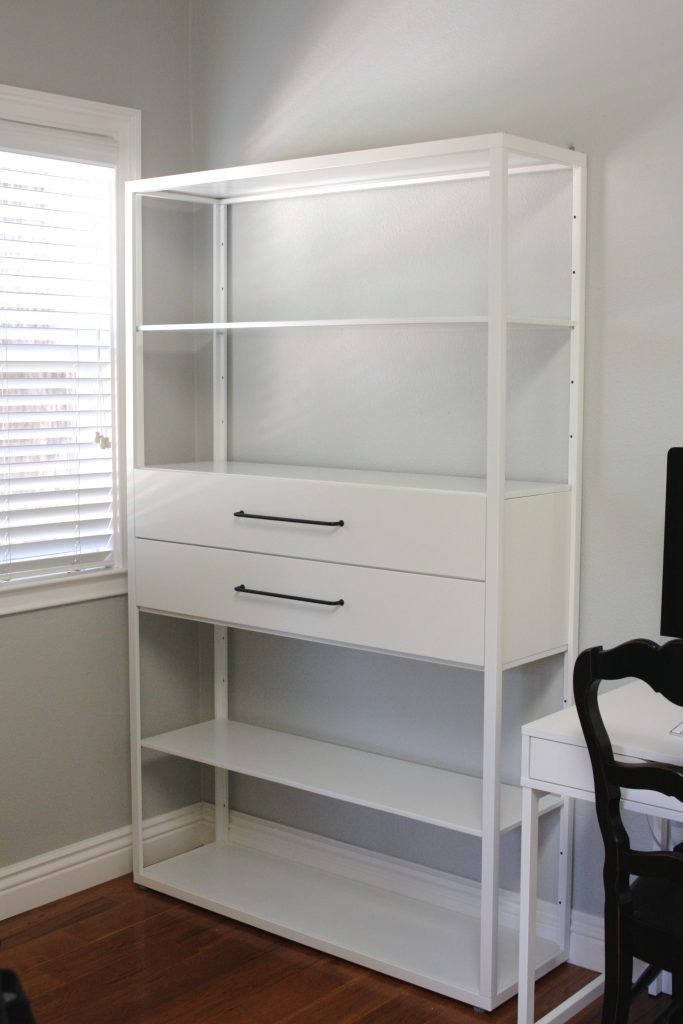
With the drawer installed, you could imagine my excitement to purchase drawer organizers and put everything away…
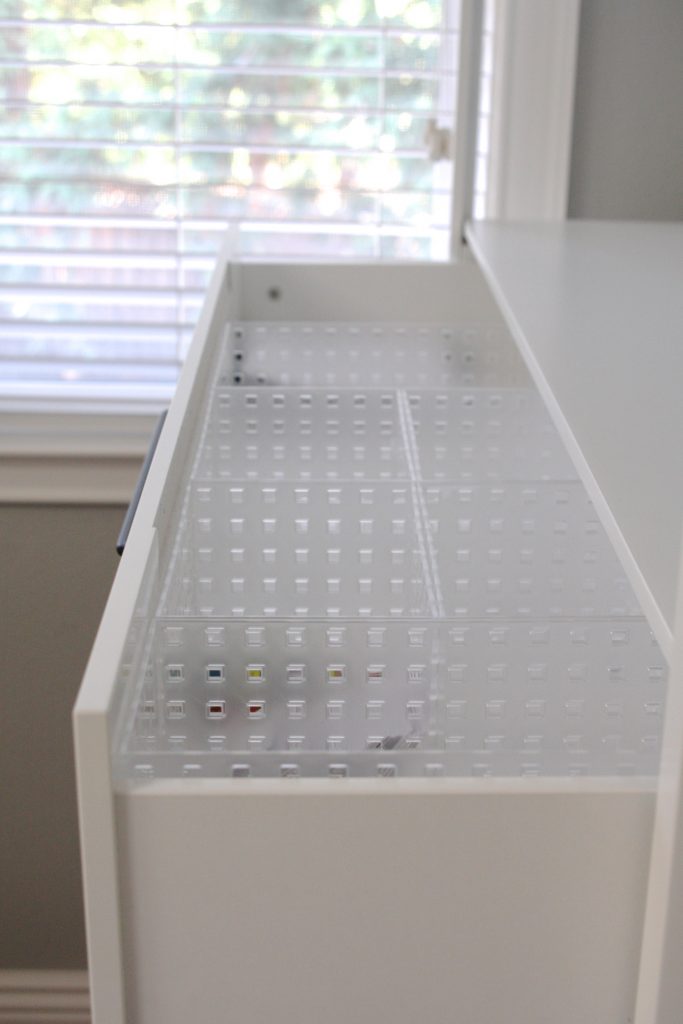
I was probably too excited, to be honest. I settled on the Like It Bricks from The Container Store…
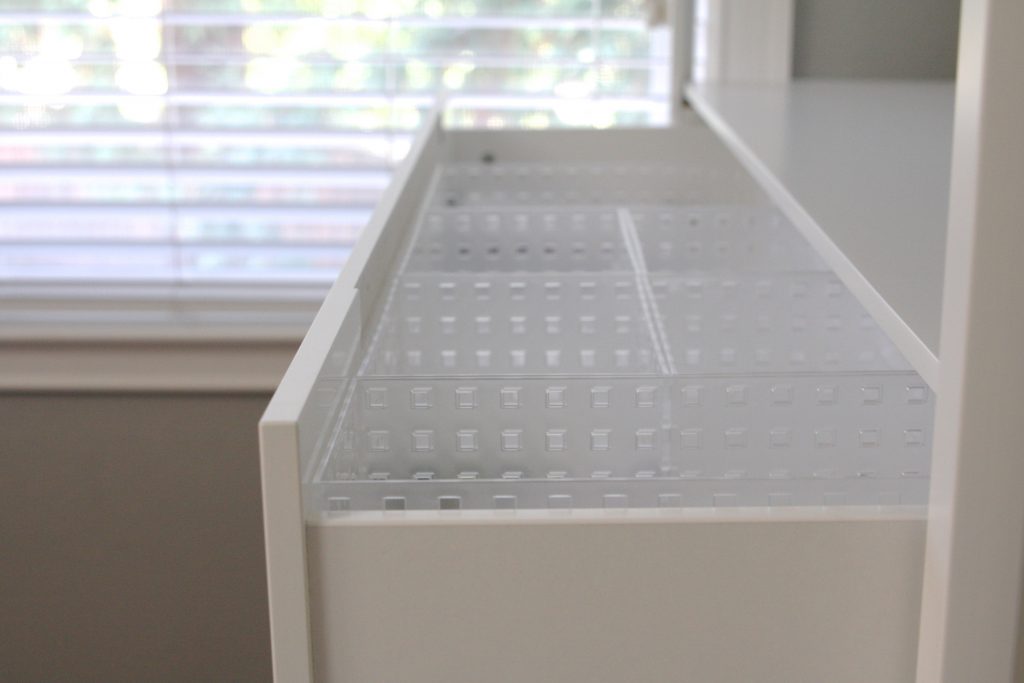
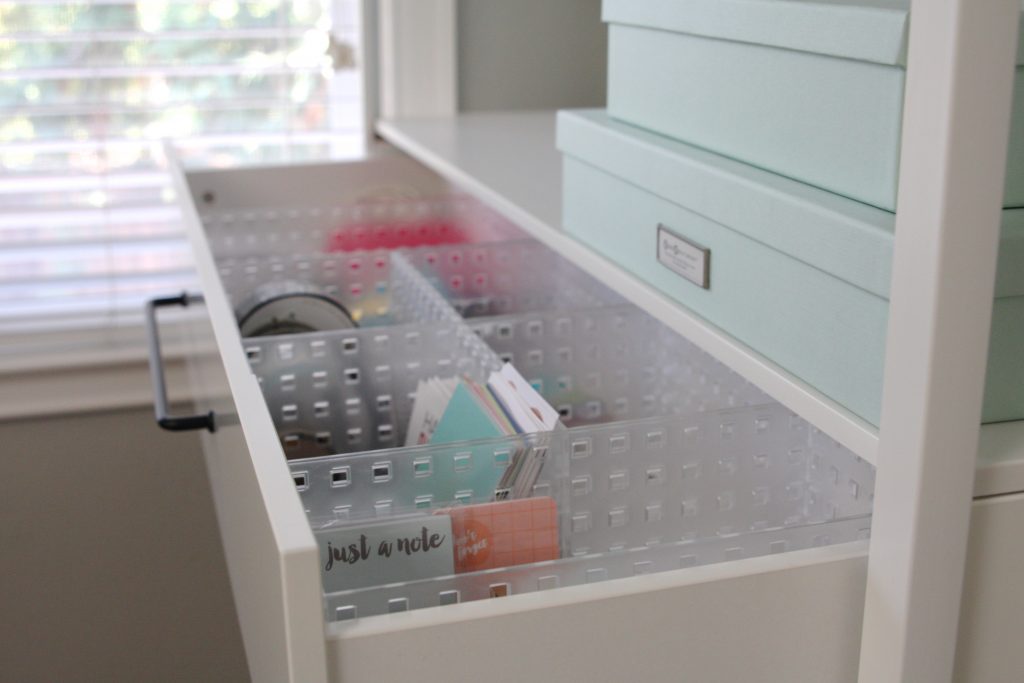
The bricks come in a variety of sizes and depths, and they fit perfectly in these drawers. I’ve linked to the specific sizes I used in the bottom of this post.
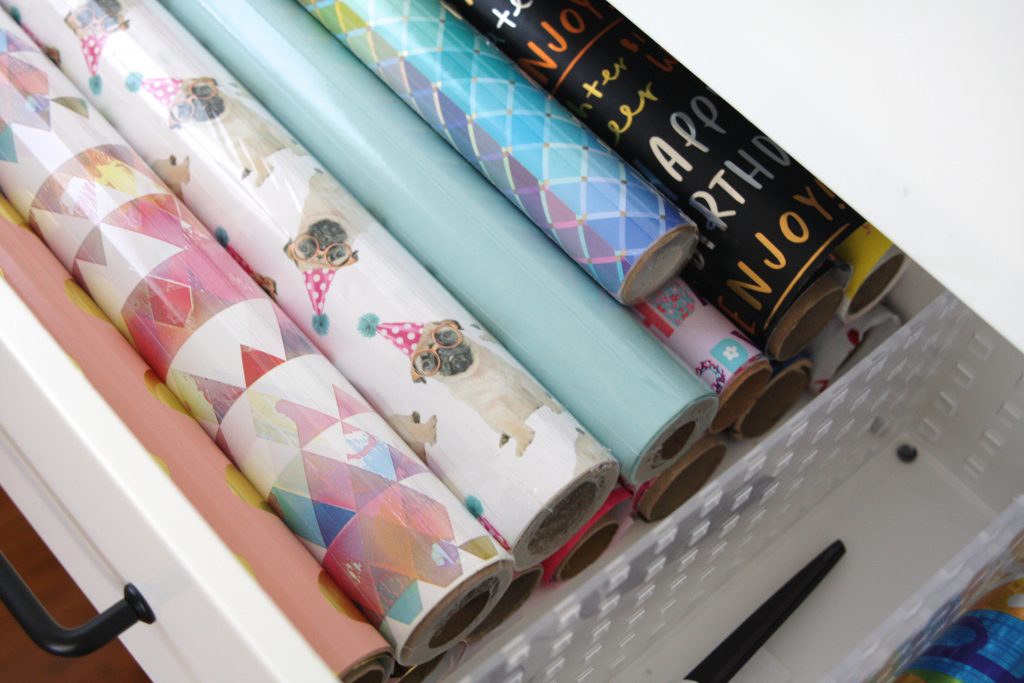
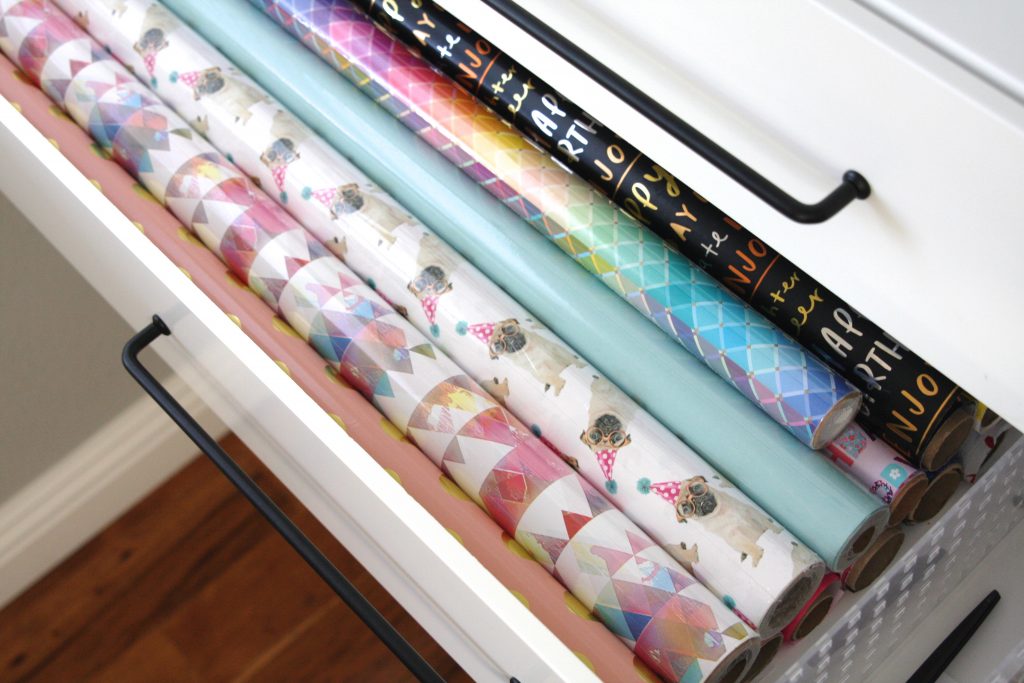
In the bottom drawer, I placed my gift wrap rolls with a brick to contain those extra pieces of wrap we always end up with. I like to keep those scraps for smaller gifts…
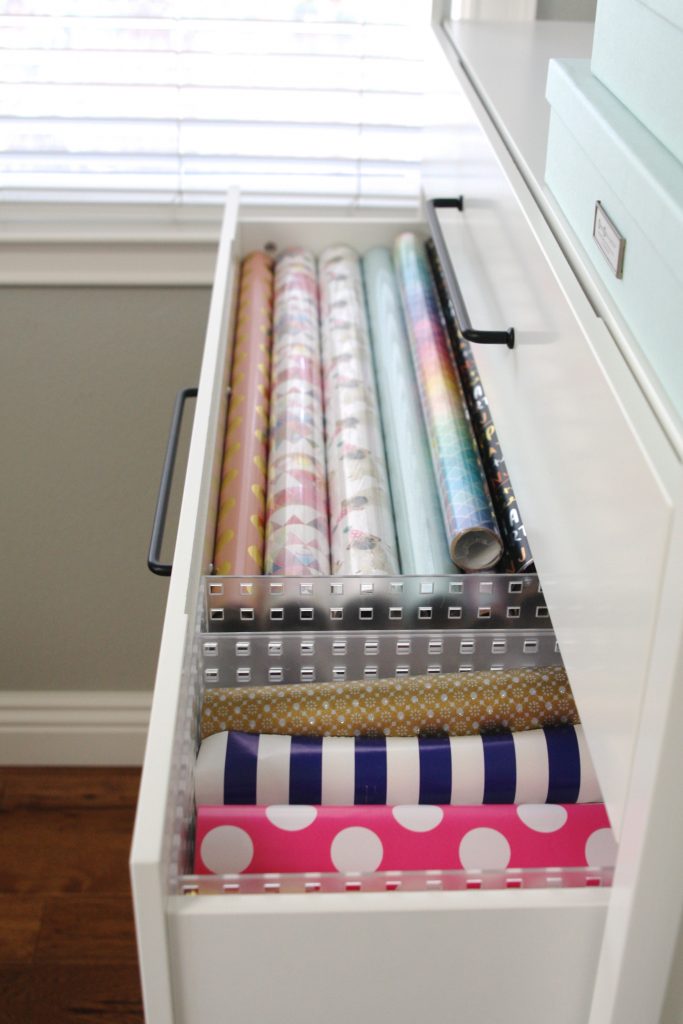
And I added a narrow brick for scissors / tape…
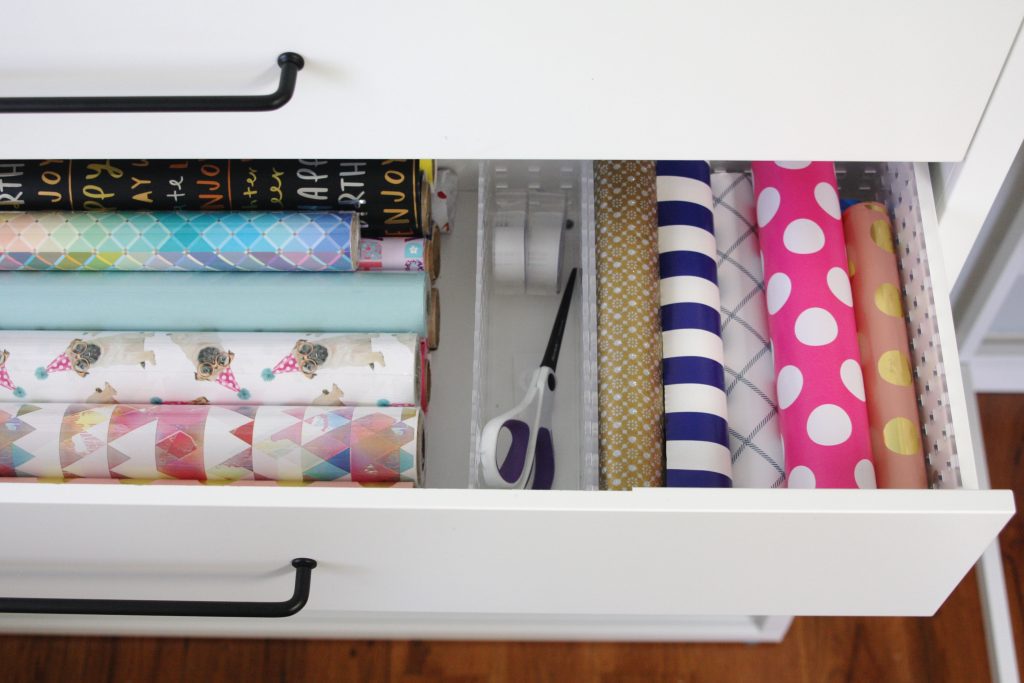
There are no words to describe how happy I am to SEE all of my wrapping paper…
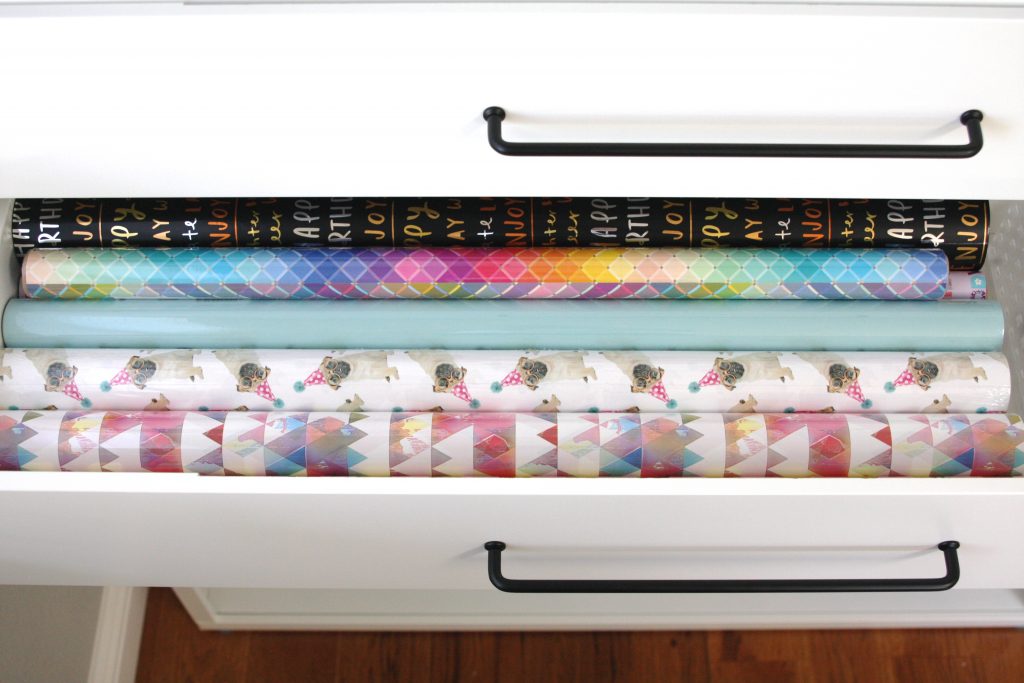
The dresser wasn’t wide enough for the rolls – I had to place them on an angle in various drawers. No more! They are sitting pretty and stacked neatly right here…
The top drawer is a thing of beauty too!…
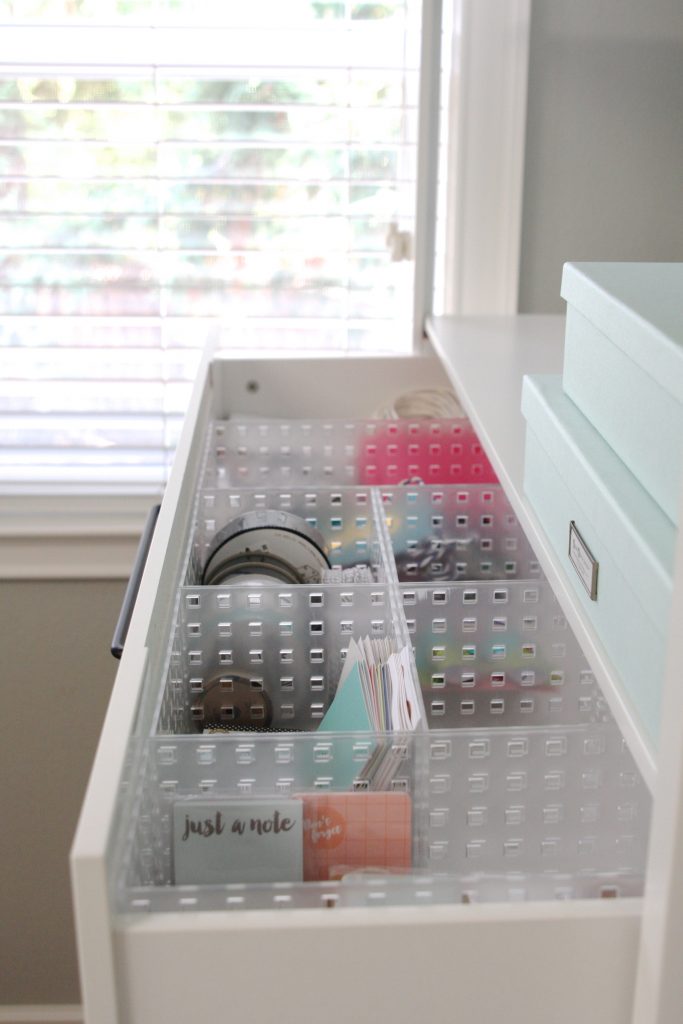
In this drawer I have gift bags, tissue paper, gift tags, ribbon, small gifts, and a few party supplies…
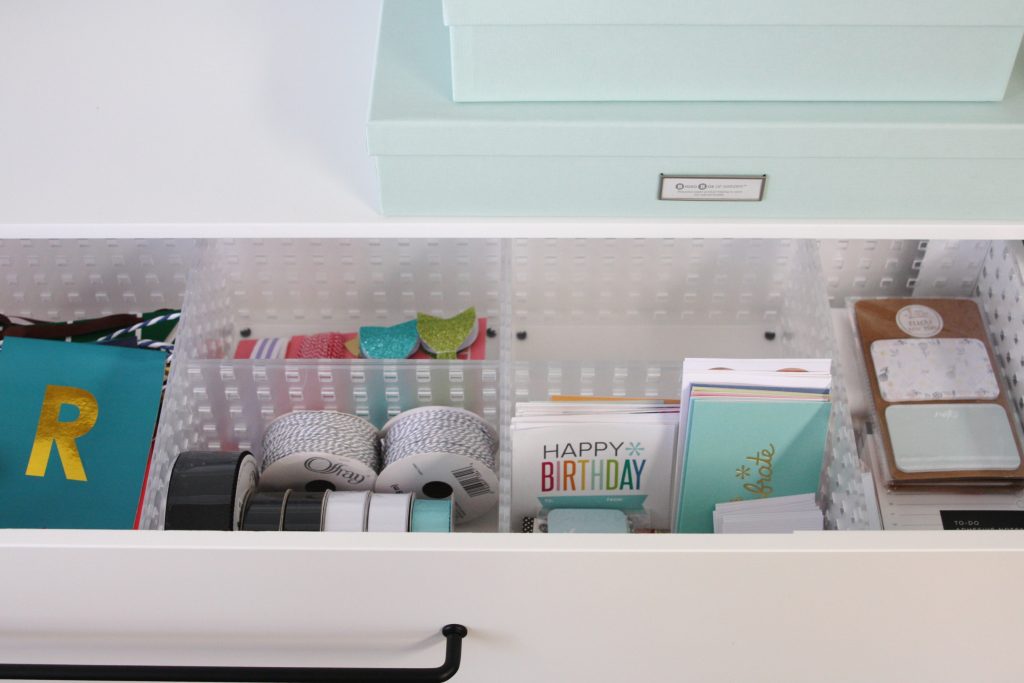
I love grabbing little paper gifts to leave with clients – now I have a spot to stow them away…
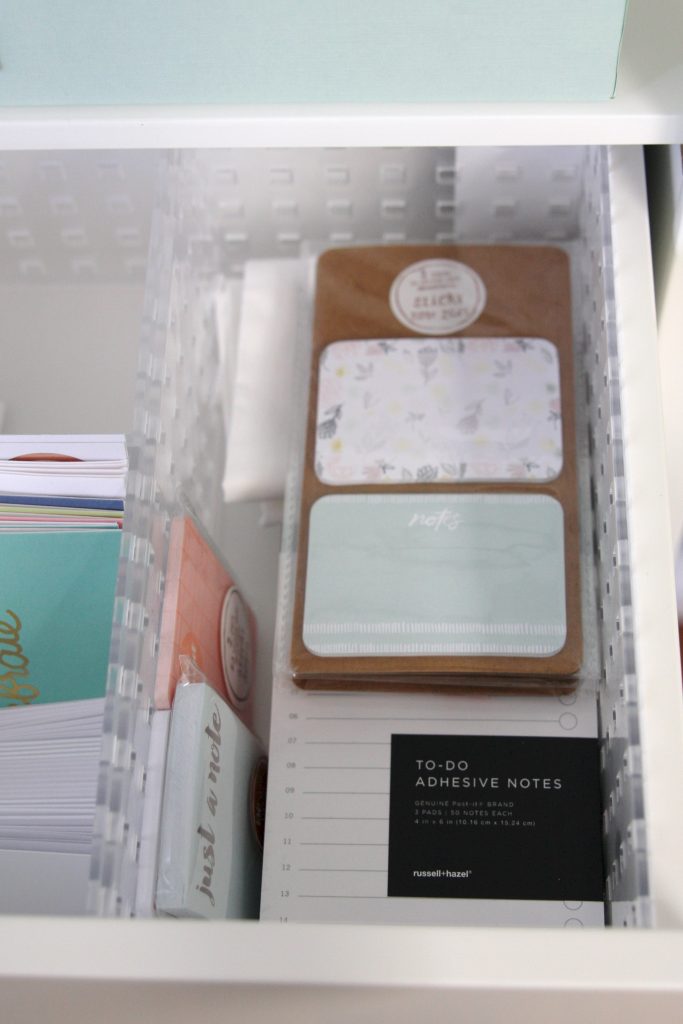
( my favorite to-do adhesive lists )
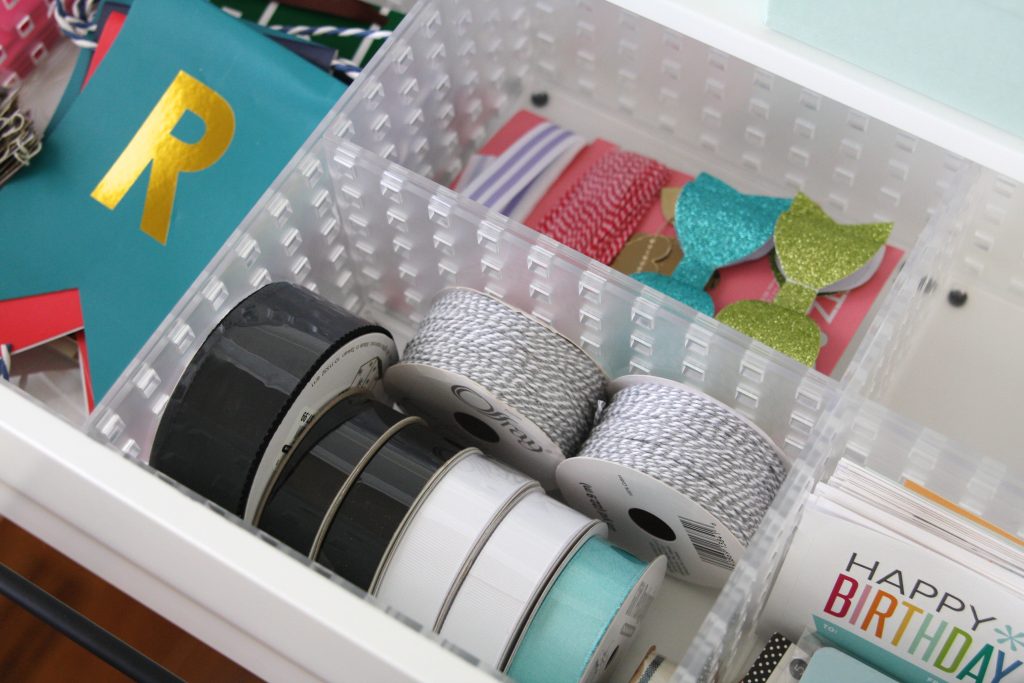
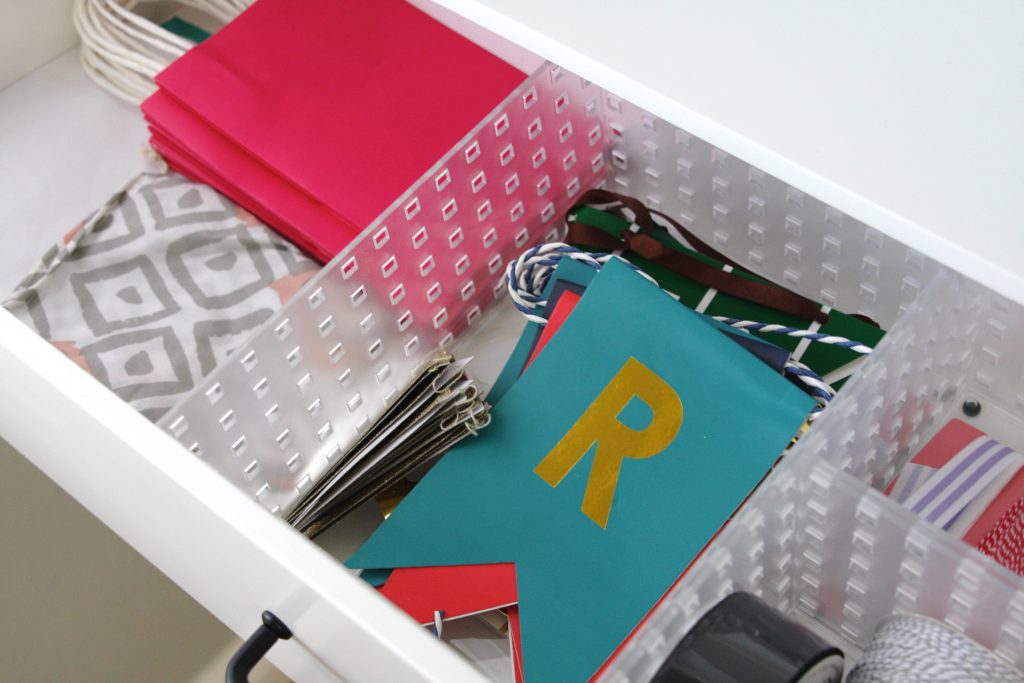
I knew I wanted to mix in pretty storage boxes with the eventual shelf decor and found these on sale – couldn’t resist the mint!…
( storage boxes )
The large box contains washi tape, which I use regularly for gift wrapping…
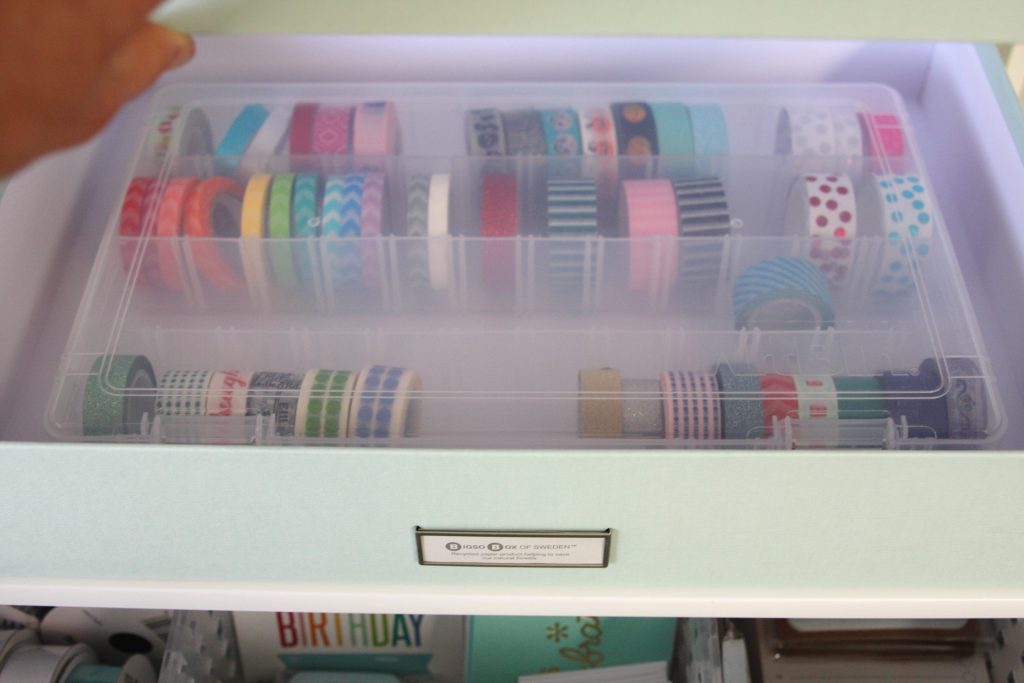
Was SO excited to score them on sale – the smaller size is just $7.50 and the larger size is less than $10!
Once the rest of the office is sorted out, I’ll figure out what to put in the other boxes…
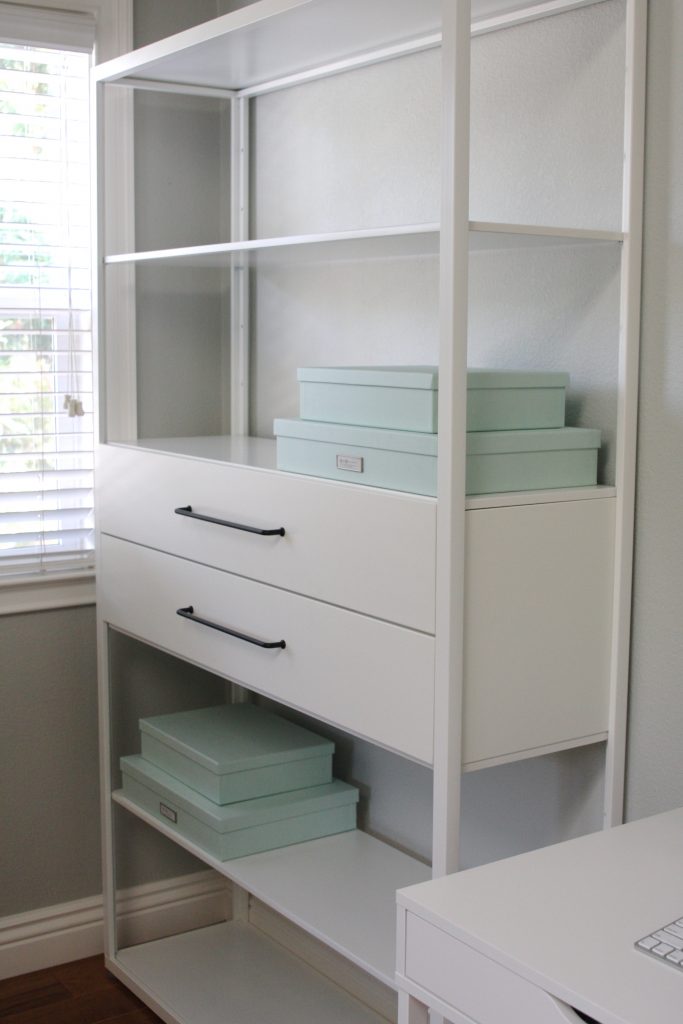
For now I’m just excited to have all of the gift wrap organized in these 2 drawers…and can’t wait for the next phase of this project – shelf decor. For now, I’m happy to settle for this type of shelf decor…
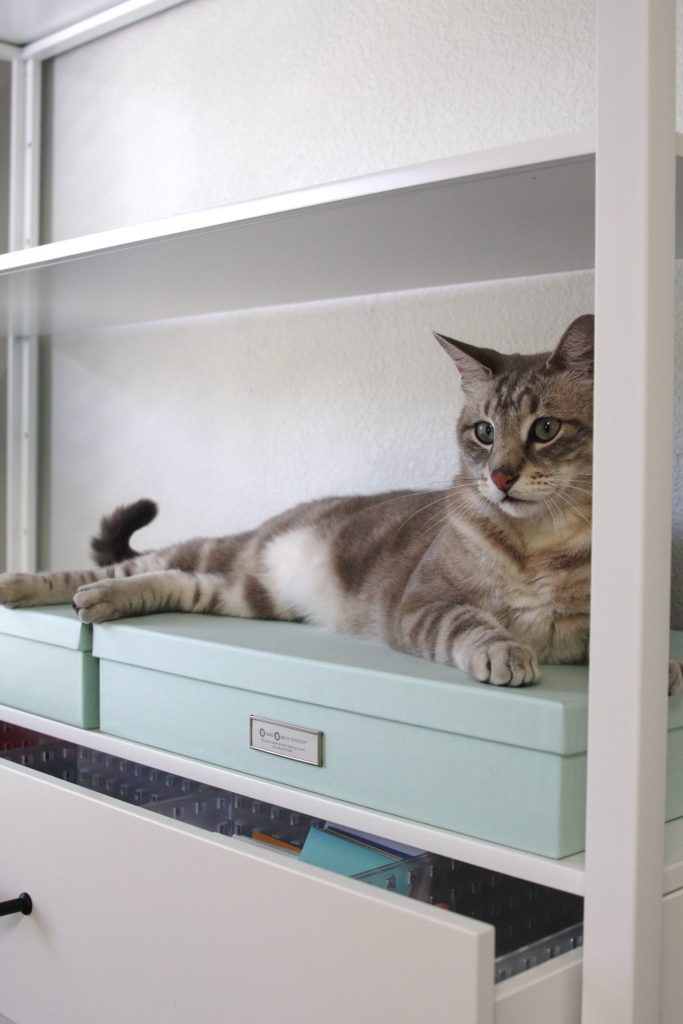
He couldn’t help himself – anything new and he’s on it…
Didn’t have the heart to move him…I was still taking photos, but how could I move that face??
Hope you enjoyed this organization project! If you are looking for a shelf on a budget, add this one to your list of considerations. The shelf is around $200 and offers so much space – it’s 46″ wide! And I love the drawer space…
You can shop the containment right here…
[show_shopthepost_widget id=”2788376″]
Happy gift wrap organizing everyone!

I love, love your organizing posts and now seeing your beautiful gift wrap stash how about sharing some gift wrapping inspiration?? Keep up your creative work sharing jobs you’ve done. It’s the best!
Great job on the gift wrap station – I’m a little envious. Can you please tell me where you purchased the plastic box for your washi tape? Somehow my washi tape collection has gotten out of hand and those boxes would be perfect to corral it. Thank you for your creative and inspiring ideas!!!
I’m so glad you shared the Bricks that fit in the drawer! I have two of the Fjalkinge and I was surprised that I couldn’t find anything at Ikea that fits the way I wanted it to. I’ll be checking out the Bricks. I love how much storage there is with the shelves but I’m finding mine a little cluttered so I’ll be trying to simplify soon.