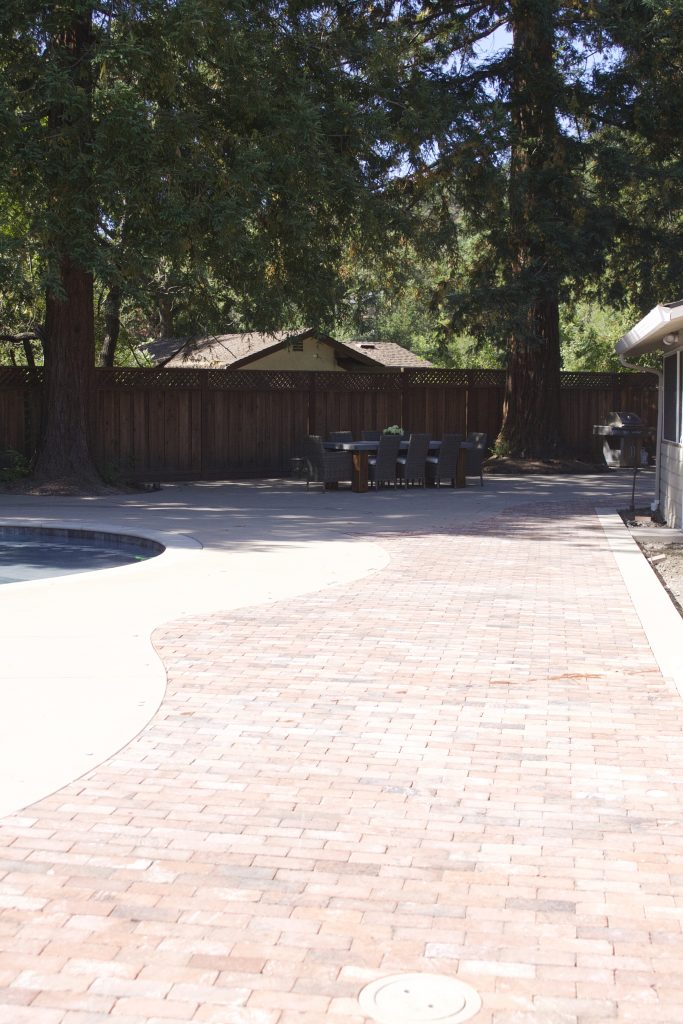
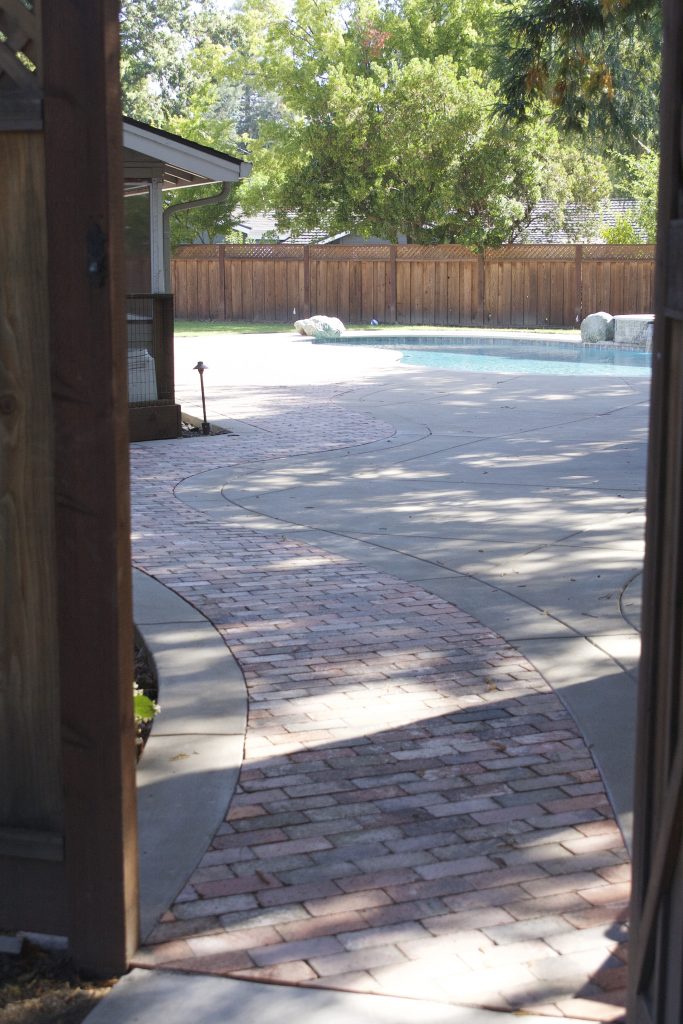
As you may know, over the last few months I’ve been focusing on home improvement projects around my own home. The biggest undertaking this summer being the updated brick path and concrete pad in the backyard…
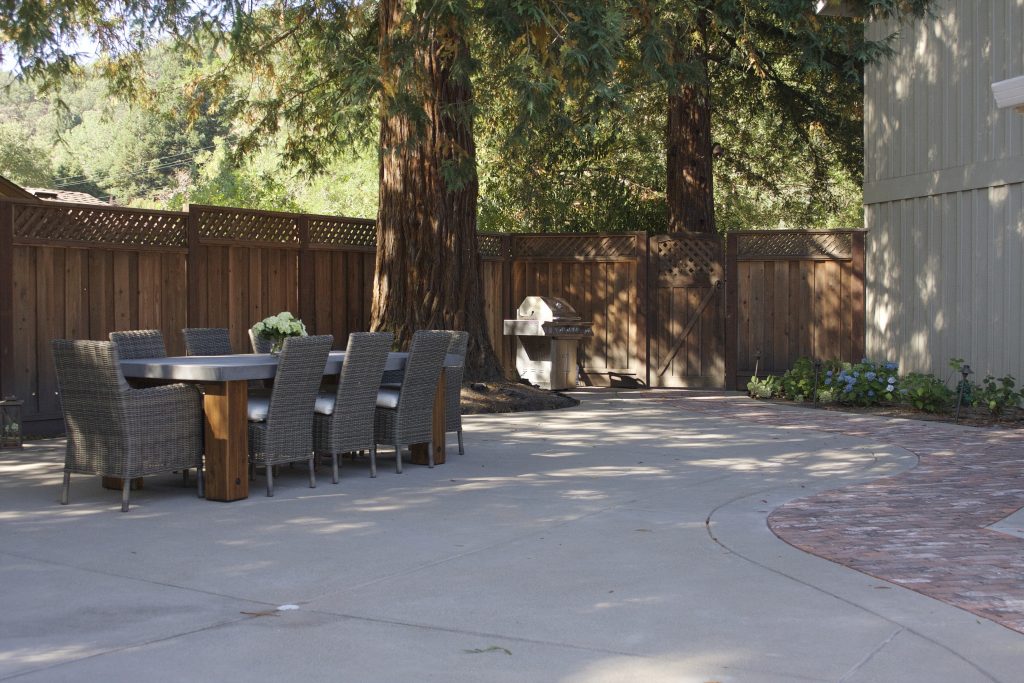
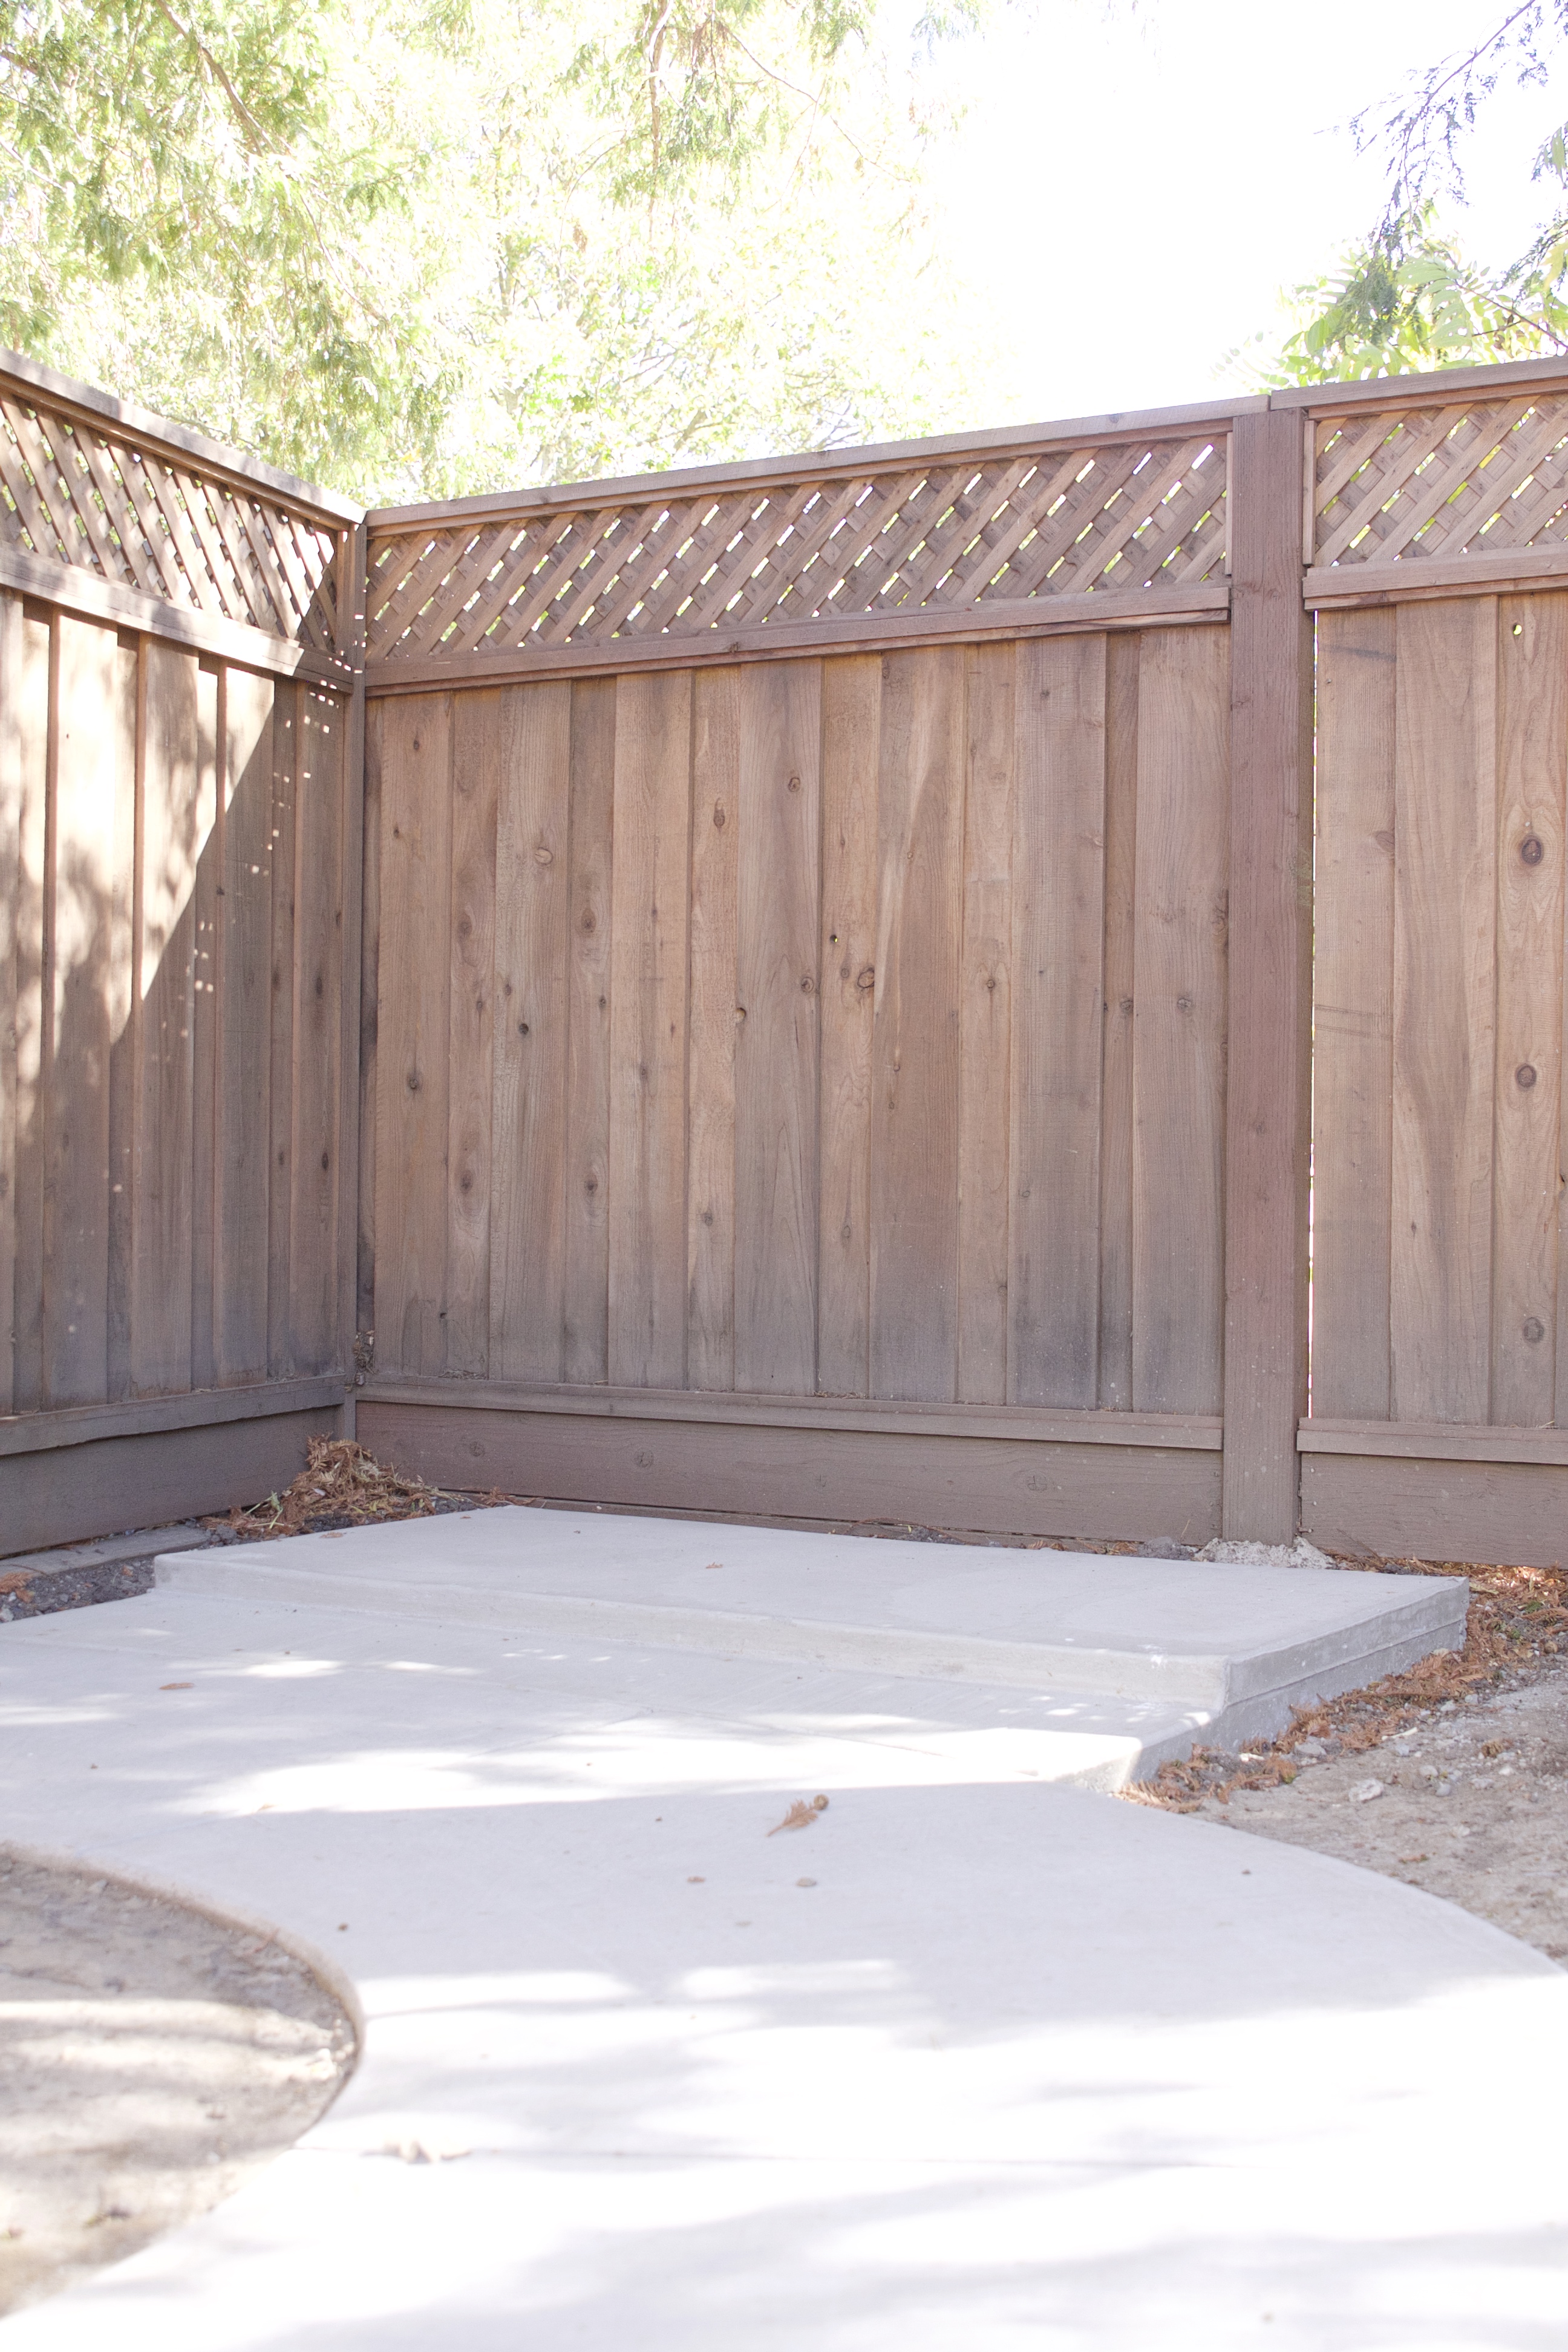
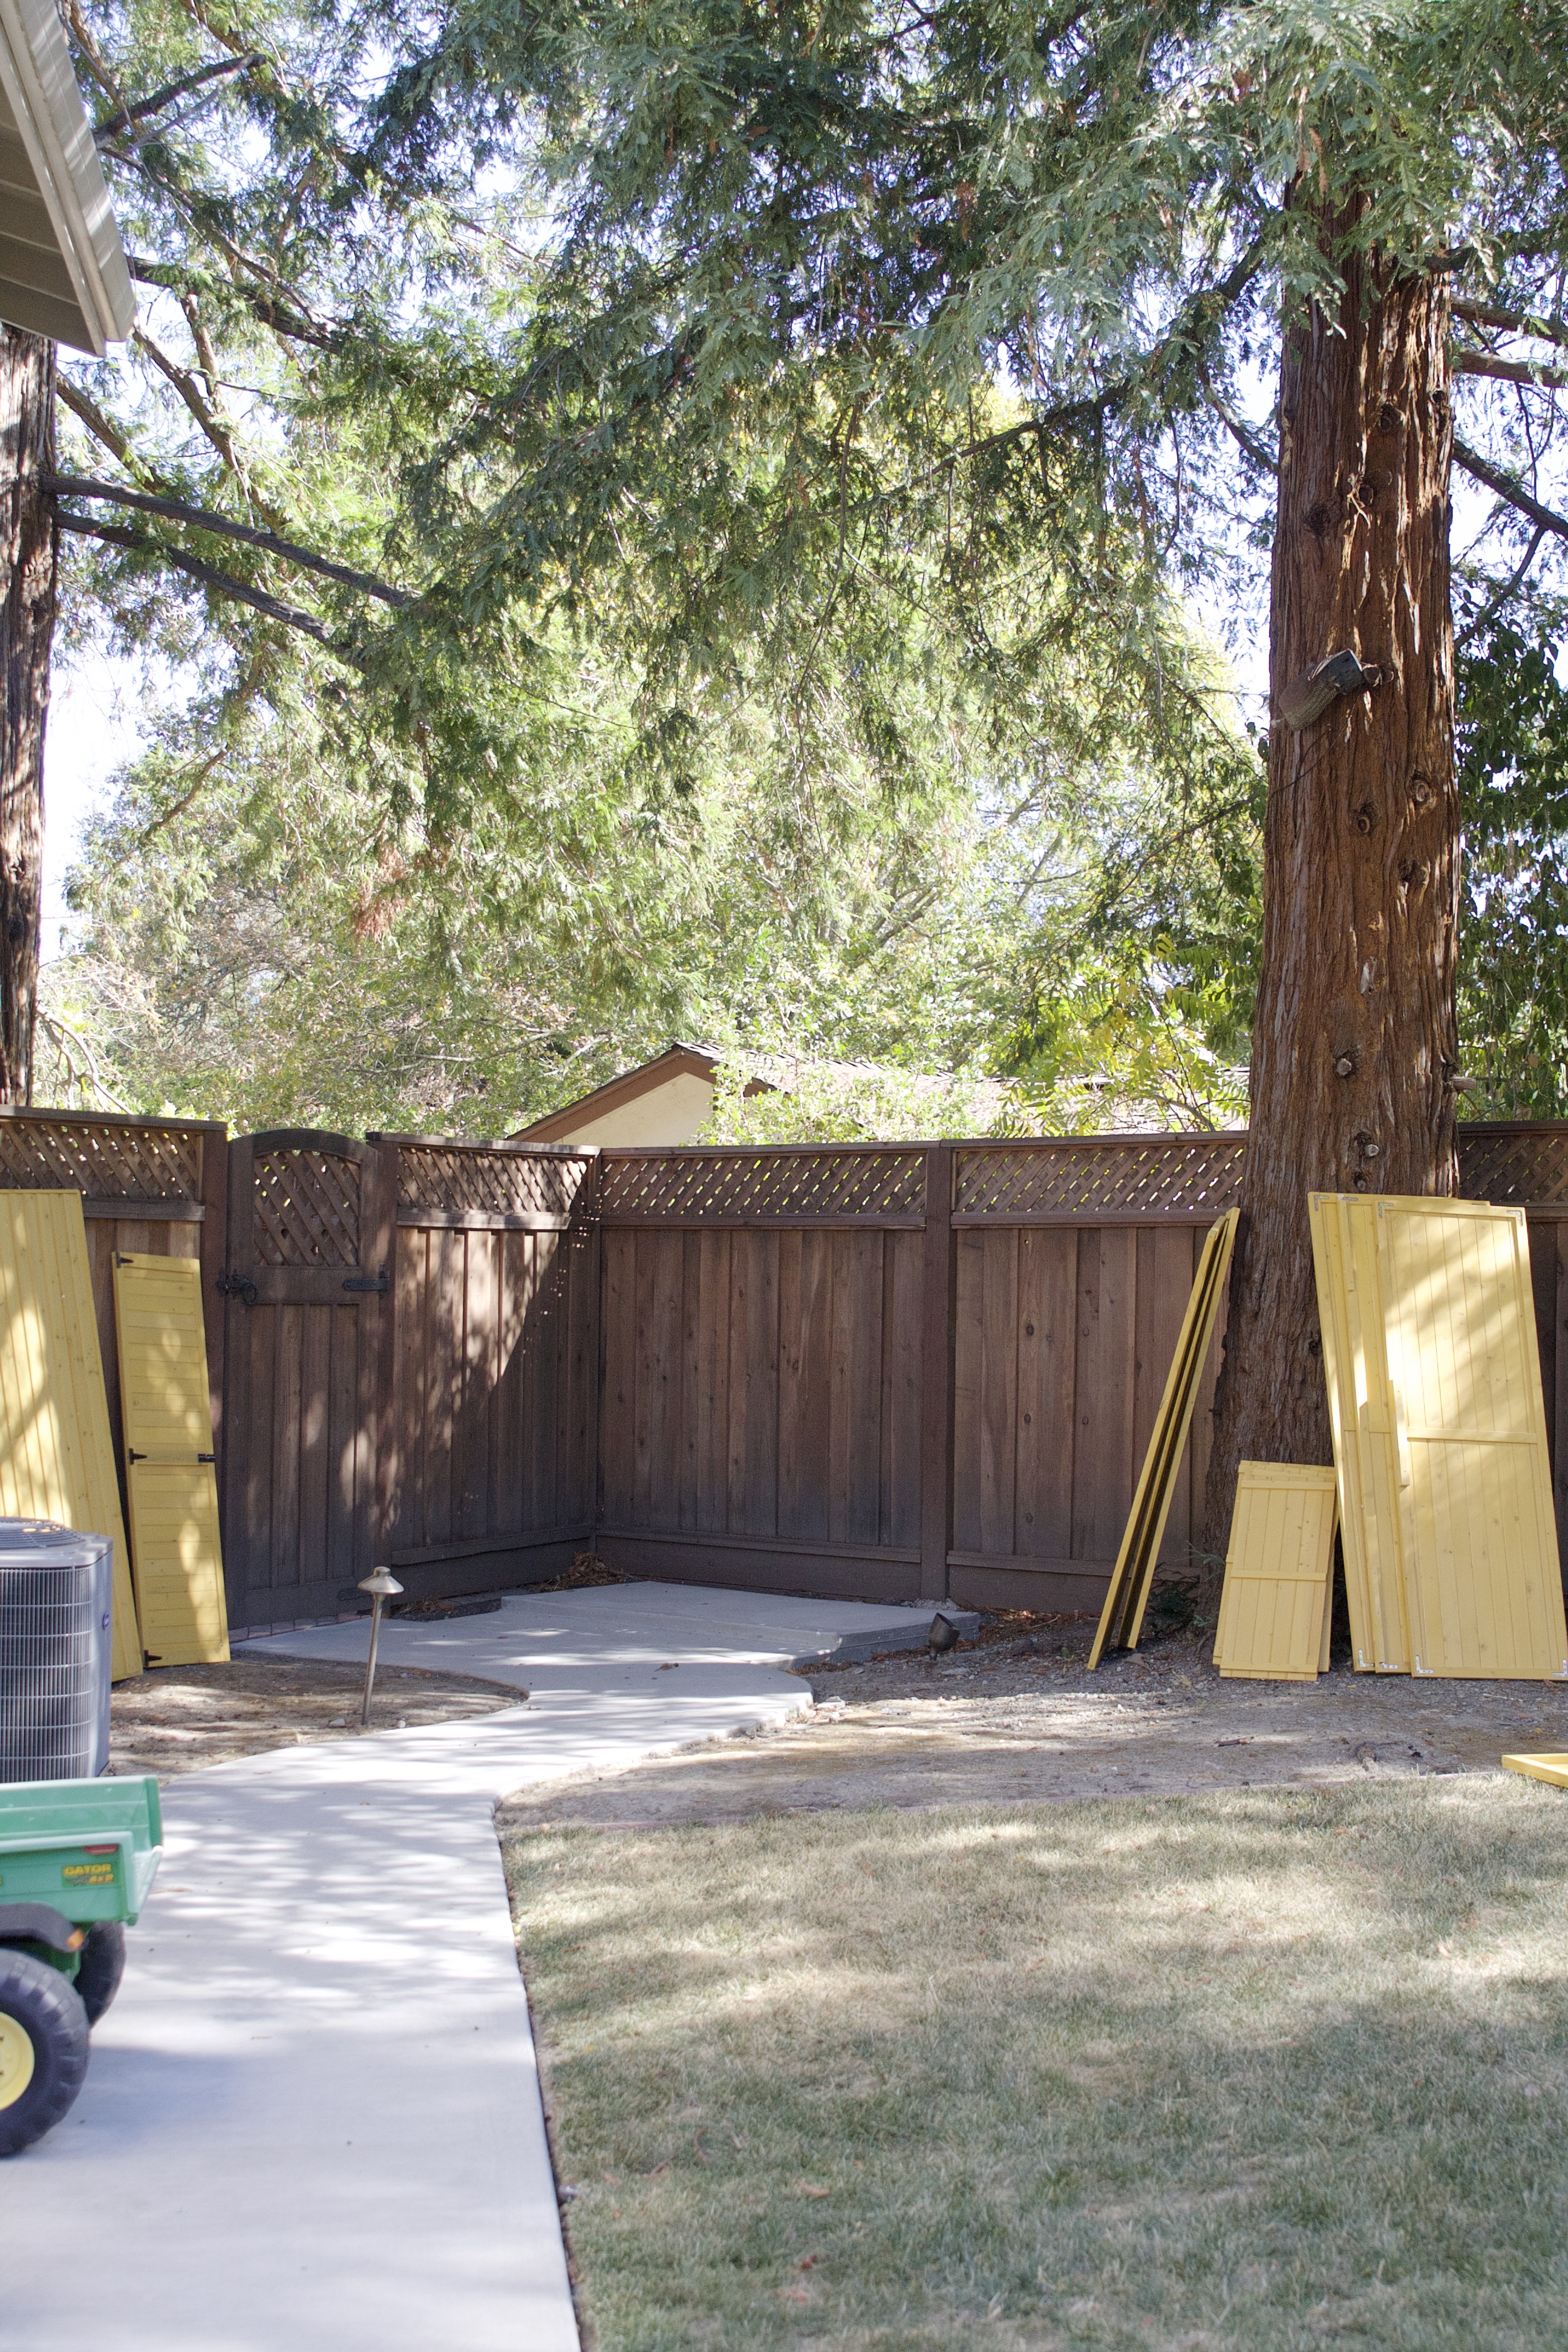
While my concrete contractor was here, I asked if he could add on a small slab just outside this gate…
The purpose of the slab would be for an eventual outdoor shed…
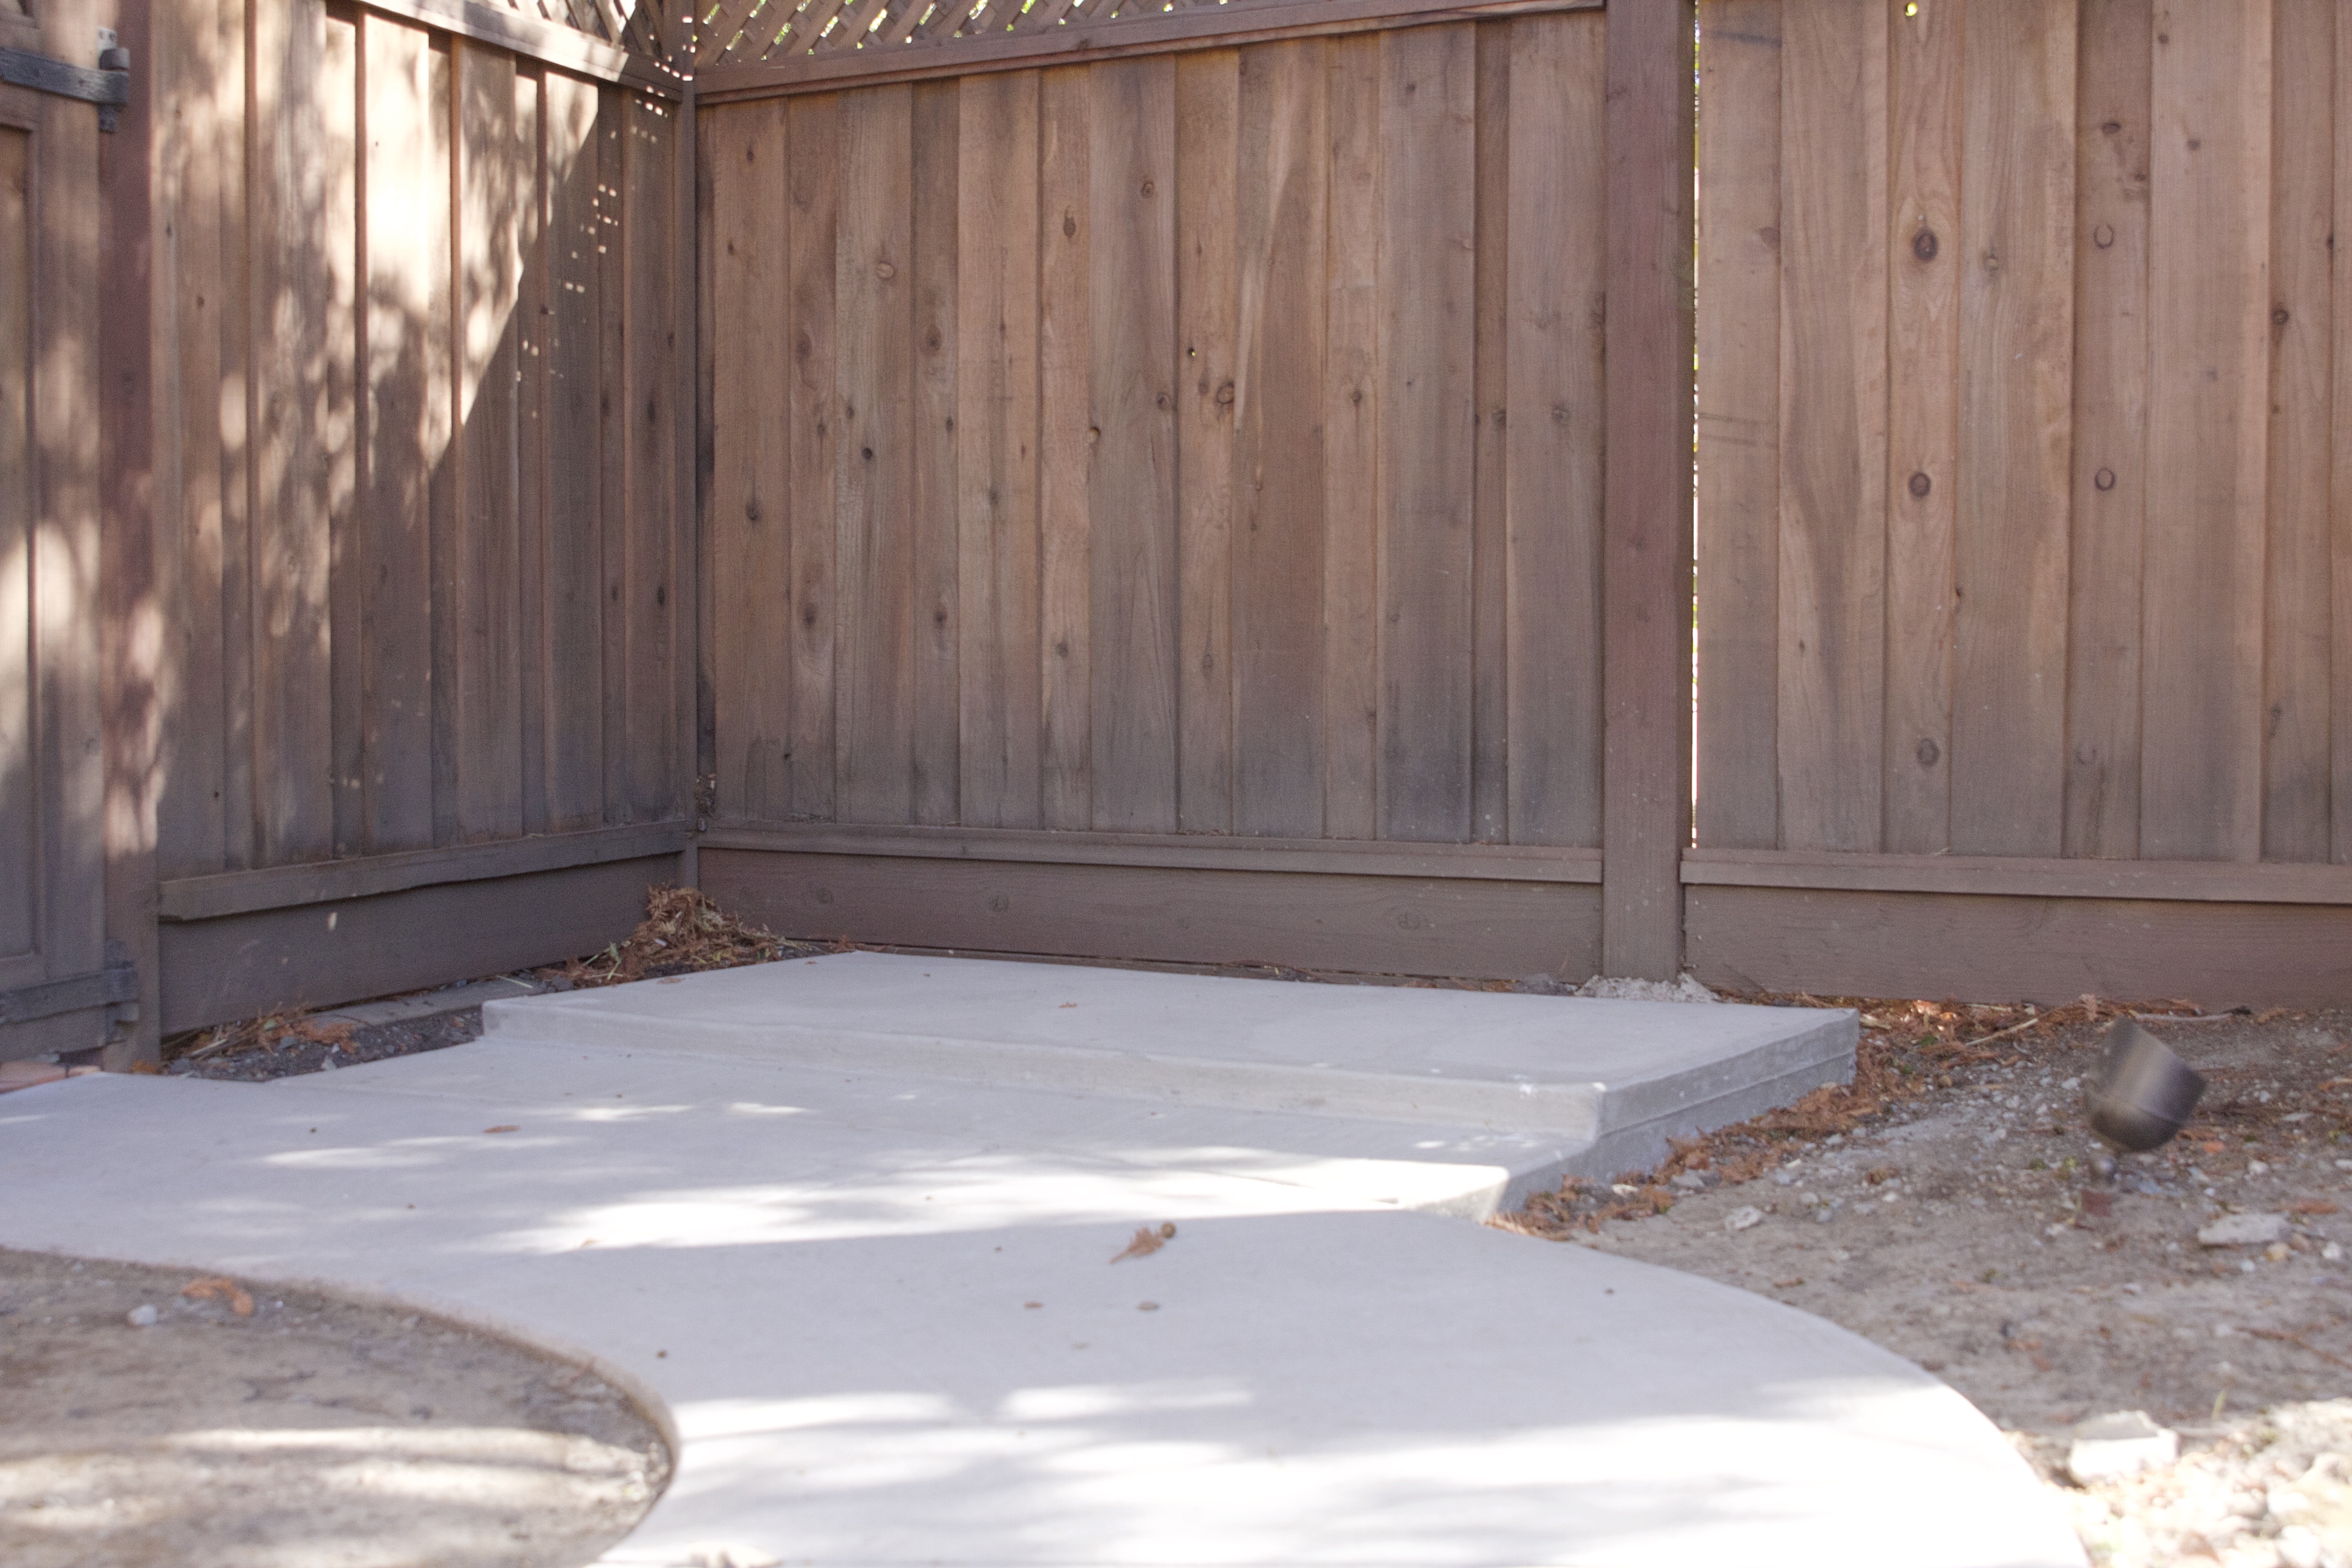
With the new outdoor chair cushions and a few large gardening items taking up garage space, a shed was the perfect solution.
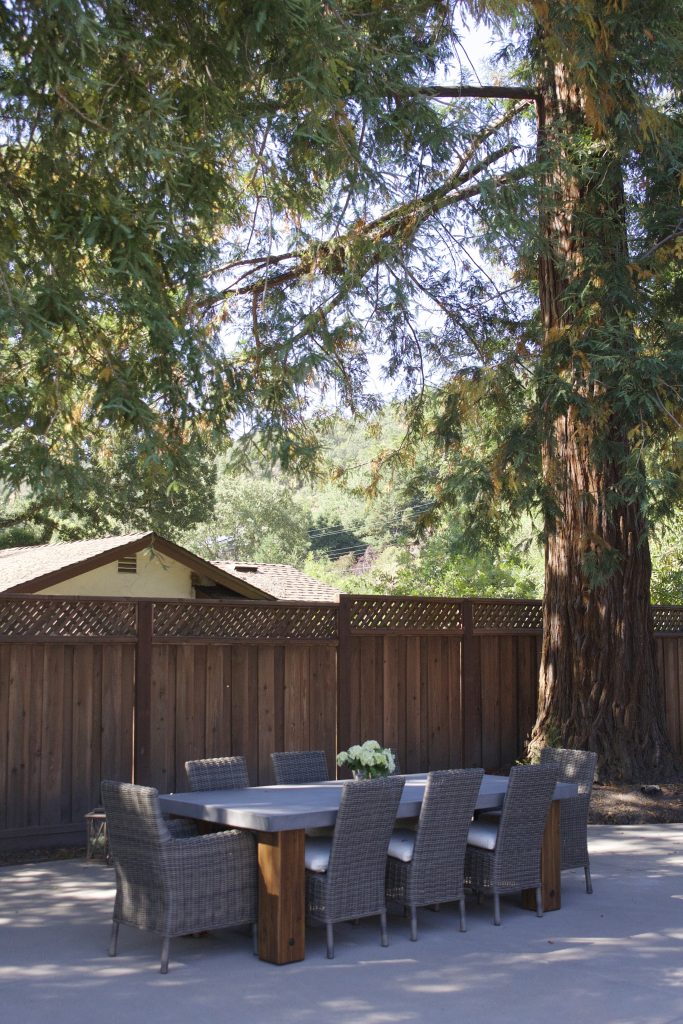
Last winter we had record rains which left nearly everything outside in ruins. Seriously, it all went to the dump or the curb with a “free” sign. I was so sad. My outdoor seating around the property was pretty much trashed. The cushions didn’t stand a chance – didn’t help they had already lived through several years of extreme weather in Little Rock. Anyway, my new outdoor table / chair investment means a lot to me. I want to protect it as much as possible. I purchased a table cover for the table and chairs, but moving the cushions to a protected area is top of my list.
I want them to stay this pretty!…
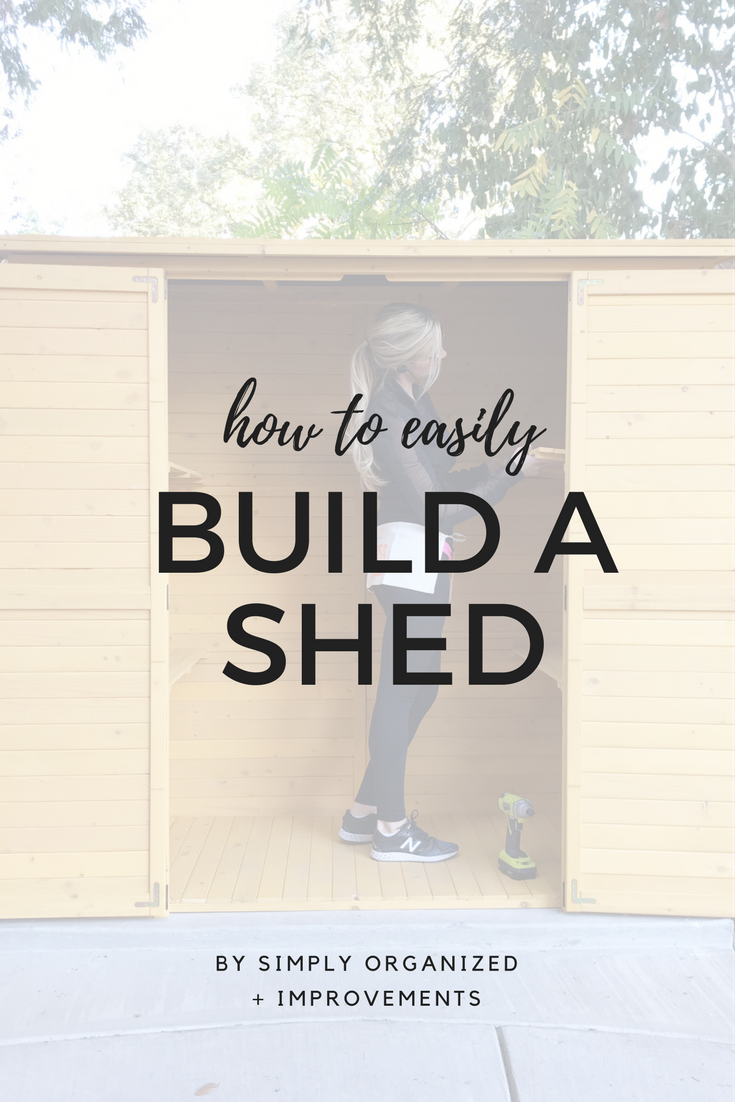
But how do you easily build a shed? Did I want to build one from scratch? Yes, and one day when the new garden area of the yard is complete, I’d love to take on the challenge! However, for now I needed something simple and easy…yet high-quality. And if you can believe it, the rain is already starting here (love this Fall weather!) so I also needed something quick!
After looking around, I found my dream shed from Improvements…

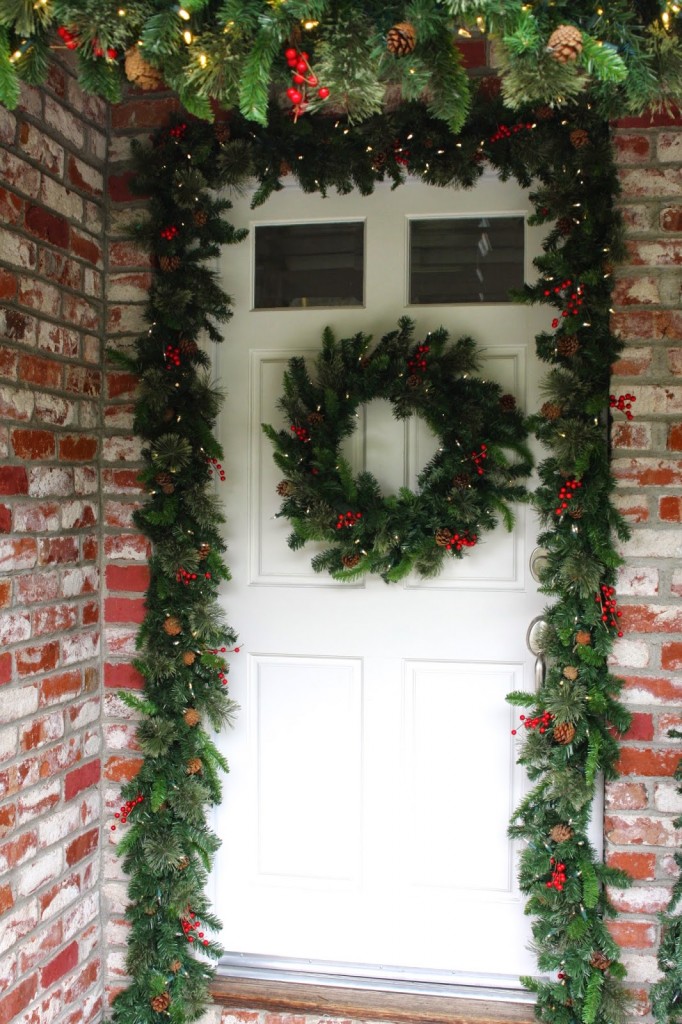
If you have never looked in an Improvements catalog…and you’re reading this organization blog…you are missing out! It’s one of my favorite catalogs full of organizing products. You may recall I purchased all of my outdoor pre-lit wreaths and garlands from them three years ago…


Speaking of, can you even believe how close we are to the holidays?! Where is 2017 going?? Slow down!
Ok, back to the shed!
I was craving “the build”, but knew I didn’t have time to complete it from scratch. You can imagine how grateful I was when I discovered this shed required assembly and that the panels / doors came pre-assembled. All I needed was a drill!
So, if you have yard items, sporting gear, or furnishings and are in need of storage space, consider building a shed with a smaller footprint. The shed I chose is their large size, but they do have a medium size that works nicely as well!…

HOW TO BUILD A SHED
First I have to encourage you that if I can build this shed – anyone can! Not just saying that!
It’s not only easy to assemble, but the directions made it a snap. The shed was up in just over an hour…would have been less time had I not been stopping to take photos to share on the blog. The instructions clearly detail each piece / panel and all of the nails / hardware are labeled by letter…

The organizer in me can’t control herself sometimes (read = all the times!). Before getting started, I had to have each panel / section set up around the perimeter of my work area…
I mean, can you blame me? 🙂
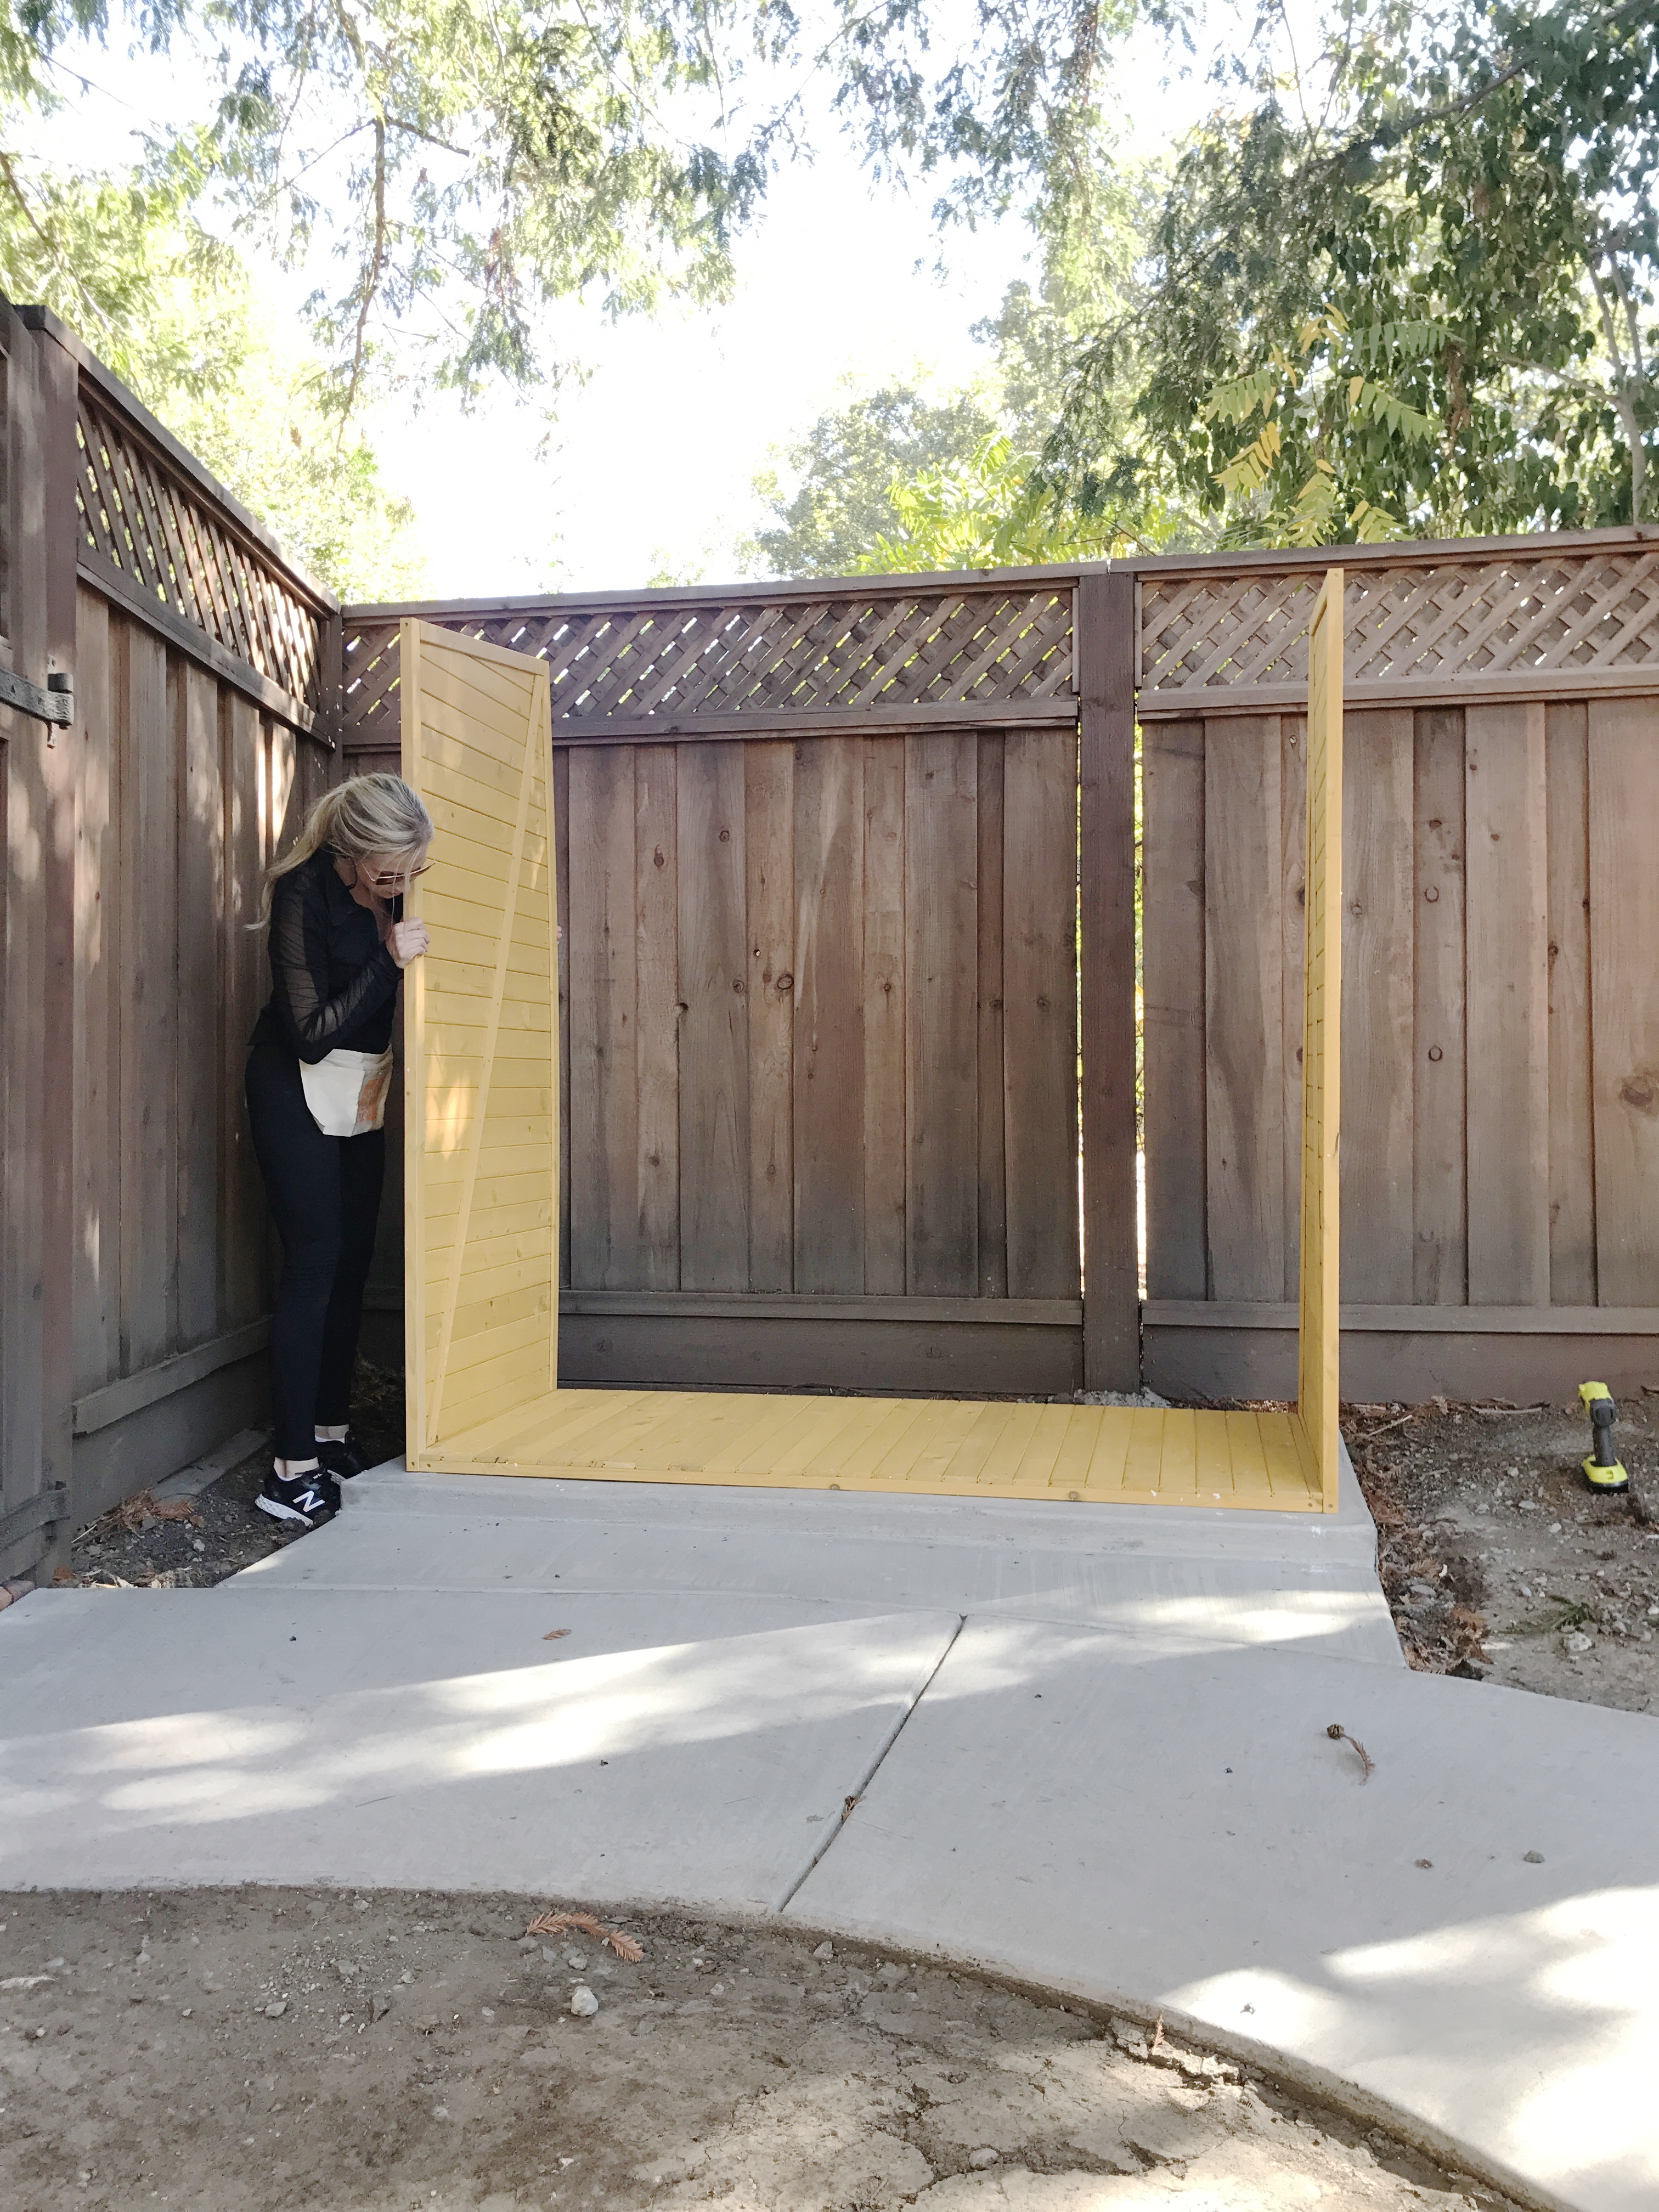
To begin, I set the foundation piece and drilled the 2 side panels into place…

Once those are set, you’ll add the 3 panels along the back…drilling into place as well…
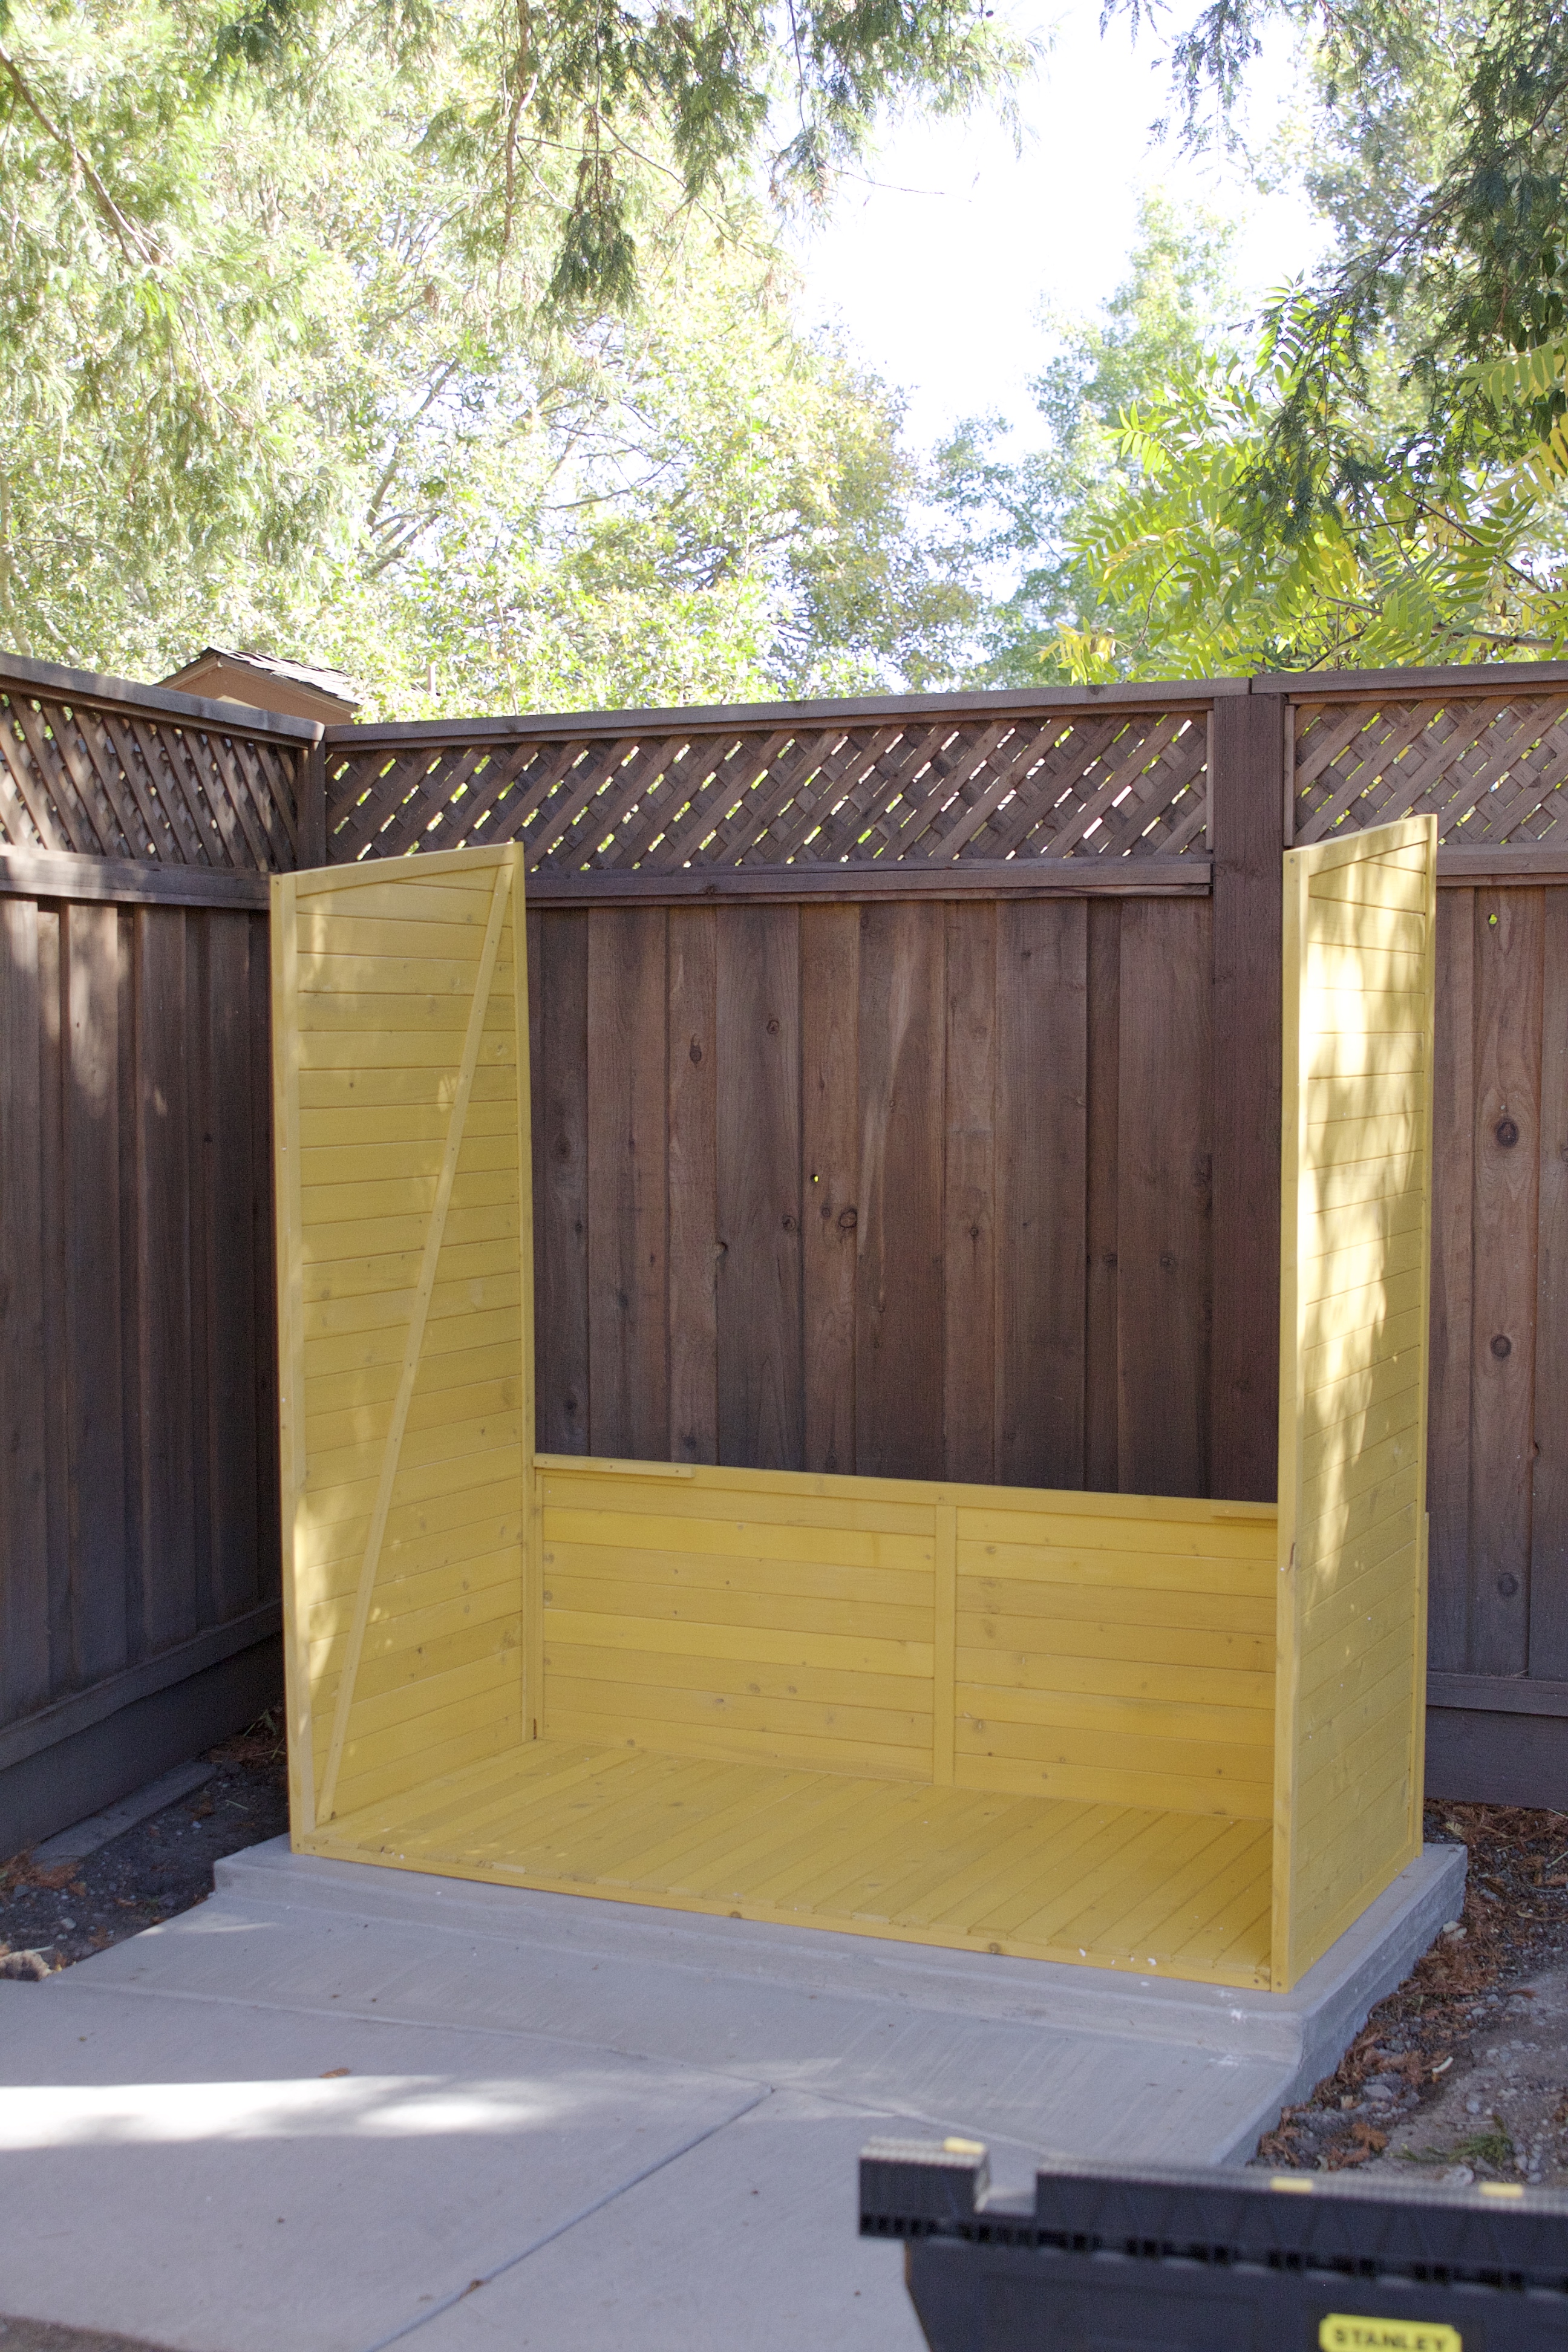

What do you know, it’s already coming together!
The front panels, doors and roof were the next step…
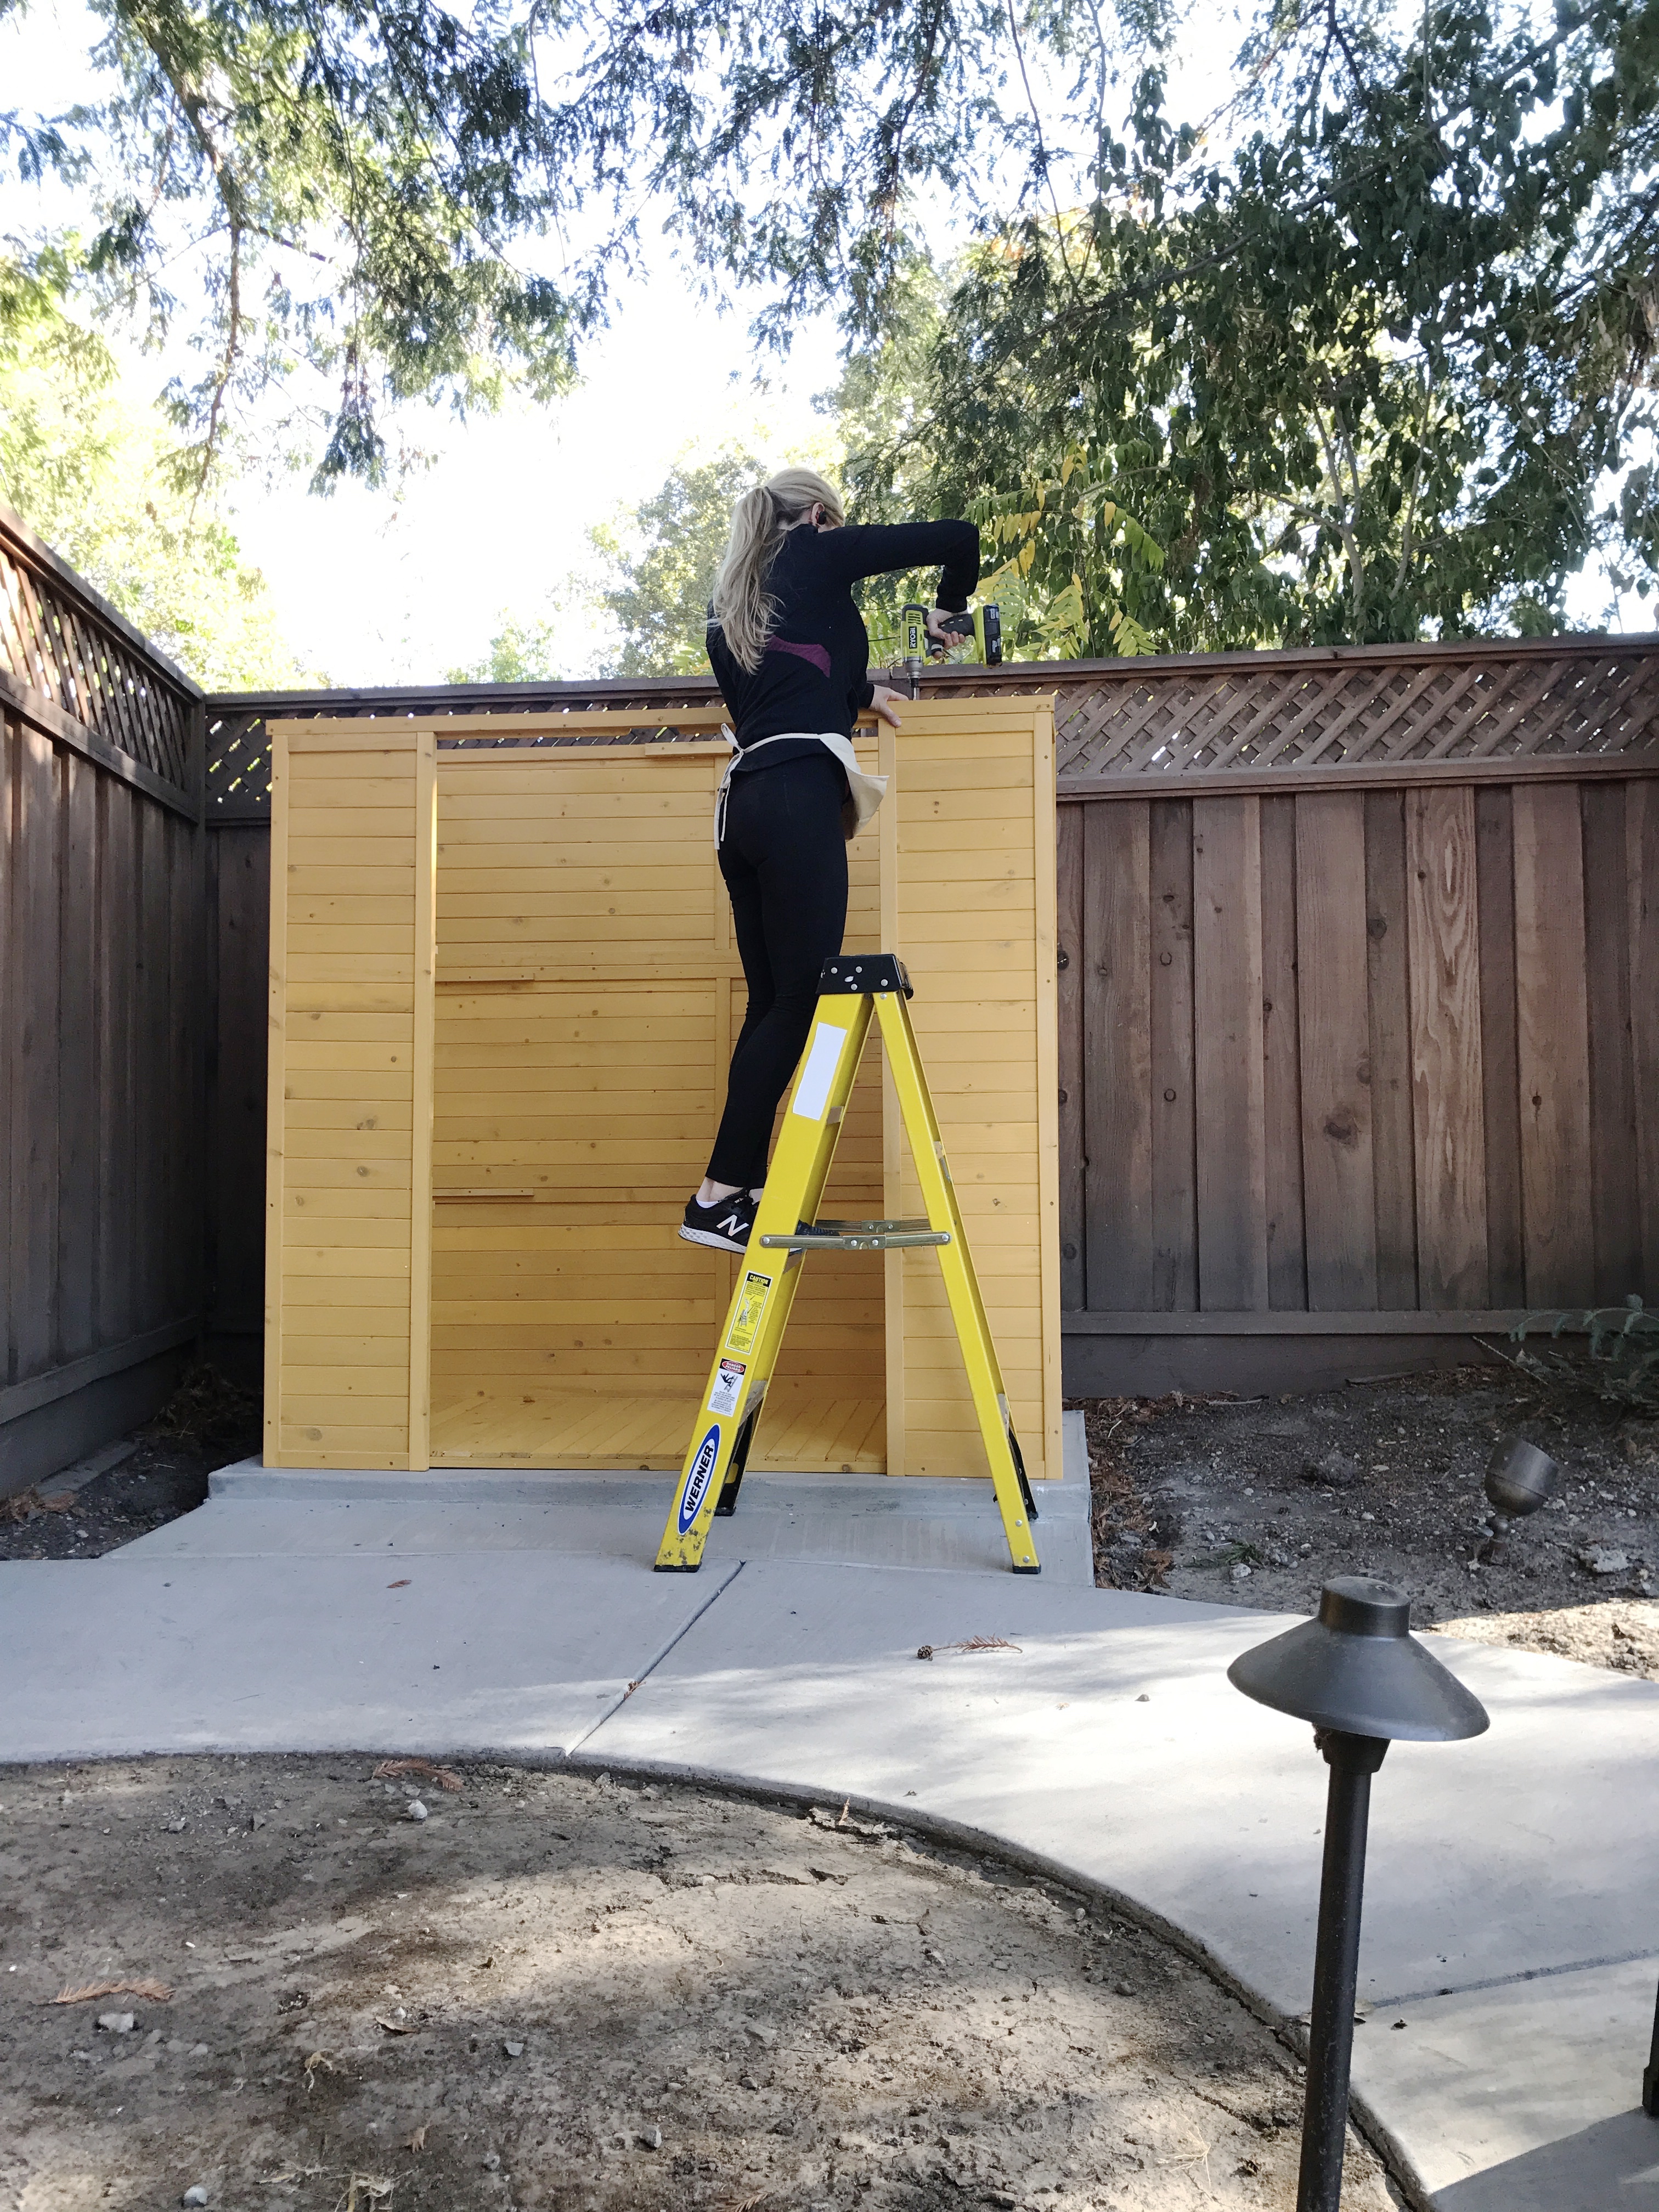
Once again, could not be a simpler assembly…all that’s required is a drill!…


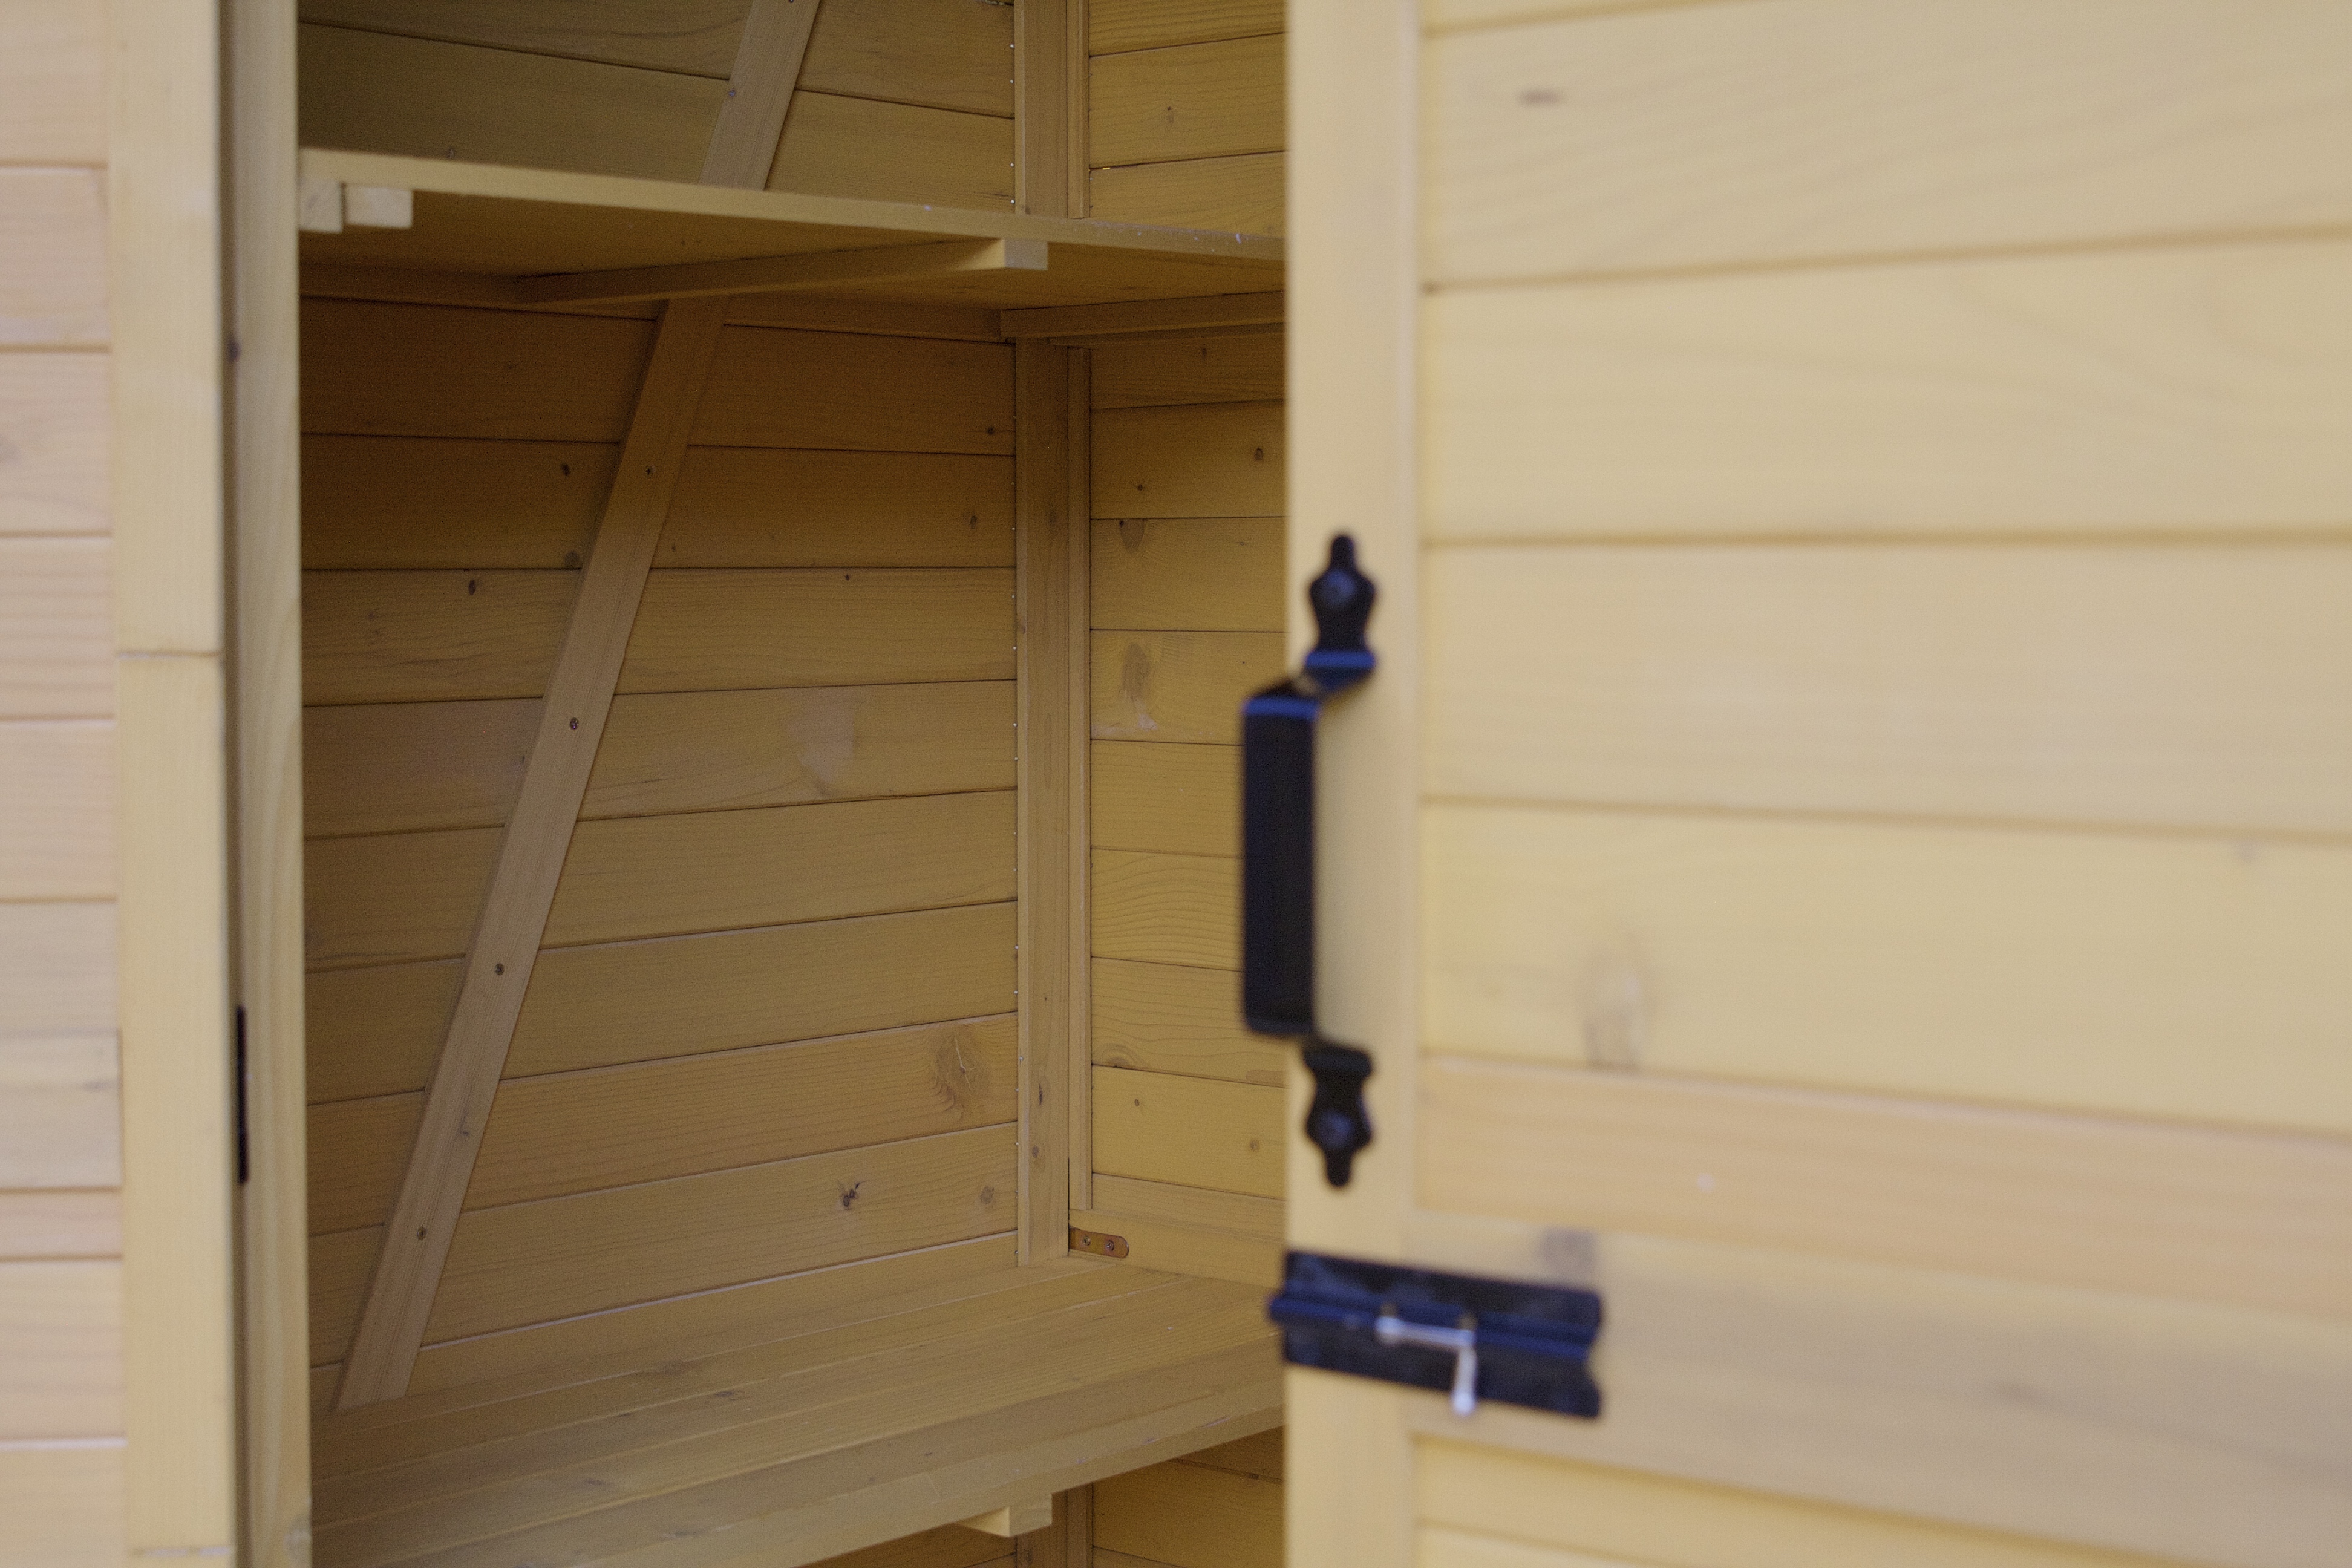
With the shed assembled, I added the door hardware…


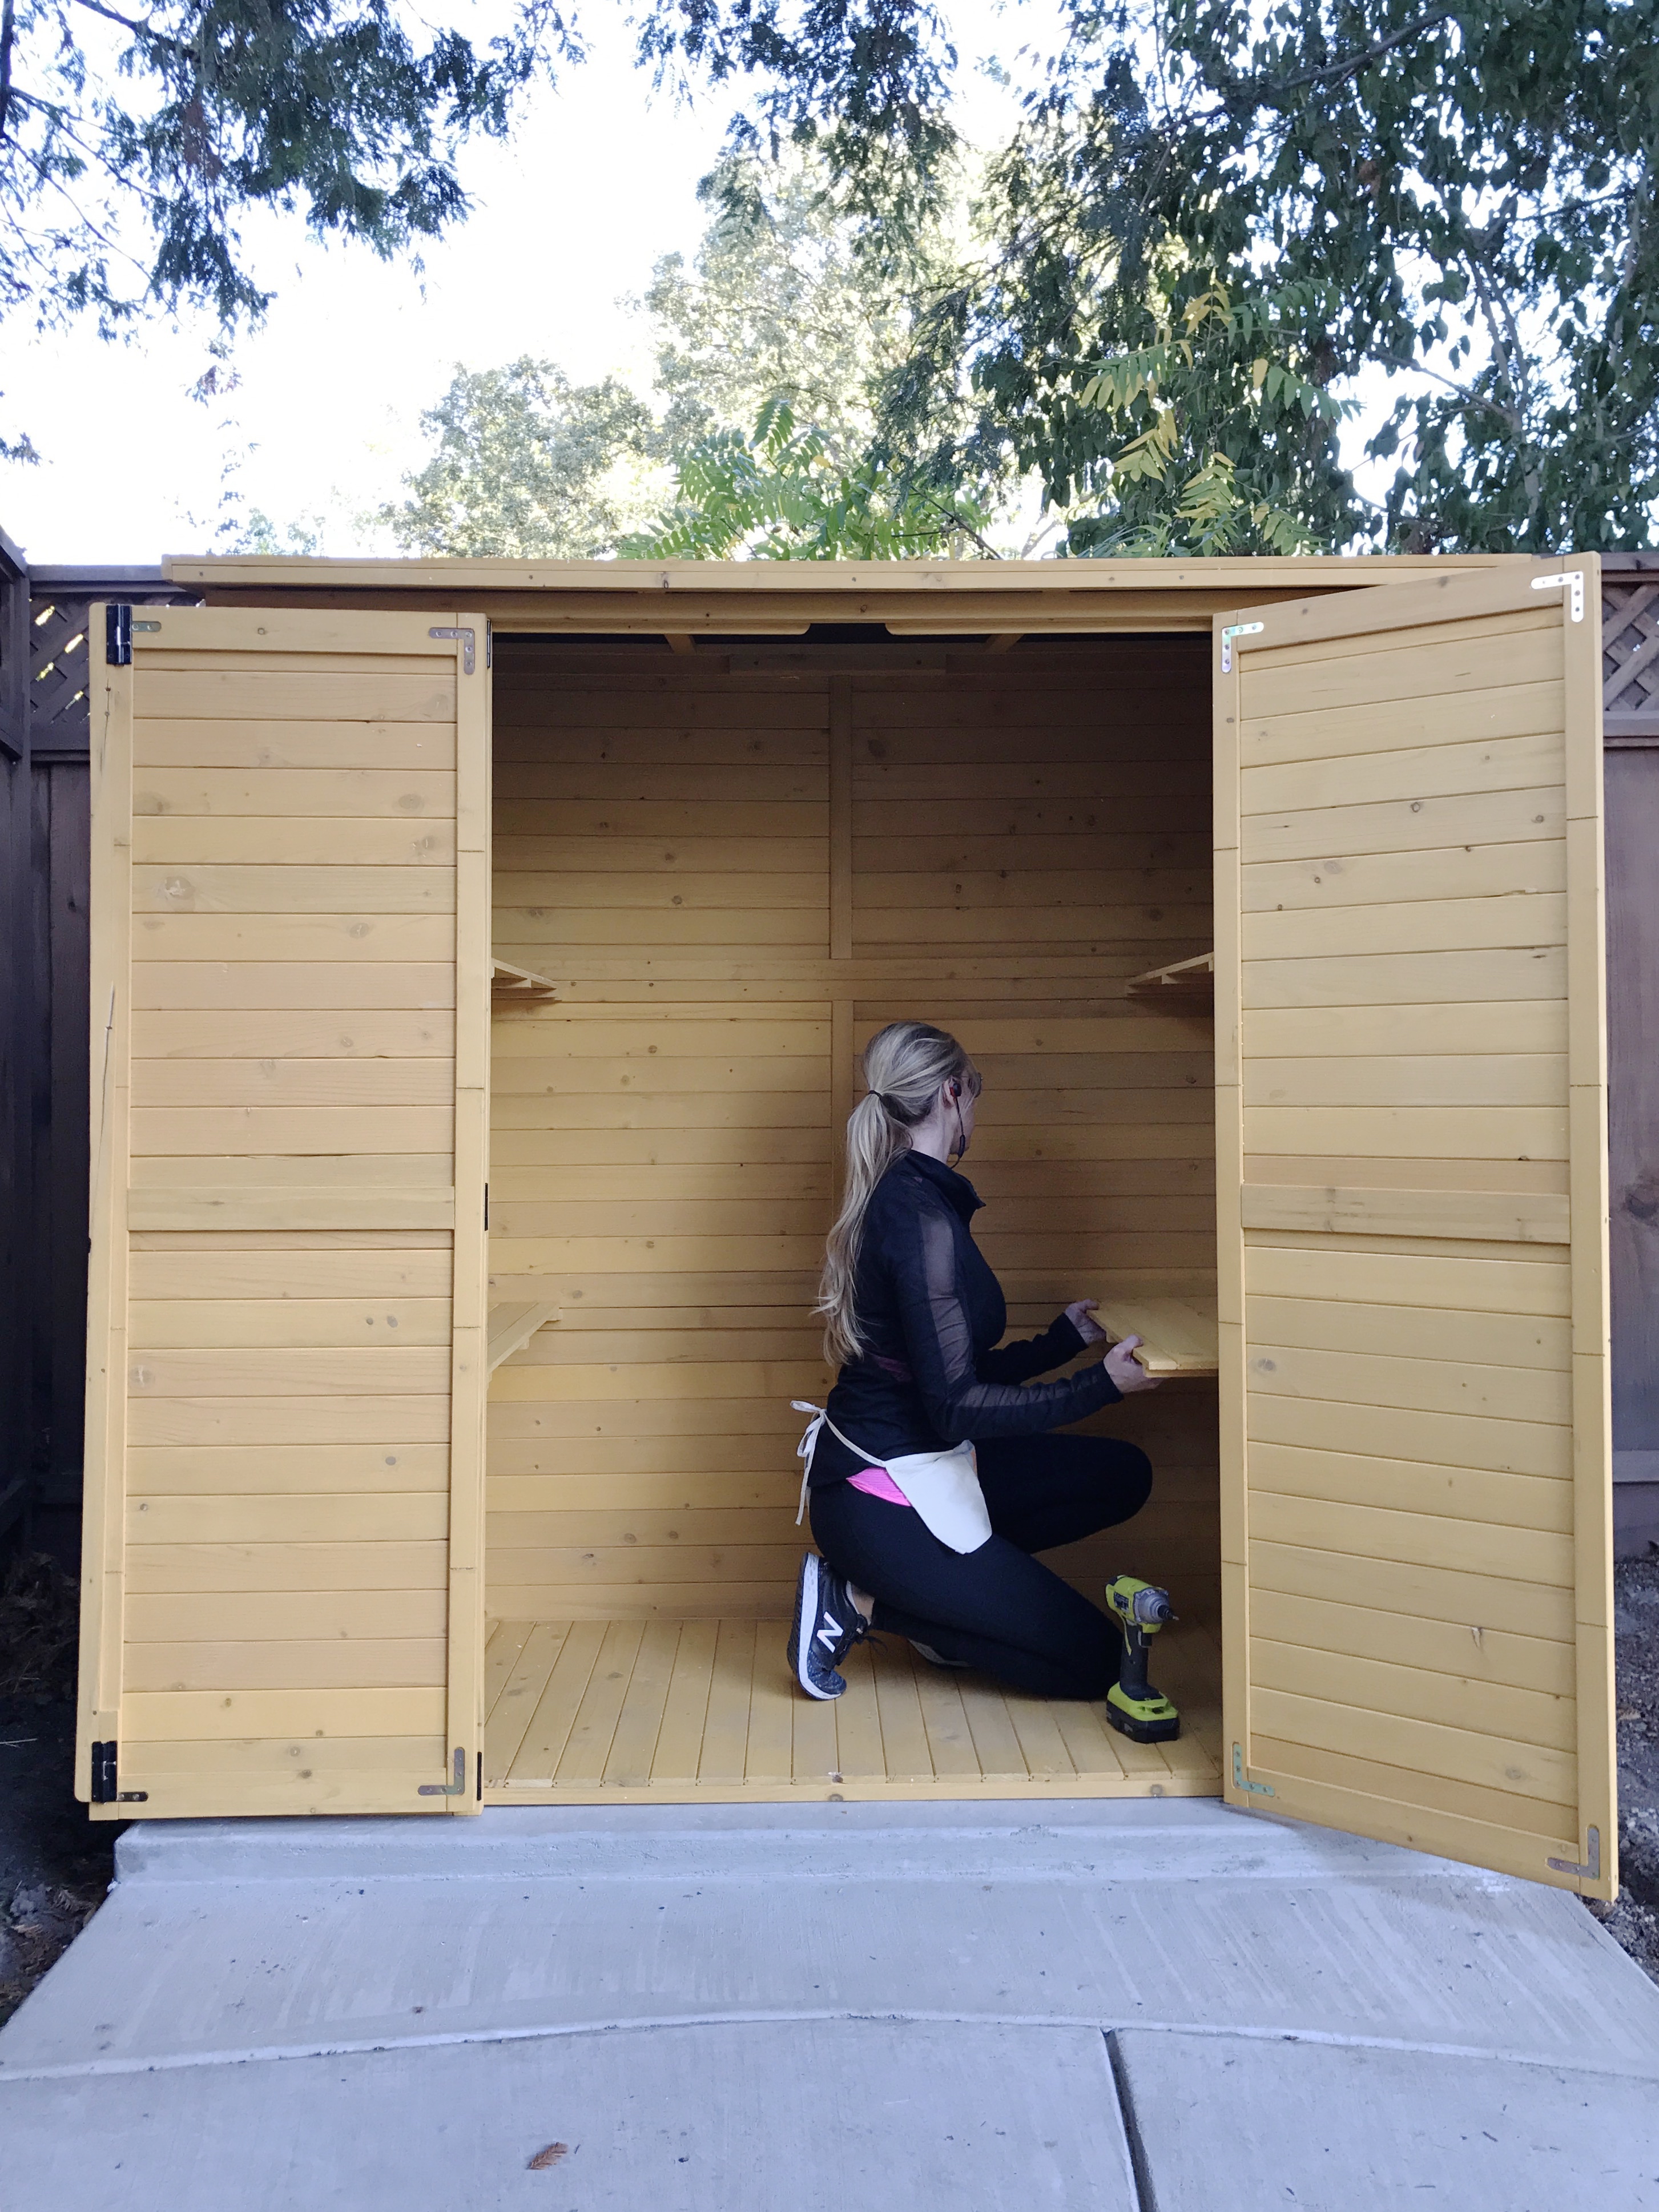
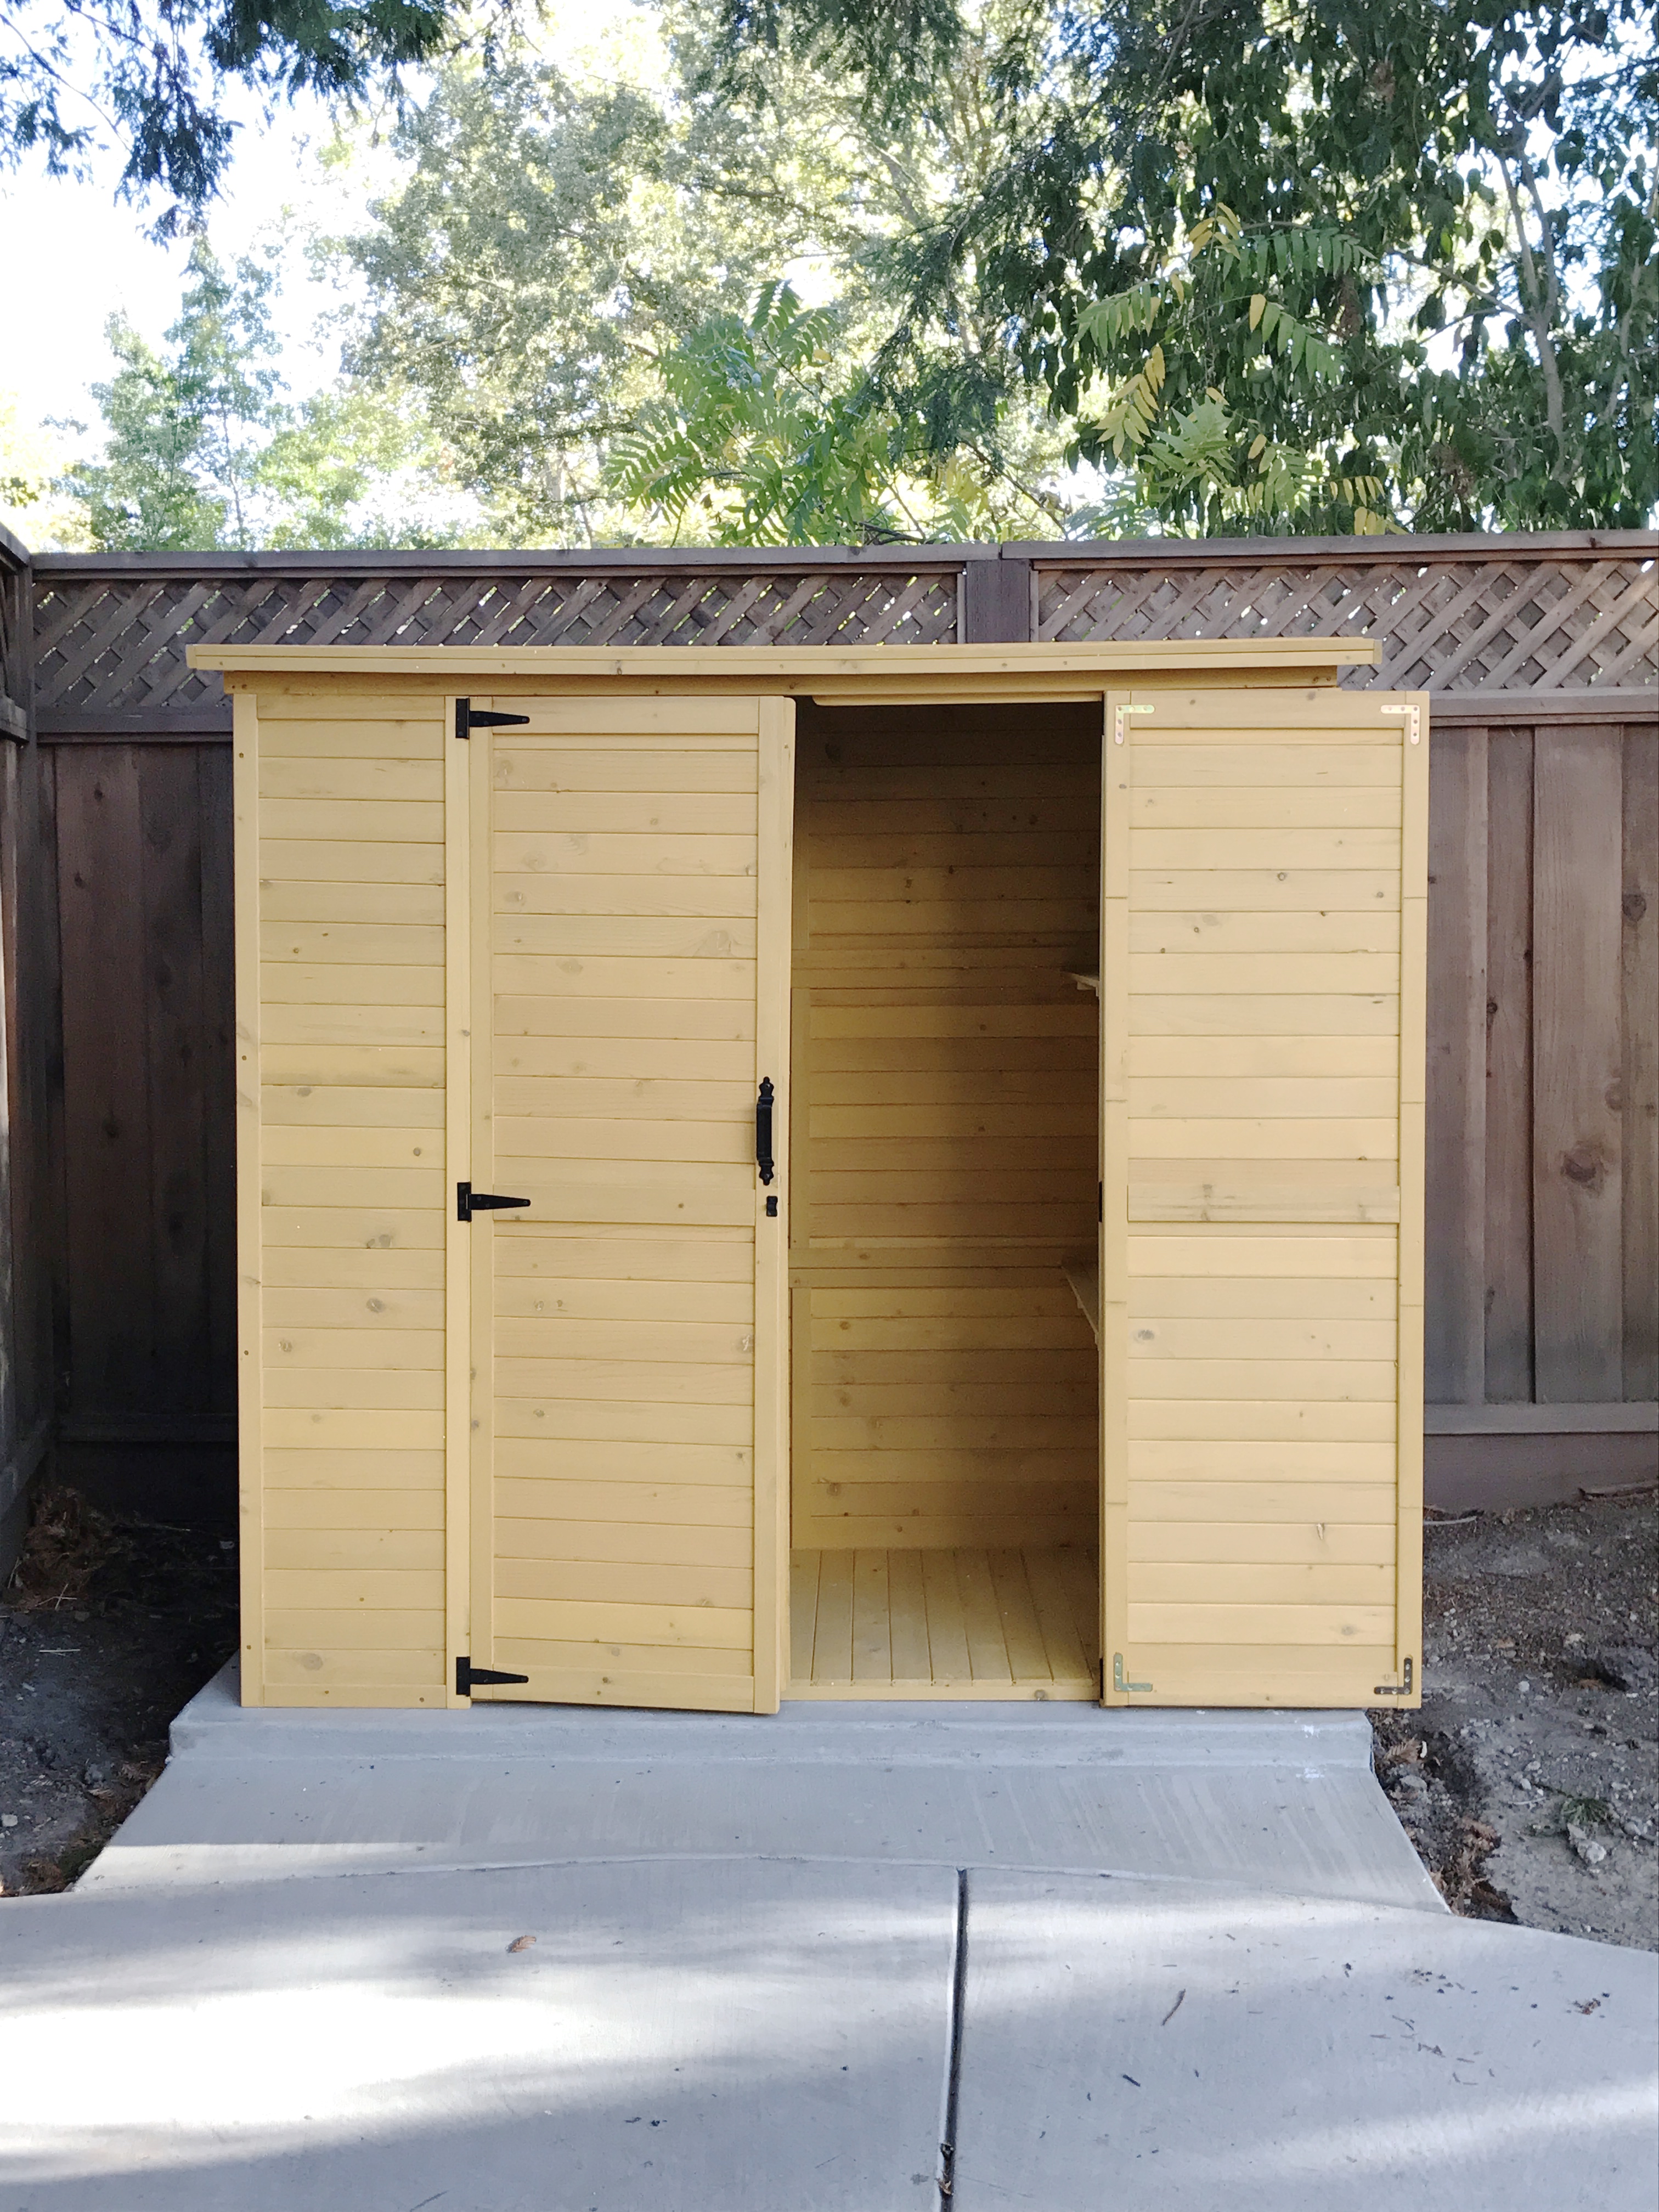
The finishing touch are these no-tools-required shelves…
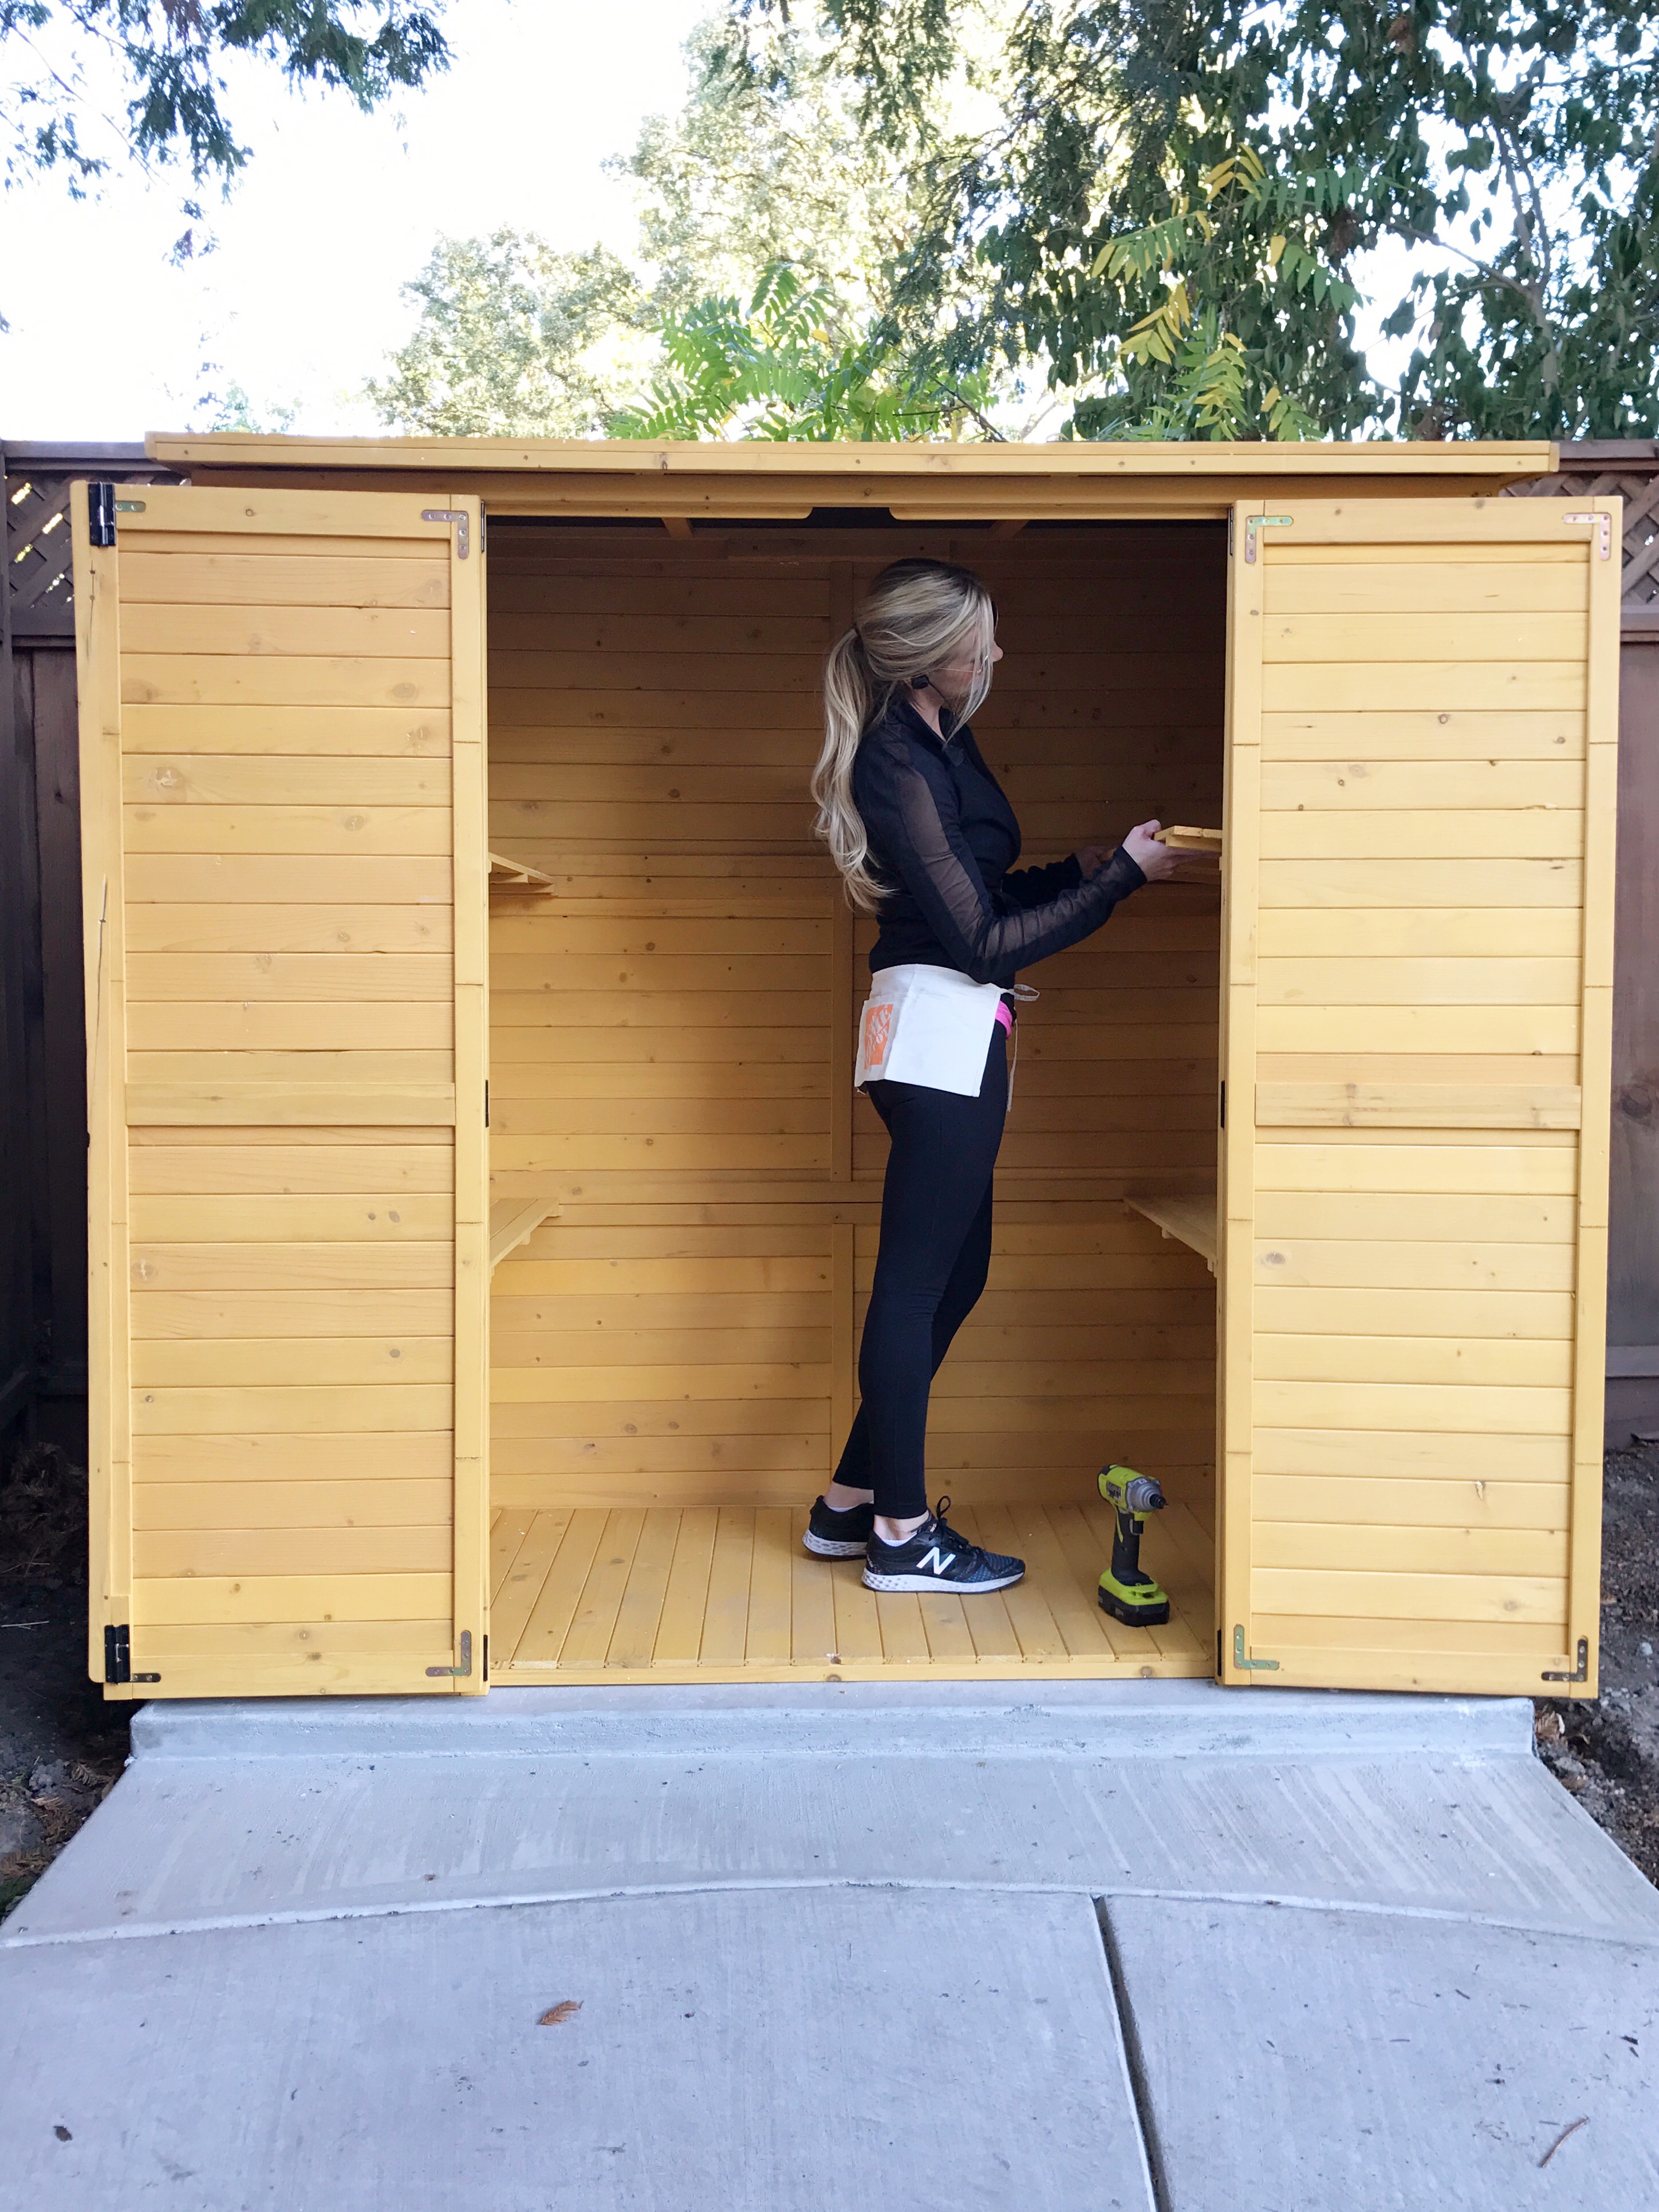
I love that the shelves are optional, should you have something large you’d like to hang or stand up inside. But I am definitely keeping the shelves in here. Love them and they will make a nice clean landing place for those chair cushions…

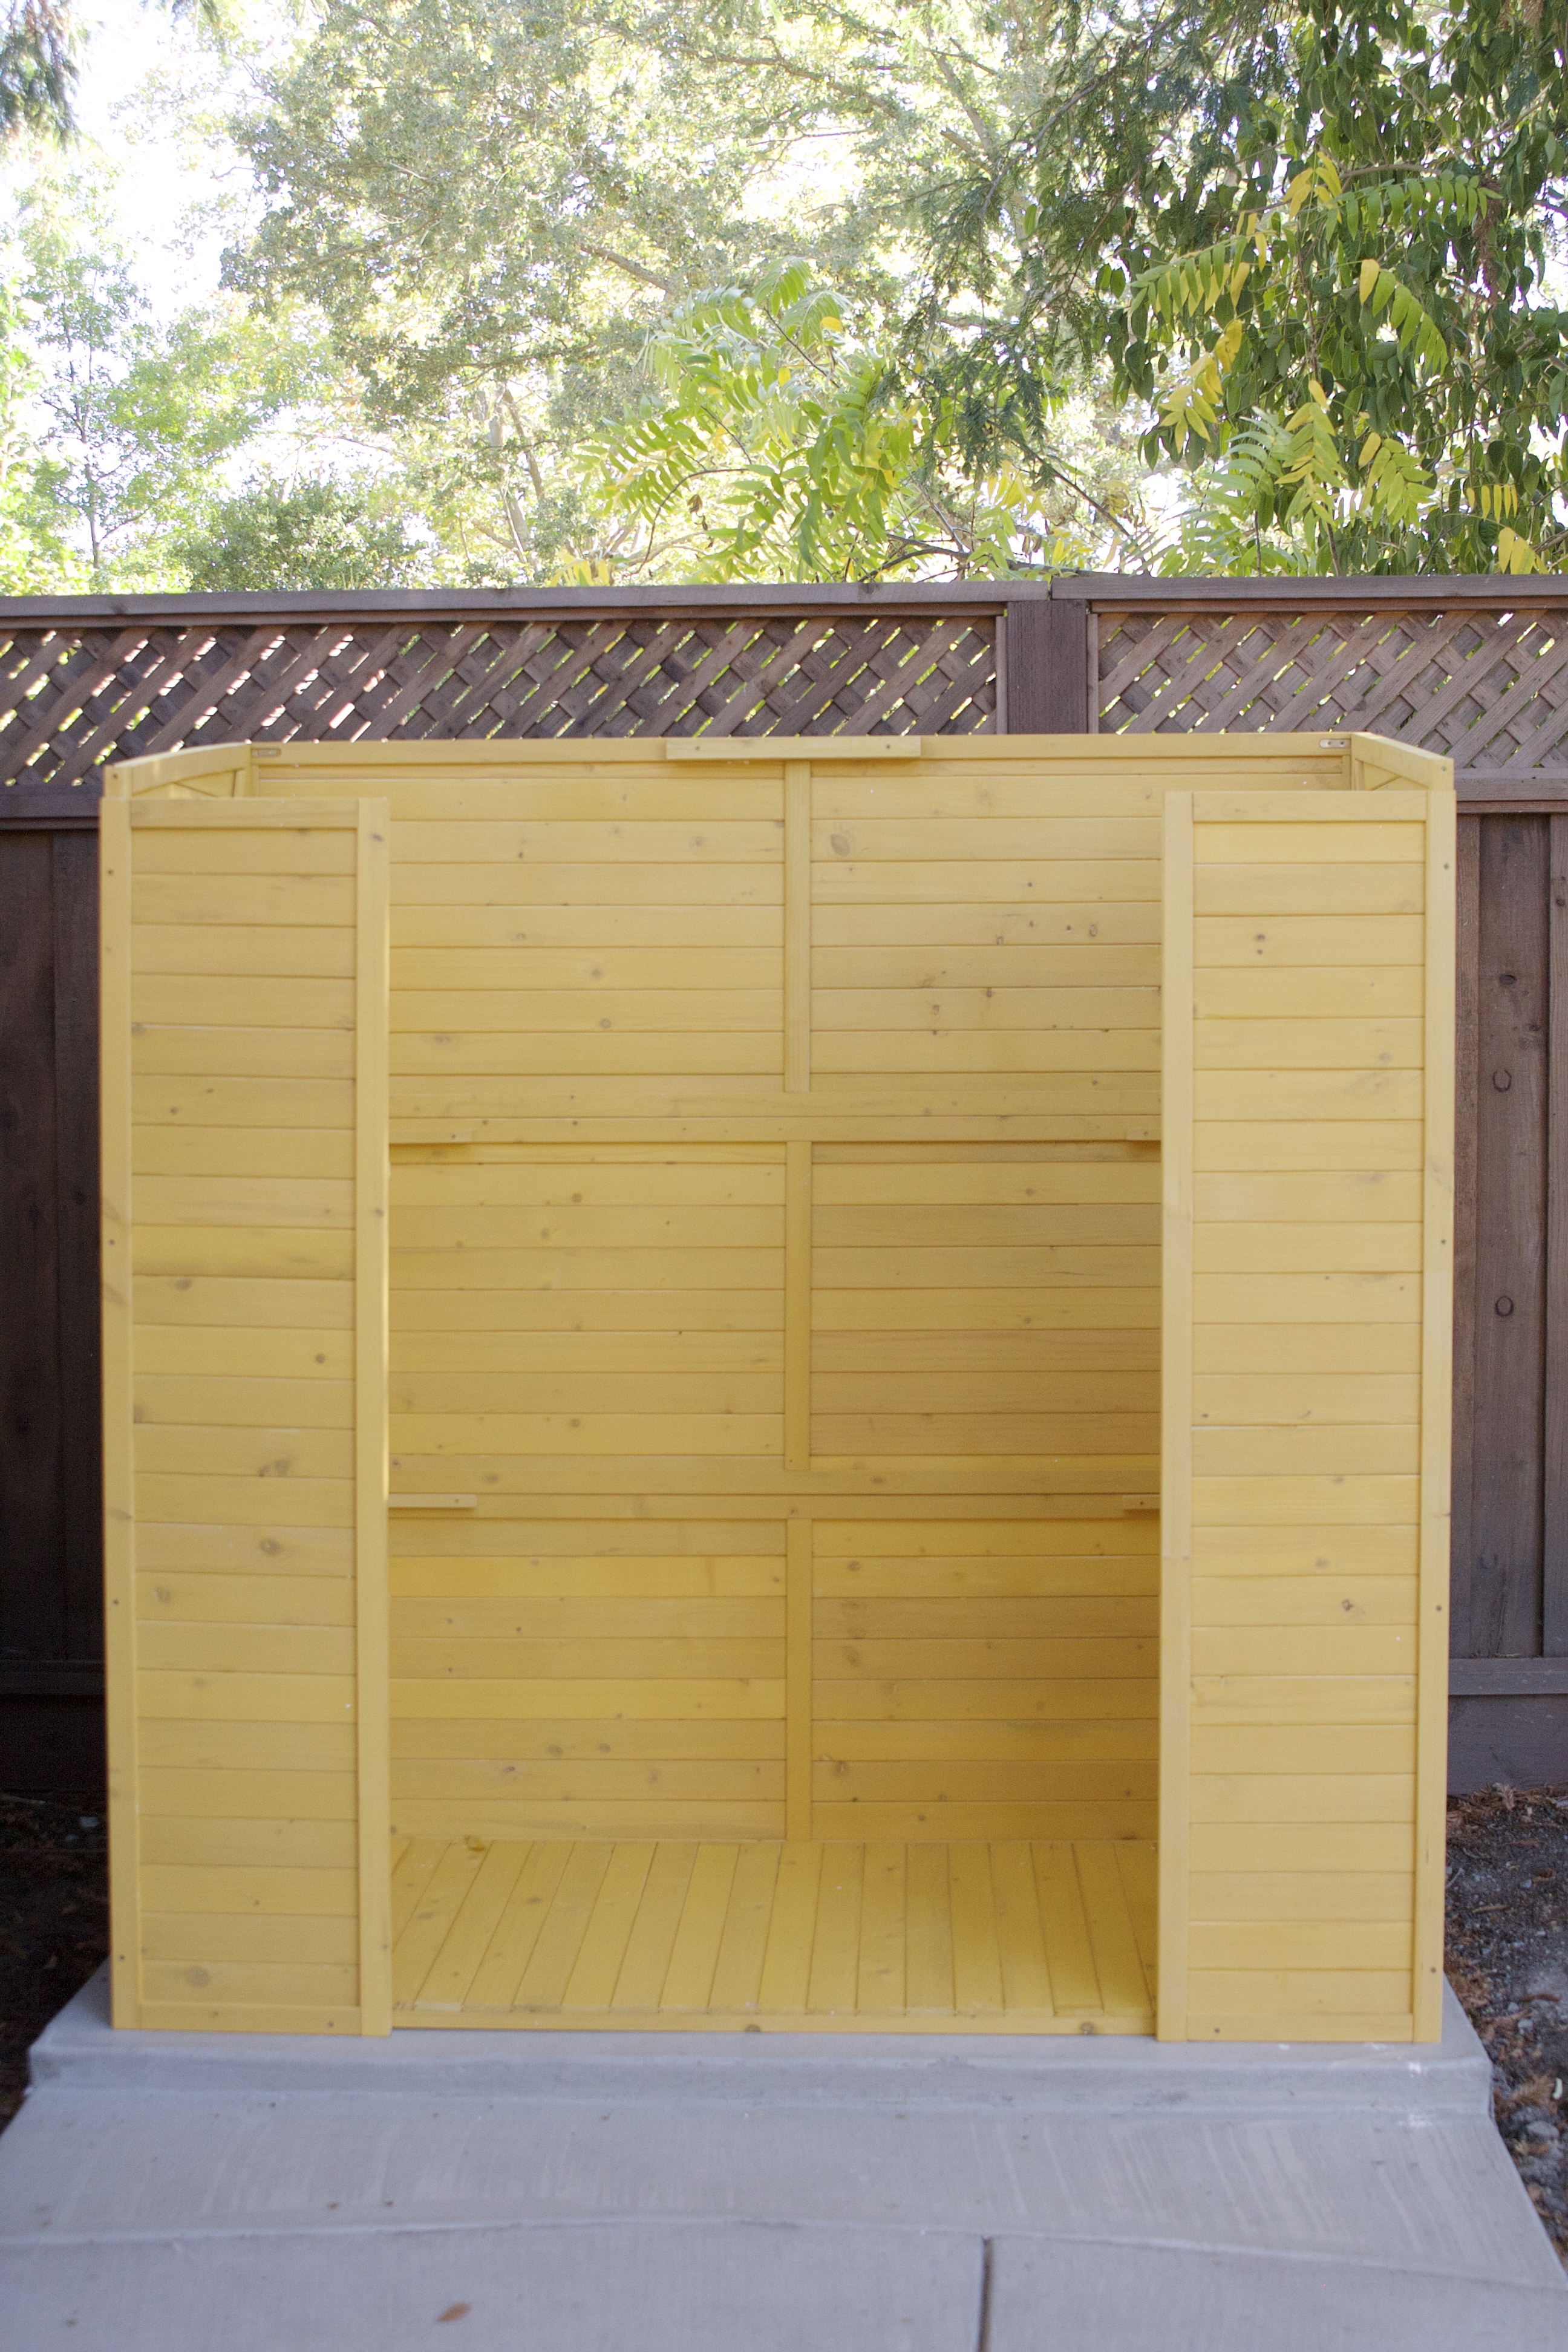
Seriously in love with this beautiful shed and its easy assembly…
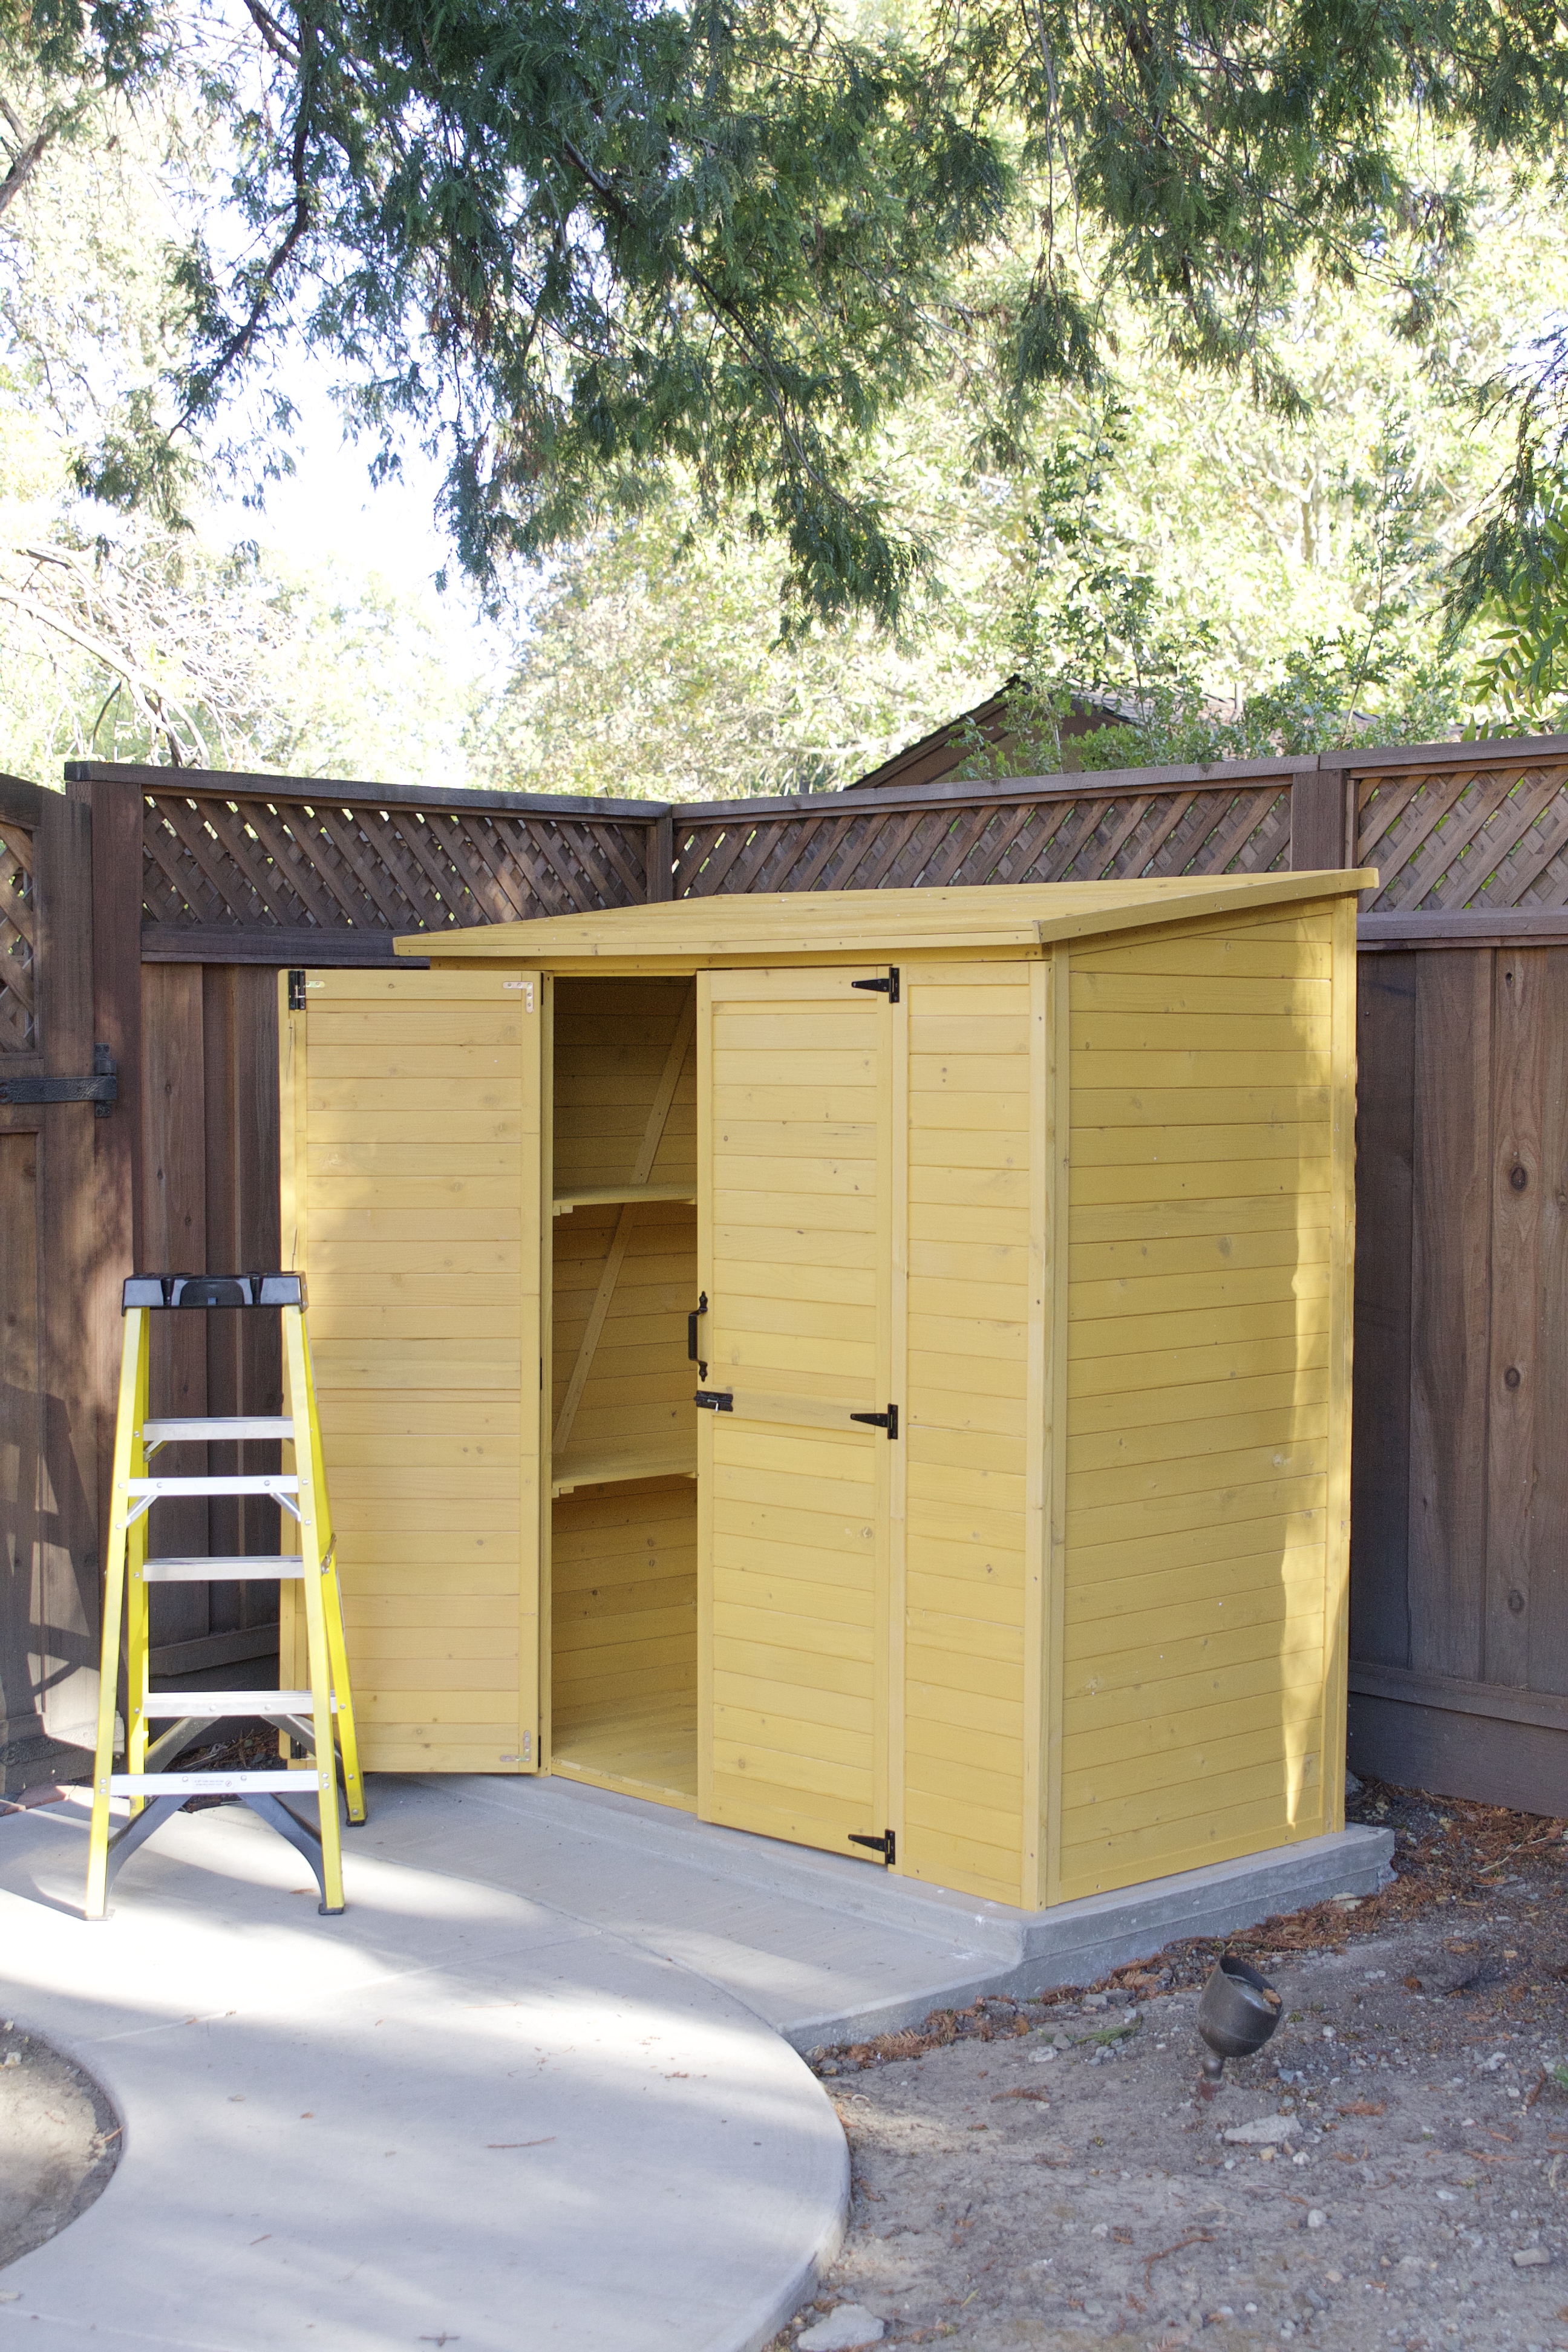
It’s spacious and pretty and just the right footprint for a side yard…
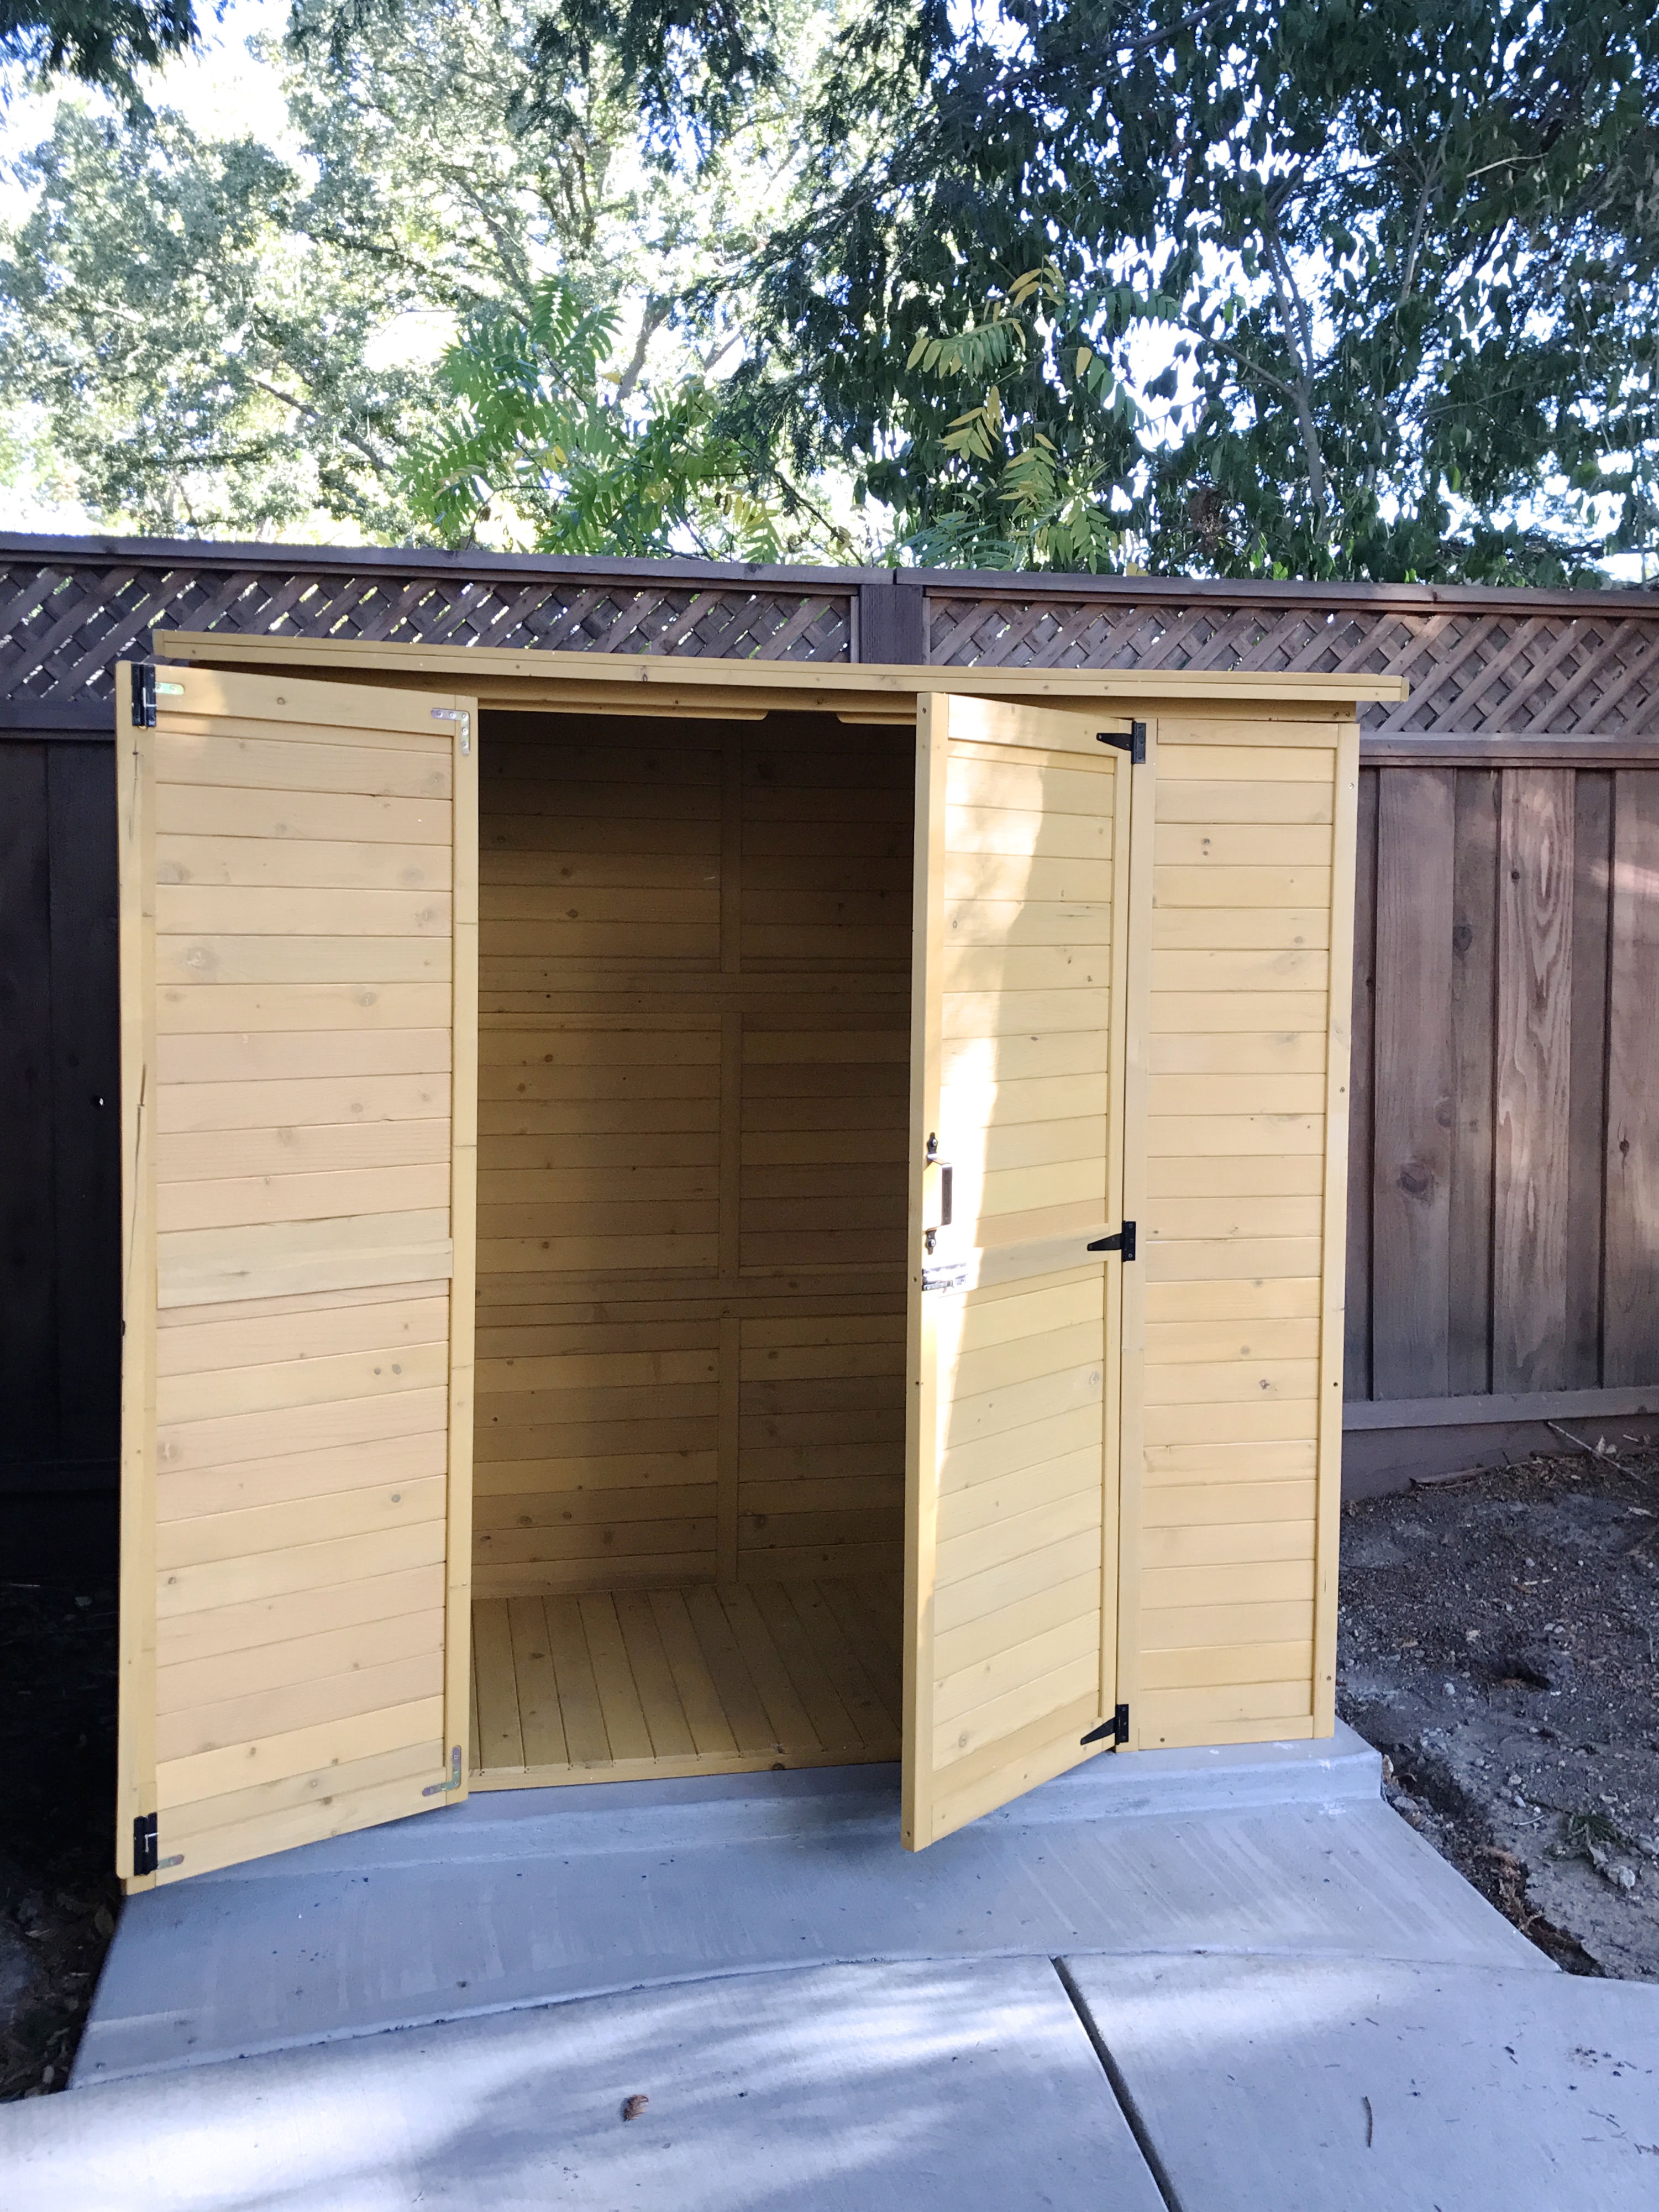
If you’ve been looking for a shed like this, look no further – this is the one! It’s small but spacious. The wood is decay-resistant, has a tongue-in-groove design and is finished with a clear acrylic coating. I also appreciate that I can add a padlock to the front doors, as this shed is essentially in my front yard. It’s hidden on the side of the house where the play structure is…but it’s still in plain view to anyone walking by on the path out front.
When everything is organized for the season inside the shed, I’ll be sure to update. Are you guys working on any outdoor organization projects? I’d love to hear about it!!
Back soon with more!
This post was written in partnership with Improvements – all opinions are 100% my own!
comments +