Ok, so…I recognize that post title is like whoa, what?! But this was a serious issue, friends. Here I spent months and months planning out the details of my home office. Only to have a serious issue I was completely not expecting pop up and throw me for a loop.
Check it…
For those following my office journey, first came the rug pad and storage pieces. THEN came the area rug.
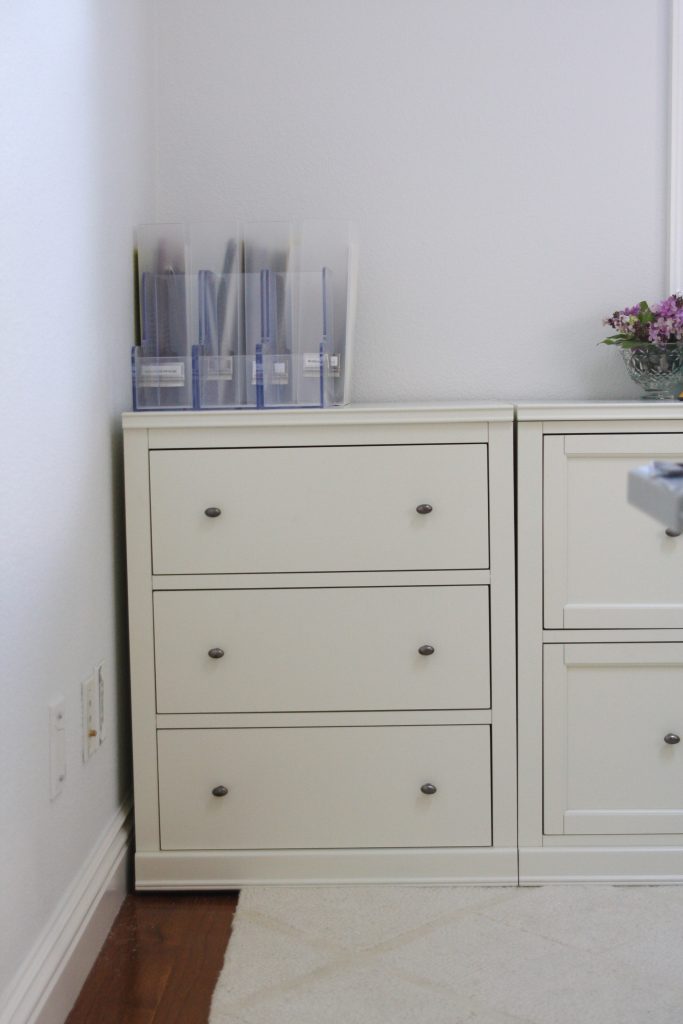
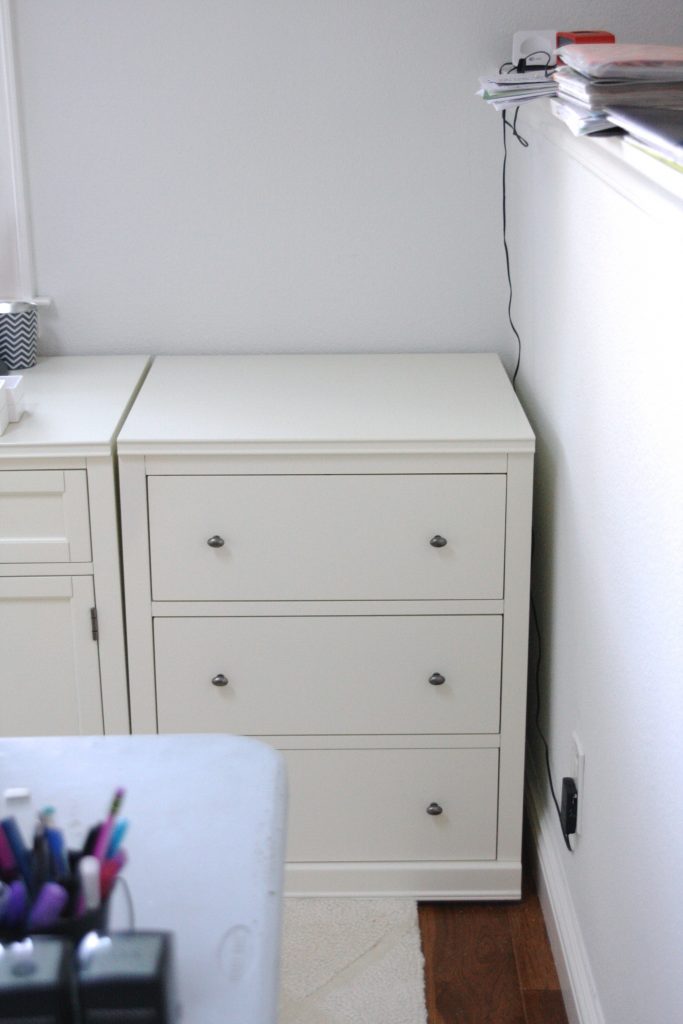
Do you see the problem here?
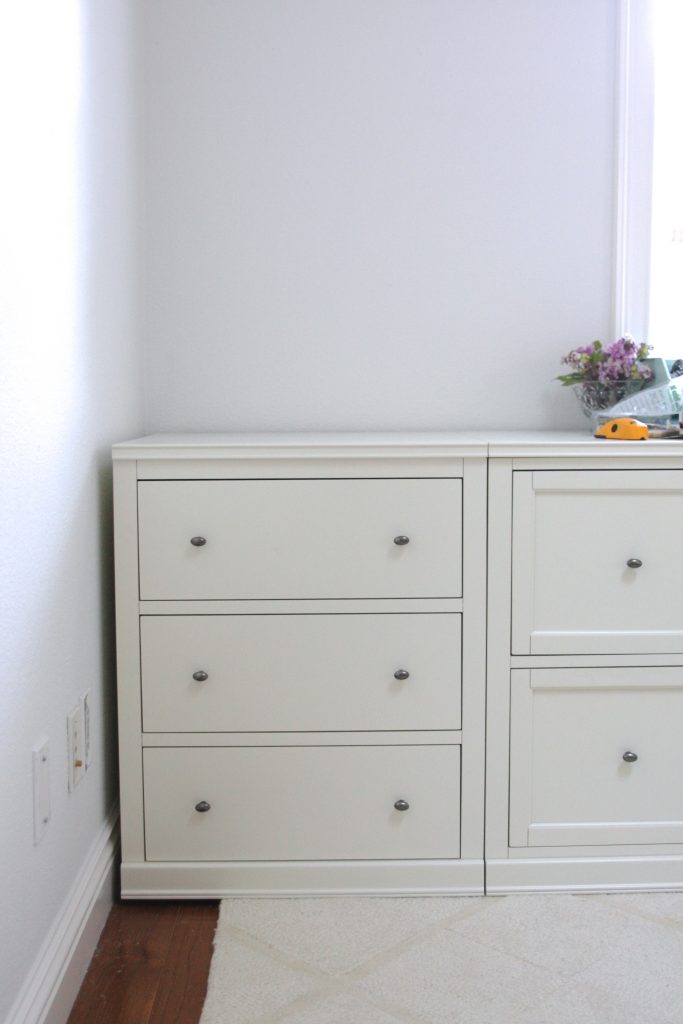
The storage pieces are … well… in pieces. It’s a modular unit. Therefore, those end pieces were leaning off the area rug once I placed it underneath. On both sides…
This was due to the combination of the rug pad plus the area rug. I wanted the carpeting underneath the desk to be warm and cozy, which it is. This loft gets pretty cold. But I wasn’t expecting the thickness to affect the modular pieces.
I was bummed. Really really bummed.
HOW TO FIX THIS ISSUE
I sat with the issue for a few days and considered some sort of shim to resolve it, but wondered how I could possibly wedge a shim underneath these deep drawer units. These babies are heavy too. Several ideas came to mind but nothing seemed doable without a lot of work or having to call in some help.
In typical Sam fashion, my answer came to me at 2am. Seriously. This is me. So. Don’t be me. At 2am. Well, unless you want a stroke of brilliance at 2am, then by all means. But usually, just don’t be me at 2am.
Anyway.
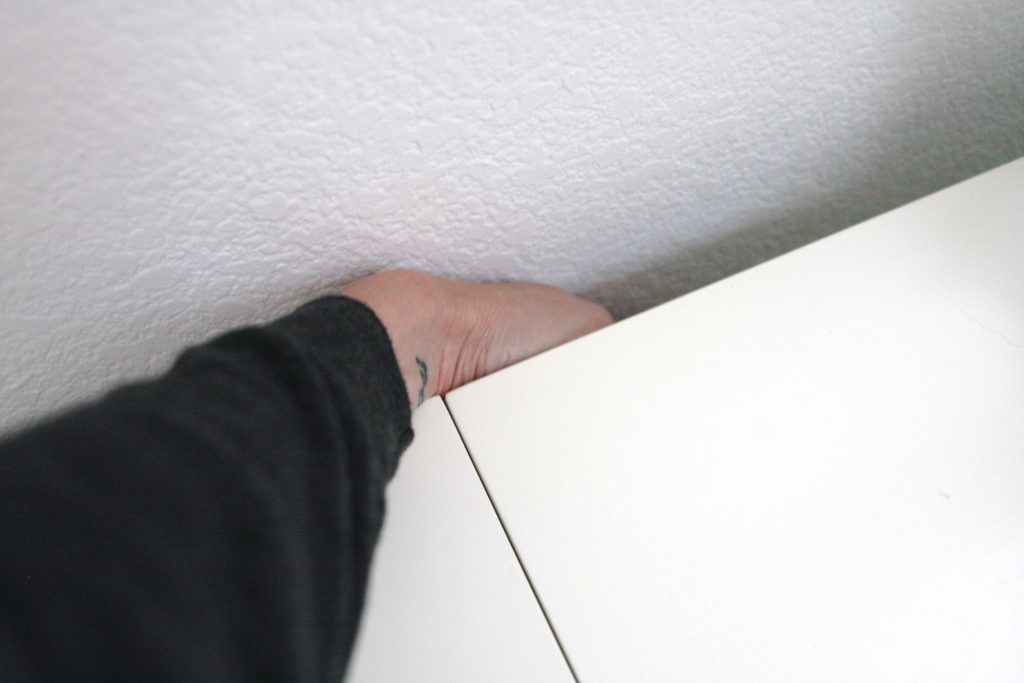
I had an idea in the middle of the night (this is true) that I could possibly c-clamp the items together from the top rear of the pieces. So I hopped out of bed, put my hand behind the unit, and yes! Praise the Lord! Behind each of these modular pieces is framing. Which means a c-clamp would be able to tighten the desk unit and the drawer units together.
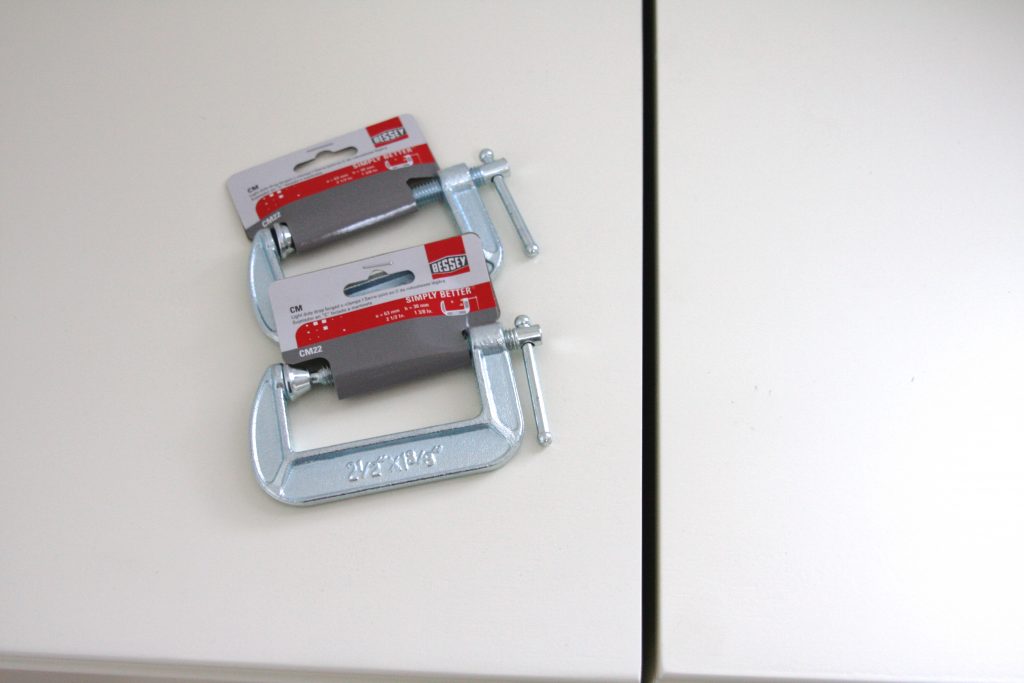
WHAT IN THE WORLD IS A C-CLAMP?
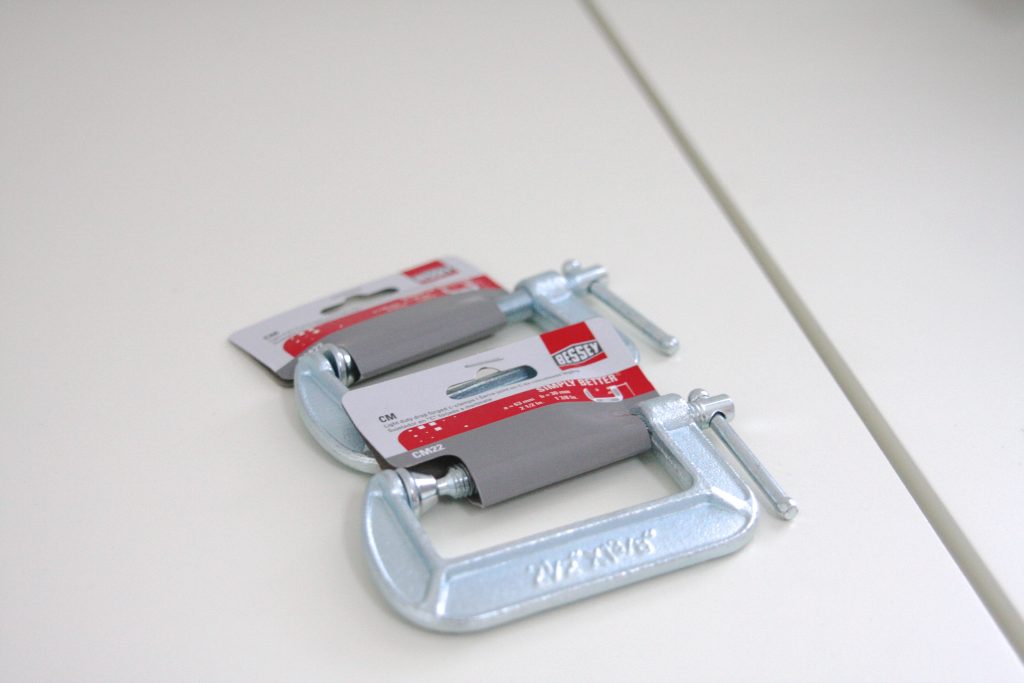
C-clamp, you ask? They look like this…
( c-clamp )
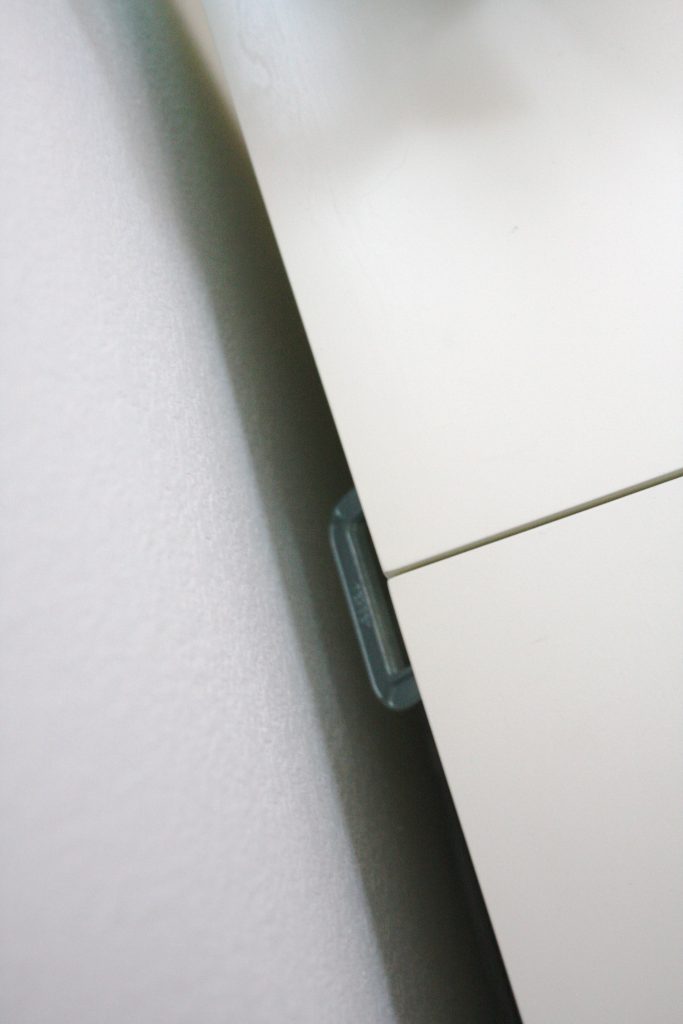
And that you see above is the significant gap I’m speaking about. No good for a details girl like me!
I pulled the pieces away from the wall just a bit in order to get my hand behind it and slowly made the turns on the clamp to bring them together. It was a tight fit for my hand and took patience and time. But I have both of those in large volumes so it was easy…
And in the end it worked out beautifully! Just as my 2am daydream (or night dream) had promised…
THE HAPPY ENDING
Now the pieces are tight, level, and there are no gaps…
Don’t even ask me how this idea came to mind. I’m a freak of nature. Determined. Not willing to let an issue slide without a remedy.
And I wanted to share this super easy fix with all of you! Because who needs those annoying furniture gaps?? Not us!
If you have this issue going on in your home, I hope this simple fix is the answer you’ve been searching for! Looking forward to sharing another home office update with you later this week. We are moving right along!
Happy Monday!
*Some affiliate links were used for your convenience. Thank you for supporting my blog so I can continue to bring you great content. Love you guys!
I use plastic wedge-it shims from Home Depot. Lifts the low side up to rug level. Cheap and easy!