One year ago exactly I had several backyard improvement projects underway. Including an updated, re-set brick path and concrete set in a few areas that previously were nothing but dirt. You can see the entire series from beginning (here) to end (here) in a few blog posts. This space however was a huge improvement…
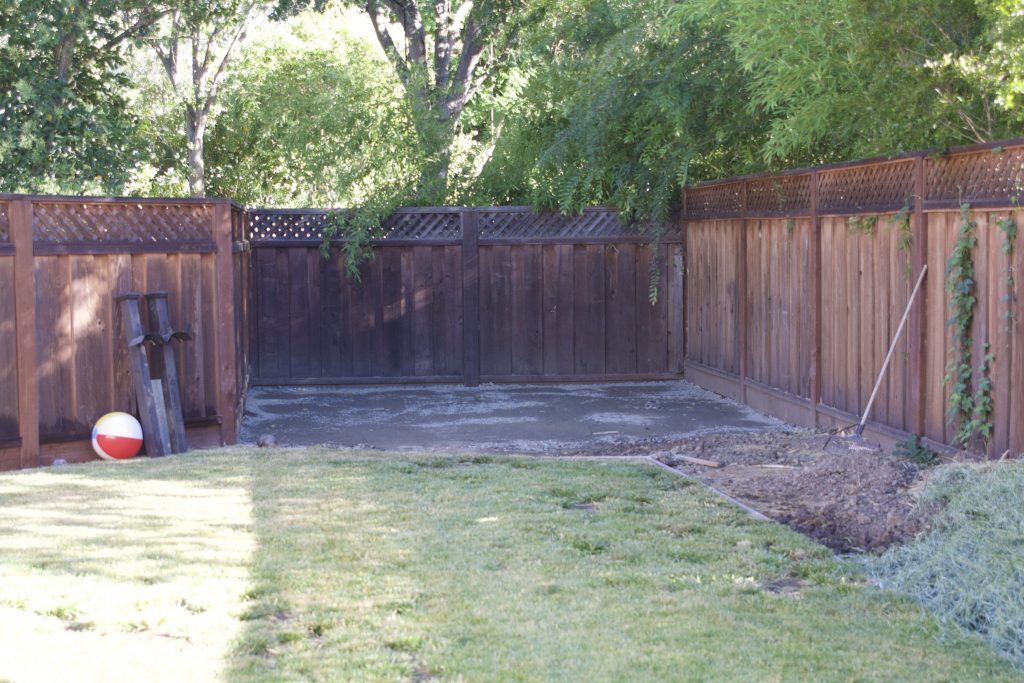
BEFORE

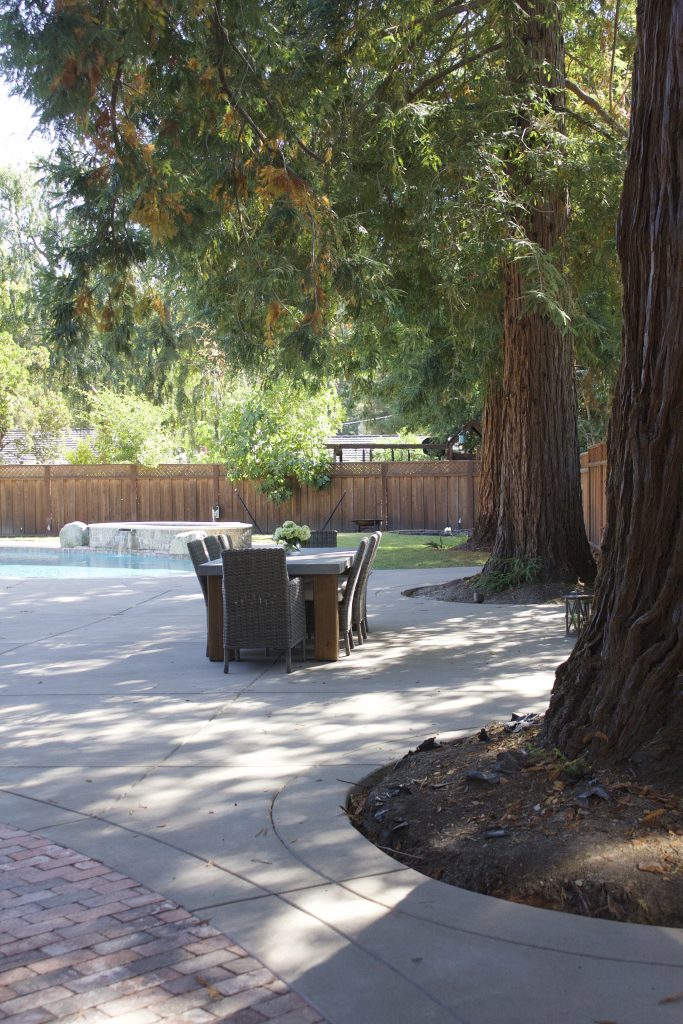
AFTER
While my contractor was here pouring concrete, I added a small pad to build a shed and we poured out this empty corner of the yard for an eventual garden…

Excited to get back here to build those raised beds, but sadly, been too busy to take on a large project like this. I hope to eventually get this started, but in the meantime I was itching to get something planted. I love to grow my own herbs. It’s easy and so much less expensive than purchasing those tiny bundles in the market. Rosemary and basil are two of my favorites to have on hand and each are way too easy to grow. They actually can take over so if you plant these, be prepared to give away herb bundles to friends and family.
But I also wanted to take a stab at planting veggies with the kids.
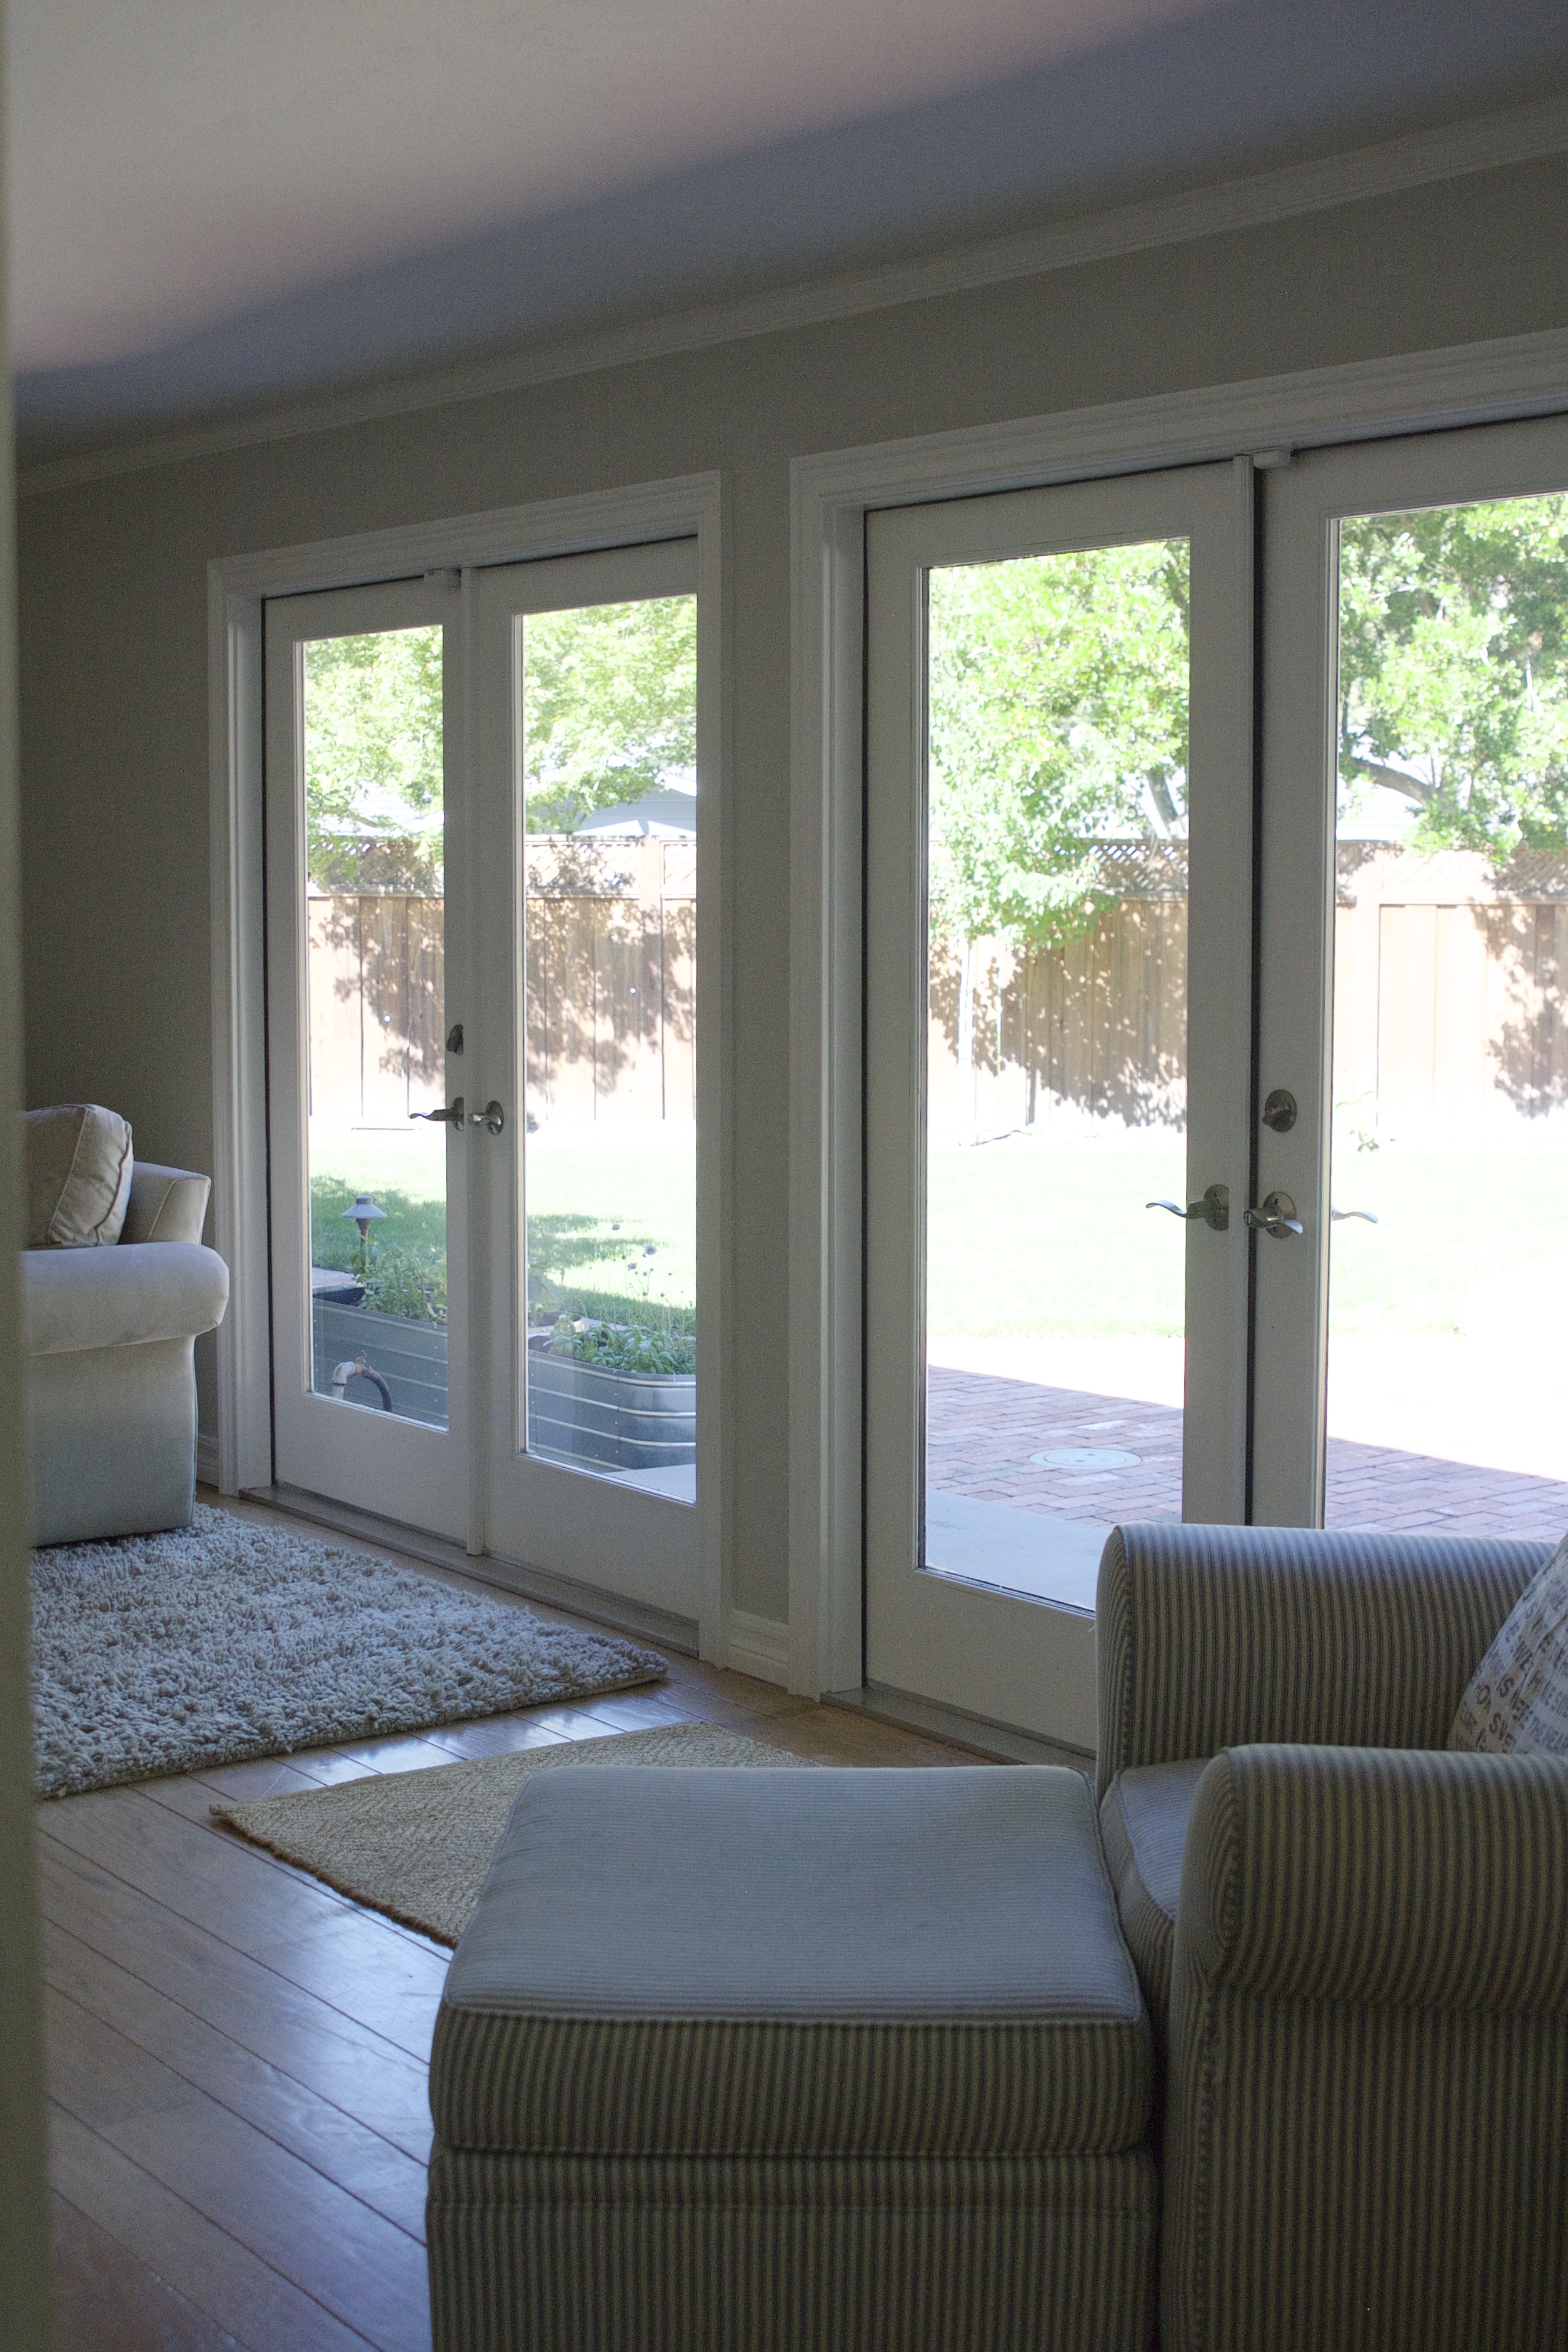
A great way to garden without a huge commitment is container gardens. I found a few galvanized beds that are pretty and would fit perfectly outside my living room patio doors…
Thought I would share with you just how easy these babies are to assemble. Took only a few minutes and these from Improvements Catalog are currently on sale!
HOW TO BUILD A CONTAINER GARDEN
To get started, I set up my make-shift work bench outside. I have 2 saw horses and a couple pieces of wood – that’s it. This saves your back, my friends!…

( saw horses )
Anytime you’re building something, make sure to have all your supplies on hand. Especially if there are kids in the house. I set up my bench and had my drill, pliers, nuts and bolts ready to go…

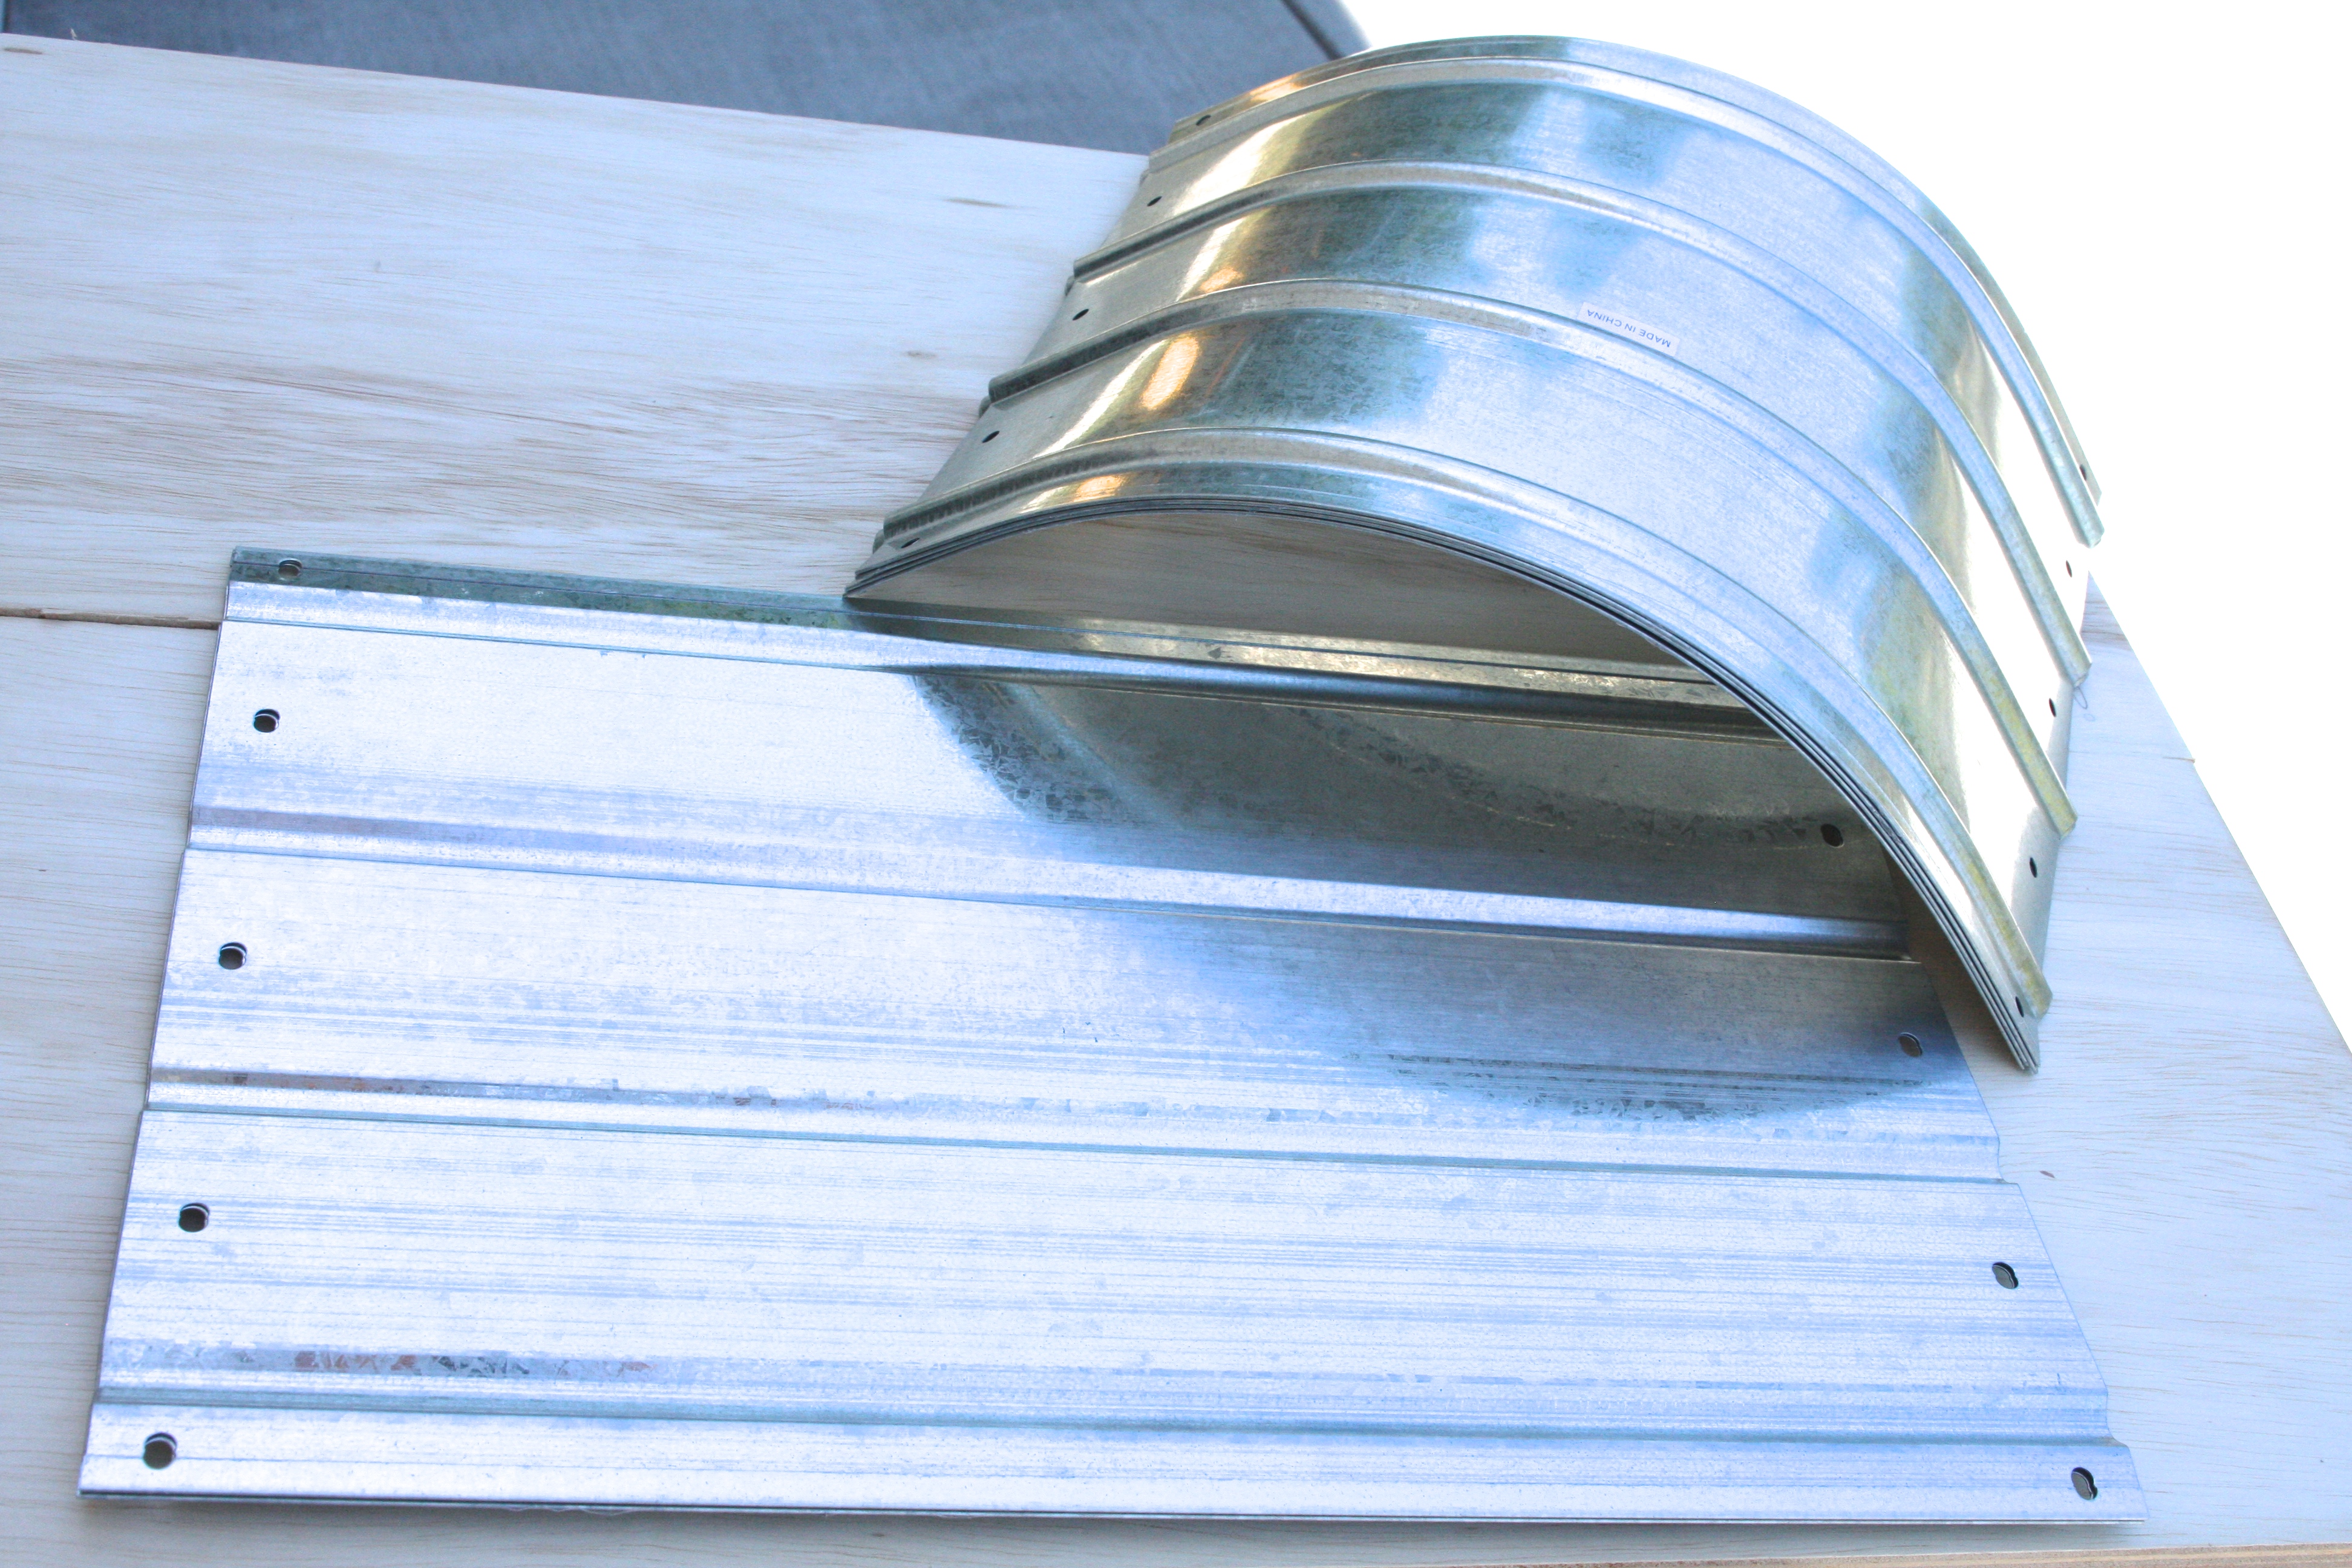
These oval beds are easy to assemble. Just loosely put the pieces of the oval together with the nuts and bolts…


Then using your pliers, grip the nut and use your driver to tighten the bolt from the other side…
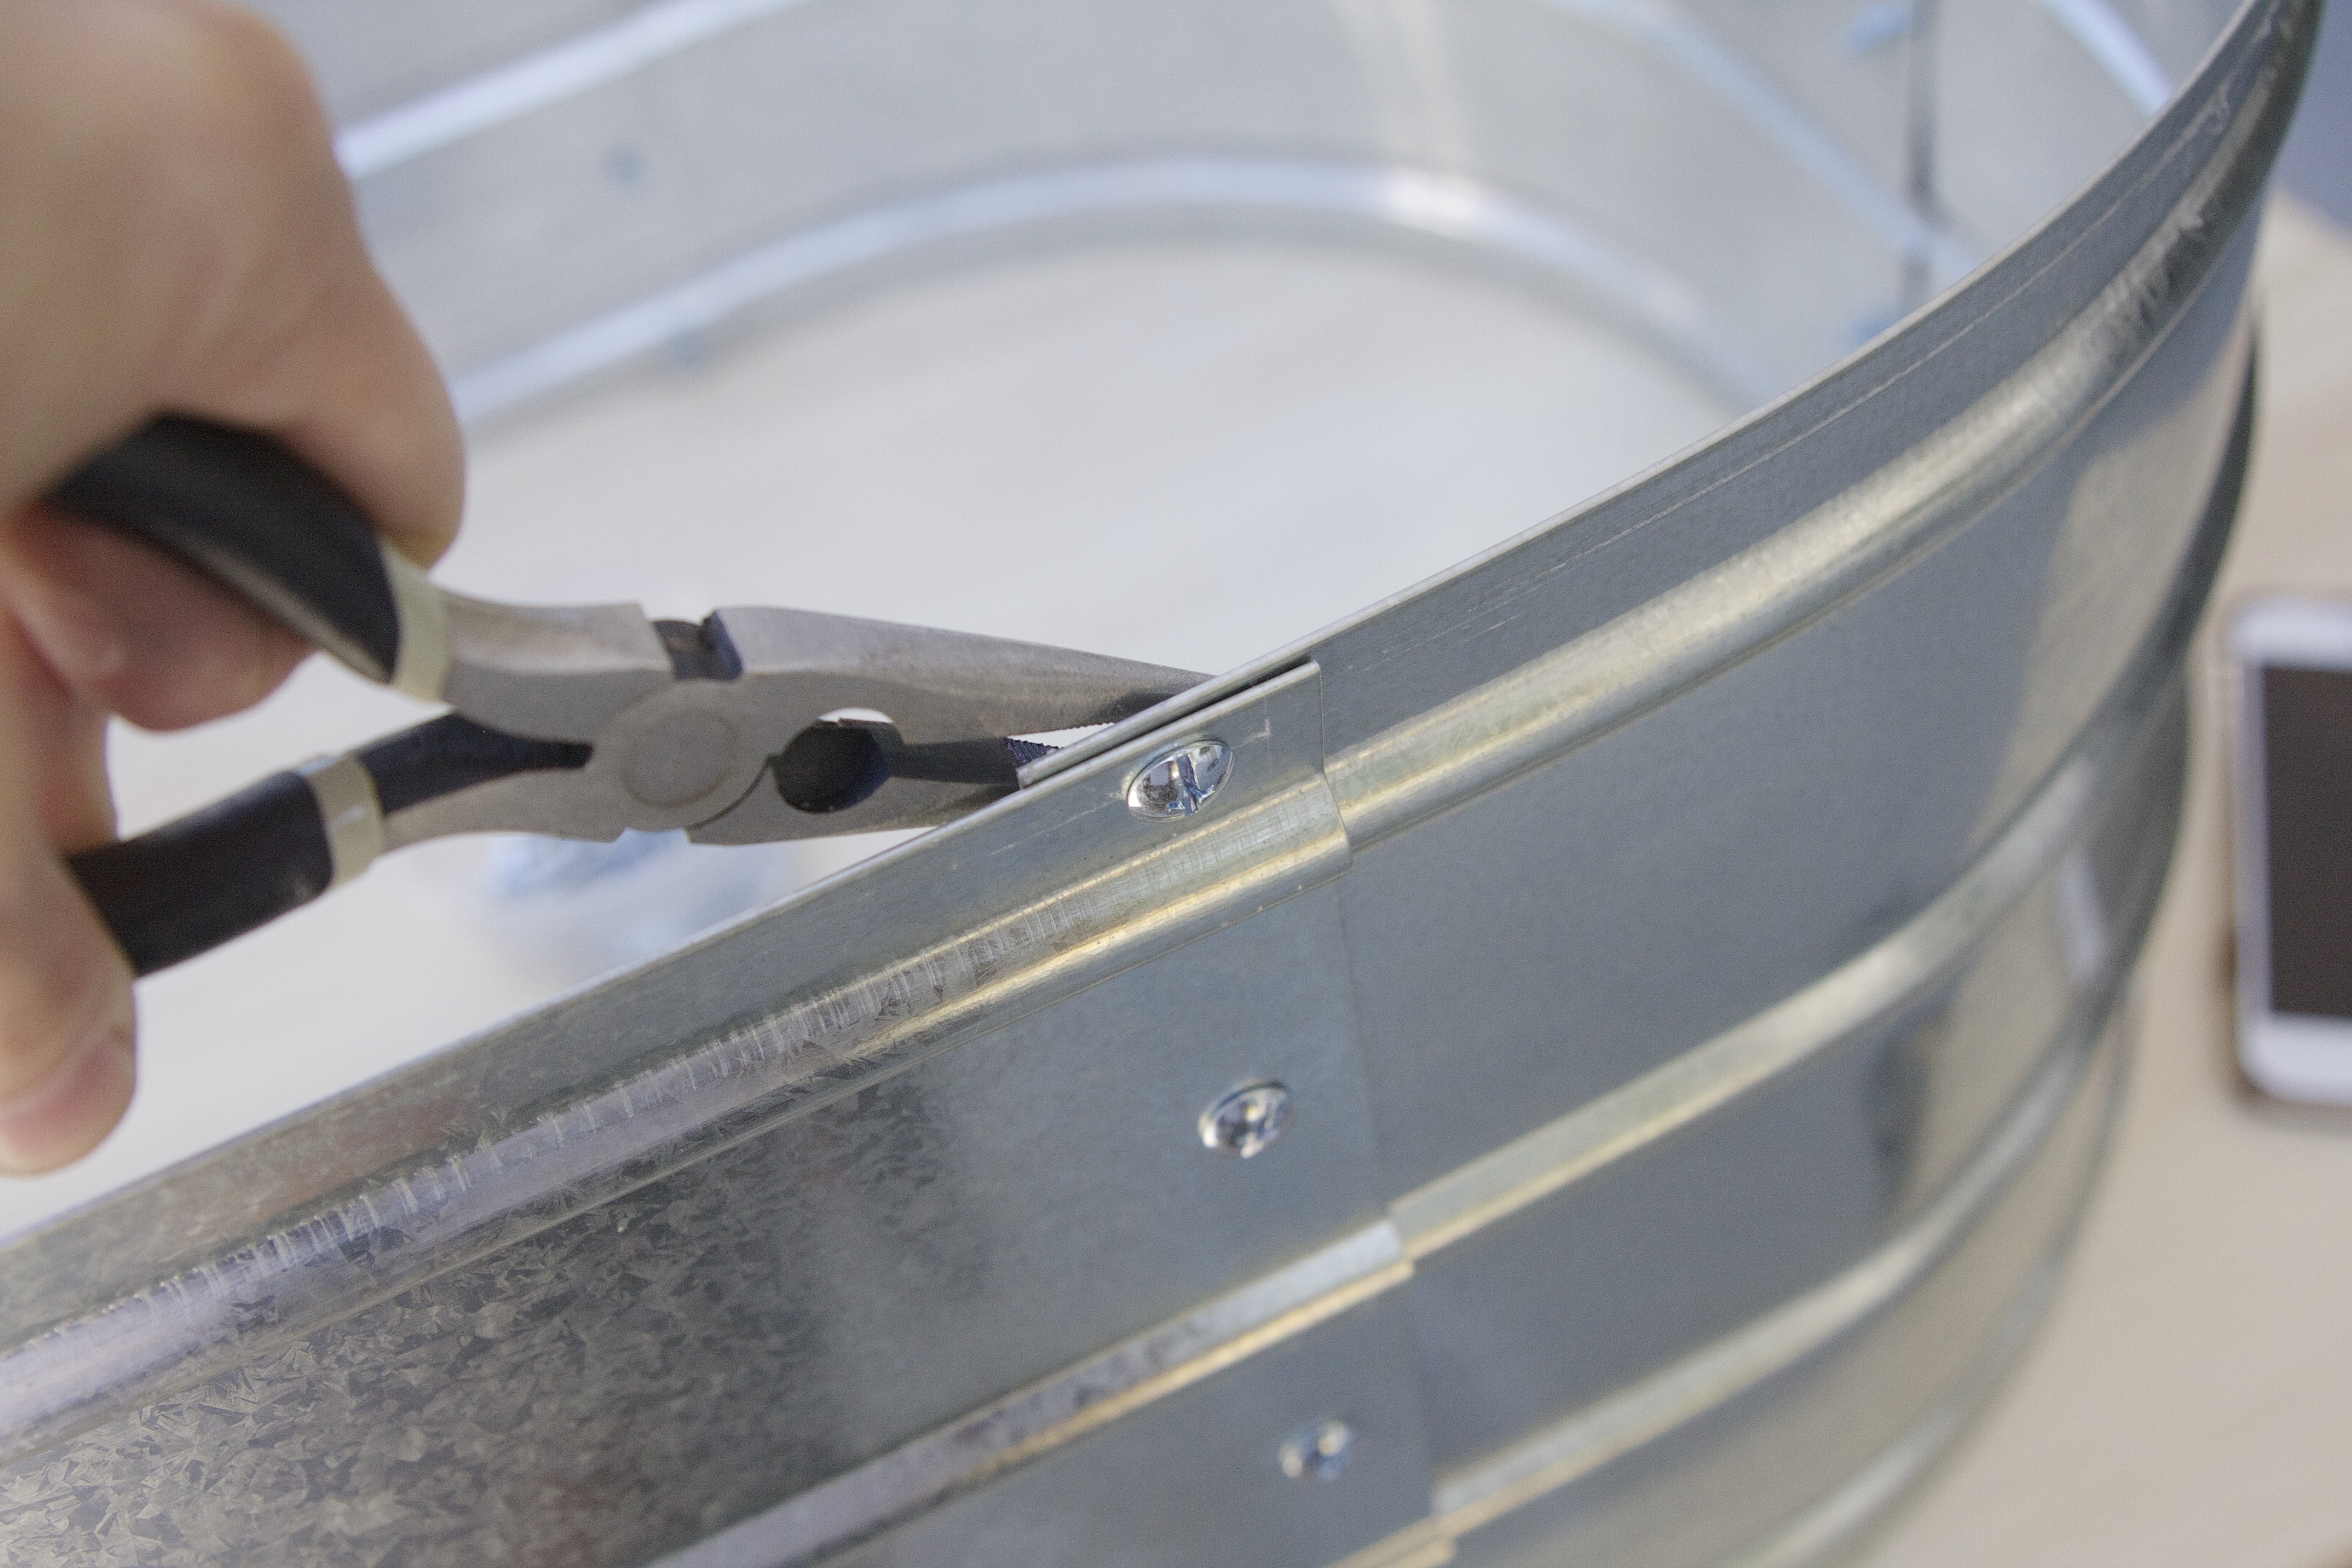
Quick assembly – maybe 15 minutes max to assemble both beds…

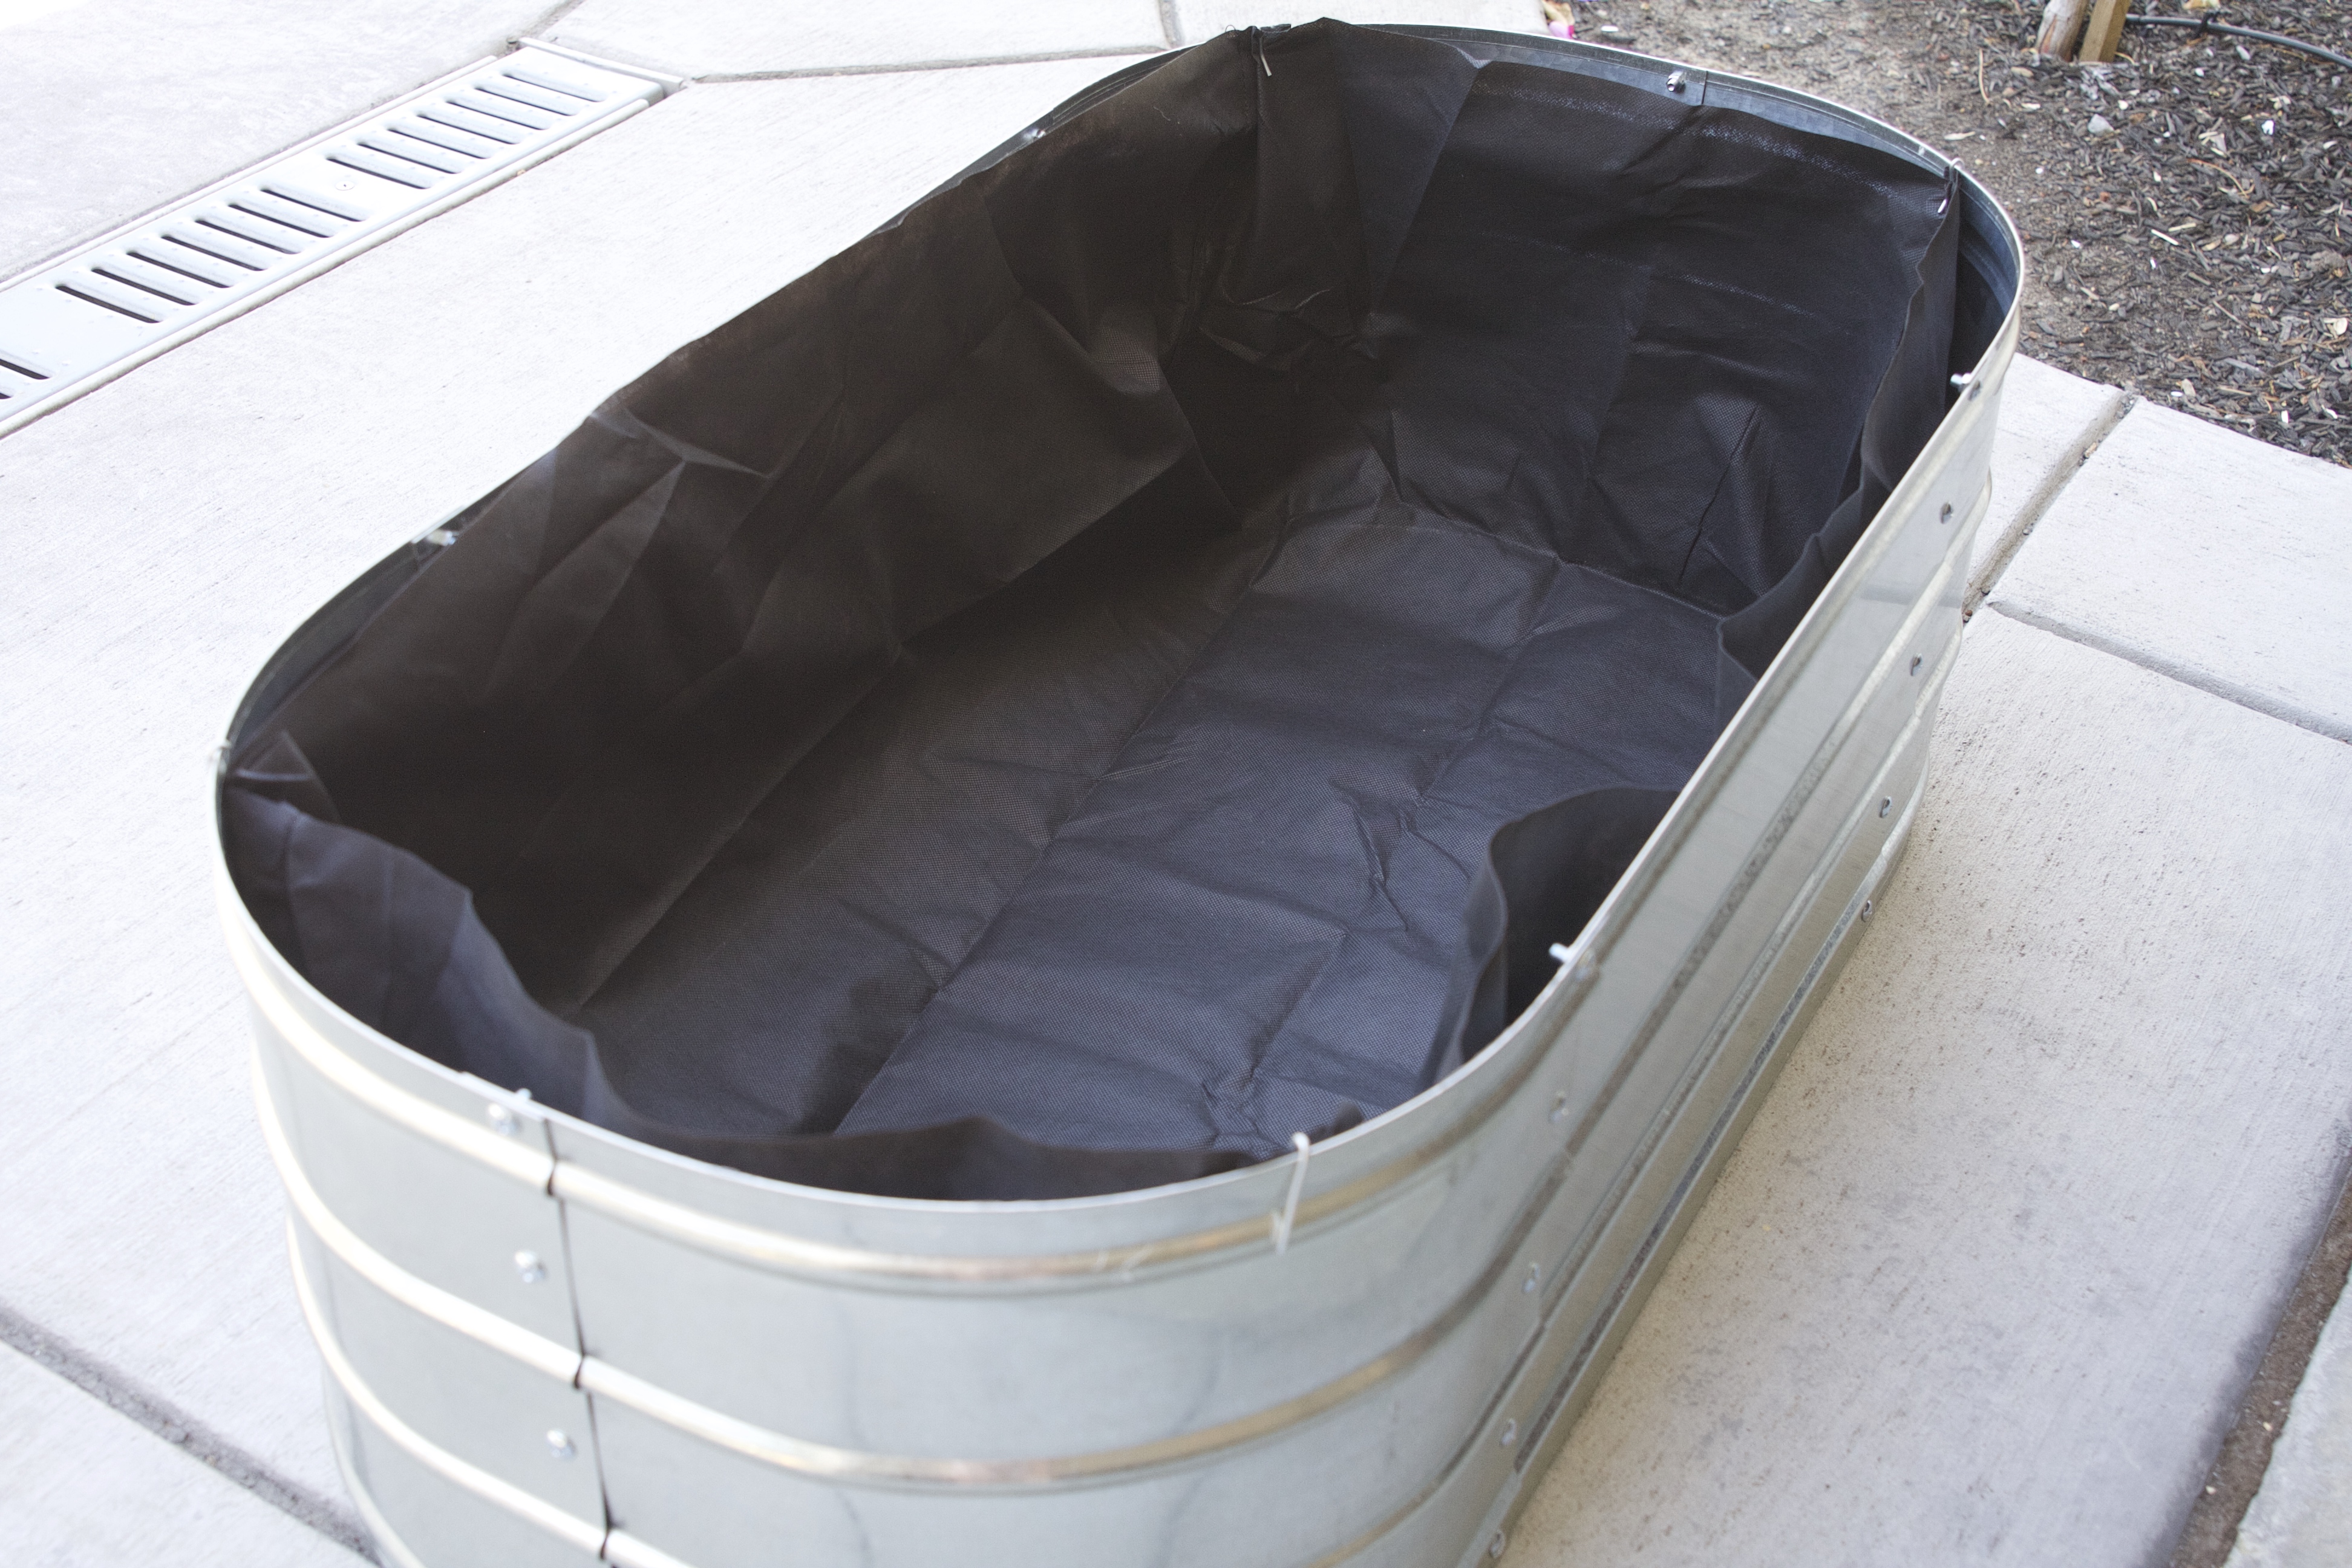
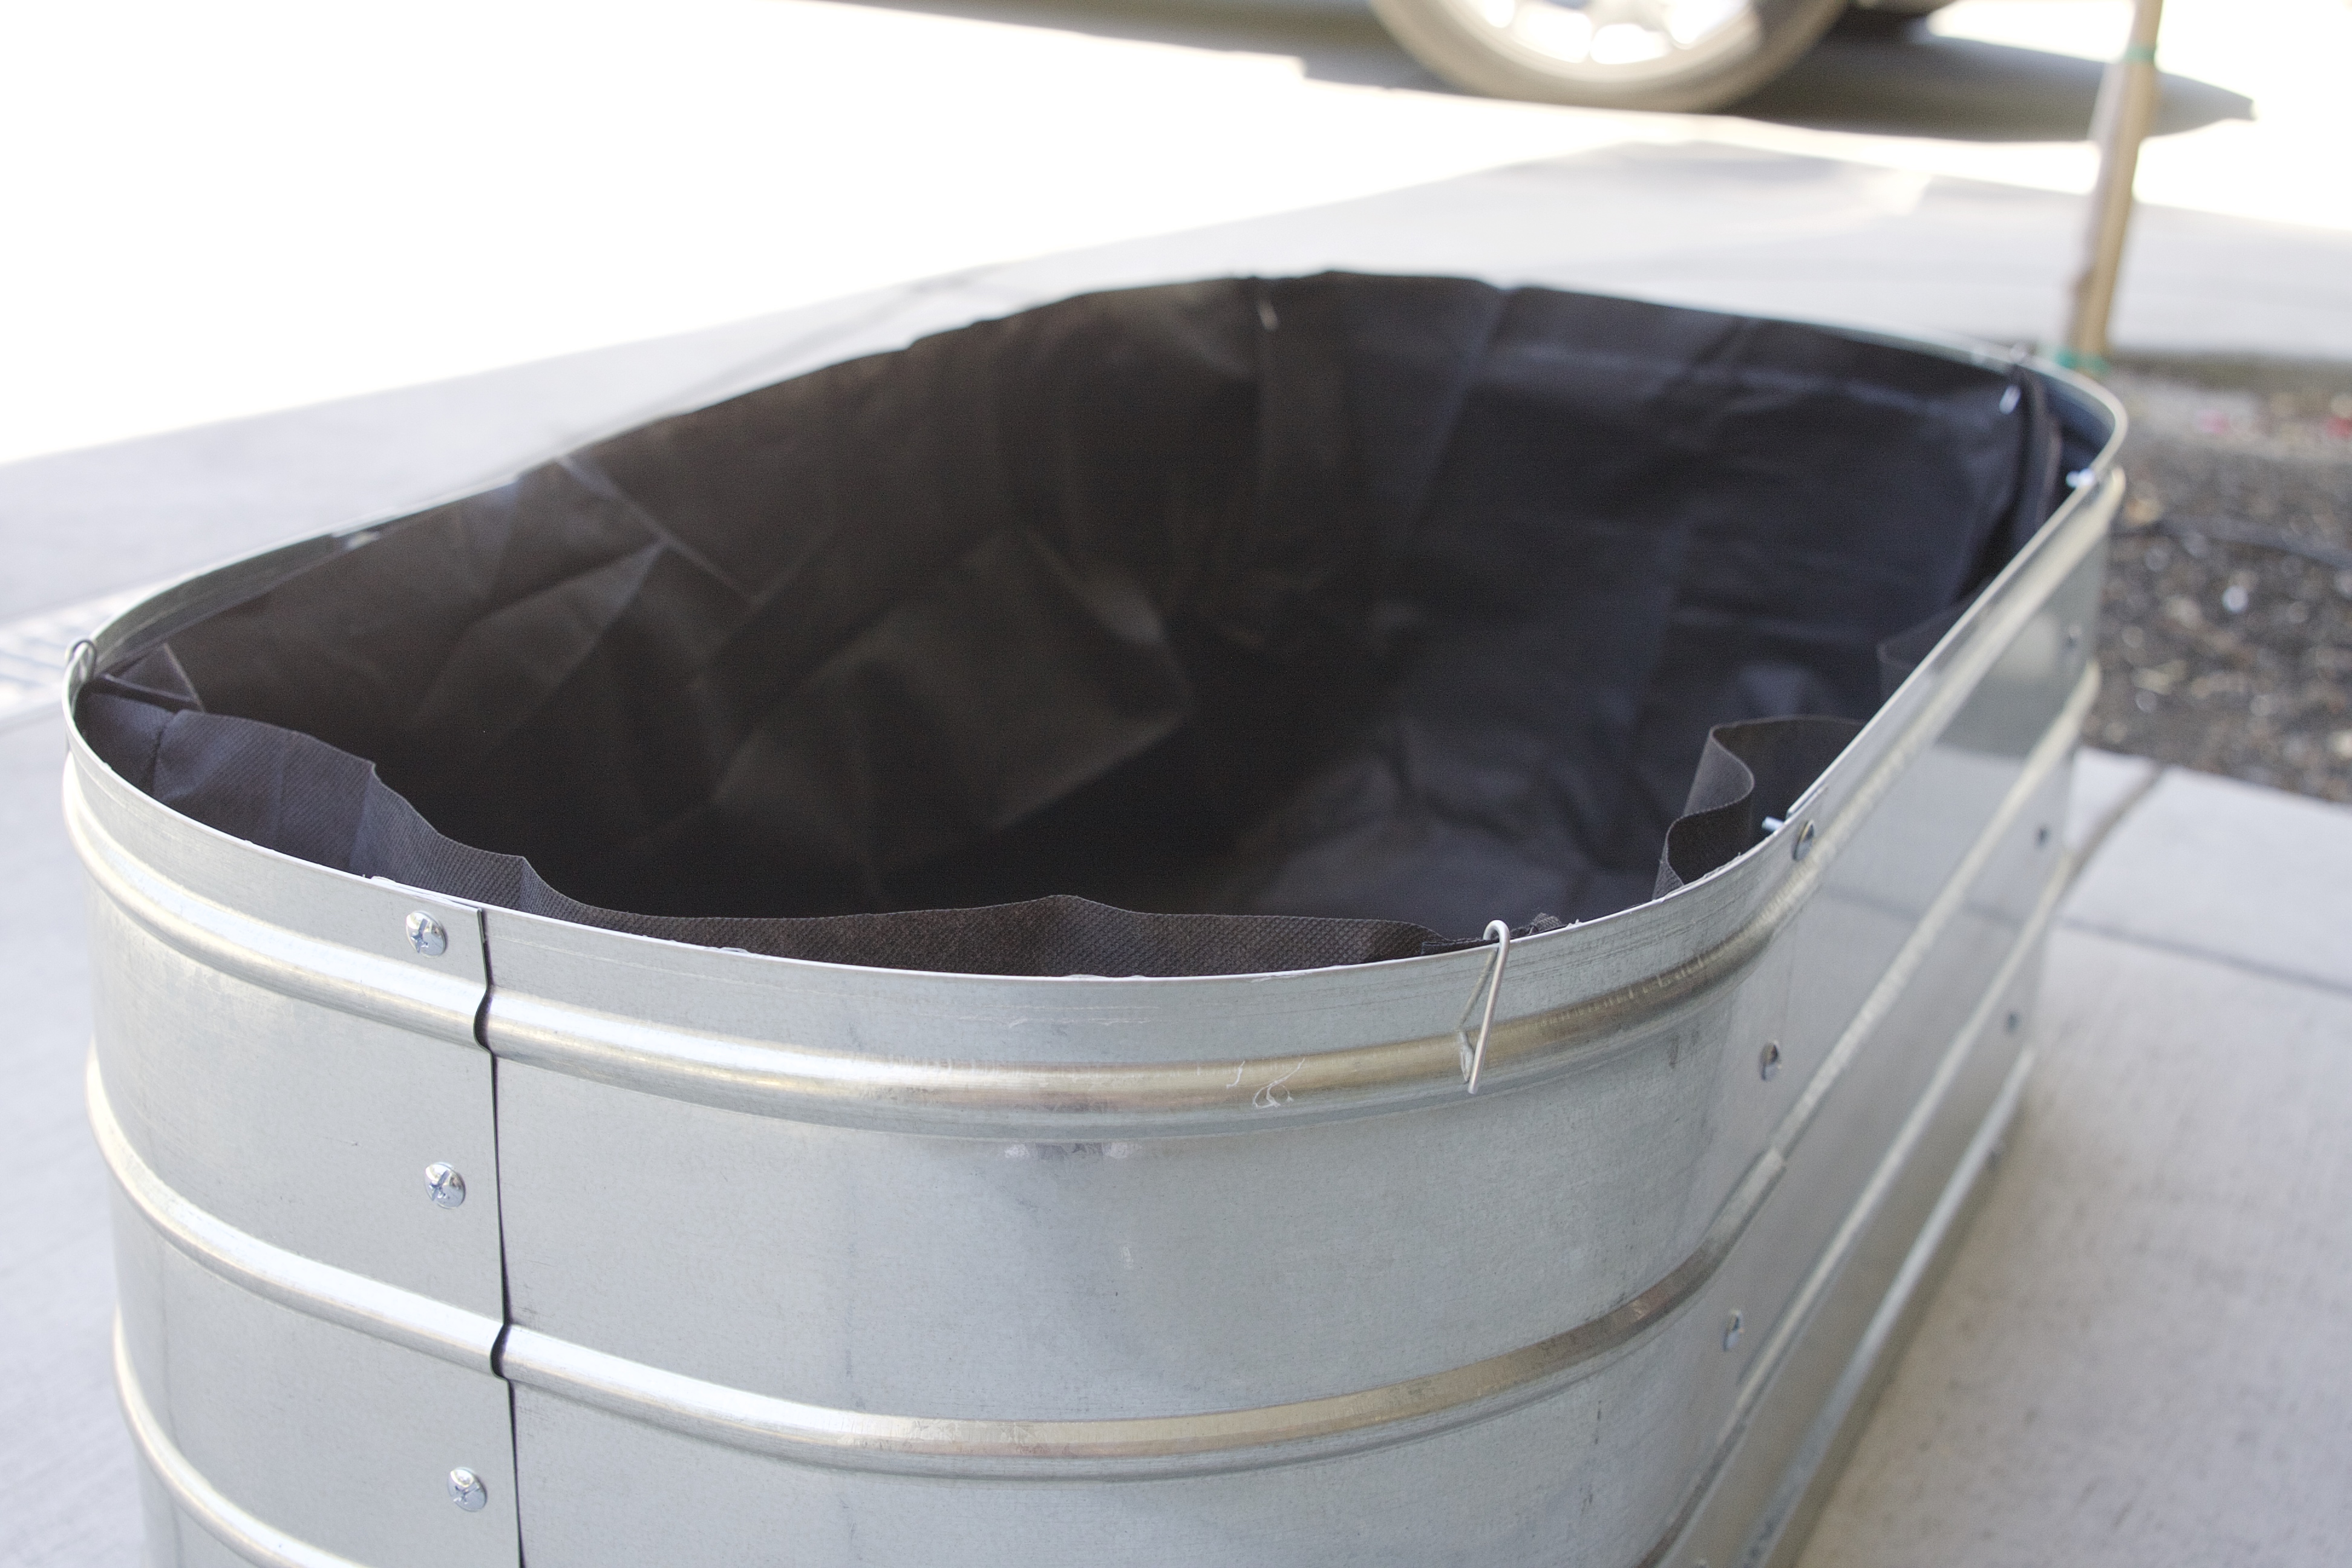
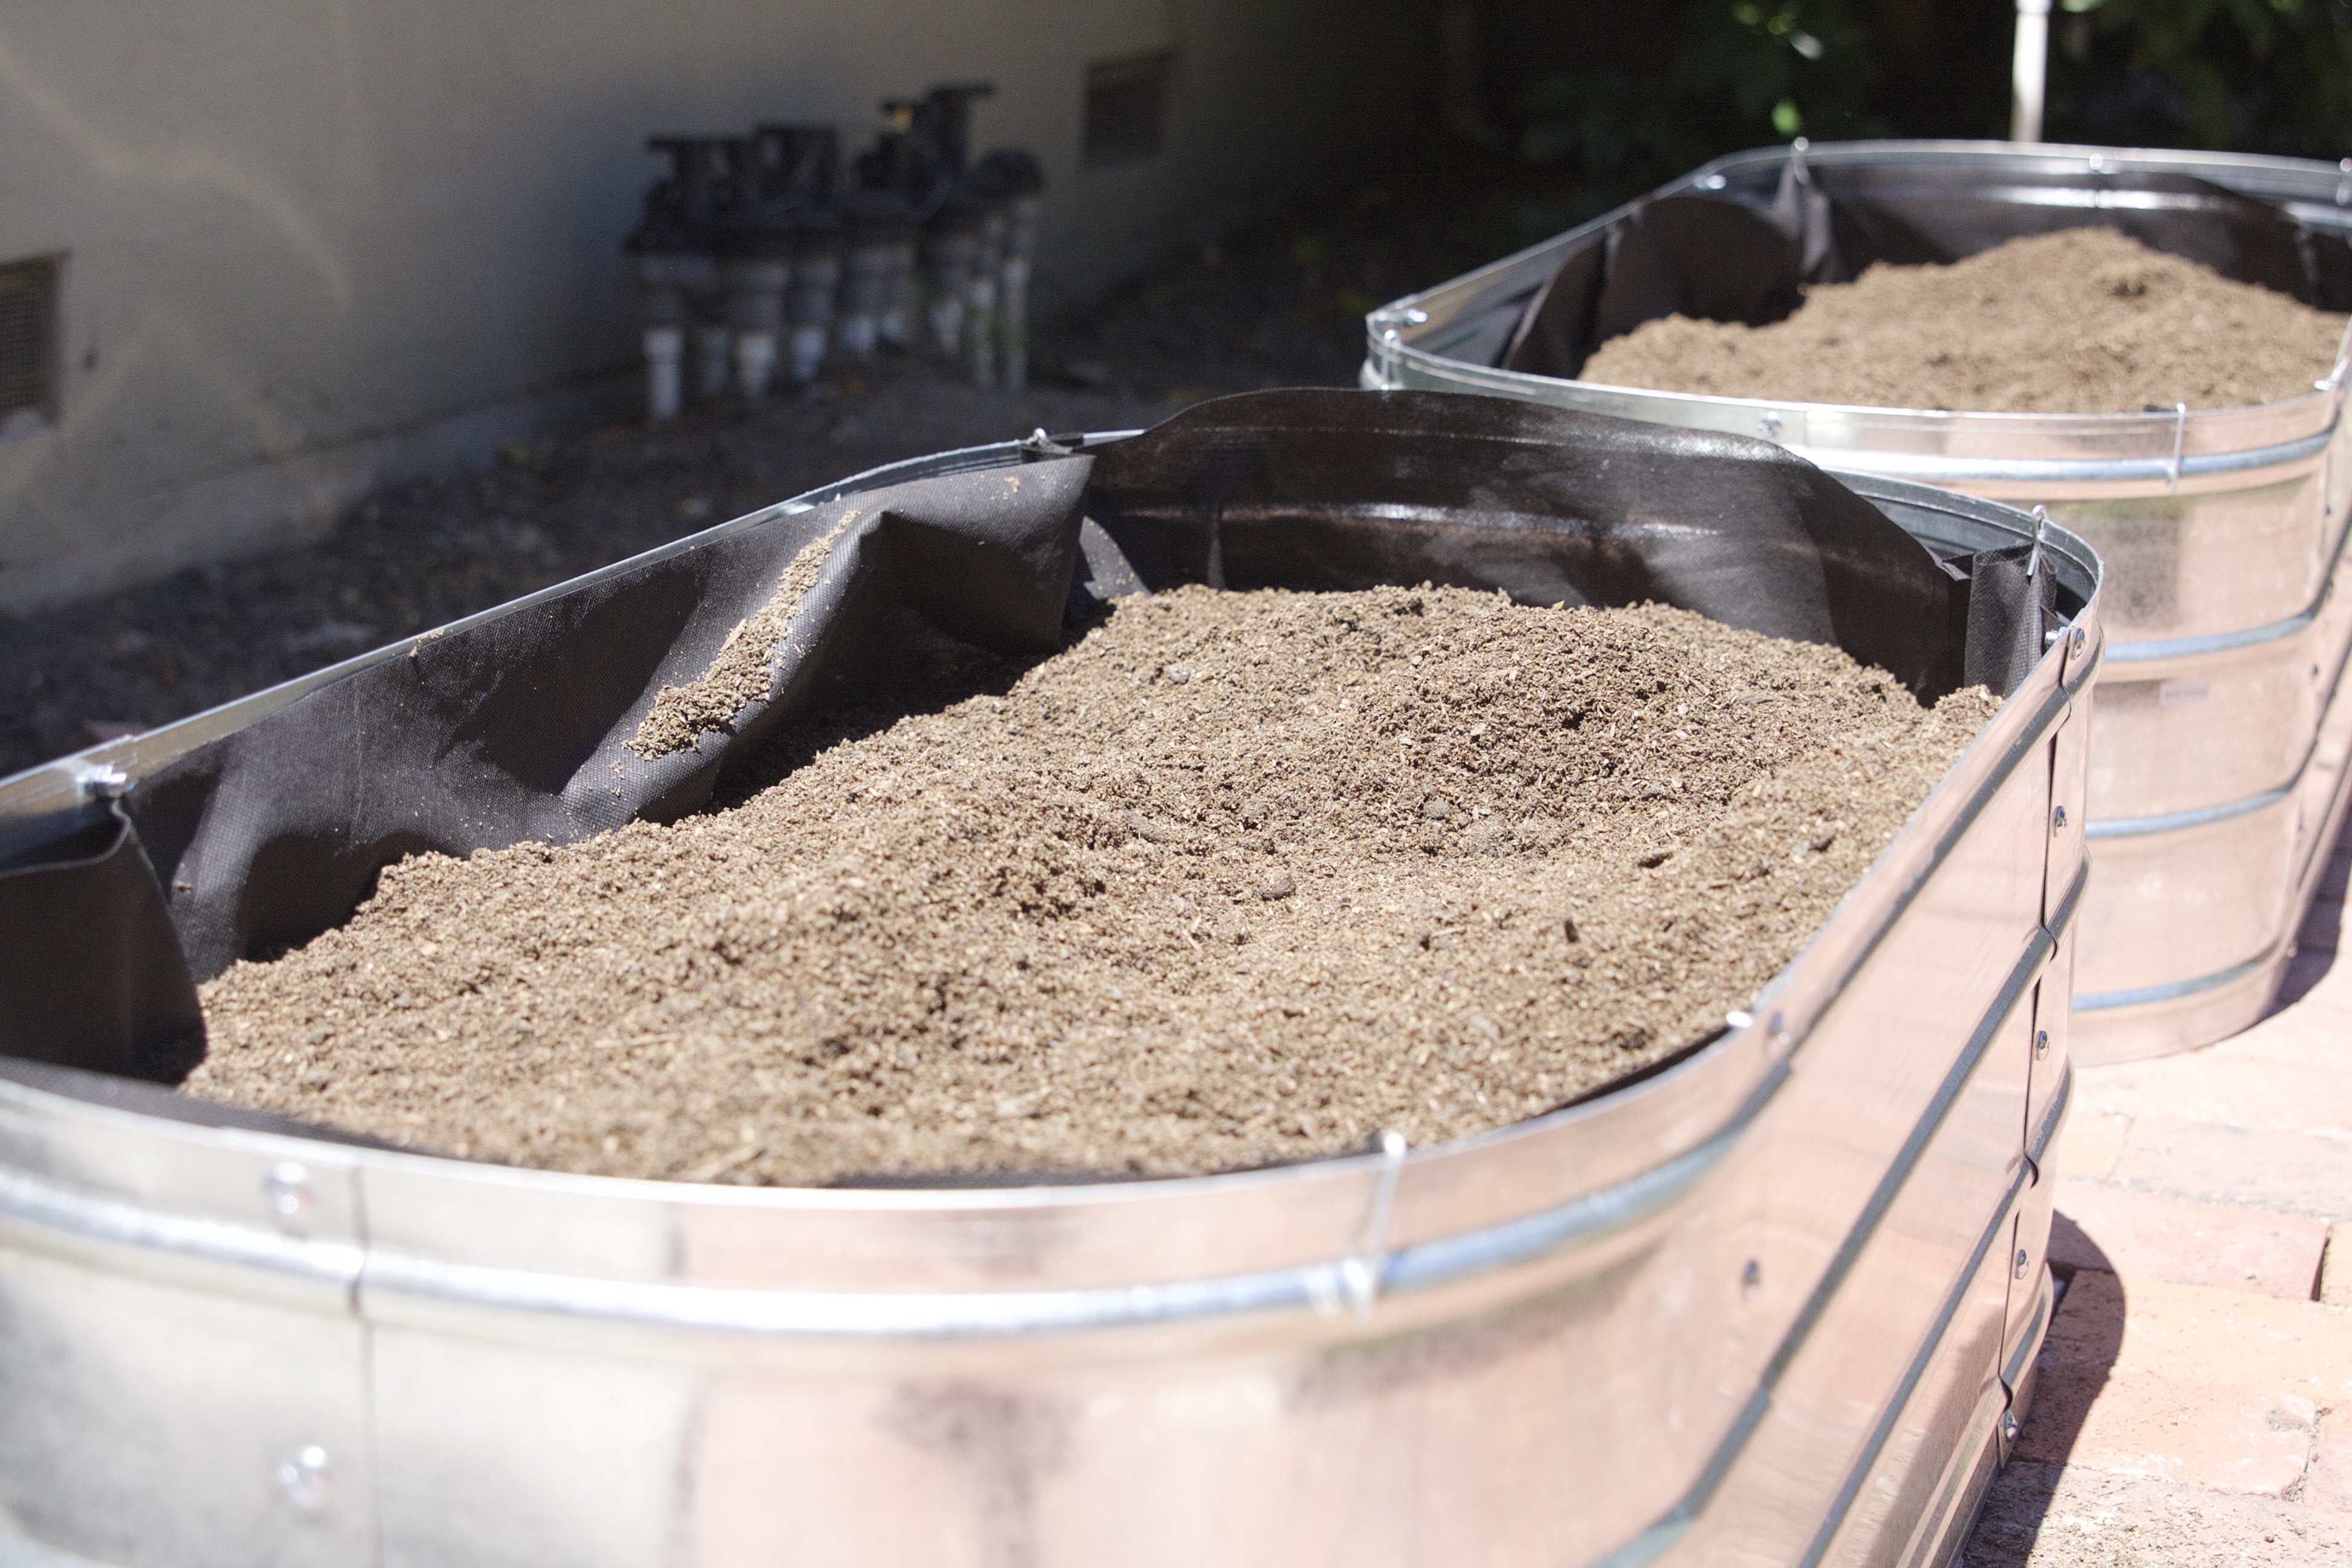
Once the beds were assembled, I added the liners…
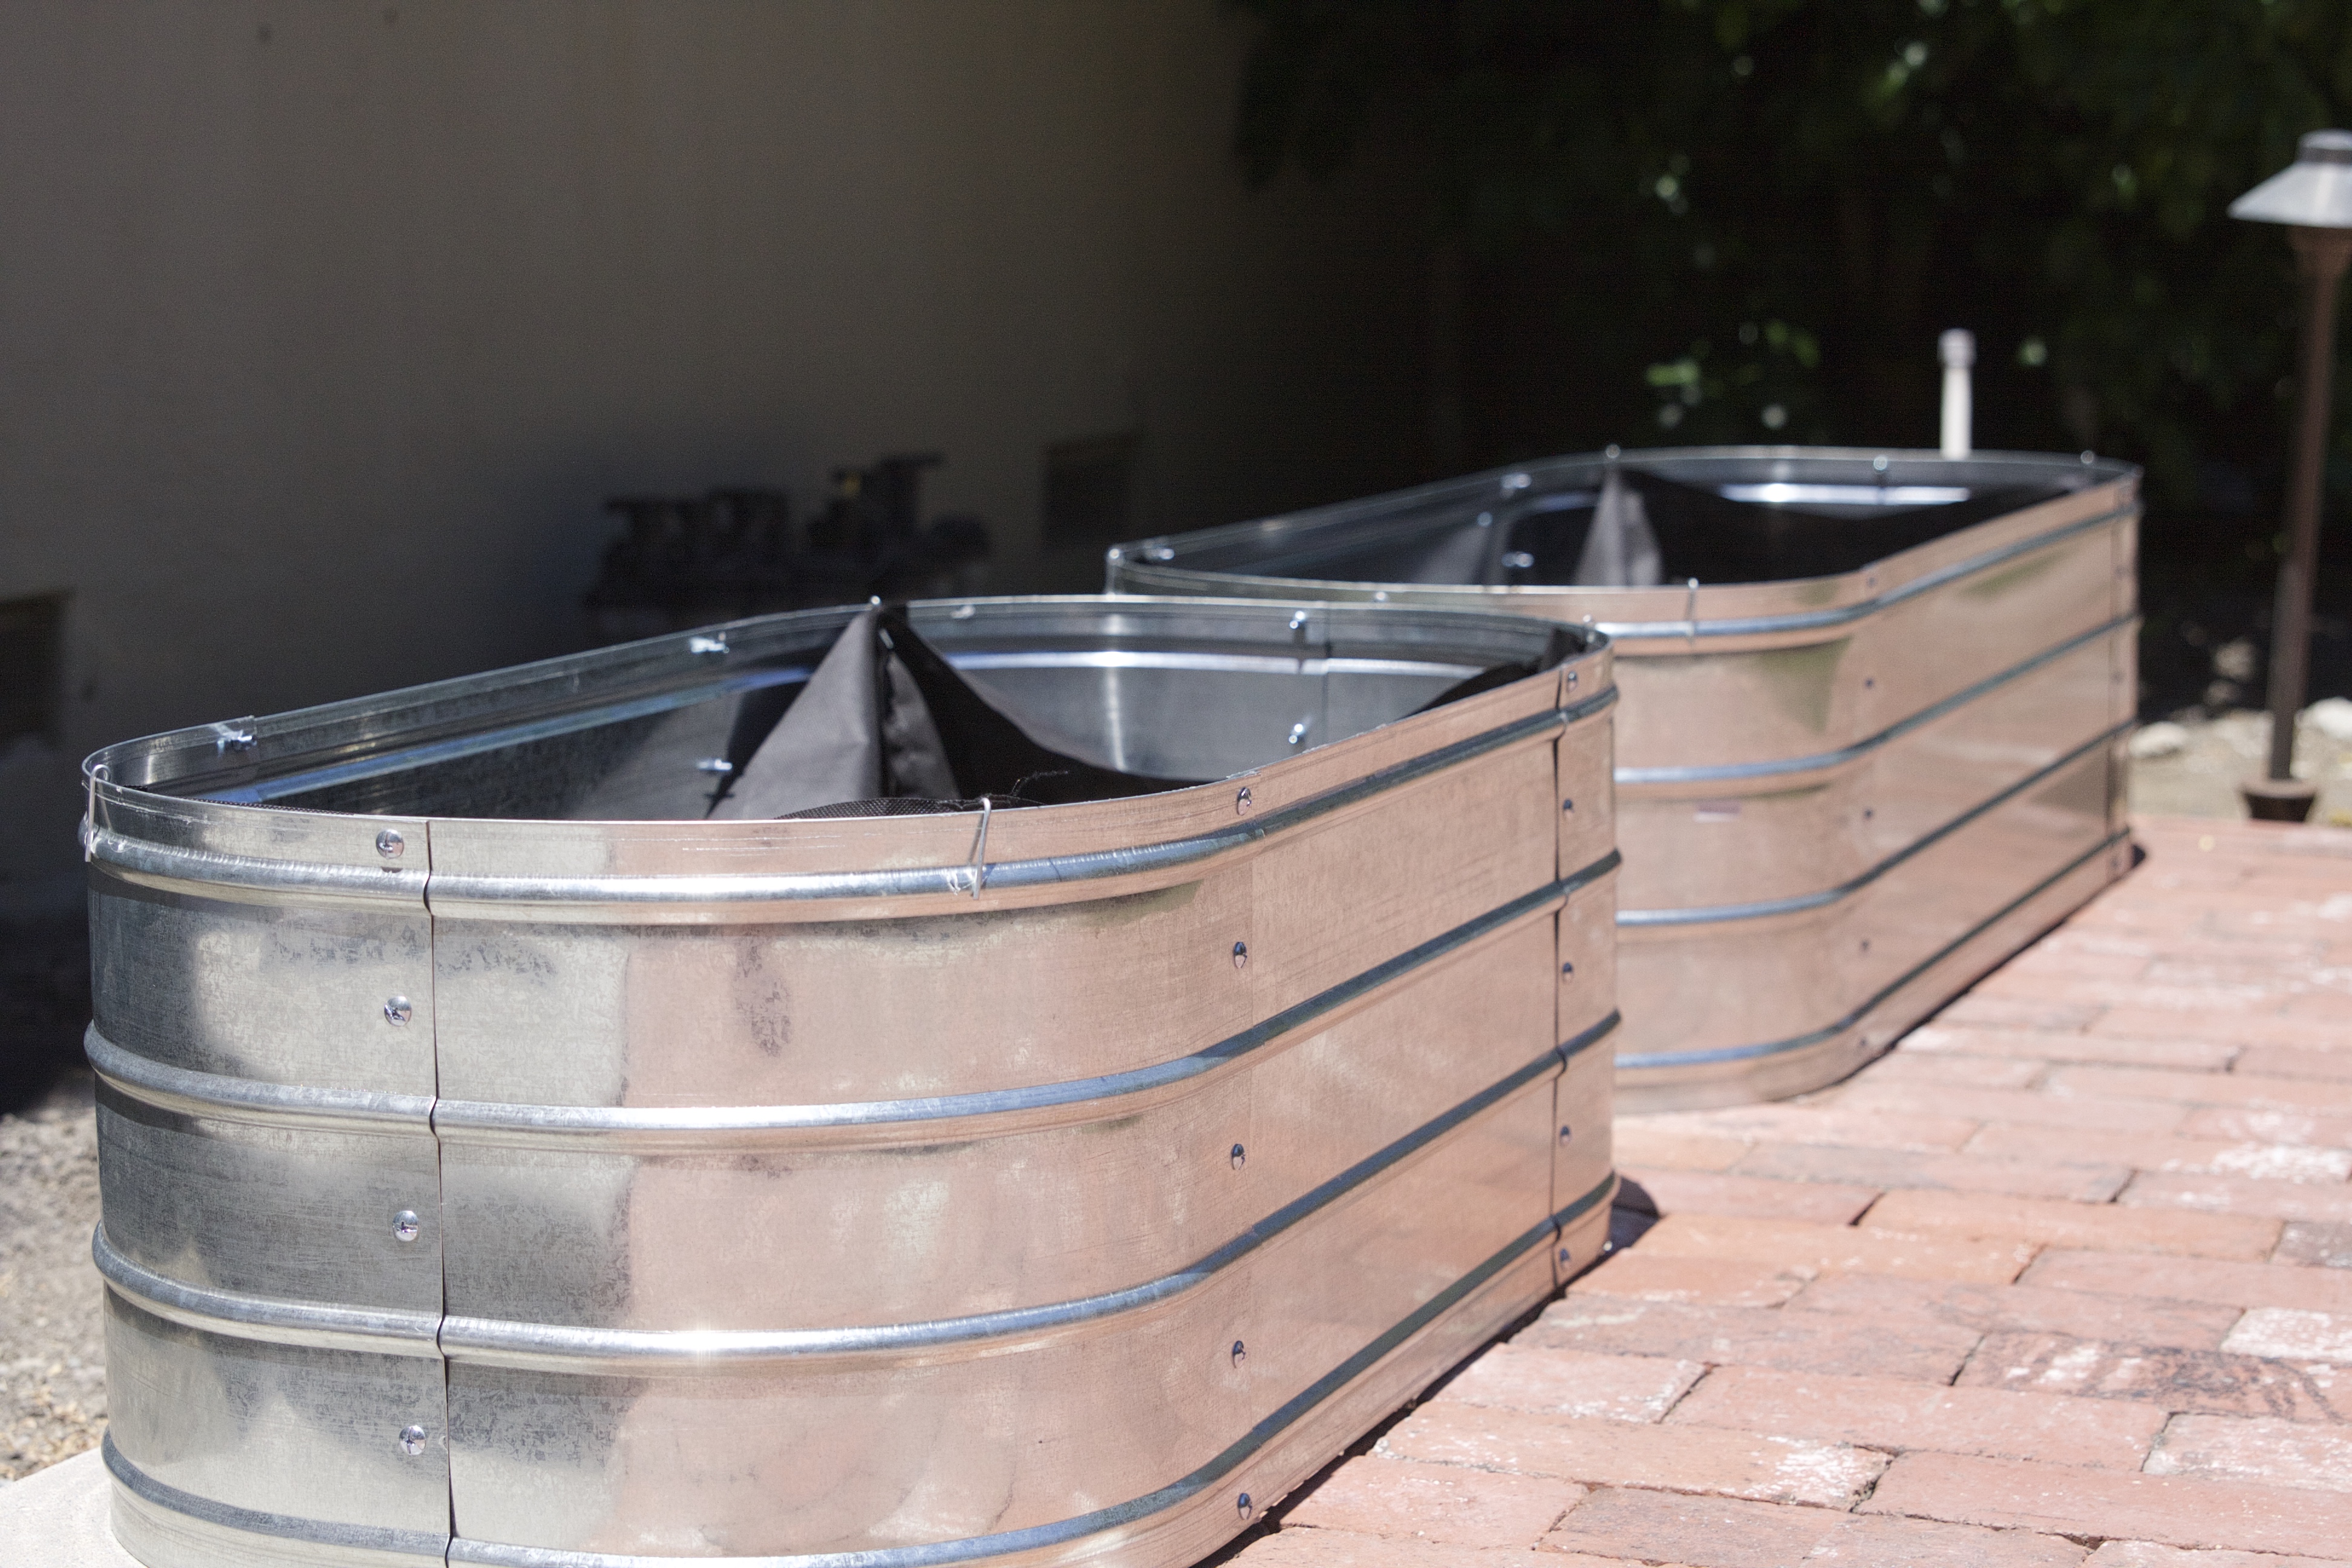
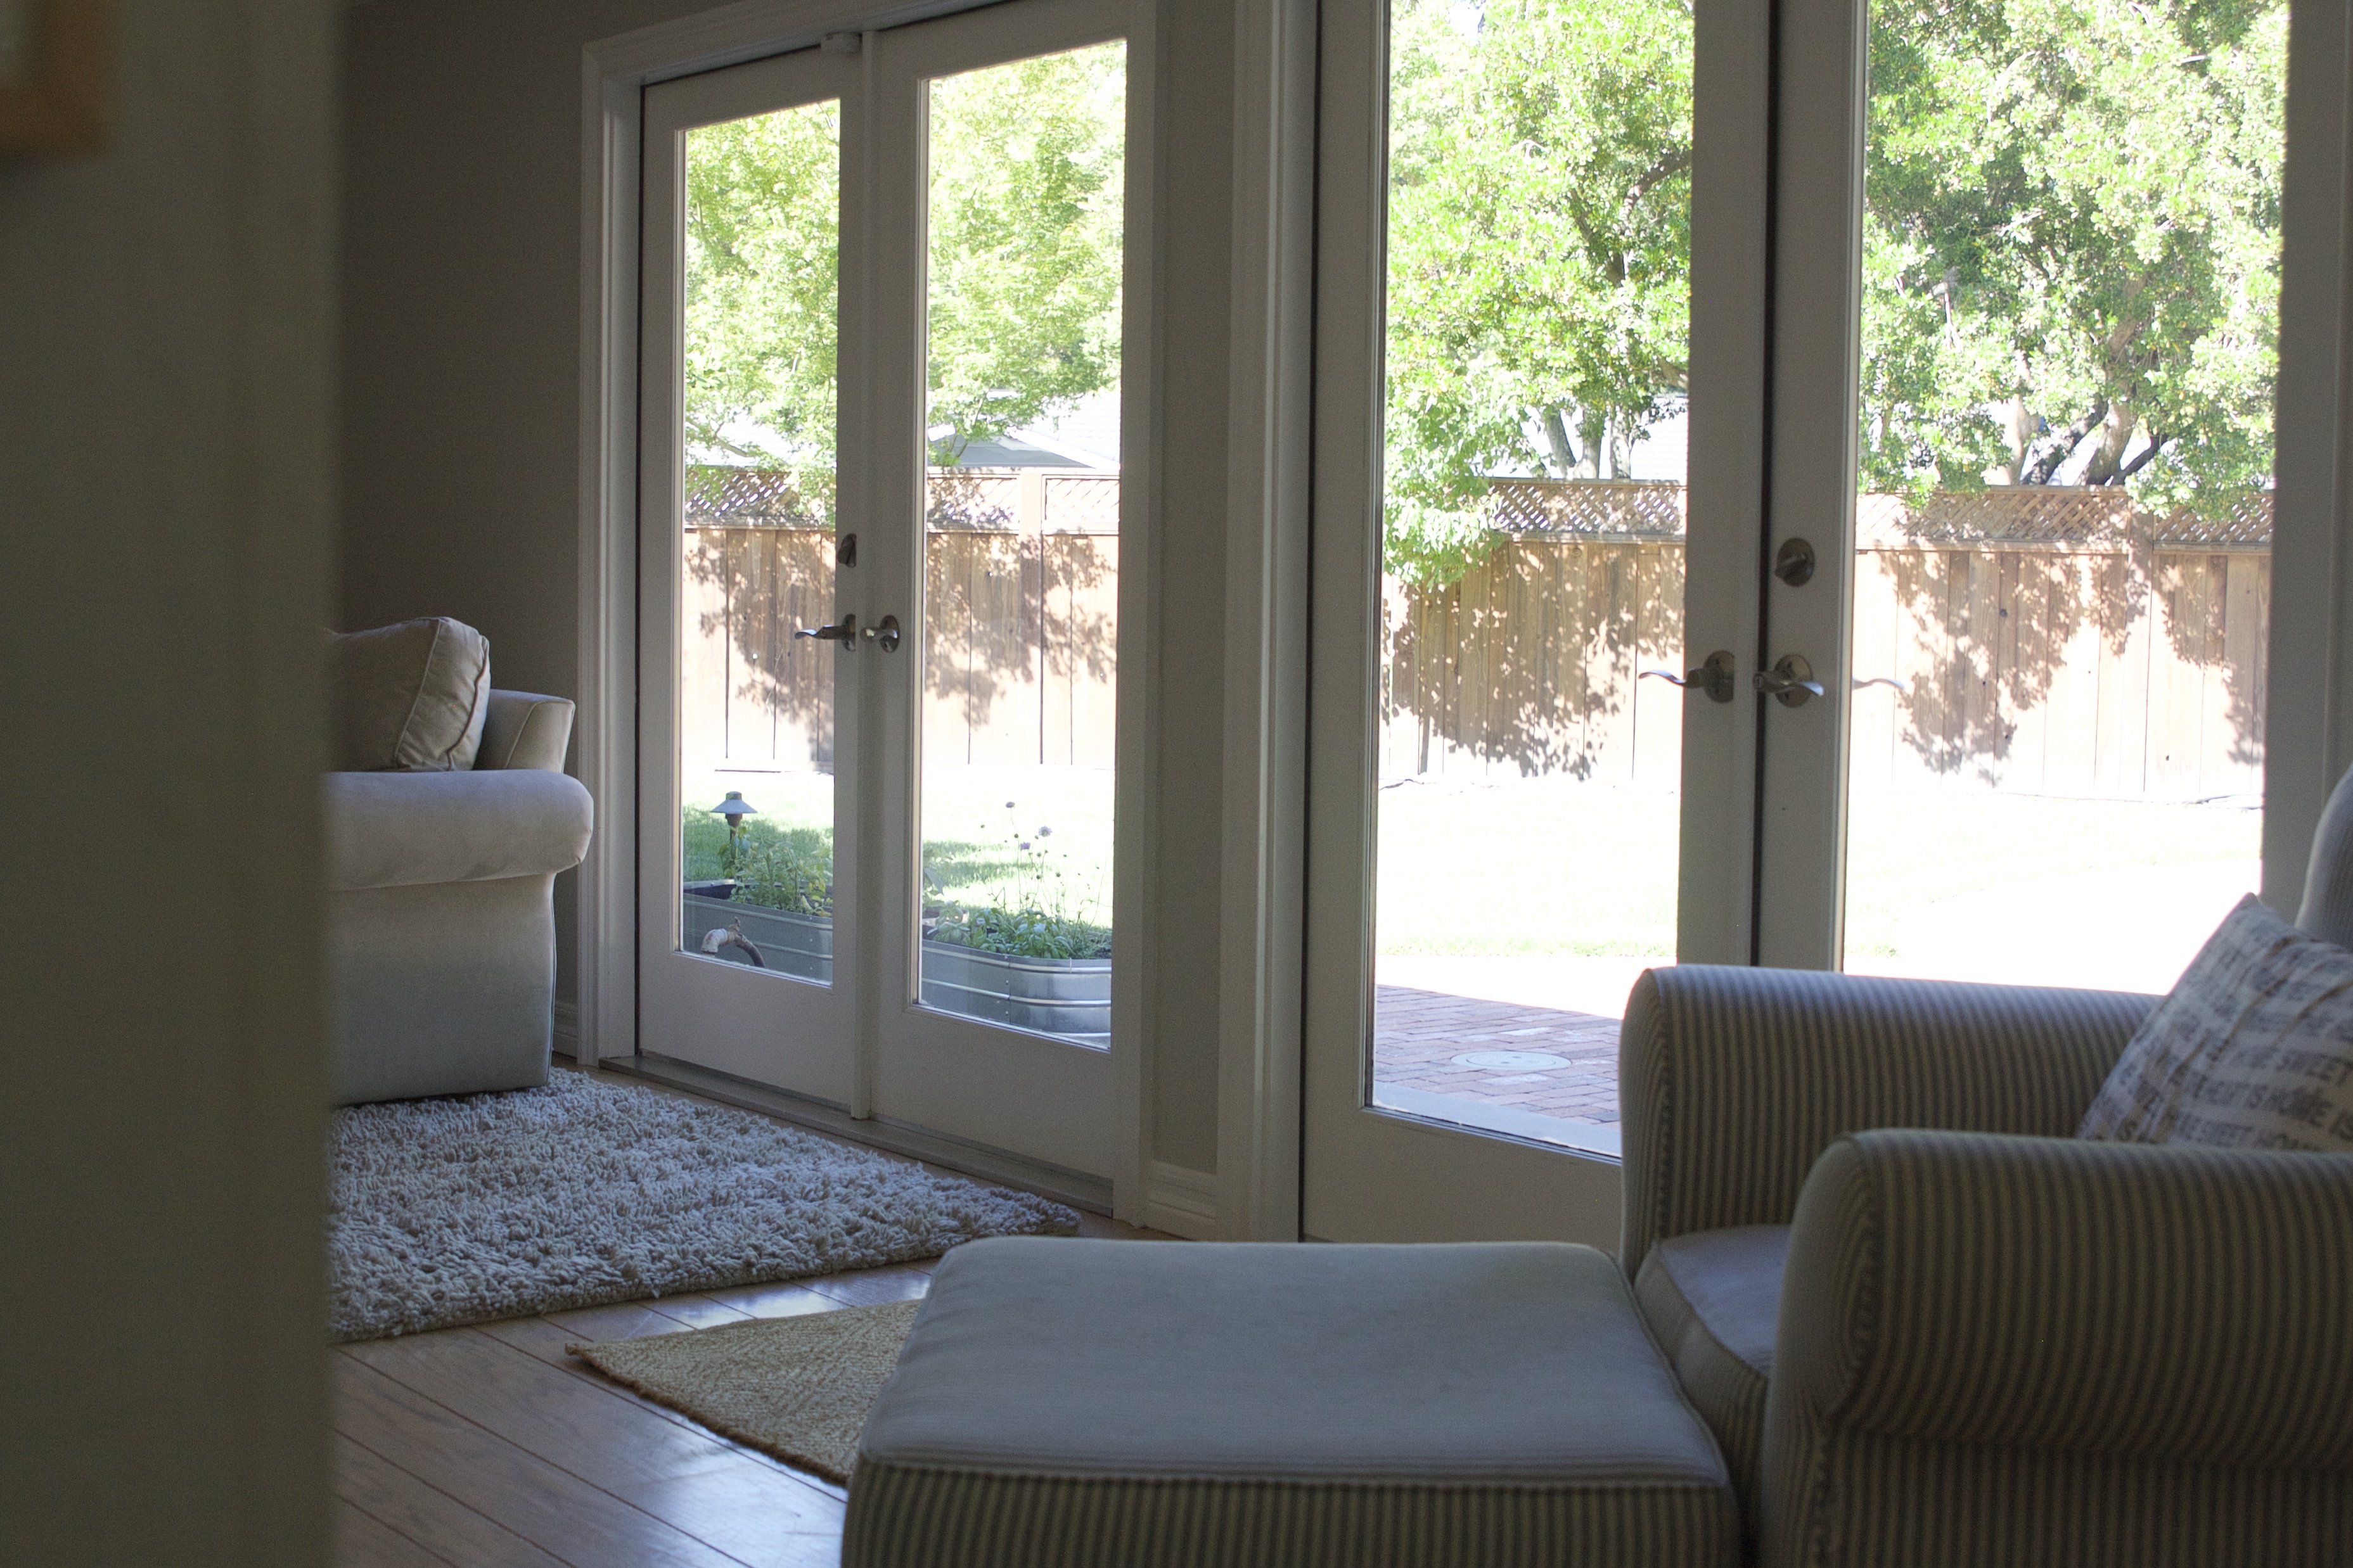
Next step is finding your perfect spot for placement. Since I am growing tomatoes, I wanted to be sure these would get a good amount of sun. The perfect spot was outside my living room doors that lead to the yard. This space is close to a hose for daily watering, not too far from the kitchen so I can grab herbs for cooking and I love that I can see them through the windows…
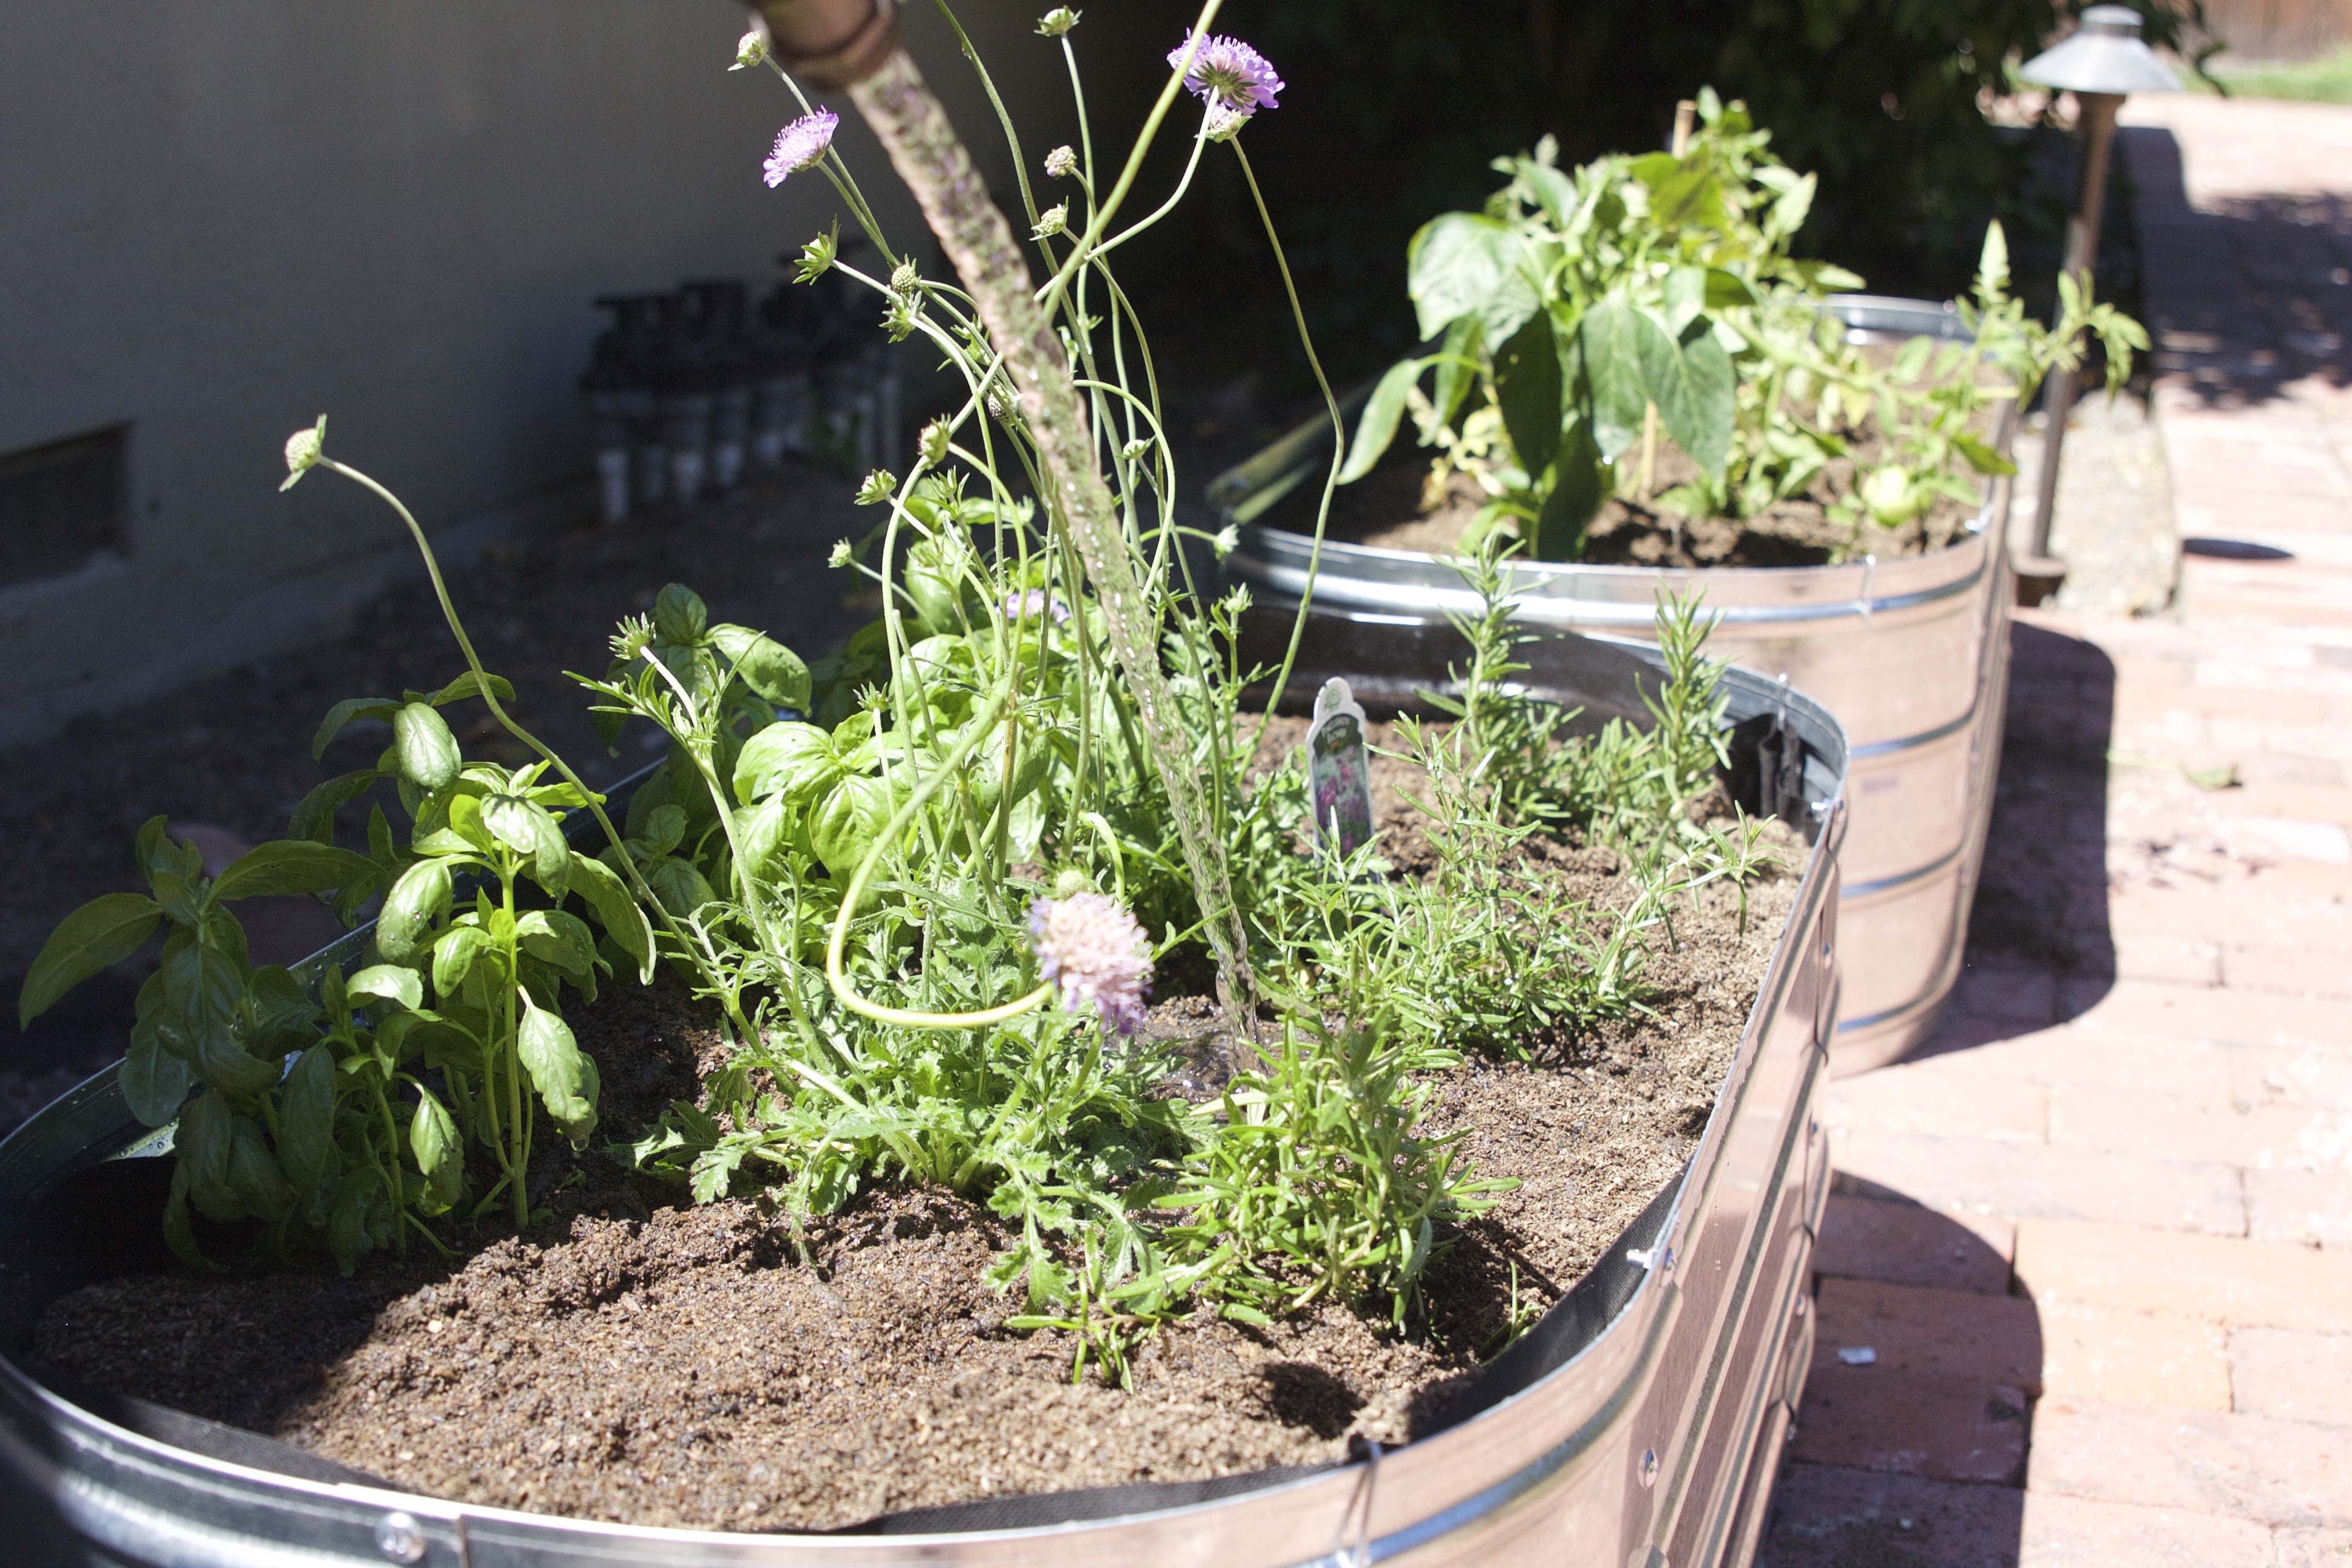
Finally, it was a matter of filling with soil and adding herbs, veggies and a few flowers…
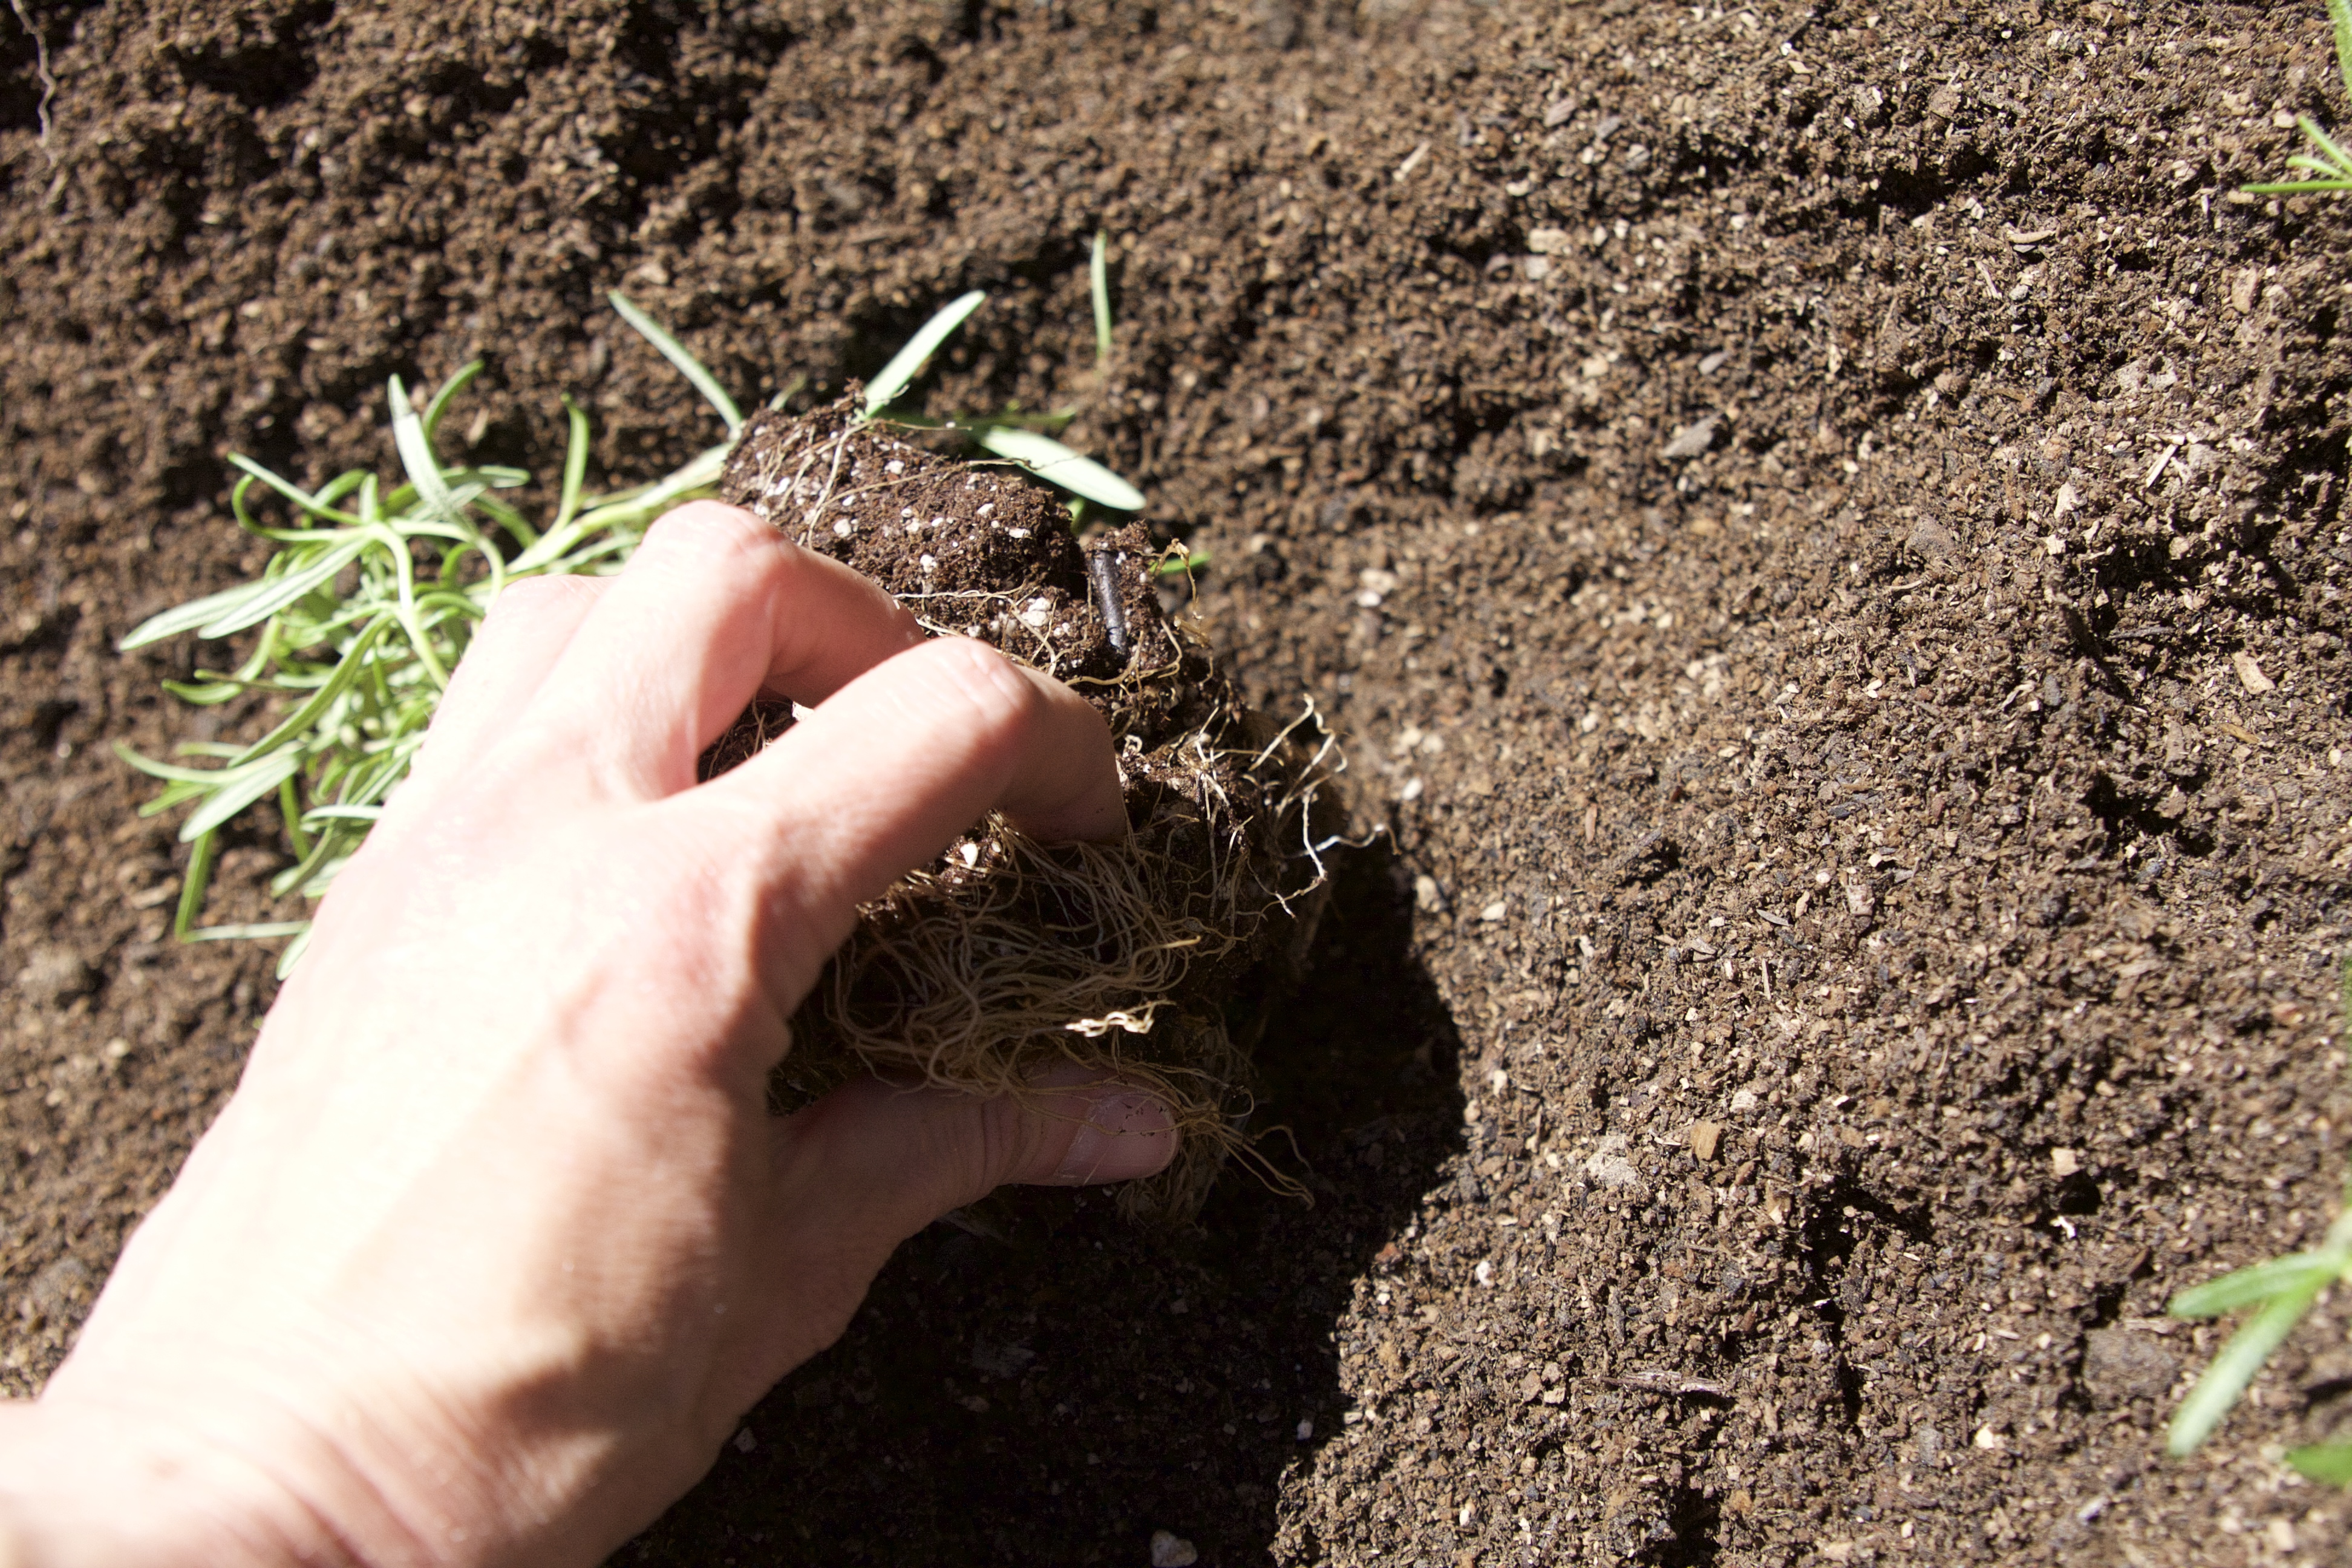
To plant, I loosened the root system at the bottom and added to the soil. I didn’t fill the beds to the top with soil until after everything was planted…
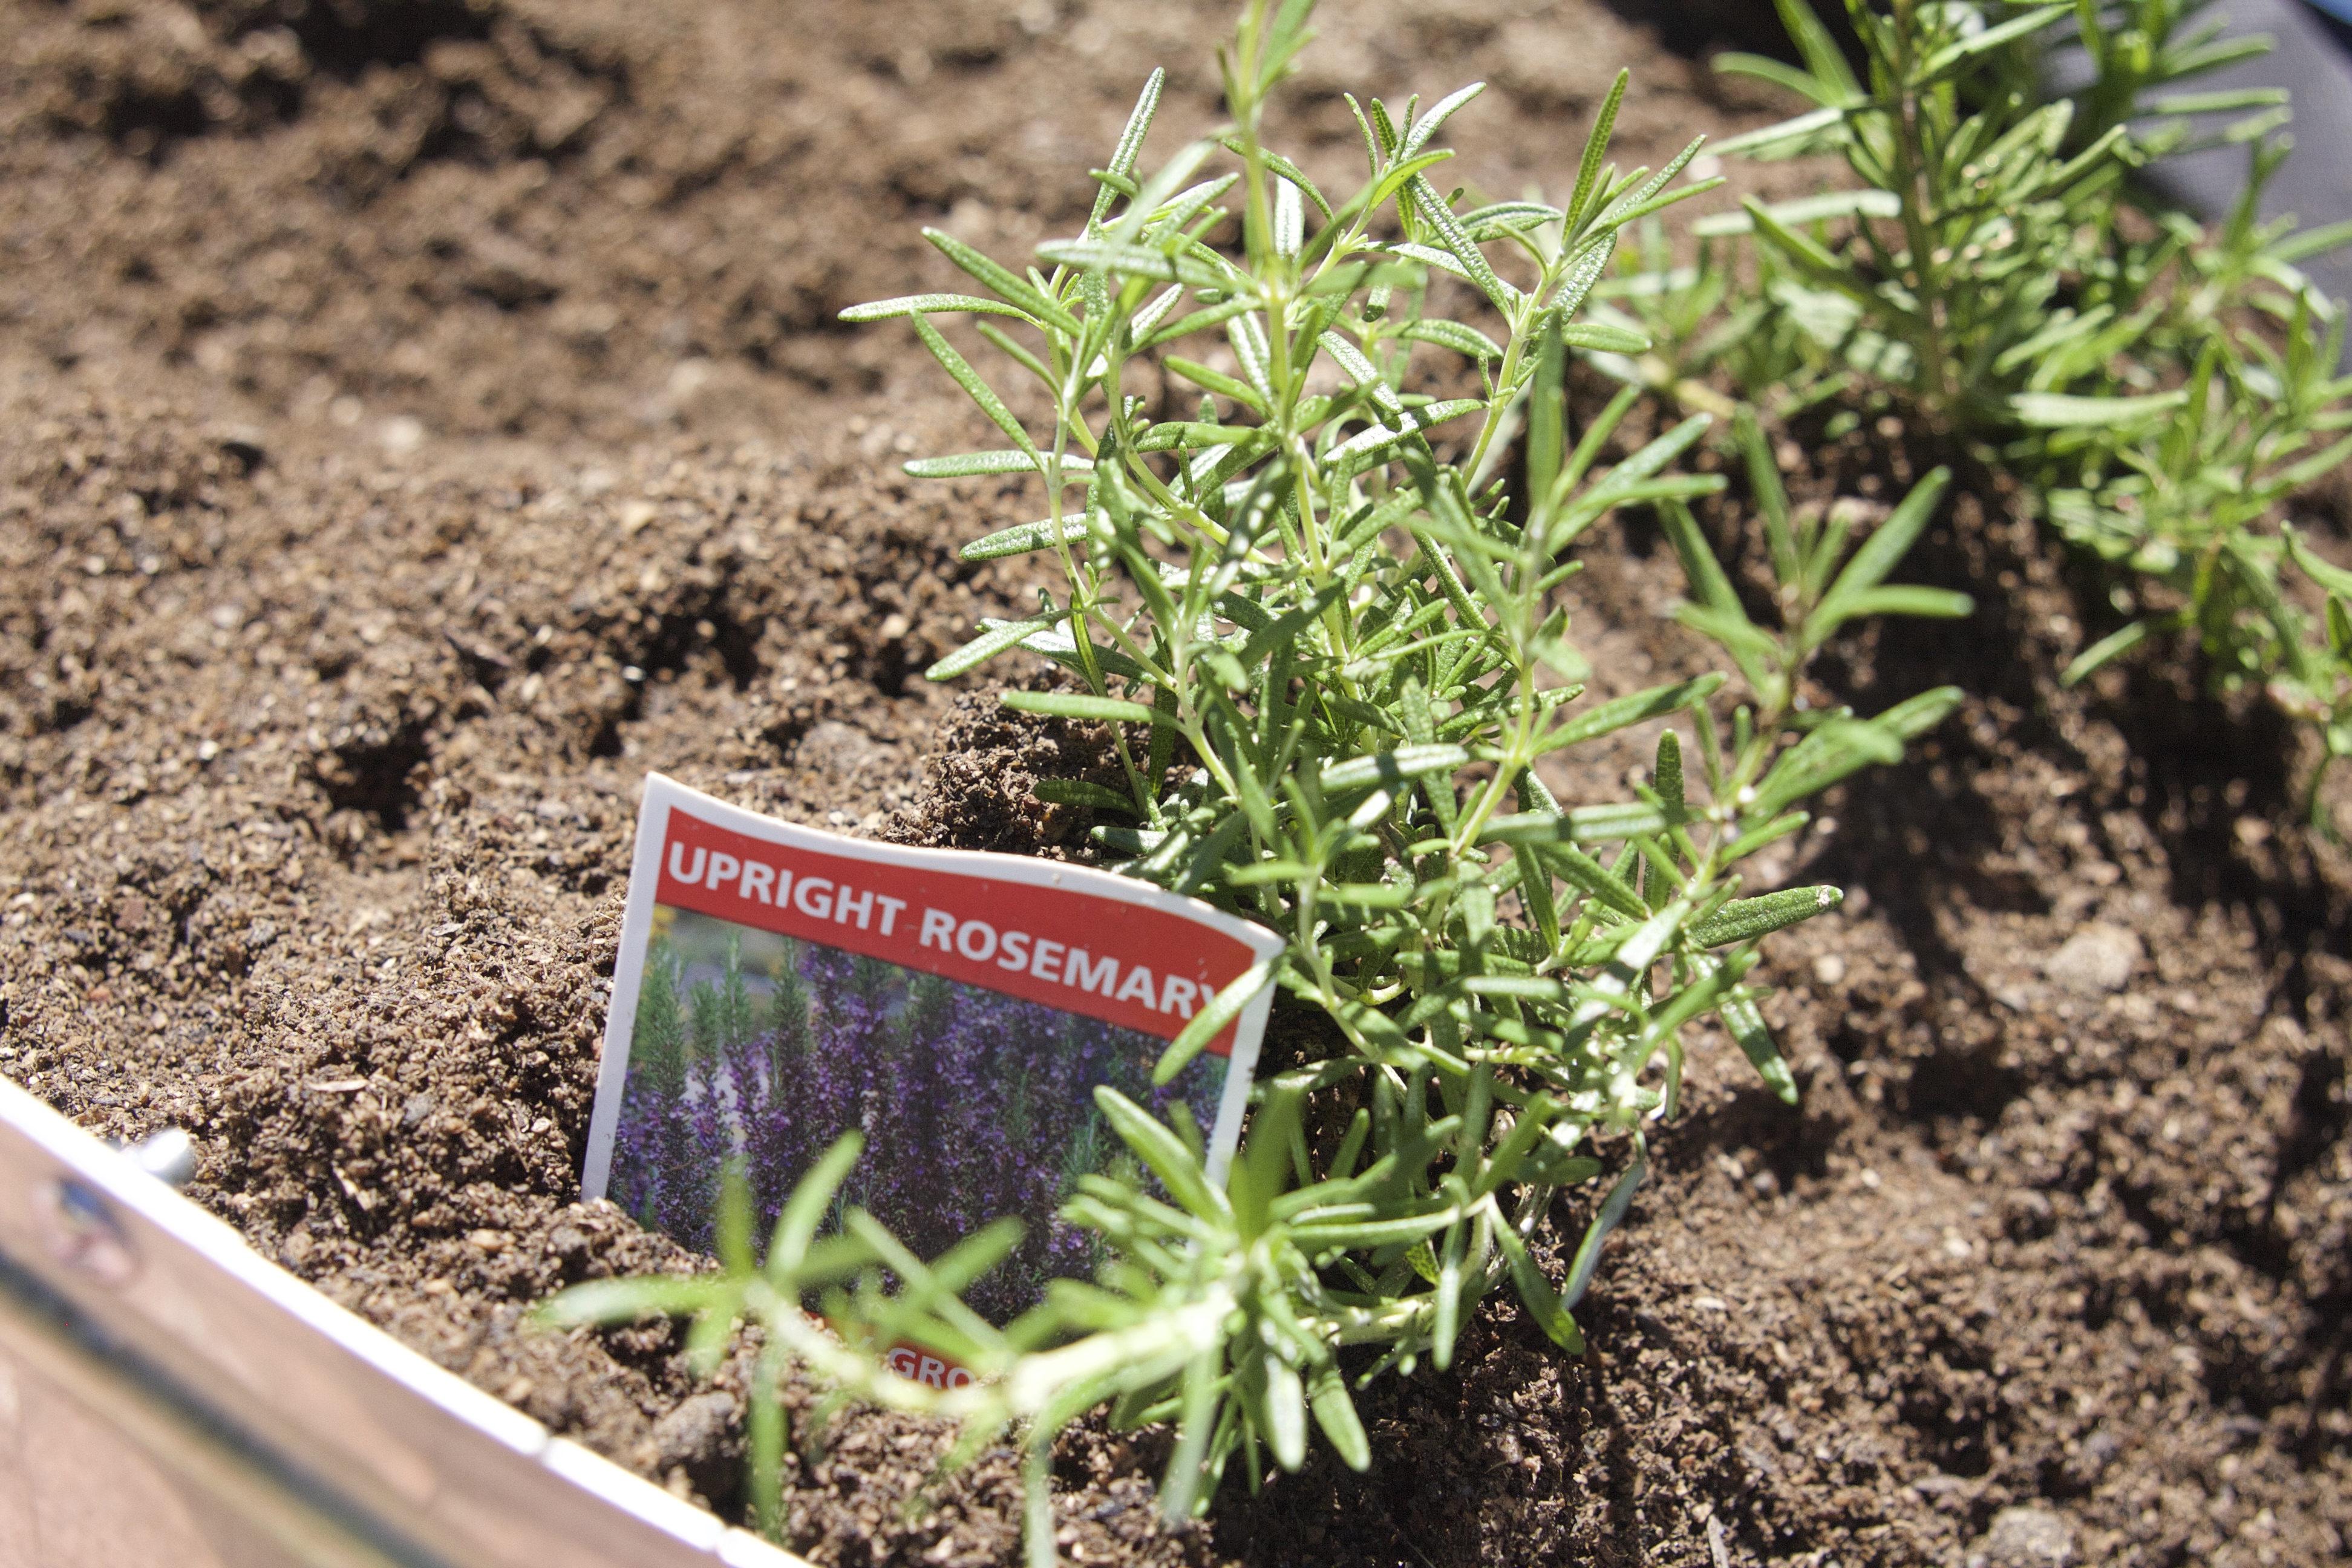
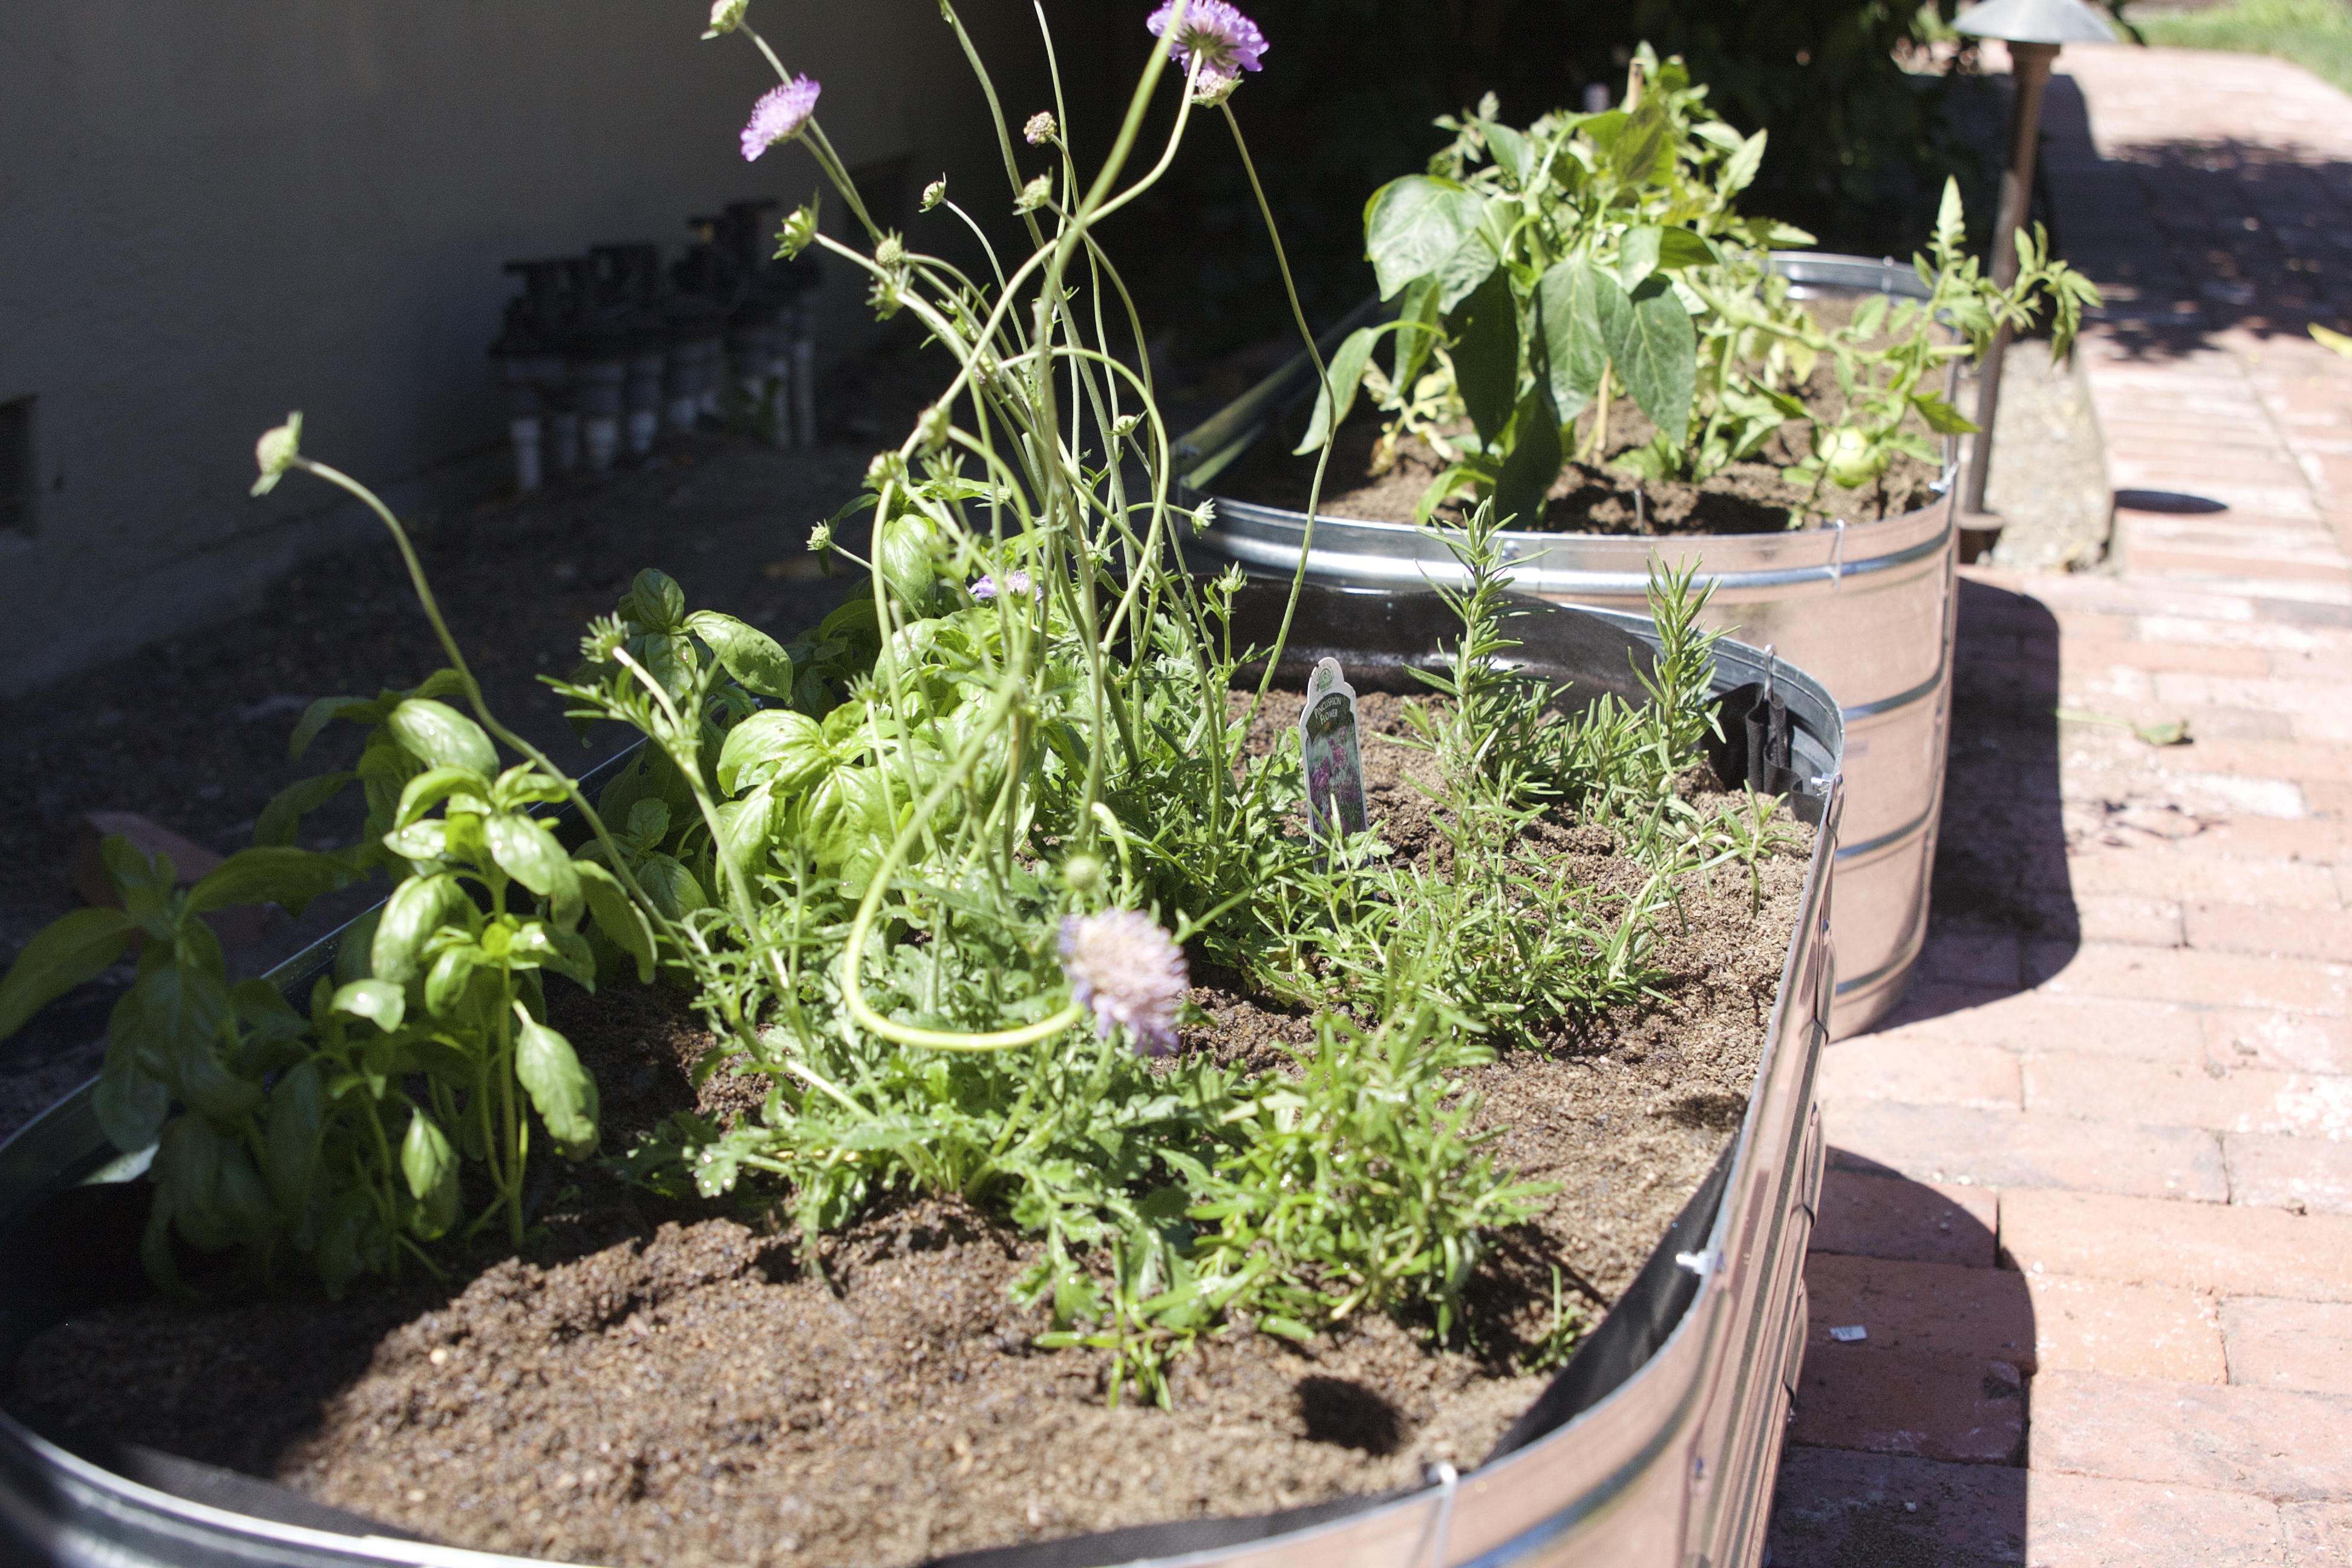
I planted 2 tomato varieties, 2 bell pepper varieties, rosemary and sweet basil. I added a few flowers that attract butterflies because my daughter loves them. Then I filled in with more soil and watered generously…
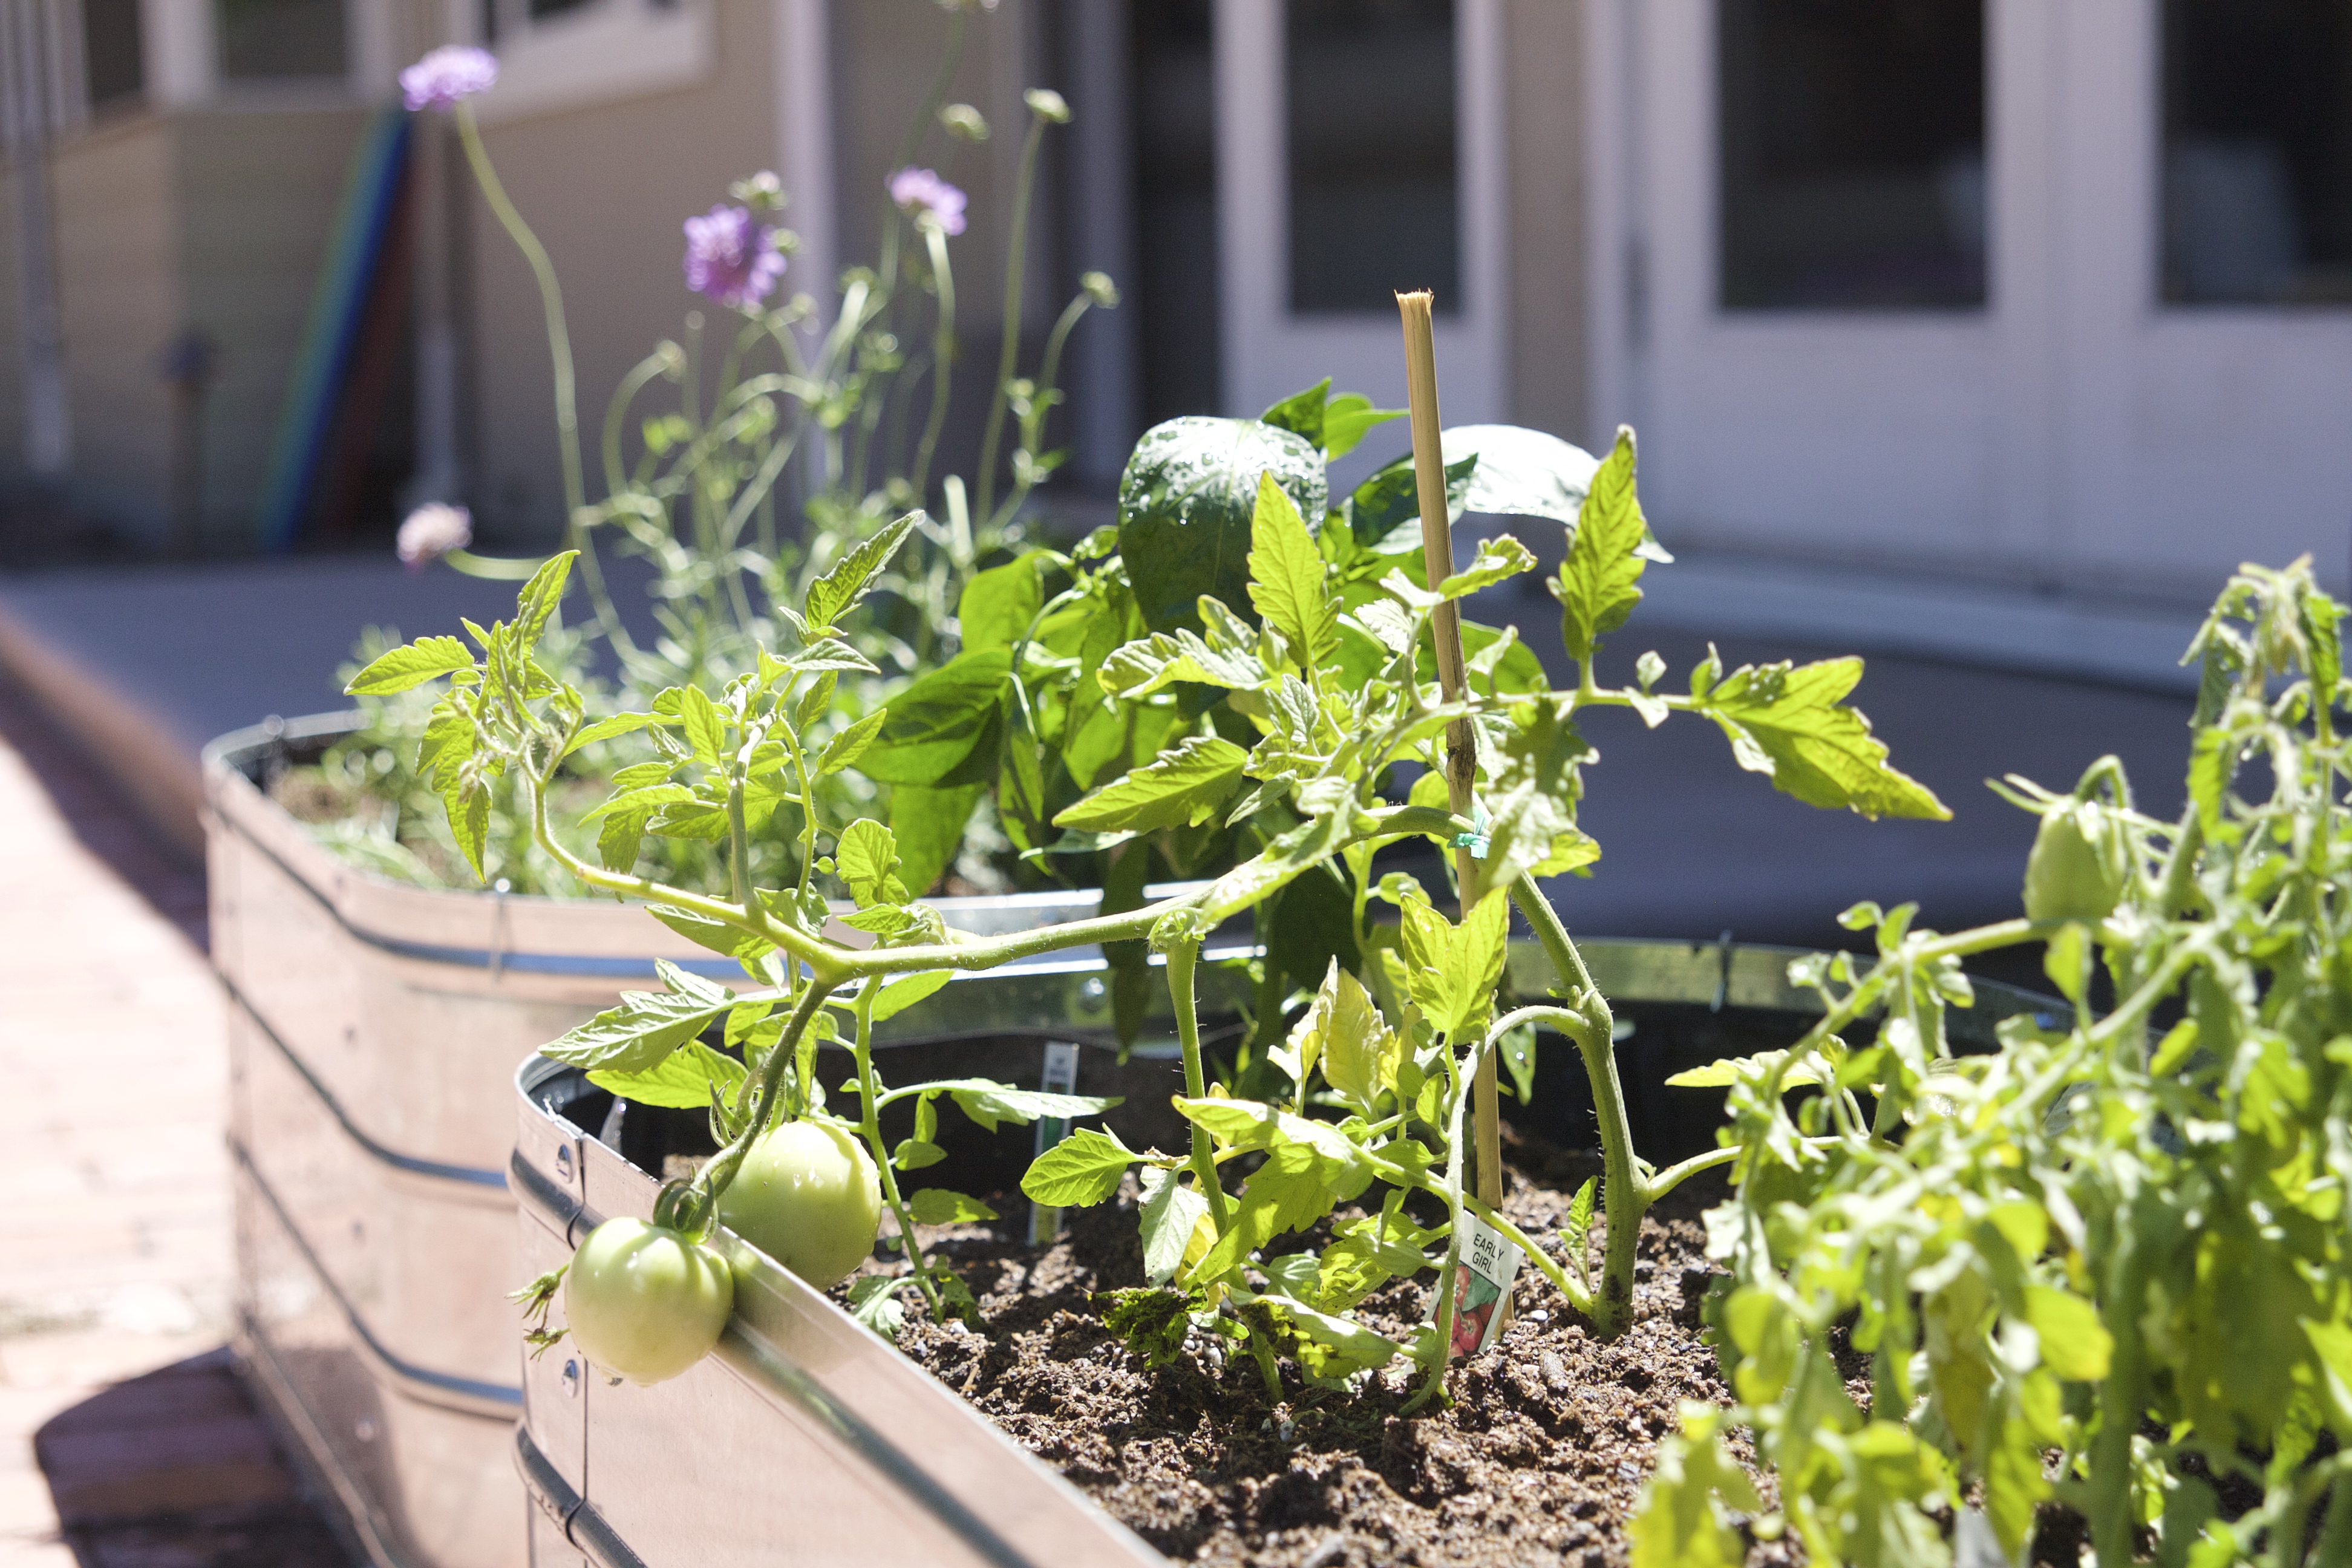
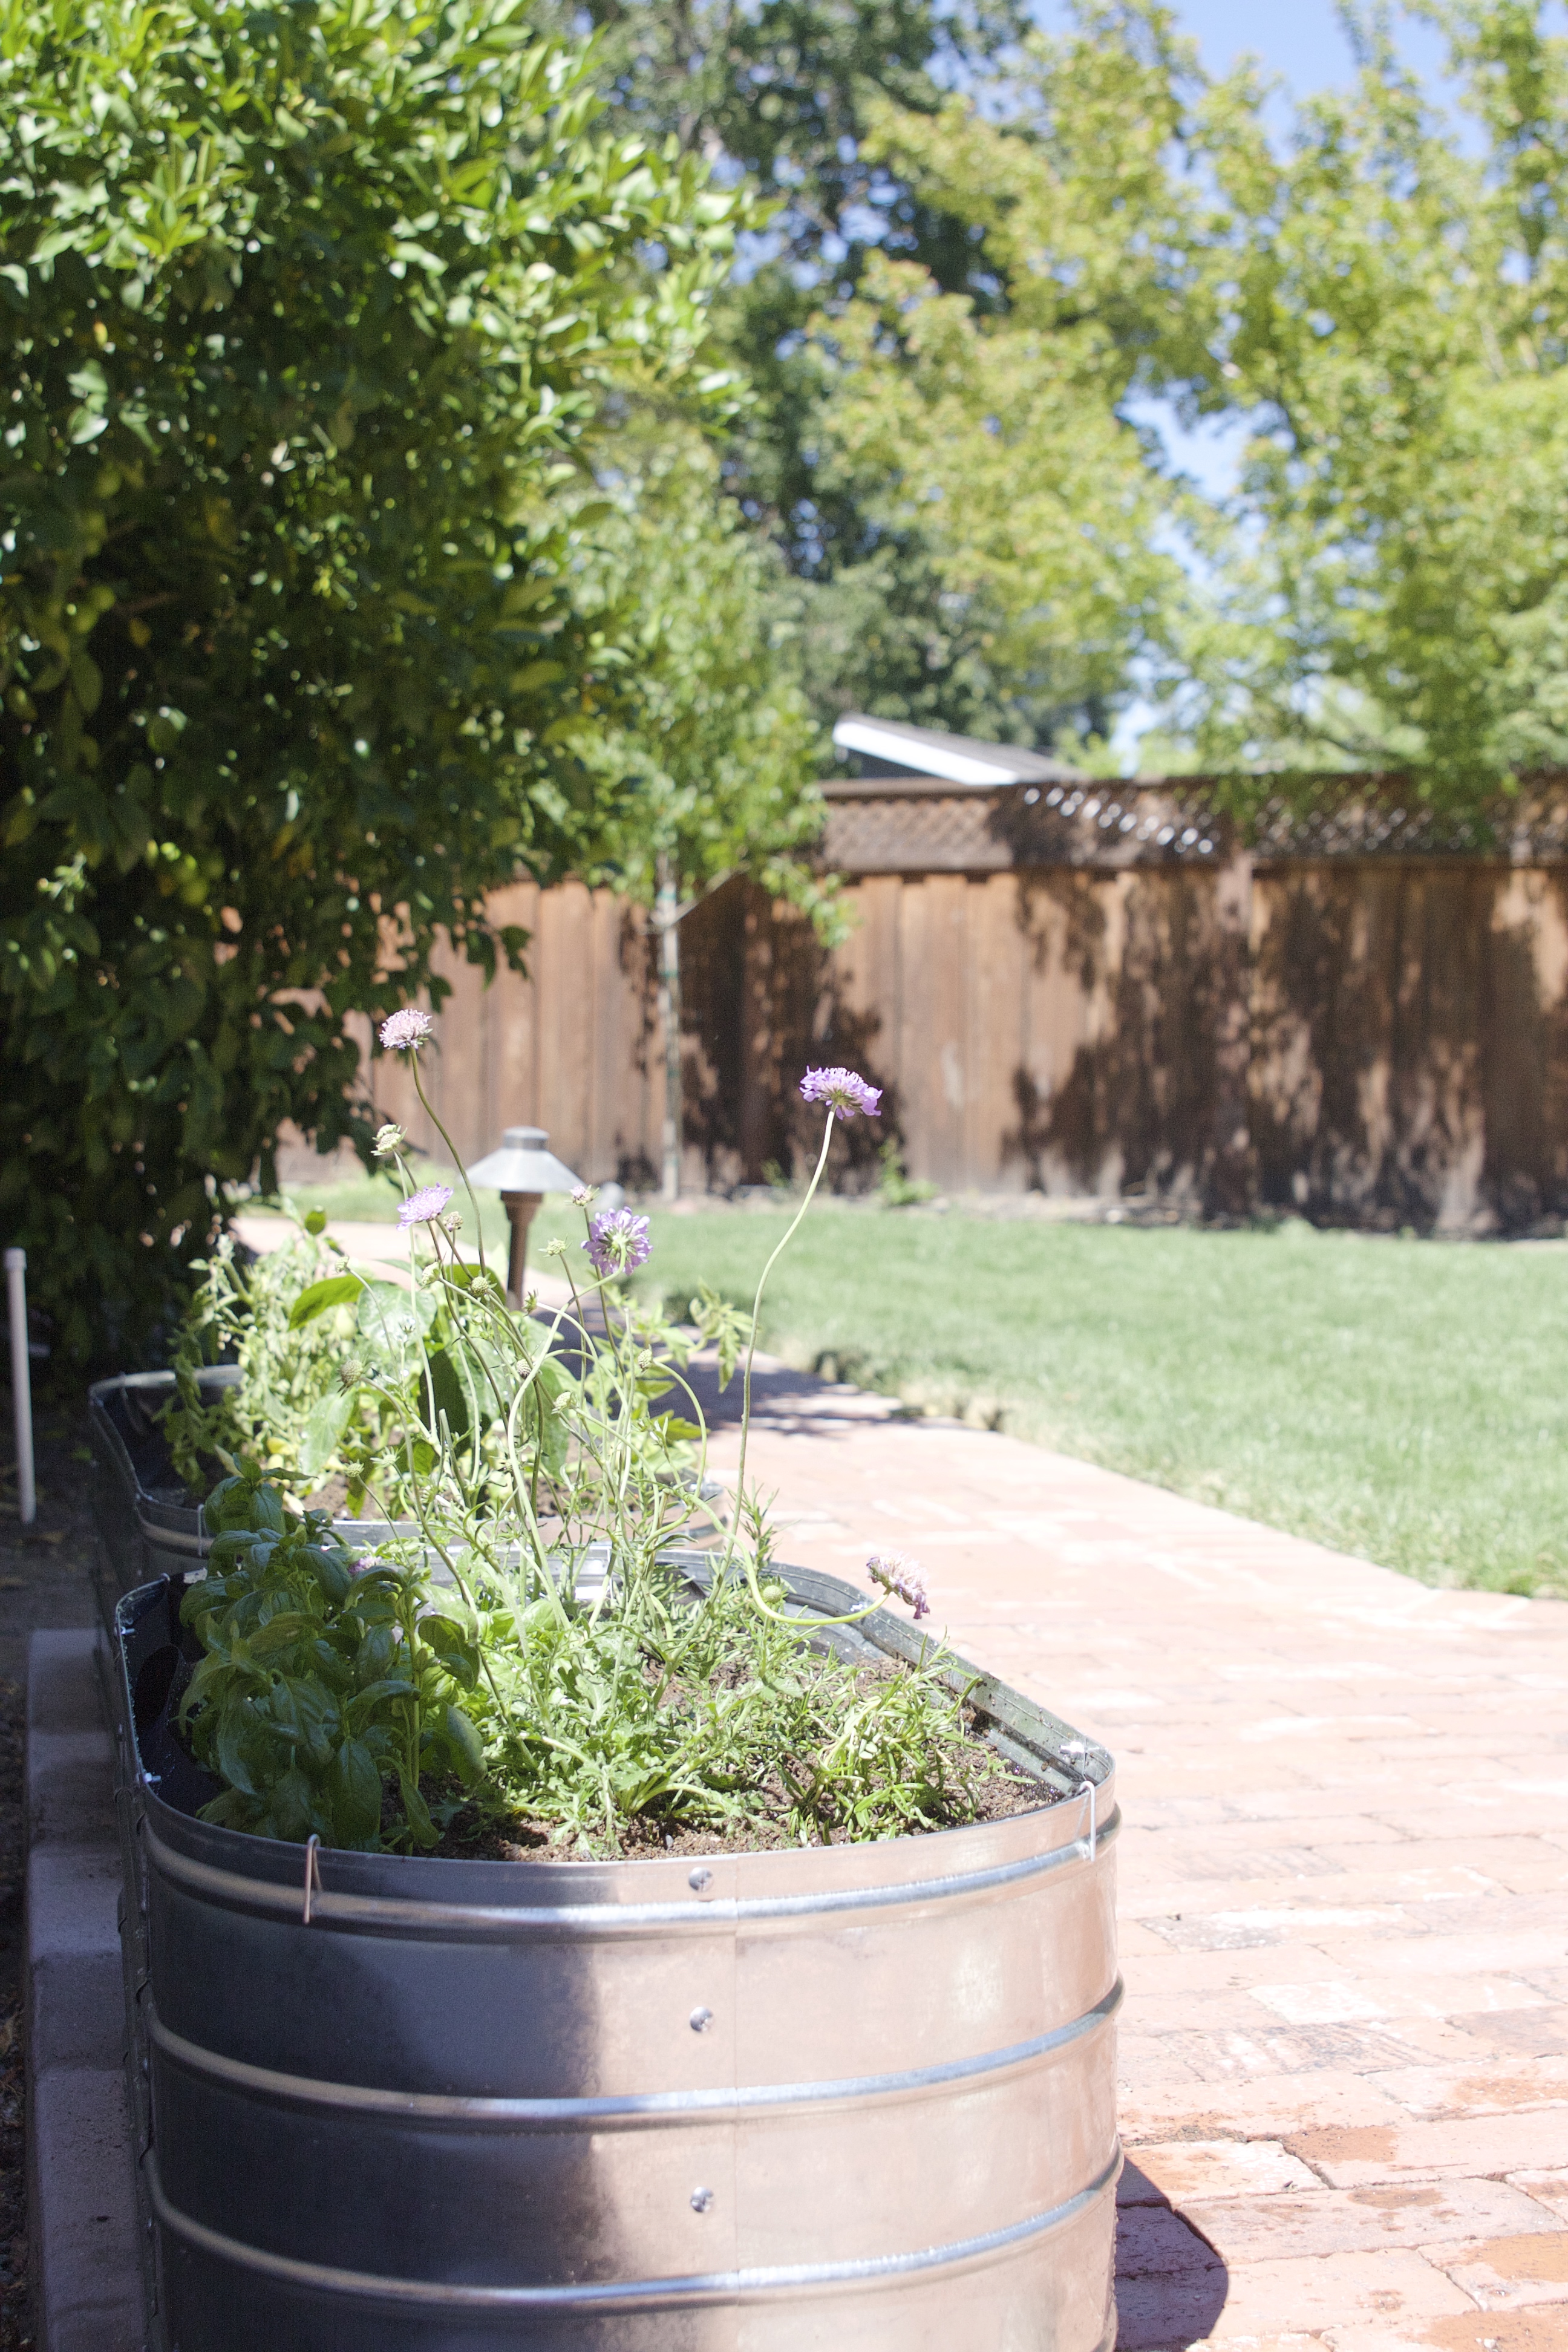
We are excited for those tomatoes and peppers to grow in! And I love seeing these beautiful beds from the living room windows…
The oval beds are lightweight and can be placed anywhere, which is a feature I really love about them. Once my bigger garden area is built out, I can totally find a spot for these nearby to fill with flowers or just 100% herbs. If you’re thinking about planting a garden but find yourself with limited time to build out a huge space just yet, these are an incredible option. The beds come in a variety of lengths too – so you are sure to find one that fits whatever the space you have available.
I’ve been doing plenty of other home improvement projects that I can’t wait to share. Last weekend I was in full-blown (and very delayed) spring-cleaning mode. I cleaned the house top to bottom AND hung a fixed show curtain rod AND finished my laundry room. Can’t wait to share the laundry room with you guys! So much more functional!!!
Back soon – missing you all!
*i partnered with Improvements Catalog for this blog project. while i was given these beds, all opinions are 100% my own and I love Improvements Catalog! some affiliate links were used for your convenience. you pay nothing more by clicking any links on my website. thank you for supporting this blog so that i can continue to bring you excellent content!
Sam, I LOVE posts like this! Really love seeing your own house improvements and projects. Such a simple idea that looks pretty and is functional too. Can’t wait to see the laundry room post! X